End Loader


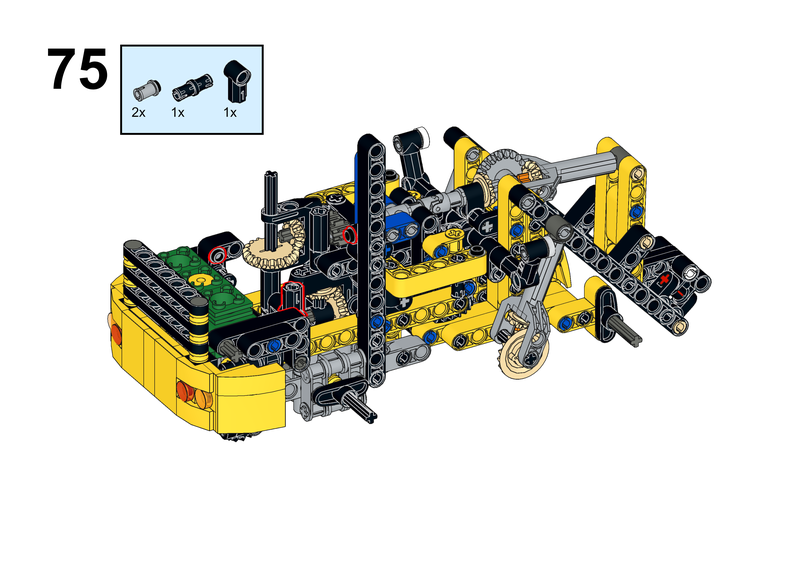
Time for another Eurobricks contest! Free Instructions are available at Rebrickable.com.

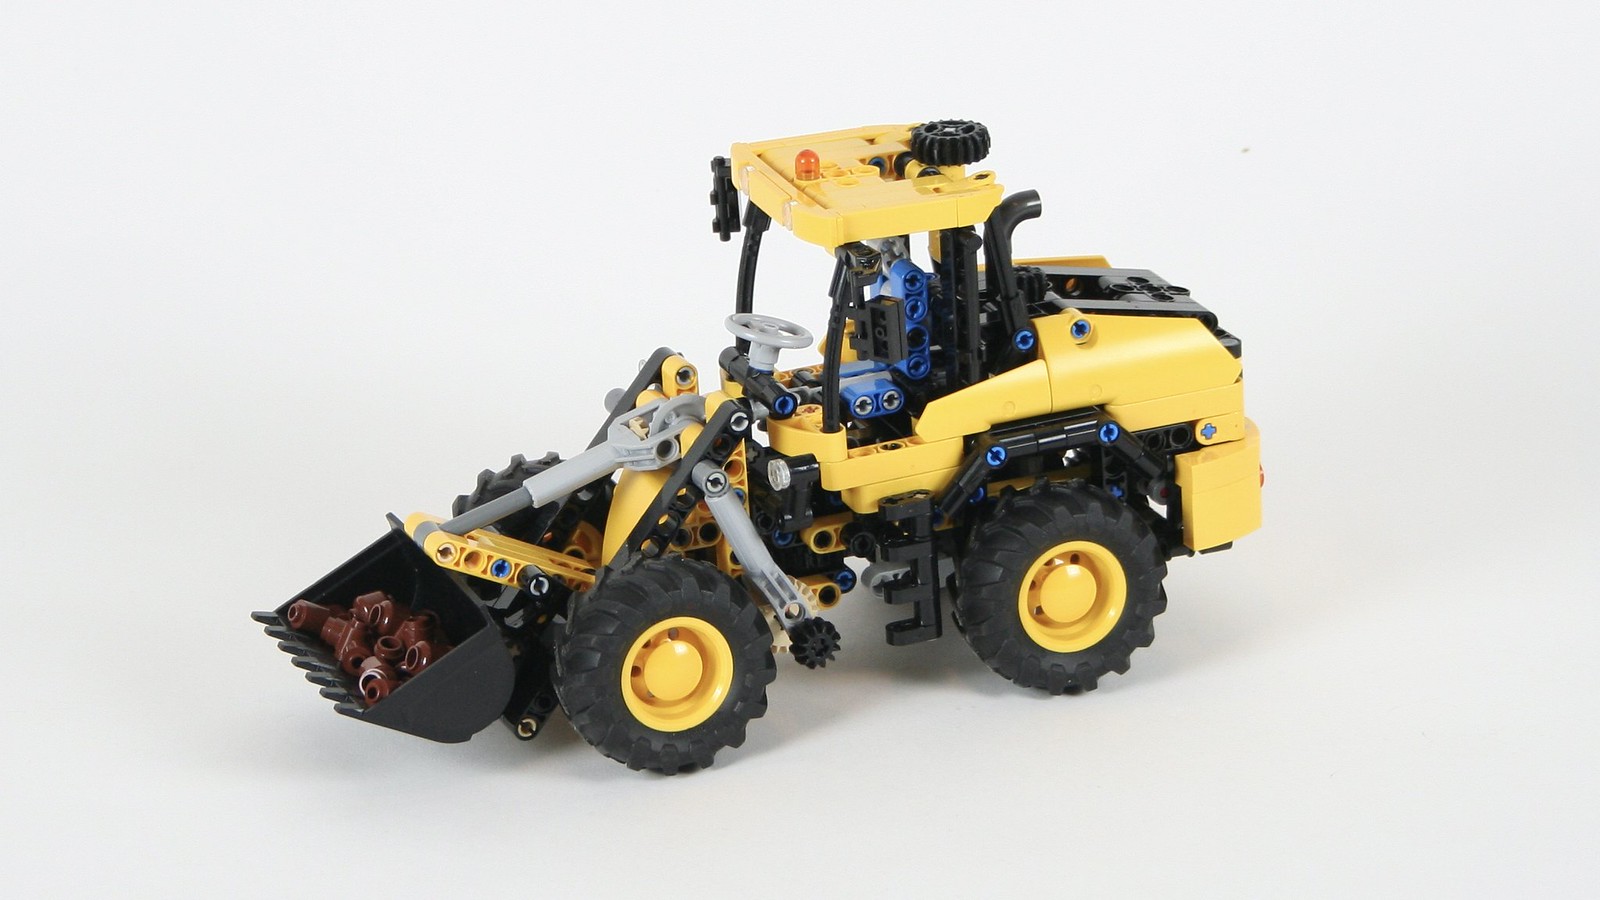
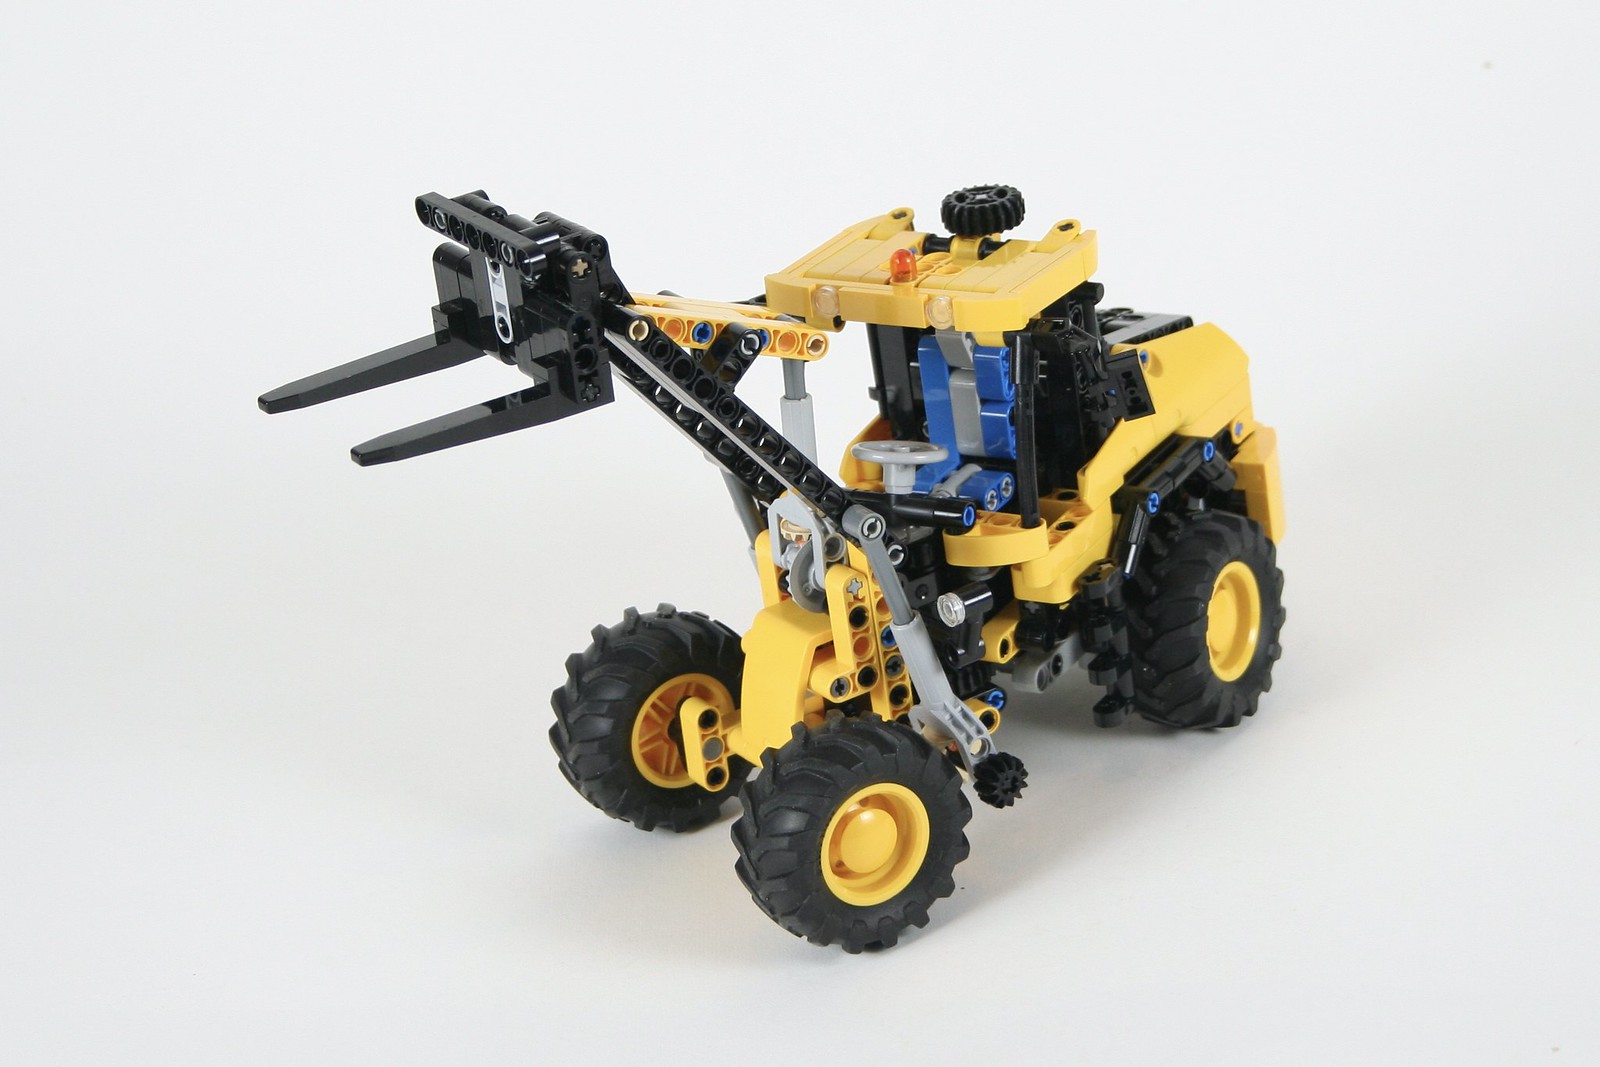
Another Eurobricks contest was made available, and this one was right up my alley. In fact, I was so excited about the contest, I made two MOCs. The contest was to create a small, less than 10,000 cubic stud, construction vehicle. I figured an end loader is perfect for the contest theme, and it was a while since I created one. I build a quick draft of the shape including where the steering, engine, and bucket would go.

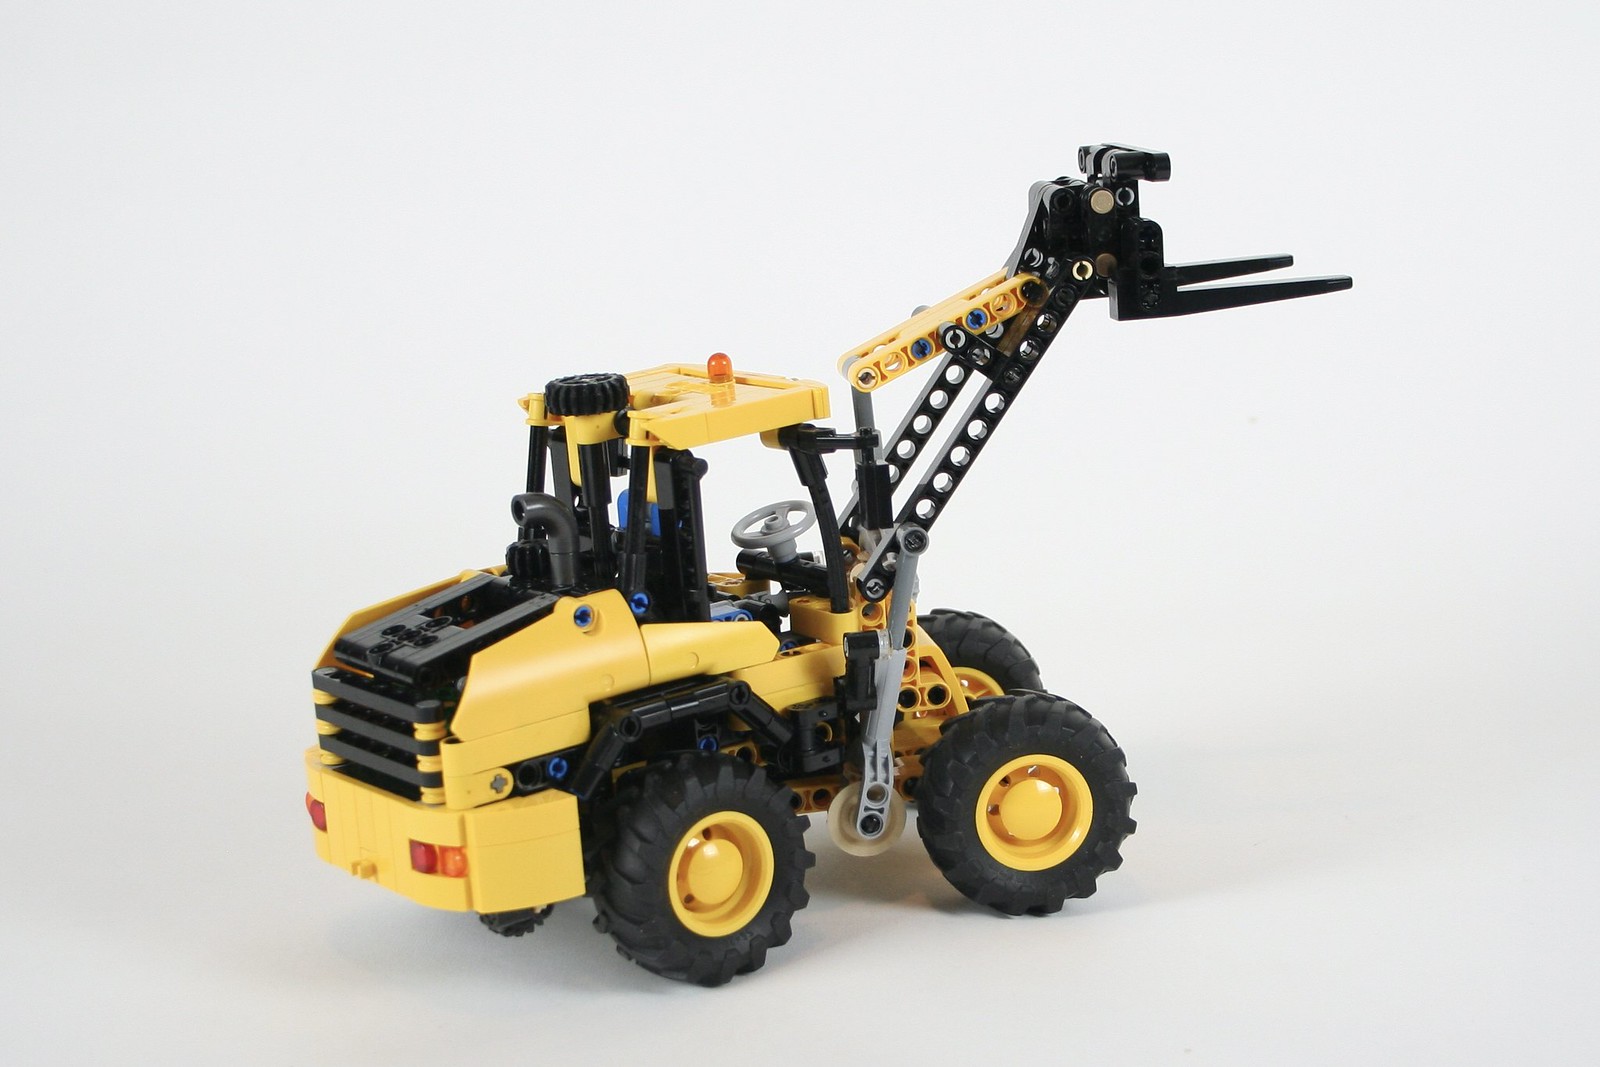
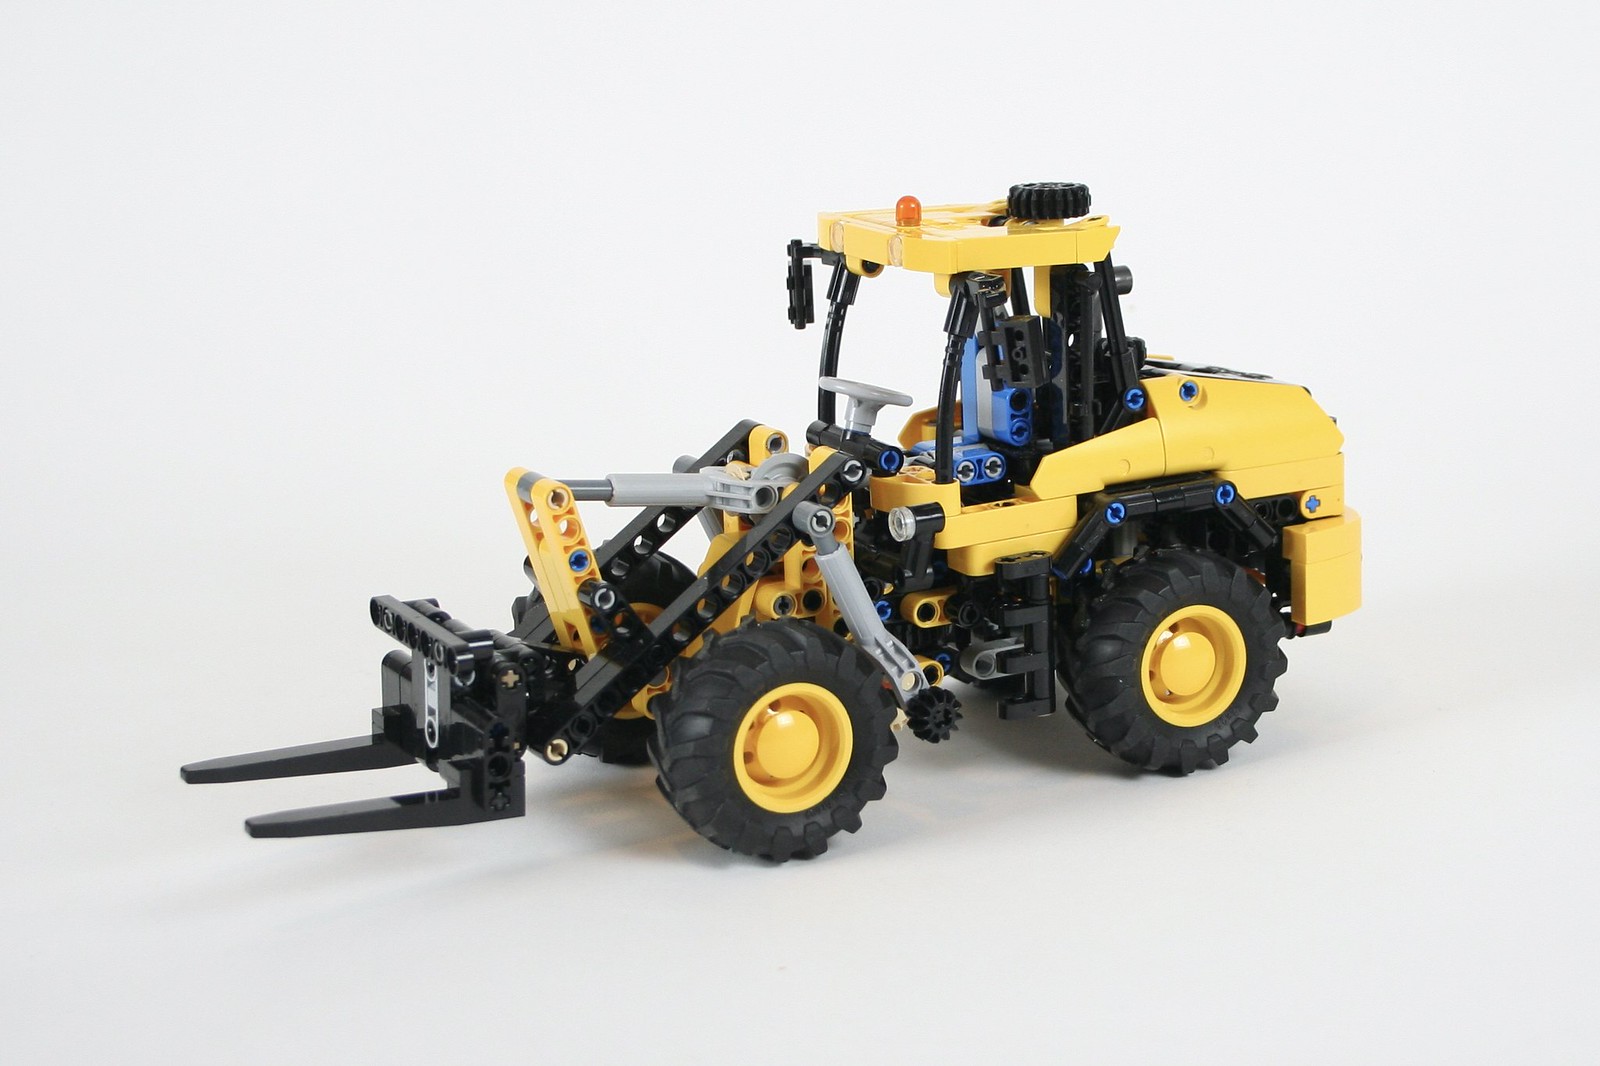
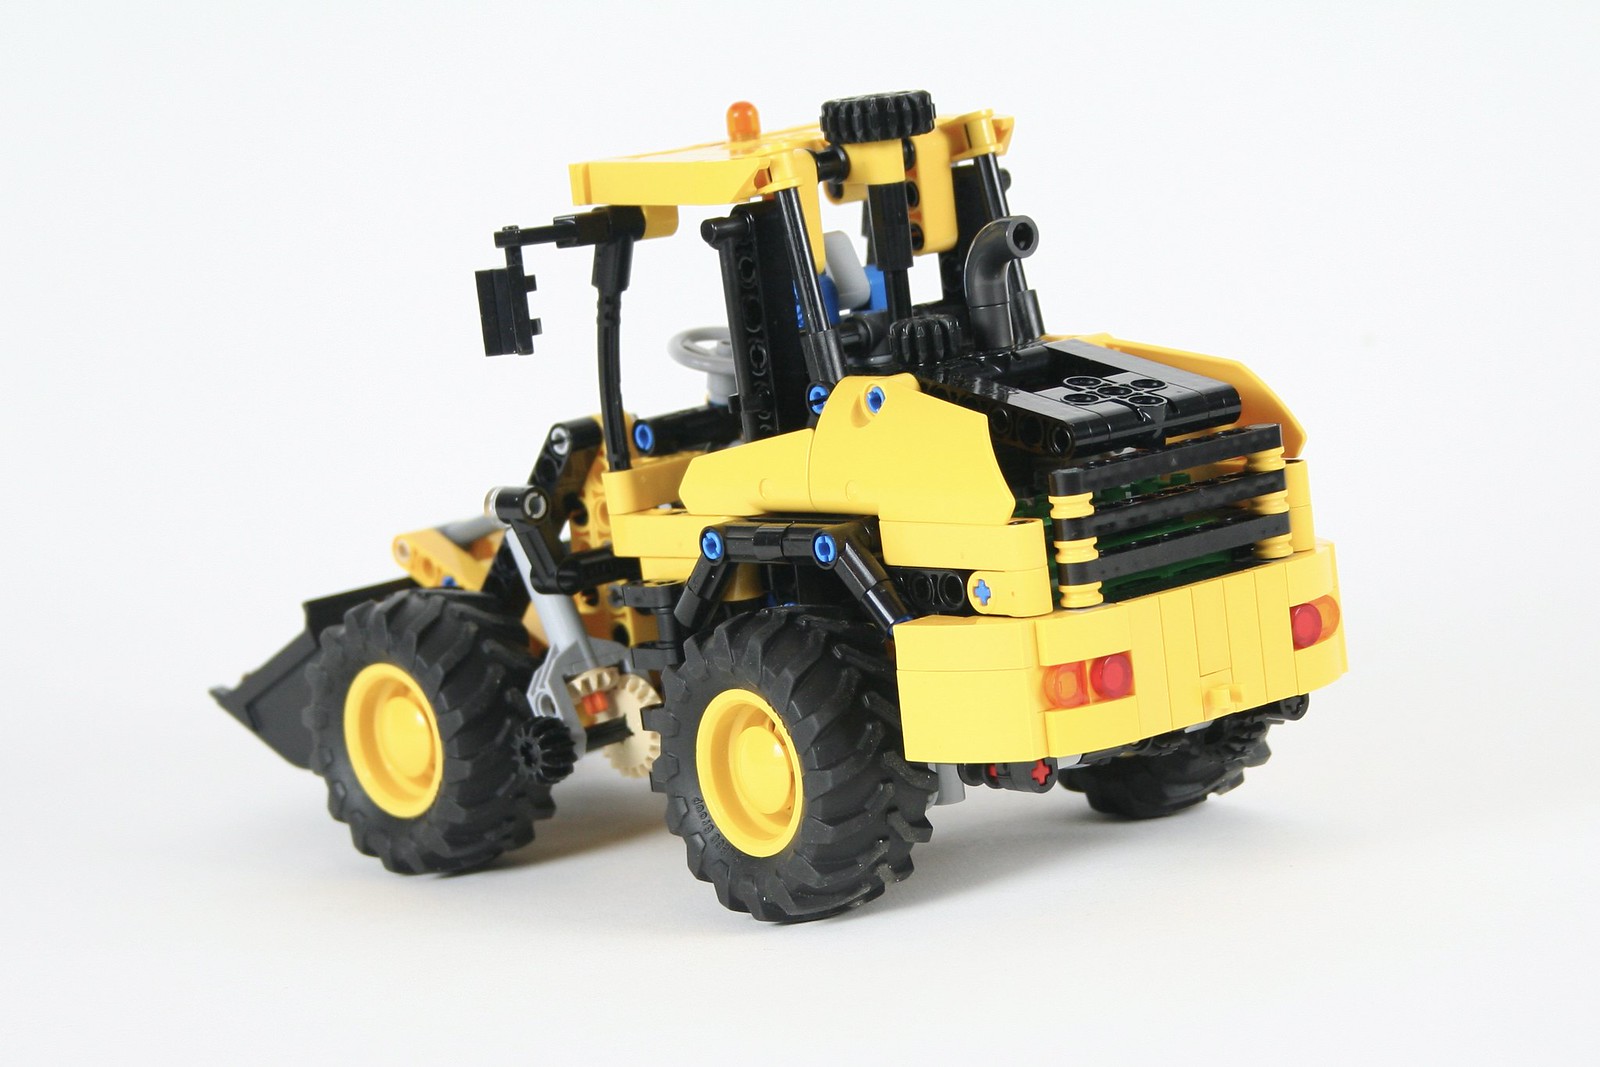
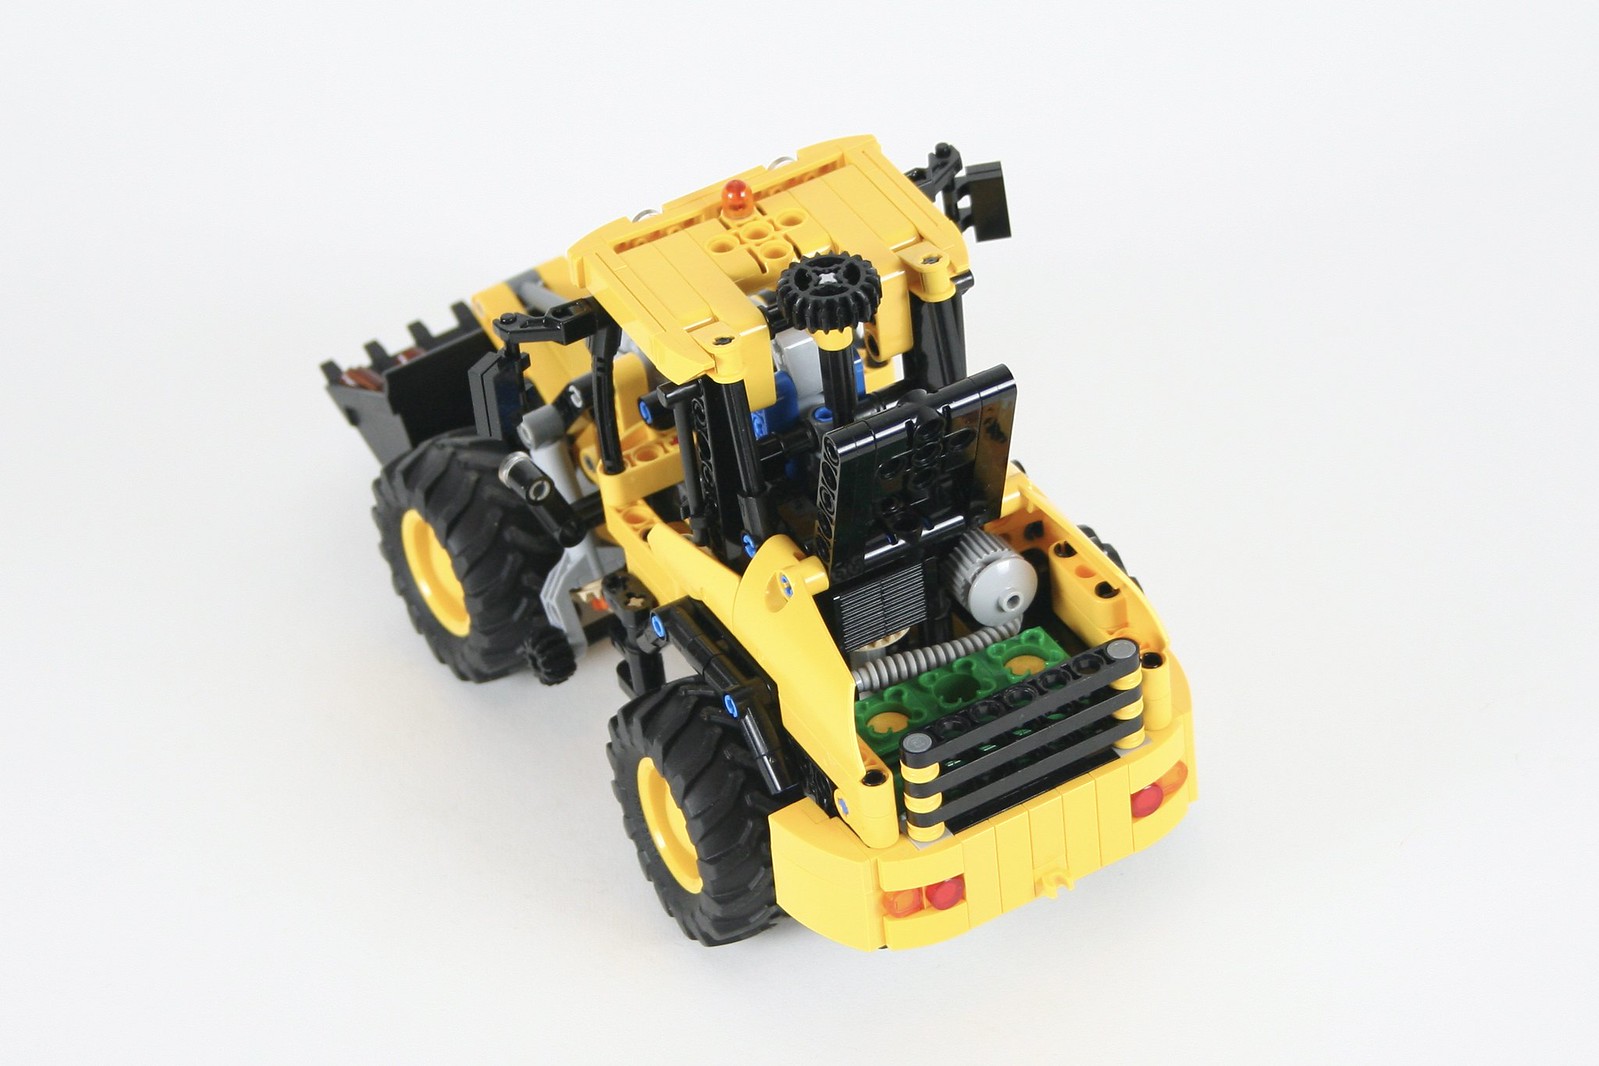
At this scale I decided quickly that adding an engine would be a great feature, but four wheel drive would only distract from the look and the function of the bucket. The engine is a little 3 cylinder unit that is mounted transversally behind, and powered by, the rear axle. This placement allowed for steering and bucket tilting to be placed in a HOG placement.

Drive Mech

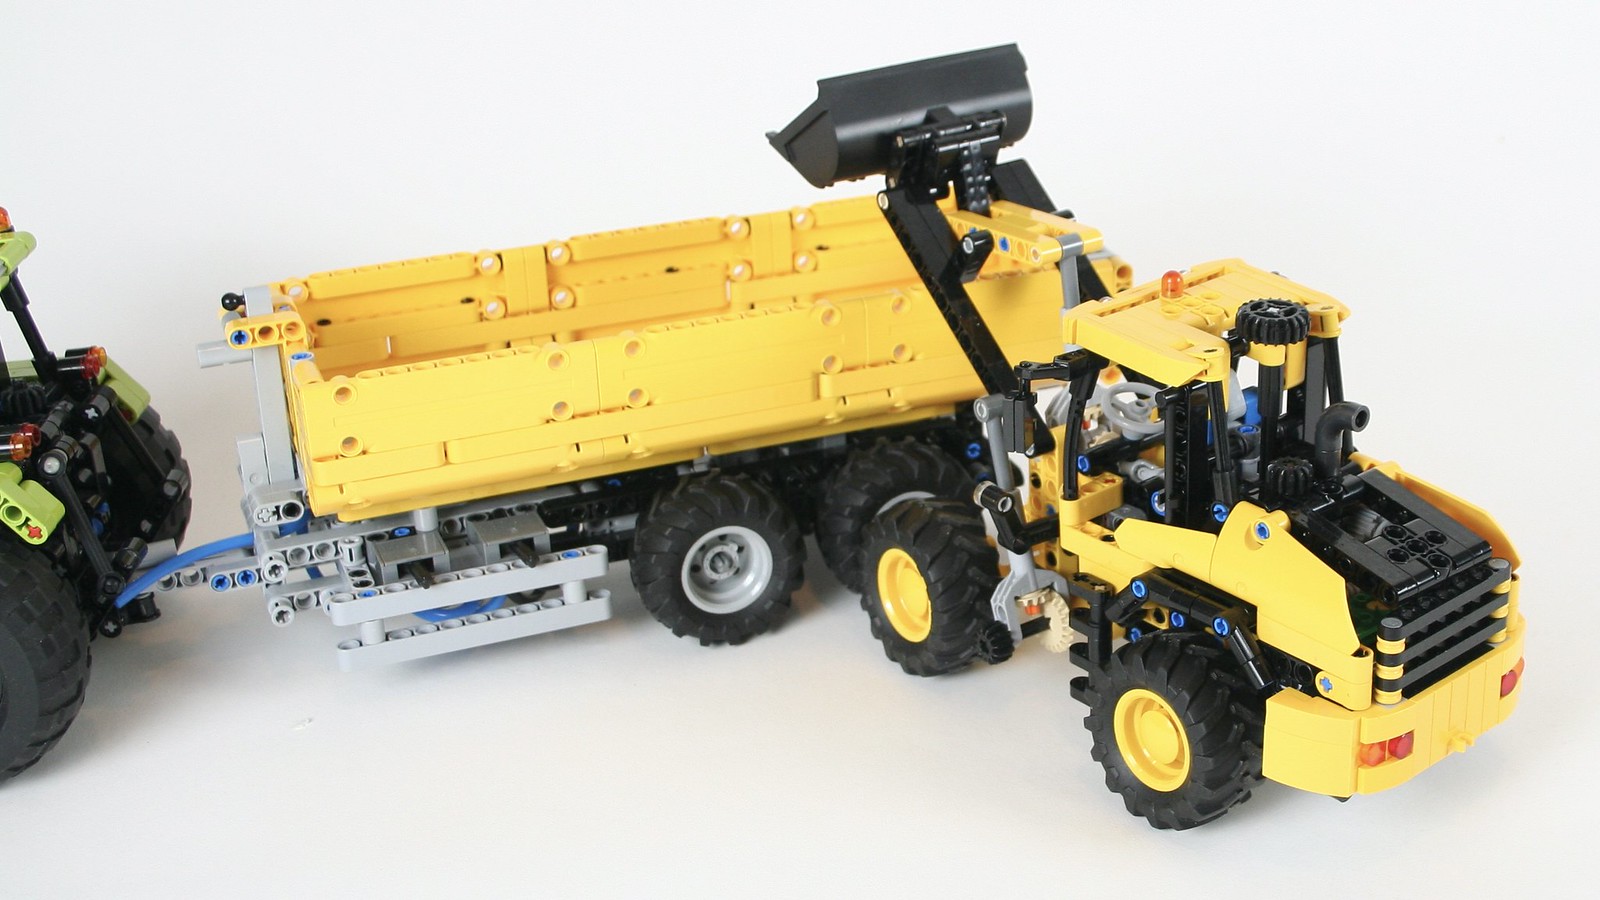
I next worked on the linkage for the bucket. It took a couple of tries, but I finally got a linkage with full movement. Two mini linear actuators are placed on the side of the loader for bucket lift, and are linked together. The manual control is a small gear on the left side. The bucket tilt uses a Z-linkage design that allows for the bucket to move correctly through the lift movement and not dump any load. This is controlled by a single mini linear actuator, with a controlling gear on the top of the engine cover. The head of the bucket allows for quick change between a bucket and forks. Finally, steering is controlled by the HOG on the top of the cabin, and keep my high standards for steering feel with low slop.

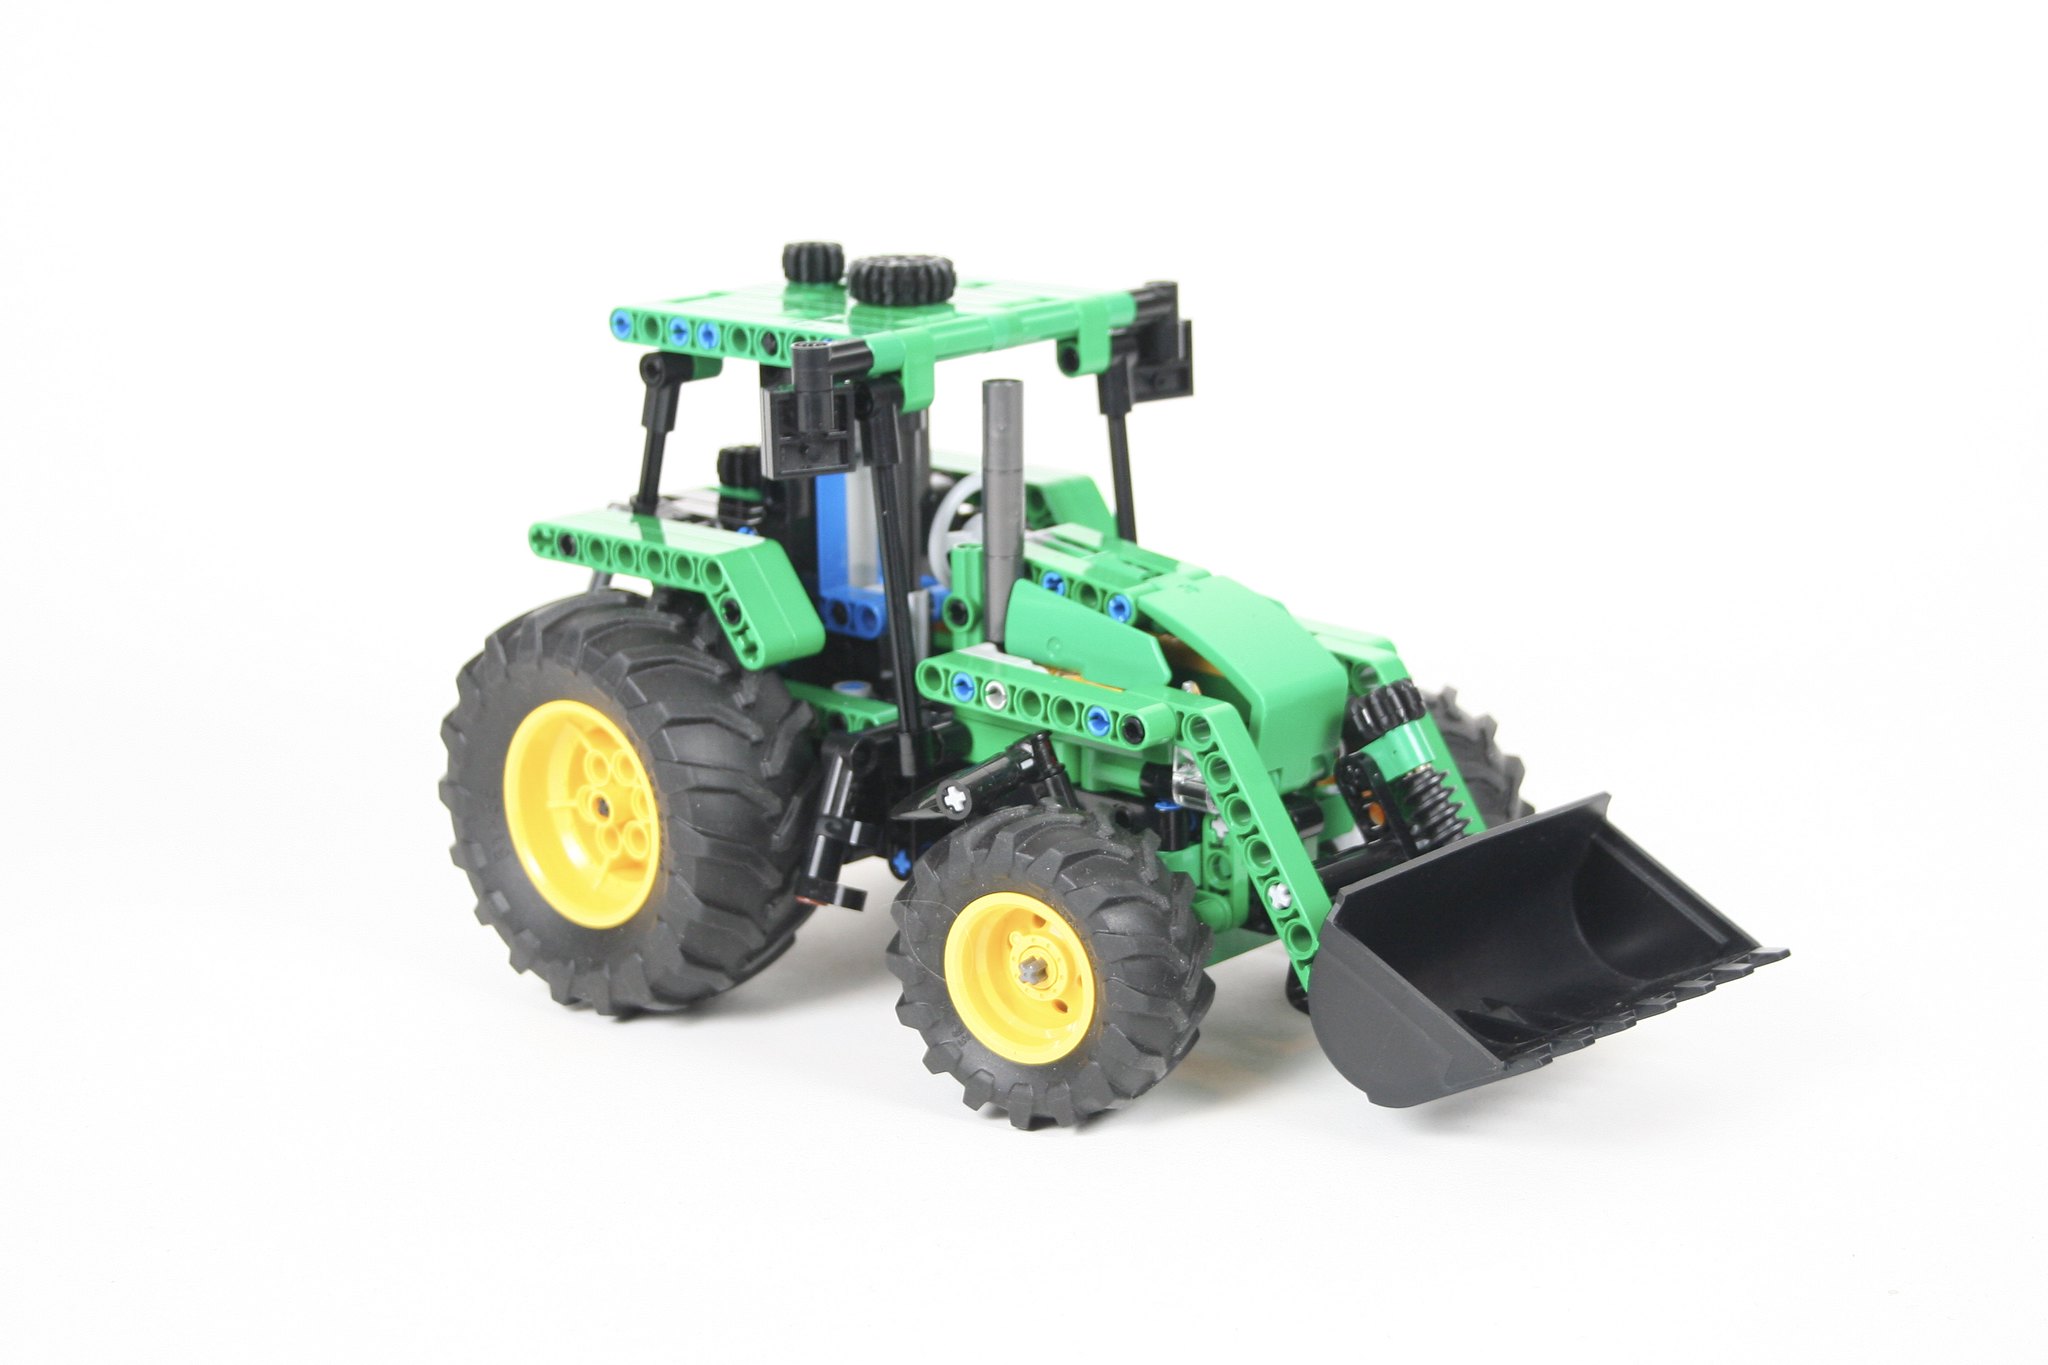
I was pleased with this little creation, but it was not as interesting as the other MOC that I designed. So while everything worked well, and looked great, I submitted the other MOC for the contest. I hope you enjoy the MOC, and feel free to build one of your own.

Happy Building!

John Deere Scout


Another addition to the vastly growing Thirdwigg Farm.

I built the Atmos Tractor a couple of years ago as a small little project. Soon I had created a number of attachments and trailers to work with the tractor, and soon I was more tractors and other machines were added. But the balance needed some additional tractors, so I decided to make a little partner.

The John Deere Scout specifically so I could use the new Tractor tires that came from Lego 42122 and Lego 42129. But I wanted to it to be a smaller tractor with many of the features needed for full Thirdwigg Farm integration. Thus, the tractor had to have the common front and rear attachment points, a rear PTO, and steering because I put that it everything. Soon it was clear that the size of the tractor was going to make a fake engine poorly done, so I left it out. But I wanted some other feature to make this tractor unique.

The front bucket uses a worm gear function to lift the front arms. It is driven by a mechanism that drives rear, and then up to the top of the cab. There is a little gear for the HOG function that is just behind the steering HOG. A small worm gear mechanism is used to tilt the bucket. The arm can be easily removed if the desire is for the tractor to mount something on the front attachment point. The rear PTO is connected directly to the rear differential, and the common three point hitch is installed as well. Finally a trailer hitch is attached.

I also made a couple of attachments specifically for this tractor including a snow plow and scrapper, and a little trailer. Both may be found for free at Rebrickable.

With each additional tractor I add, I think it will be the last, but I keep having more ideas, and each one has been fun to design. I was pleased with how this tractor turned out, and how well it functioned. The tires look great at this scale. Most importantly, it matched well with each of the other tractors. The instructions are freely available at Rebrickable along with all the other Thirdwigg Farm builds, so feel free to make one of your own.

Happy building.