Unimog U423
June 1, 2023 Leave a comment
For my 100th Rebrickable MOC I had to celebrate with a Unimog.
Free Instructions can be found at Rebrickable.com.

So it turns out that I have built a lot of MOCs over the years, and many of them have instructions posted on Rebrickable. Late last year, I recognized I was going to post my 100th MOC on Rebrickable, so I wanted to celebrate the occasion in some meaningful way. After a little thought, it became clear that building another Unimog was the only way to celebrate!
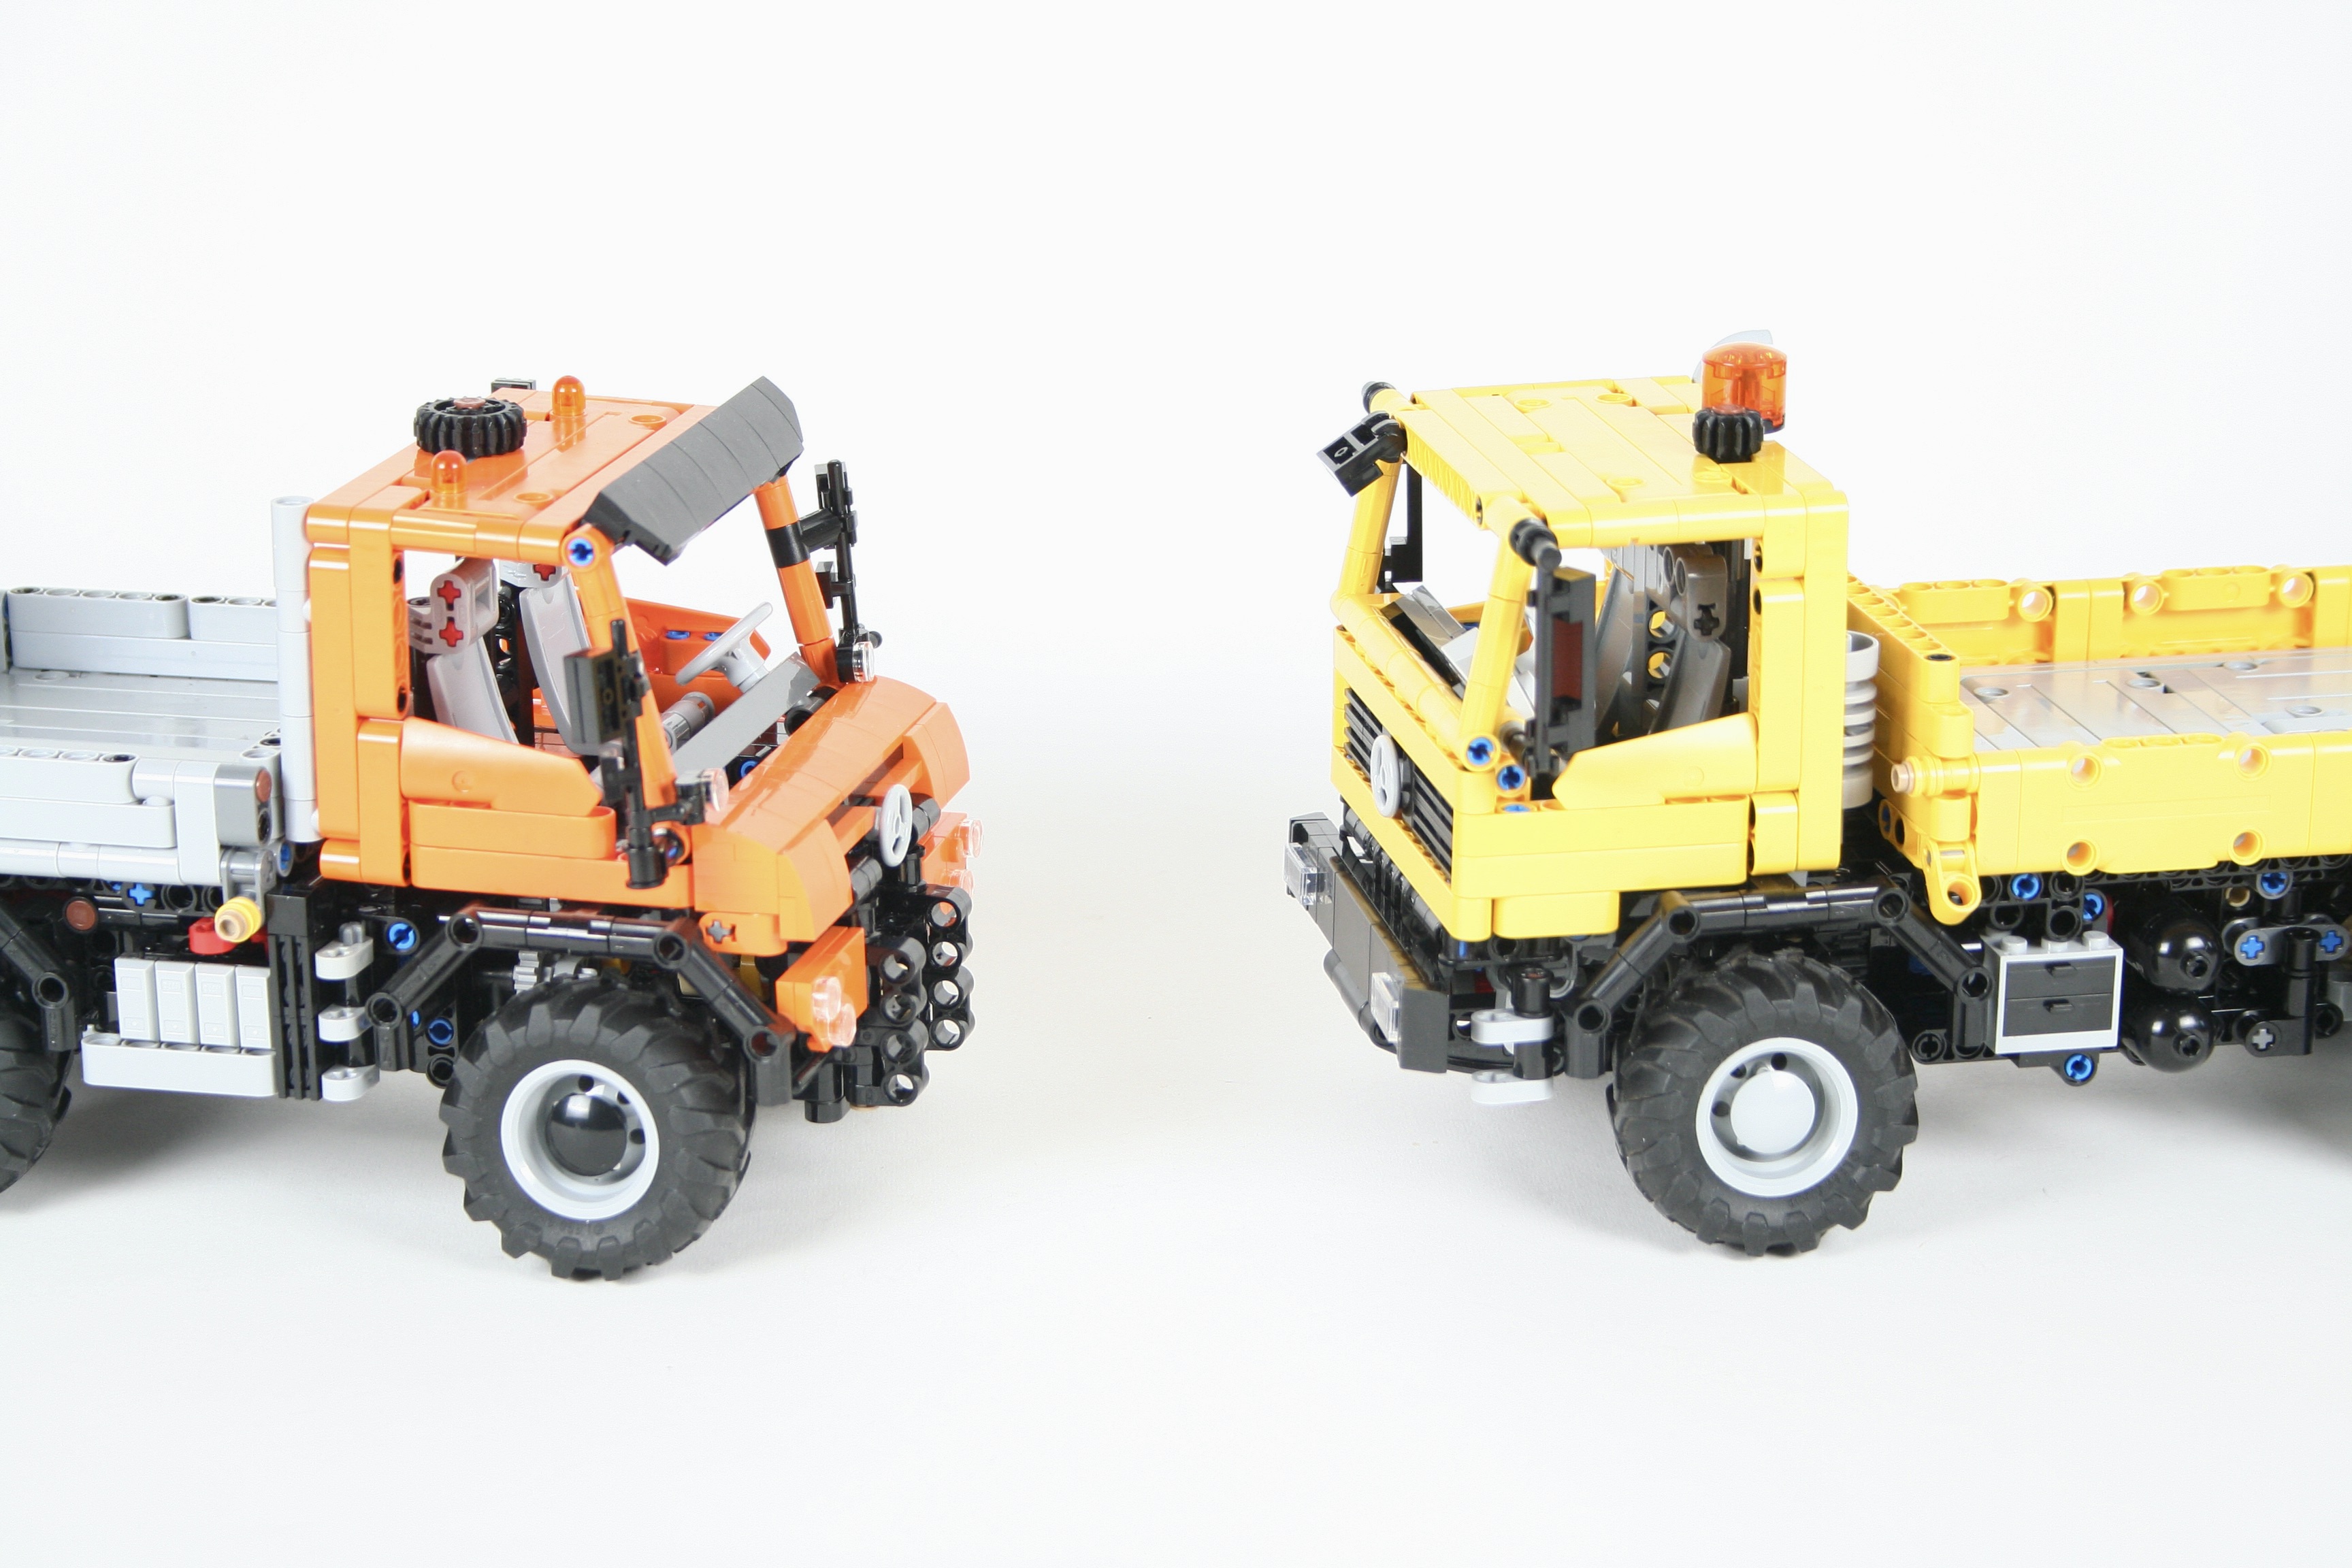
I have build a number of Unimogs over the years, but if one thing has happened during this time, it is the consolidation of the 1:21 scale truck that has become a standard in the LEGO MOC community. LEGO sets like 42098, 42078, and 42128 have helped to standardize the 1:21 scale truck, and many other MOCs have followed suit. Building a Unimog in this scale seemed like a good idea.

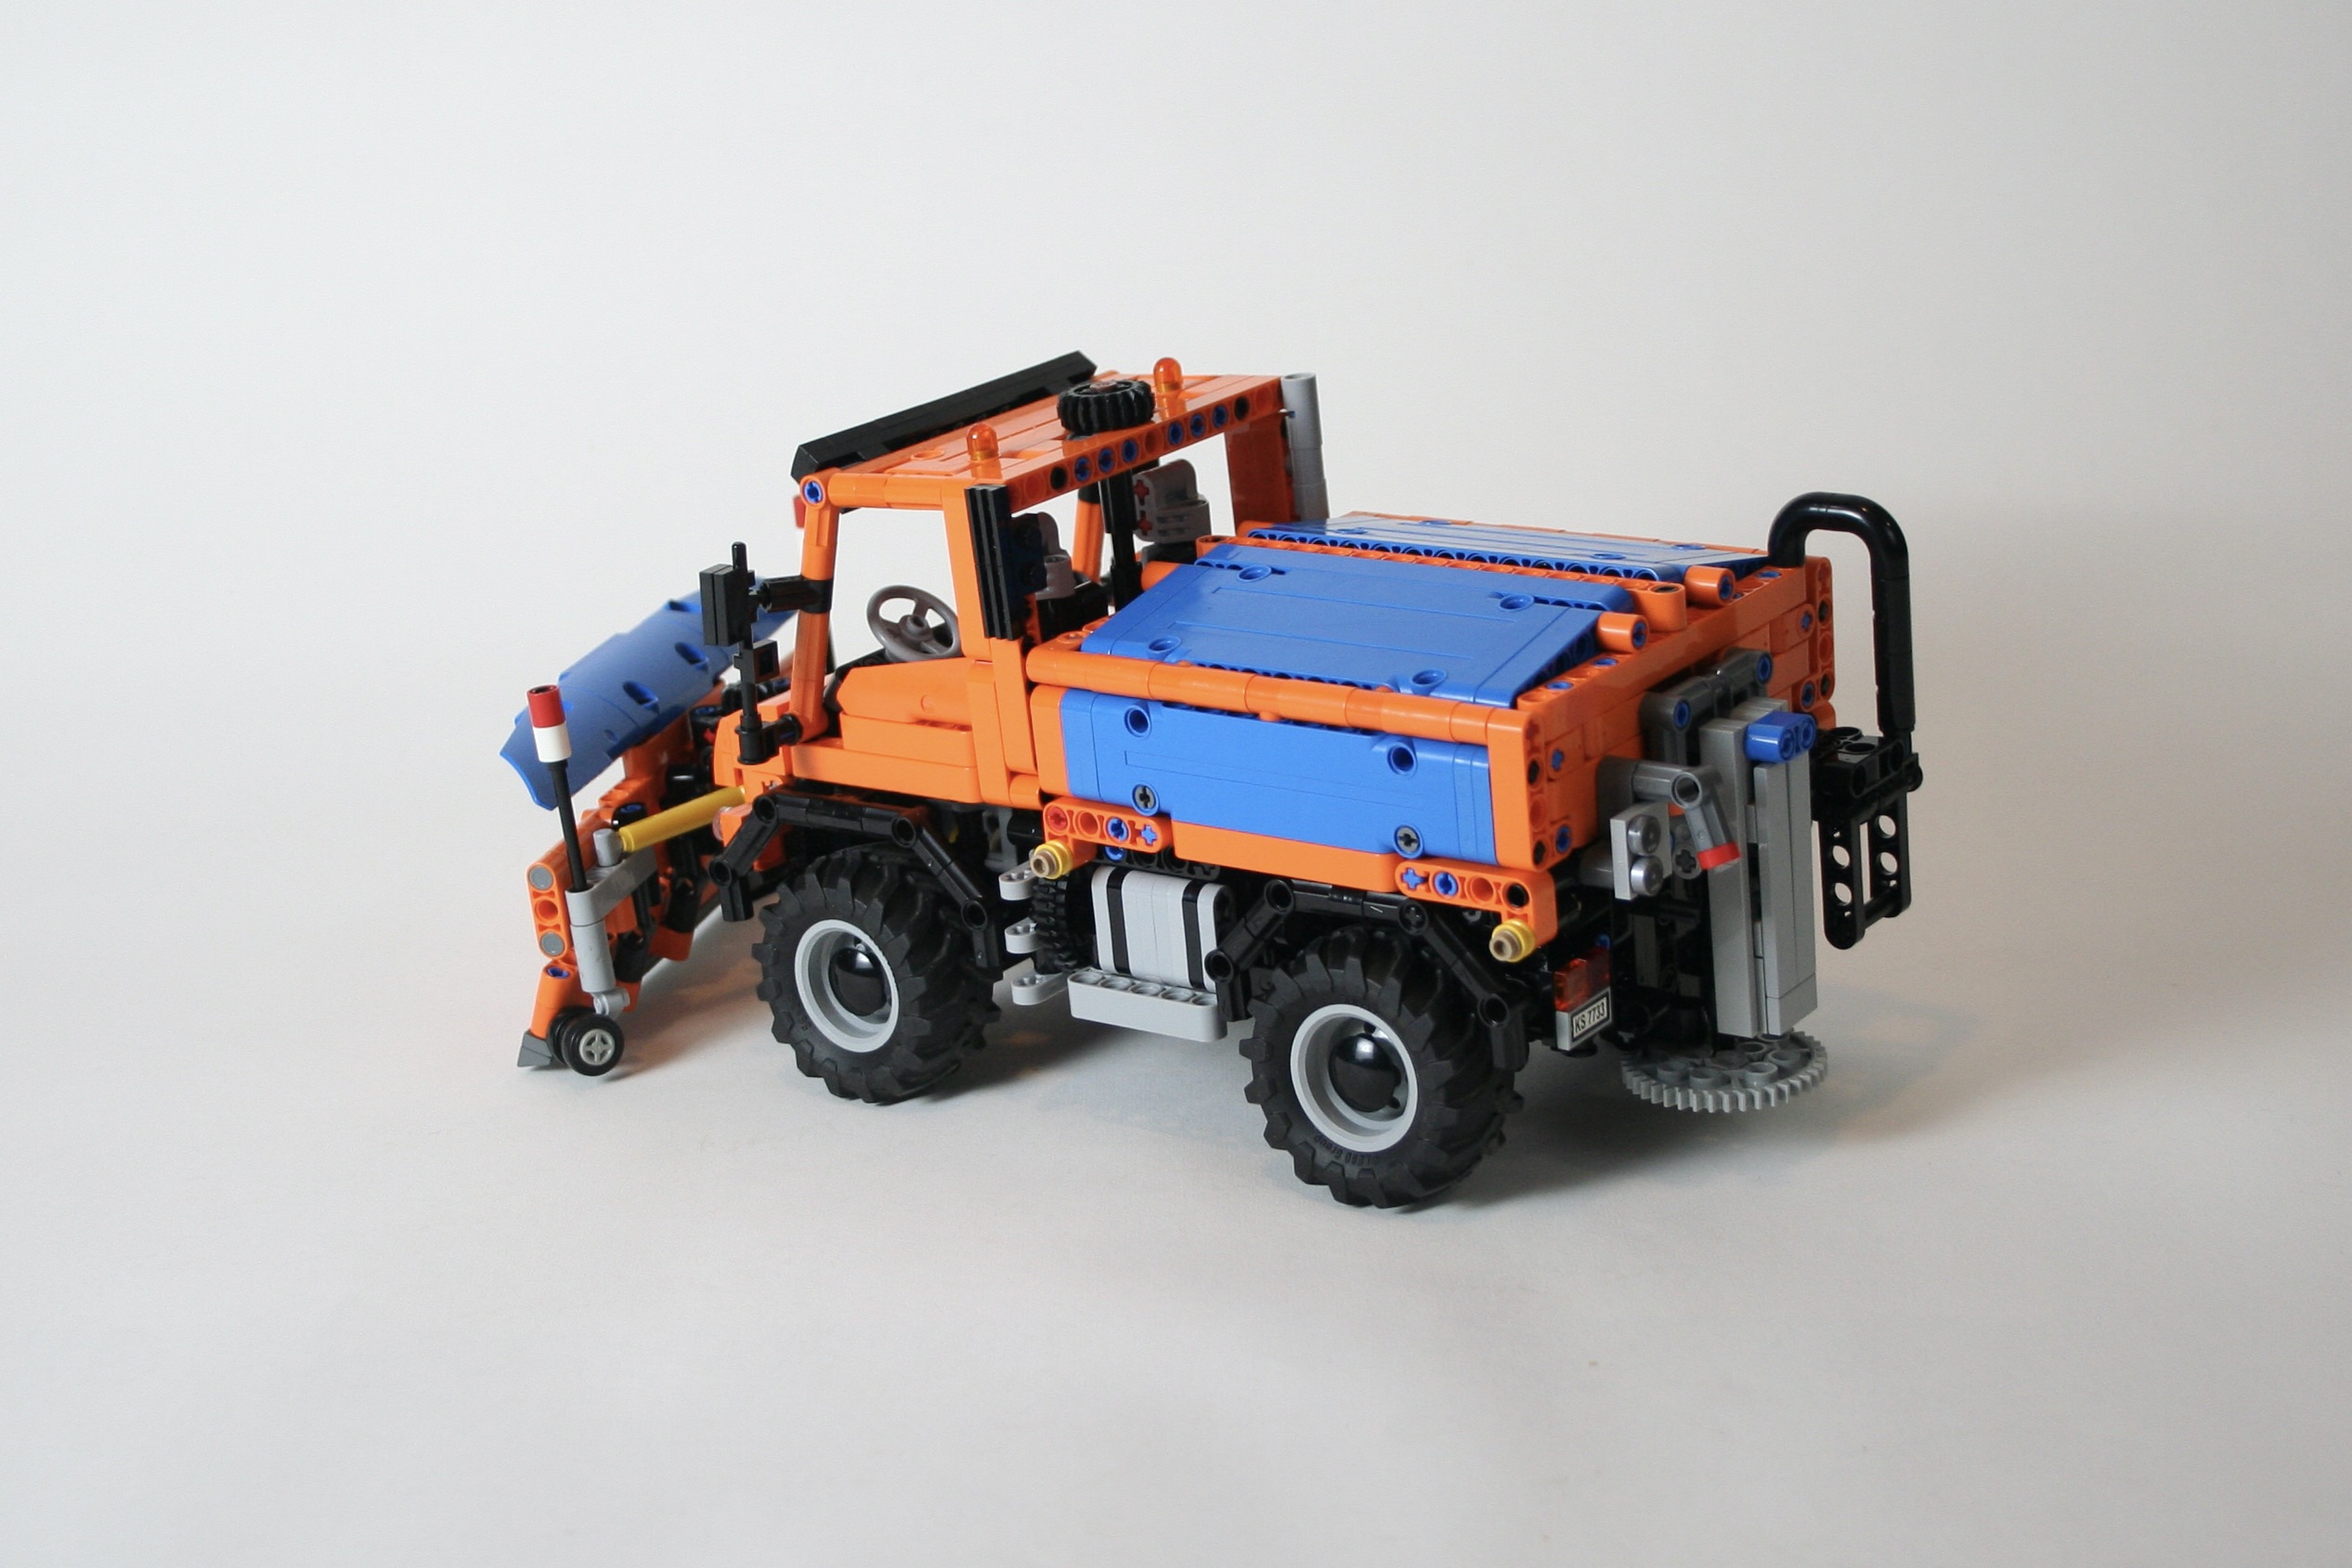
I planned right from the beginning that multiple implements would be available for the truck, so the design would need to be able to accommodate each attachment. To support this, a front, rear, and center PTO would be needed, and mounting points on the front, rear, and bed would need to be easily accessible. Once these standards were set, I measured the scale, and made a draft with all the set points fixed. As I built, the steering was finalized as well as the 2 cylinder fake engine. The truck used a rear wheel drive setup, and the rear axle has portal axles and a pendular suspension. Right above the rear axle, I placed a linear actuator to move the tipping bed. After some tinkering, I decided to use a large 36z gear on the left of the truck to move the bed up and down. It is placed just behind the steps, and looks like the left side radiator. Finally, there is a PTO on/off switch on the right of the truck that turns the rear and center PTO on and off.

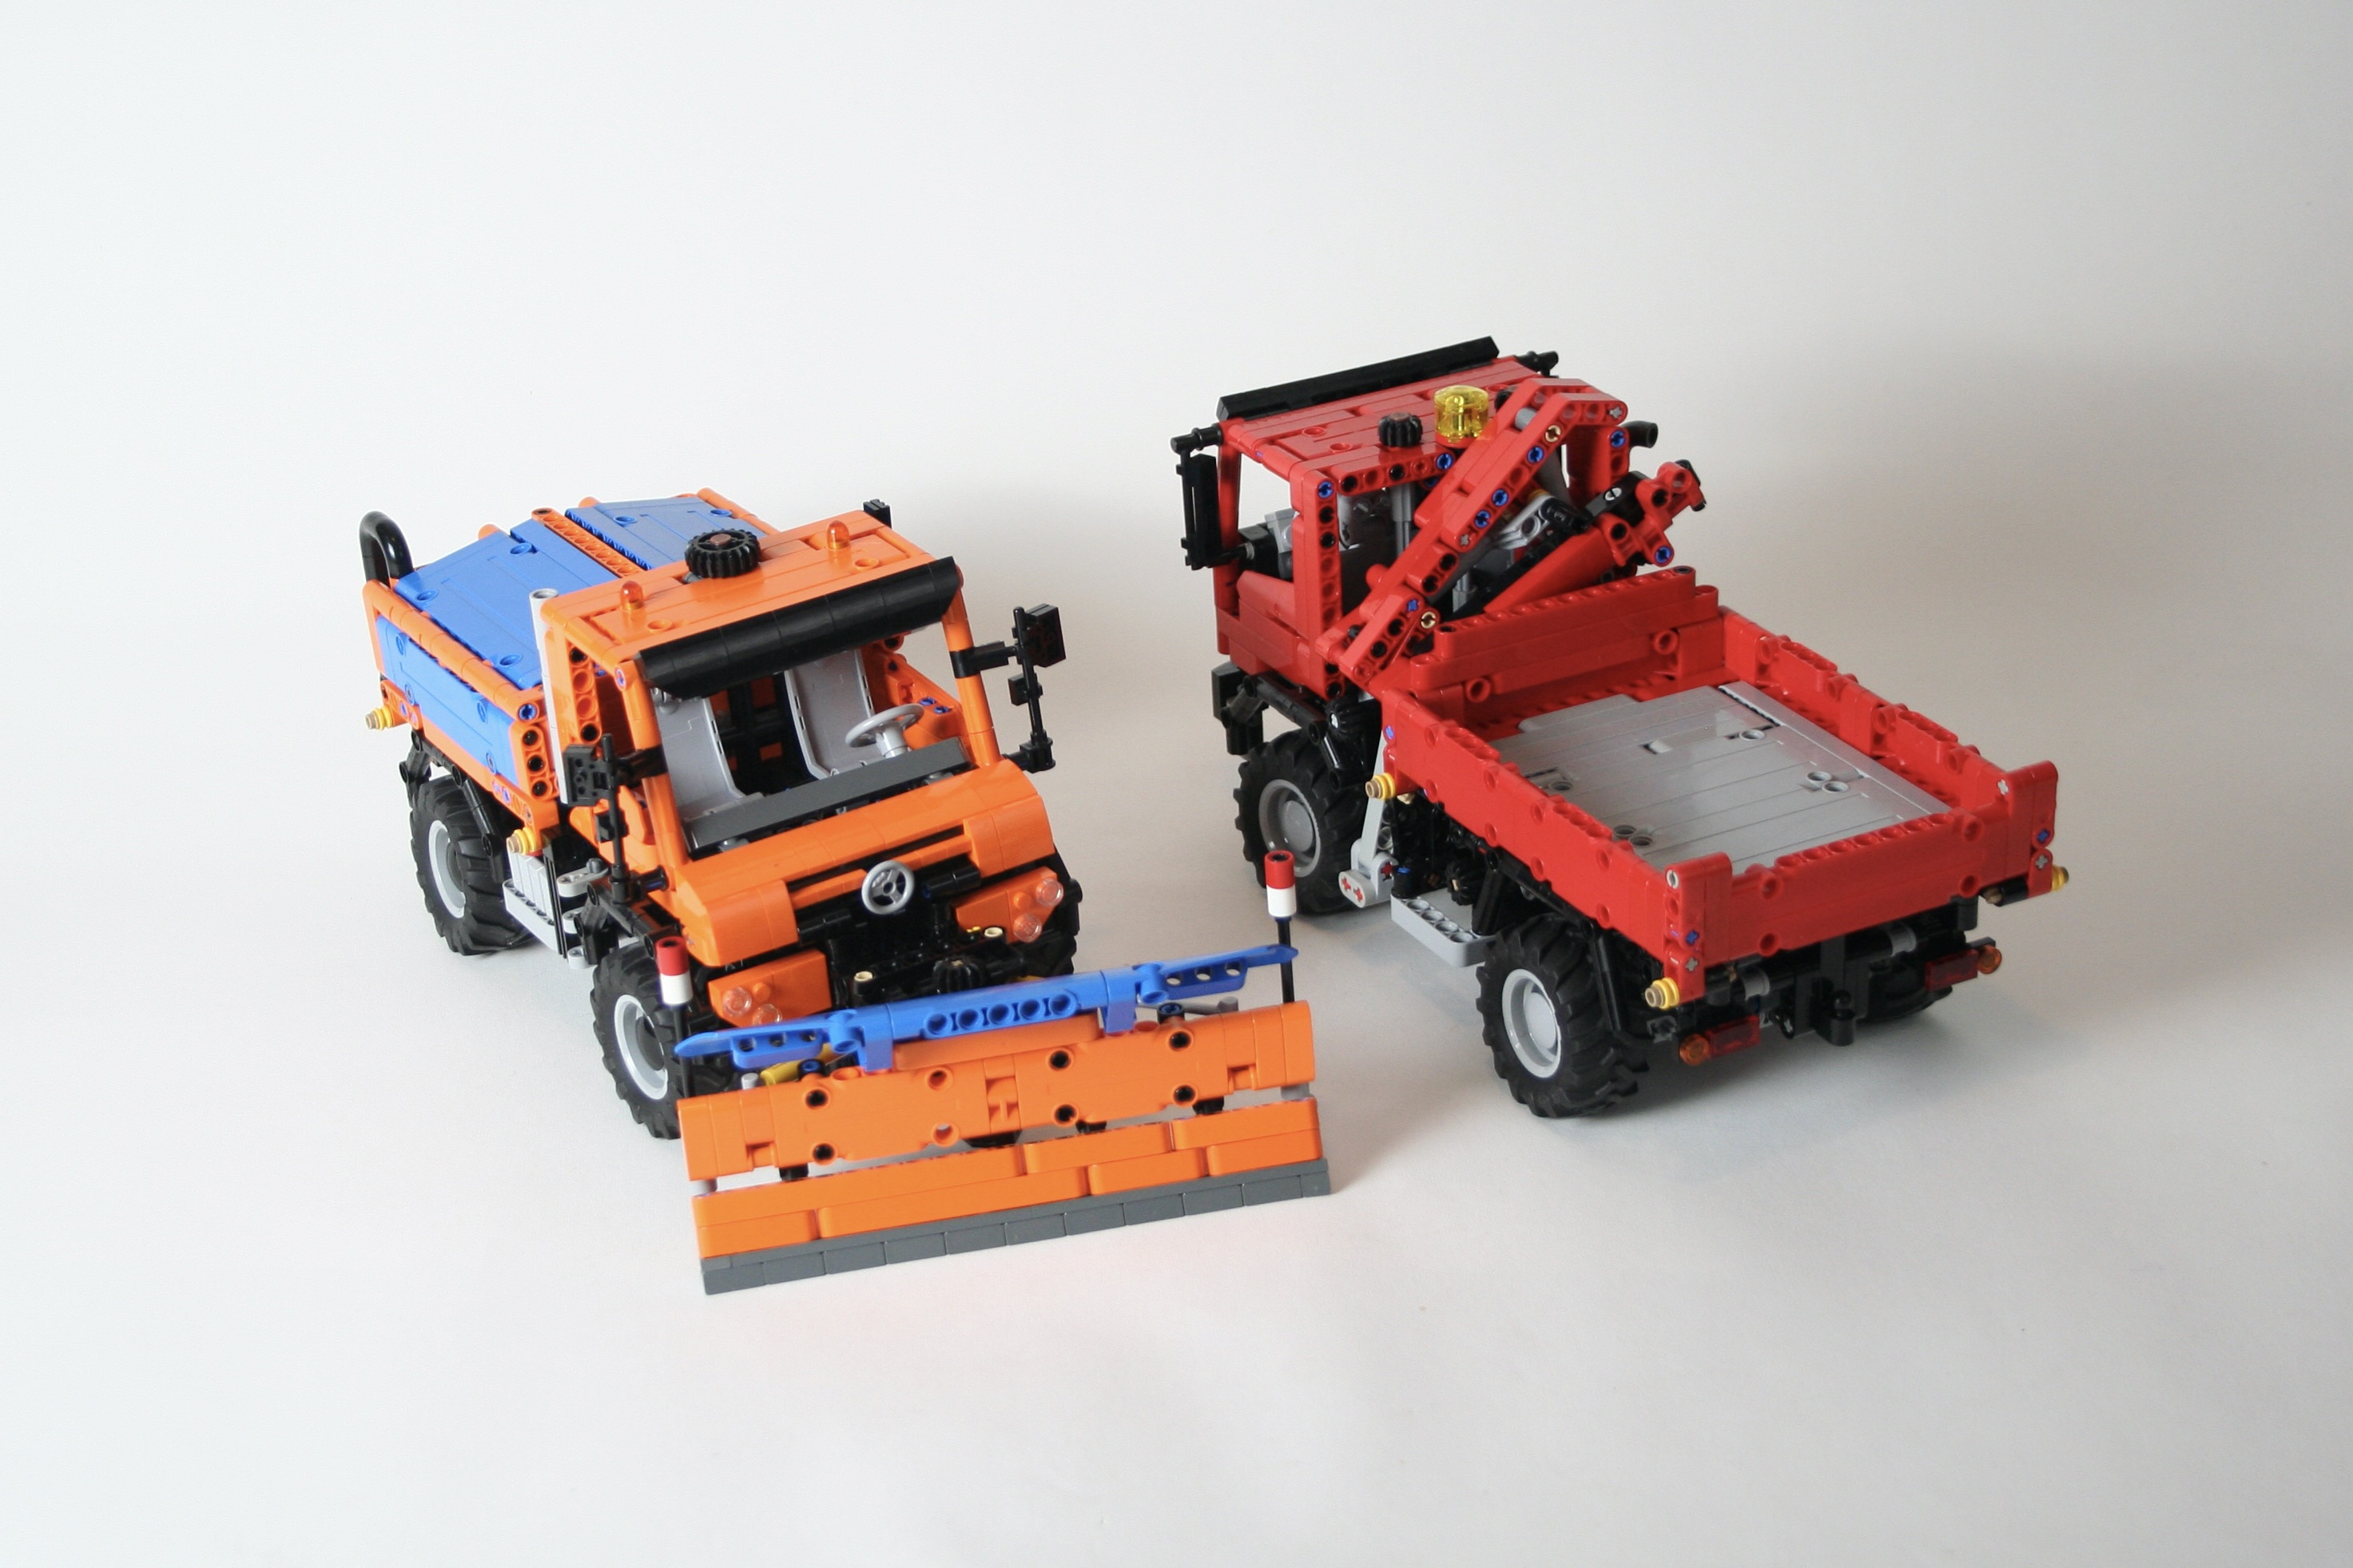
As I was building the truck, I built the attachments as well, which allowed me to make sure the attachment connection points were ridged, accessible, and standardized. From the beginning I planned on the following attachments: plow, gritter, front winch, rear crane, and bed crane. The front attachments are connected using a 5l axle with stop, and the bed mounts are connected using four 3l axles with stop.

The front plow has worm gear lift and can tilt left and right. Free instructions for the plow may be found here. The rear gritter attaches at the rear and connects to the center PTO gear. When the PTO is turned on, the center auger and the rear spreader both turn. The top of the gritter can open to drop small 1×1 round plates to use as salt. Free instructions for the gritter may be found here.

The front winch and center crane and bed can be easily attached as well. The front winch has a locking mechanism that allows the winch to be locked as needed. The rear bed has a knuckleboom crane that folds up for transportation. Instructions may be found for both here.

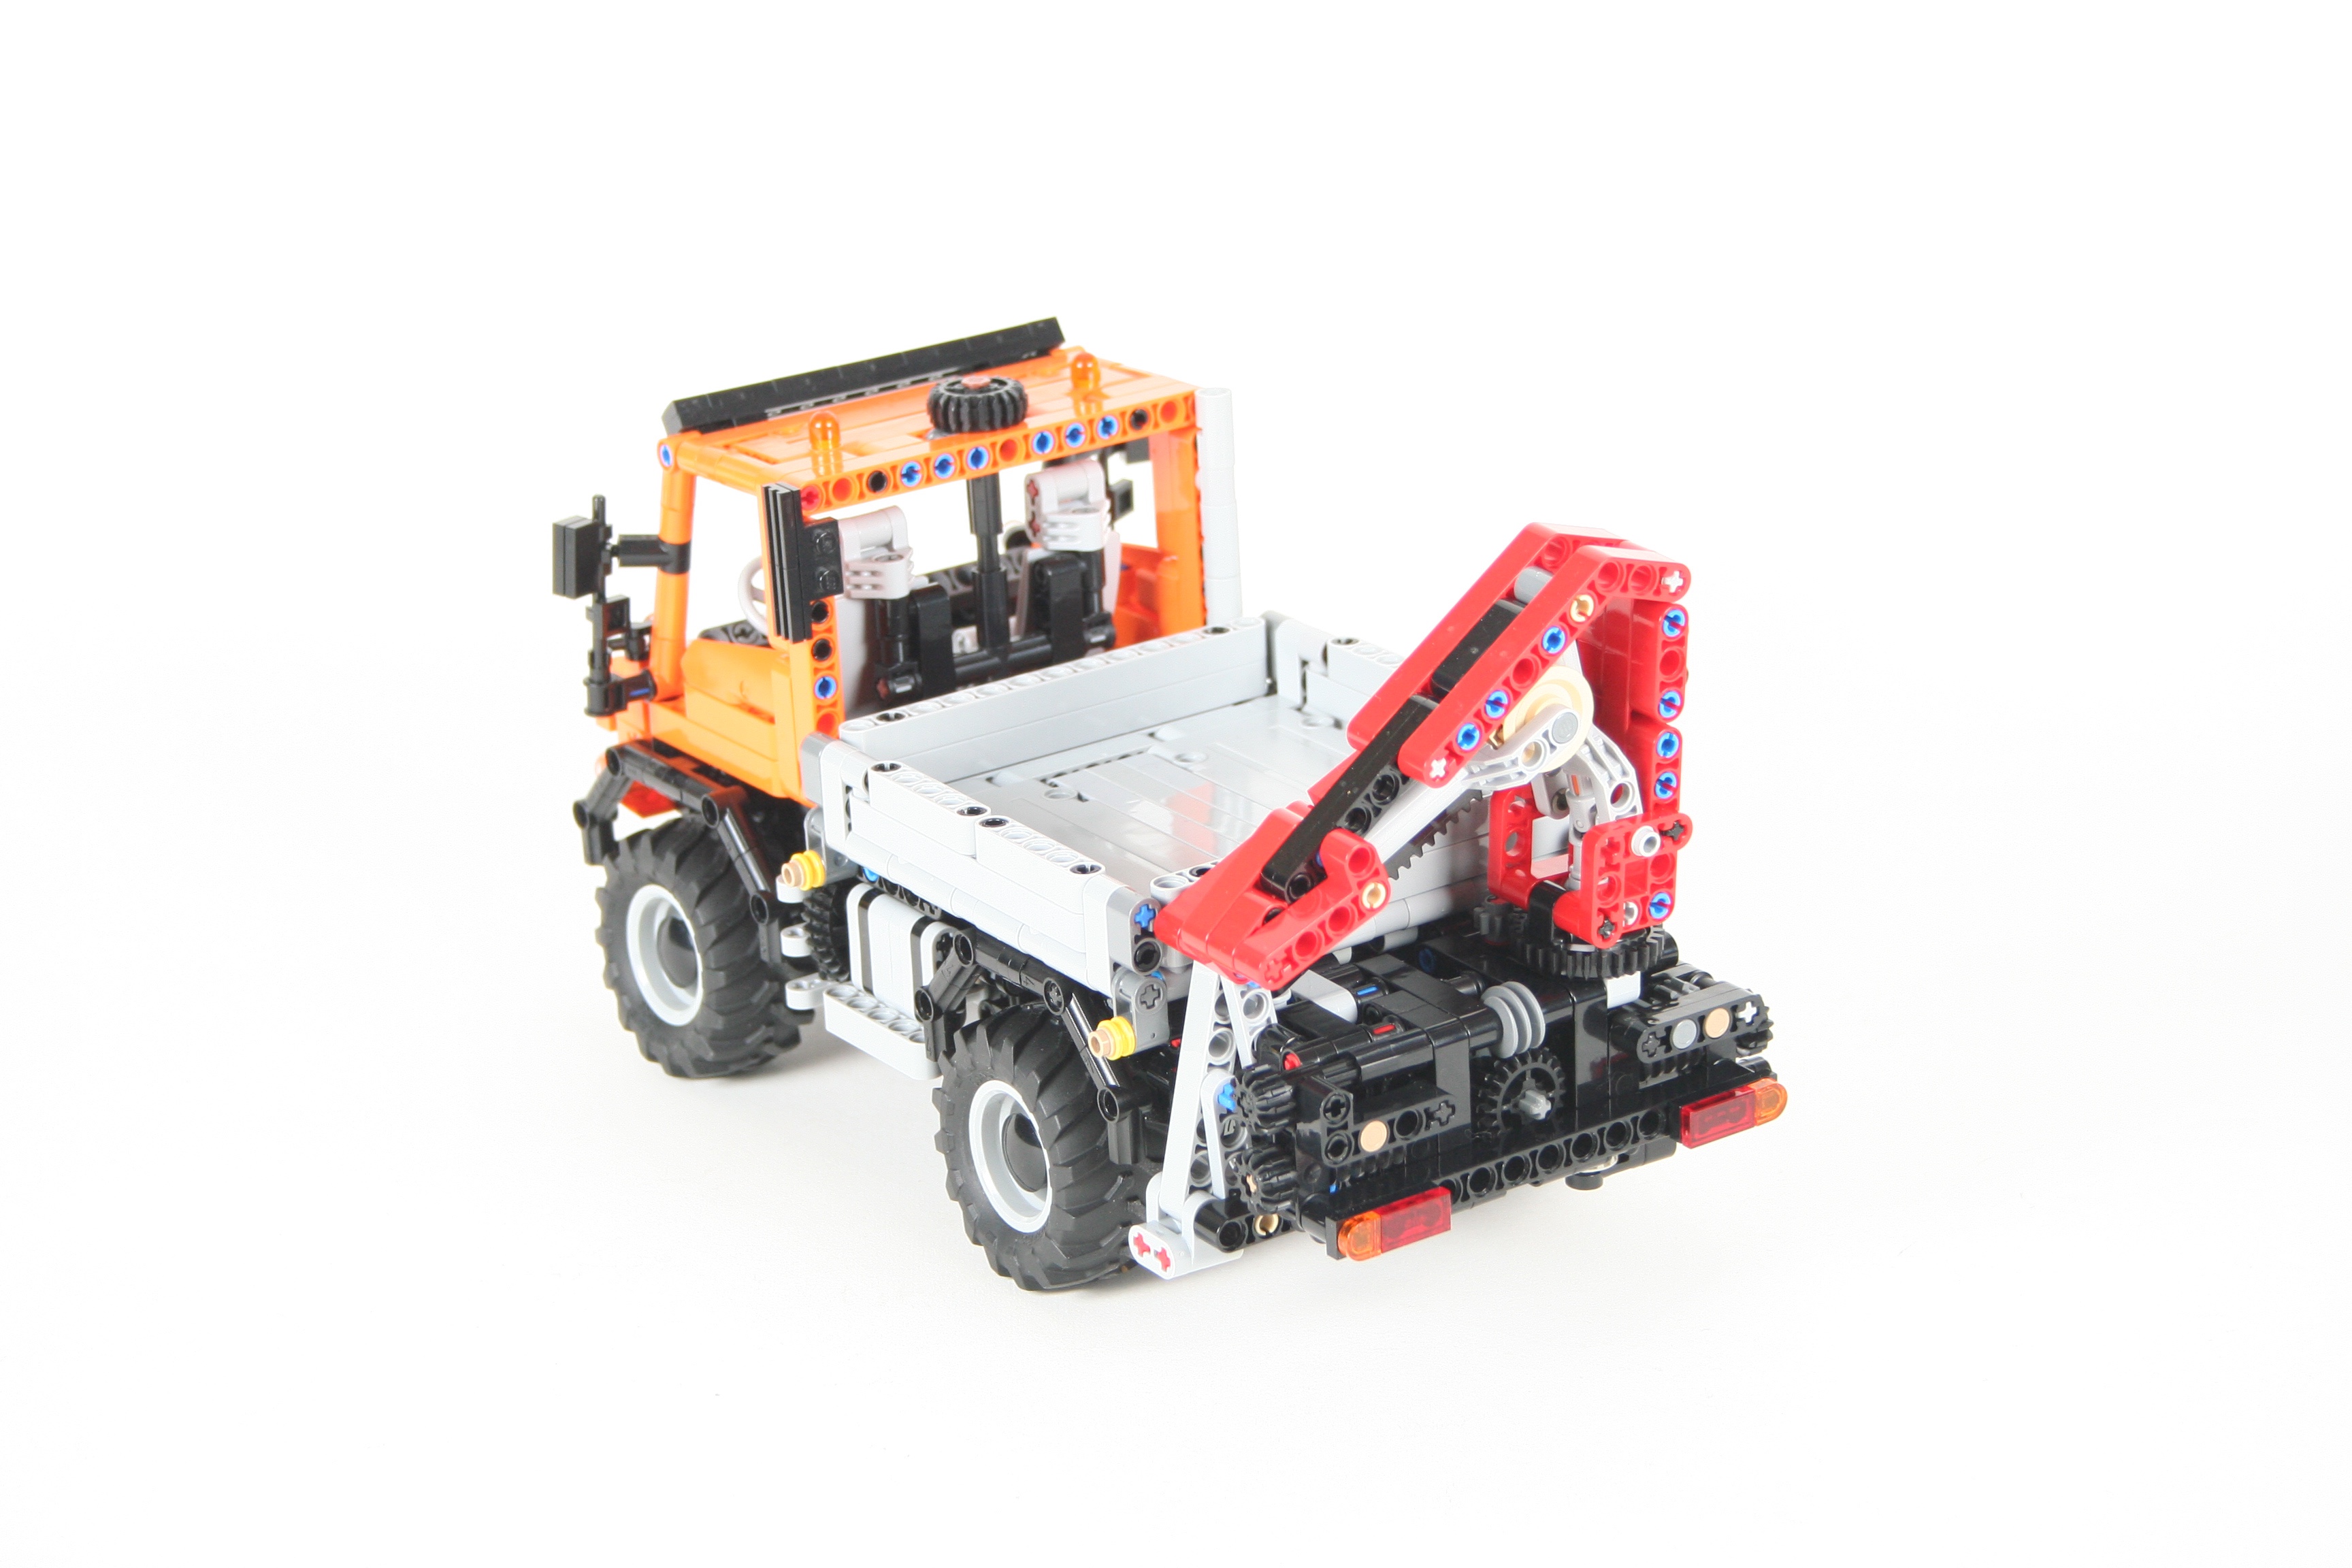
Finally, a rear knuckleboom crane is also available. This crane uses the same crane as above, but uses a different attachment point. A small interior cam mechanism that is worm driven is used to connect the rear crane to the truck. Two outriggers are on both sides of the crane and are locked by worm gears as well. The crane folds completely and extends as needed. Again, free instructions for the crane can be found here.
Maybe I will find additional attachments, trailers, and implements for the truck but for now I am done. This project worked just a well as I had hoped and was perfect for my 100th MOC. The truck is just the right size, and has all the features I wanted it to have. The functions work well and integrate with each other well. Each attachment was great addition as well, and gave the truck lots of distinctive styles and looks. I hope you enjoyed the build as well.
Happy building!