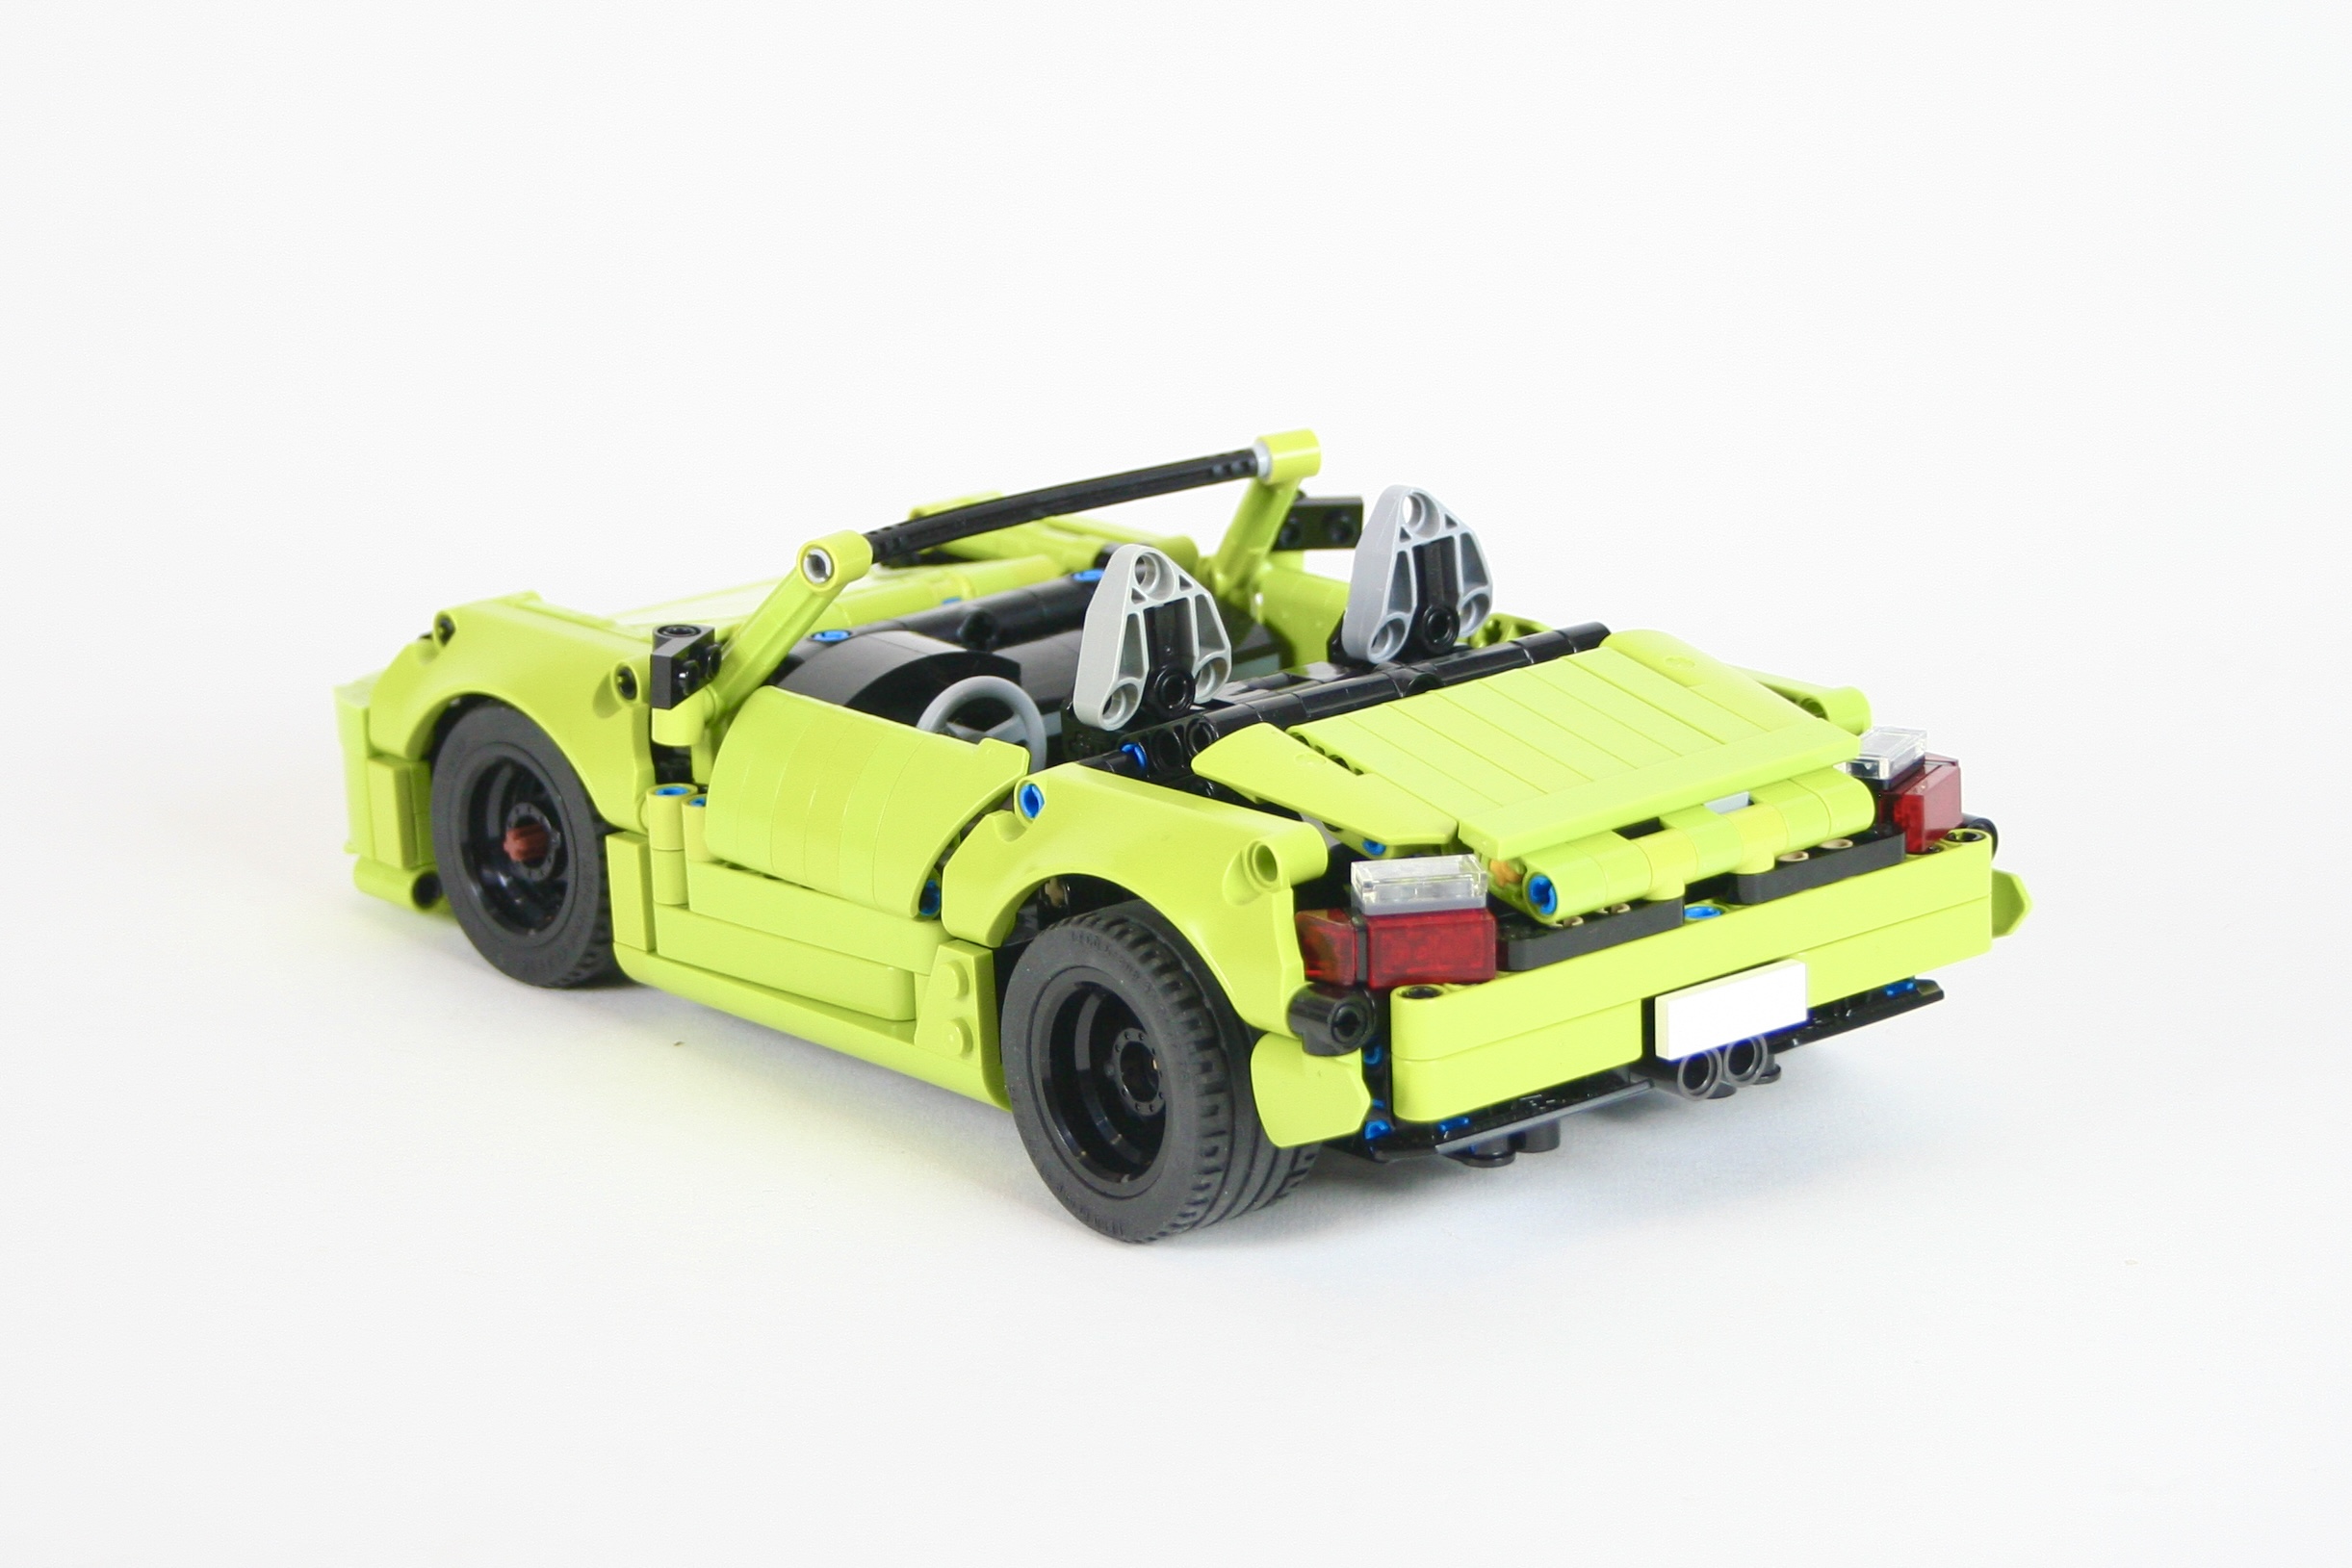
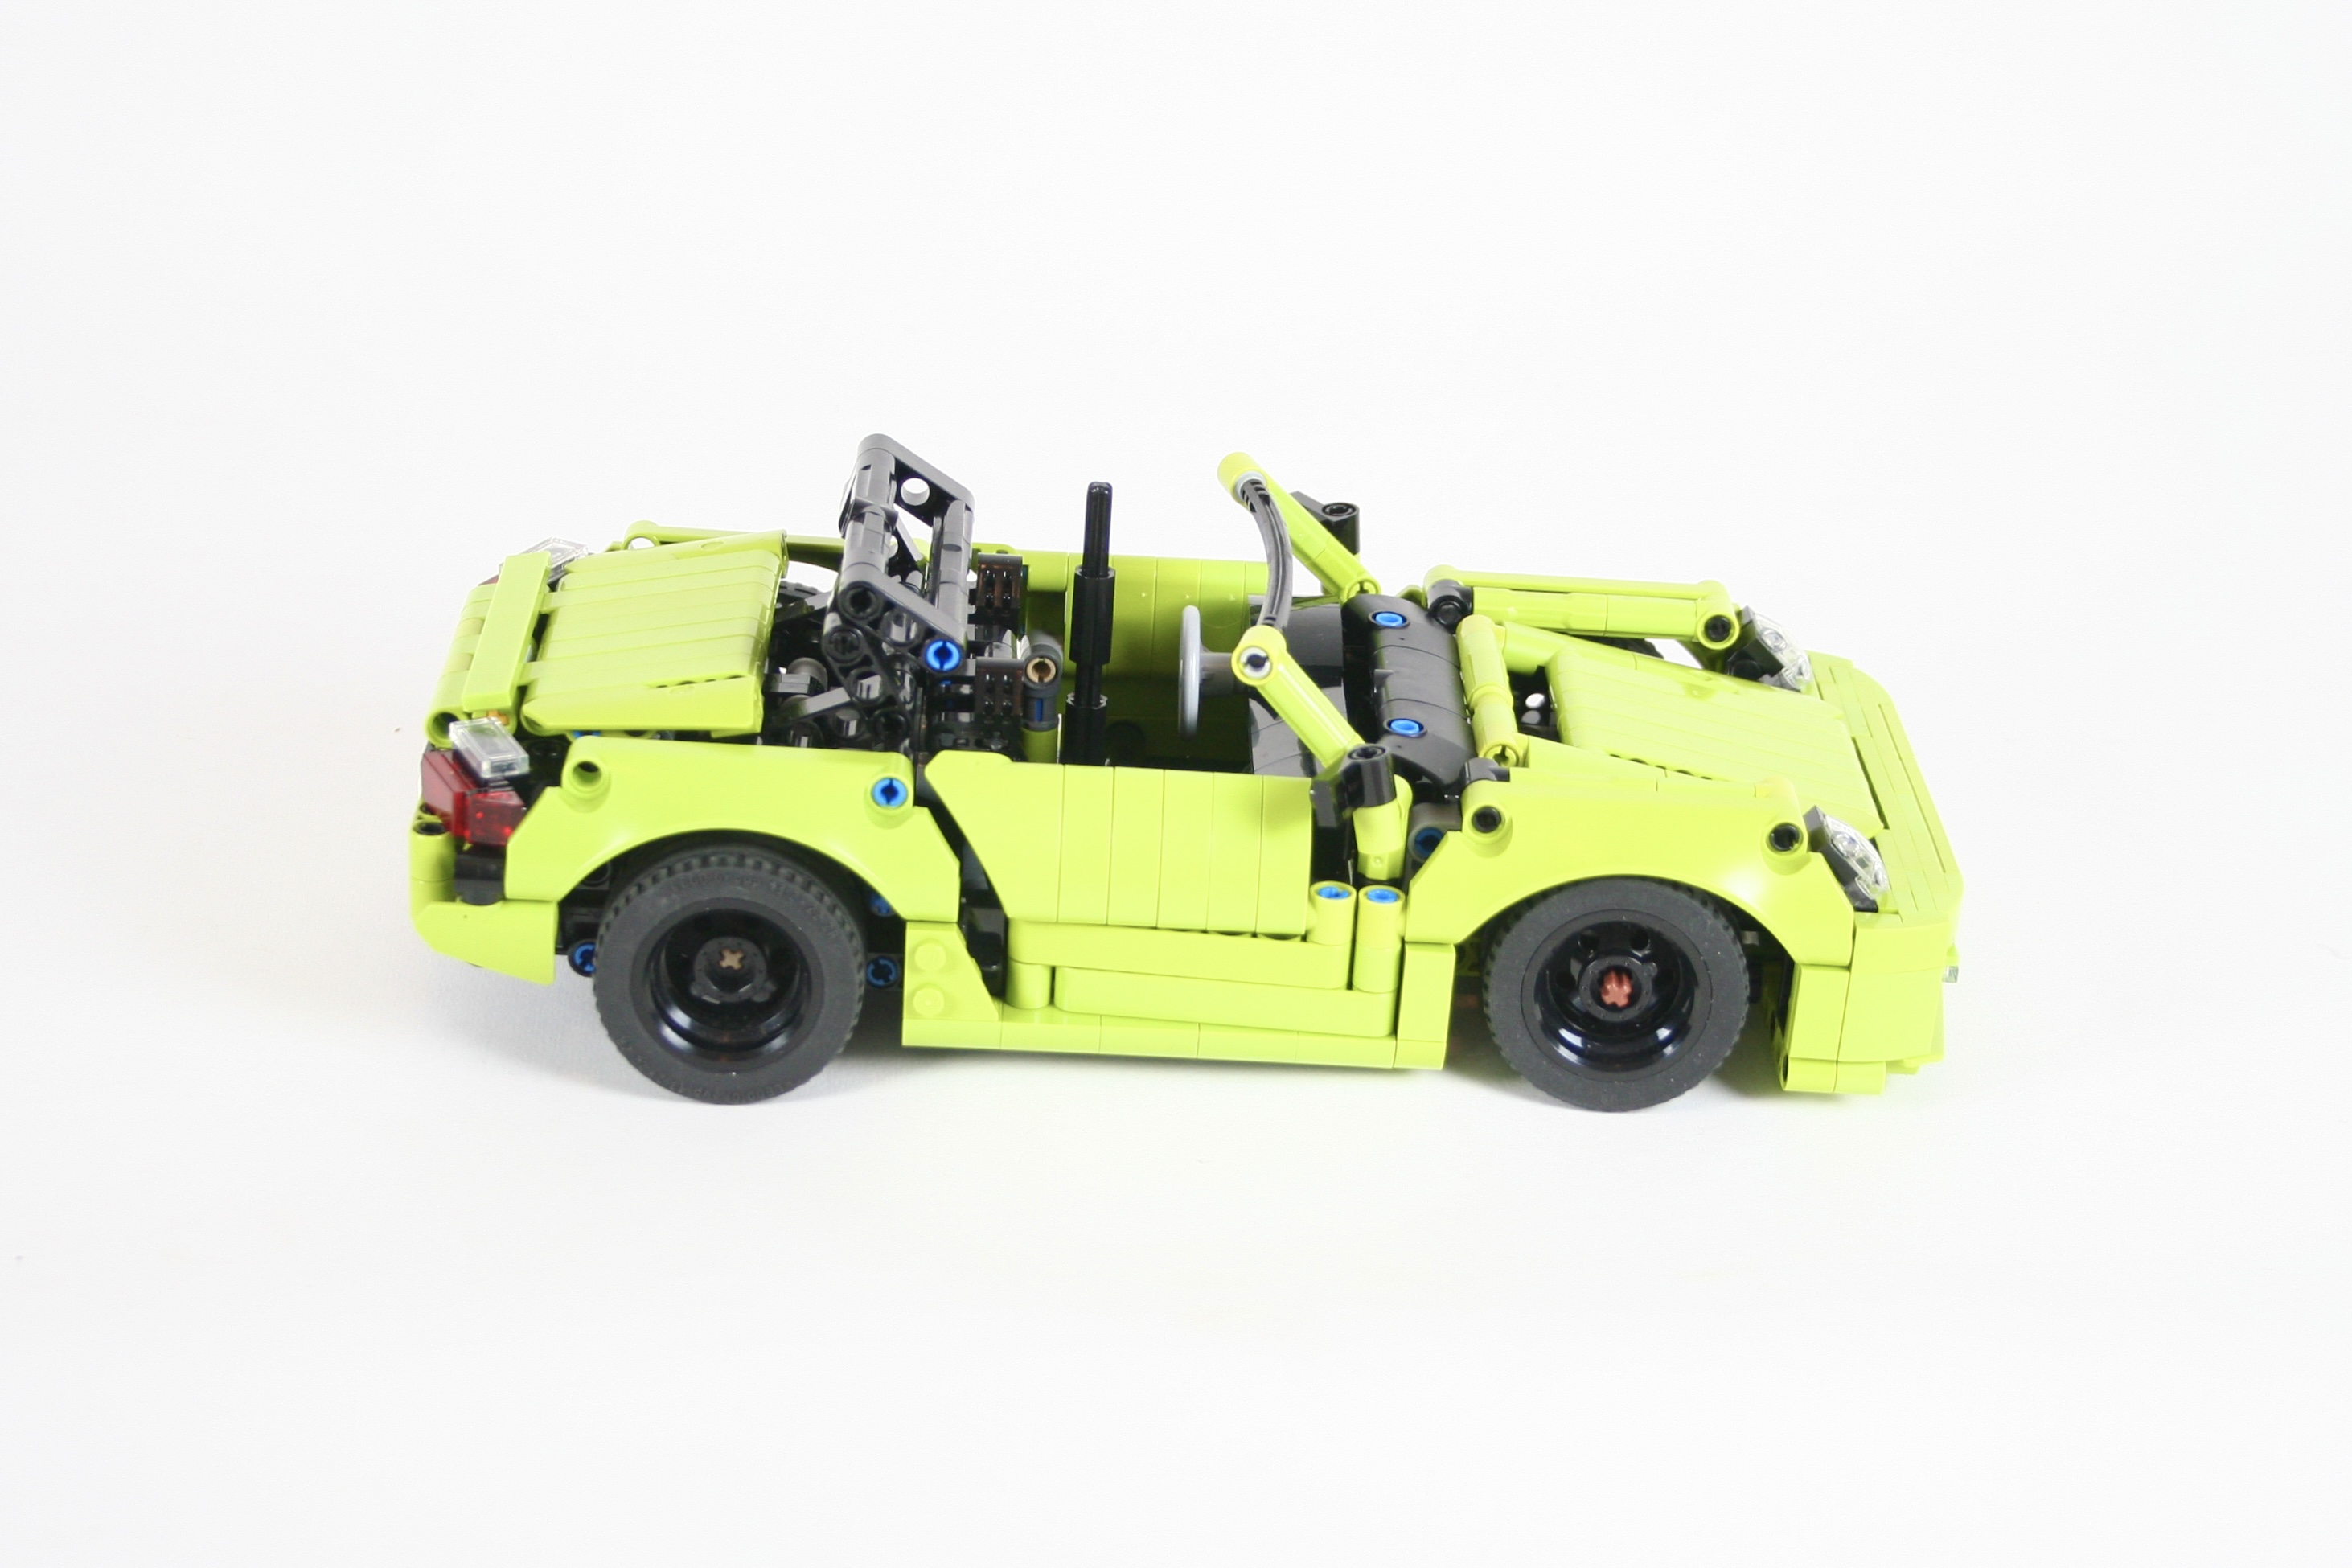
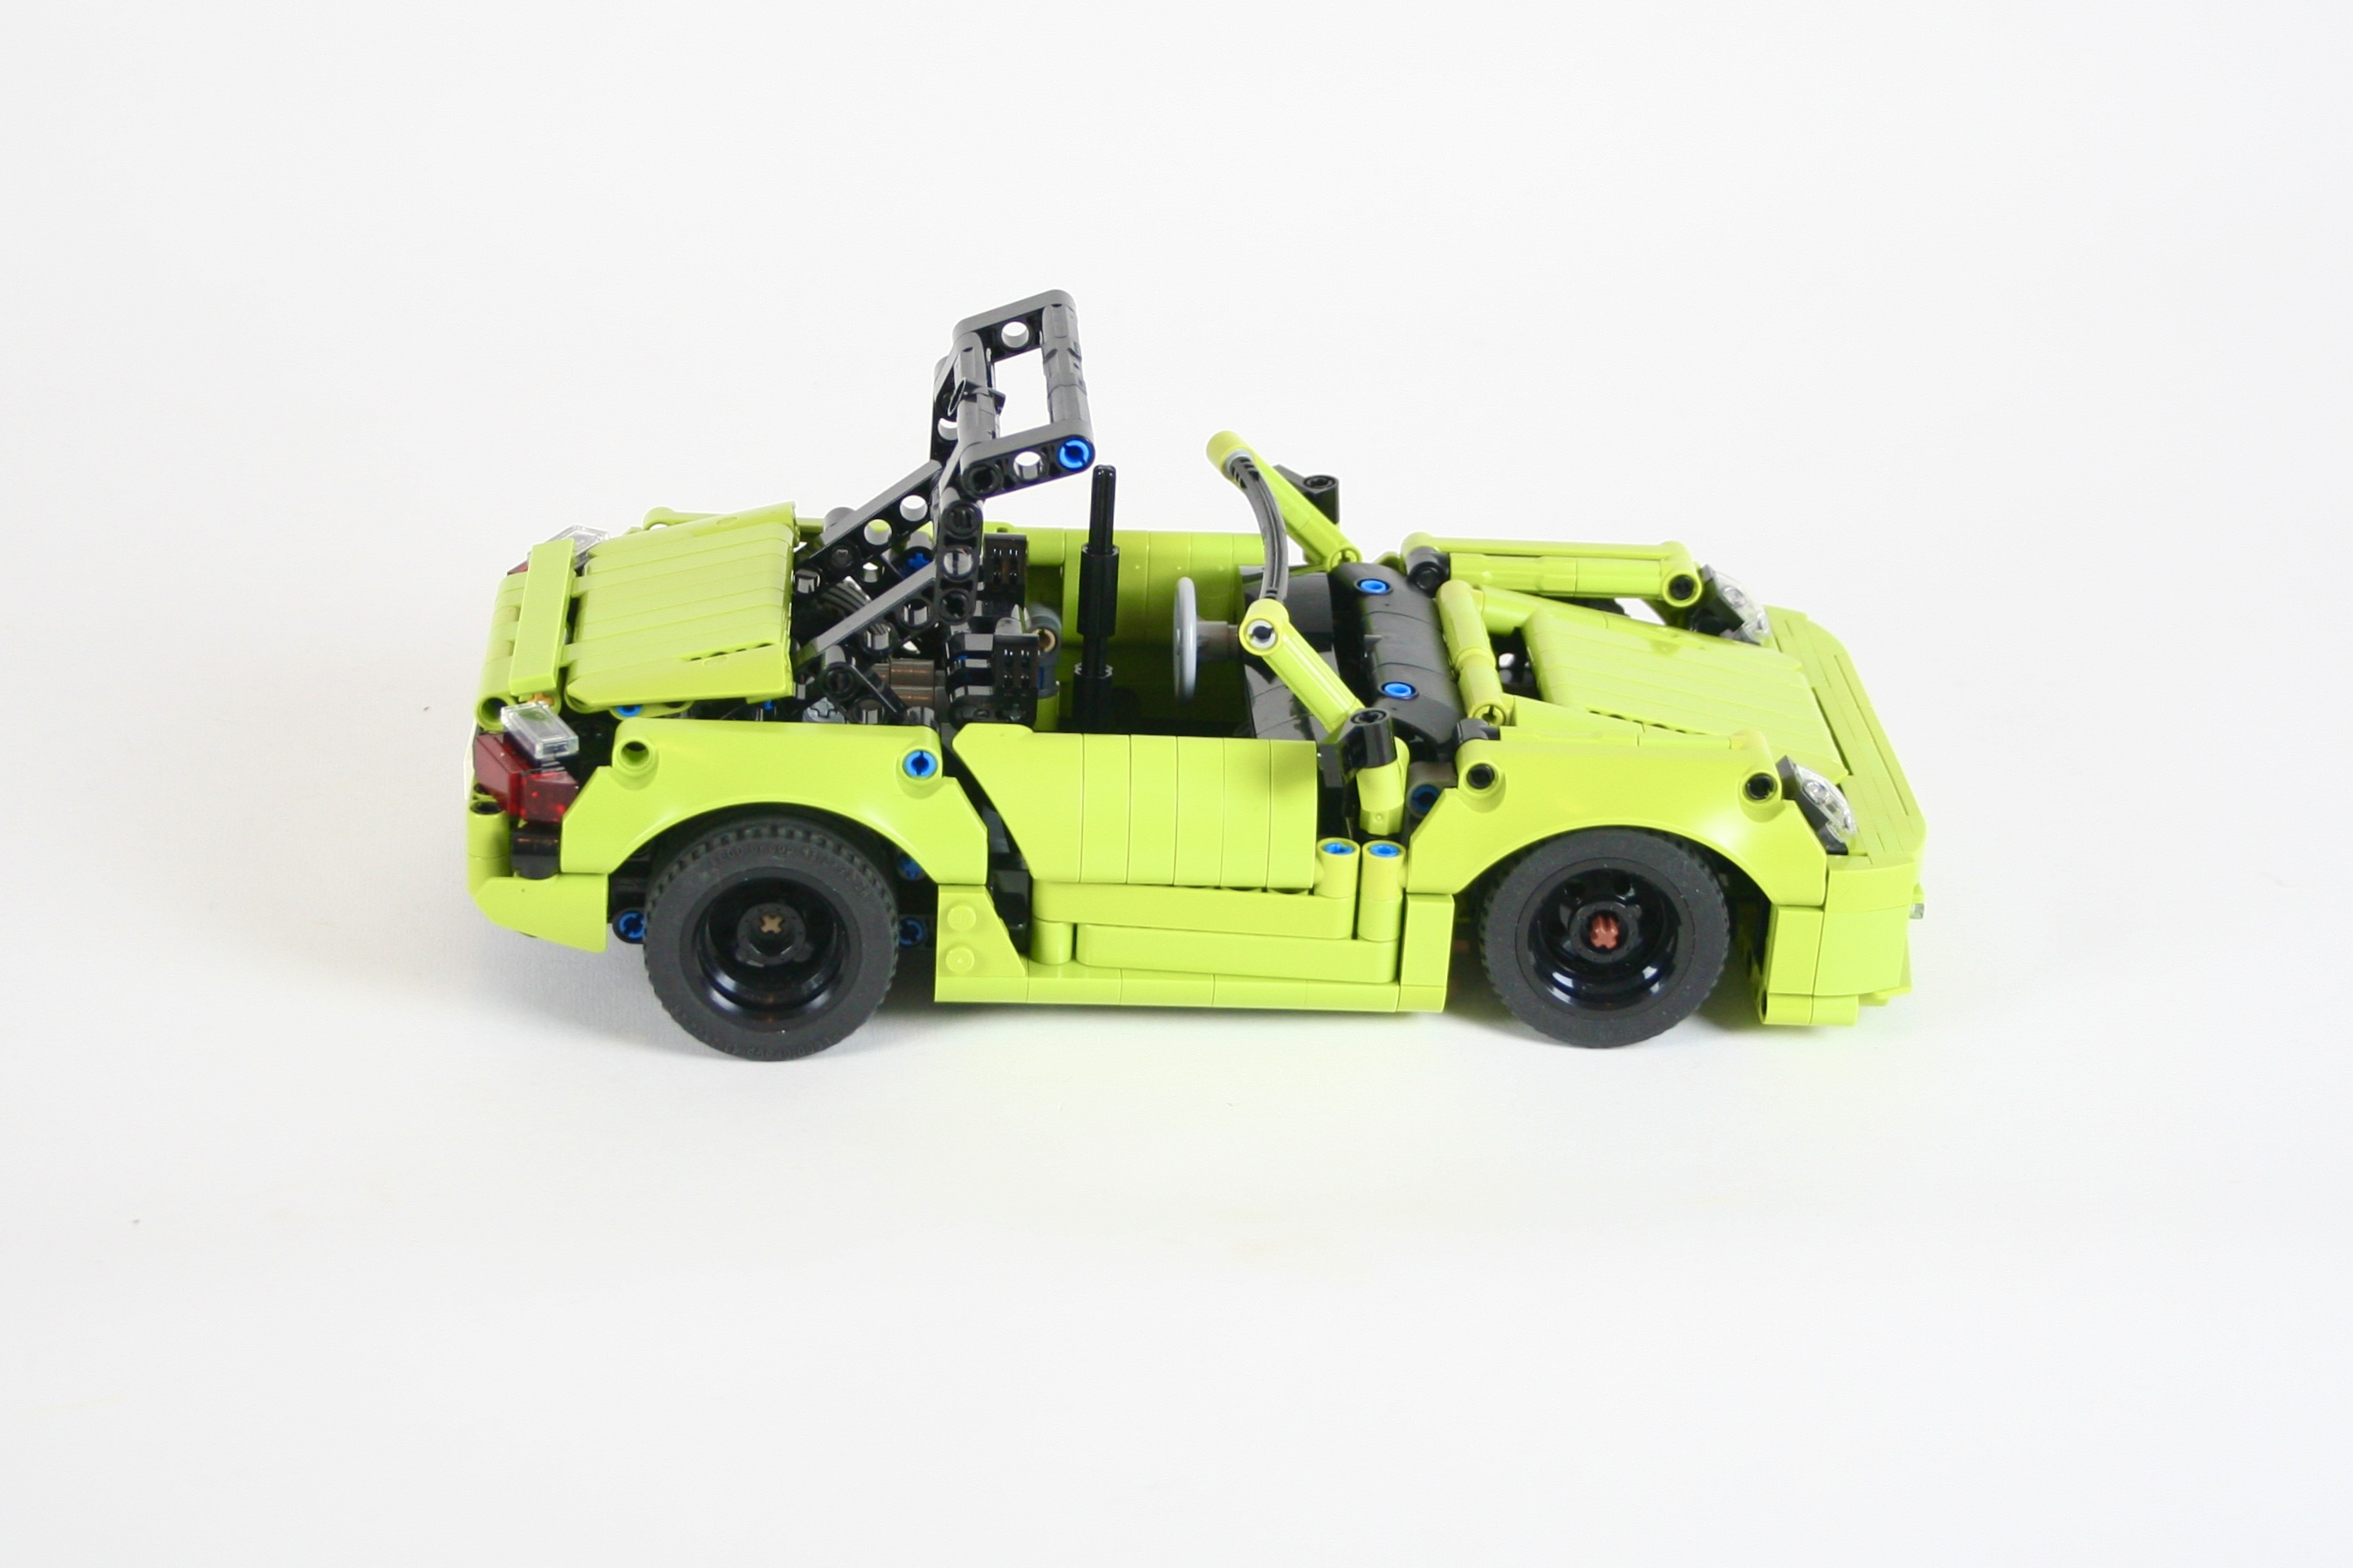
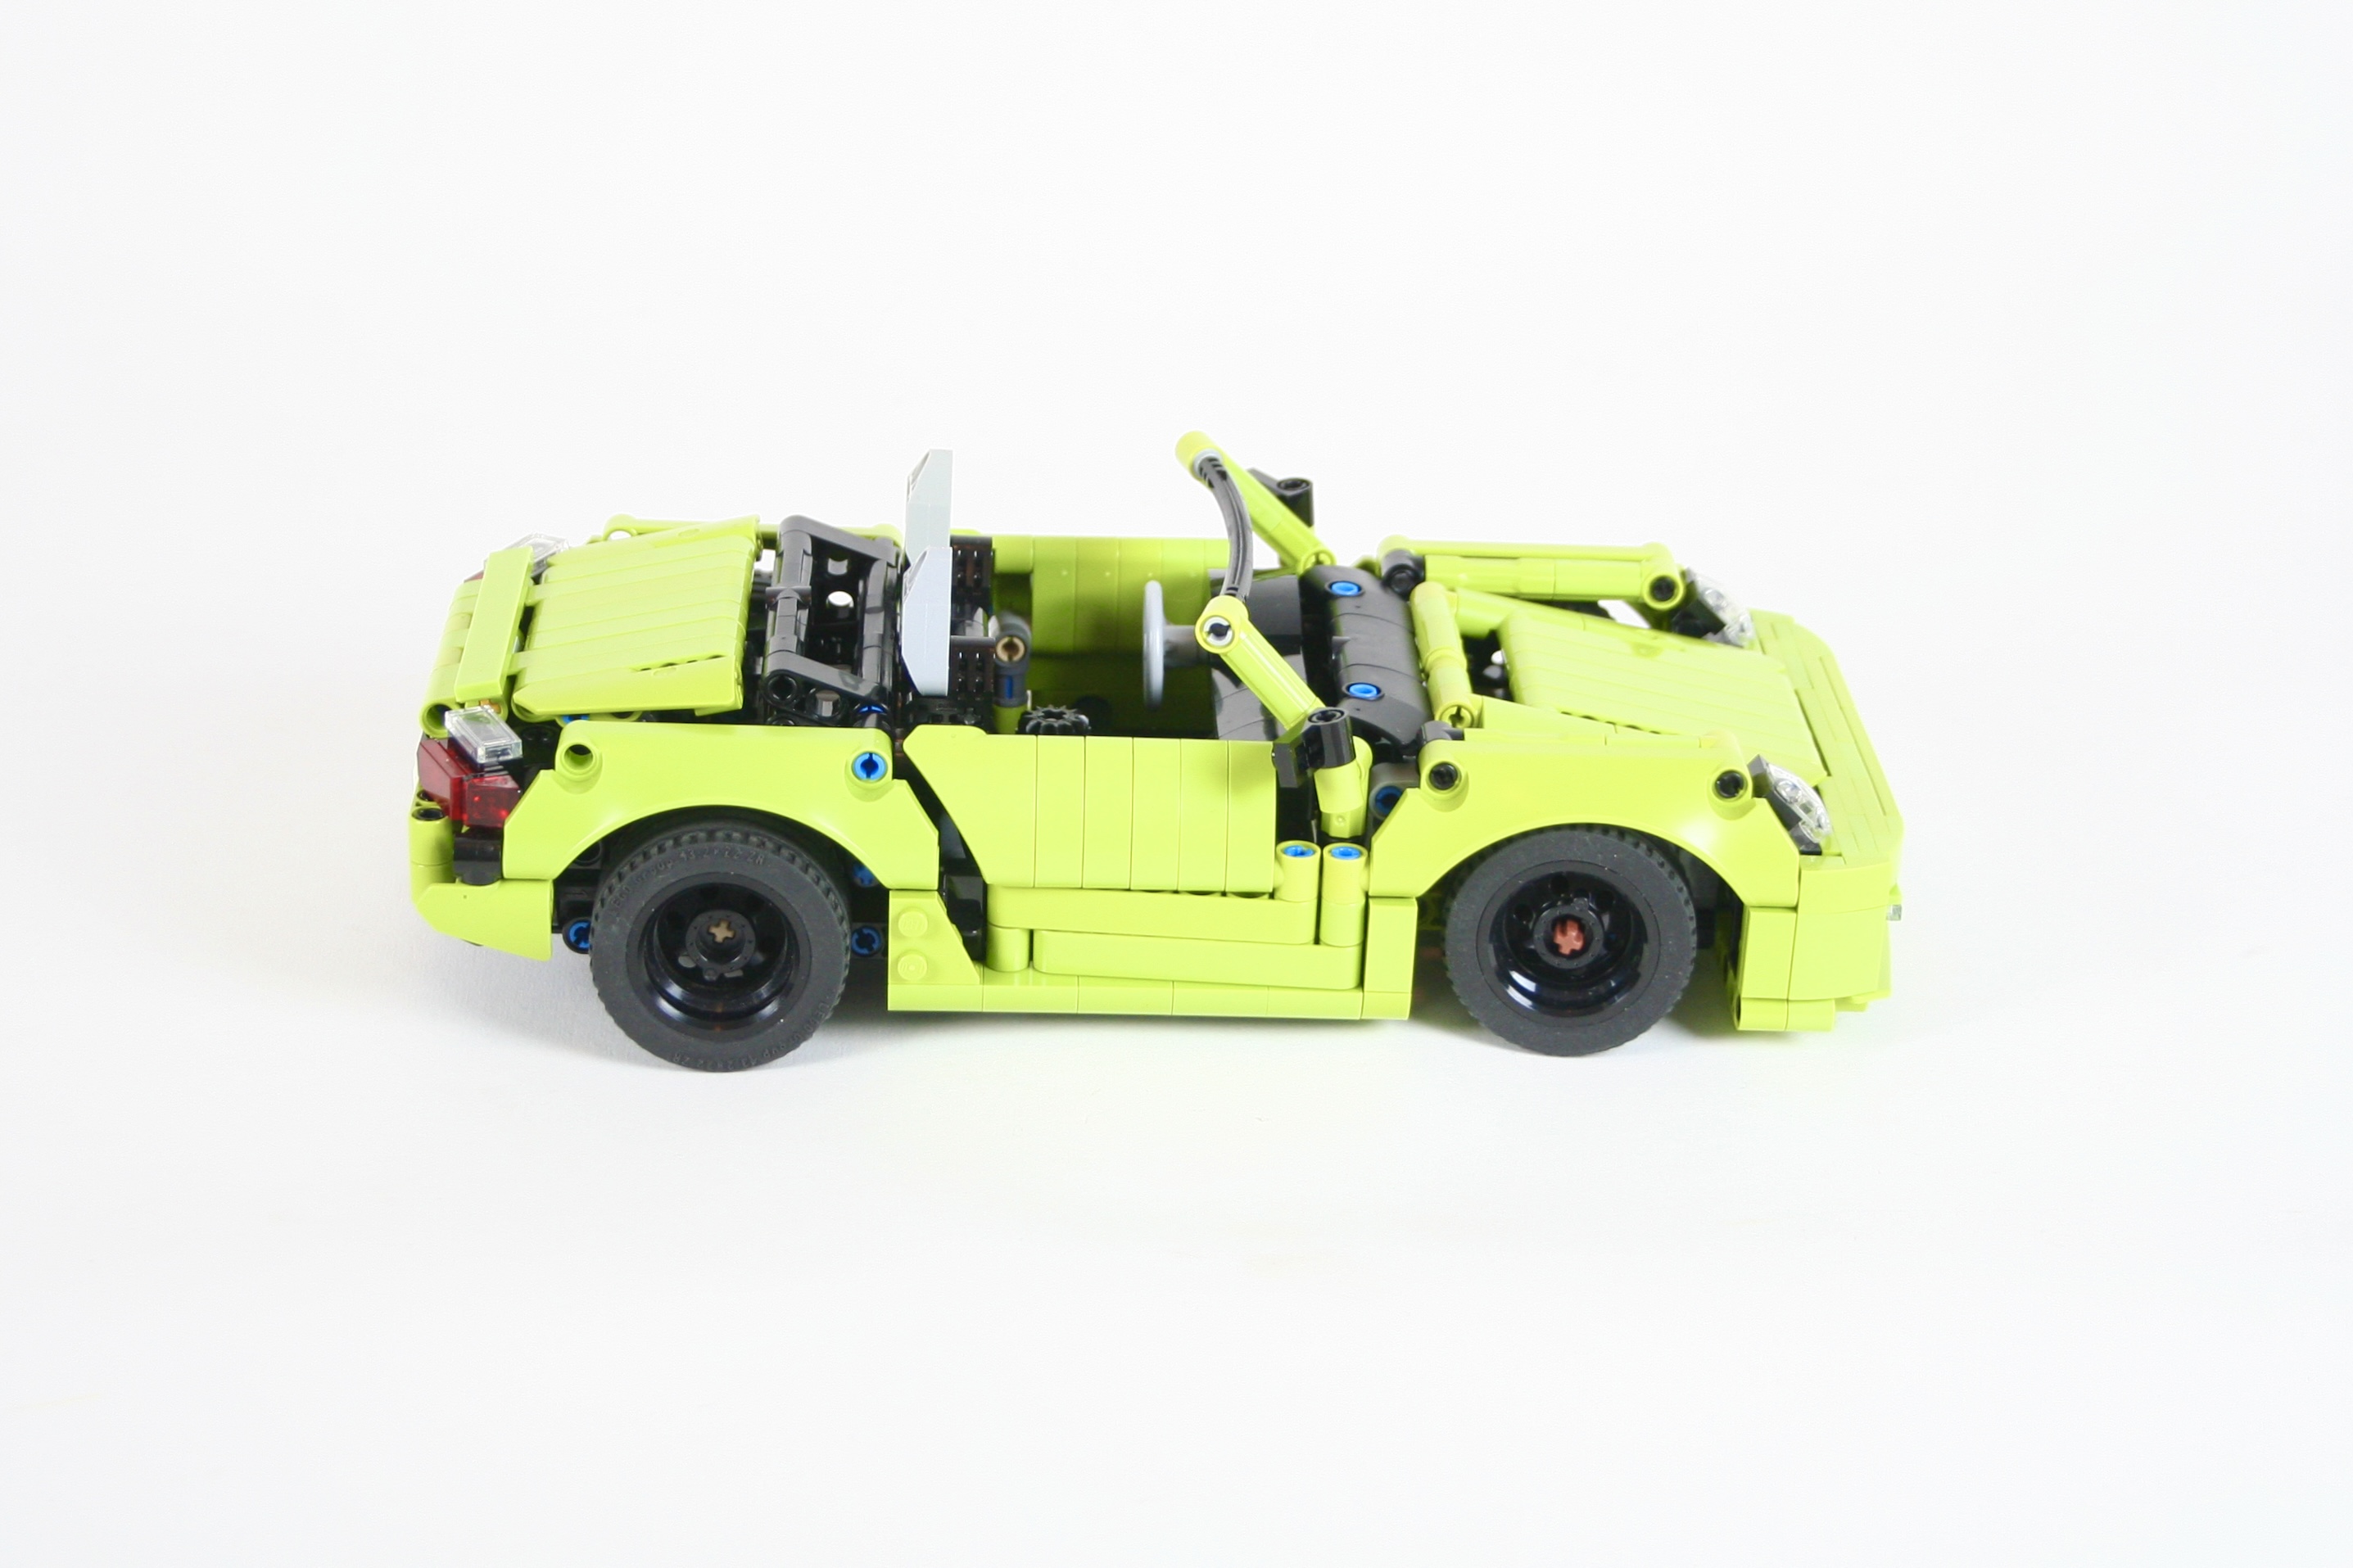
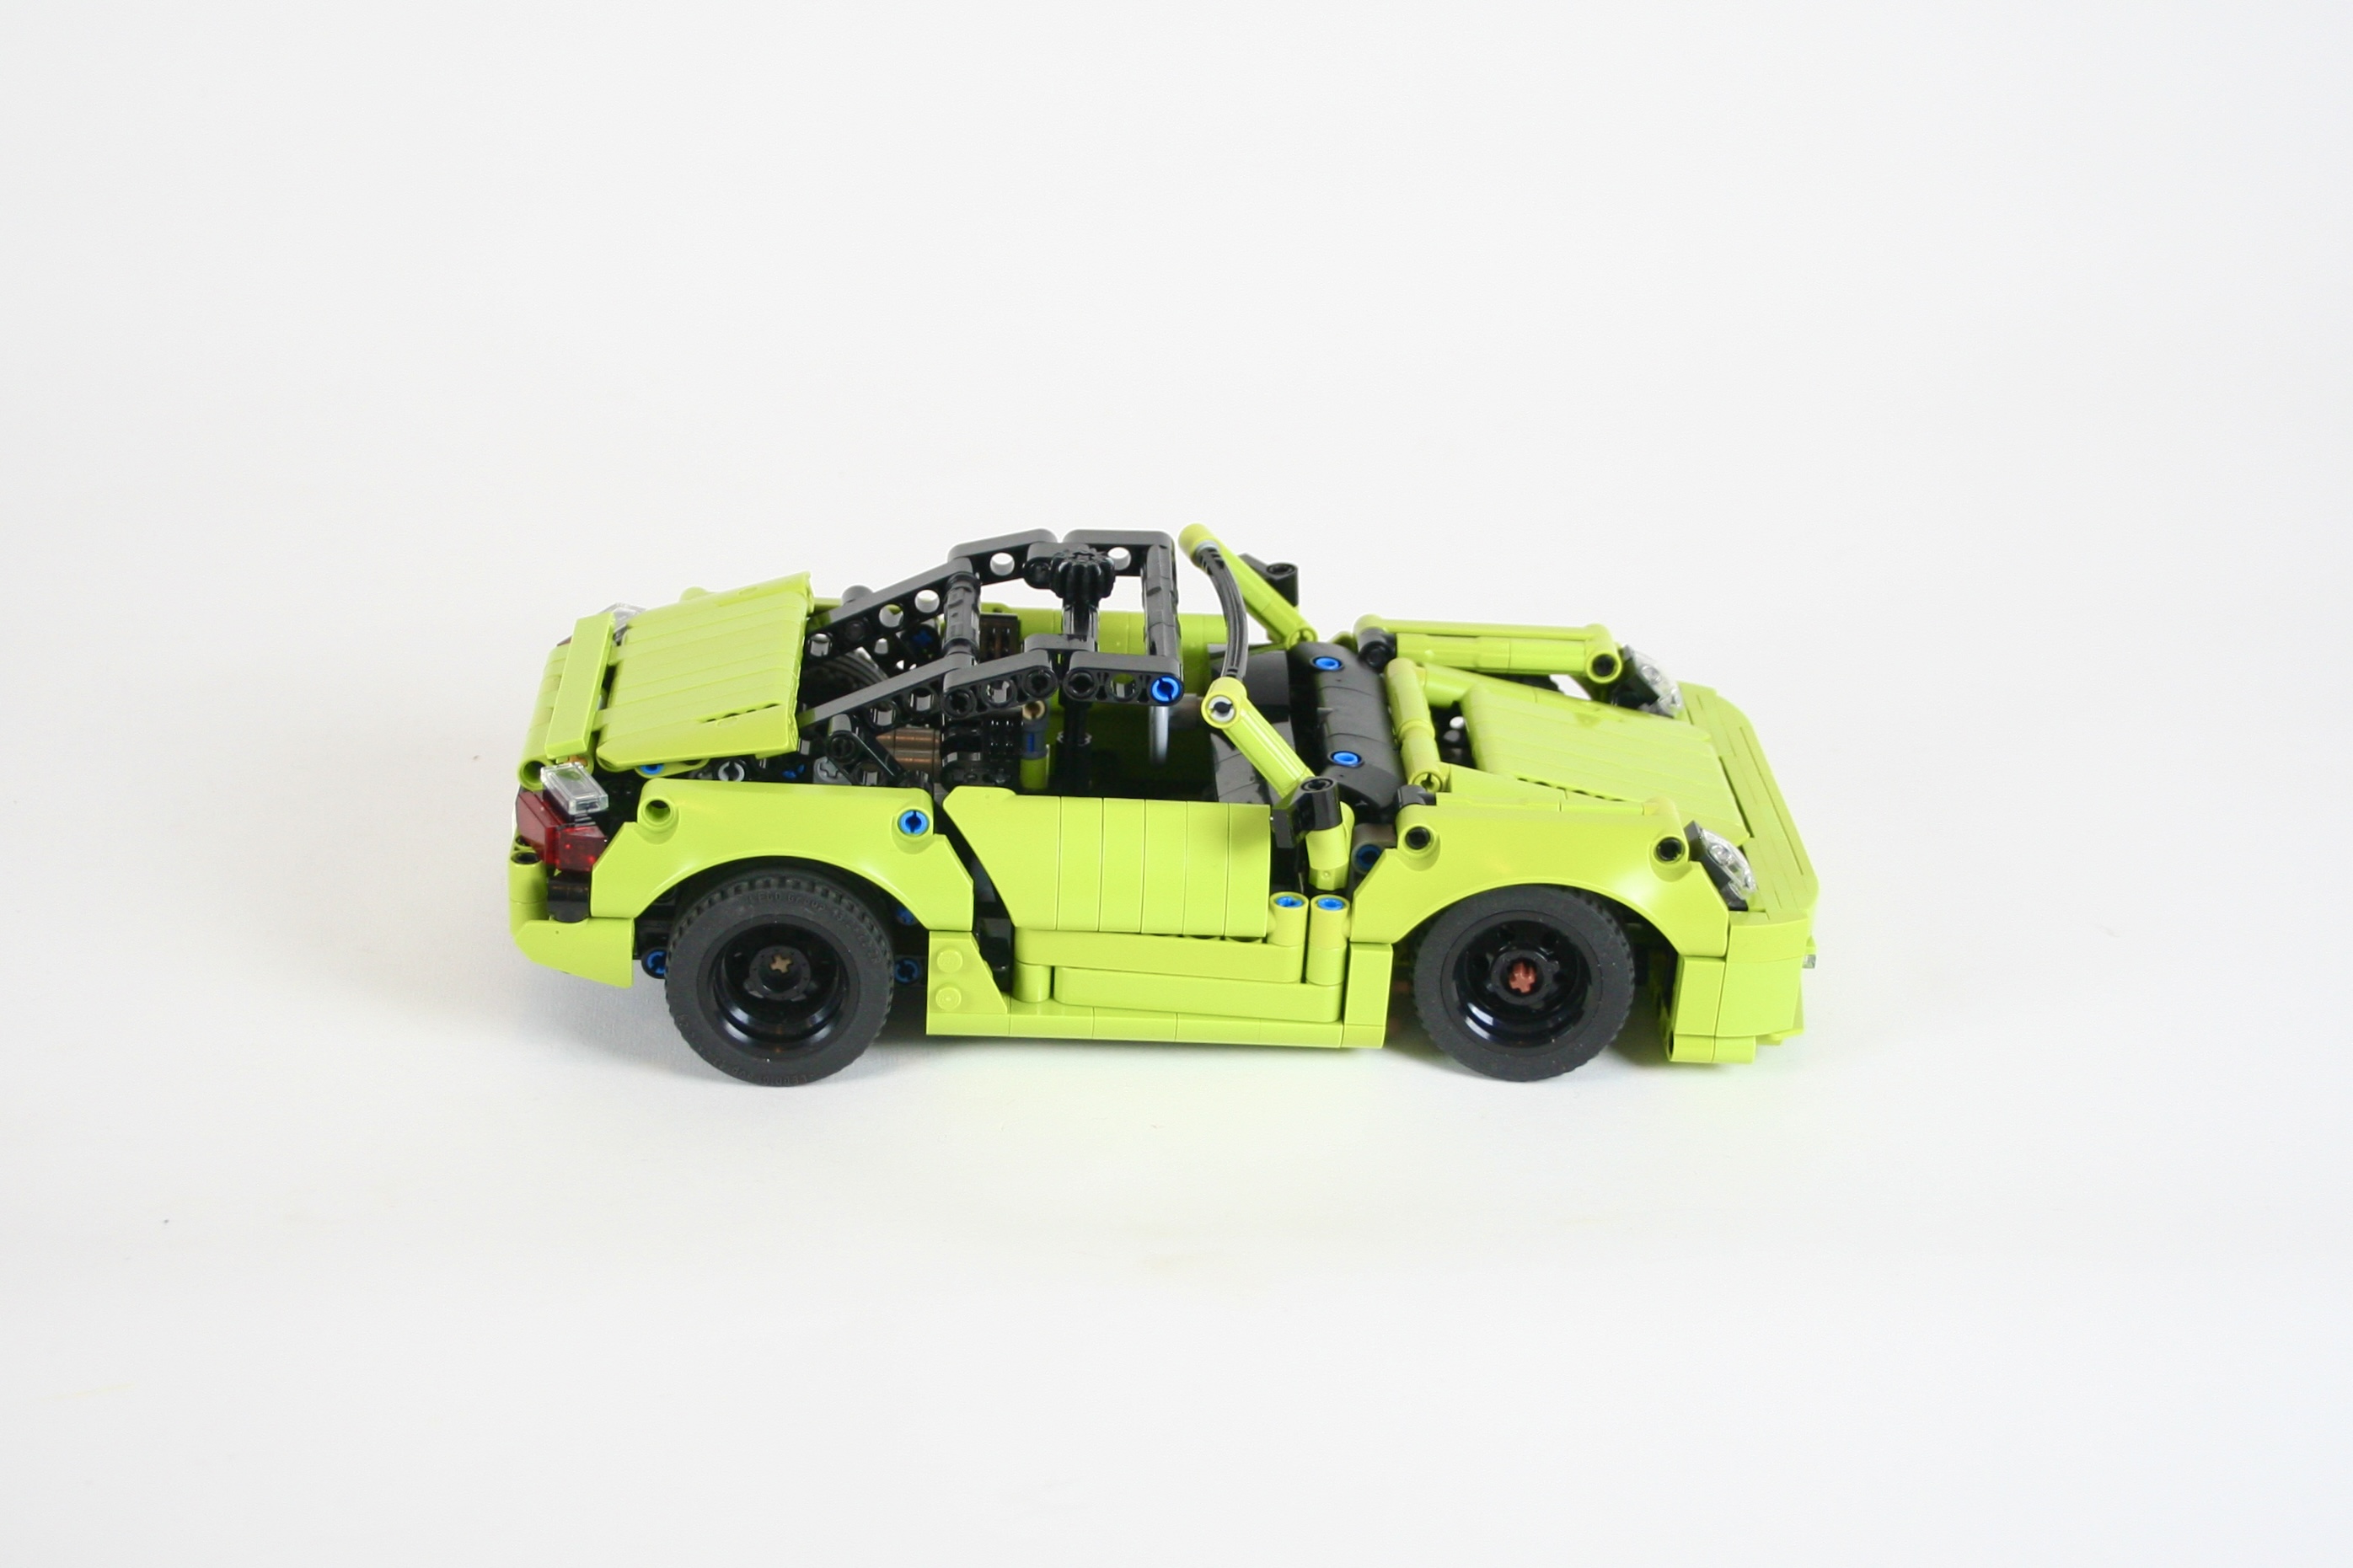
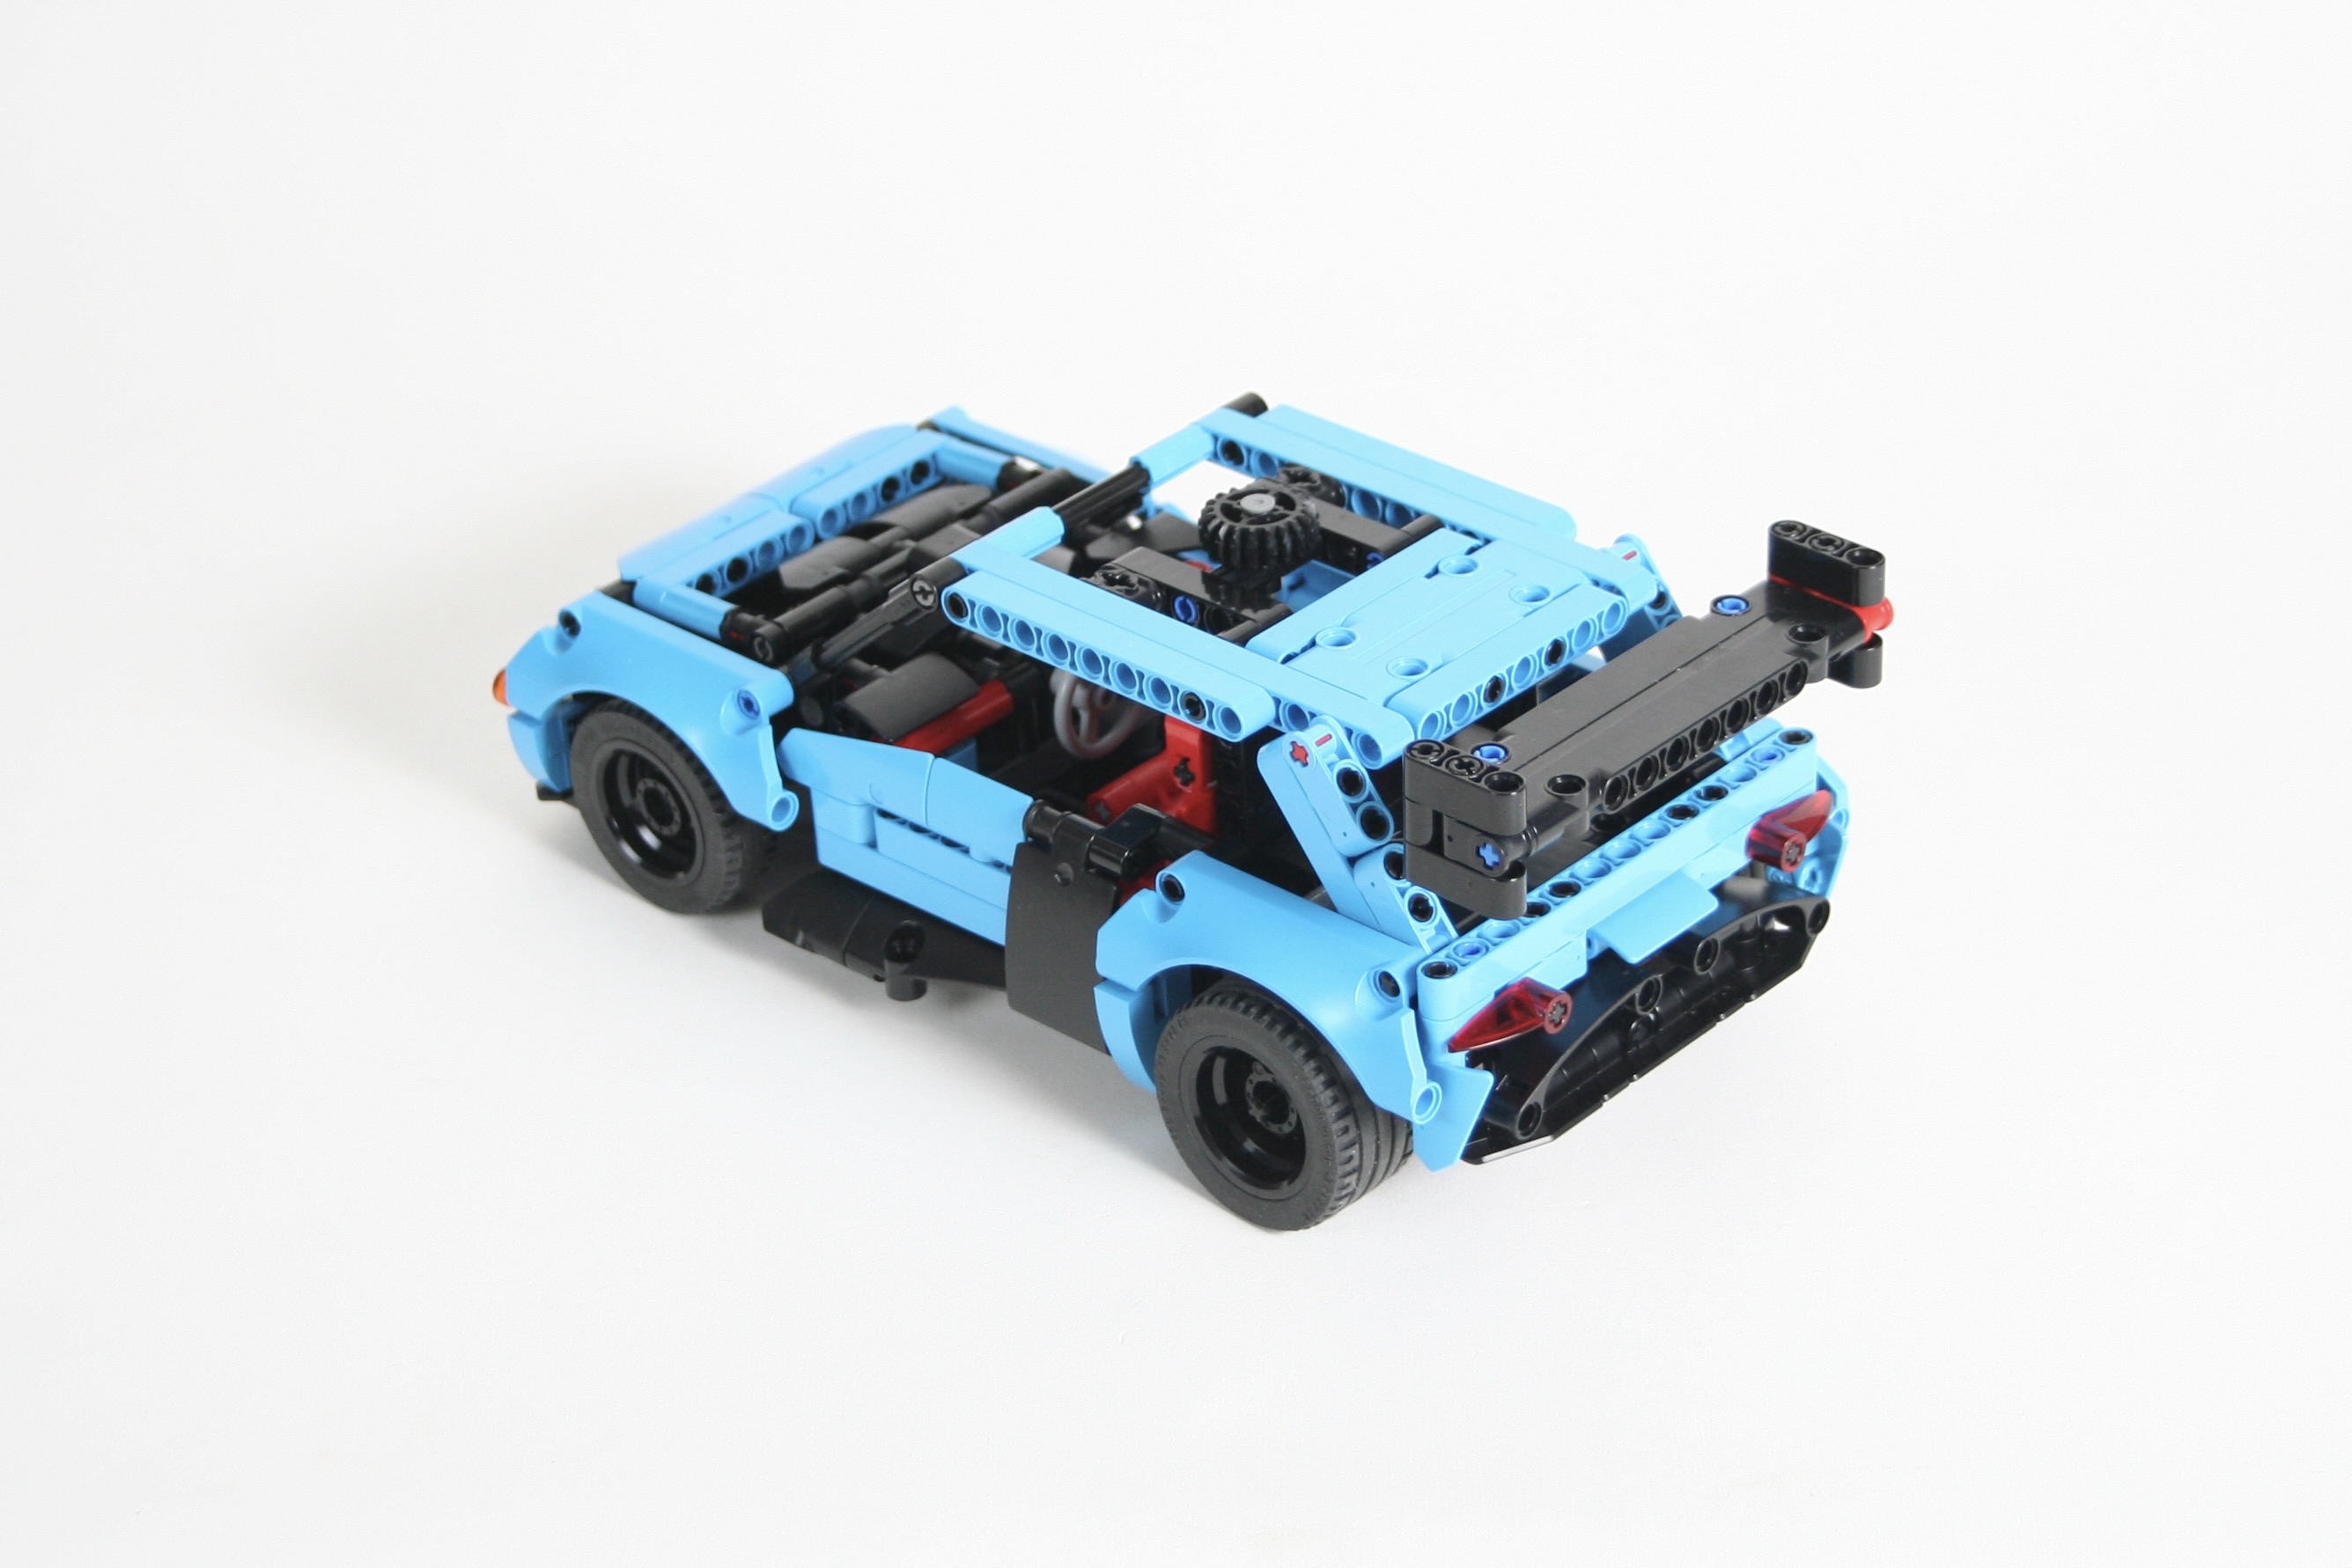
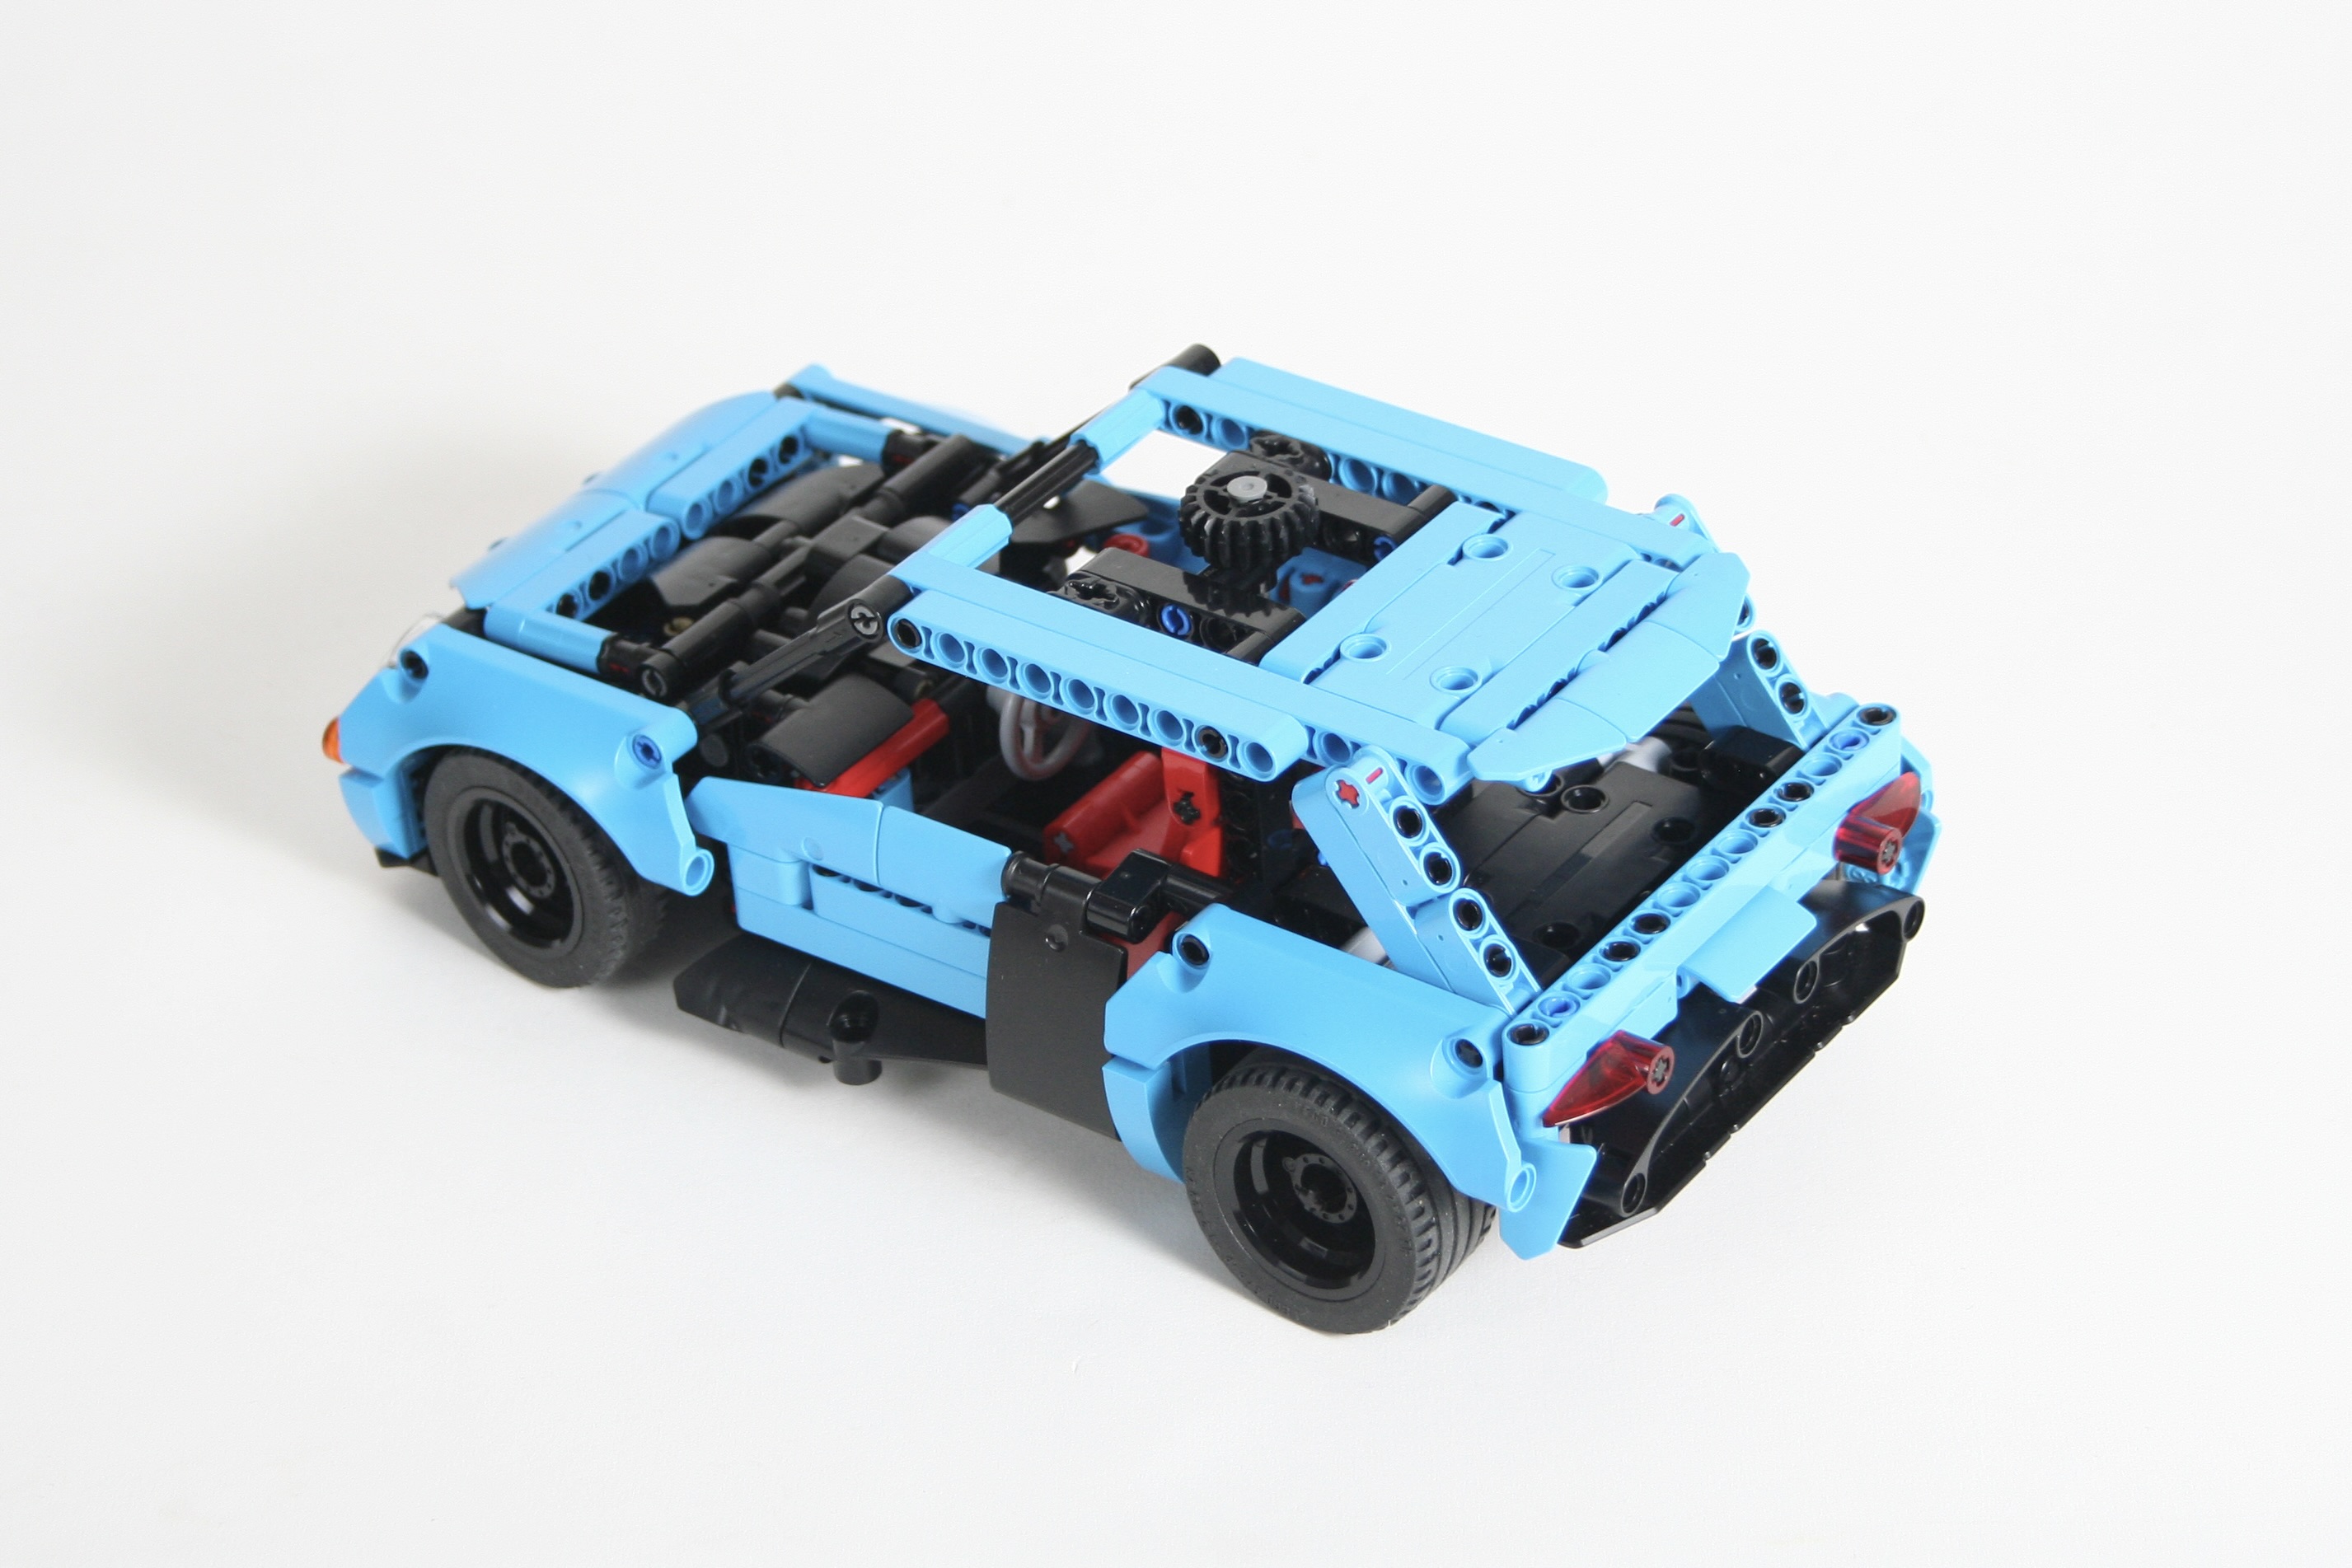
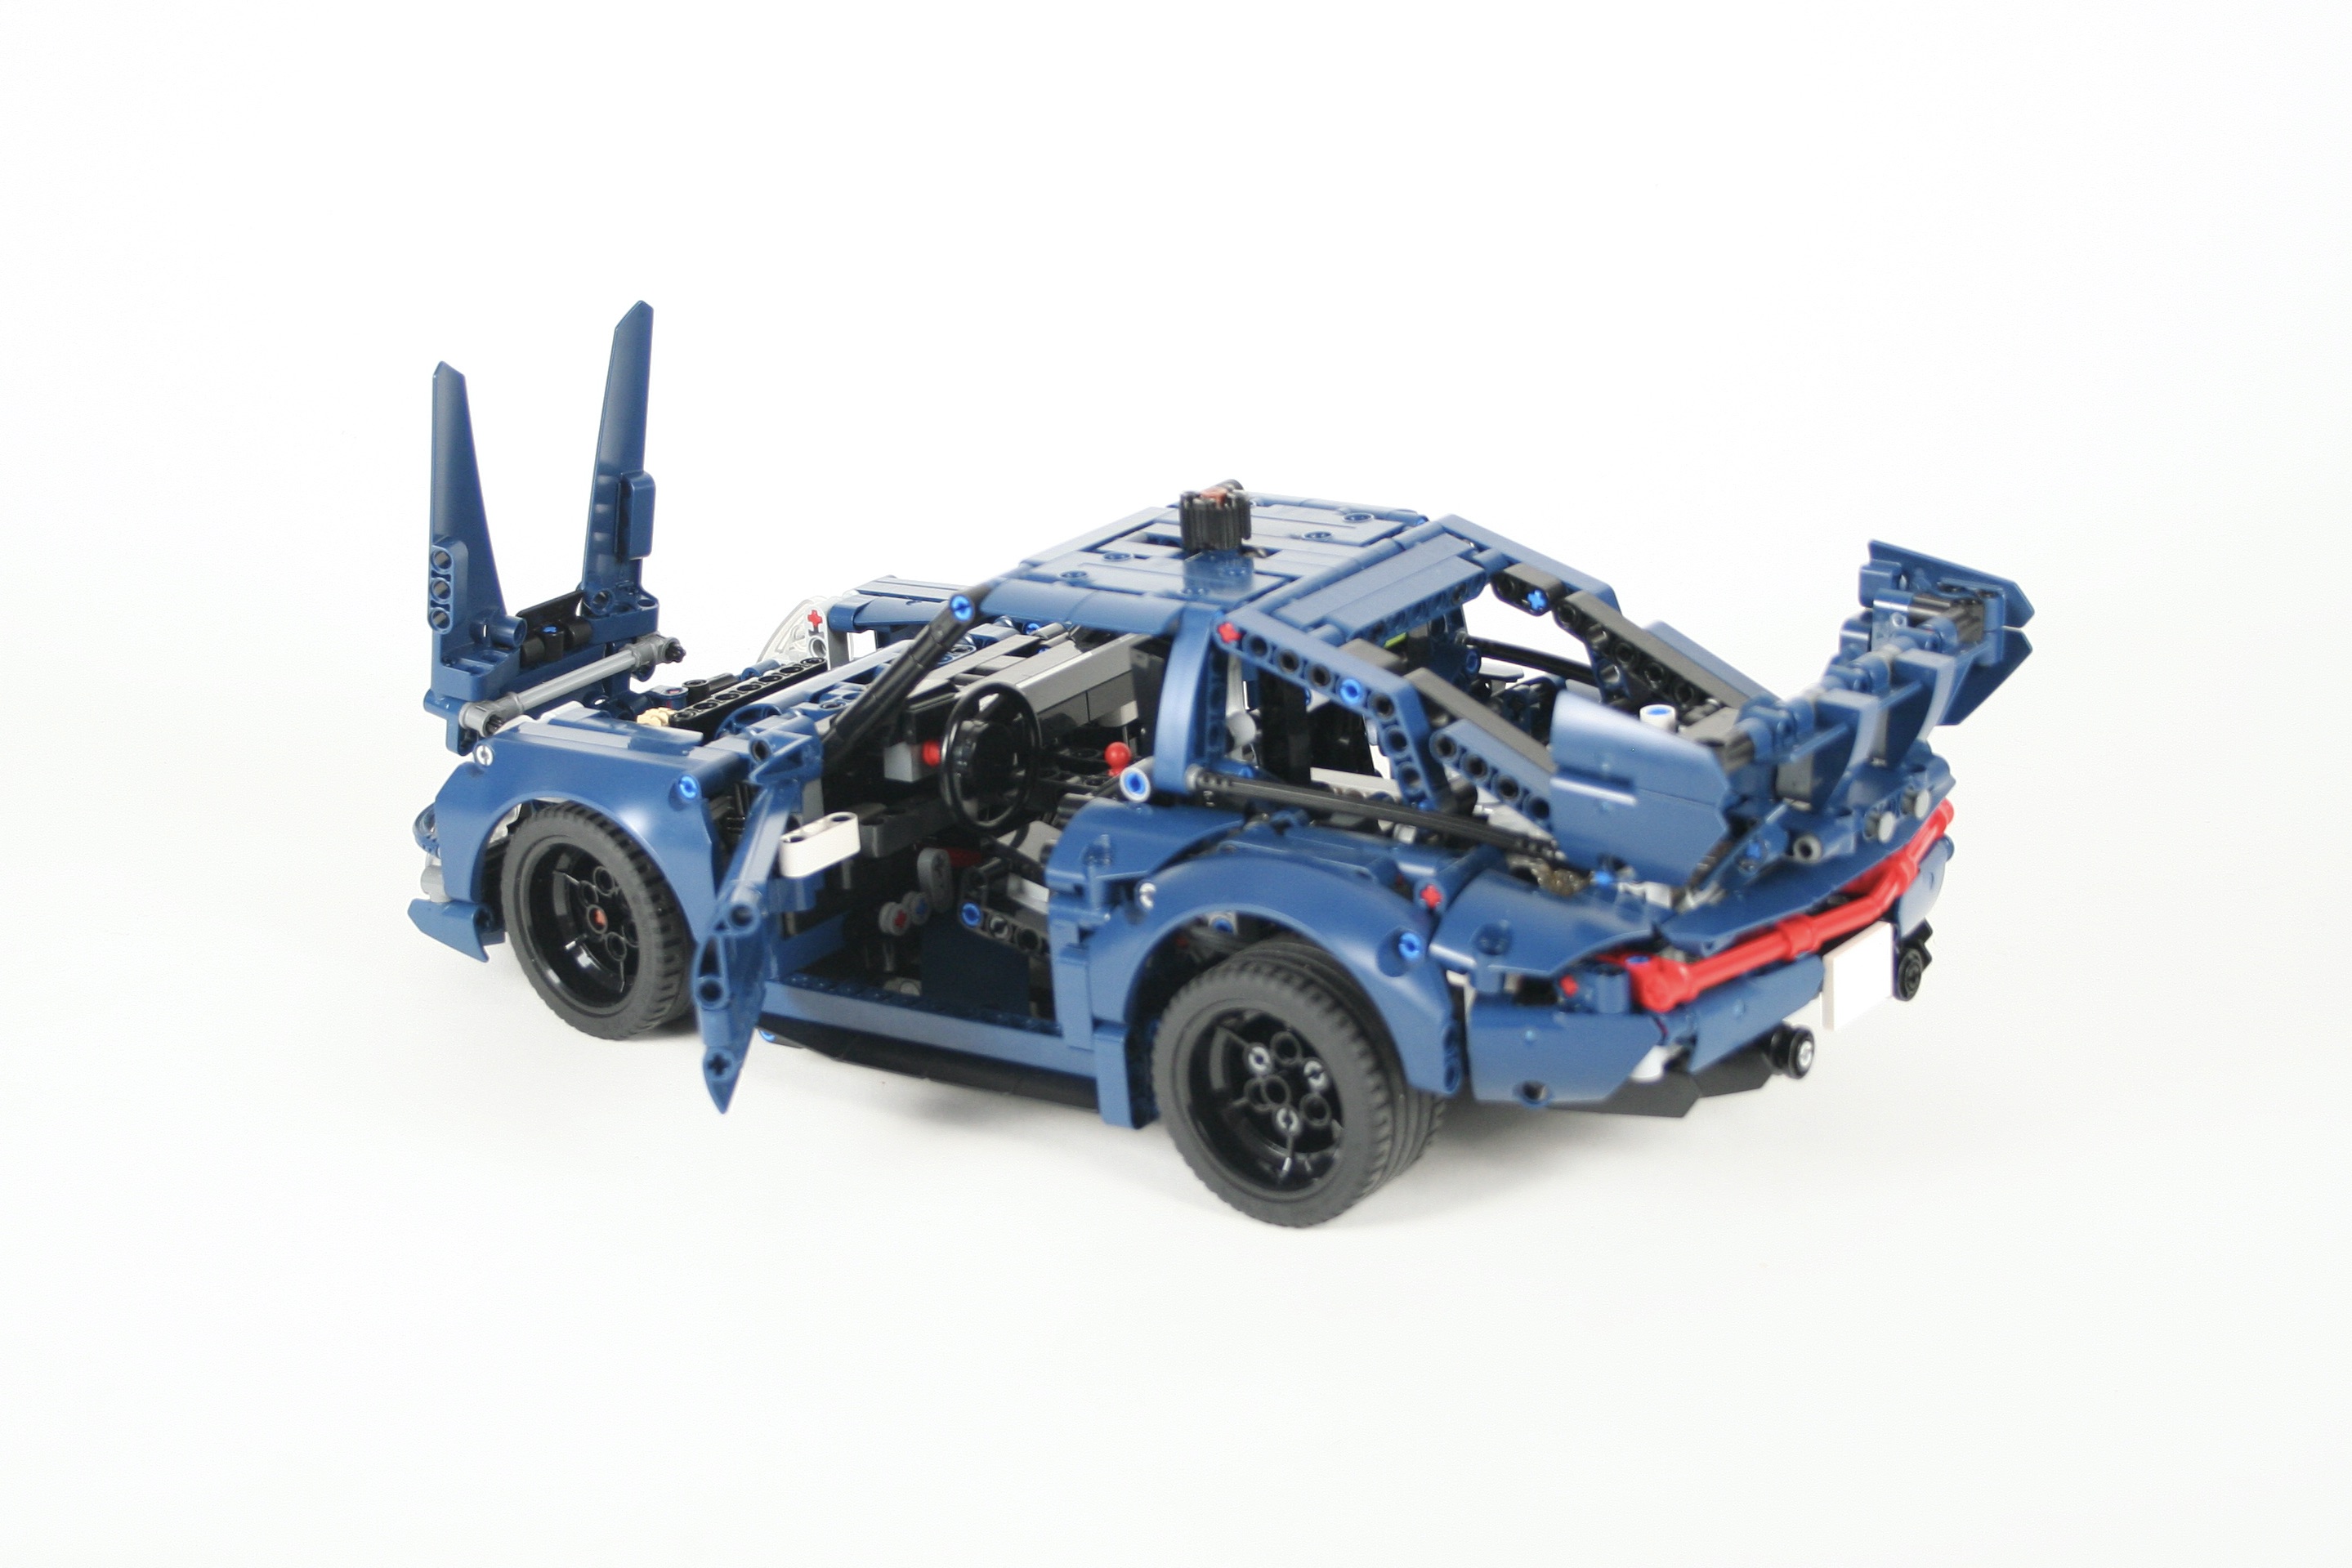
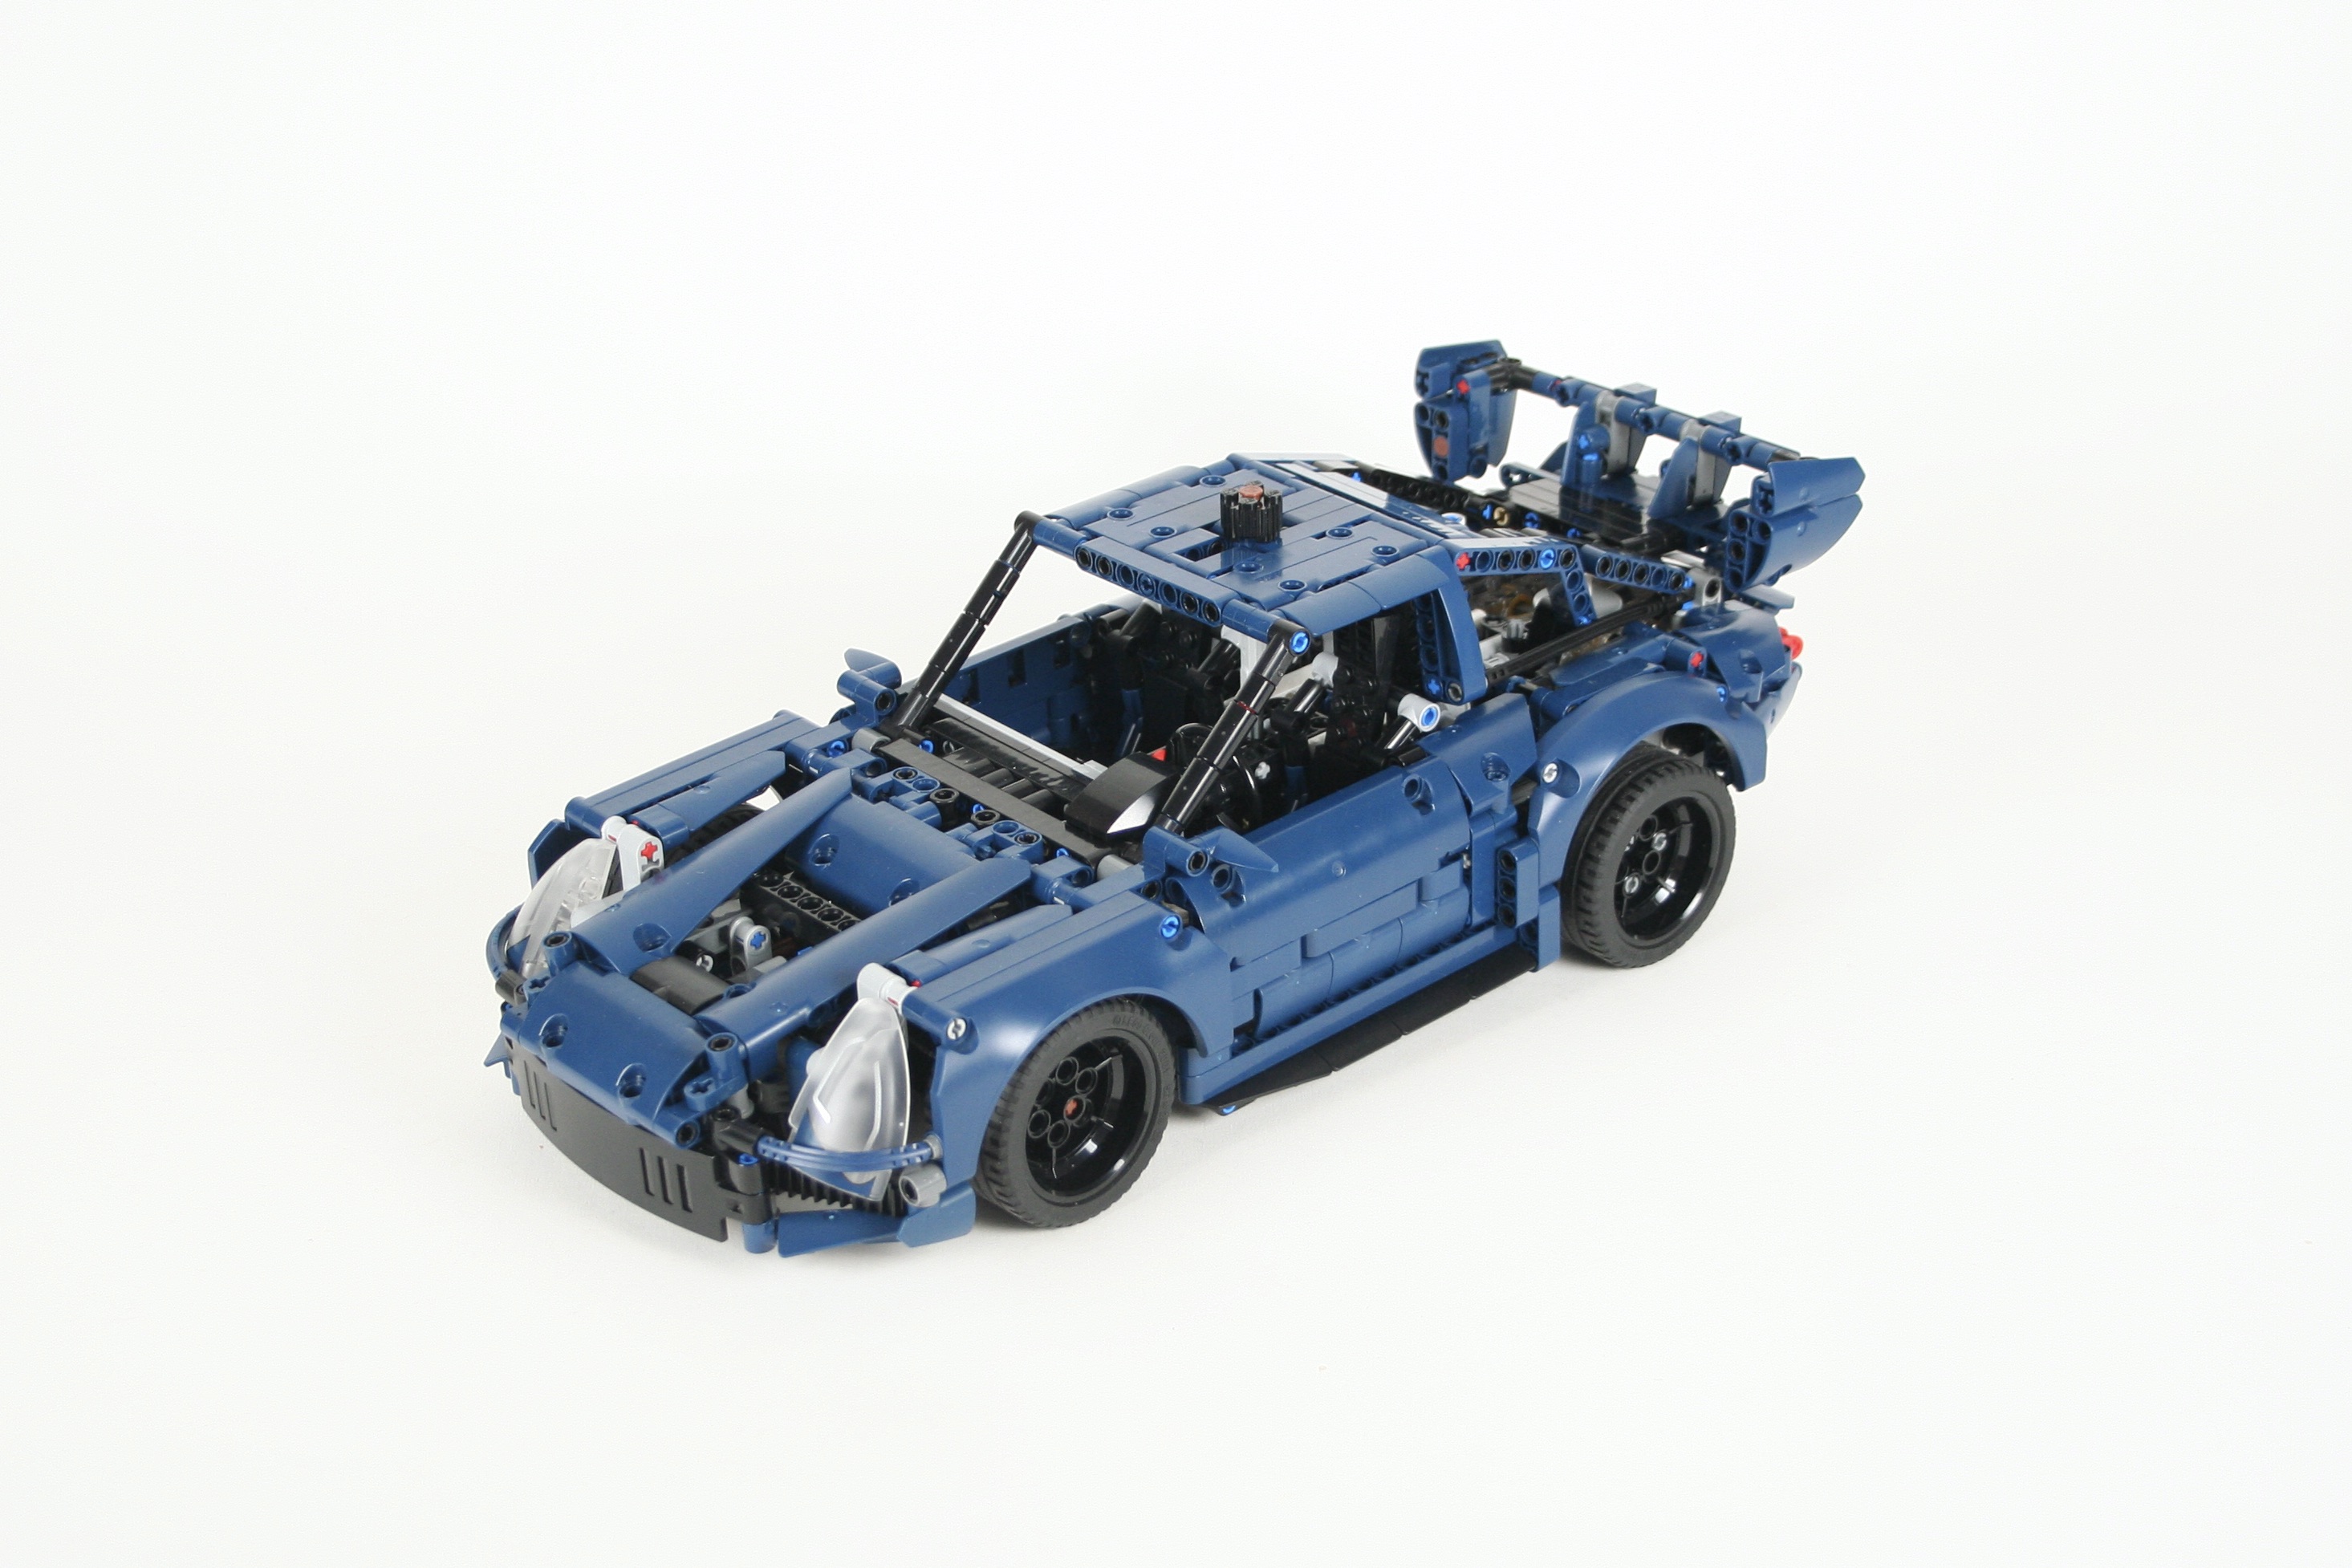
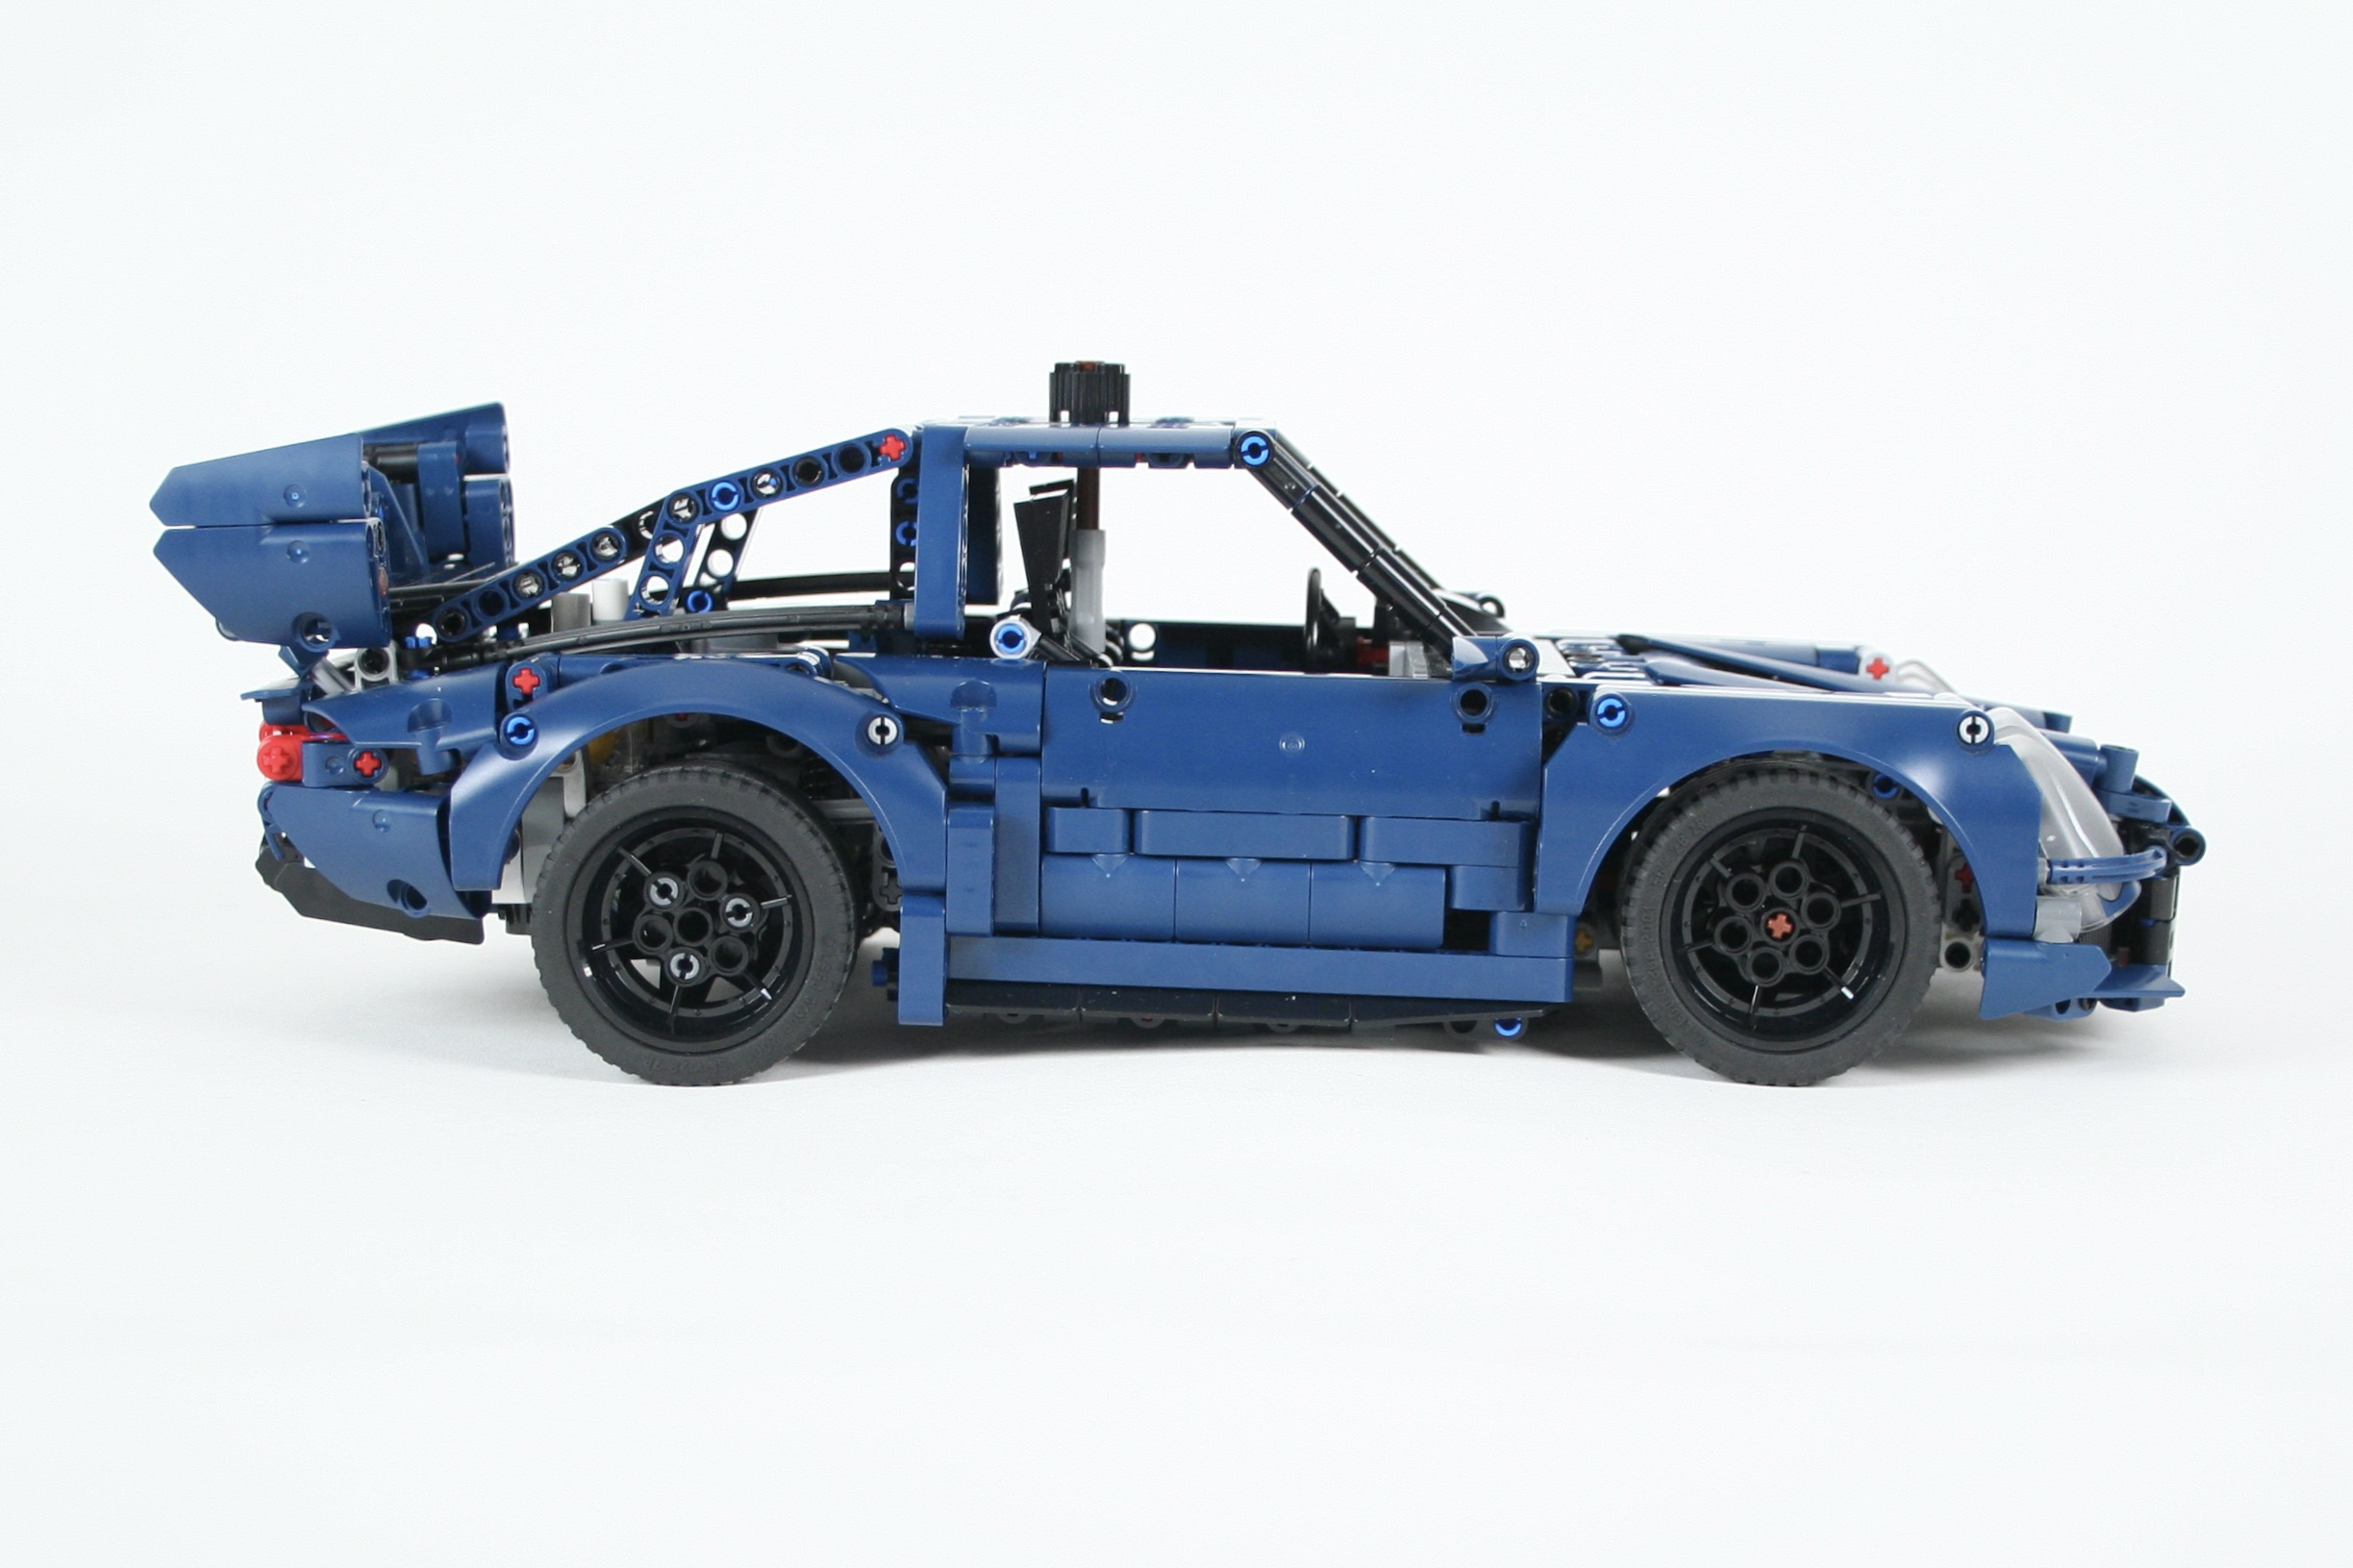
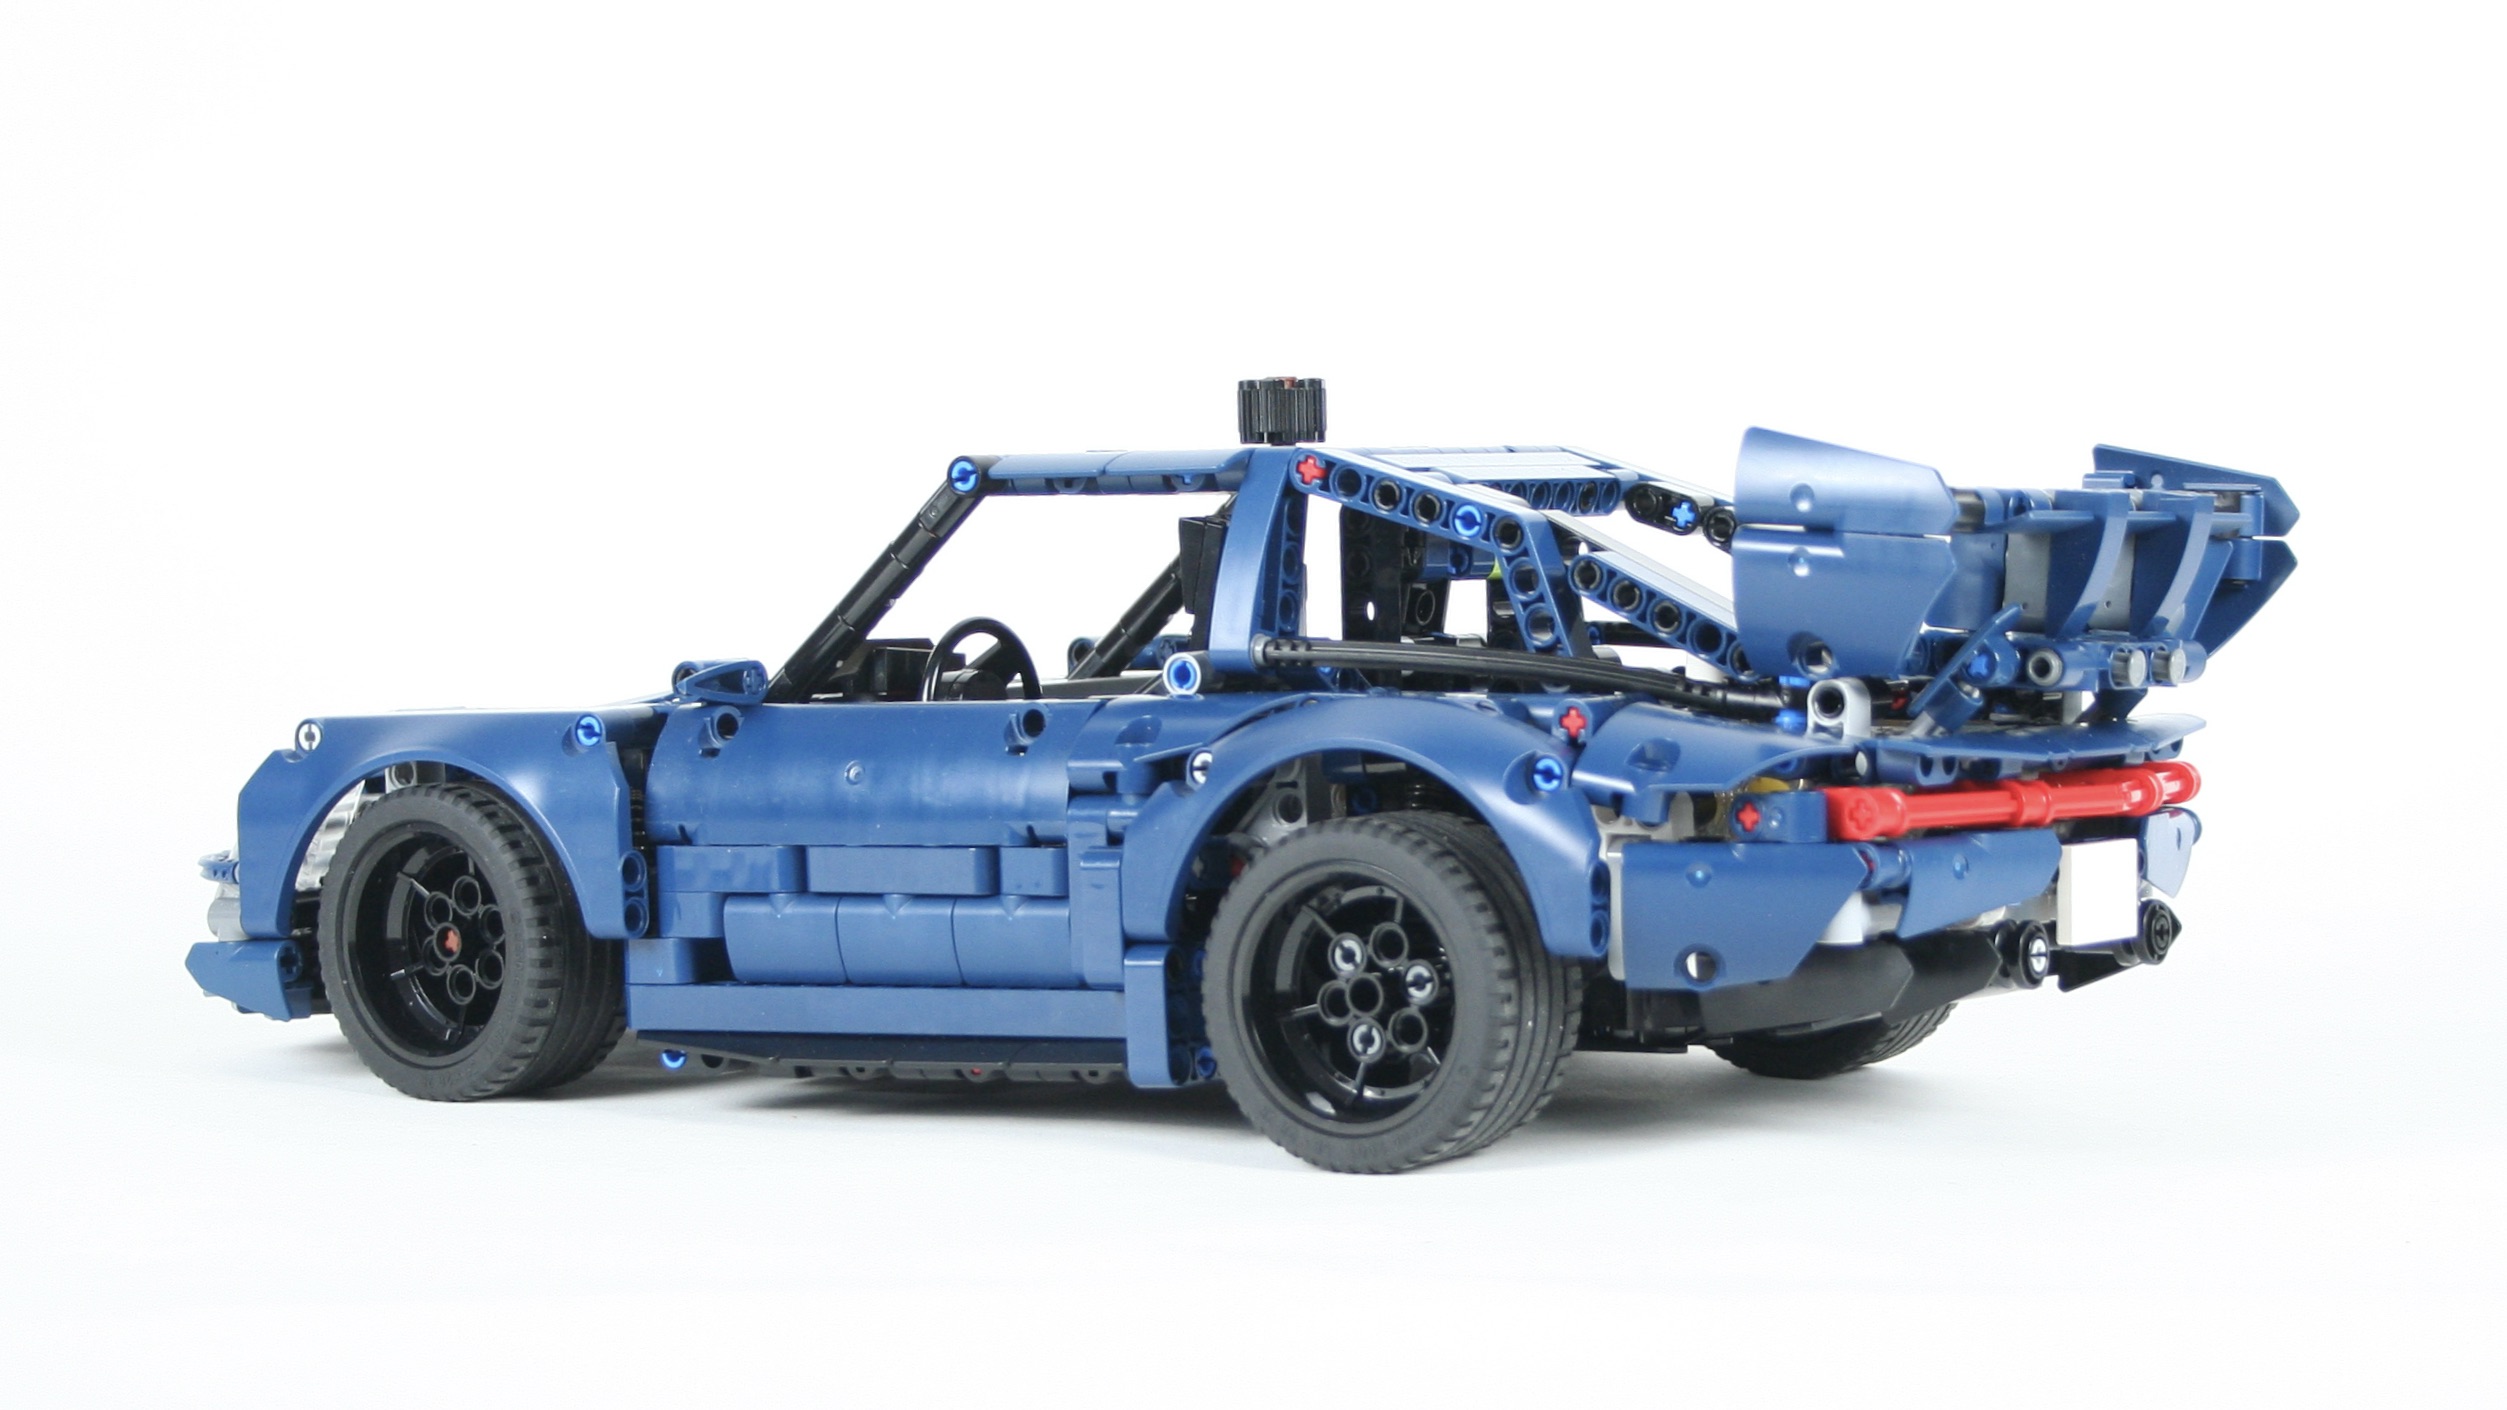
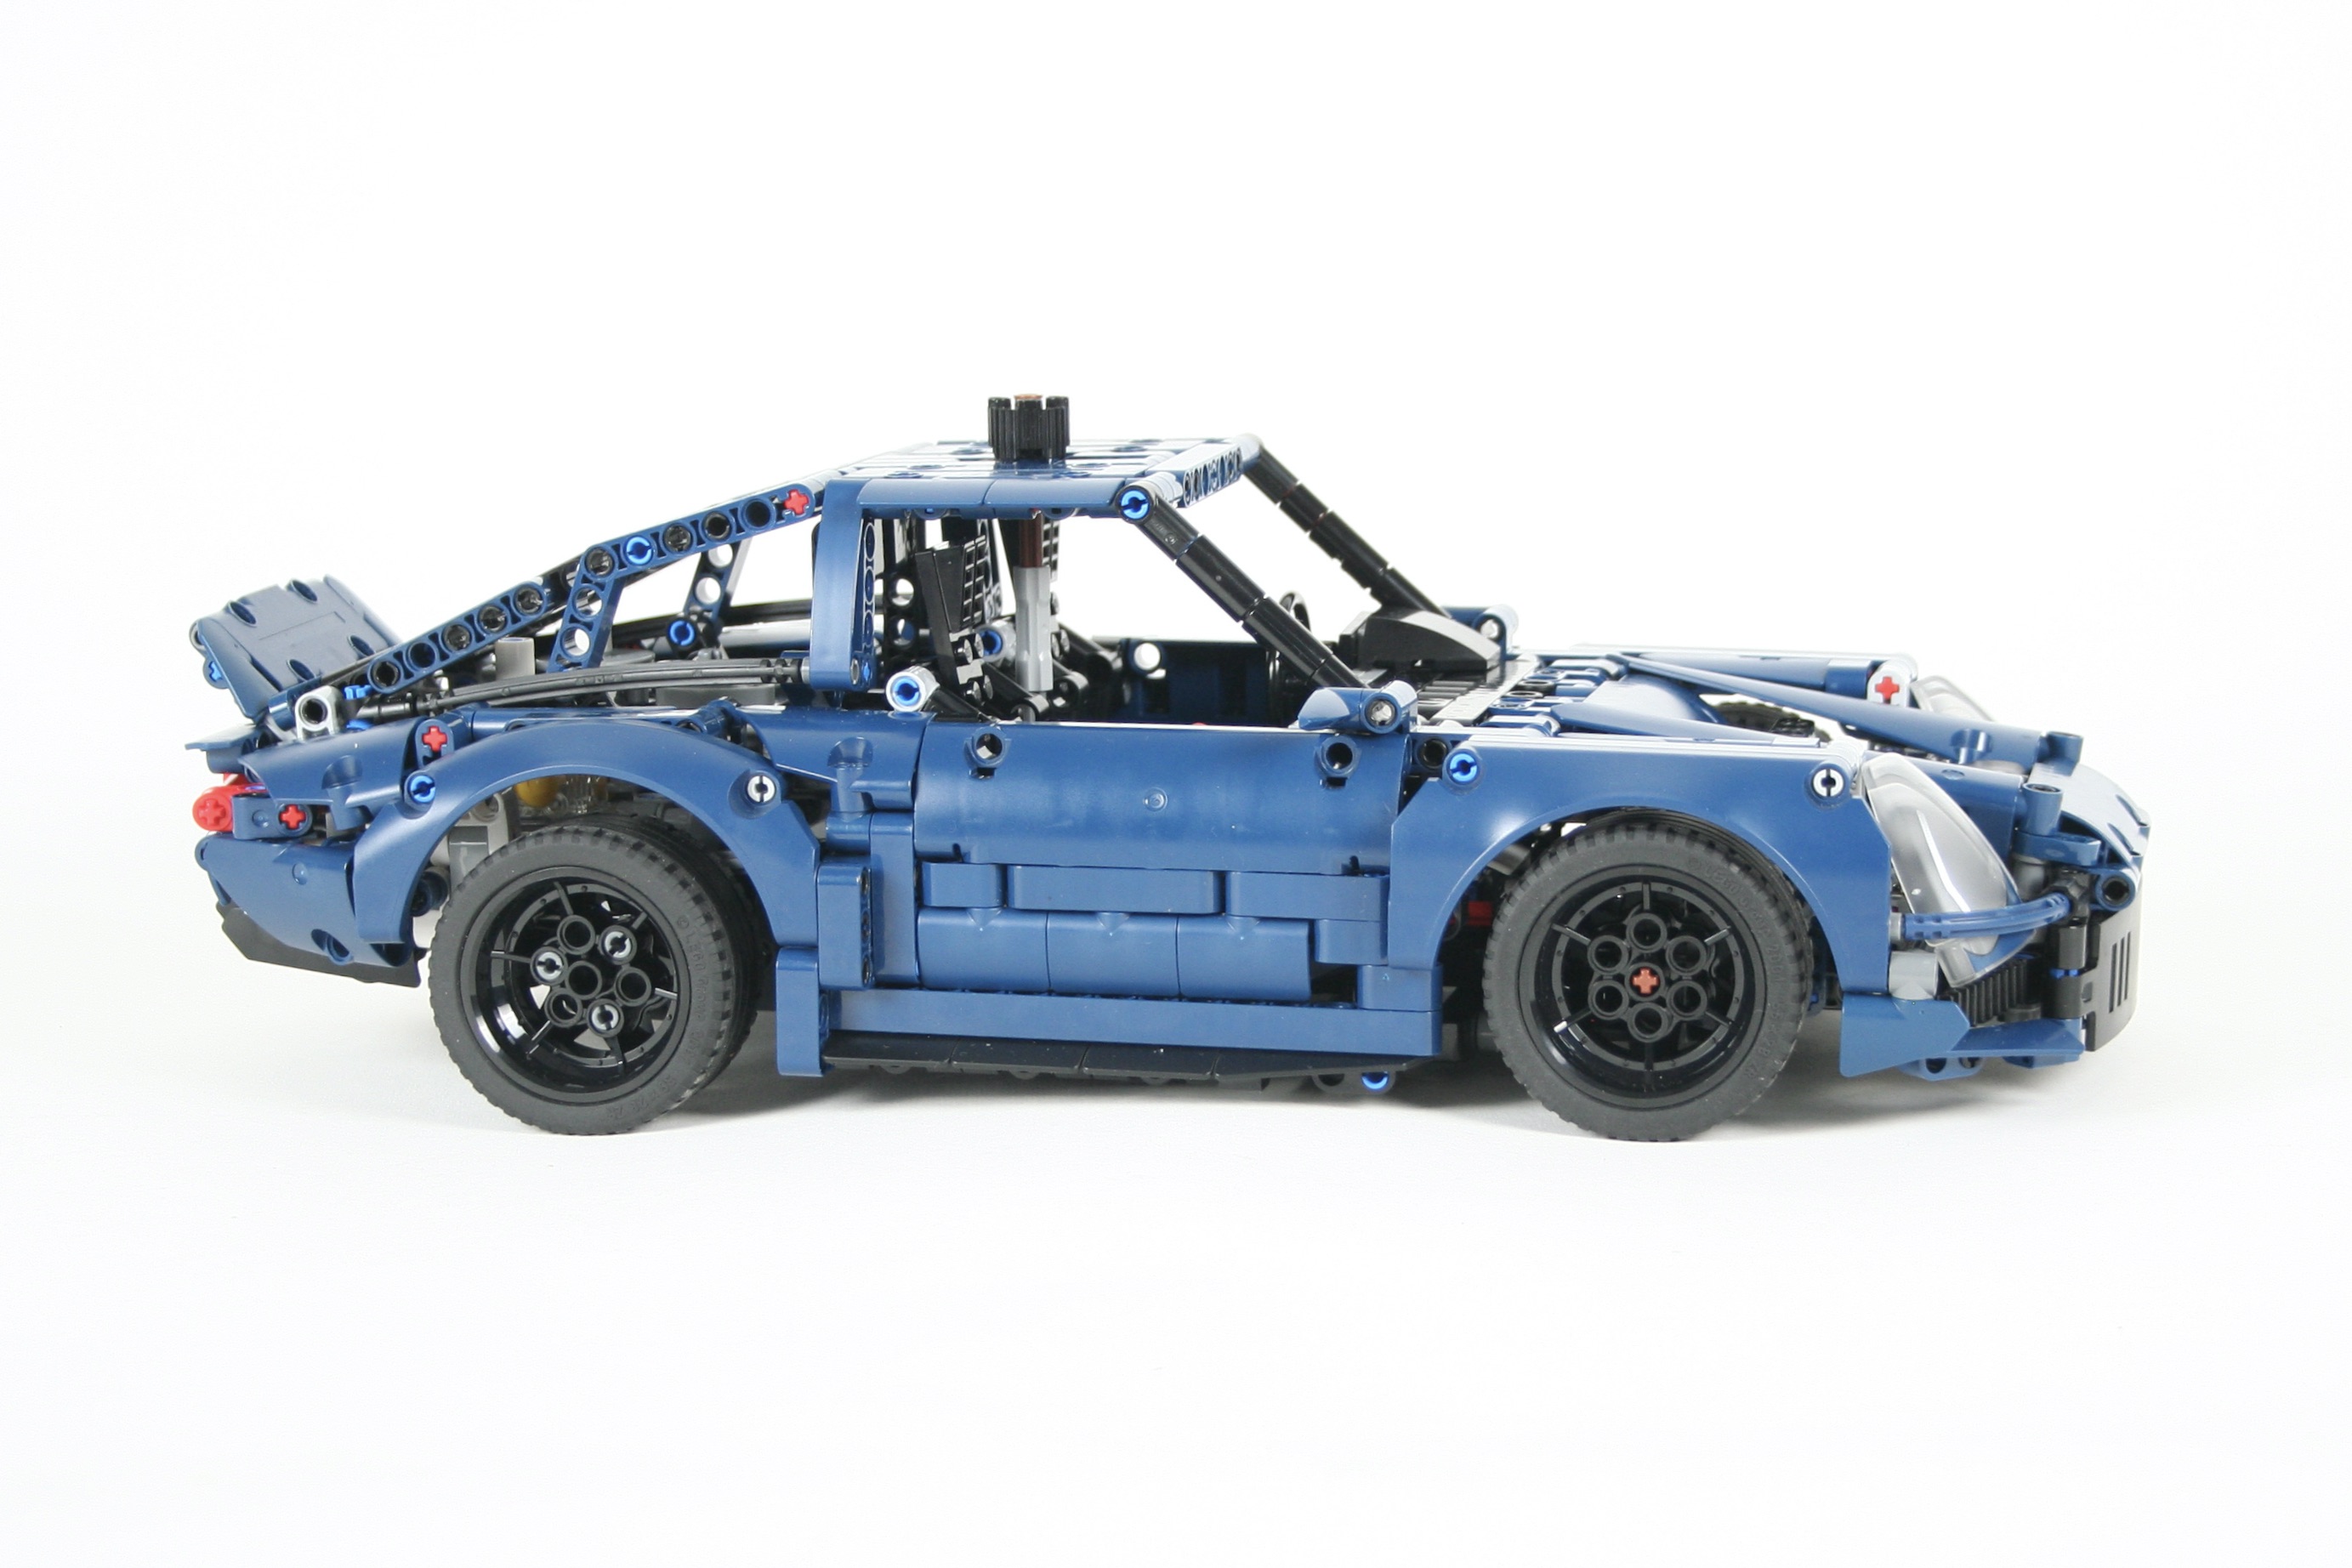
Porsche 718 Boxster
March 27, 2024 Leave a comment
There are many great Porsche 911s, so it was time to try a Boxster.
Instructions are available at Rebrickable.com.

Like many car enthusiasts, I am love any Porsche. I have made my fair share of 911s, which is right of passage for LEGO car designers. But at some point, I looked around and did not find any Boxsters. So it was time to design one.
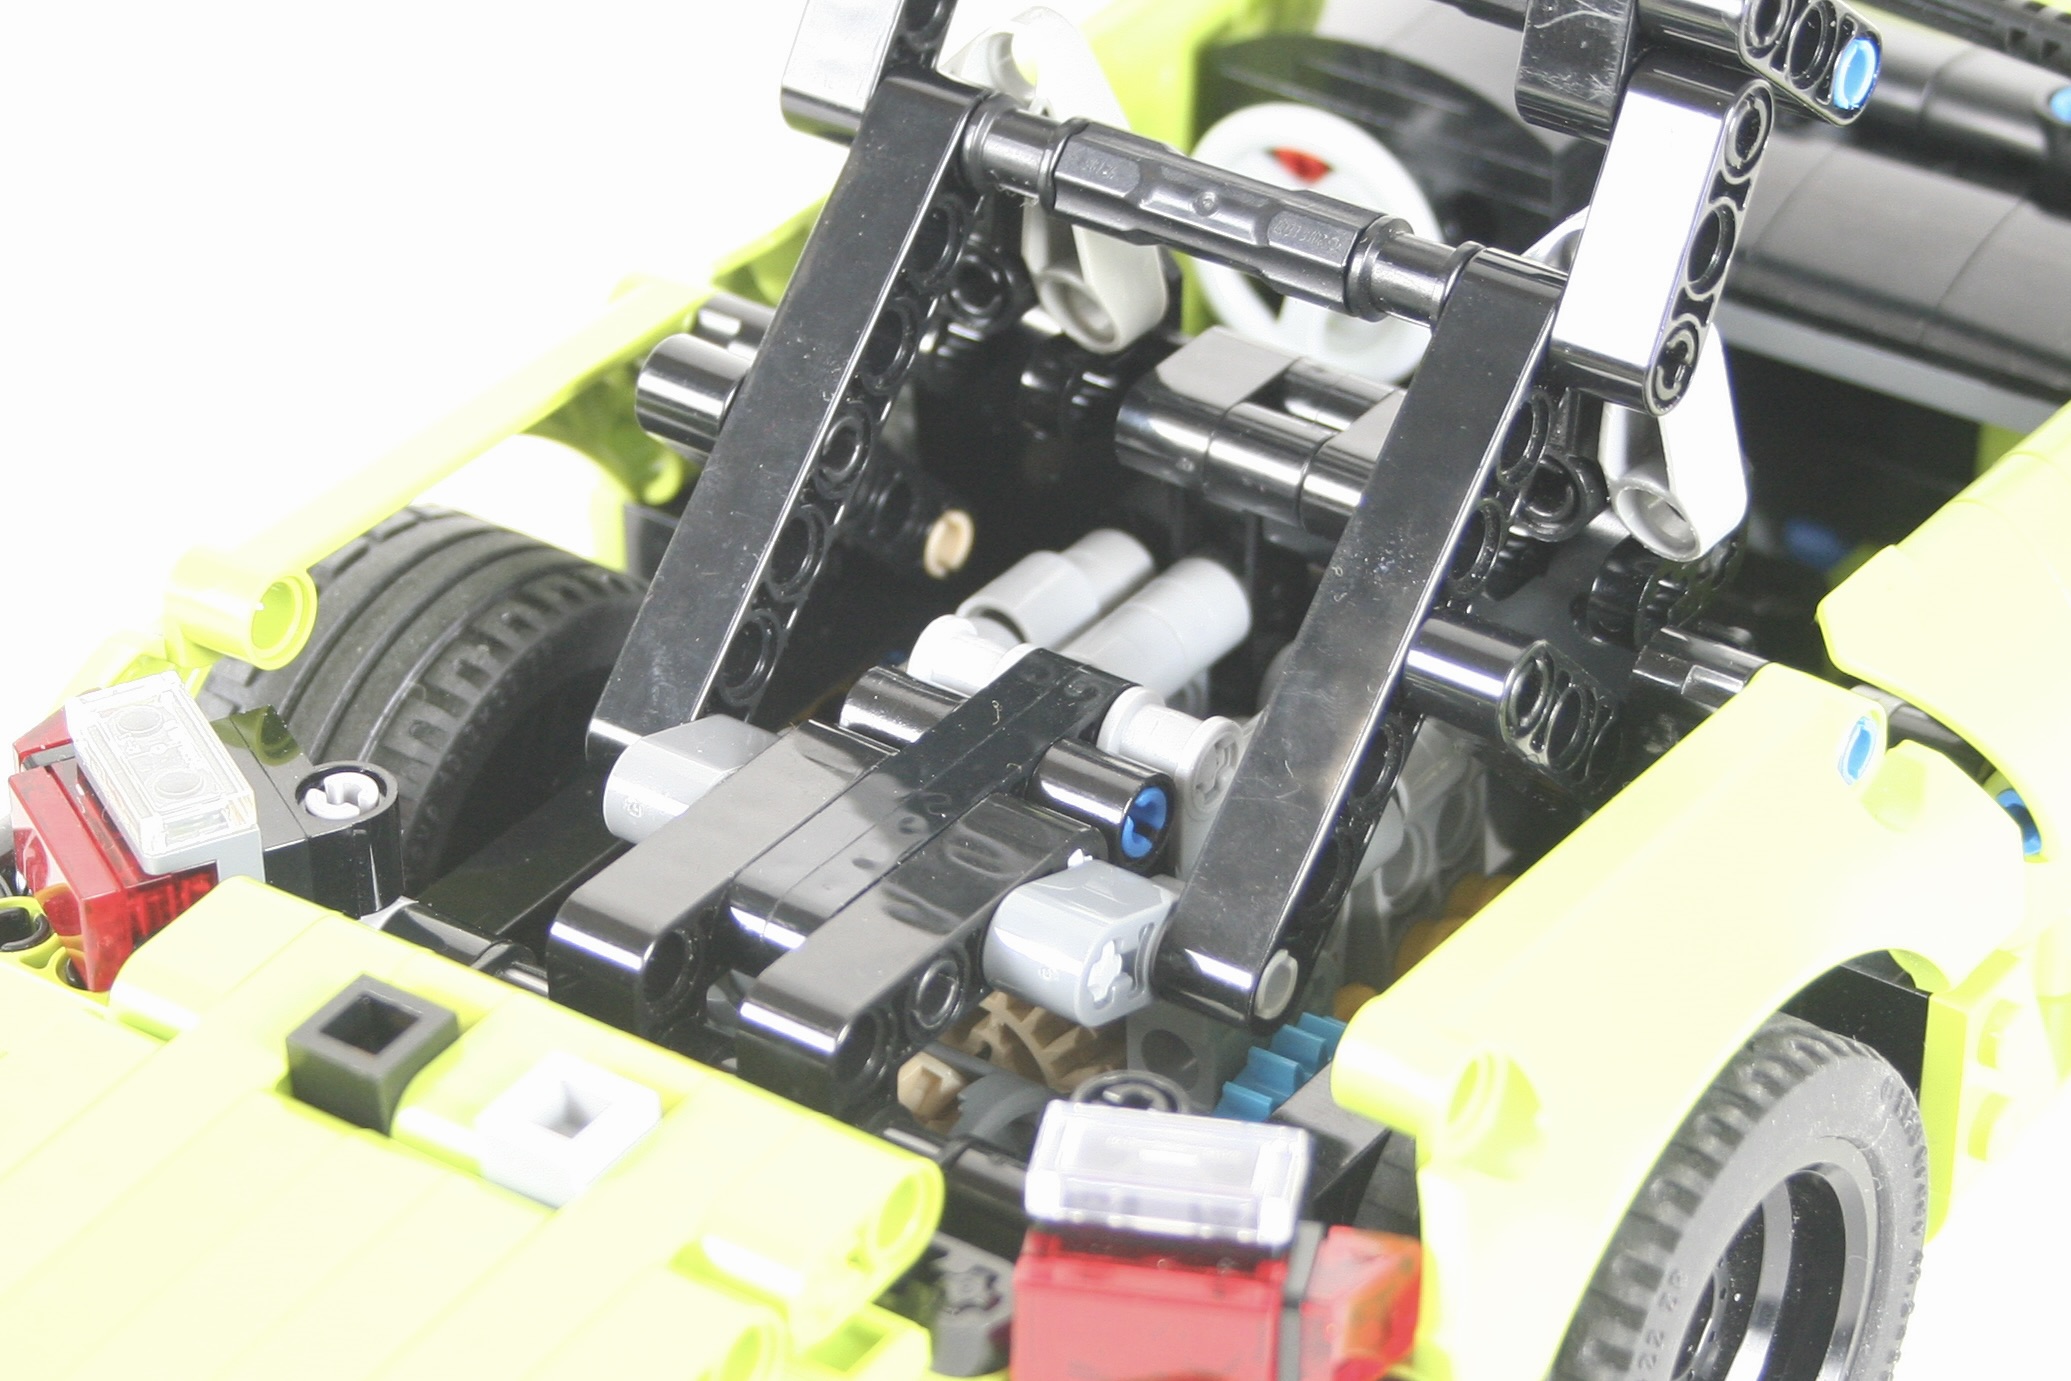
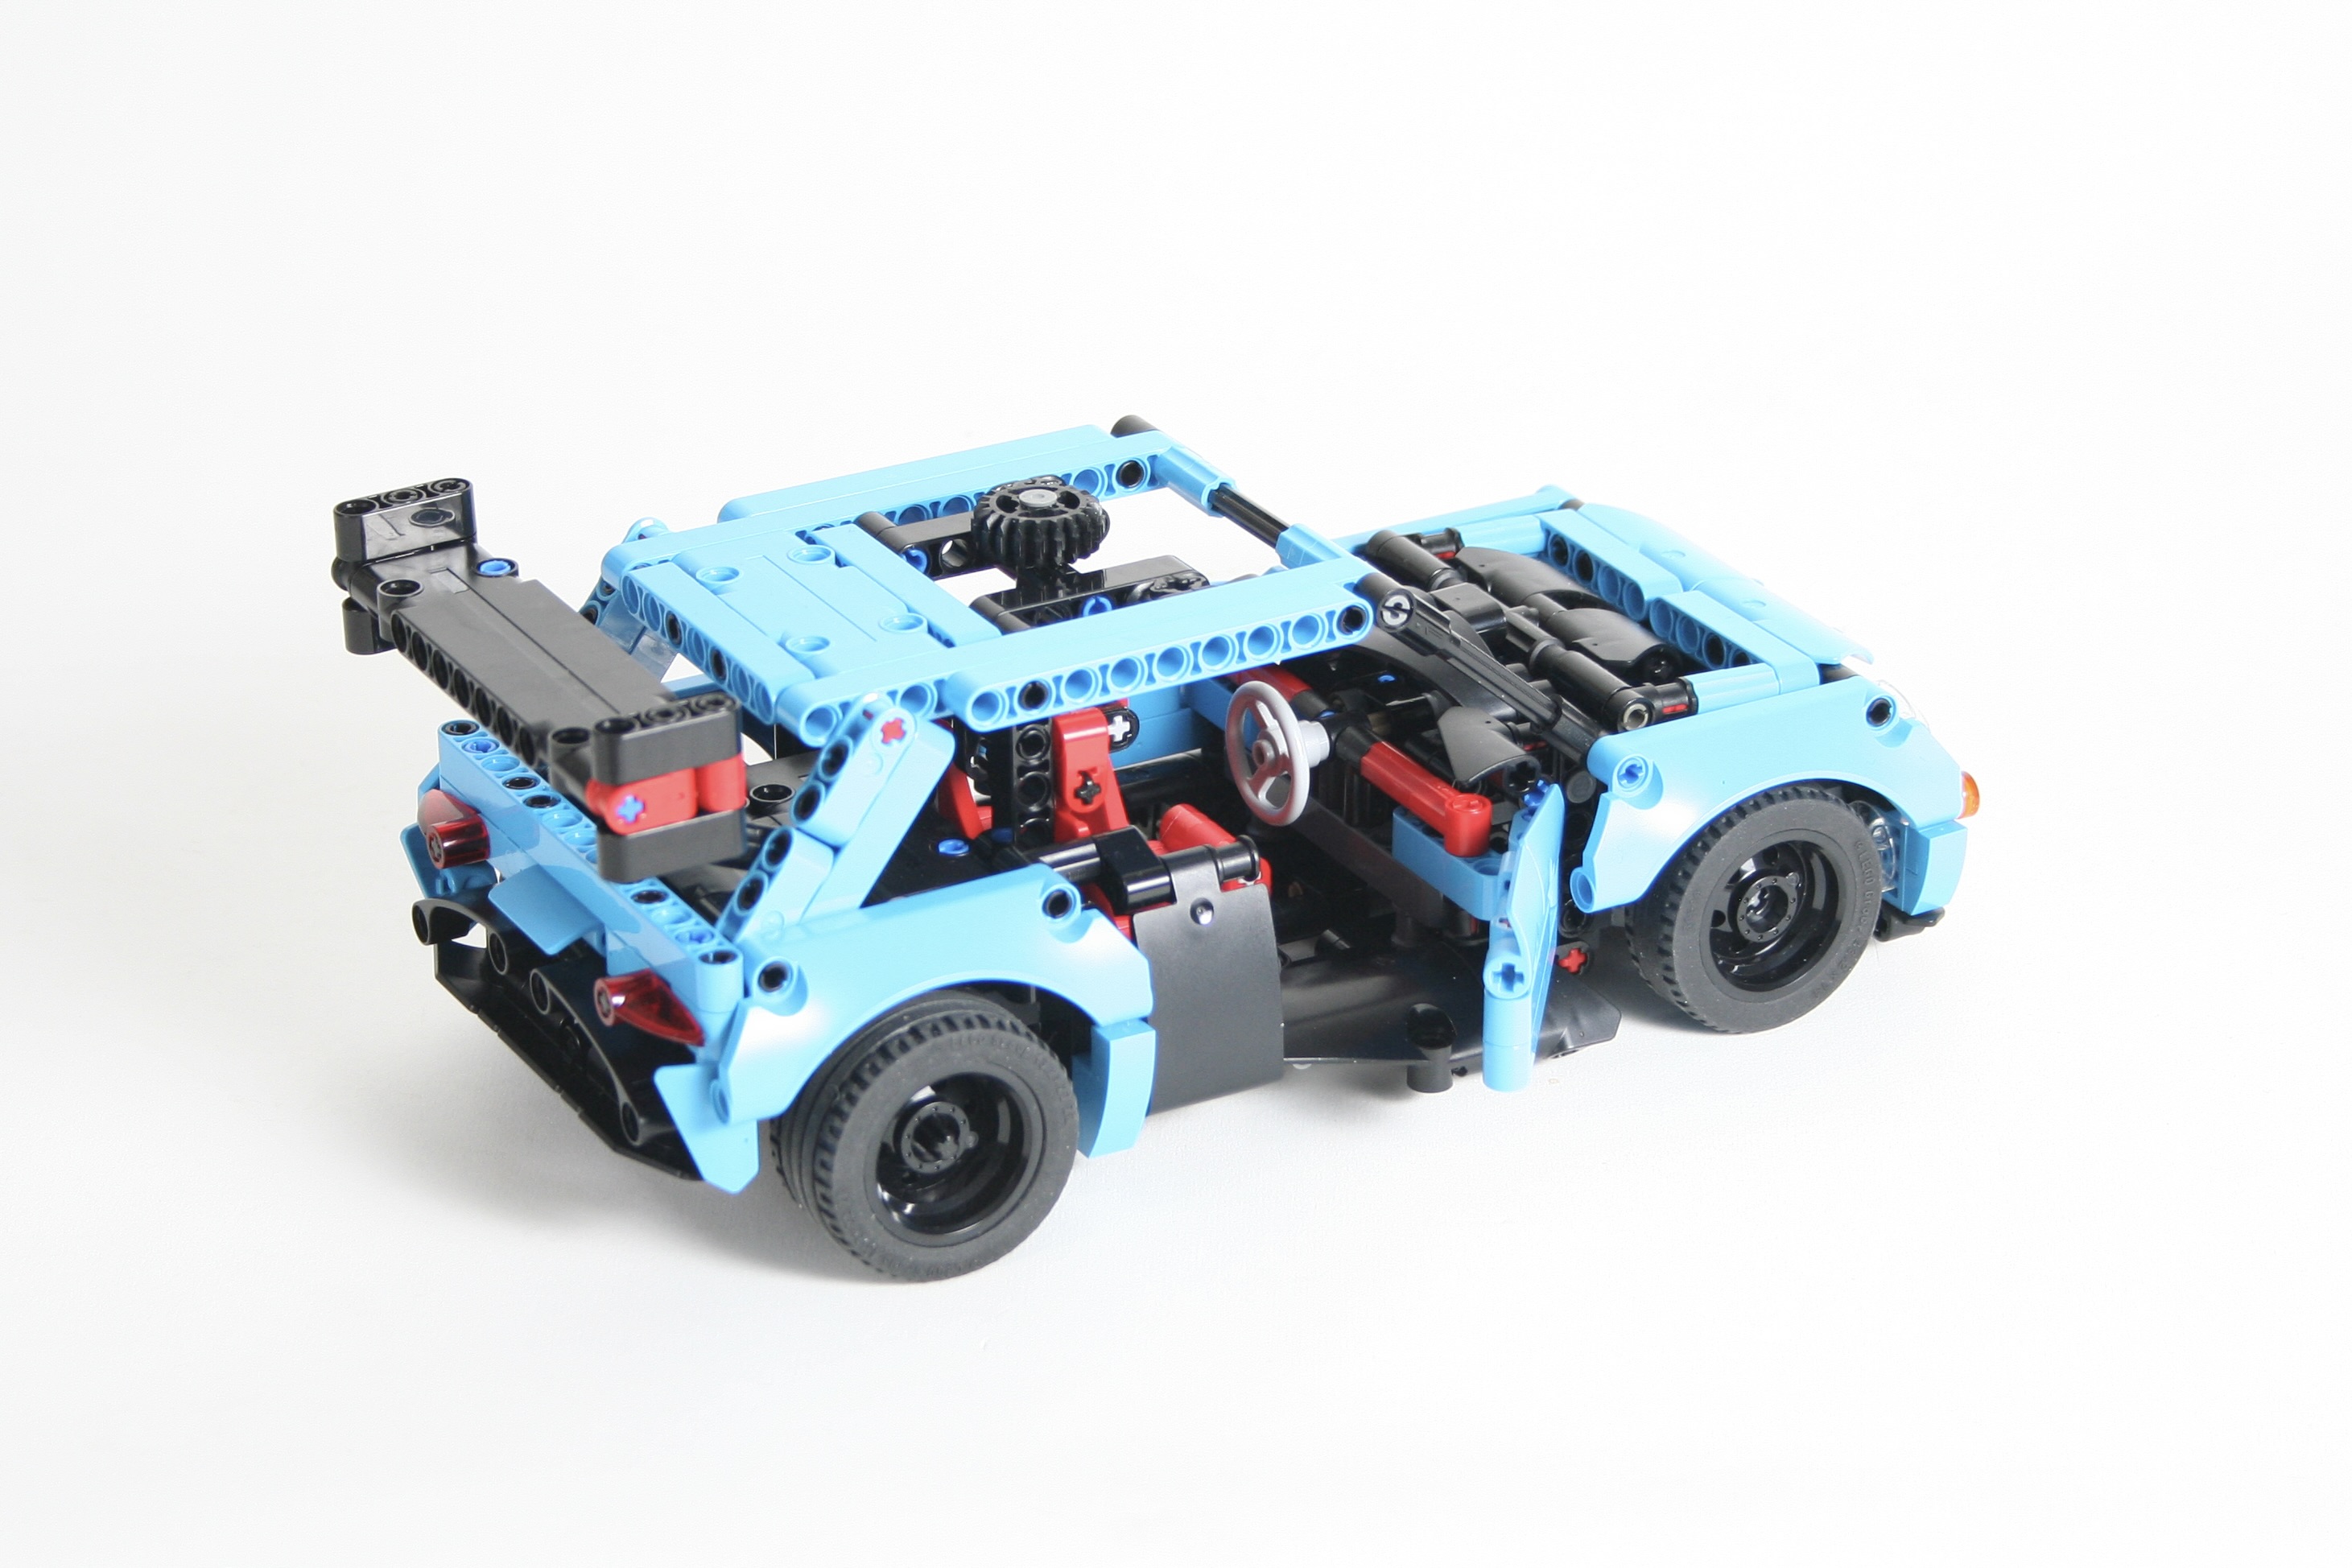
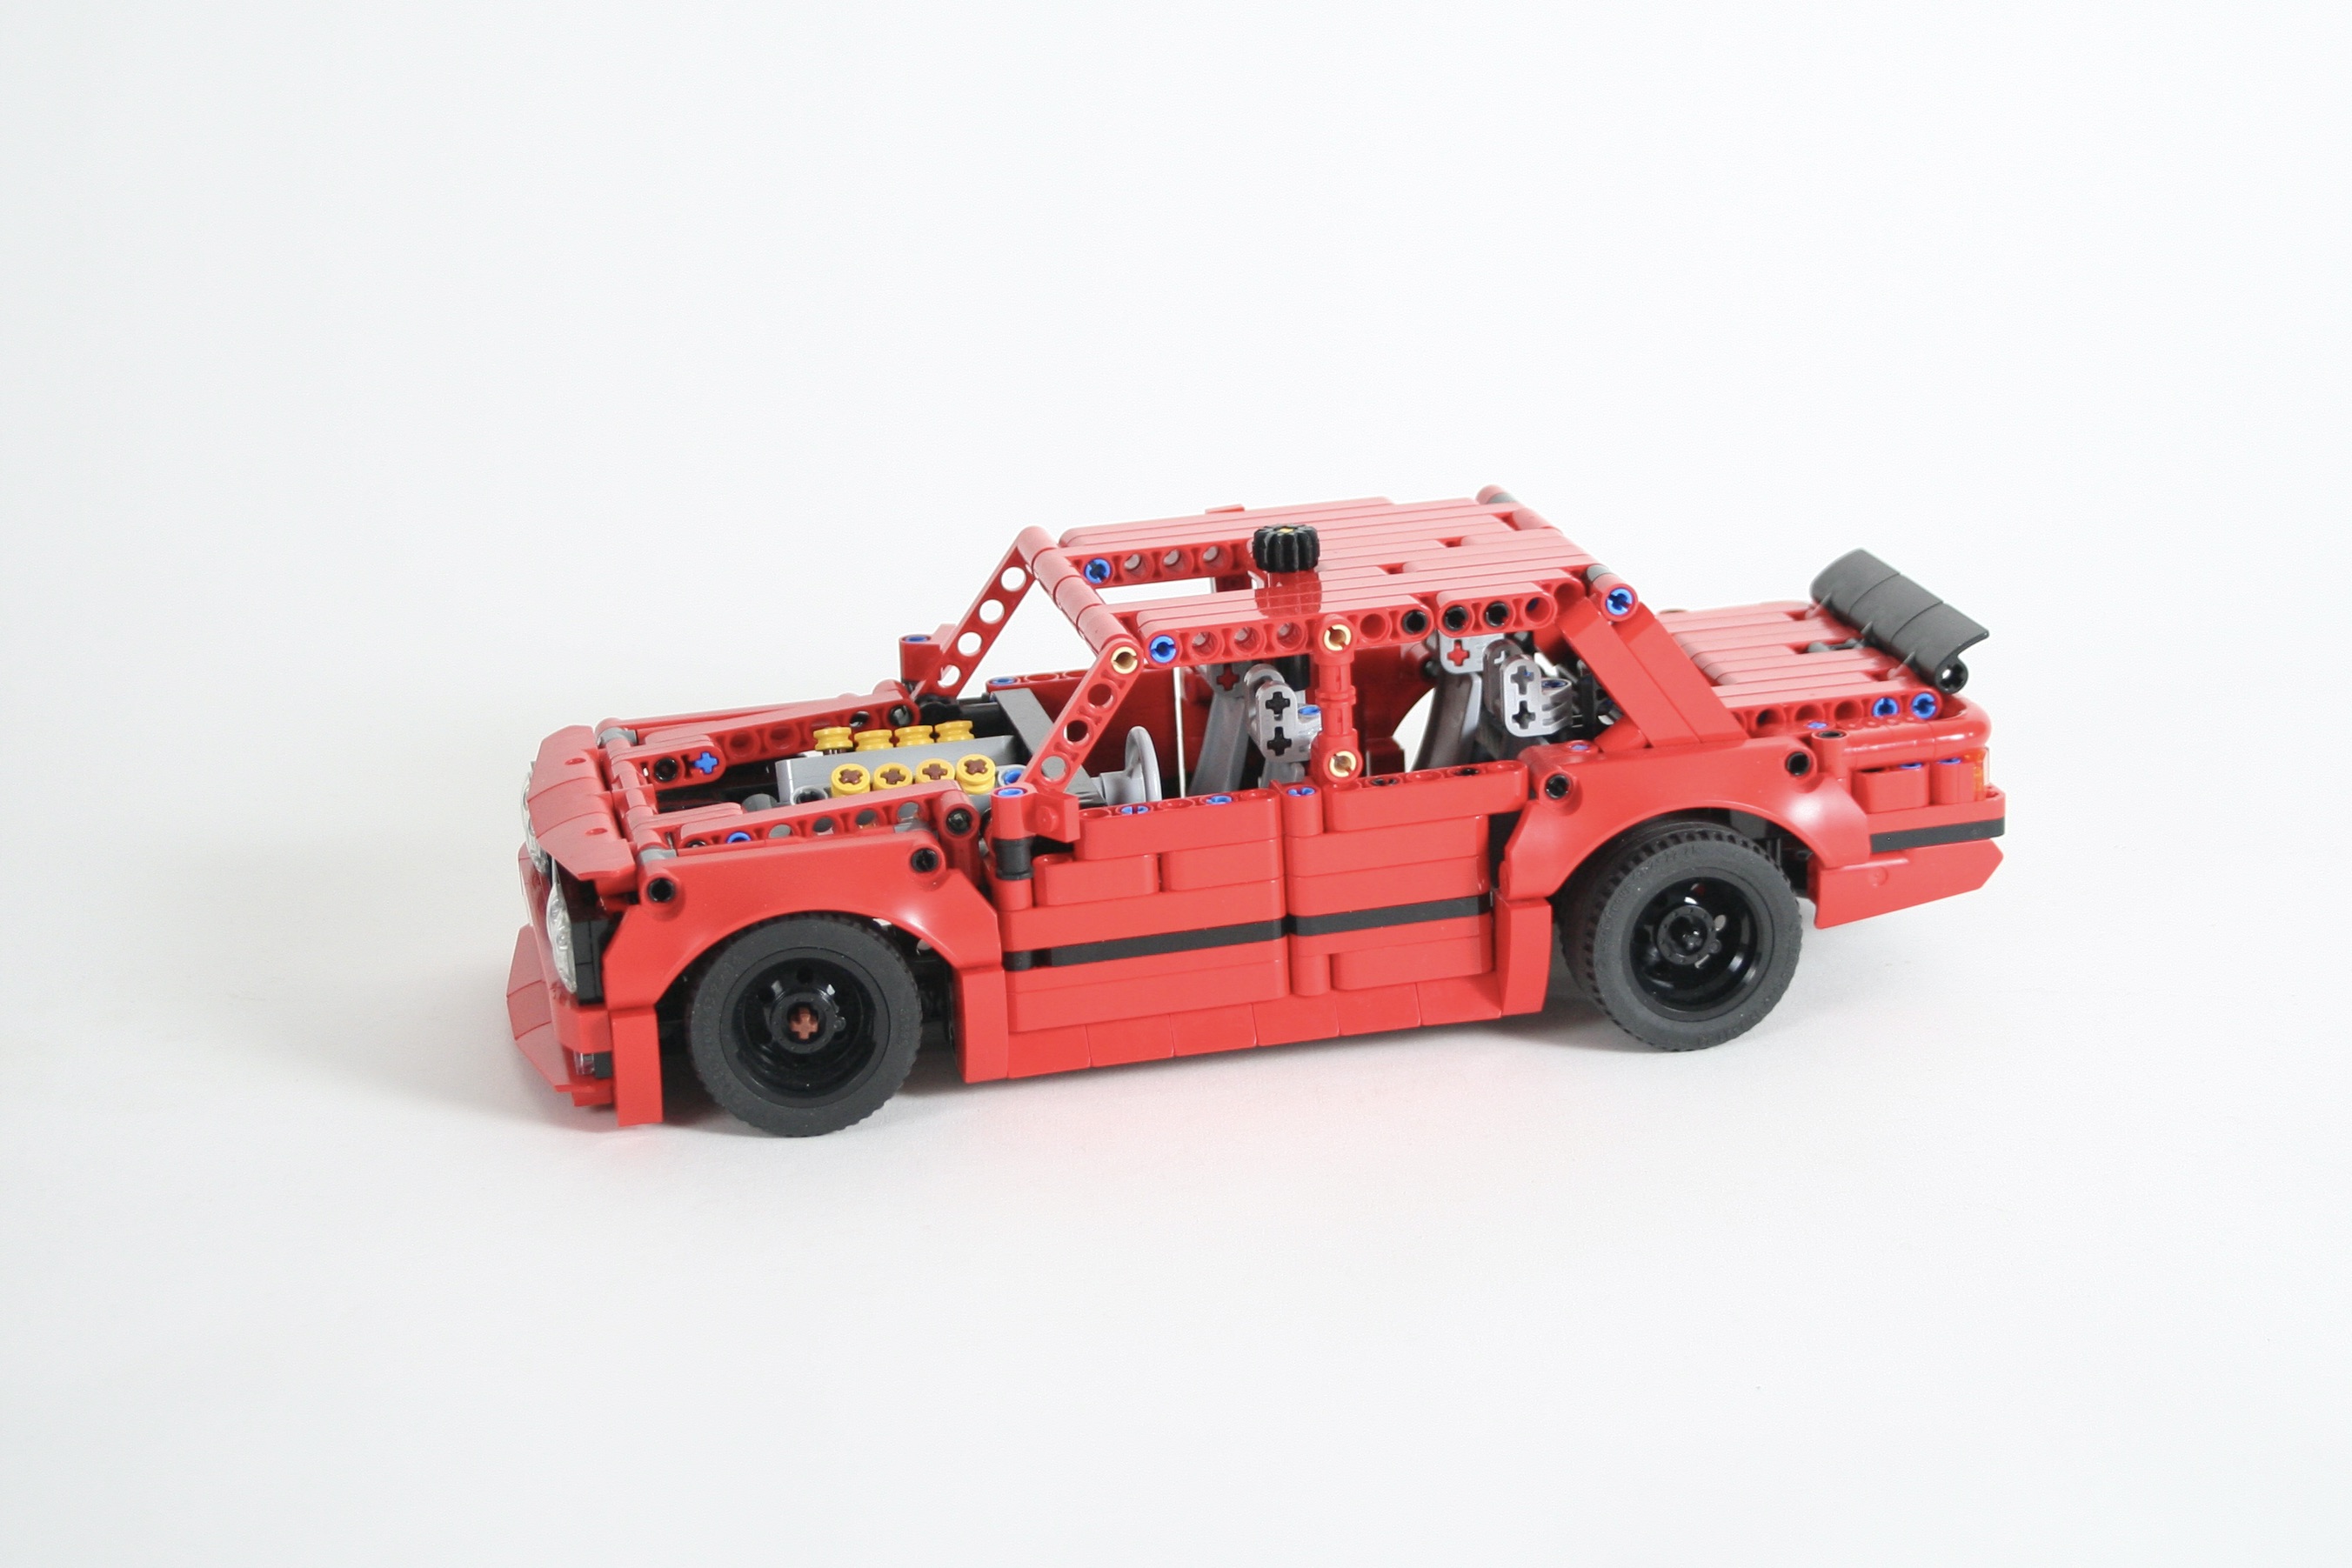
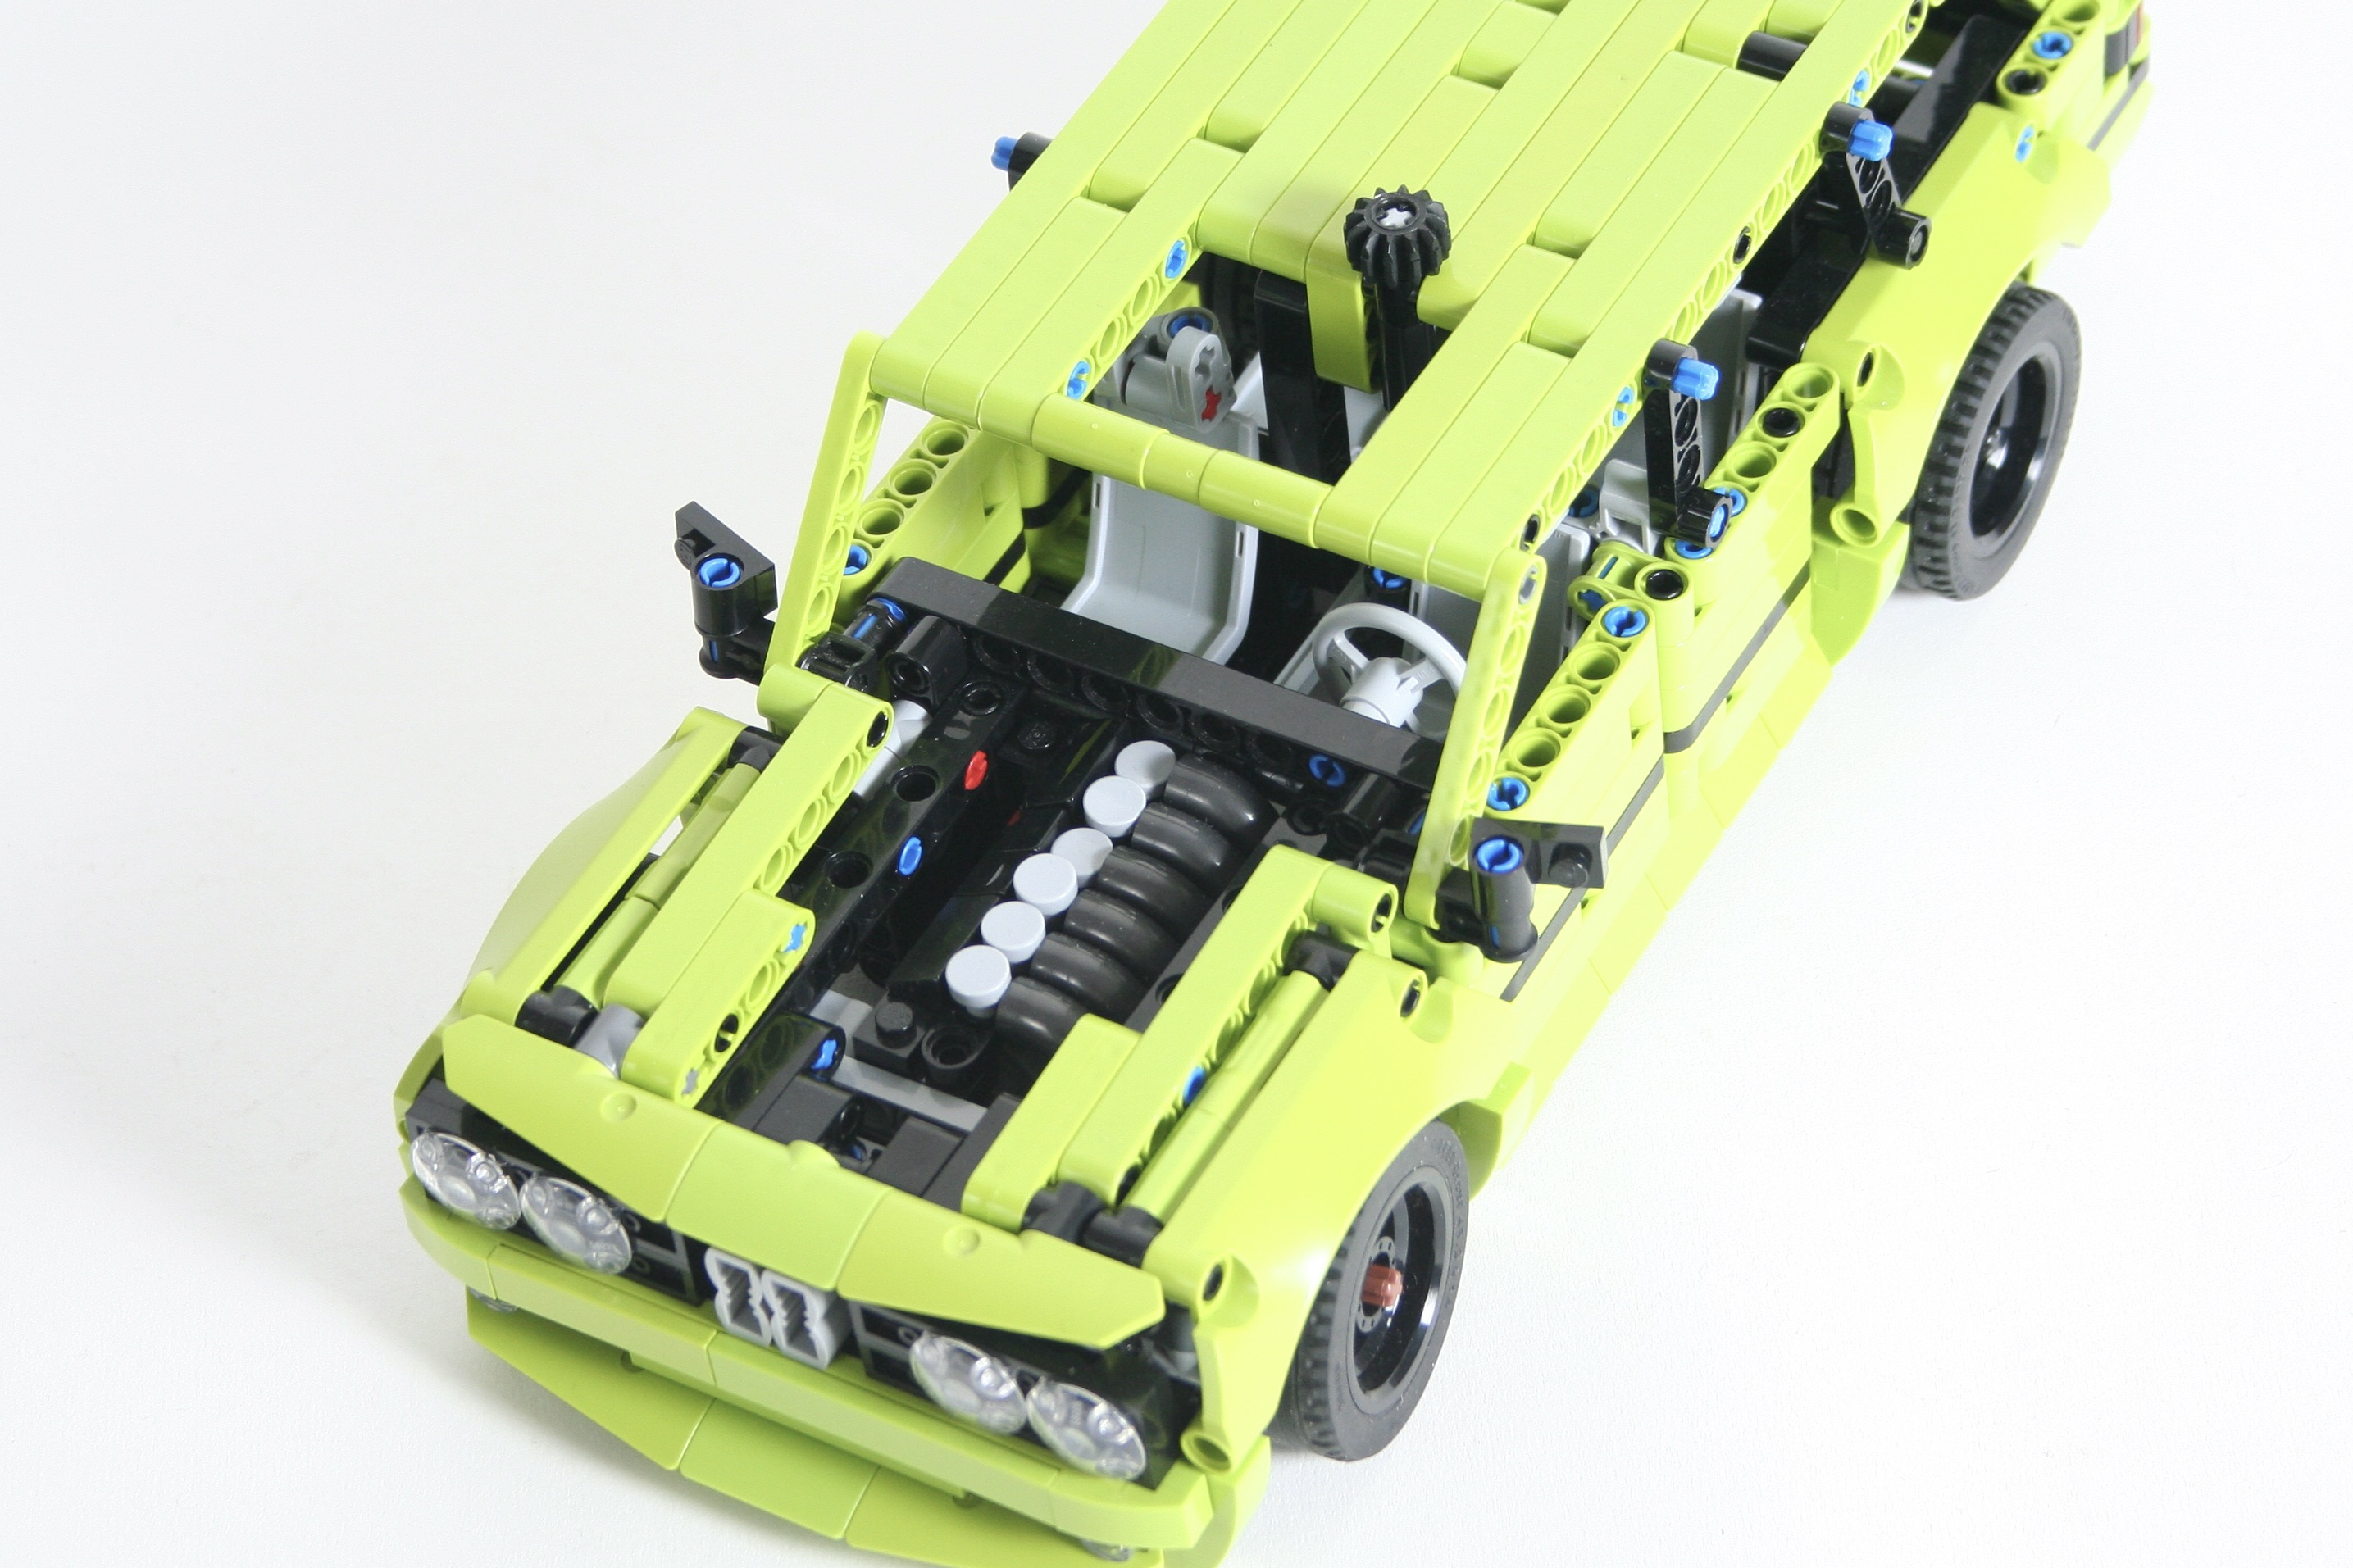
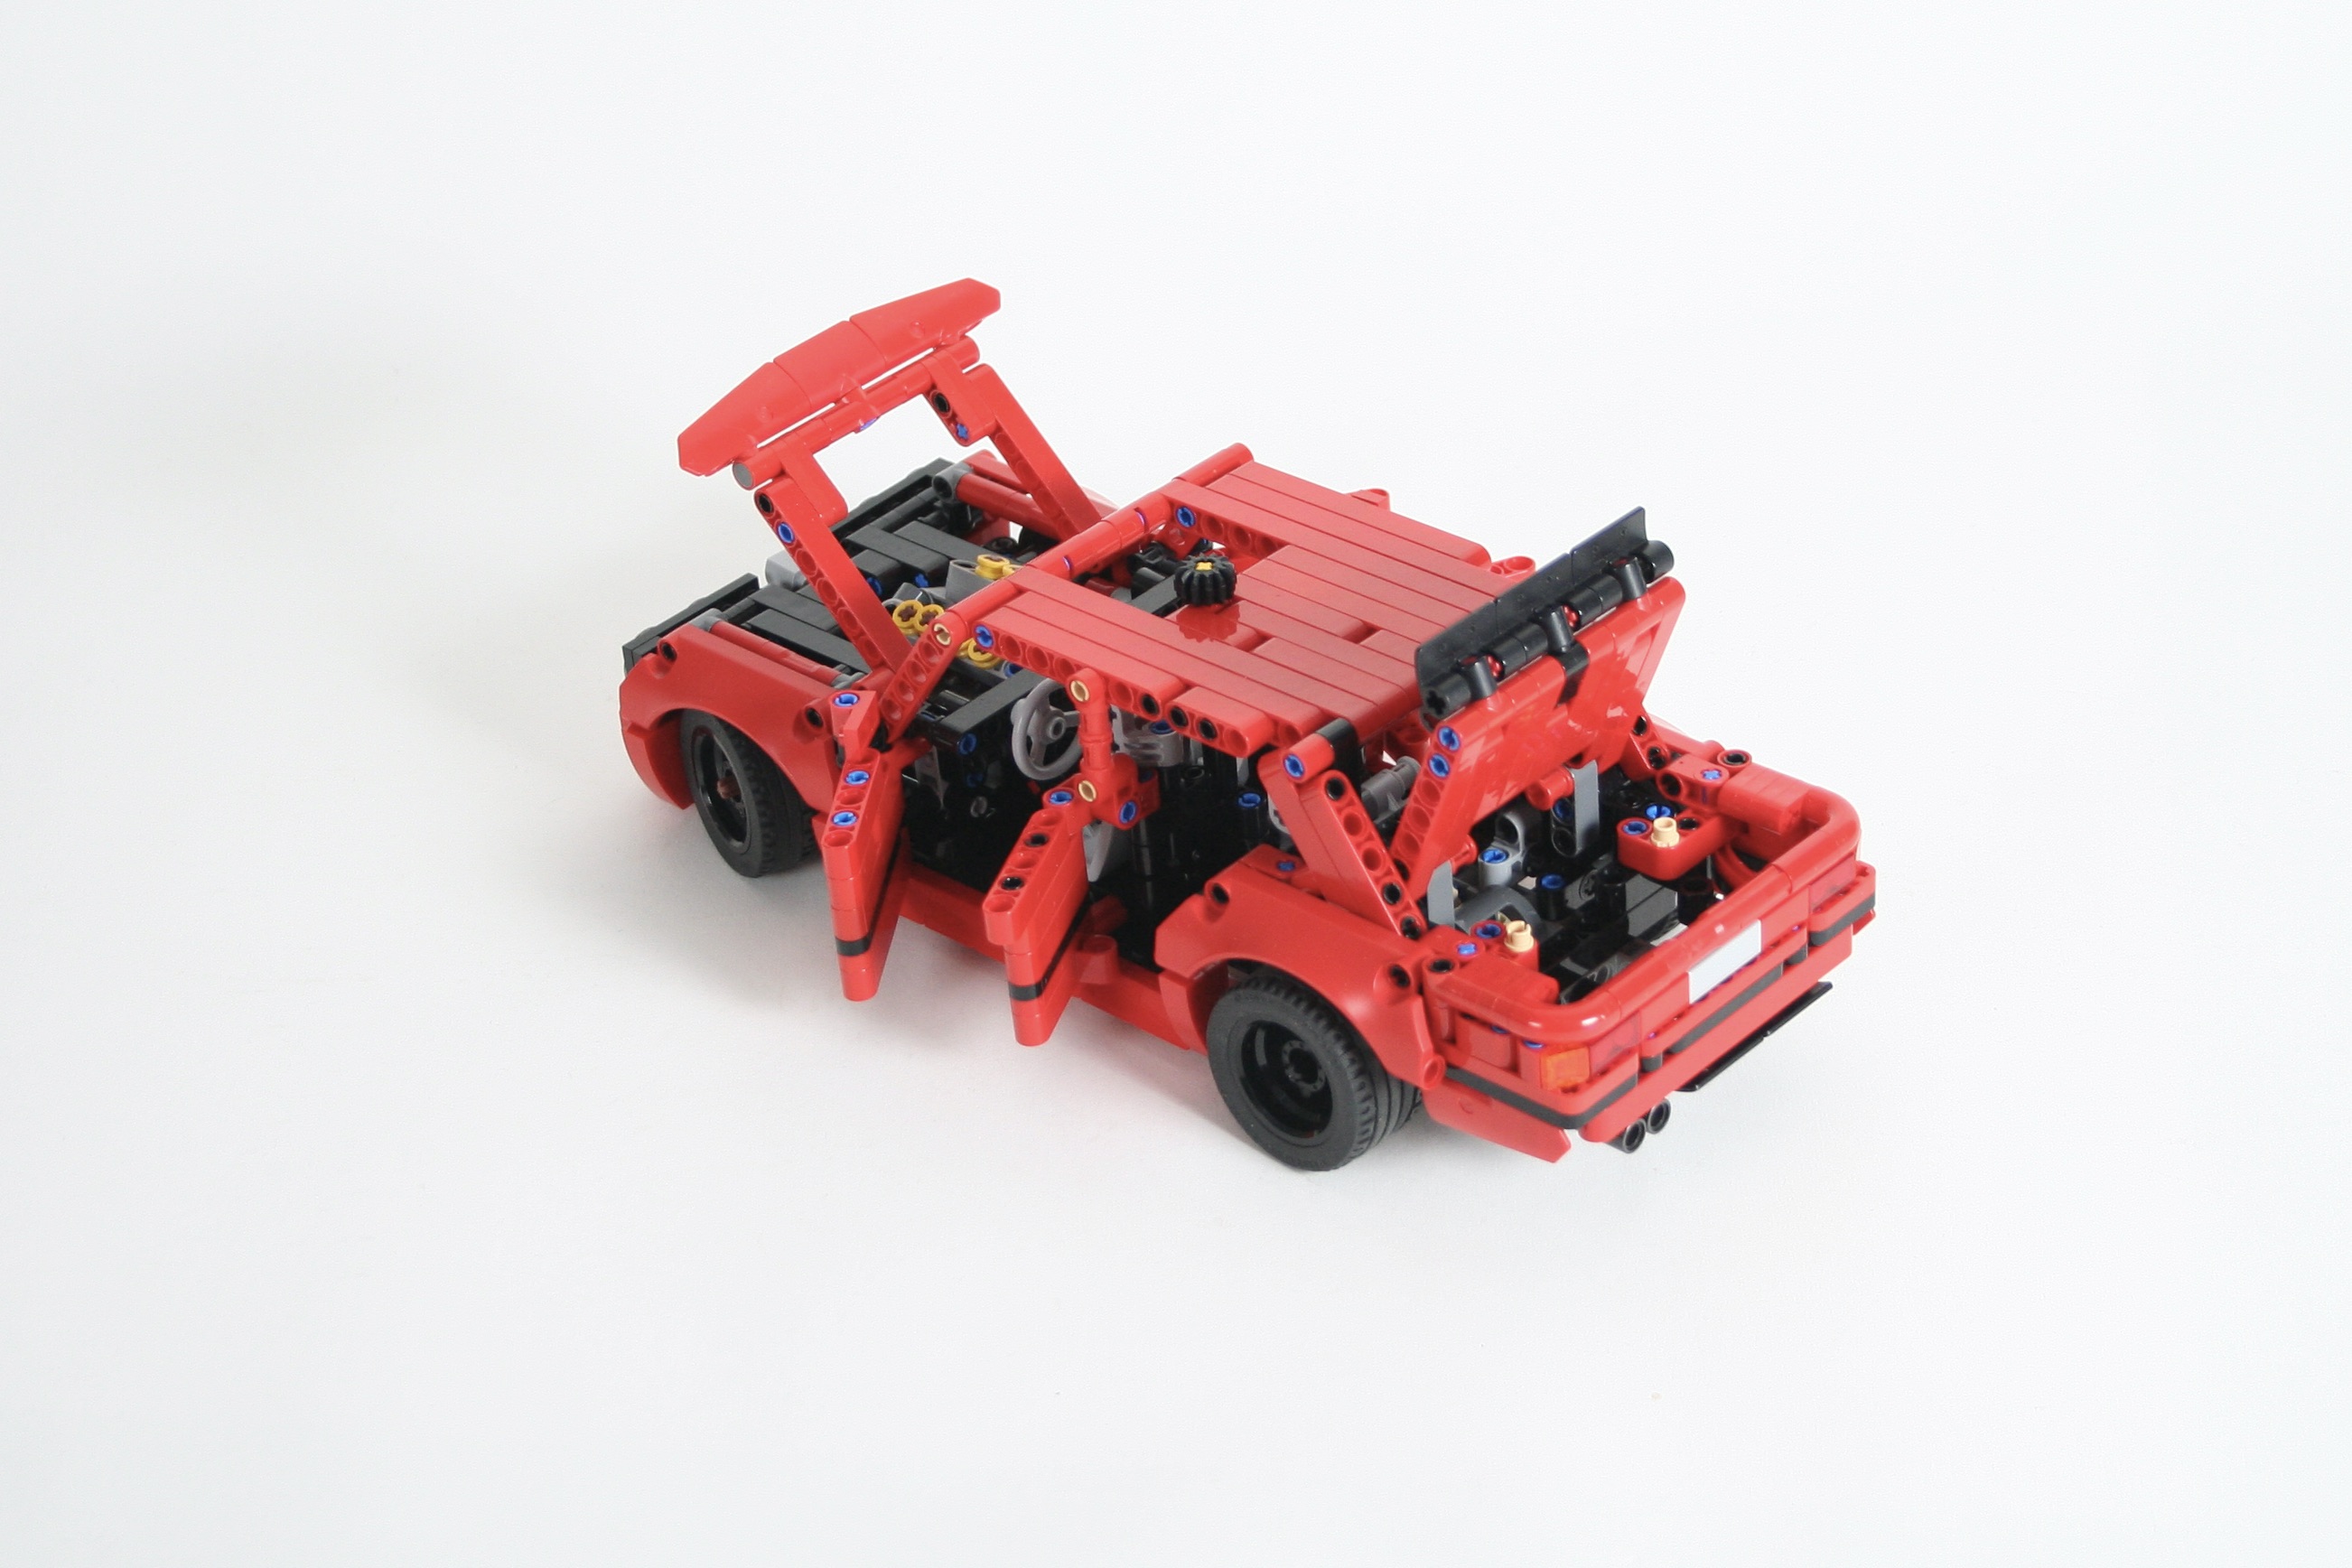
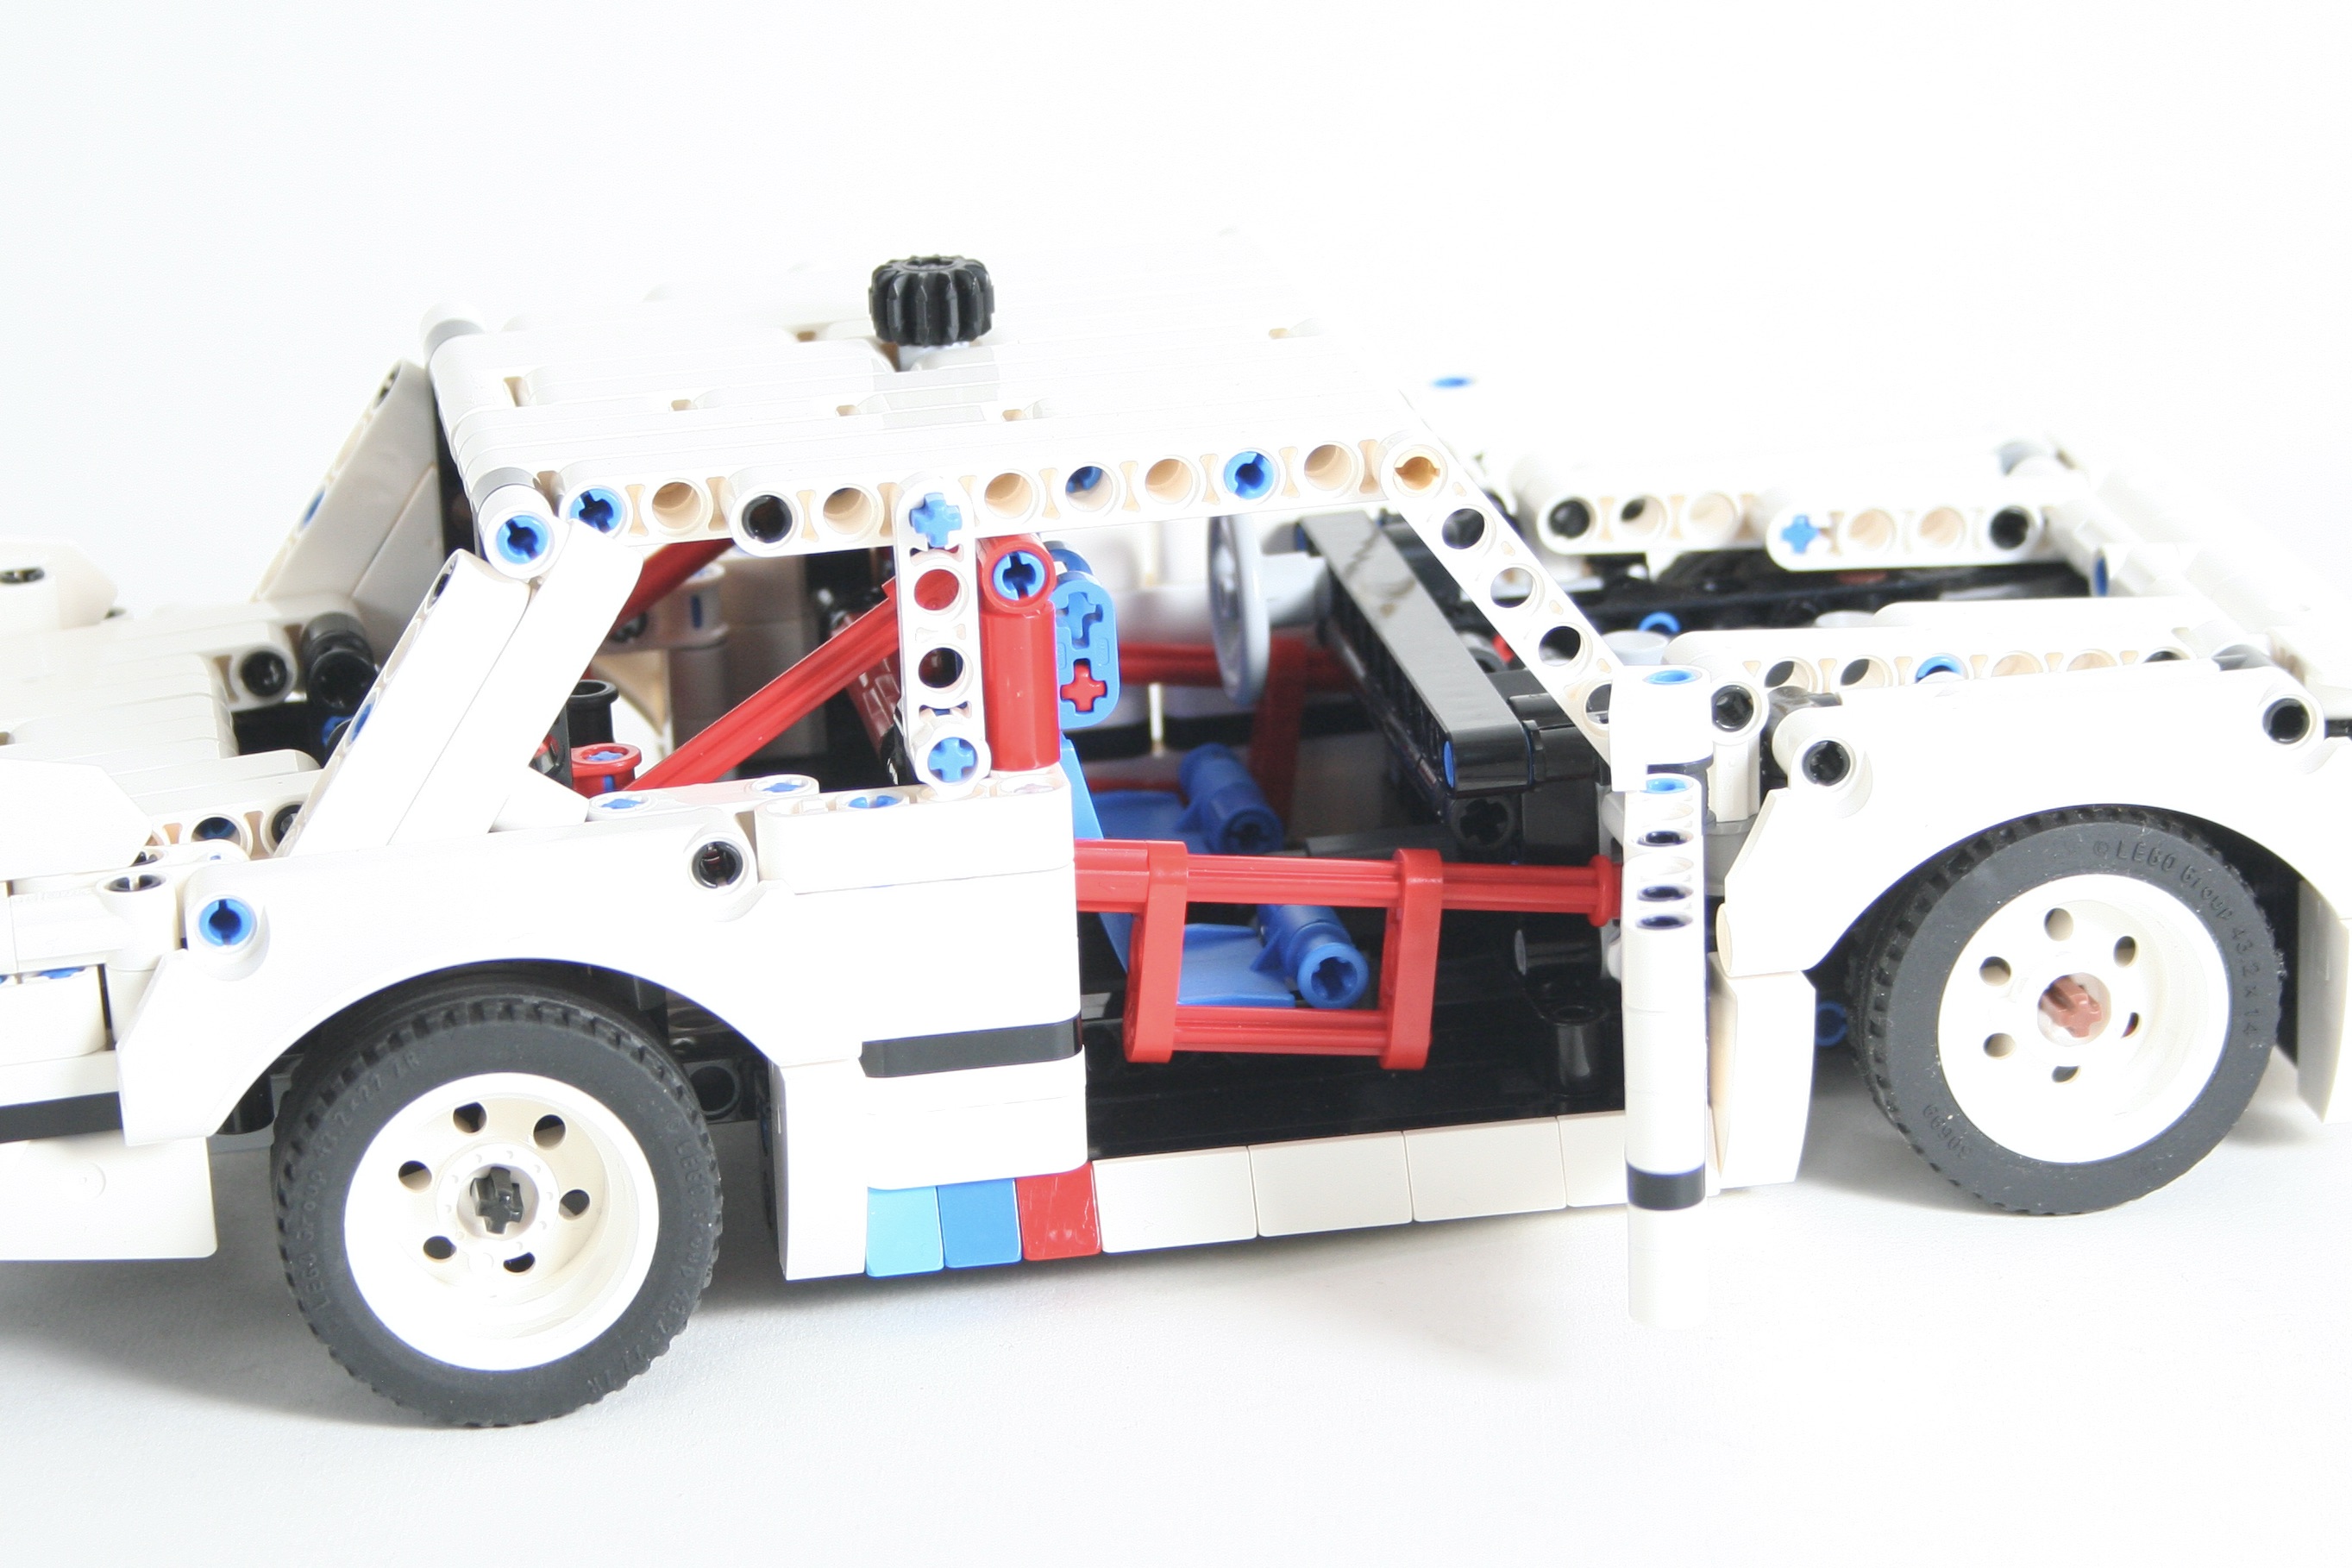
I had been playing around with some boxer engines for years, and I was finally able to come up with a design that I liked for this scale. The little axle based engine that has worked well for many smaller Technic builds is a great, and versatile design. It’s a little tall for small scale builds, but generally works well and is great to watch in these smaller cars. But it works because of gravity, so a flat engine design does not work. I tried ways to connect the axle pistons, but then the engine got so wide it would not work in this size car. Finally, after a number of drafts, and way too many months, a little design started to take shape. Built around a cam based crankshaft, pistons are mounted on a Technic connector and swing in and out to represent the engine. It is not a true flat engine, but it works smoothly, looks the part, and fits these small cars well.

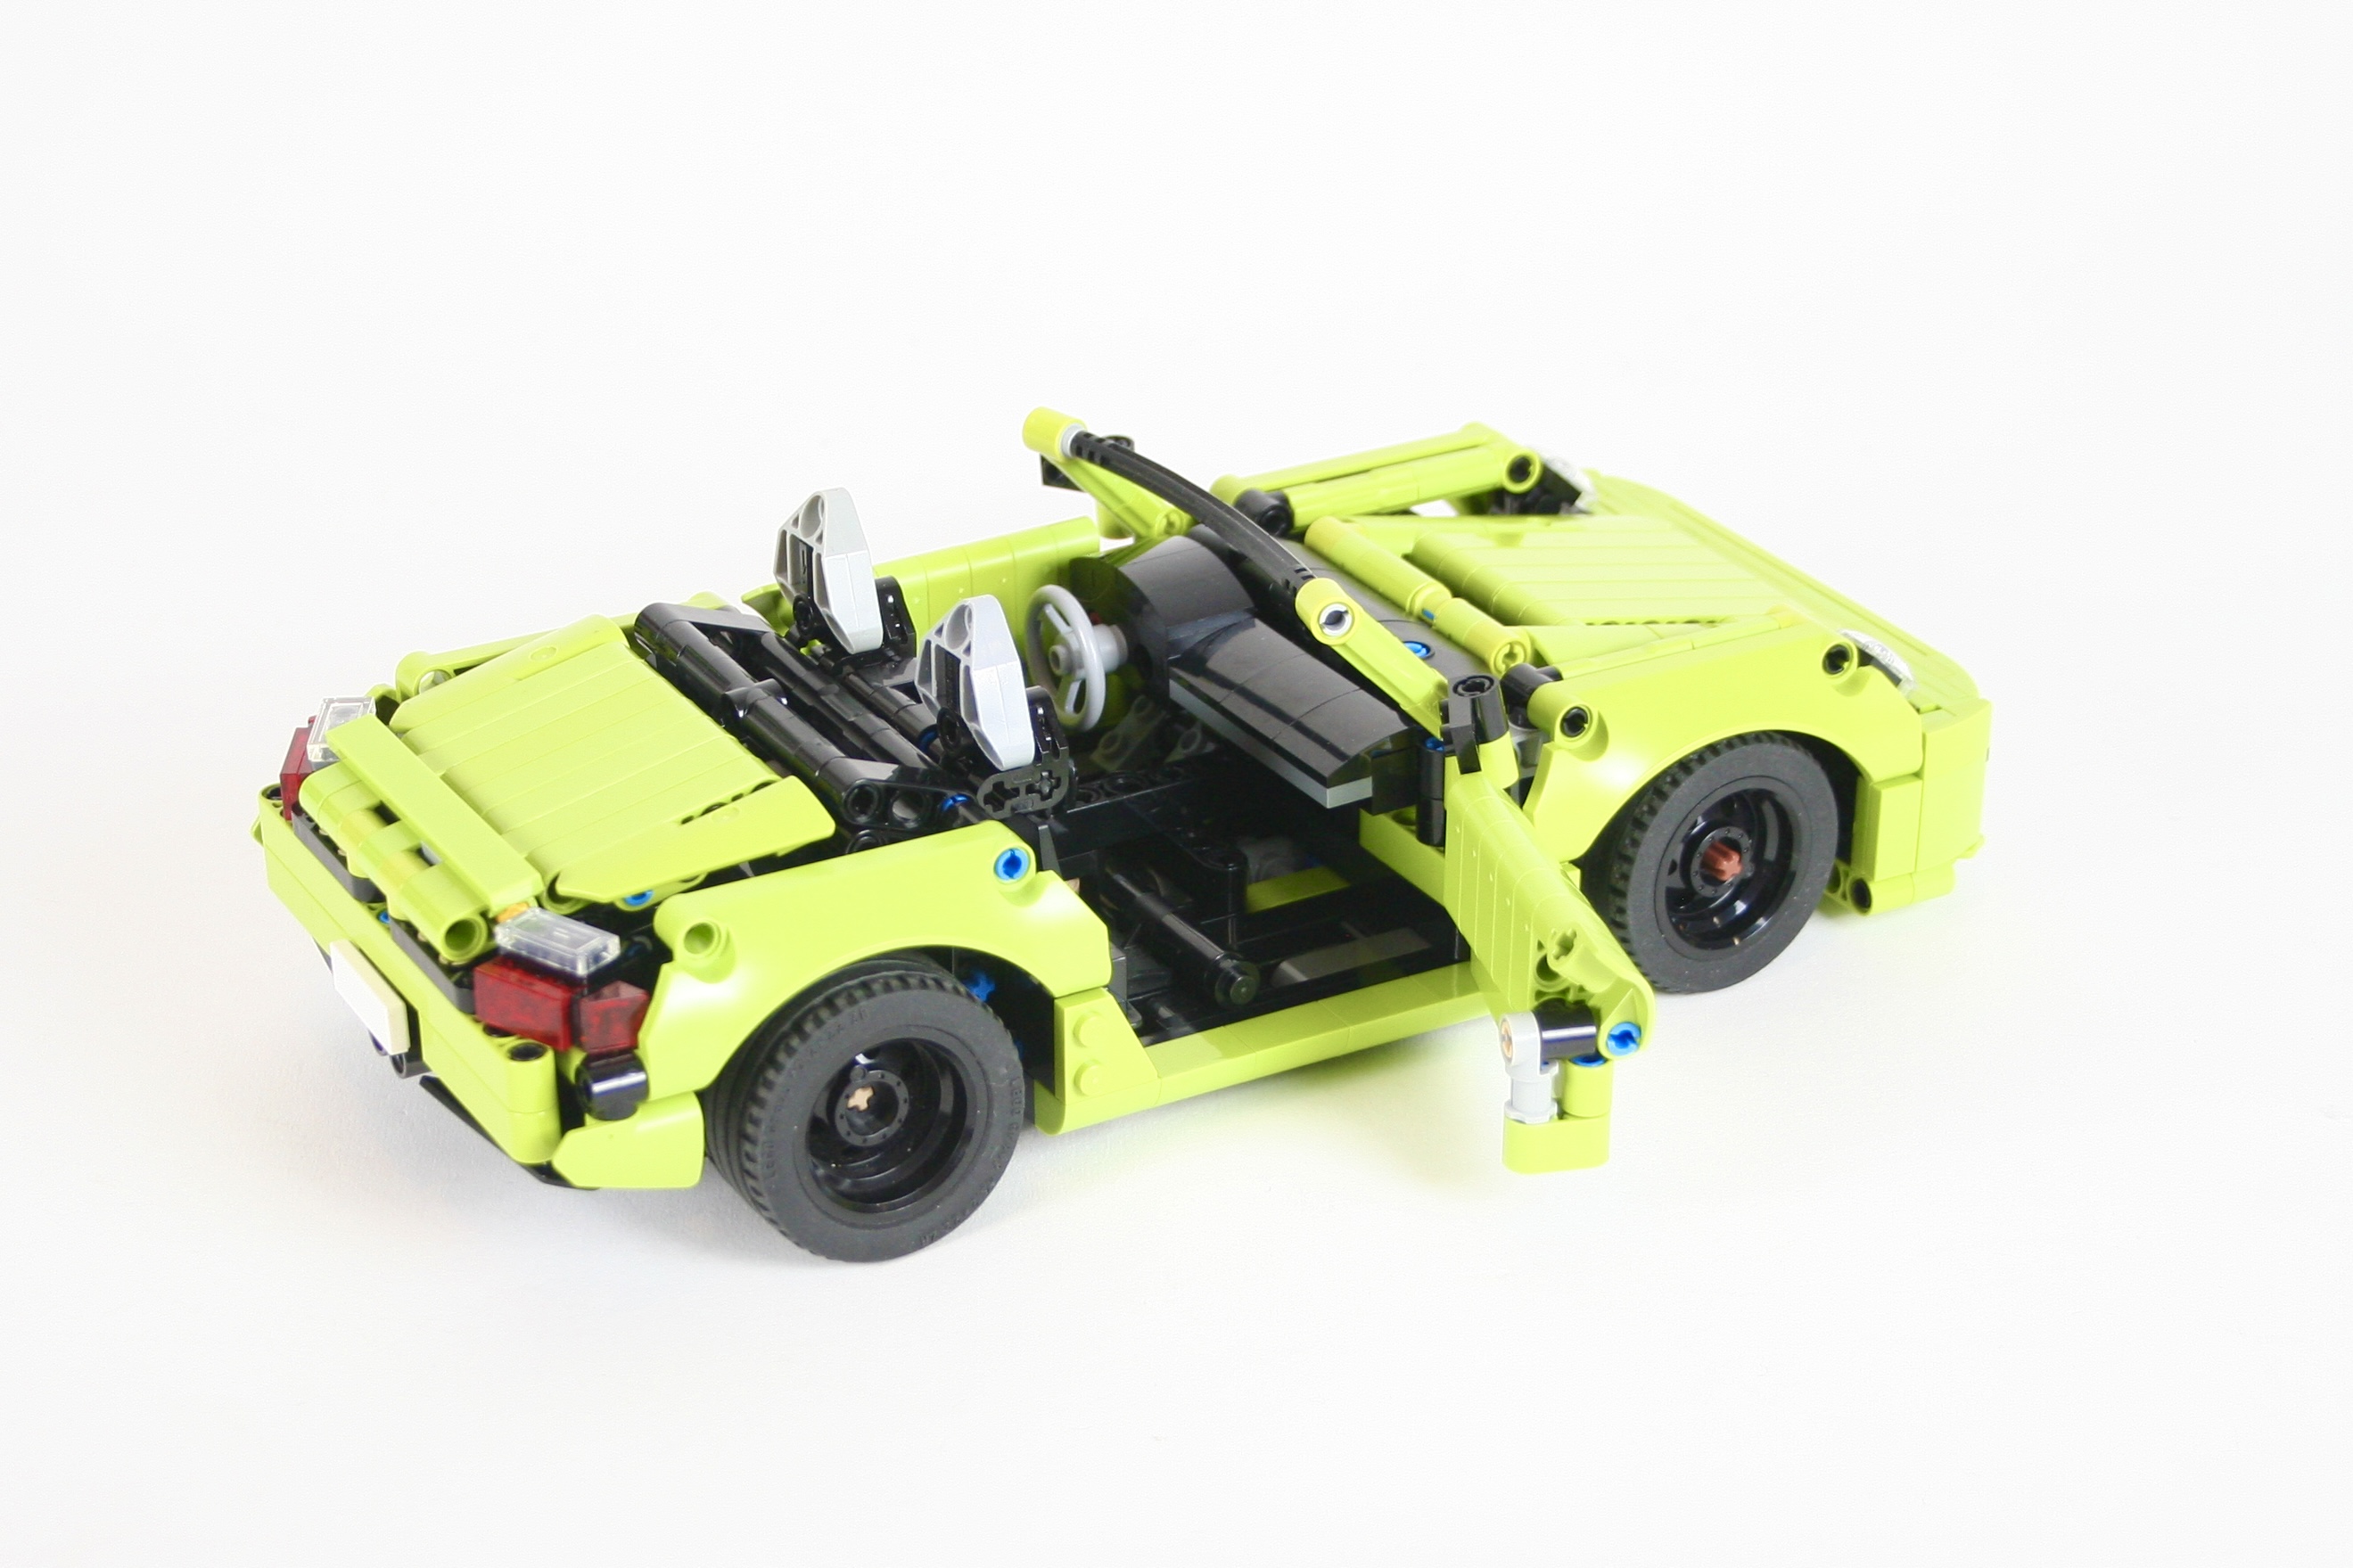
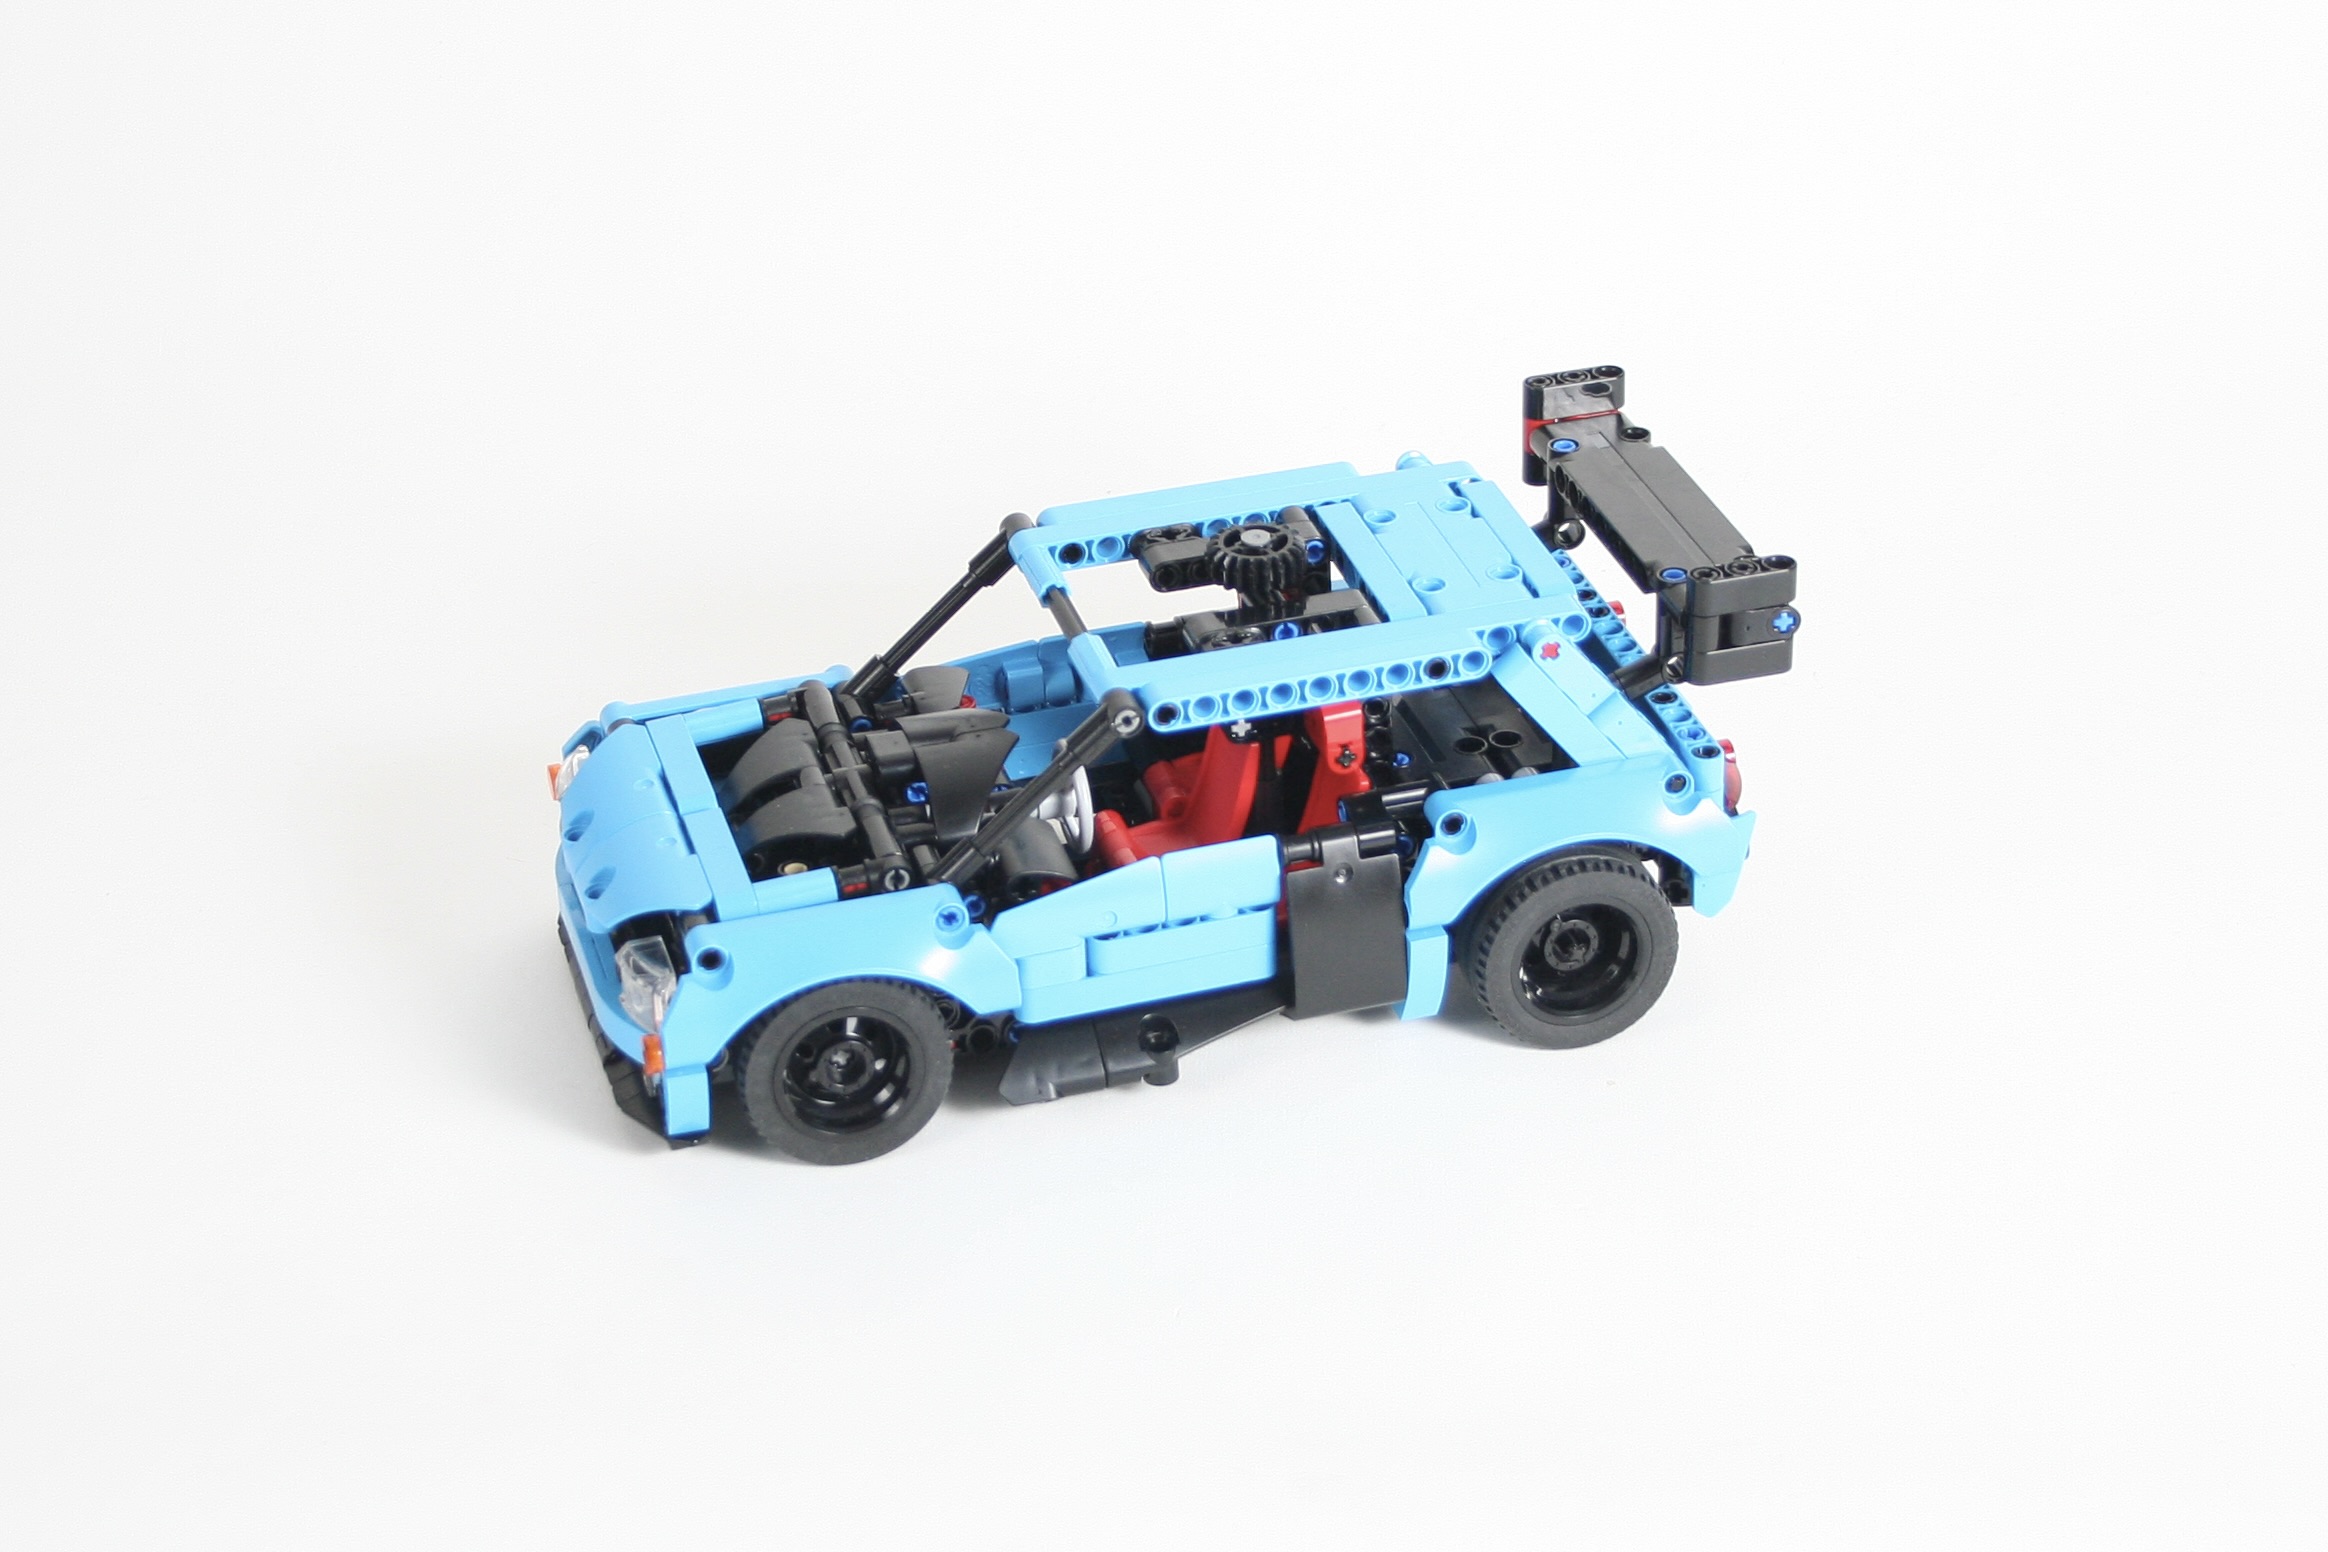
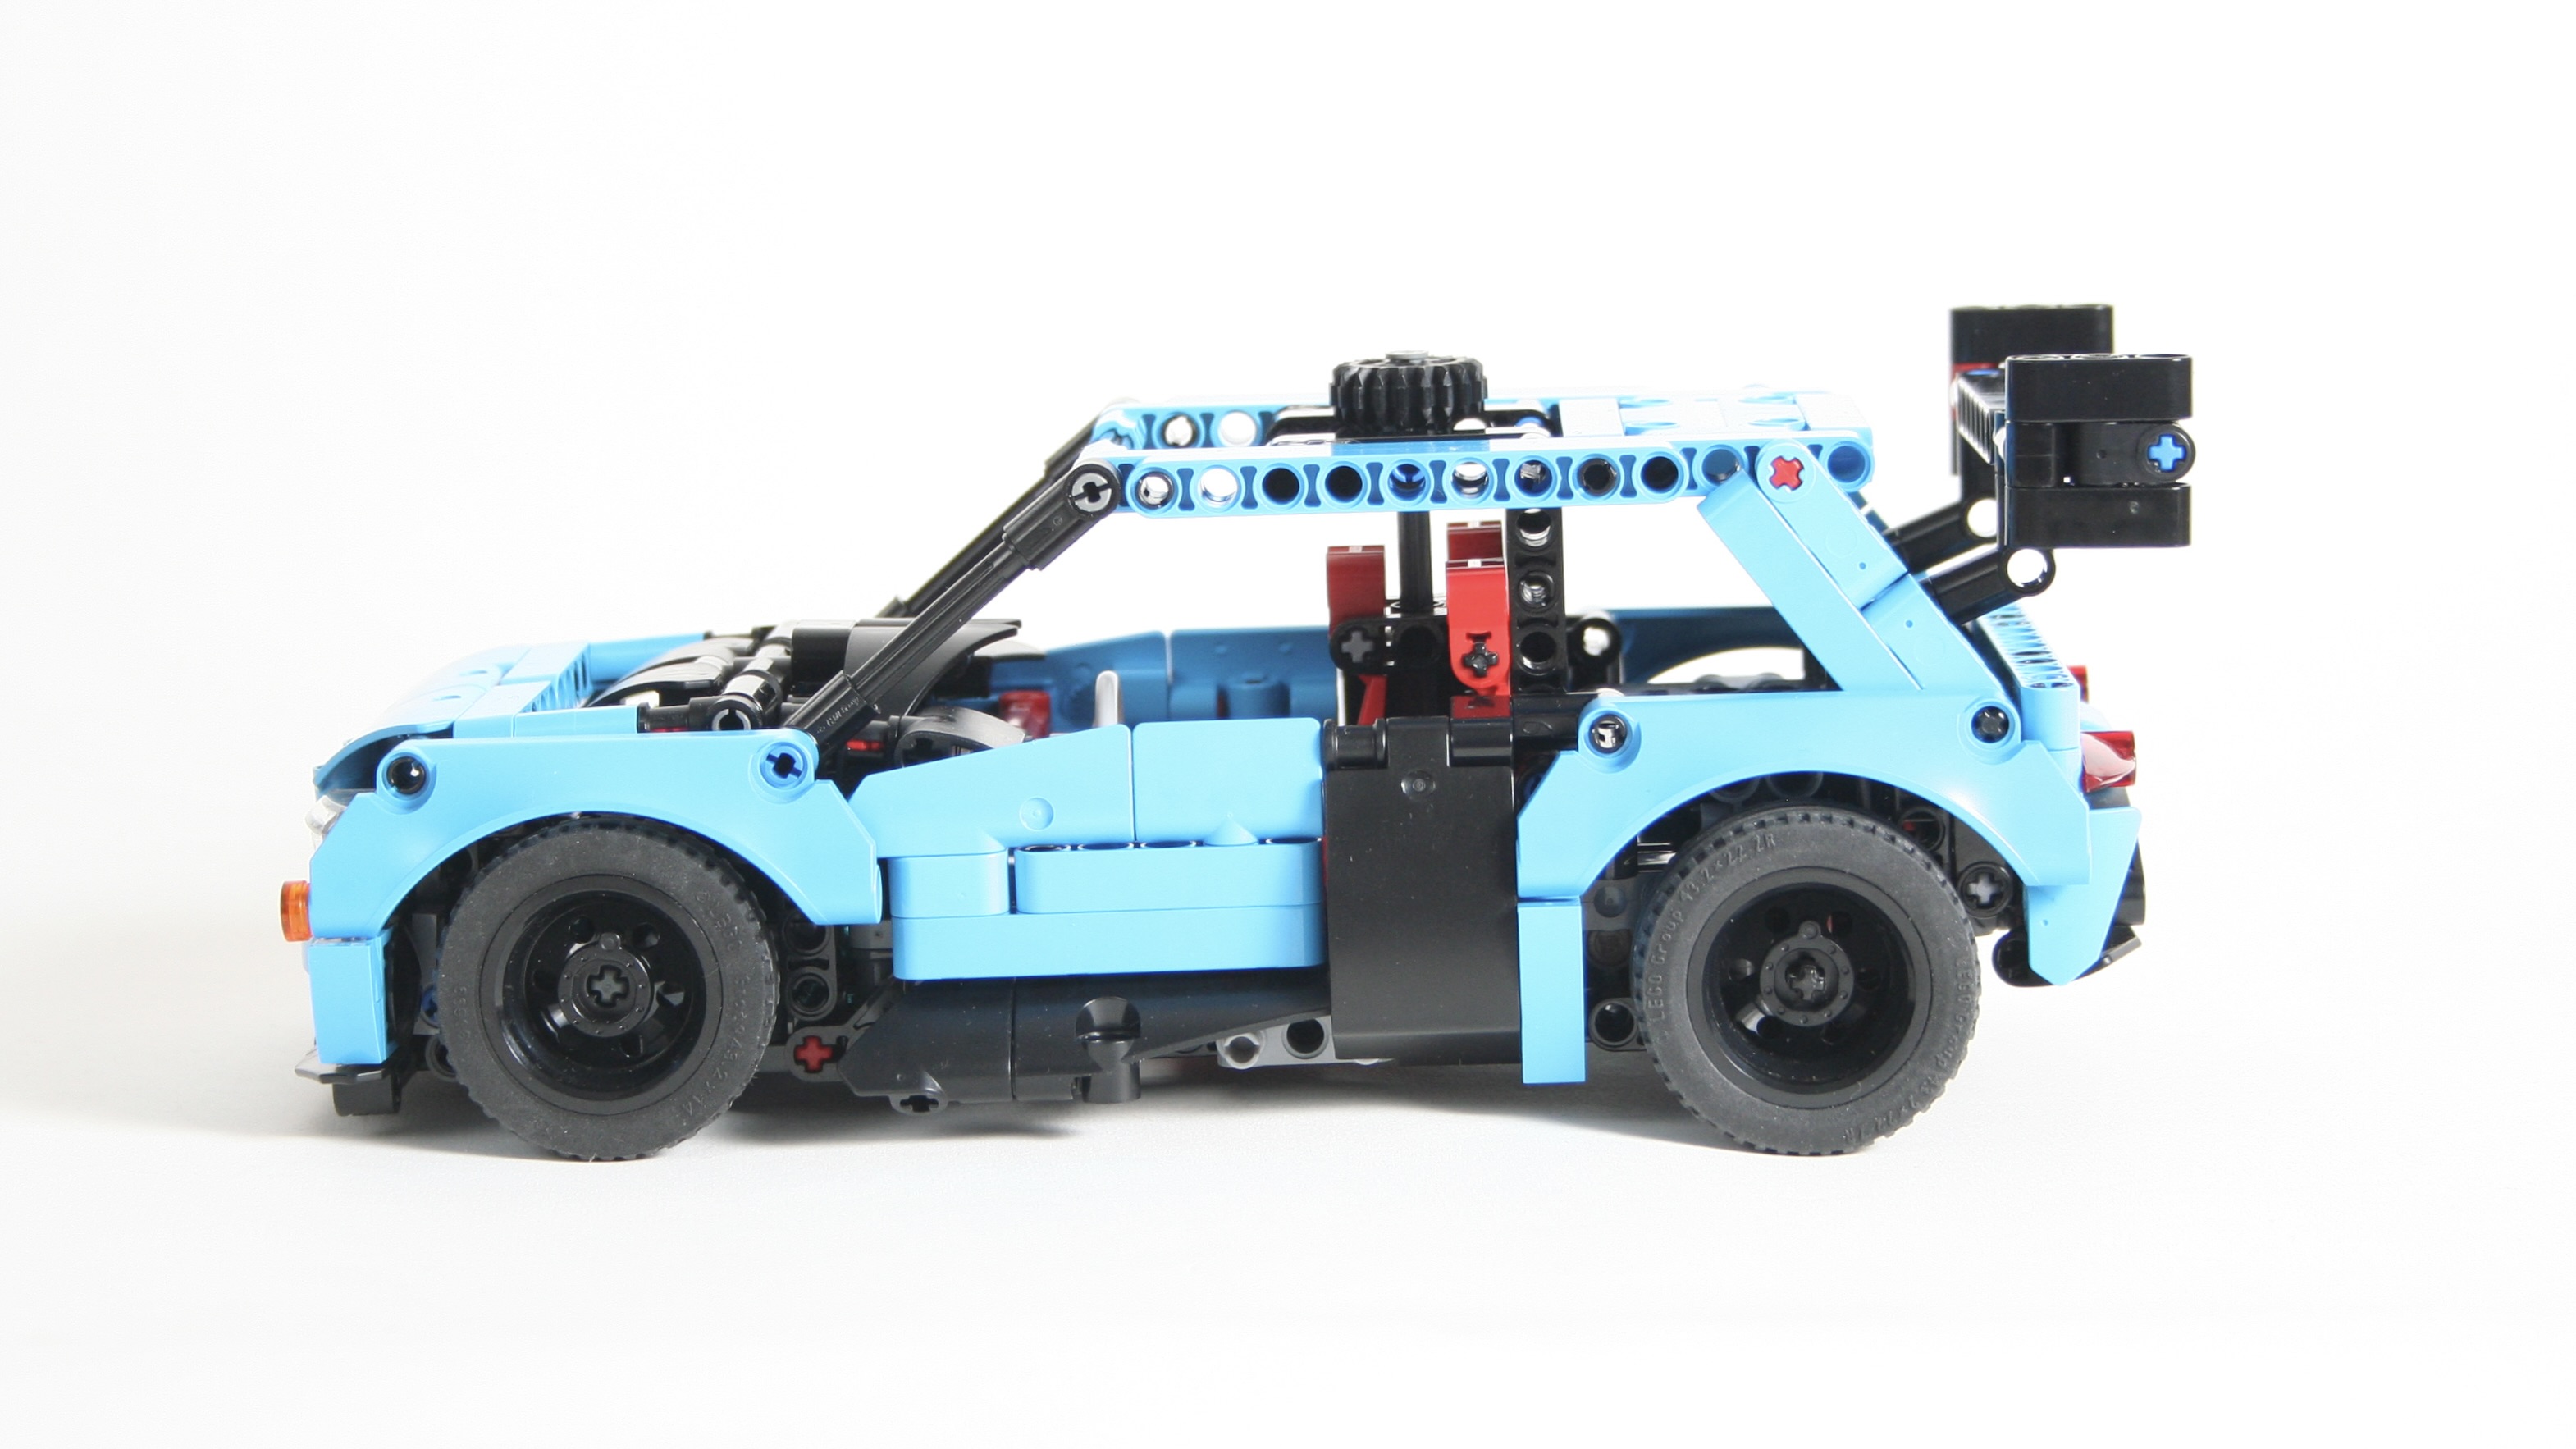
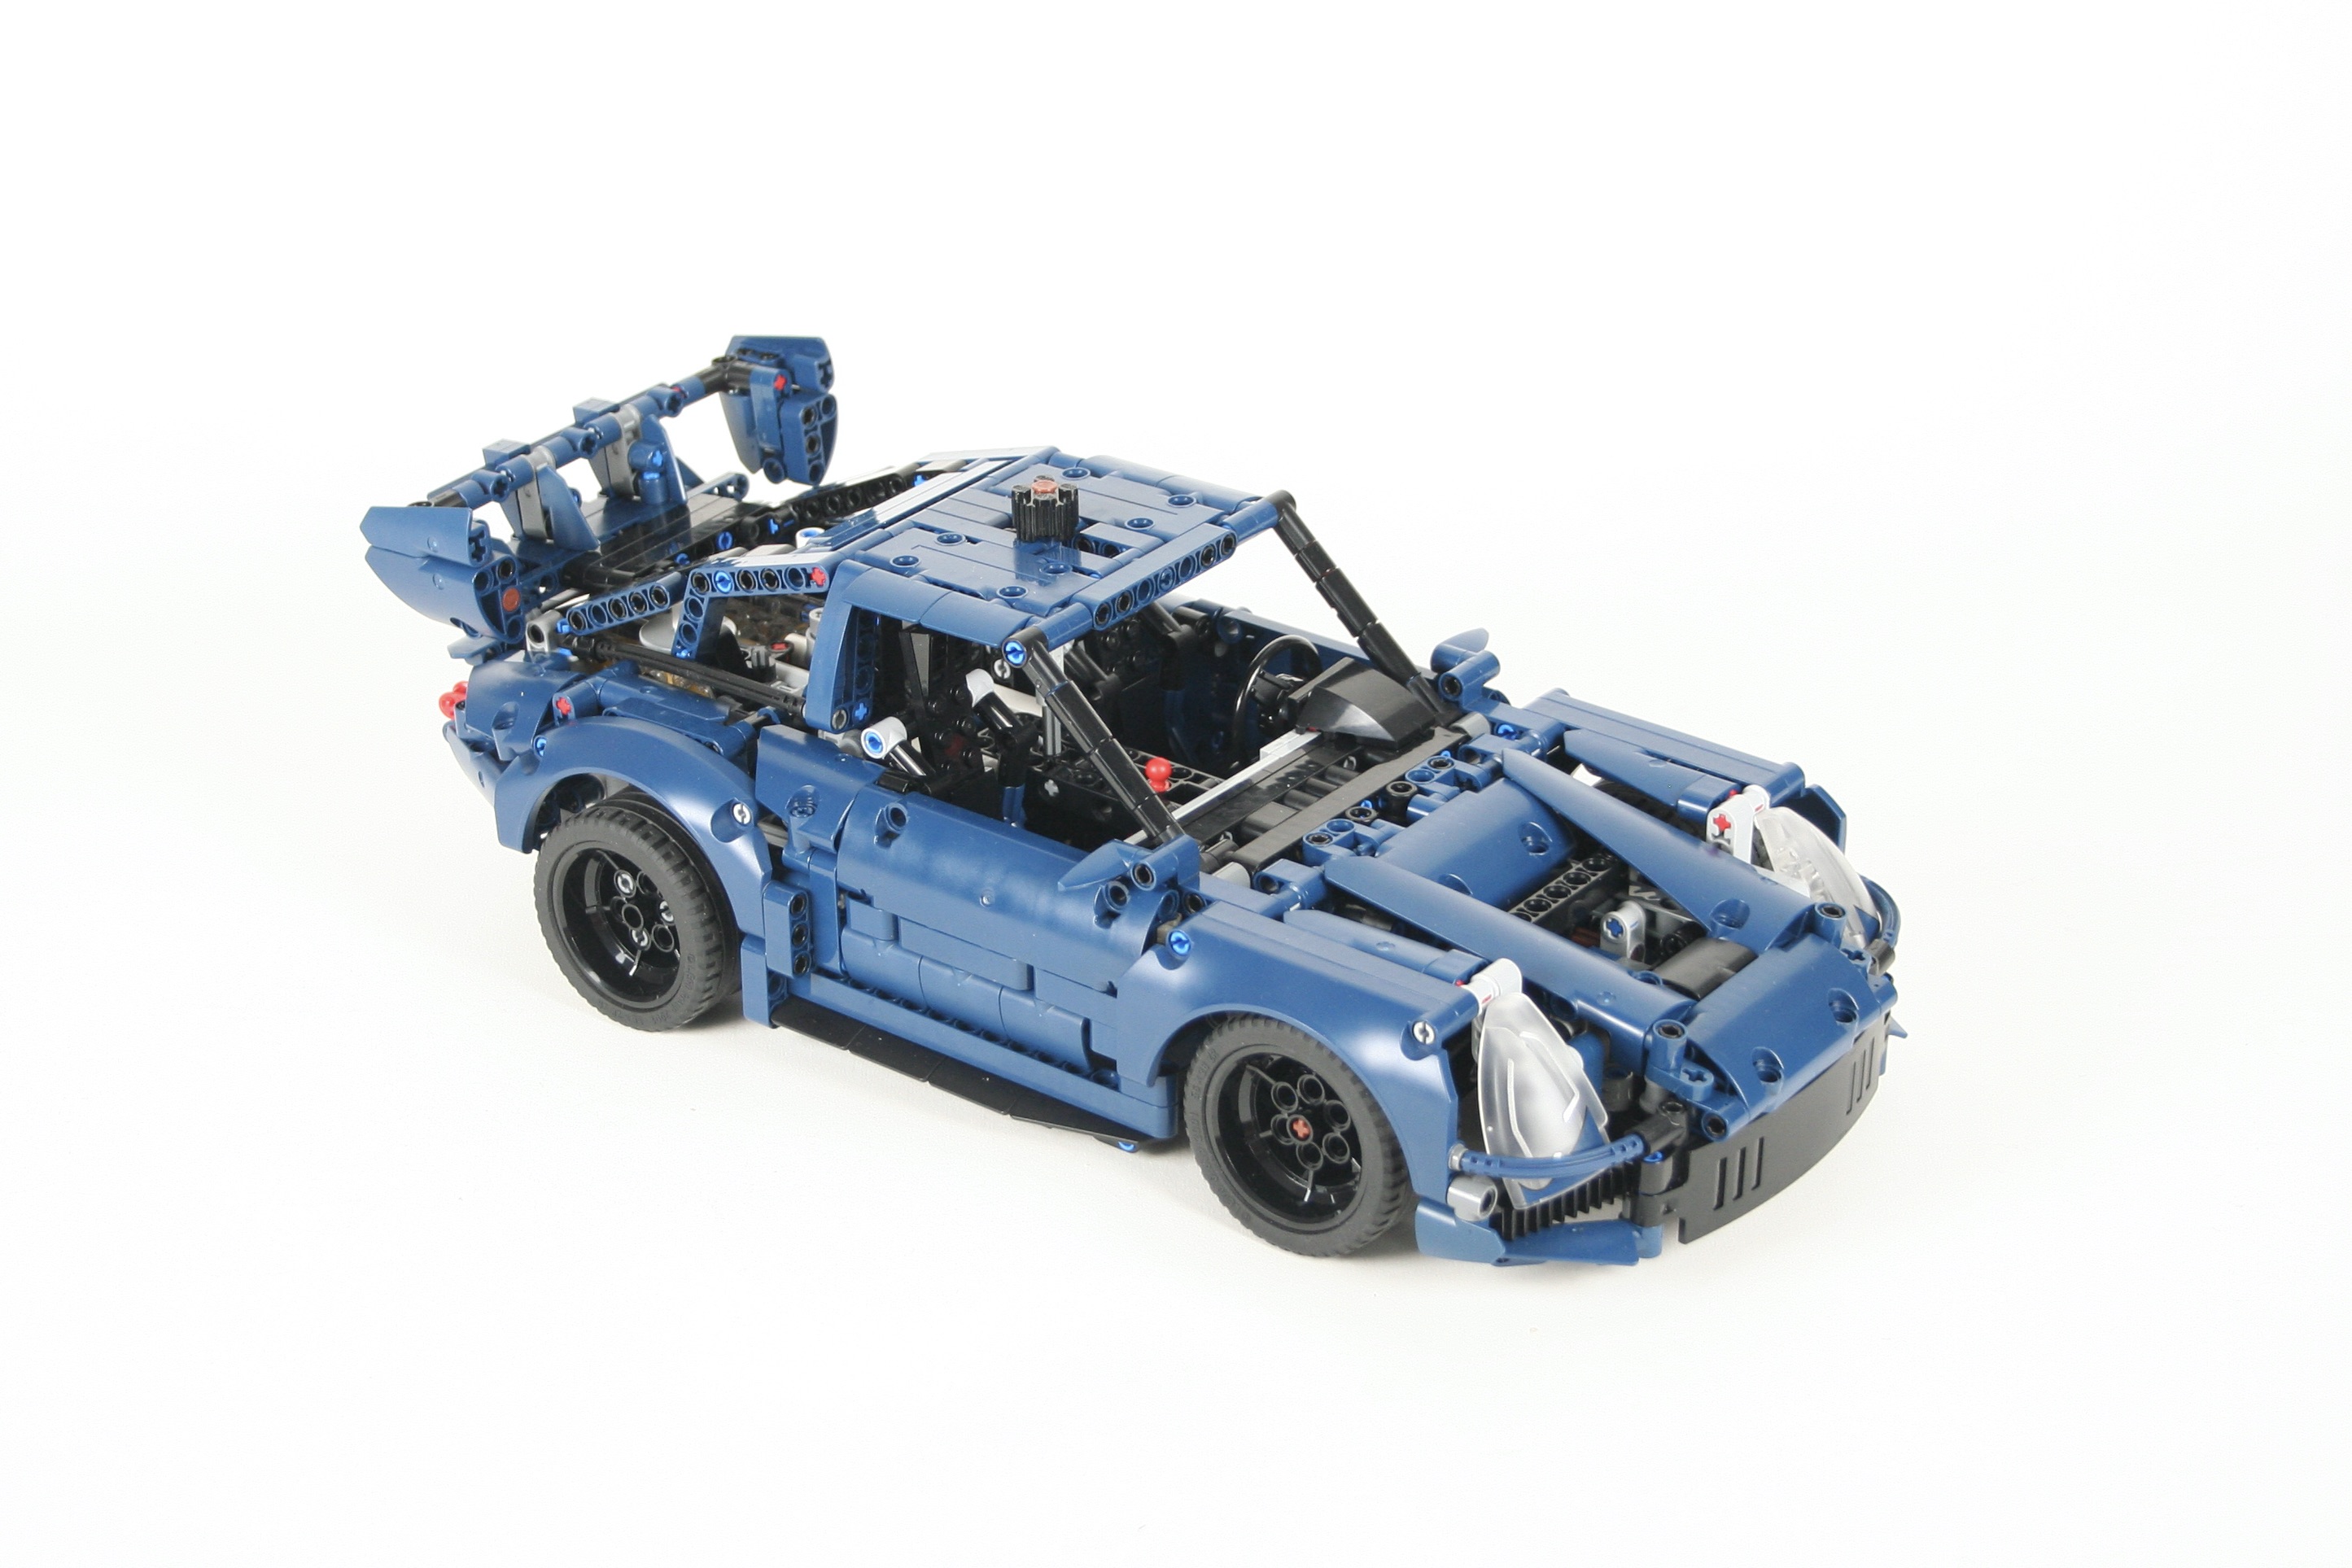
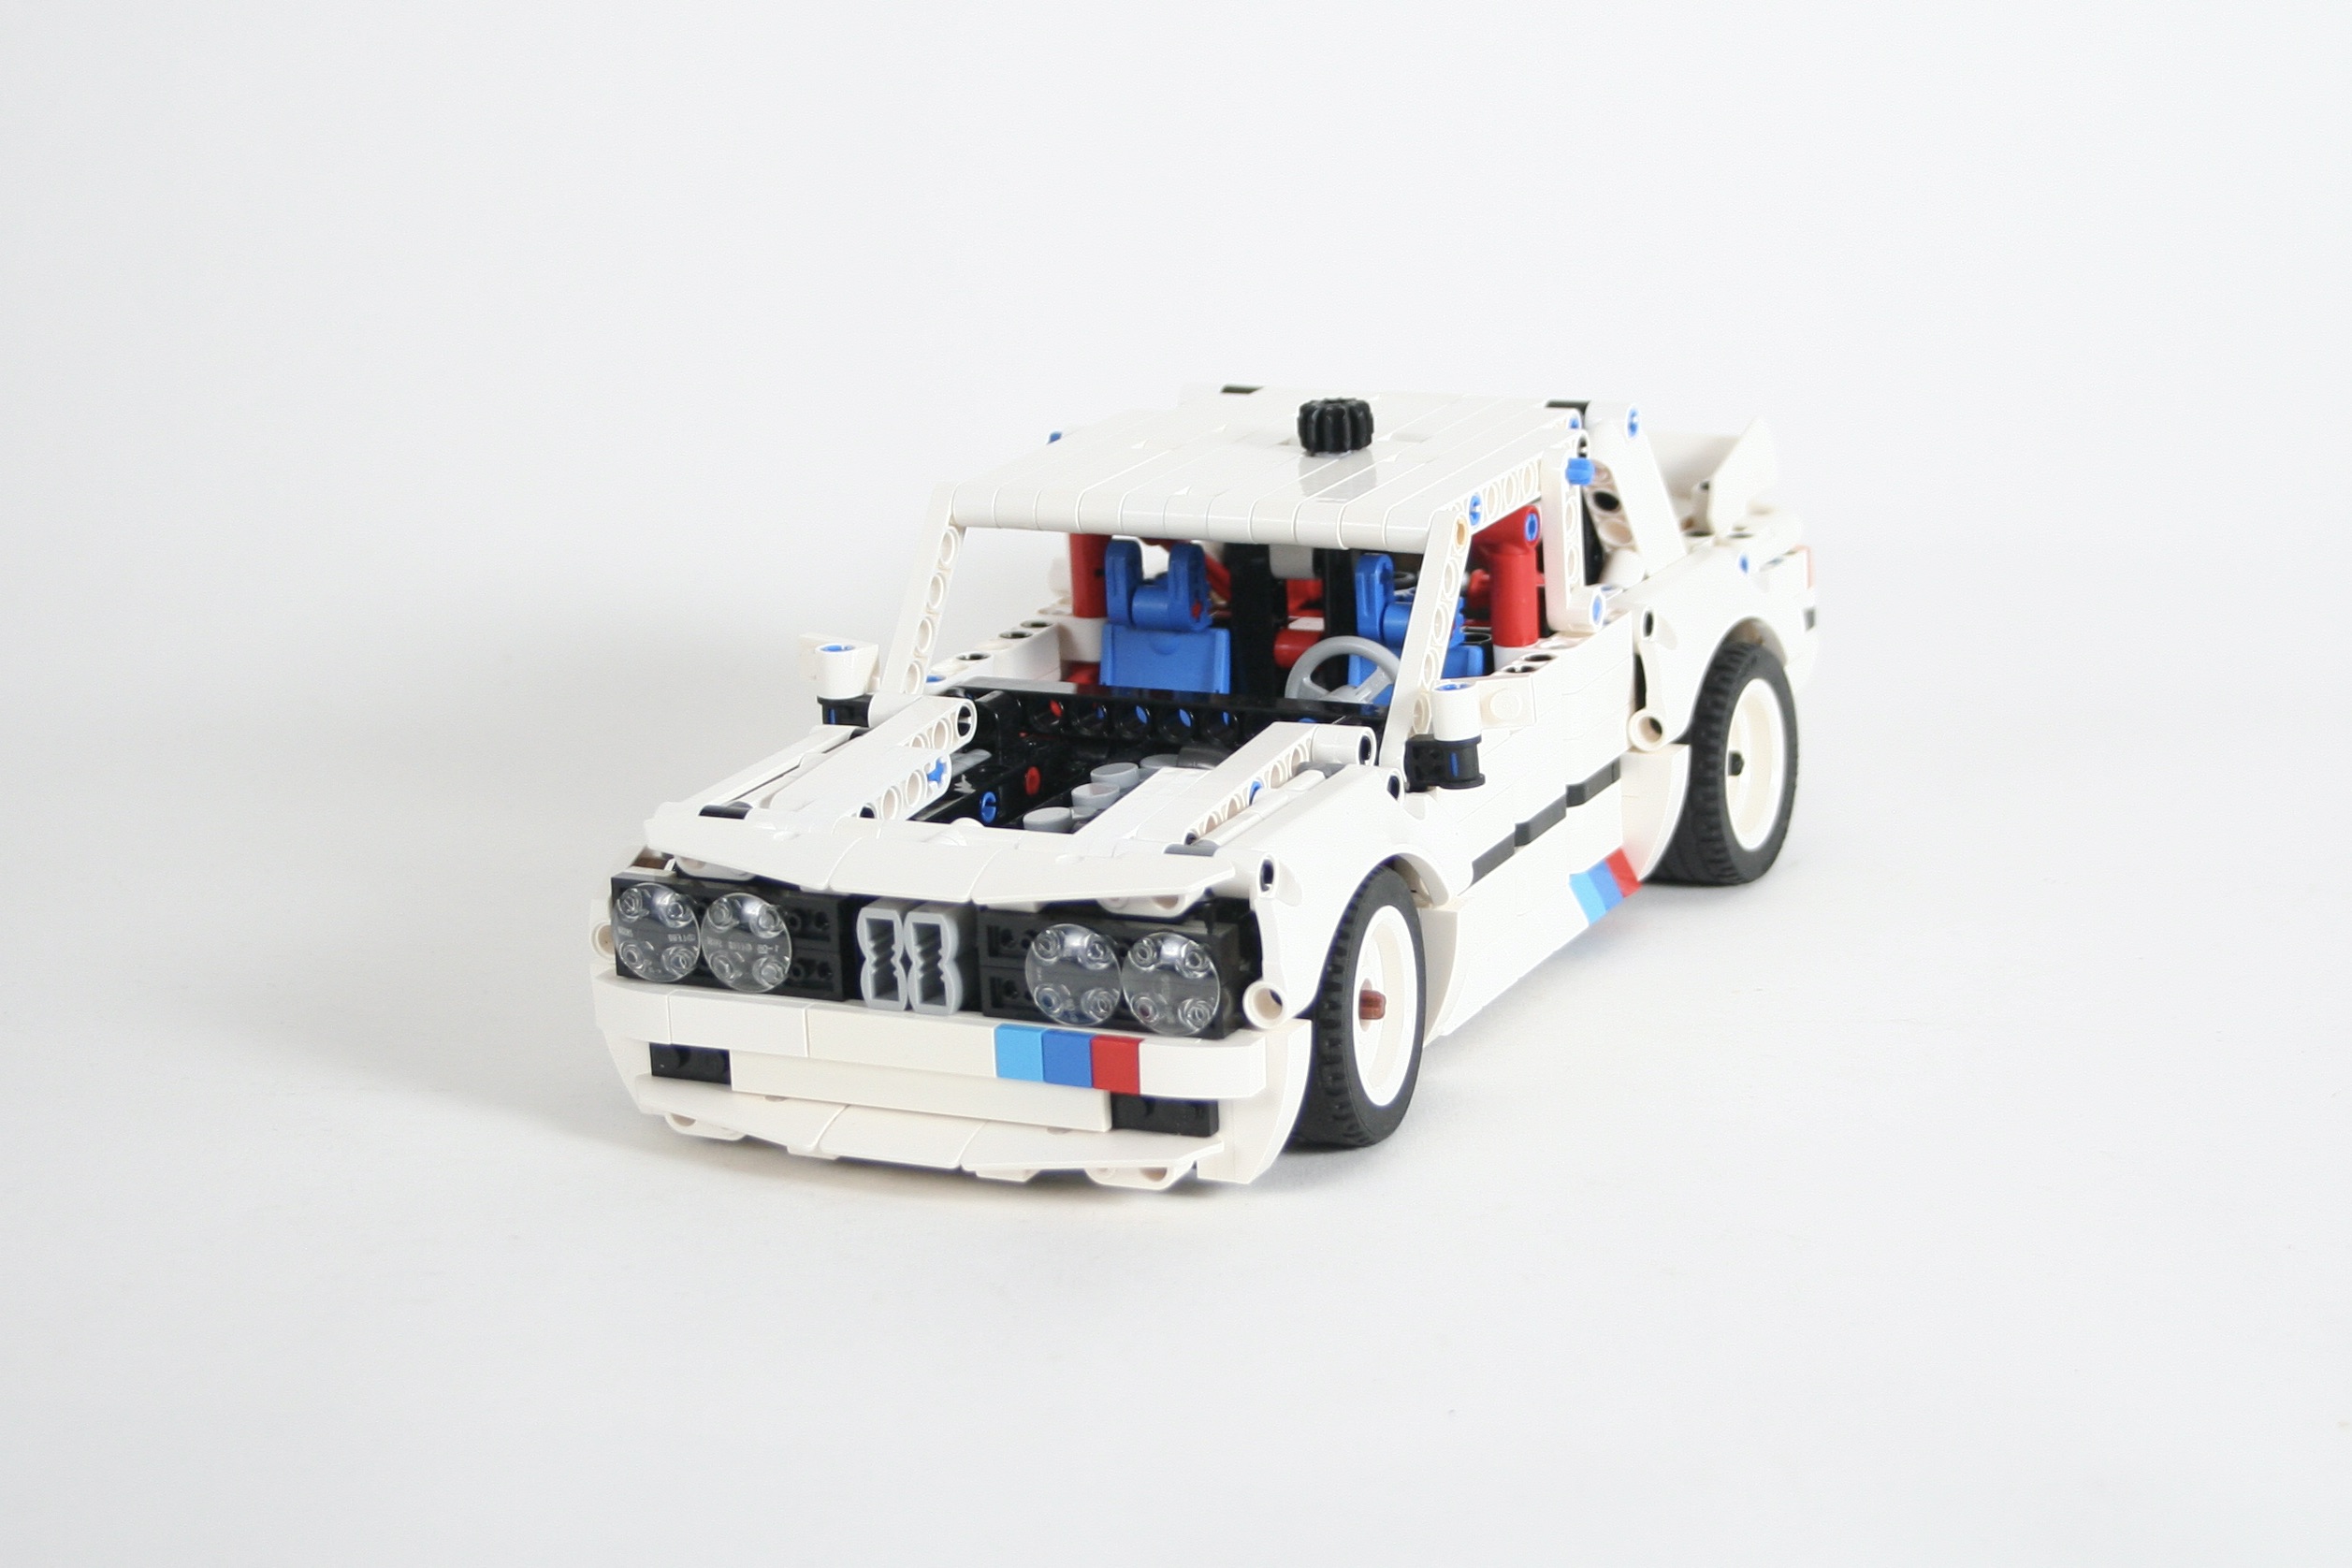
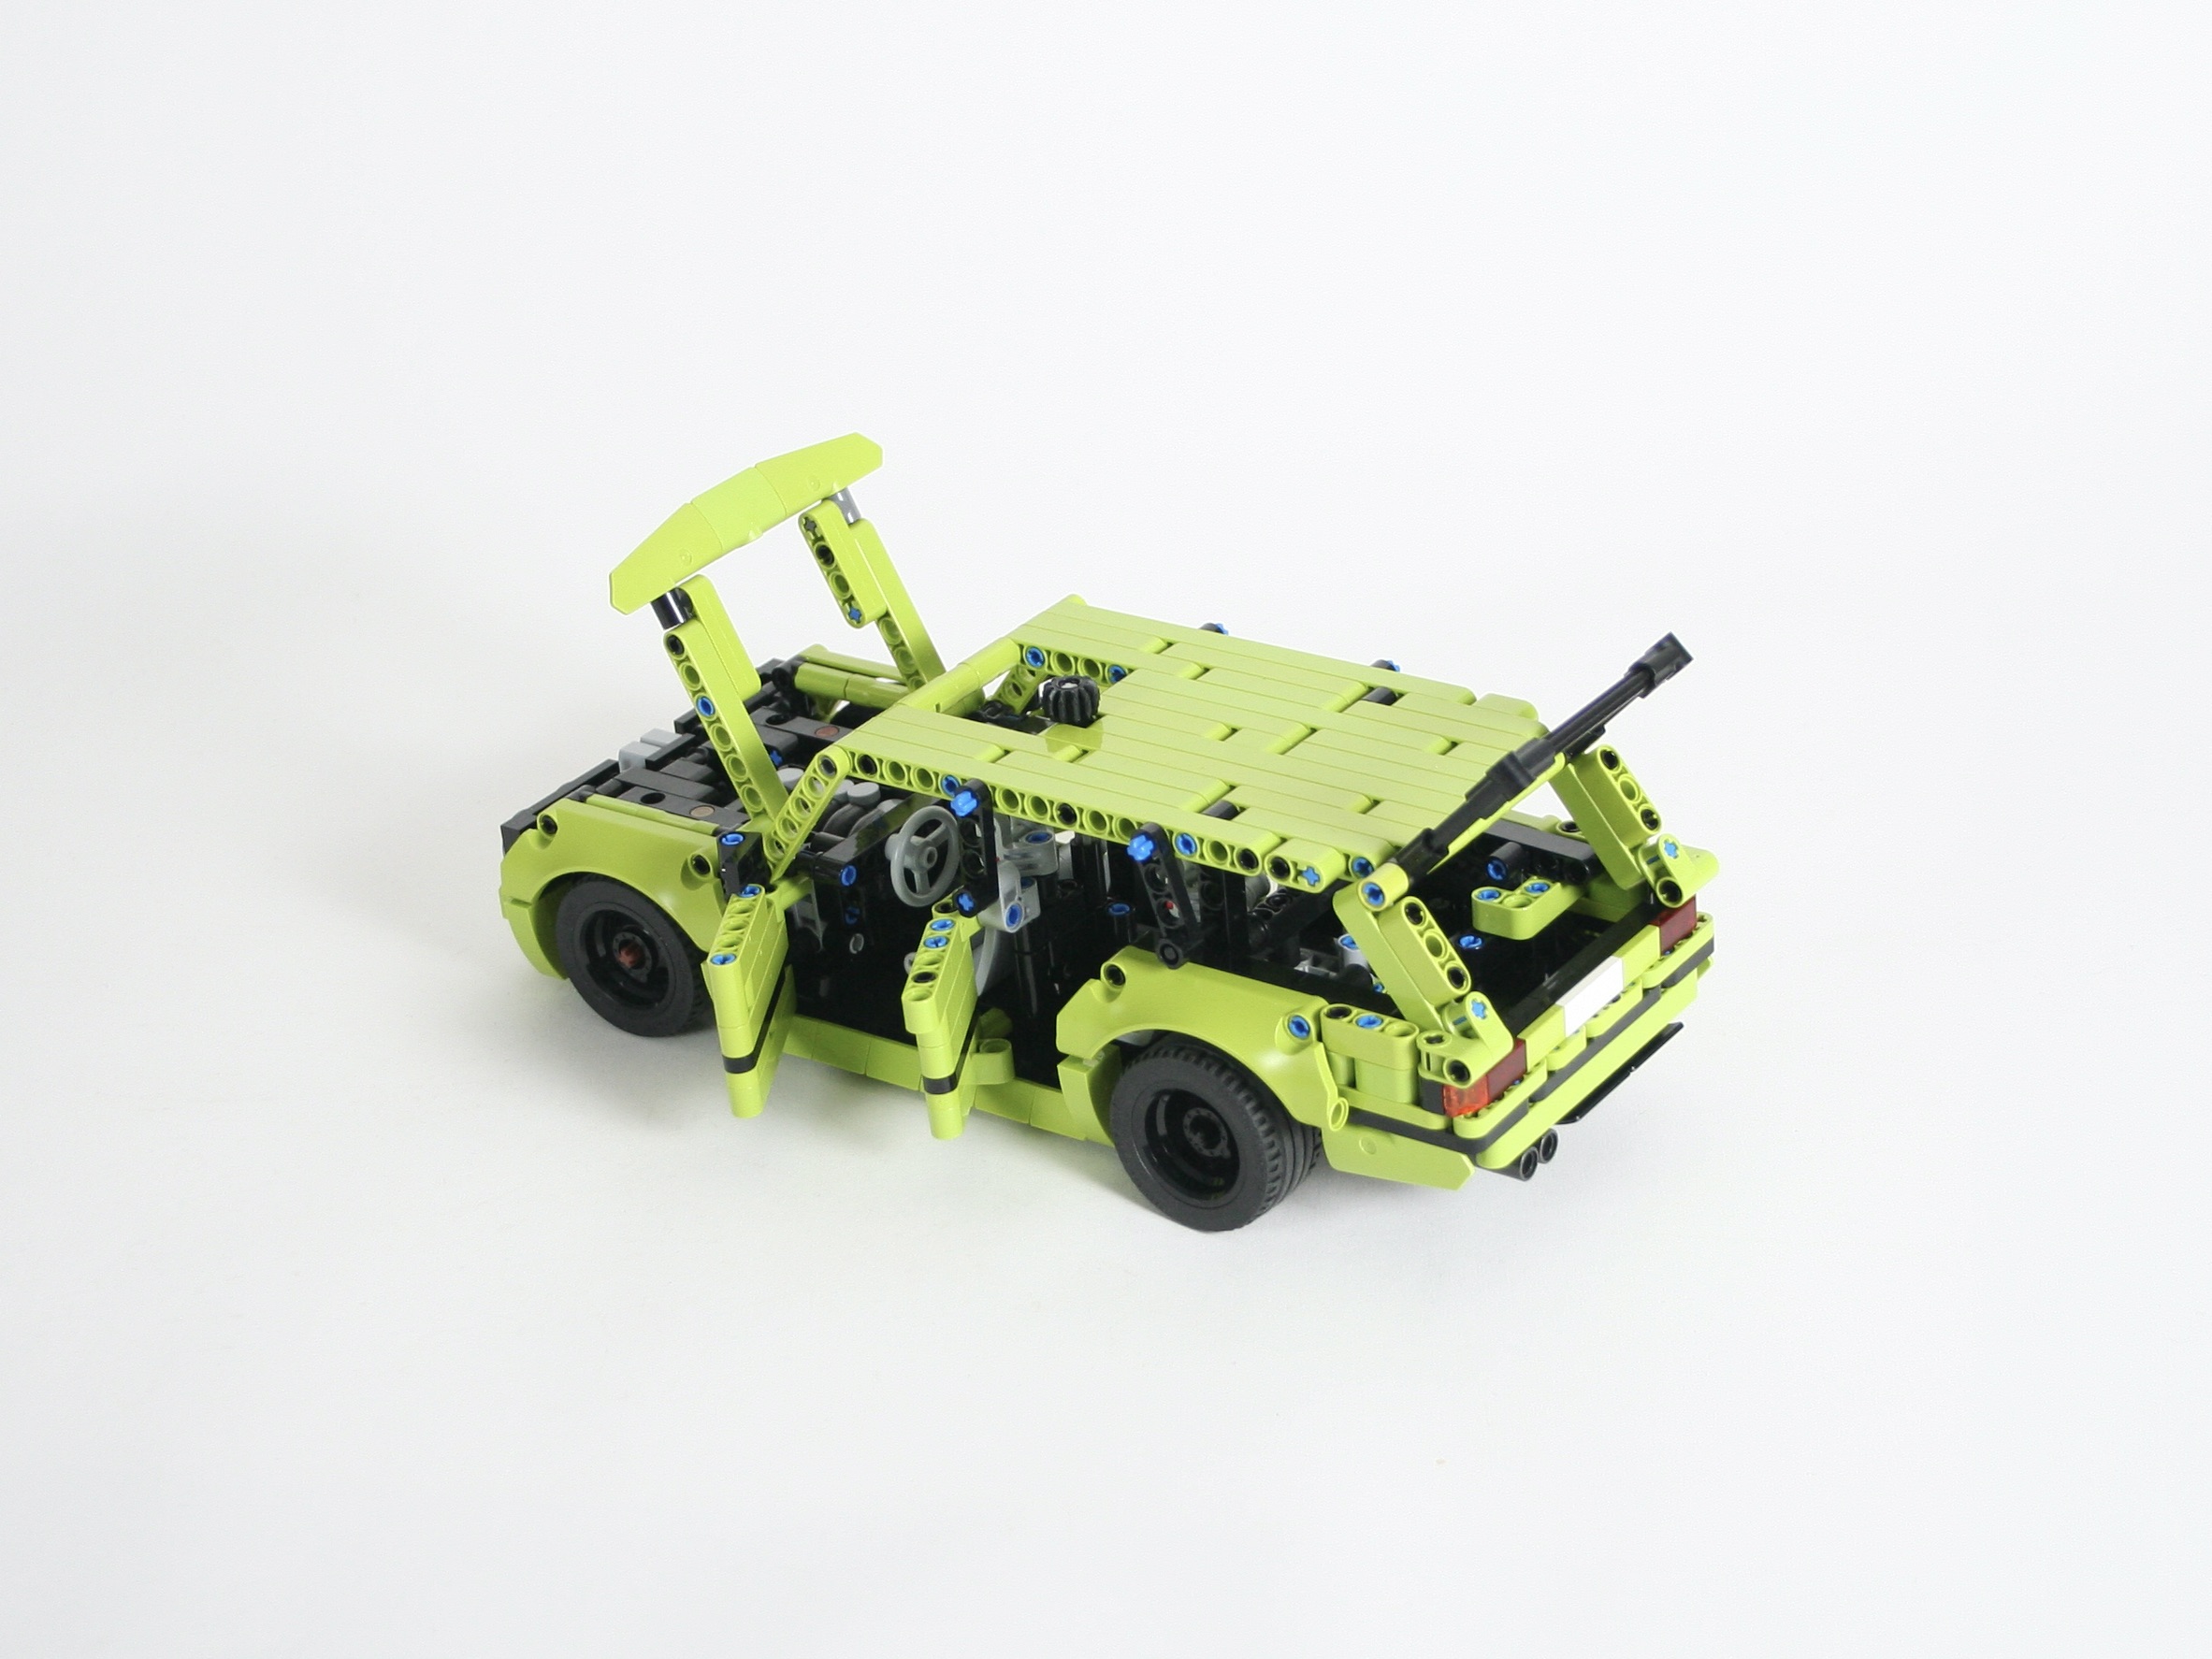
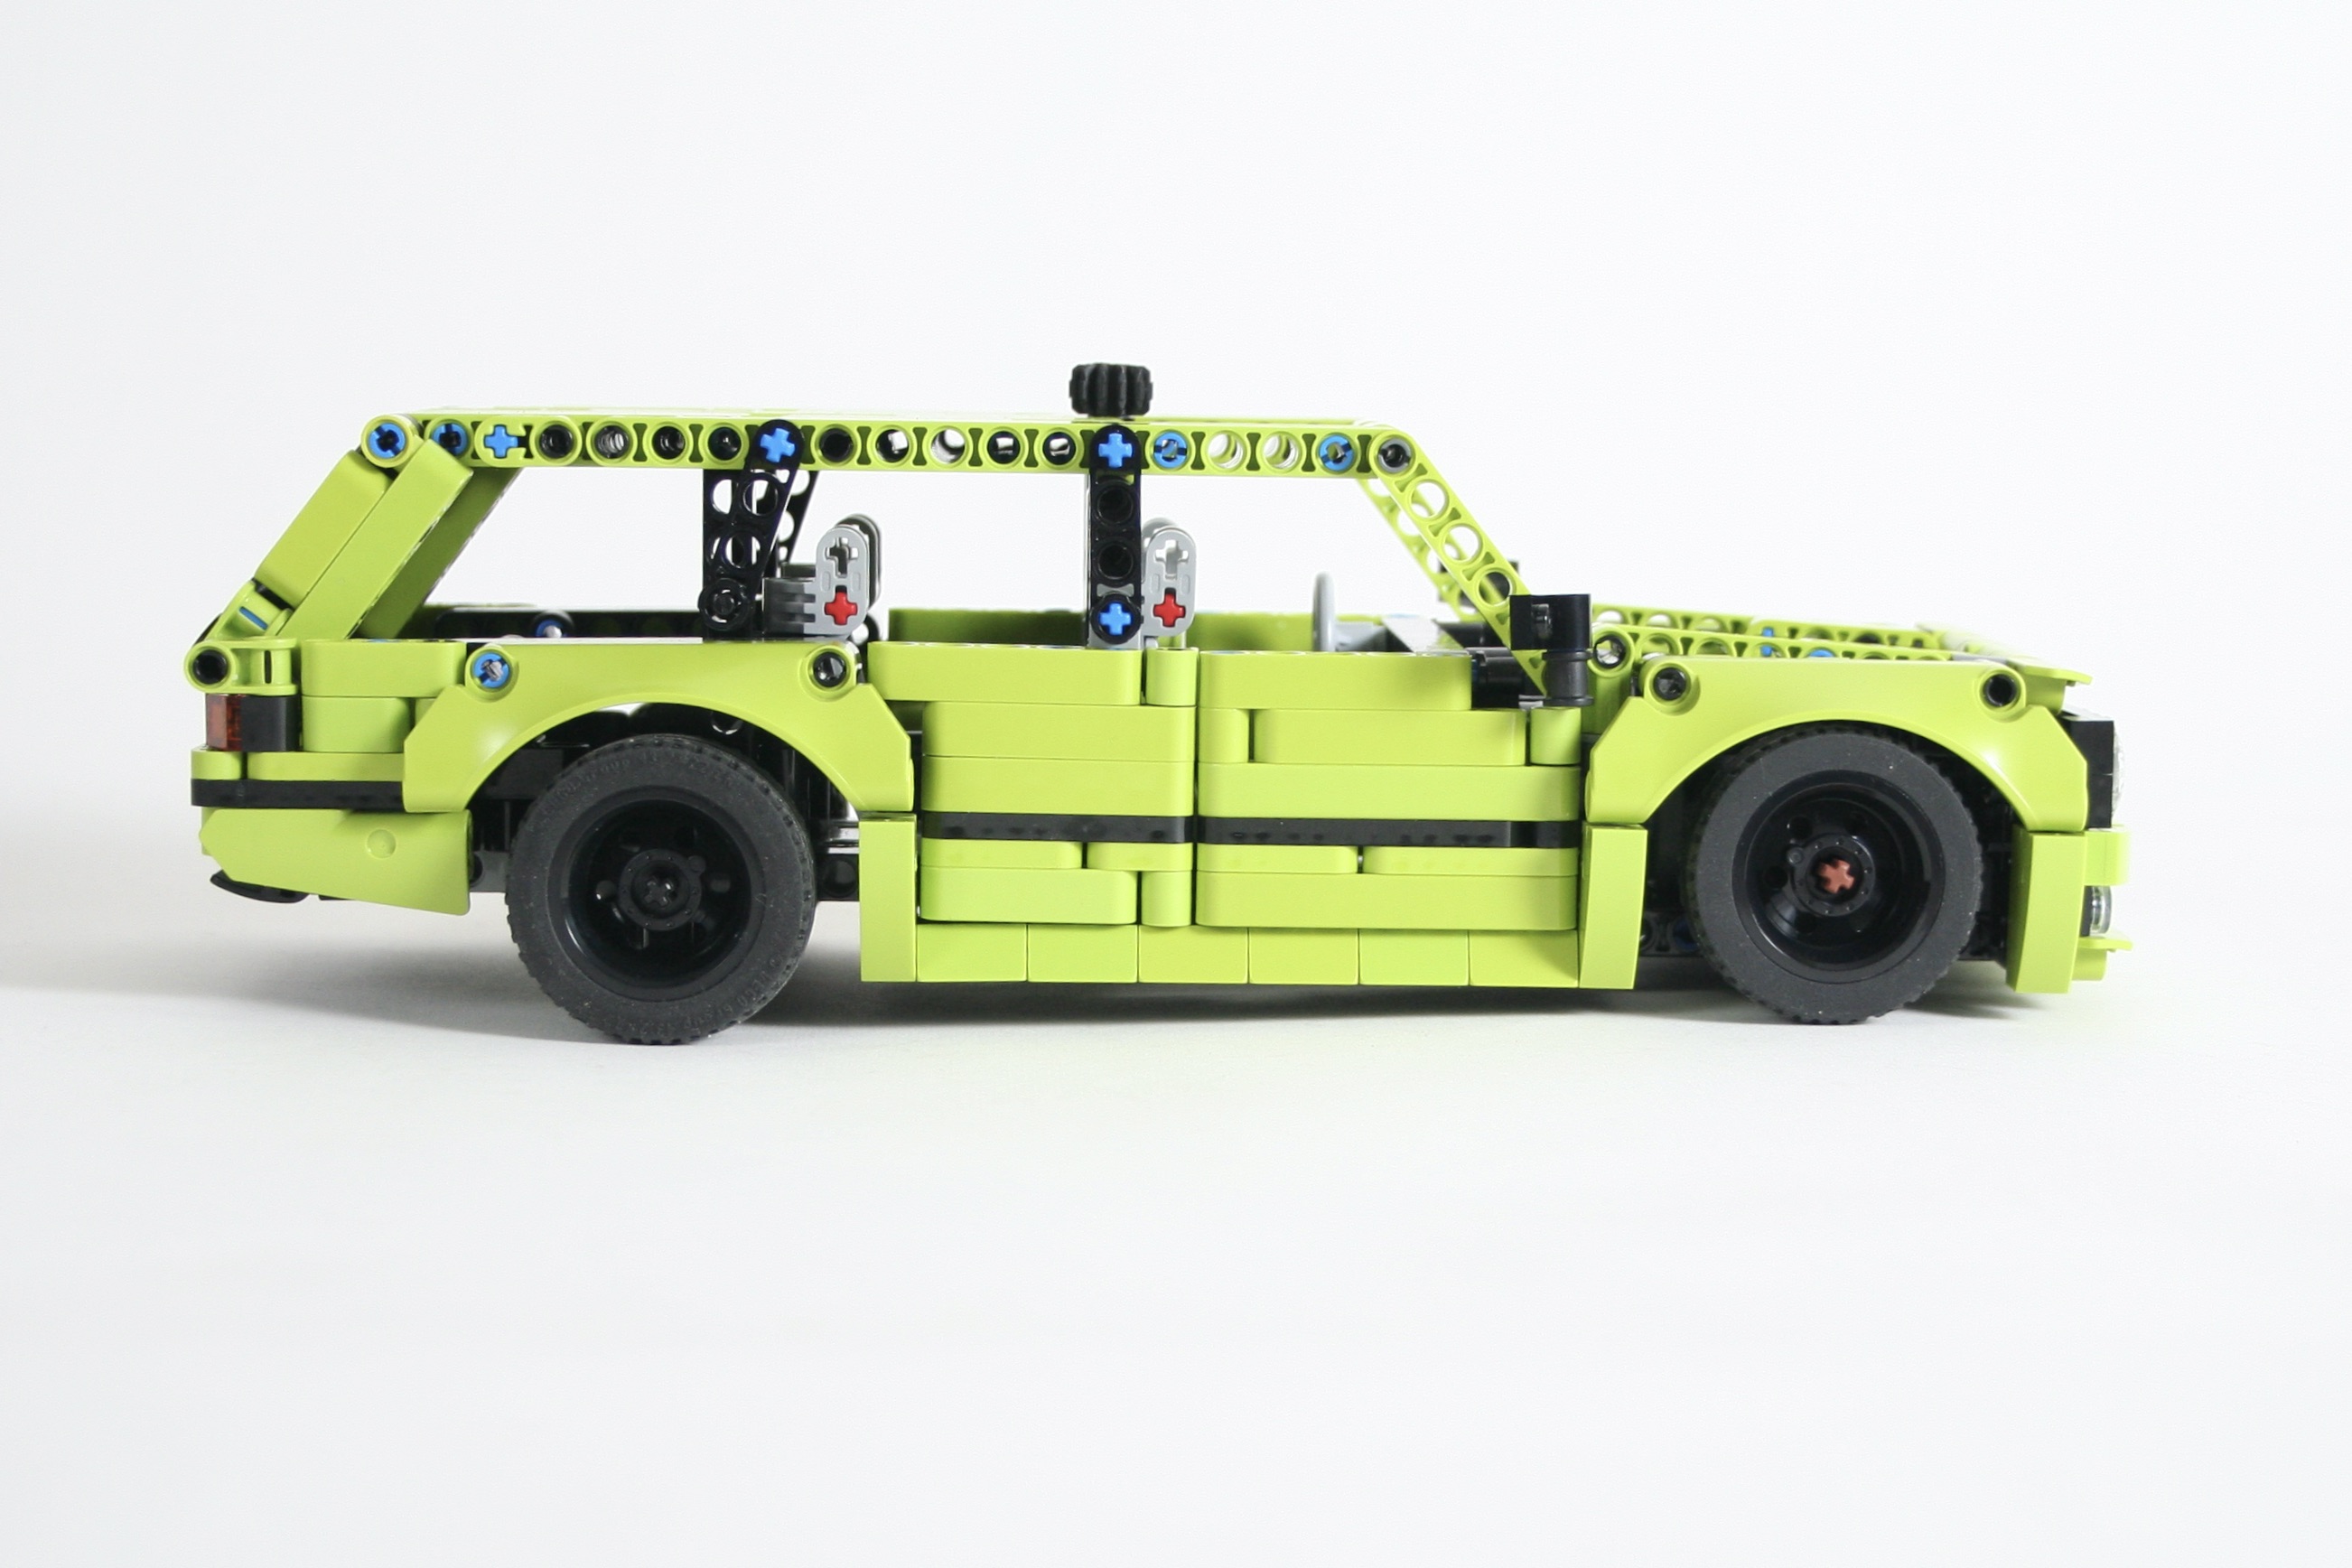
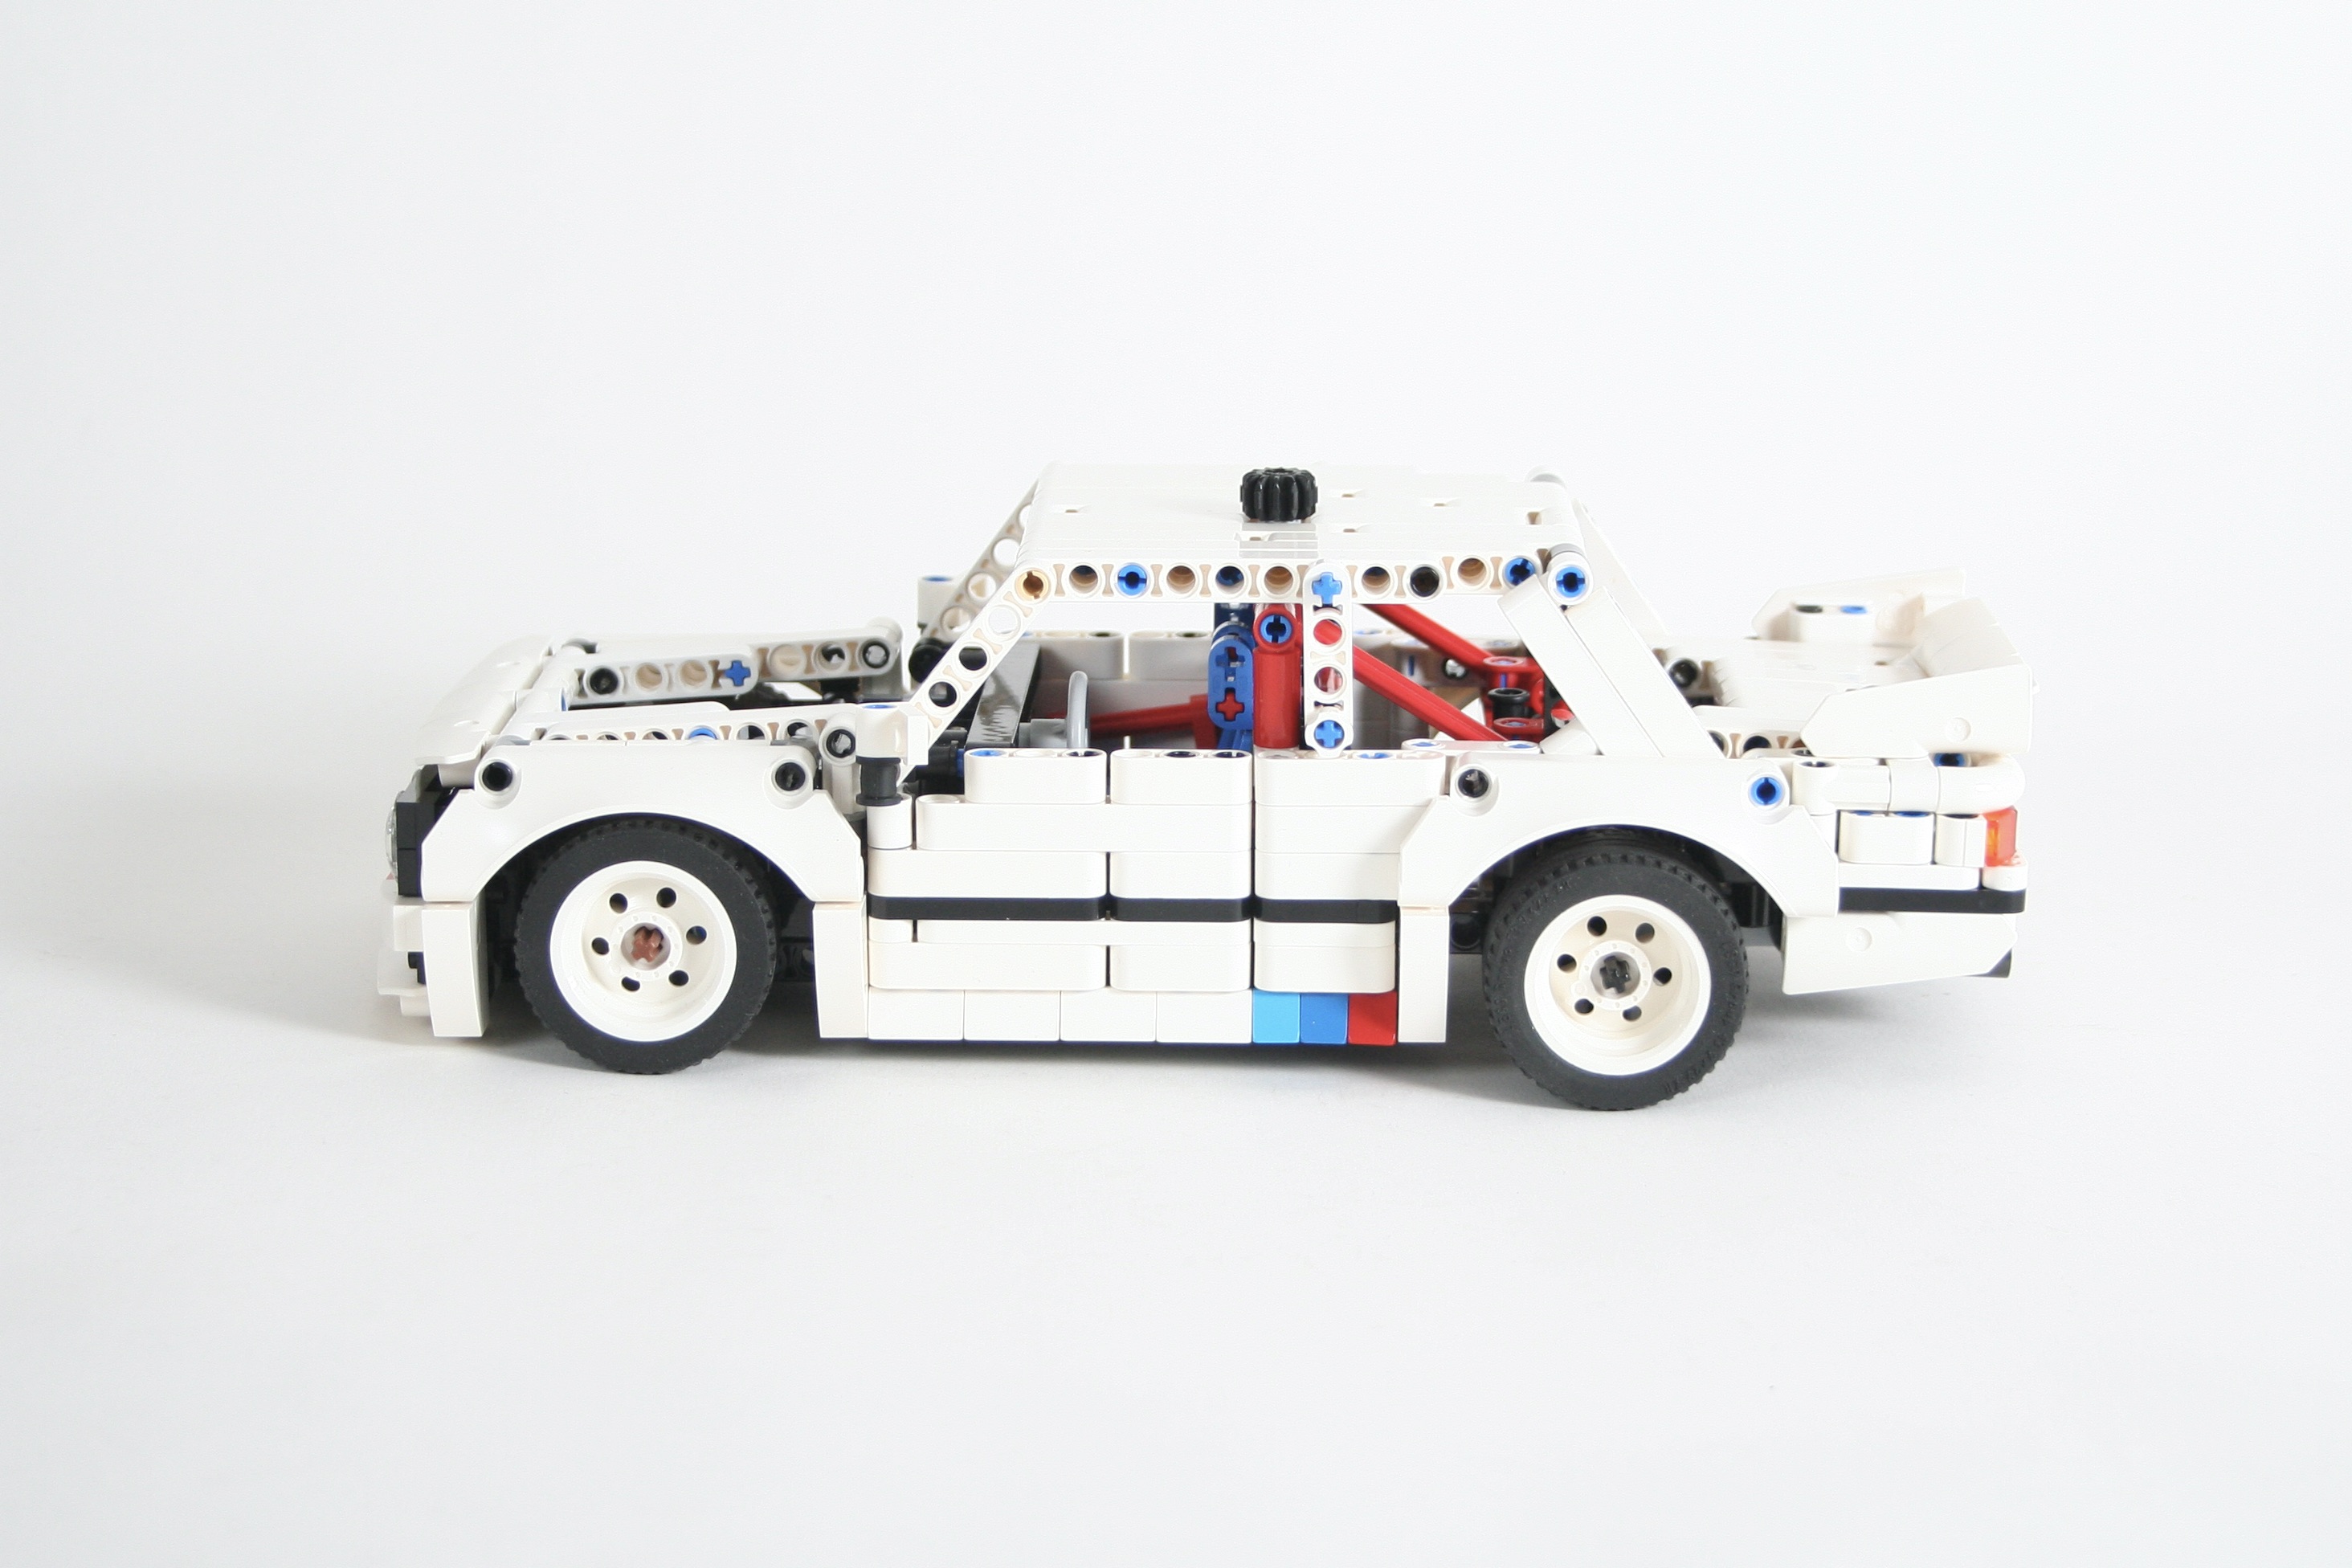
Once the engine was done, building the car around it was rather fun. I worked on the doors and side of the car next, and it was at this point, I decided on the Lime color. Adding the fenders and rear deck came next, then I had to pause to build the roof. It took some time, and a number of drafts, but I finally came up with a simple roof design that would fold into the rear of the car. The roof was not too stable when up, so I use a HOG extension in the middle of the roof to give it a little support.
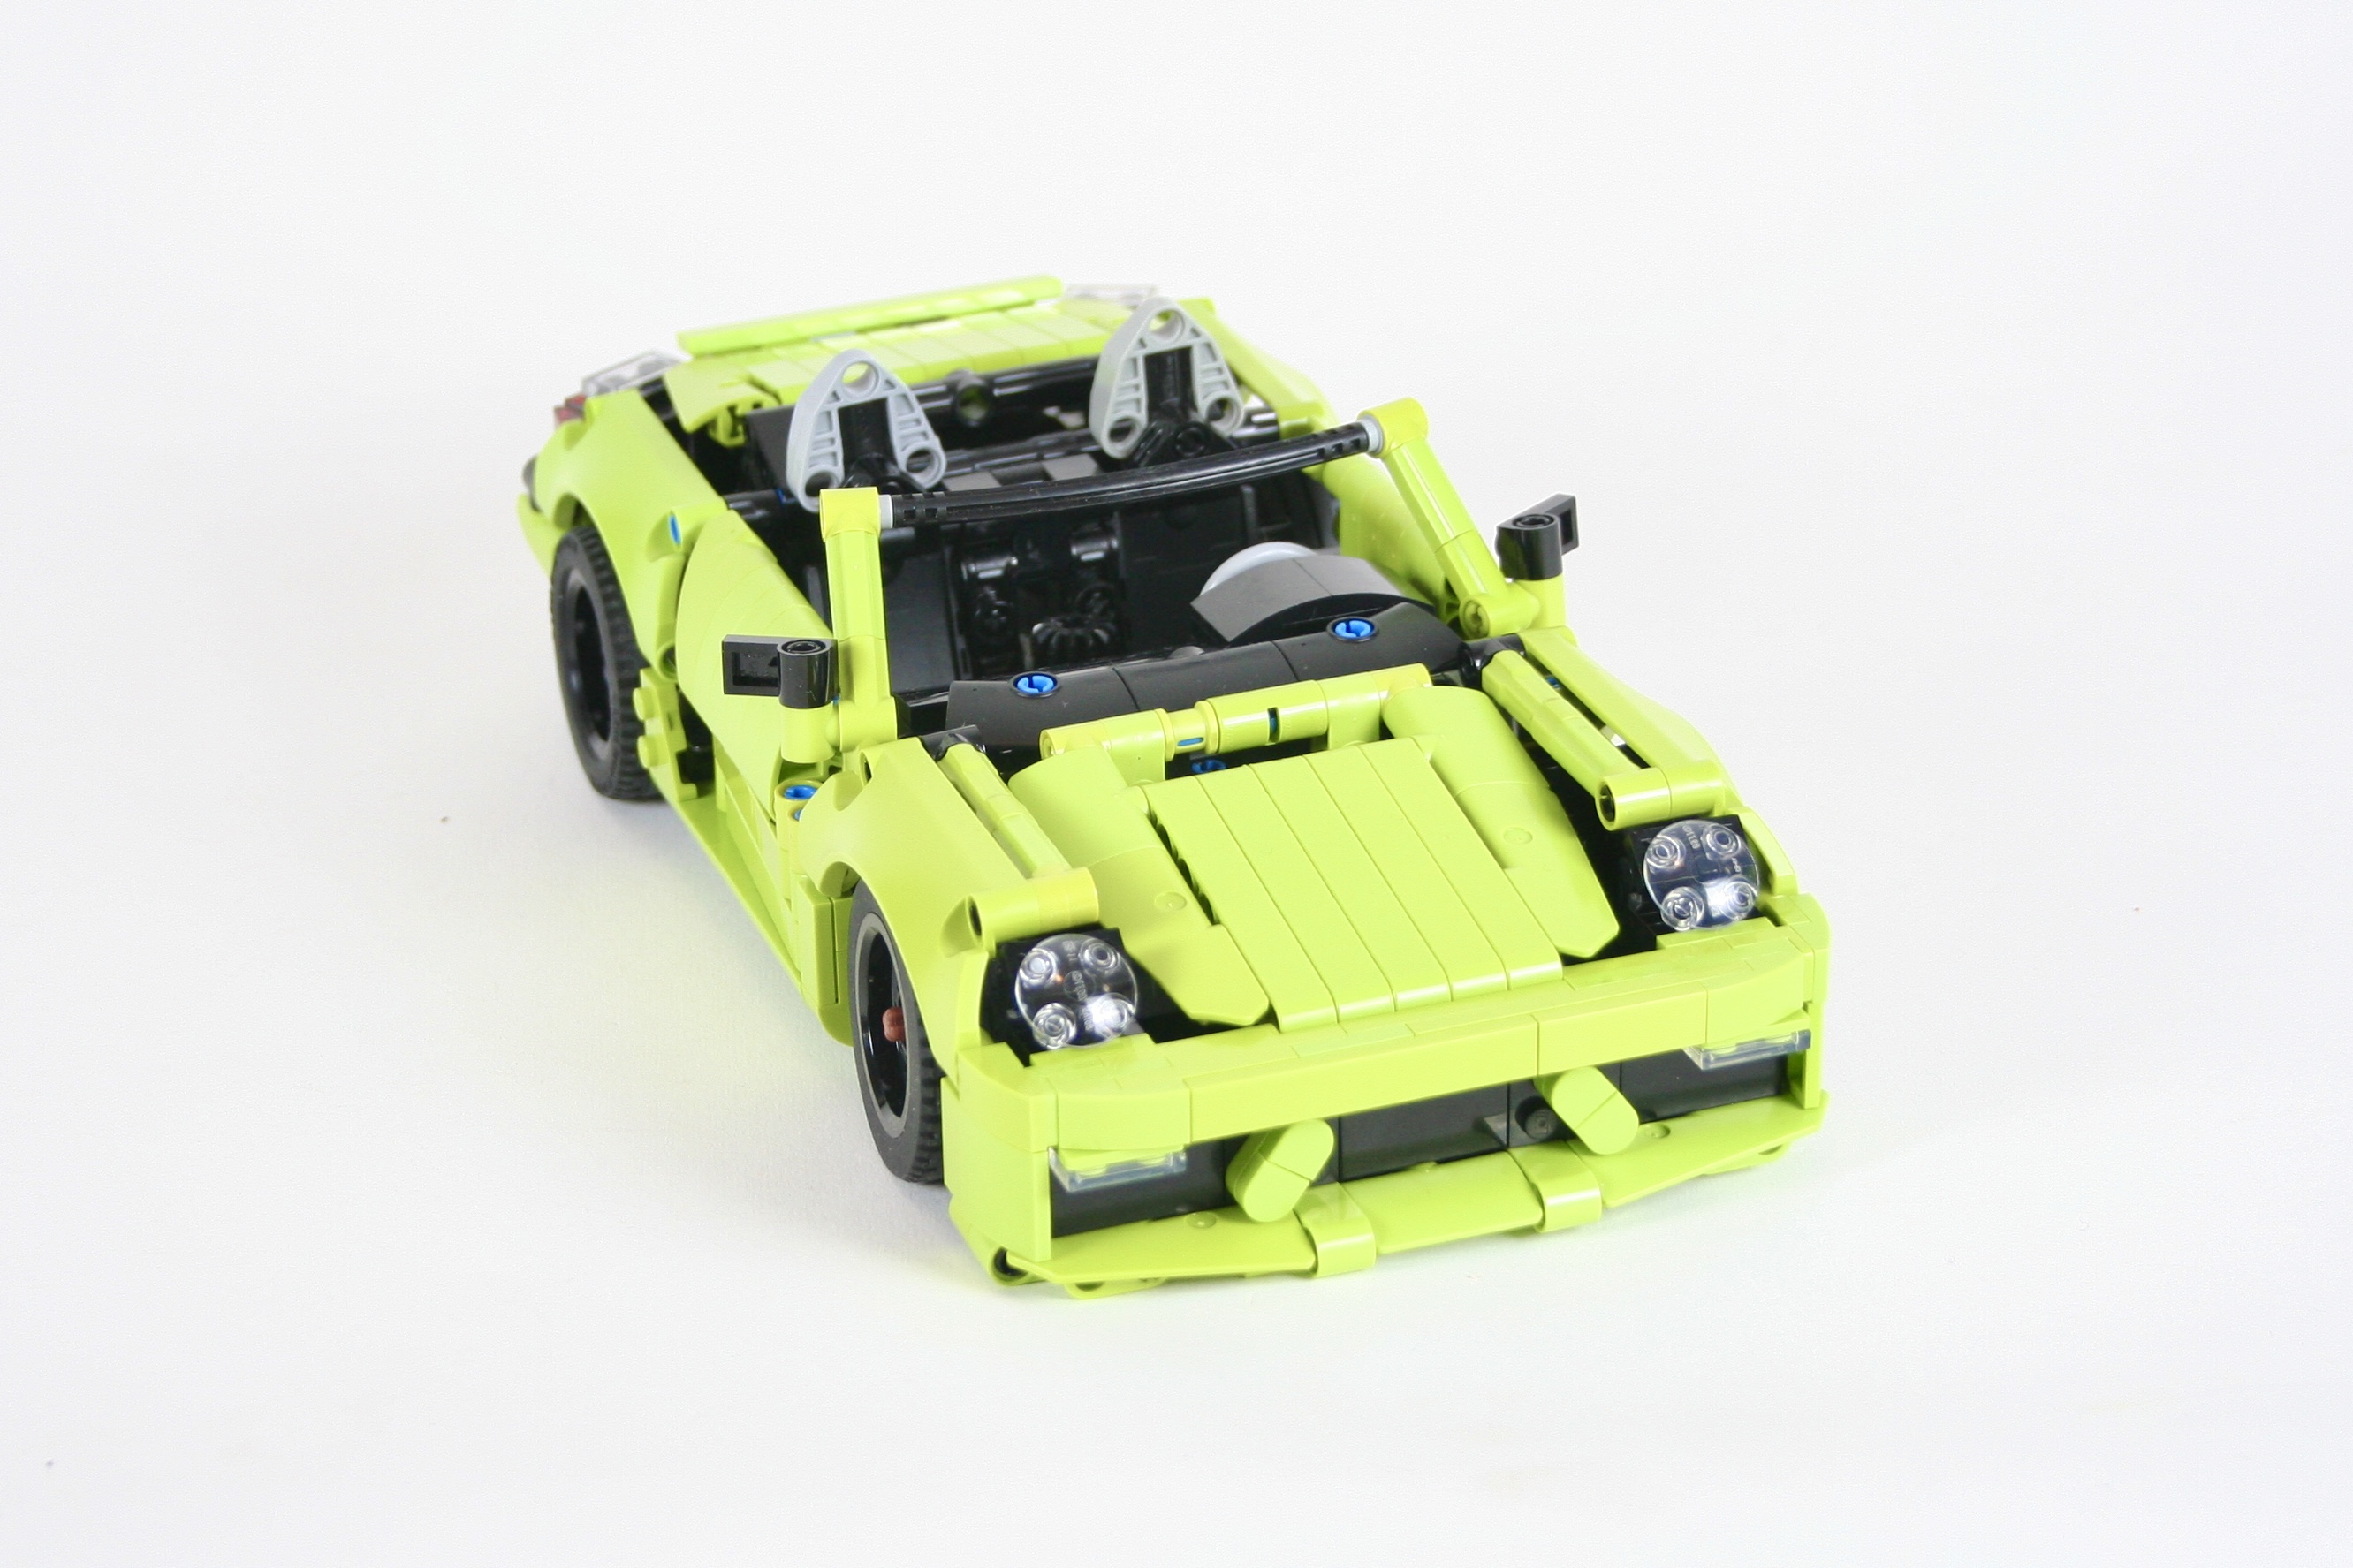
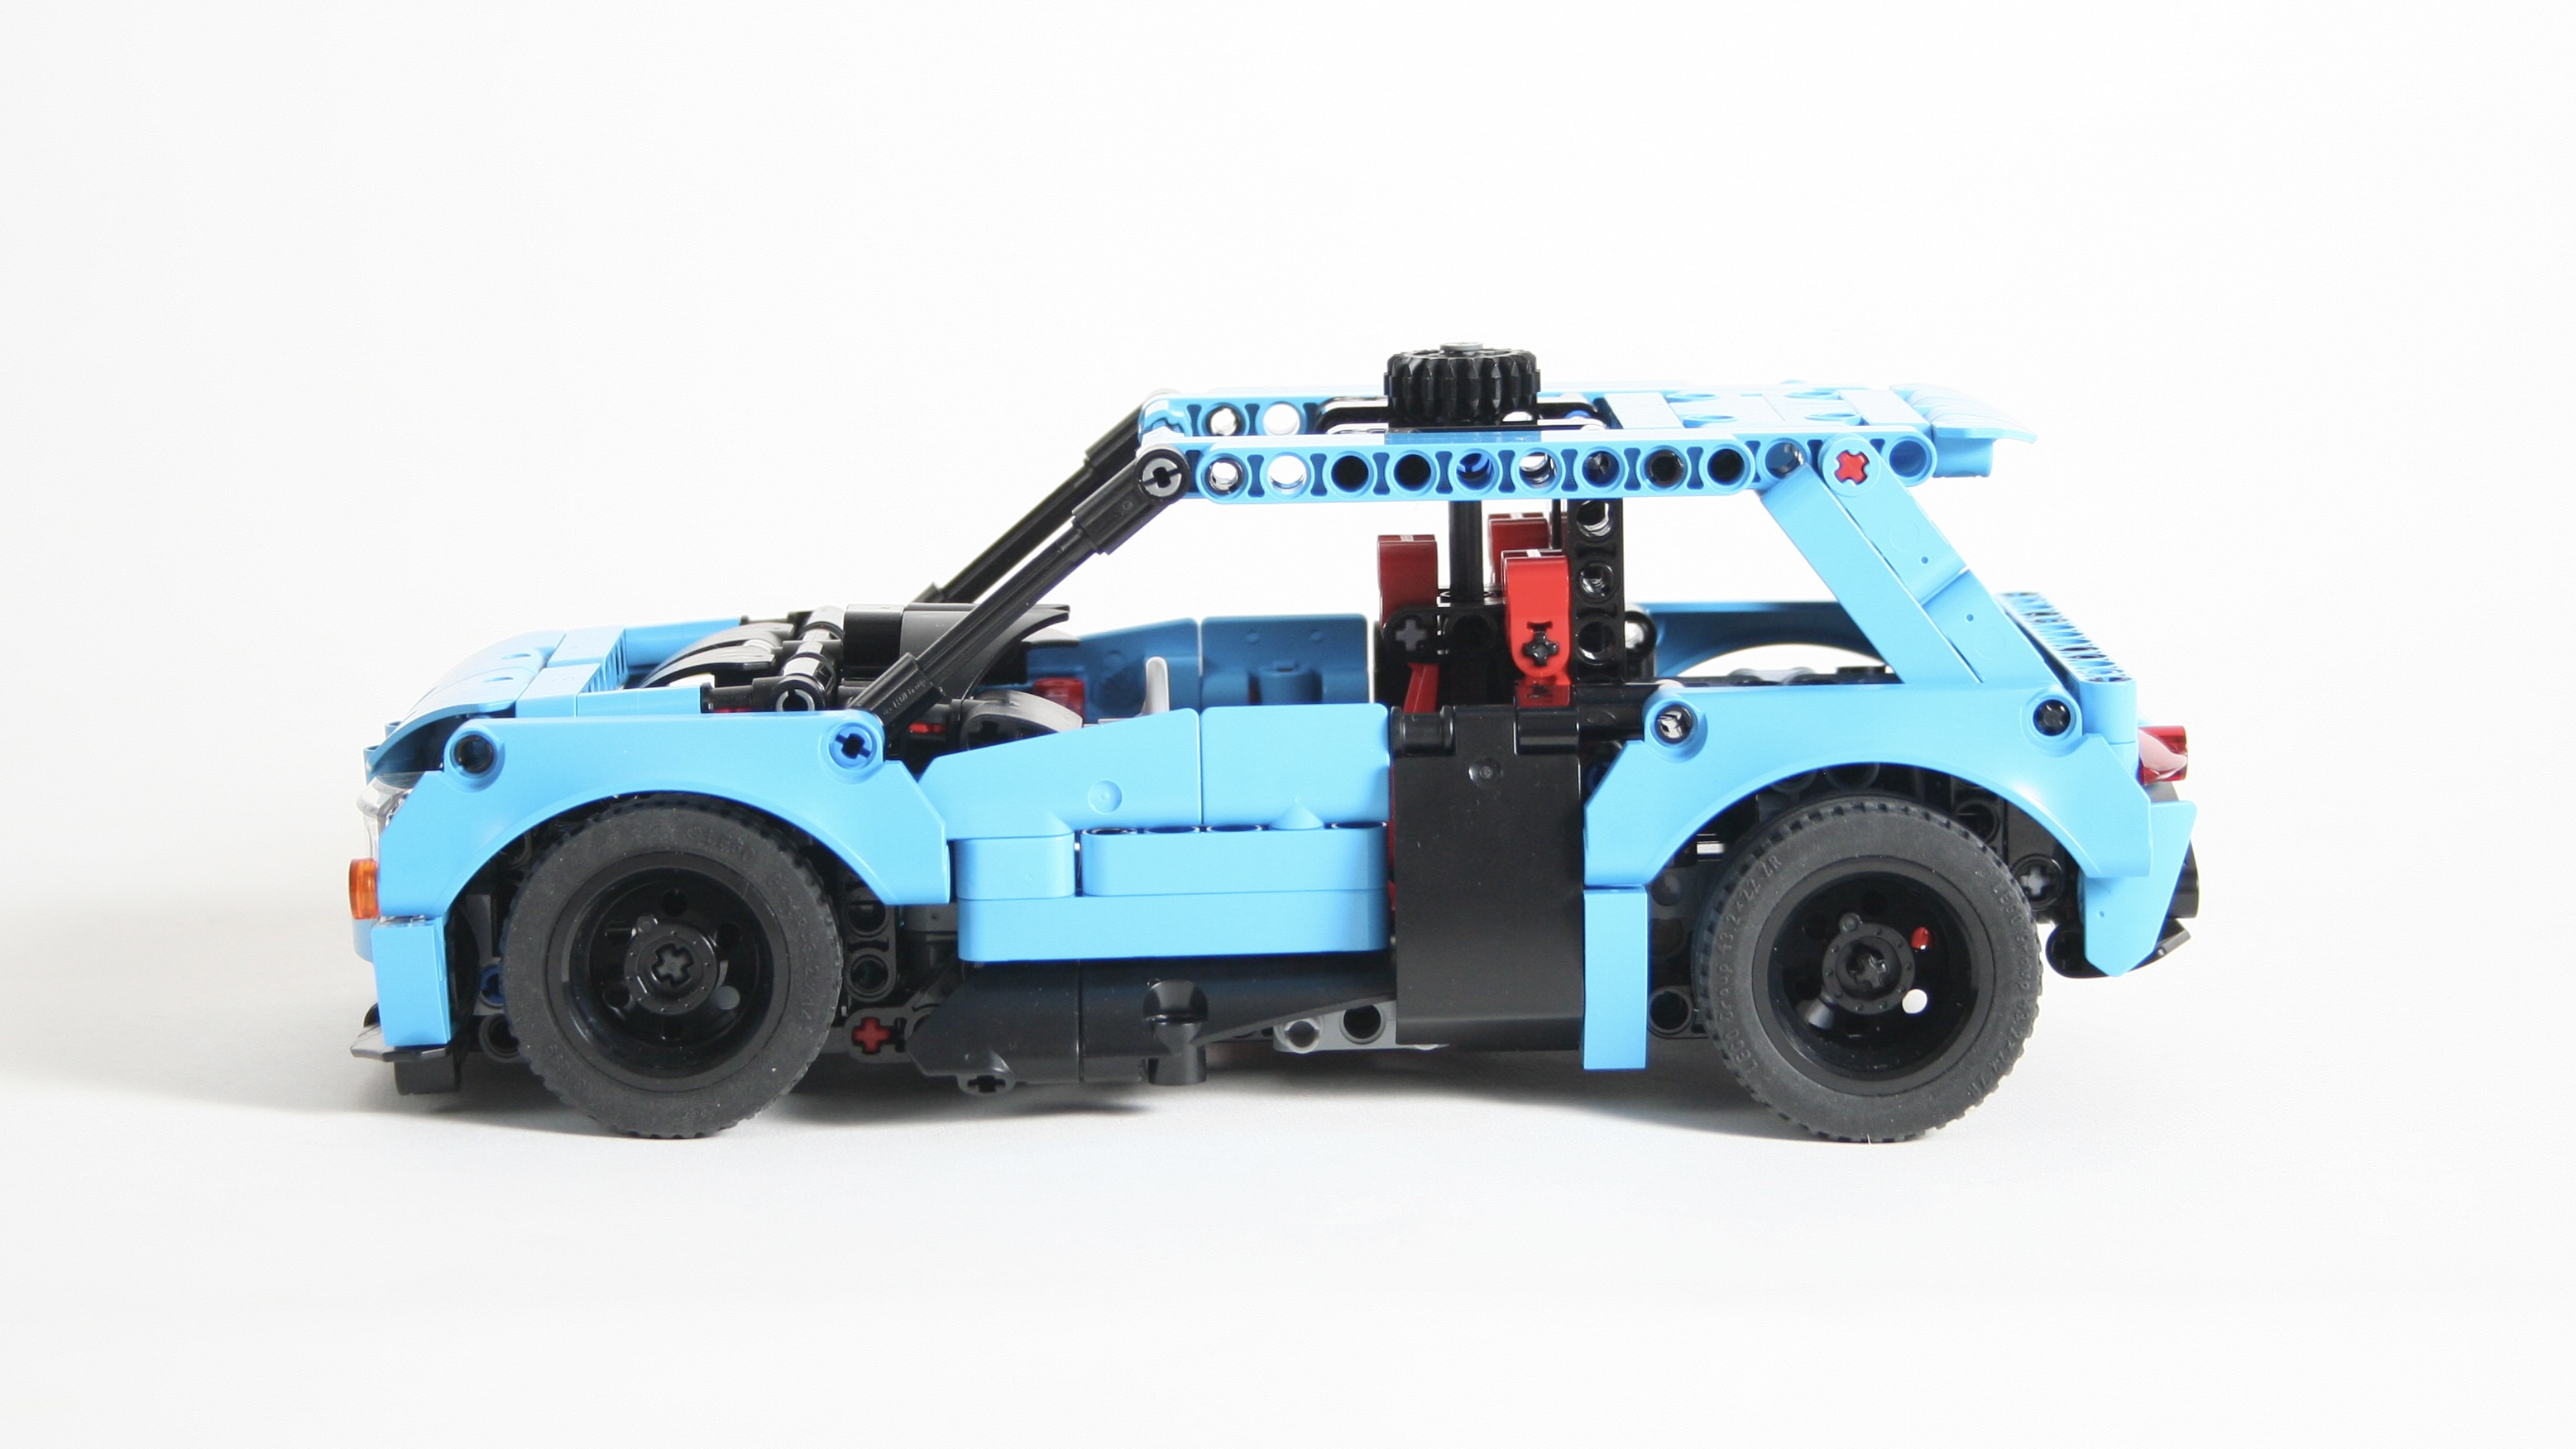
The car turned out to be a great little testbed for another engine design. I am pleased with how it works, and will be an idea I use in another build. The front bumper could be a little more rounded, but maybe I will update that on a future Cayman or something.
Happy building.