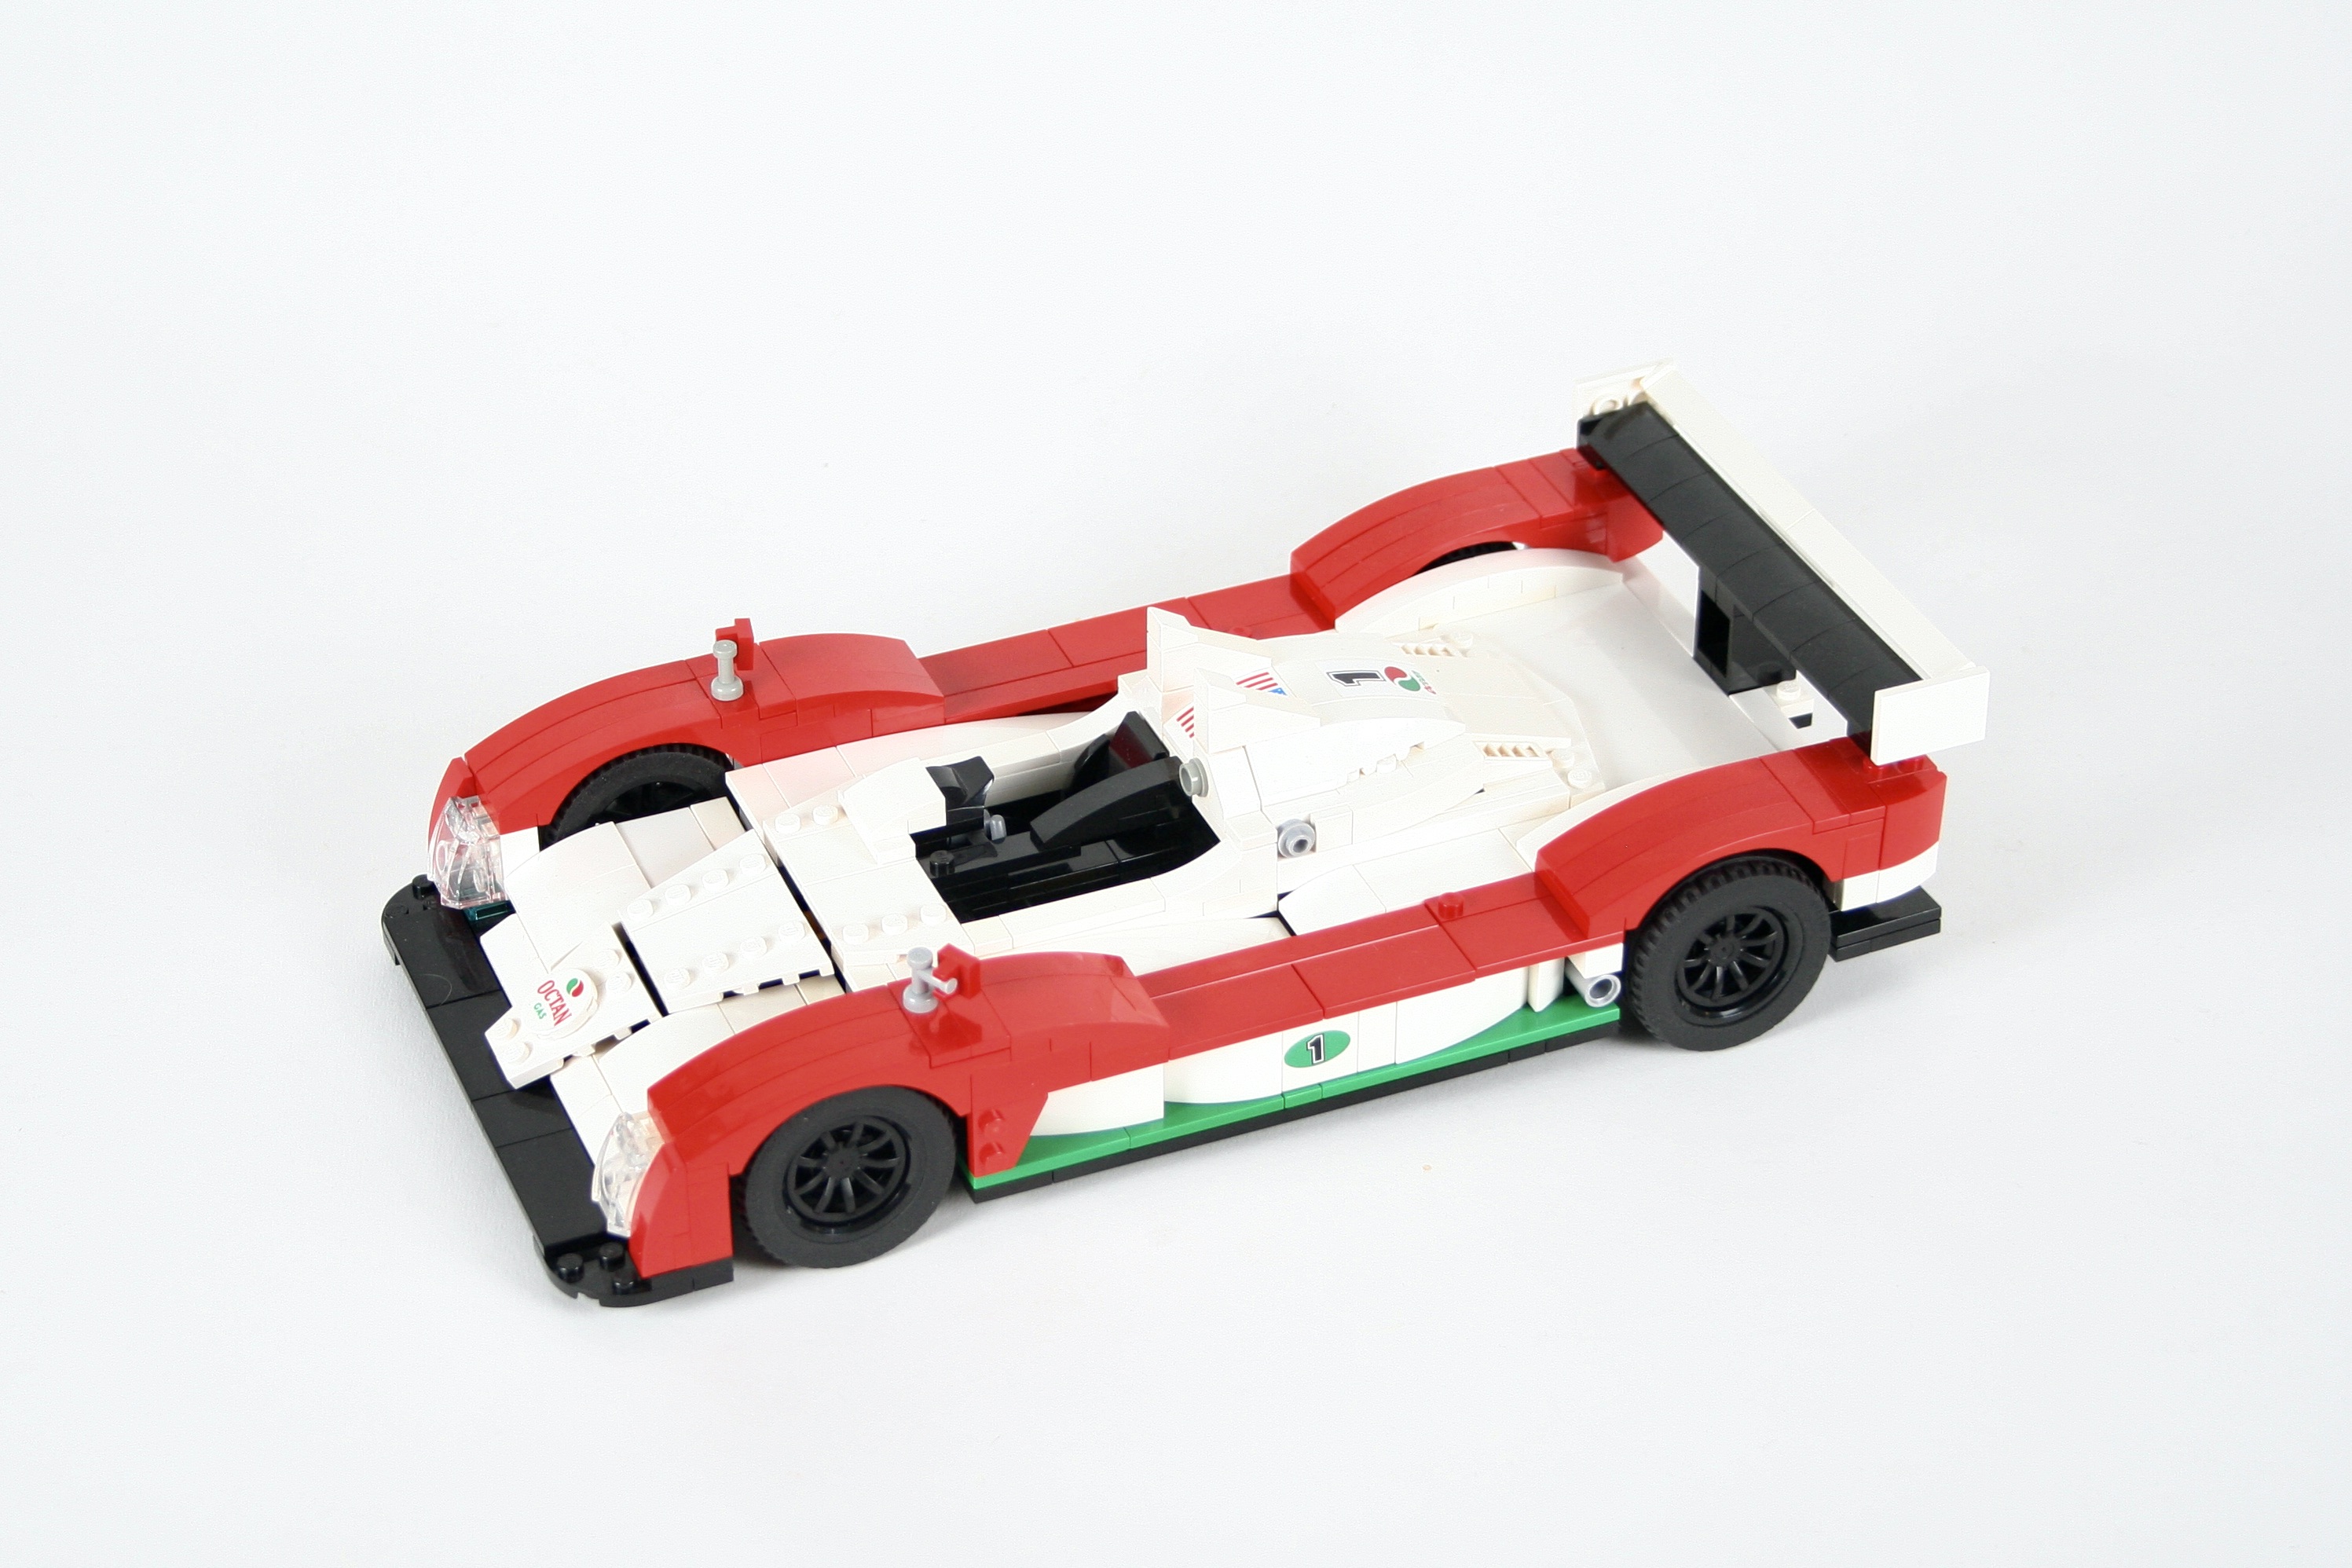
OCTAN LMP
February 18, 2024 Leave a comment
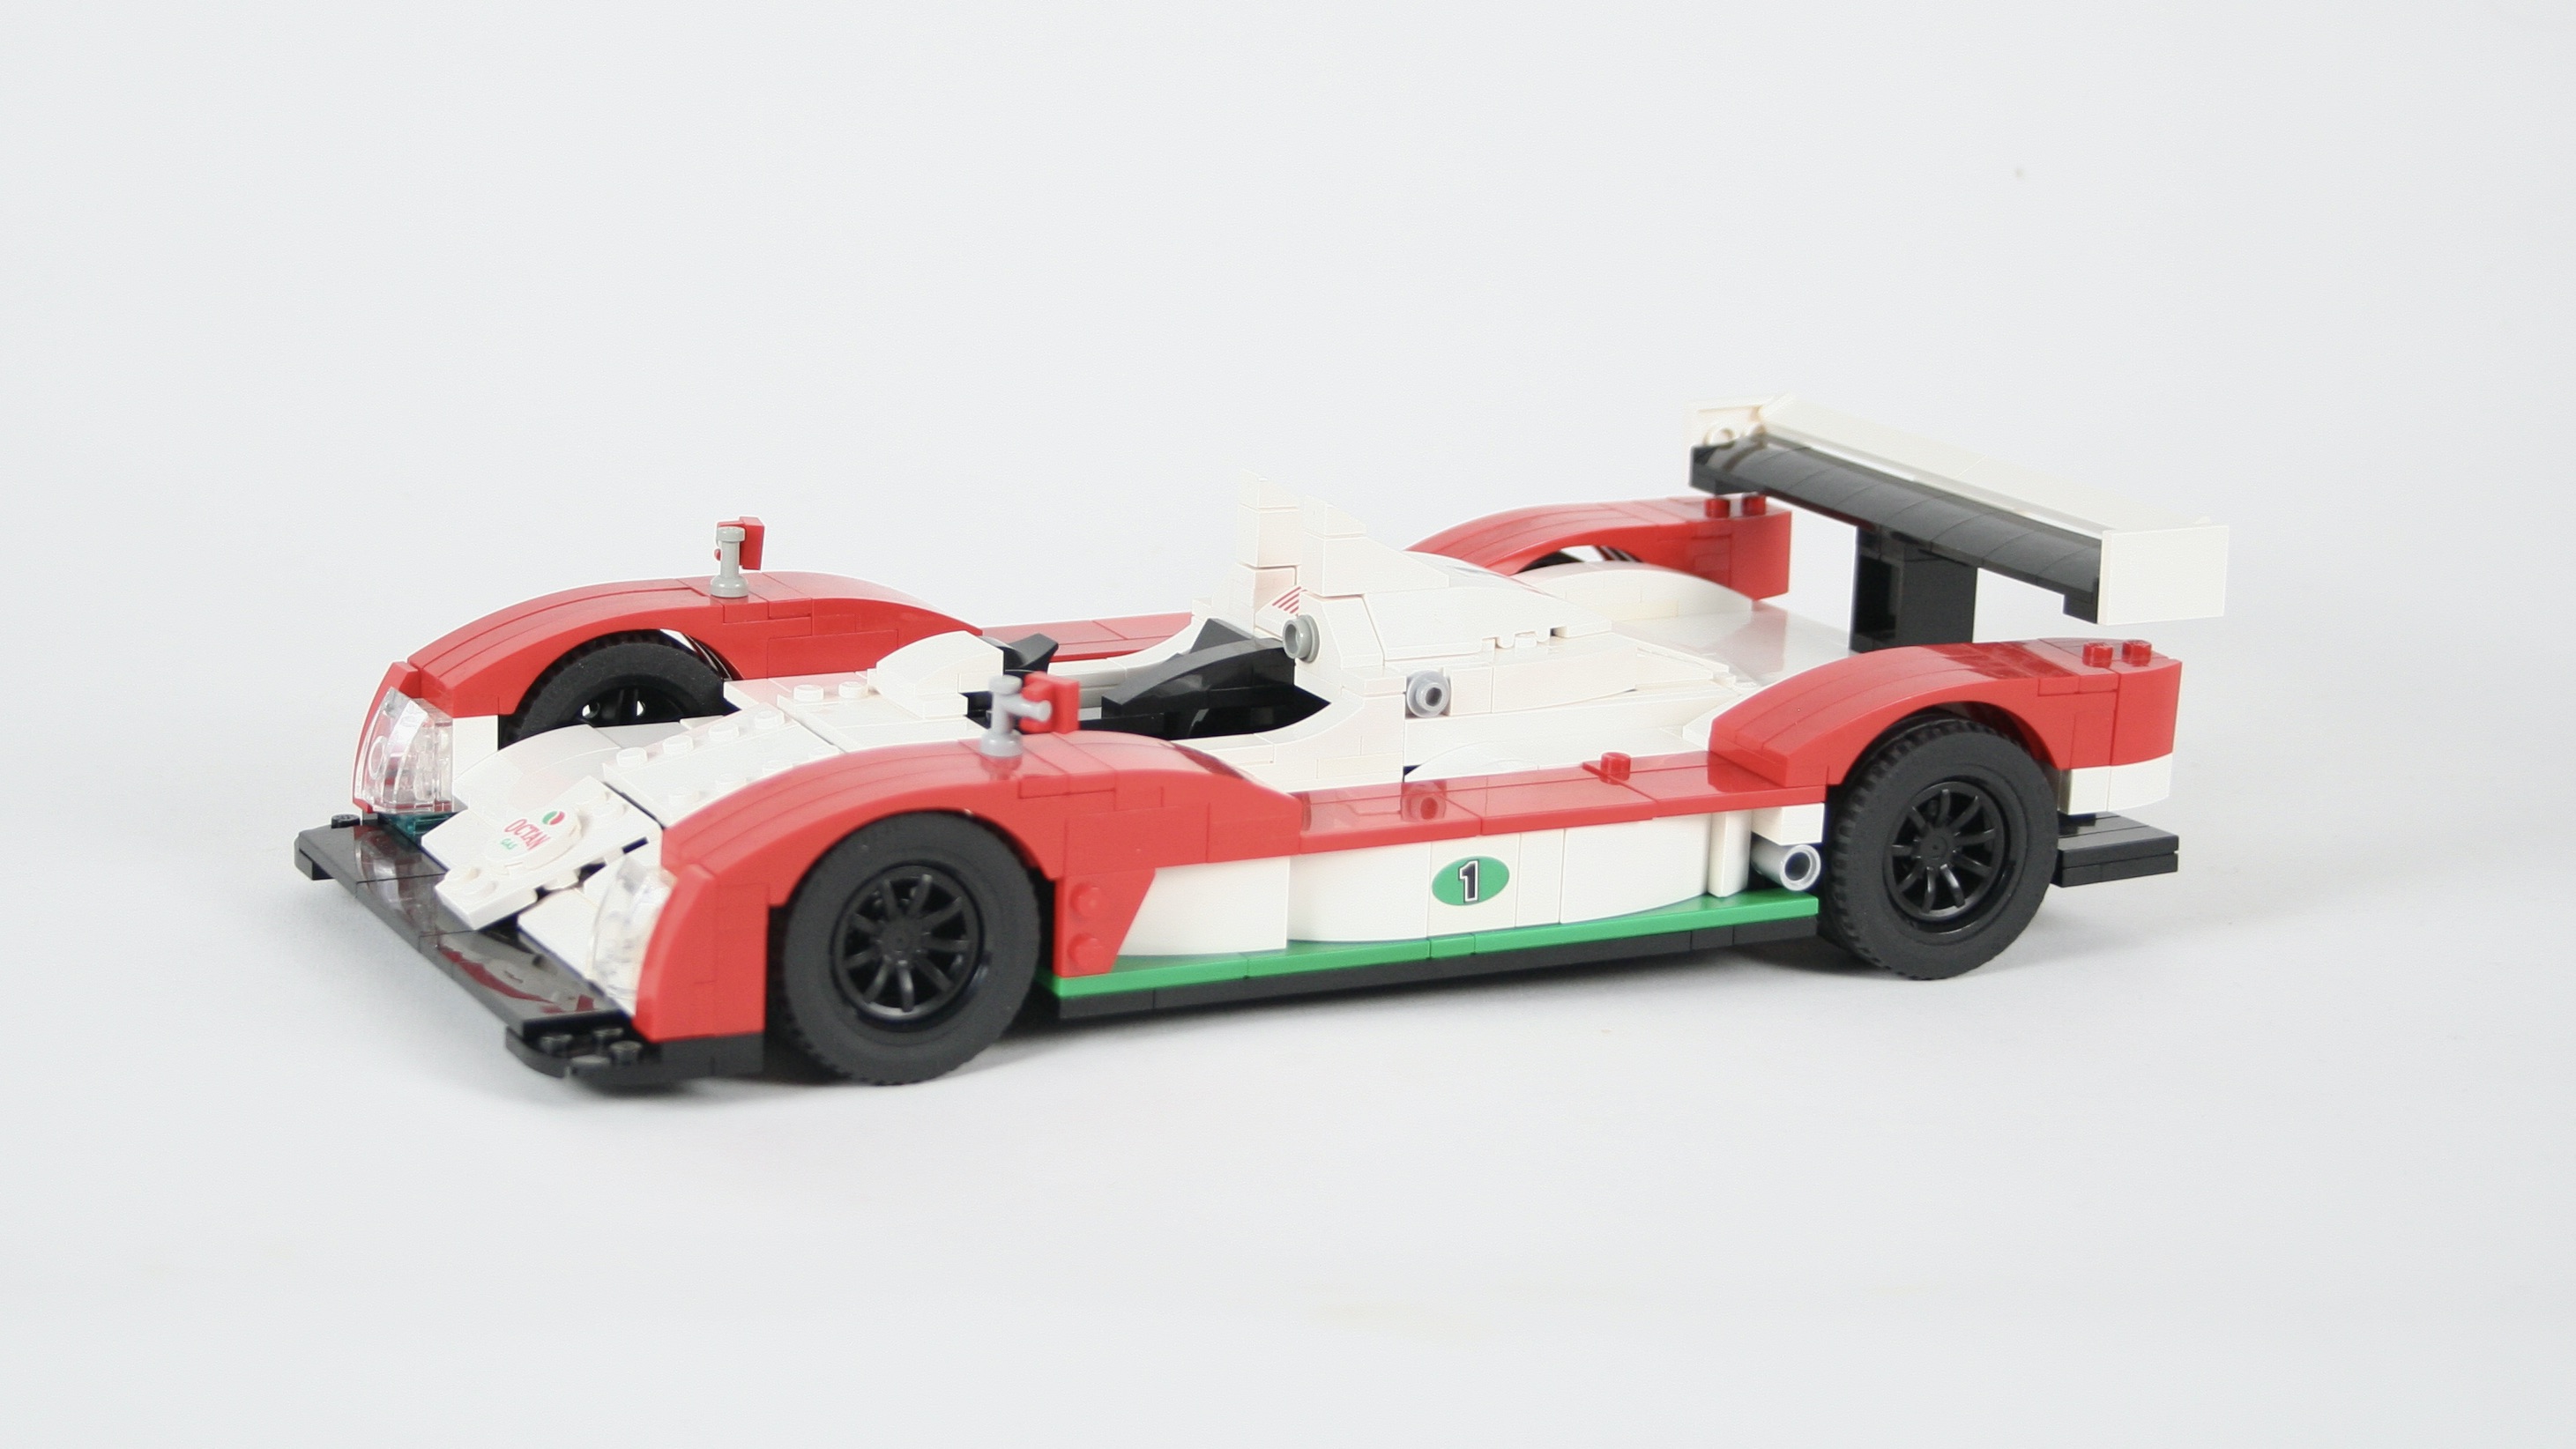
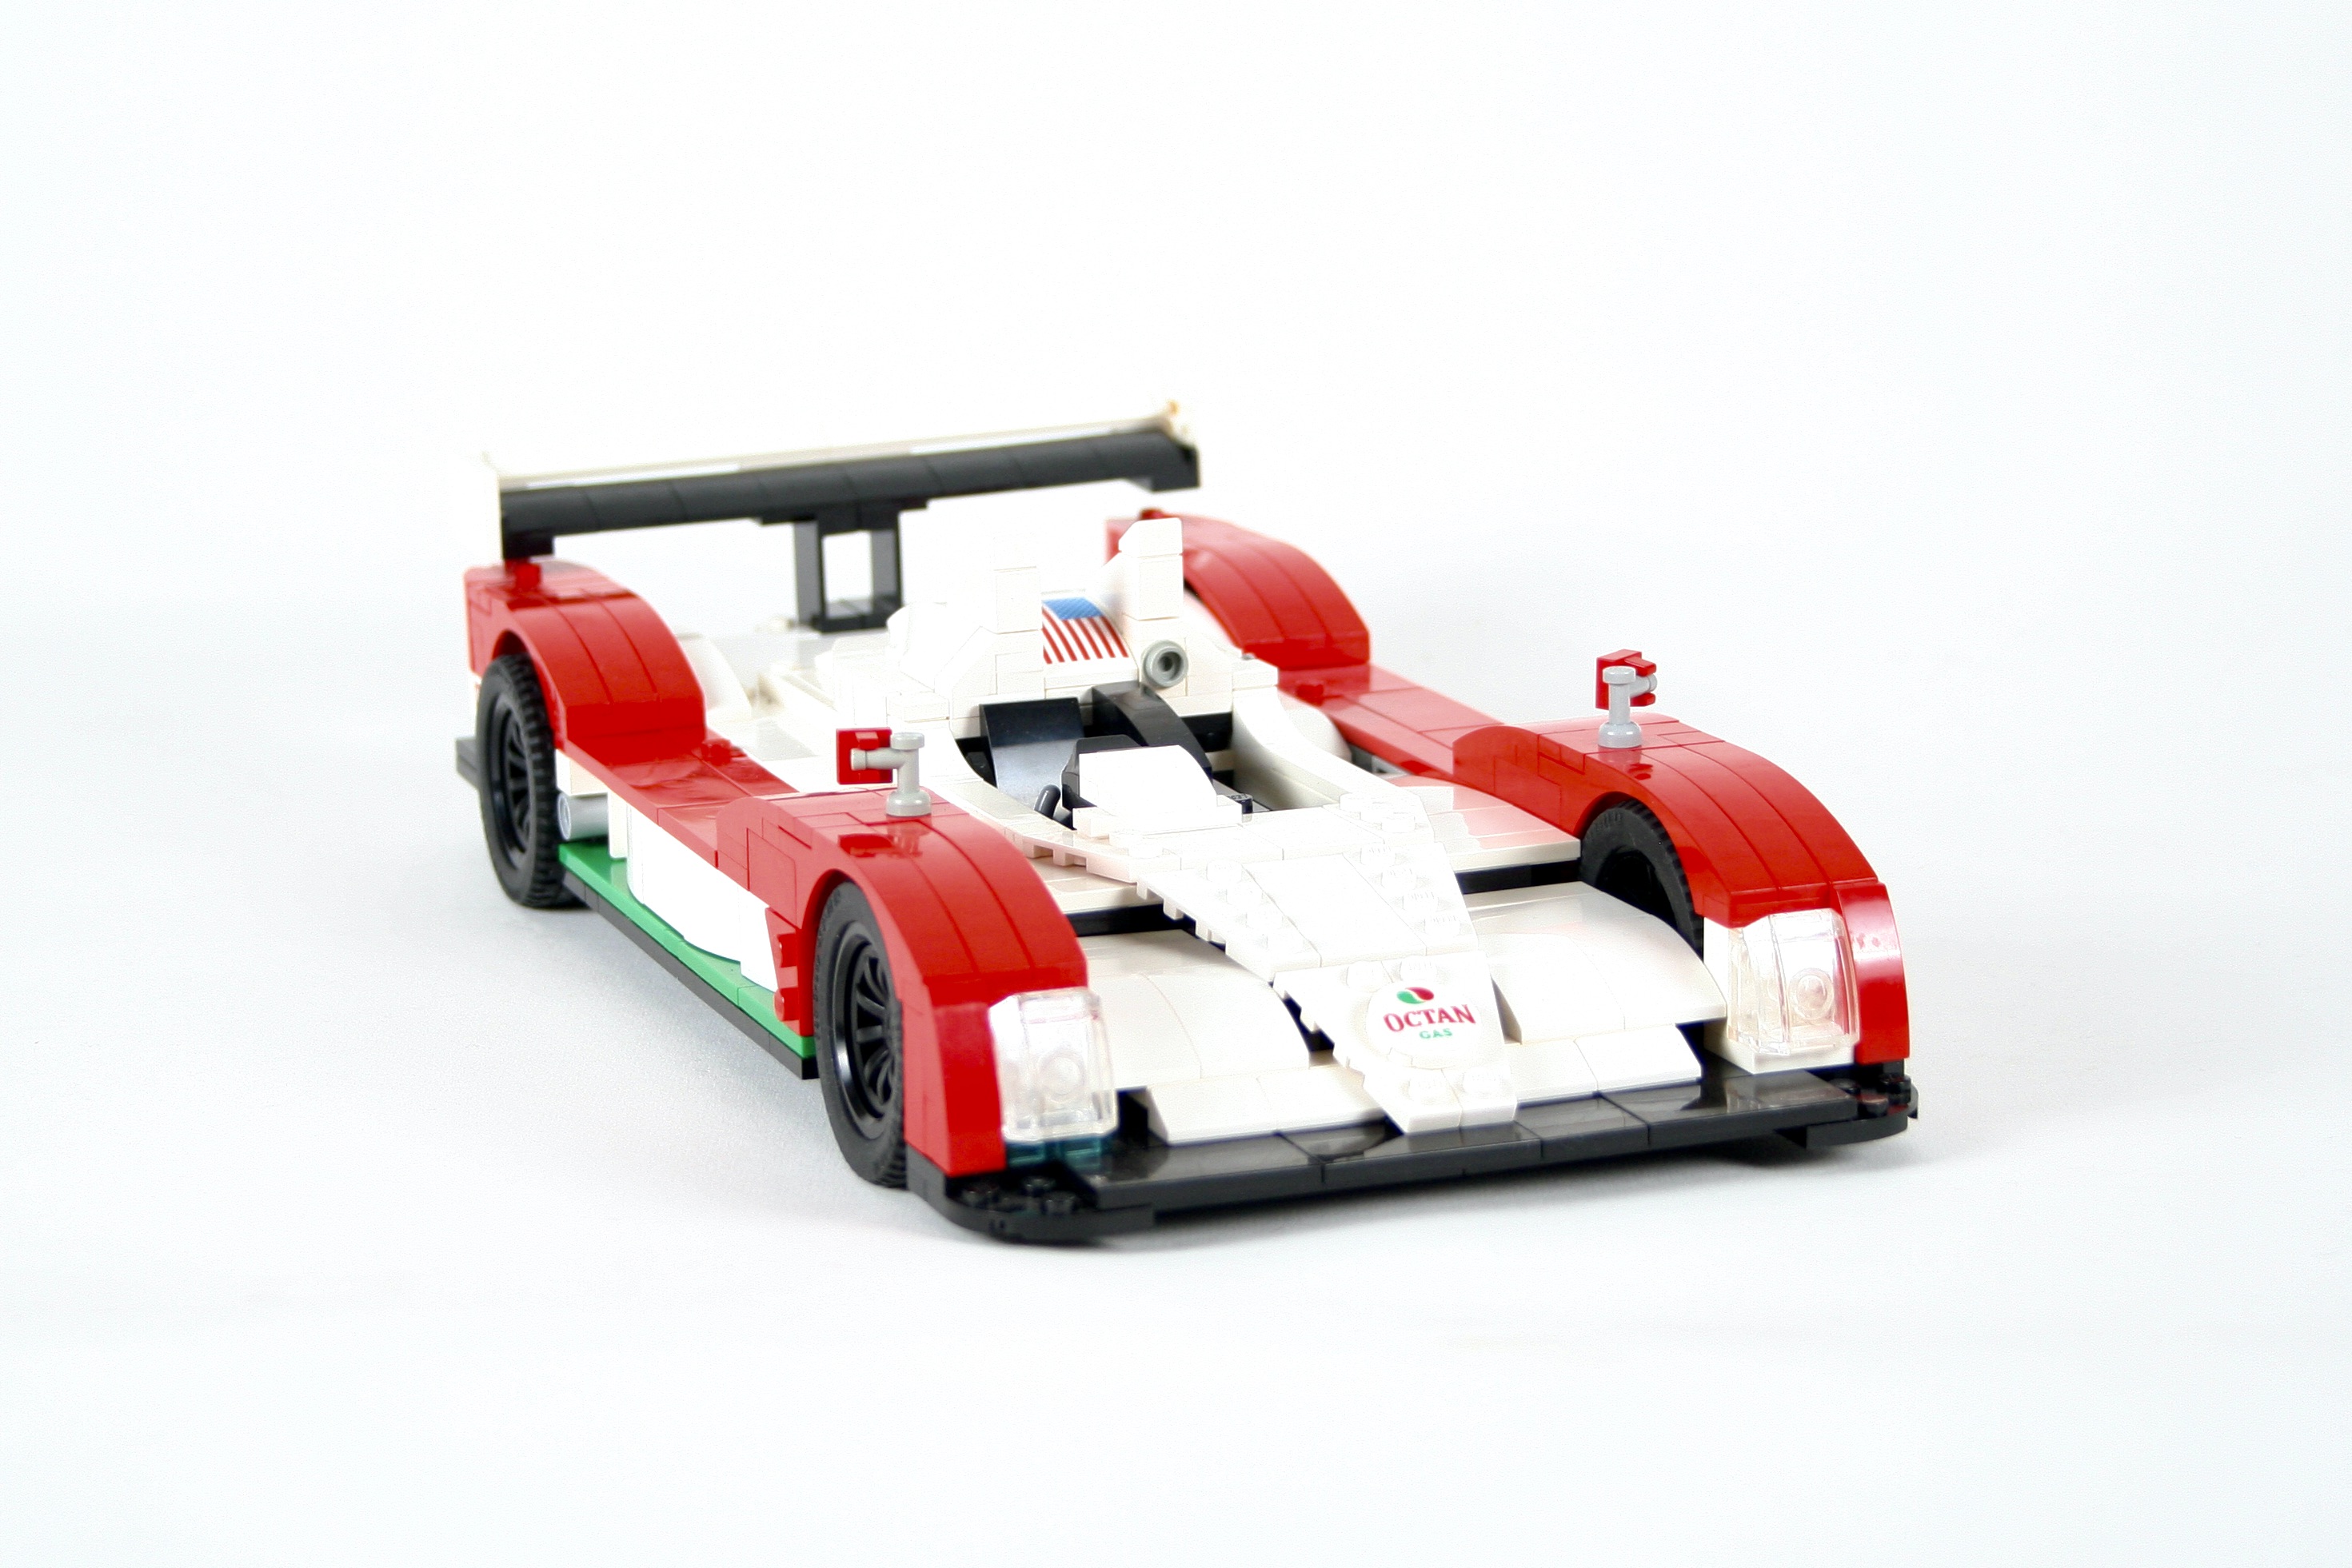
My favorite type of race car with my favorite livery.
Free instructions may be found at Rebrickable.com.
During COVID I had a little home office that was set up right next to all of my system bricks. I keep my Technic parts in a different place, so I could not get too distracted while I worked. But with this little parts so close, I did find myself tinkering with some of these system parts while I was on countless video meetings. As time went on I started to piece together some ideas that would work well for a full LMP car.
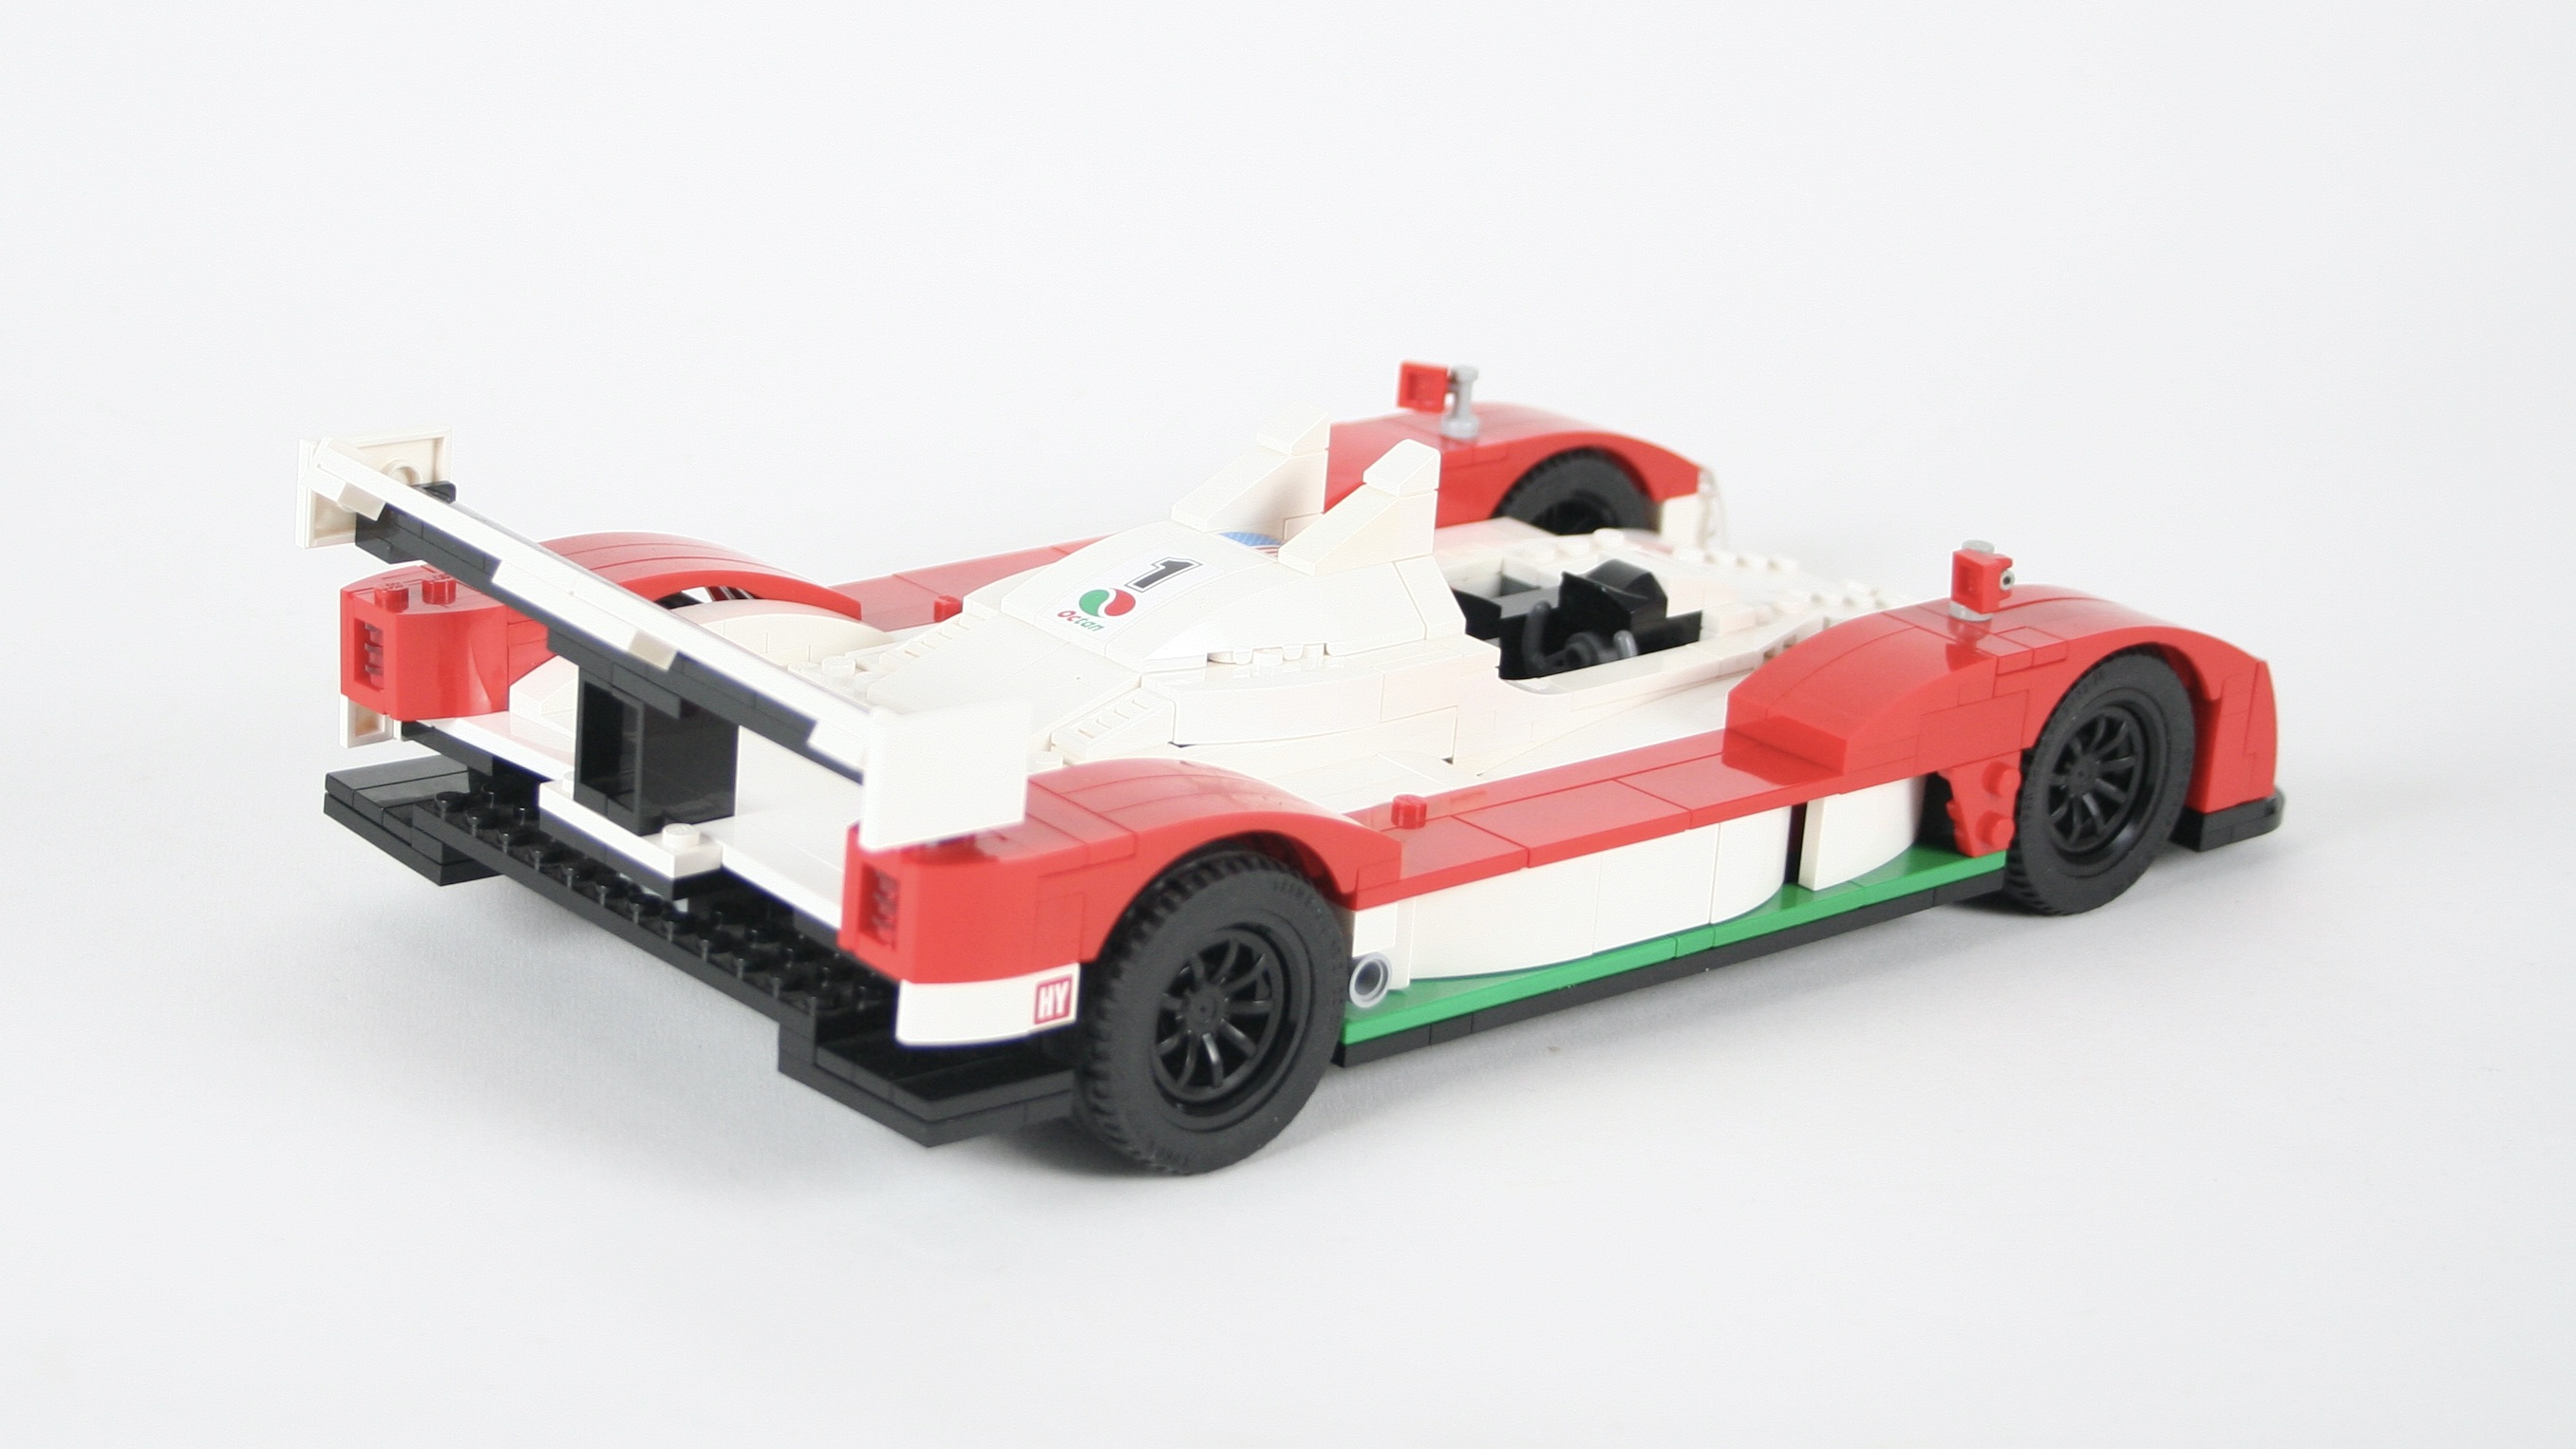
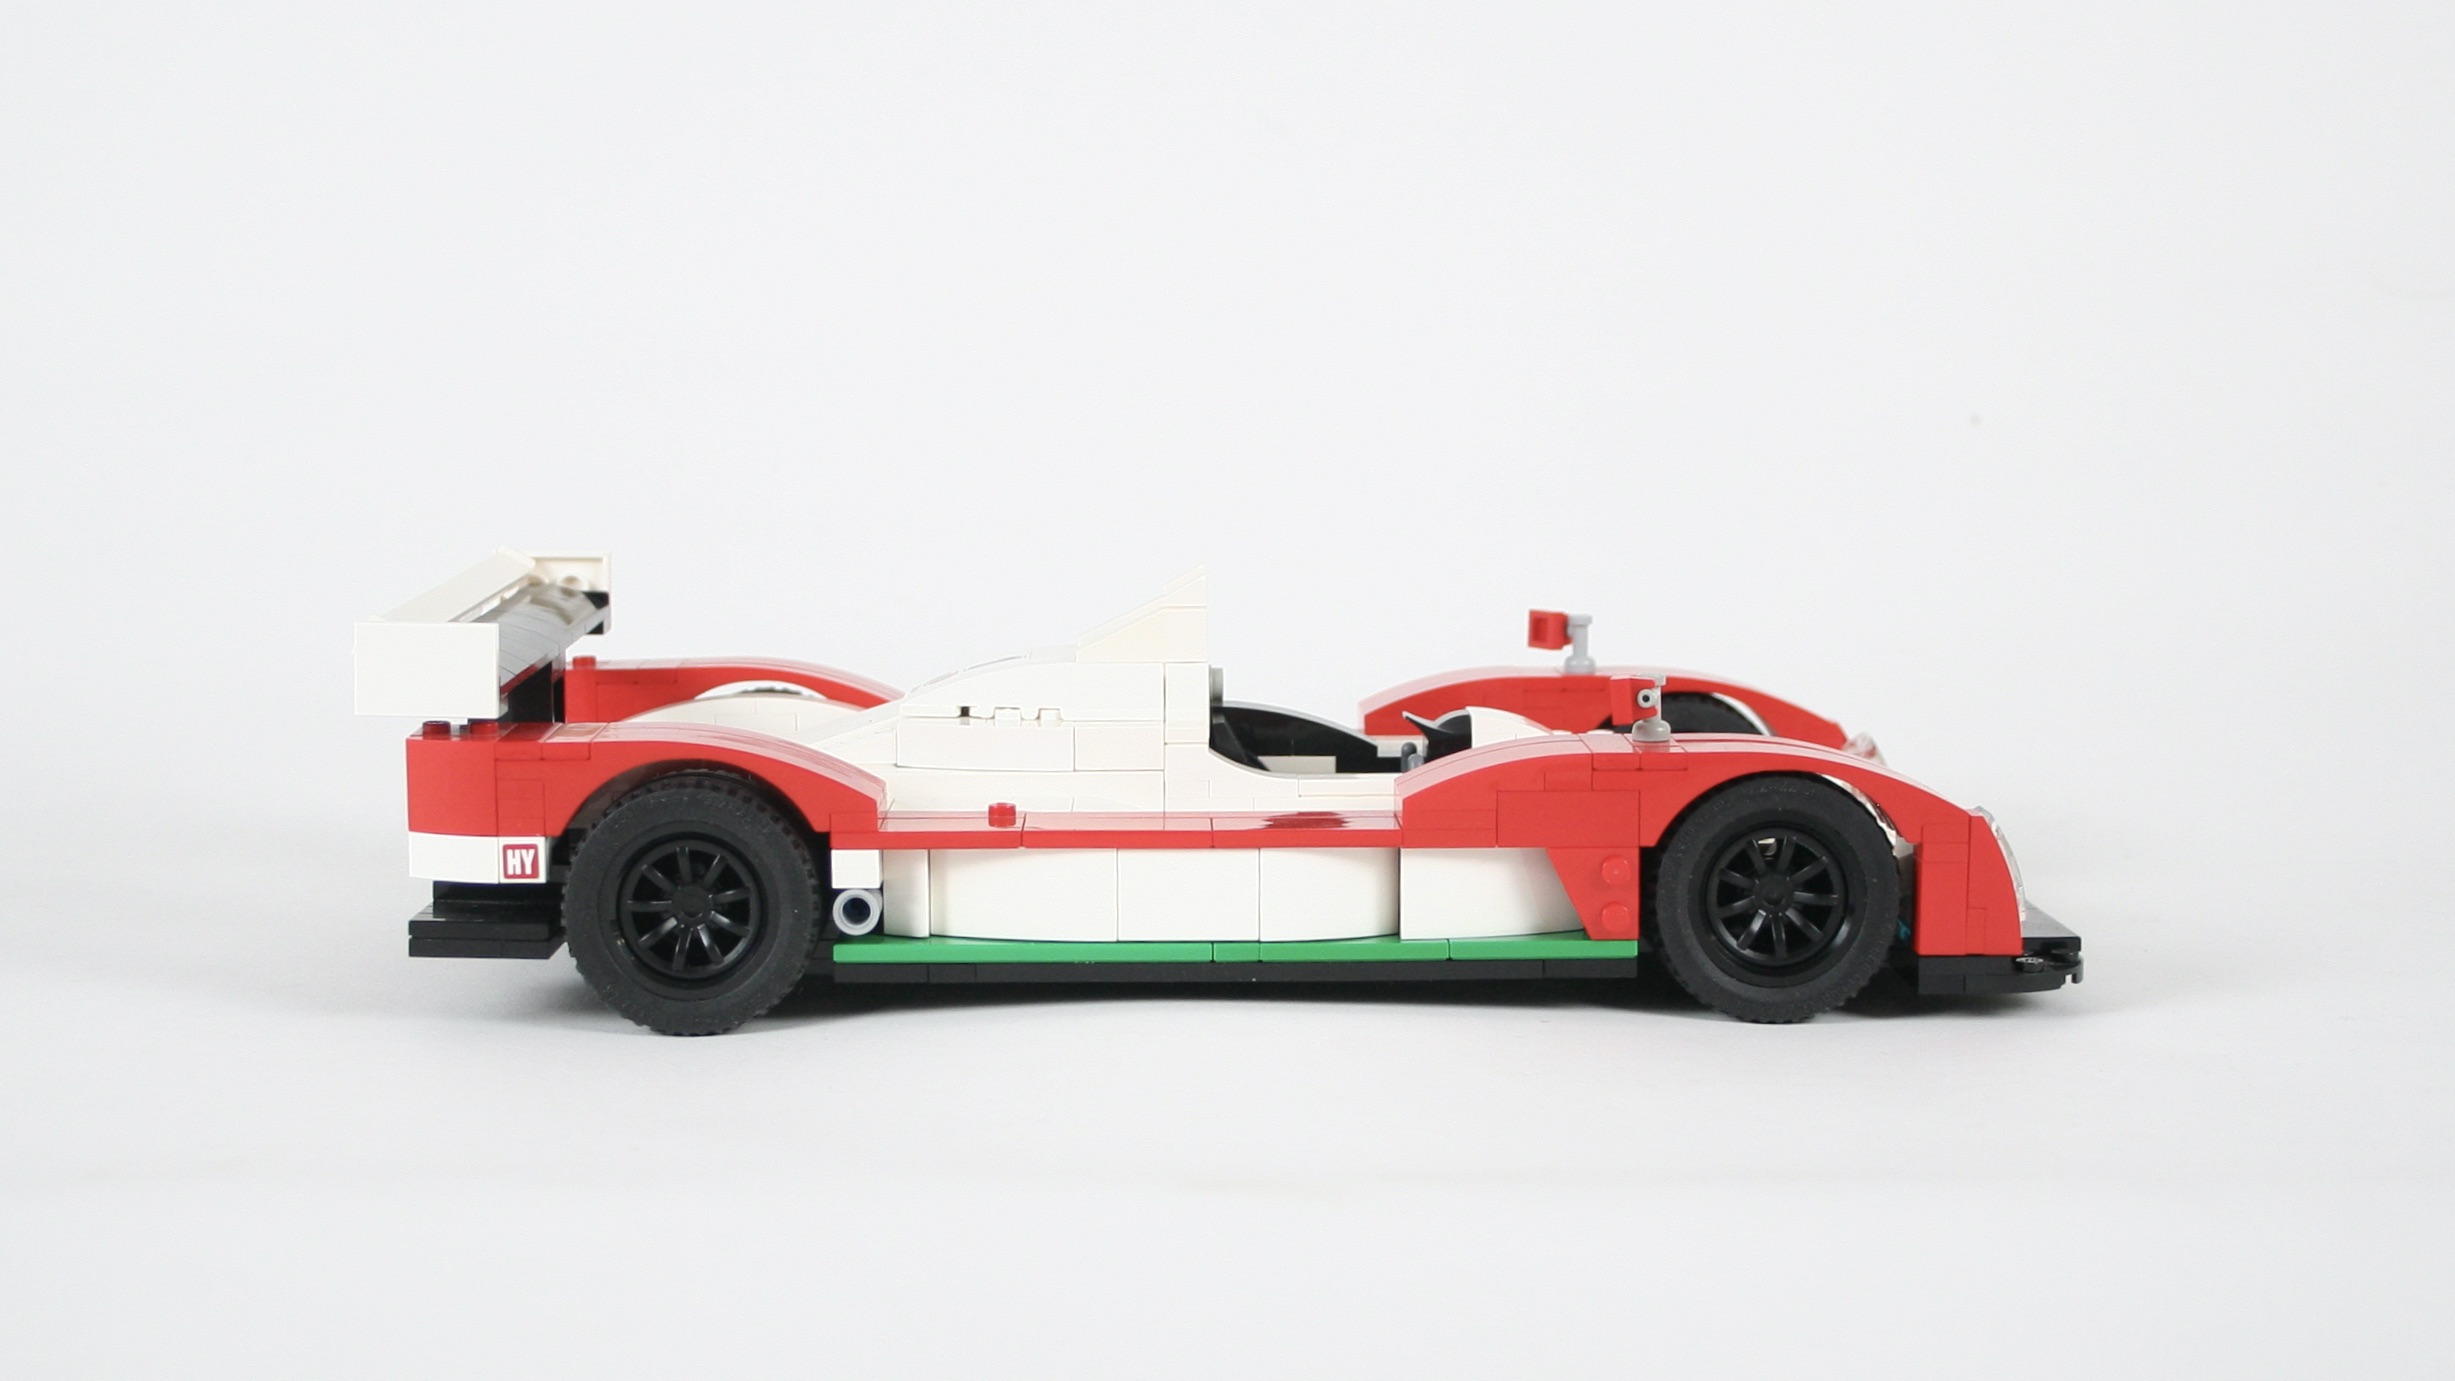
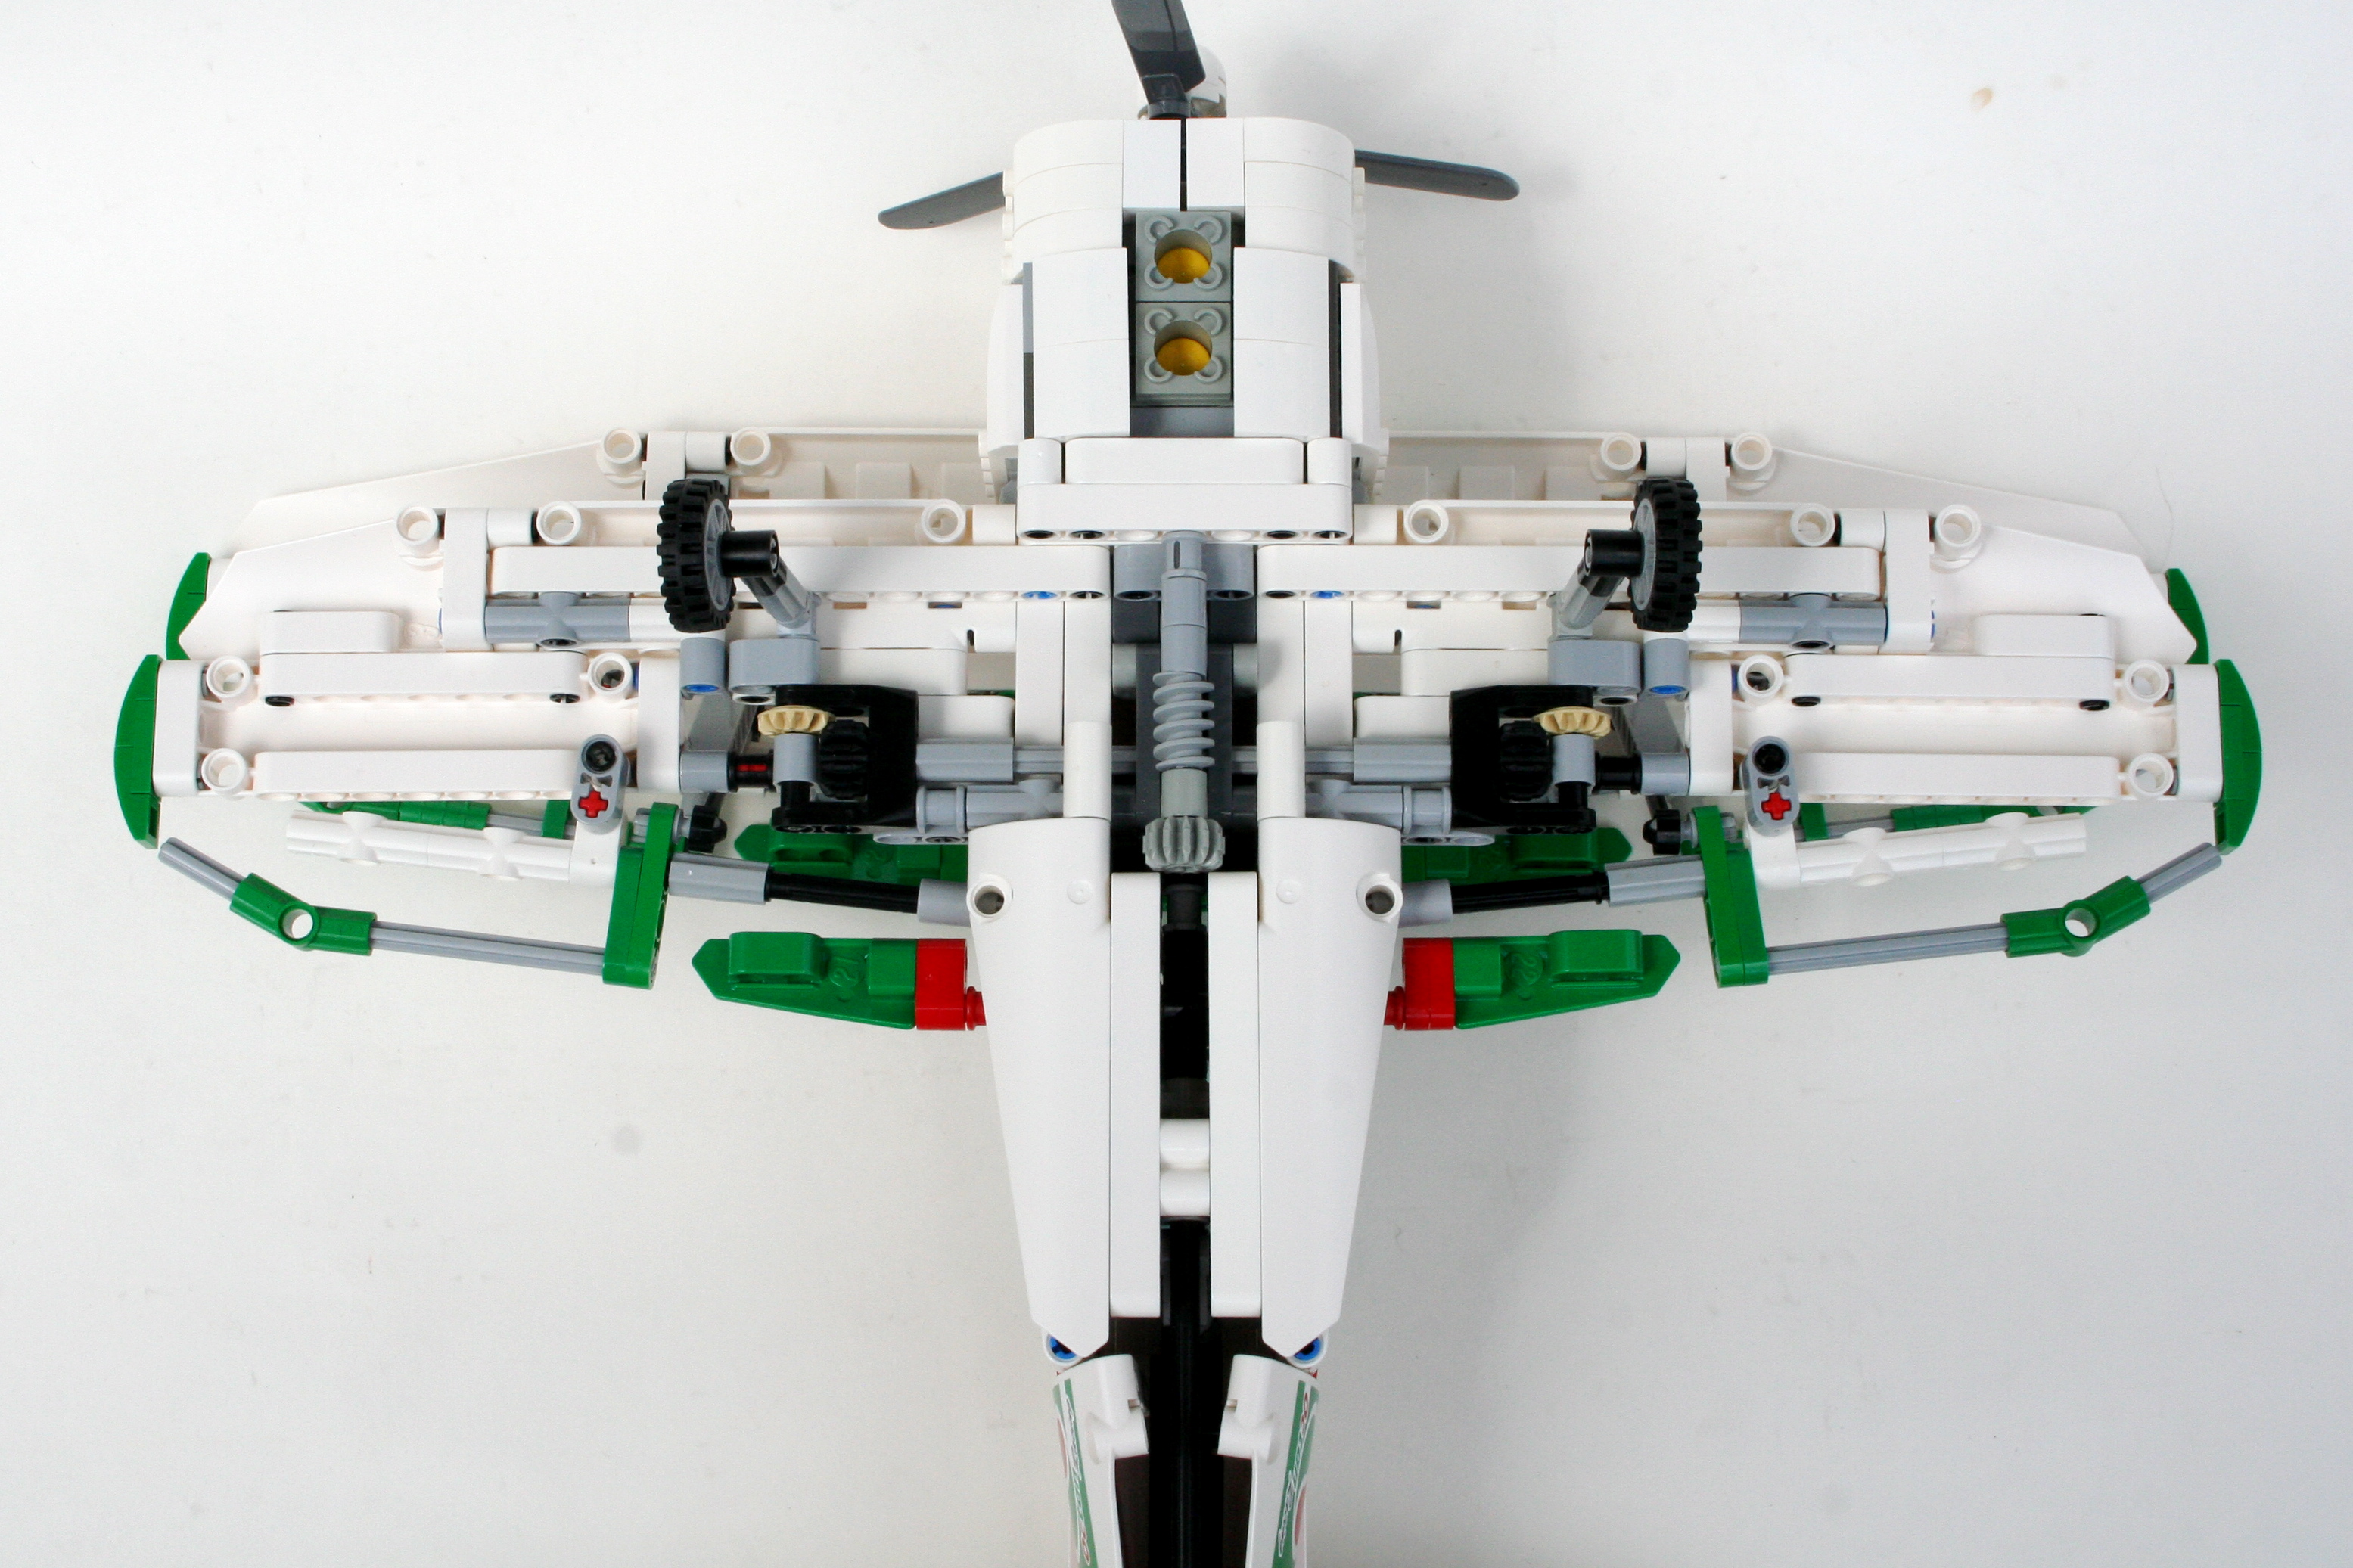
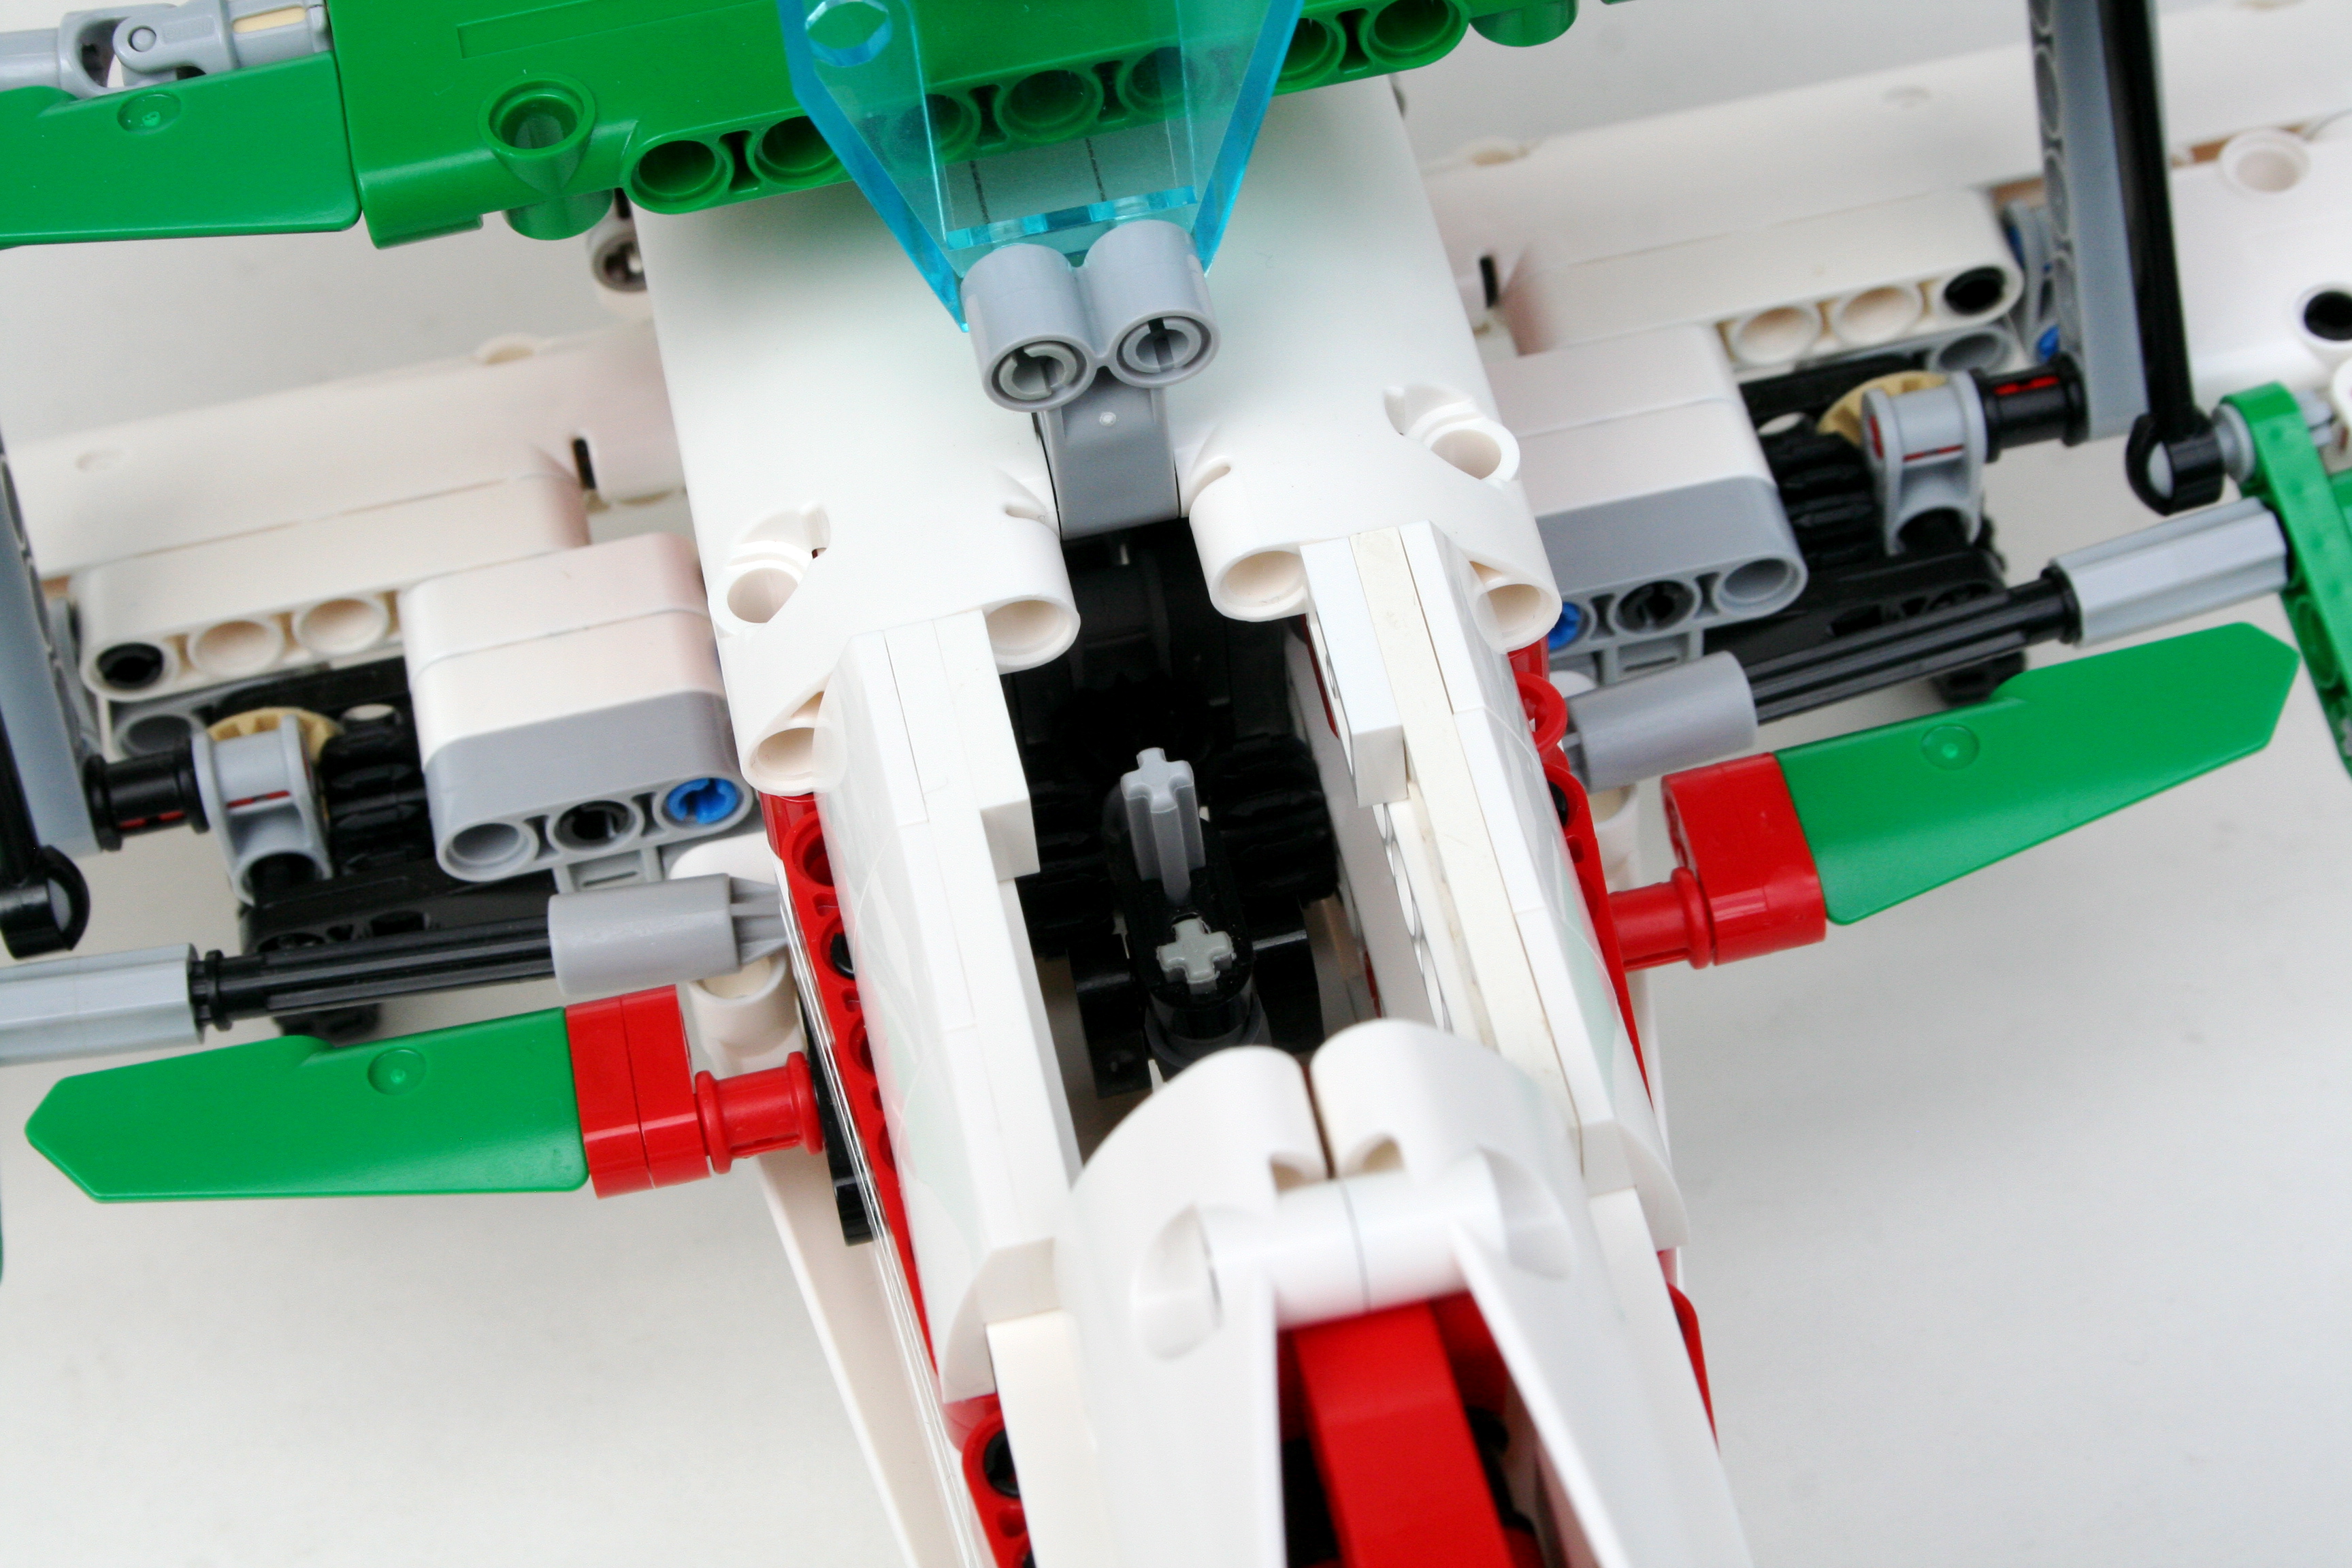
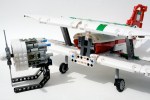
The LMP cars from the mid-90s to about 2008 were some of my favorite race cars. I love the look of the open cockpit, the long, aerodynamic bodywork, and the high rear wing of this generation of race cars. Though I do find this type of car difficult to build in LEGO. The cars are so low, and the wheel fenders are so slim. Both make it tricky to replicate in LEGO.
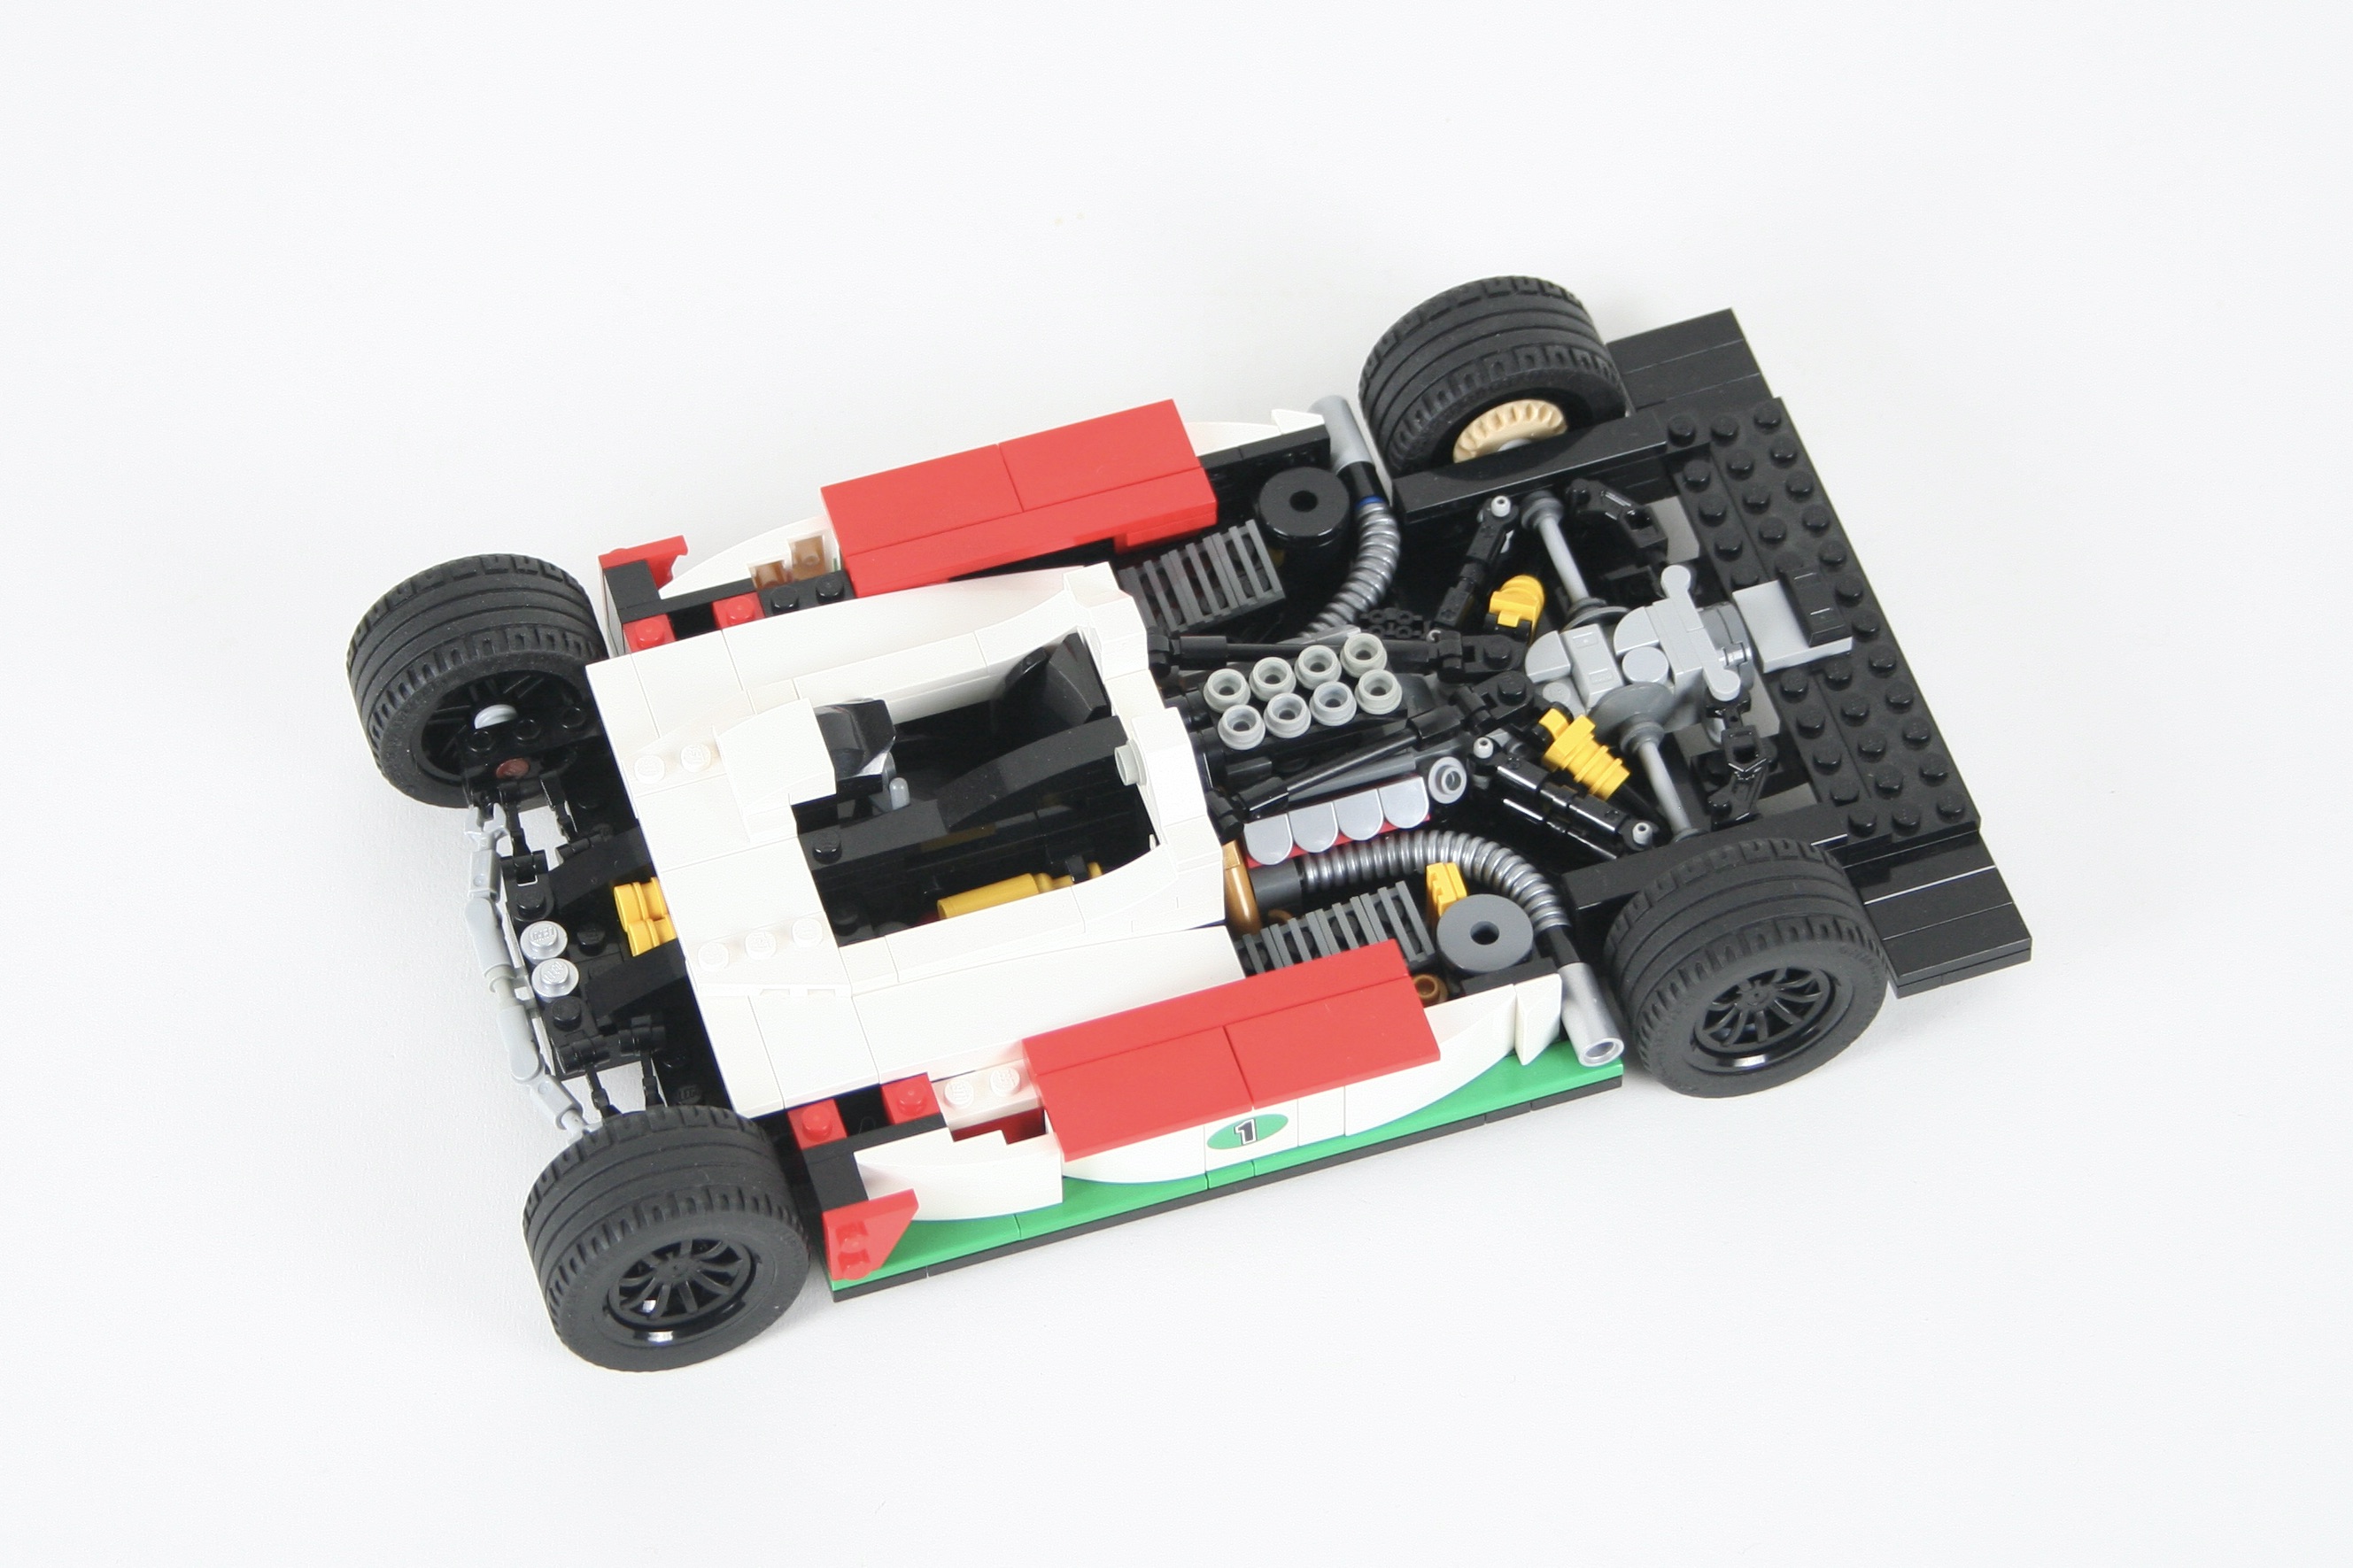
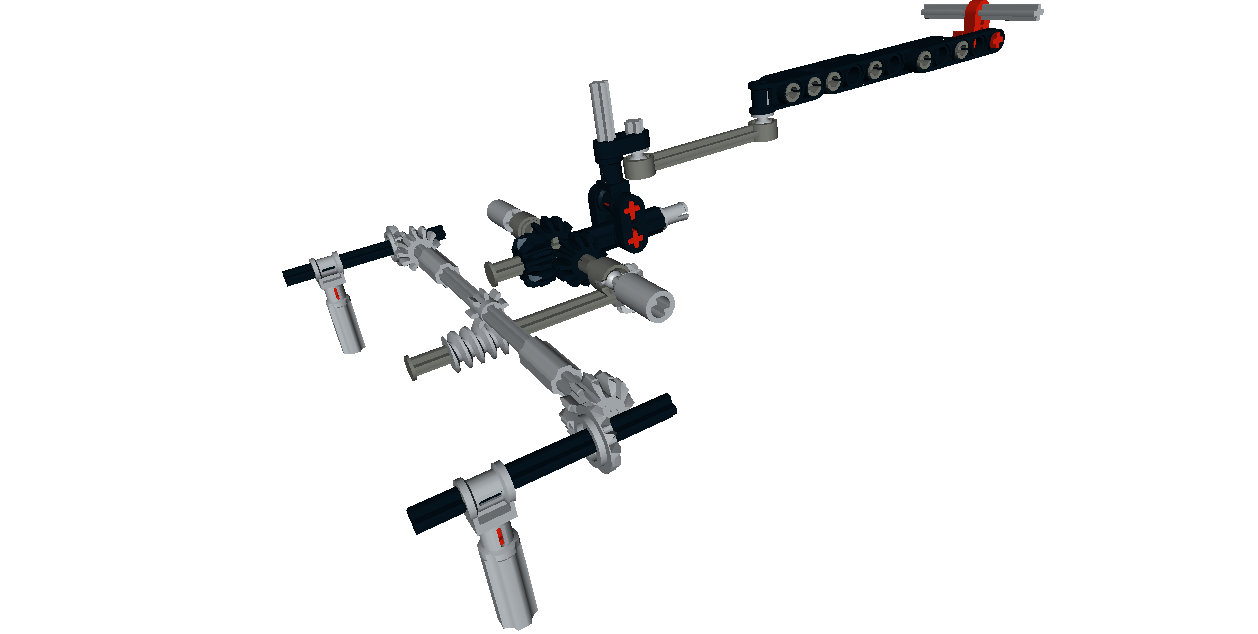
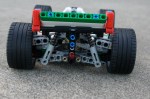
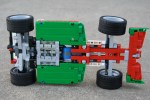
But after all this tinkering, I had some ideas that stared to work on their own. So I spend a couple of evening tying it all together. The bodywork guided the rest of the car. Once the engine cover and side pods were finalized, I started adding in the interior: engine, suspension, cooling parts. Which each added detail, I had to make sure the bodywork would continue to fit. The rear engine cover comes off in one part, and the front bodywork comes off as well, though not in one piece.
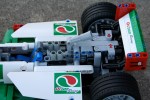
This car had no functions, but I was pleased with how I looked. I love the white, green, and red of OCTAN racing, even if this car could use a little less red. But all and all, the bodywork looks the part, and glancing at the car you know who the main sponsor is. I will keep this little build in my office for some time, and maybe I’ll try another little LMP car…
Happy building.