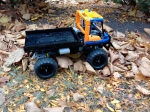
Mack Marble 5T
October 23, 2012 1 Comment
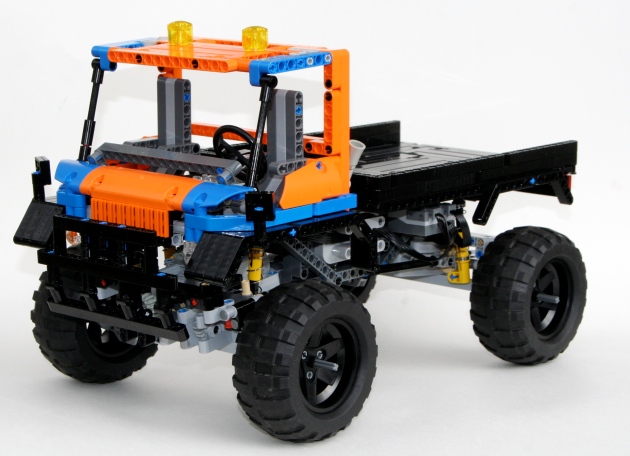
I confess. I took the bait, and started on the 2012 You Design It, We Build It before the final rules had been confirmed. I should know better. After all my schooling, you would think I have a good idea about how to follow directions. The first direction is, wait for directions. But, with all LEGO building, I enjoy what I am creating, and so even after the rules and directions have been given, I still want to contribute to the LEGO community. So, my next MOC is another Trial Truck, built with the intention of being easy to play with, easy to build, and tough enough to handle child play. All with instructions, so you can build one.
I built this model based on what I thought could be improved on set 9398. While this new set was a great step forward for the LEGO company, I felt there where a couple of changes that should be made to make the model a better off-roader. Because I was working with the assumption that this would be something LEGO would produce, I gave myself a couple of constraints. First, the model had to be less than, or equal to, the cost of 9398. Second, the model had to have improved off-roading skills. Third, the model had to have easy playablity, so the drivetrain had to be reliable, the battery should be easy removable, and it should be easy to drive.
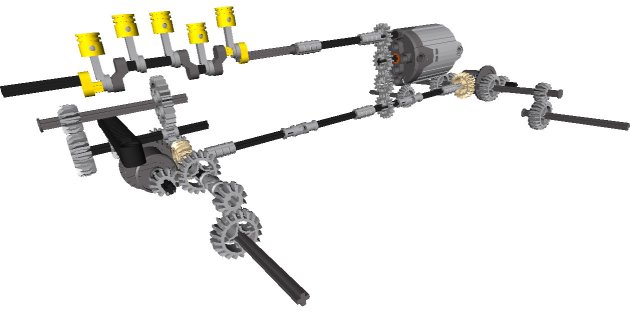
I started the frame before the axles. I placed the battery box directly over the driveshaft. An XL motor was place behind the BB and three 16z gears above the driveshaft. One 16z gear went up to the fake motor shaft. The driveshaft would connect front and rear to the two axles through the new ball joints from 8110.
I then built the two axles, starting with the rear. To keep the speed of the Mack similar to the 9398, I would gear down the XL motor to about 1:4. The driveshaft came out of the ball joints and connected to the differential. I chose two 12z/20z gear sets as the final reduction. This would keep the driveline a little stronger, and help keep various axles from working their way out of the gears, much like the design of the 9398. The final gearing was 1:3.89. It’s not a stump puller, but it could still move up most hills.
The front axle was a little more tricky. Basically, it had a similar setup, with a PF M motor placed on in it to work the steering. This was by design. To keep the driveline reliable, and limit the failure of steering, I kept the steering part of the axle, rather then having components placed in the chassis, and then connected via a shaft to the front axle. The steering is a little quick for my liking, but it works flawlessly. To understand more about the axles, check out the instructions.
Through a little trial and error, I connected the suspension, and tweaked it so it would function in a way that was robust, and allow for great movement. I am still not pleased with how it turned out aesthetically but it functioned without problems, it supported the model well, and allowed for sufficient articulation, so I left it.
I then added a simple body, a basic rear bed, and added some engine components such as exhaust, intake, and a simple turbocharger behind the fake motor. When I was done, I noticed the cab looked a little like an old Unimog. This seems to be a theme with me, as I love the look of the Unimog. On the other hand, I do not like the look of too many cabover truck designs, as such, many of my trucks have the slight setback cabover design that is very similar to the Unimog. My T55 is like this, and this is why I have built so many Unimogs.
The model worked well. the suspension and stability was perfect. The truck was stable, and did not roll over, all while being able to handle various terrains. The gearing was sufficient and would be great for a playing child. It was easy to change out the 12z/20z gears in the portal axles to a 8z/24z setup which made the truck a little more strong.
It would be a great model for many LEGO fans due to cost, reliability stability, and playability. So I have posted instructions for people to enjoy the model as well. I think it would have been a great LEGO set, then the rules were released.
Next time I’ll wait for the rules. Thanks for reading.
Full gallery is here.
