2017
December 30, 2017 Leave a comment
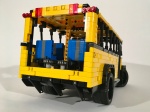
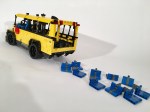
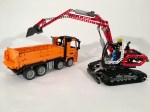
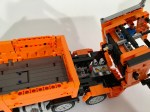
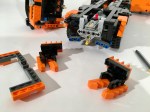
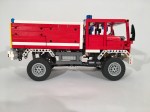
As the calendar reminds us another year comes to a close, it is time to reflect on what happened in Thirdwiggville. As I look back over the last couple of years, it is clear that little thirdwiggs are affecting what and how I am building. I am pleased with the builds I am able to accomplish amidst all the other life responsibilities. Let us look back at what happened this year. As a recap, here are the 2017 builds: Unimog U90, Mack Magma, Mini Mack Cabover, BMW R Nine E, Forest Fire Truck, Coast Guard Helicopter, Mercedes Benz Arocs, and The Toaster.
-

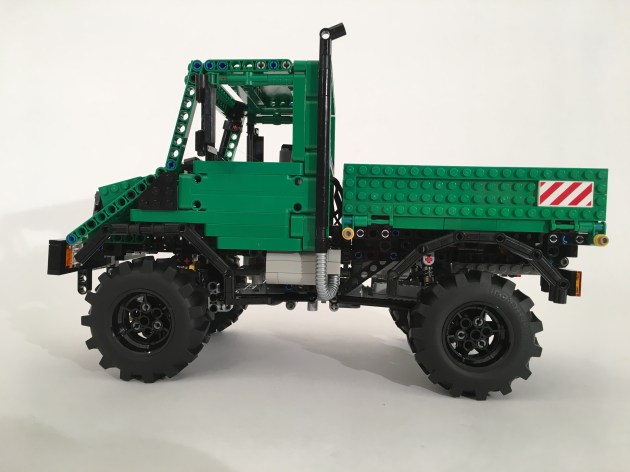
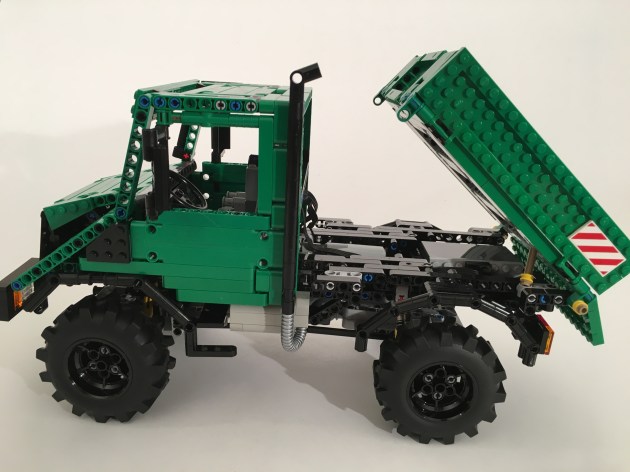
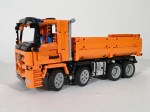
- Unimog U90
-
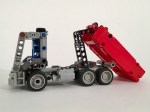
- Mini Mack Cabover
-

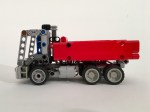
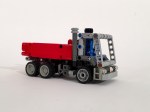
- Mack Magma
-

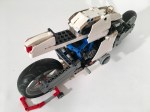
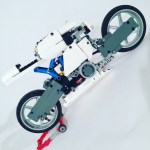
- BMW R nine E
-

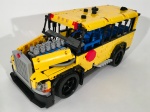
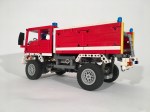
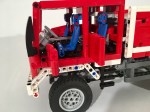
- Forest Fire Truck
-
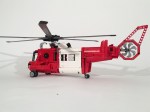
- Coast Guard Helicopter
-
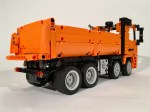
- Mercedes Benz Arocs
-

- The Toaster
Some reflections on 2017:
First, I completed some of my goals from last year.
- A Model Team airplane: Not completed
- Another airplane: Not completed, but it was because I did a helicopter instead.
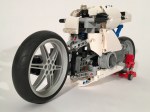
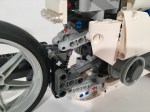
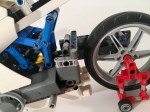
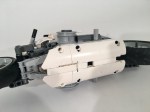
- A motorcycle: Completed
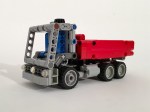
- A small truck (dump): Completed
- A big truck (PF, rolloff): Not completed
- A pickup truck (PF): Not completed
- A Large GT car: Not completed
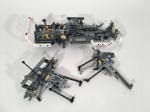
- Something pneumatic: Not completed, but close to done.
- Not listed as an official goal, but I did keep to one bricklink.com order per month.
Second, the U90 and Coast Guard Helicopter are two builds I very much enjoyed this year. They are both still build, and adorn my shelf at work.
This tells me my life maybe needs fewer goals. I am still finding time to build, but being a little more fluid in what I am working on may be a good change. In 2018 I will watch which direction my building goes, and see what happens.
With this in mind, here are a few goals for next year.
- Something pneumatic.
- A tractor
- Something big and PF
- A Car
- A model team build
On to 2018!