Unimog U20
July 14, 2024 Leave a comment
I am slowly on my way to building each Unimog.
Instructions may be found at Rebrickable.com.

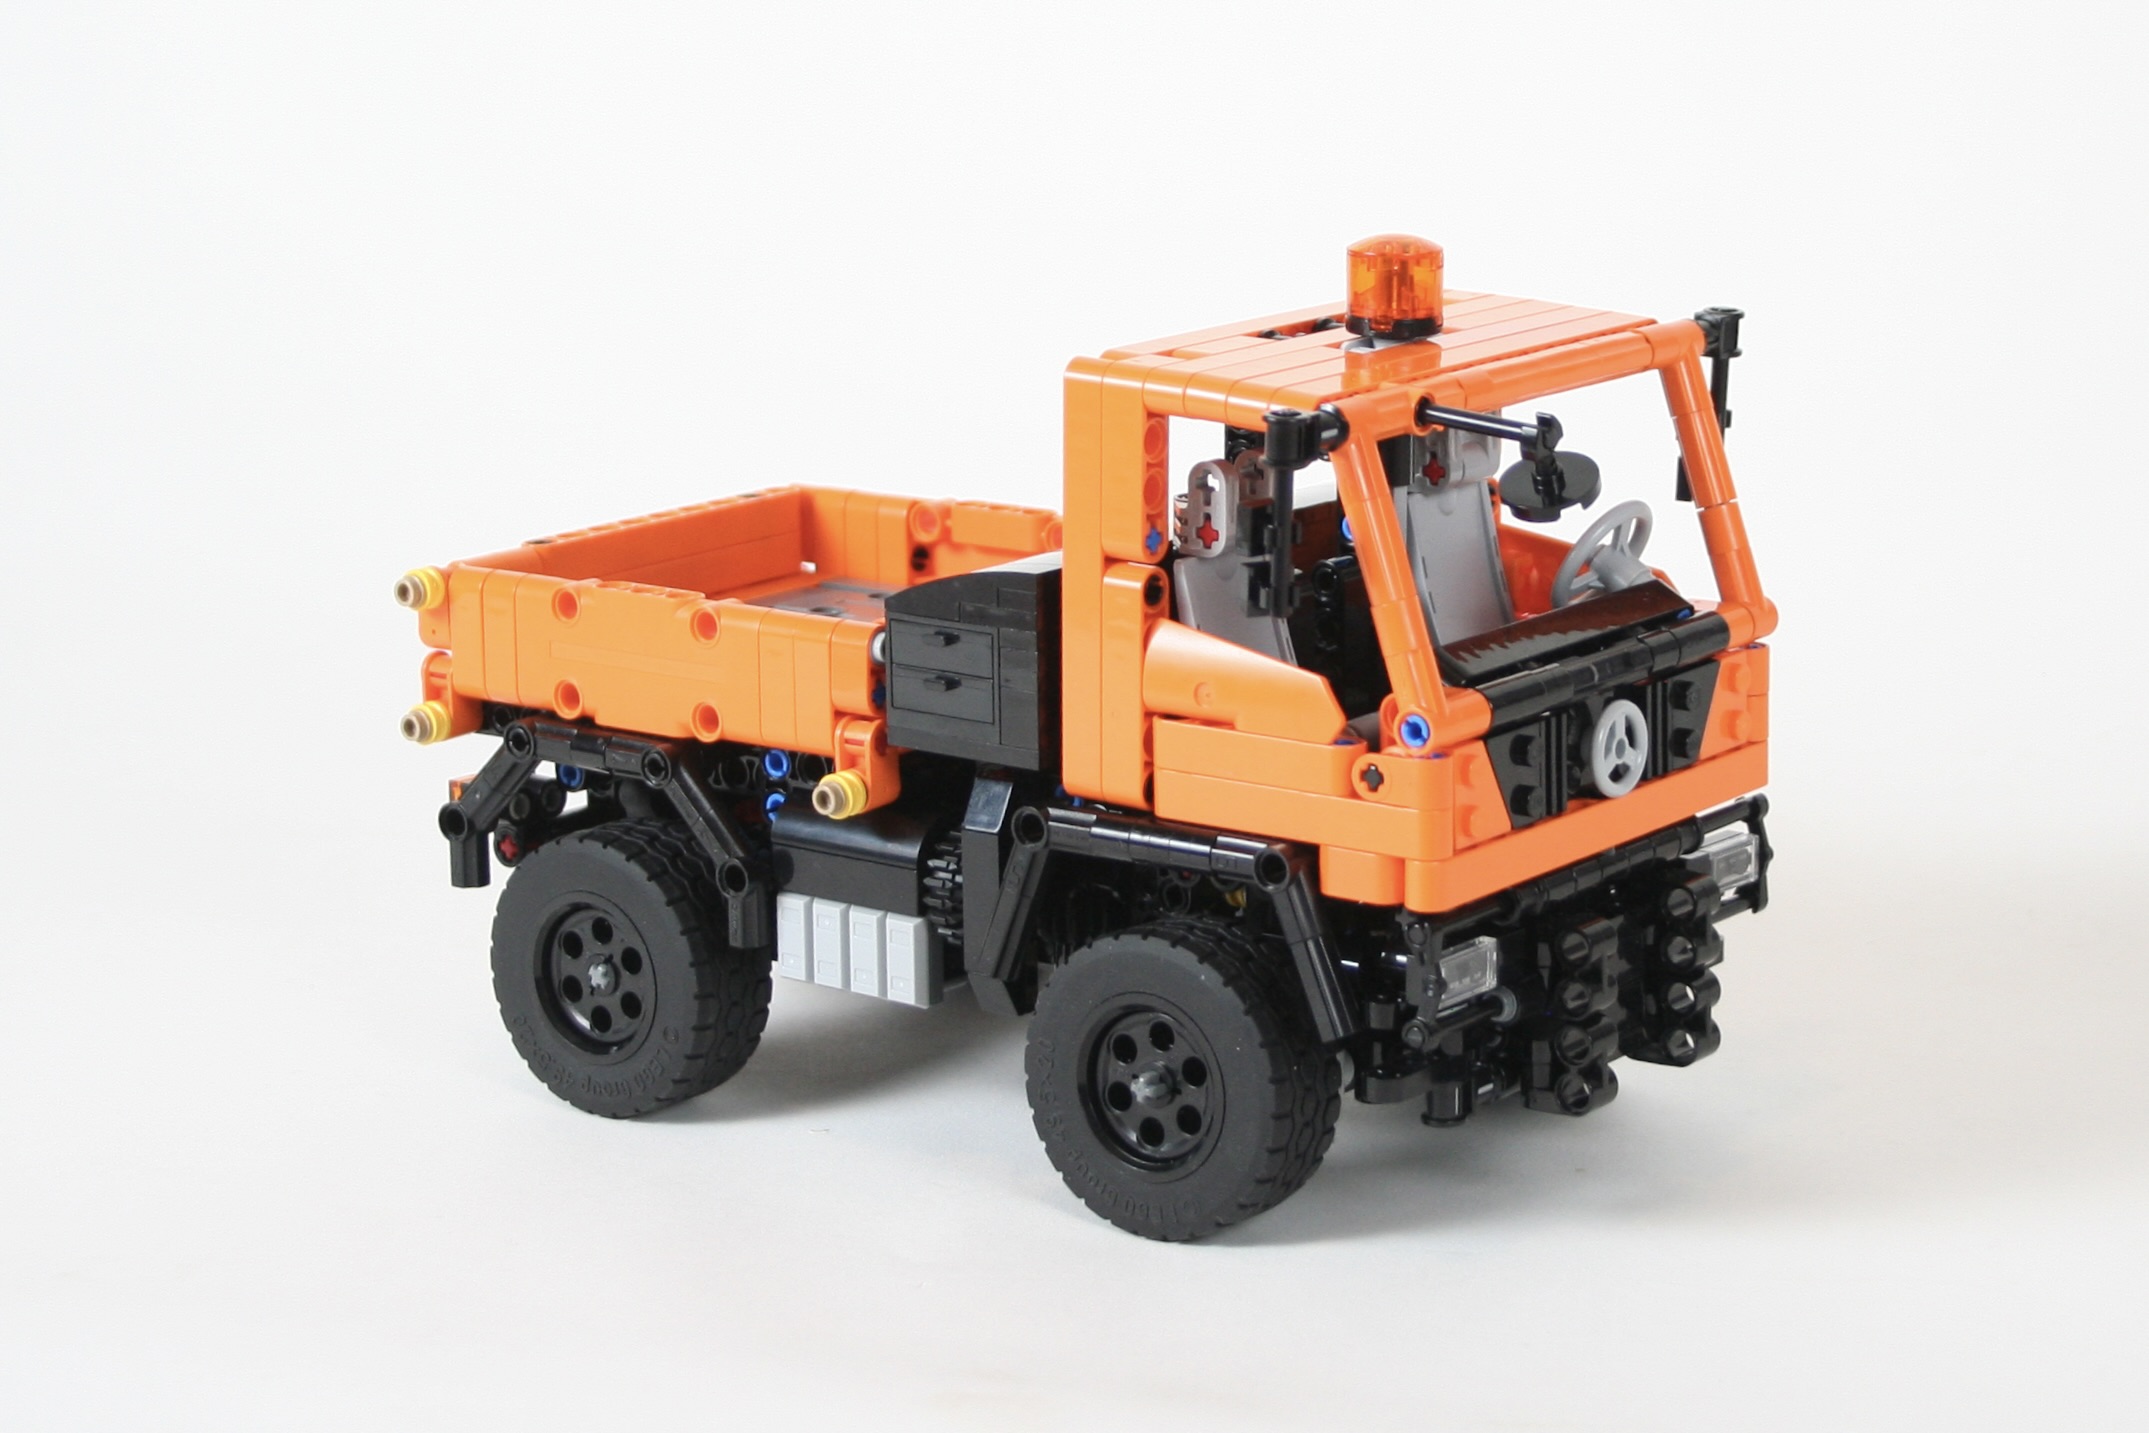
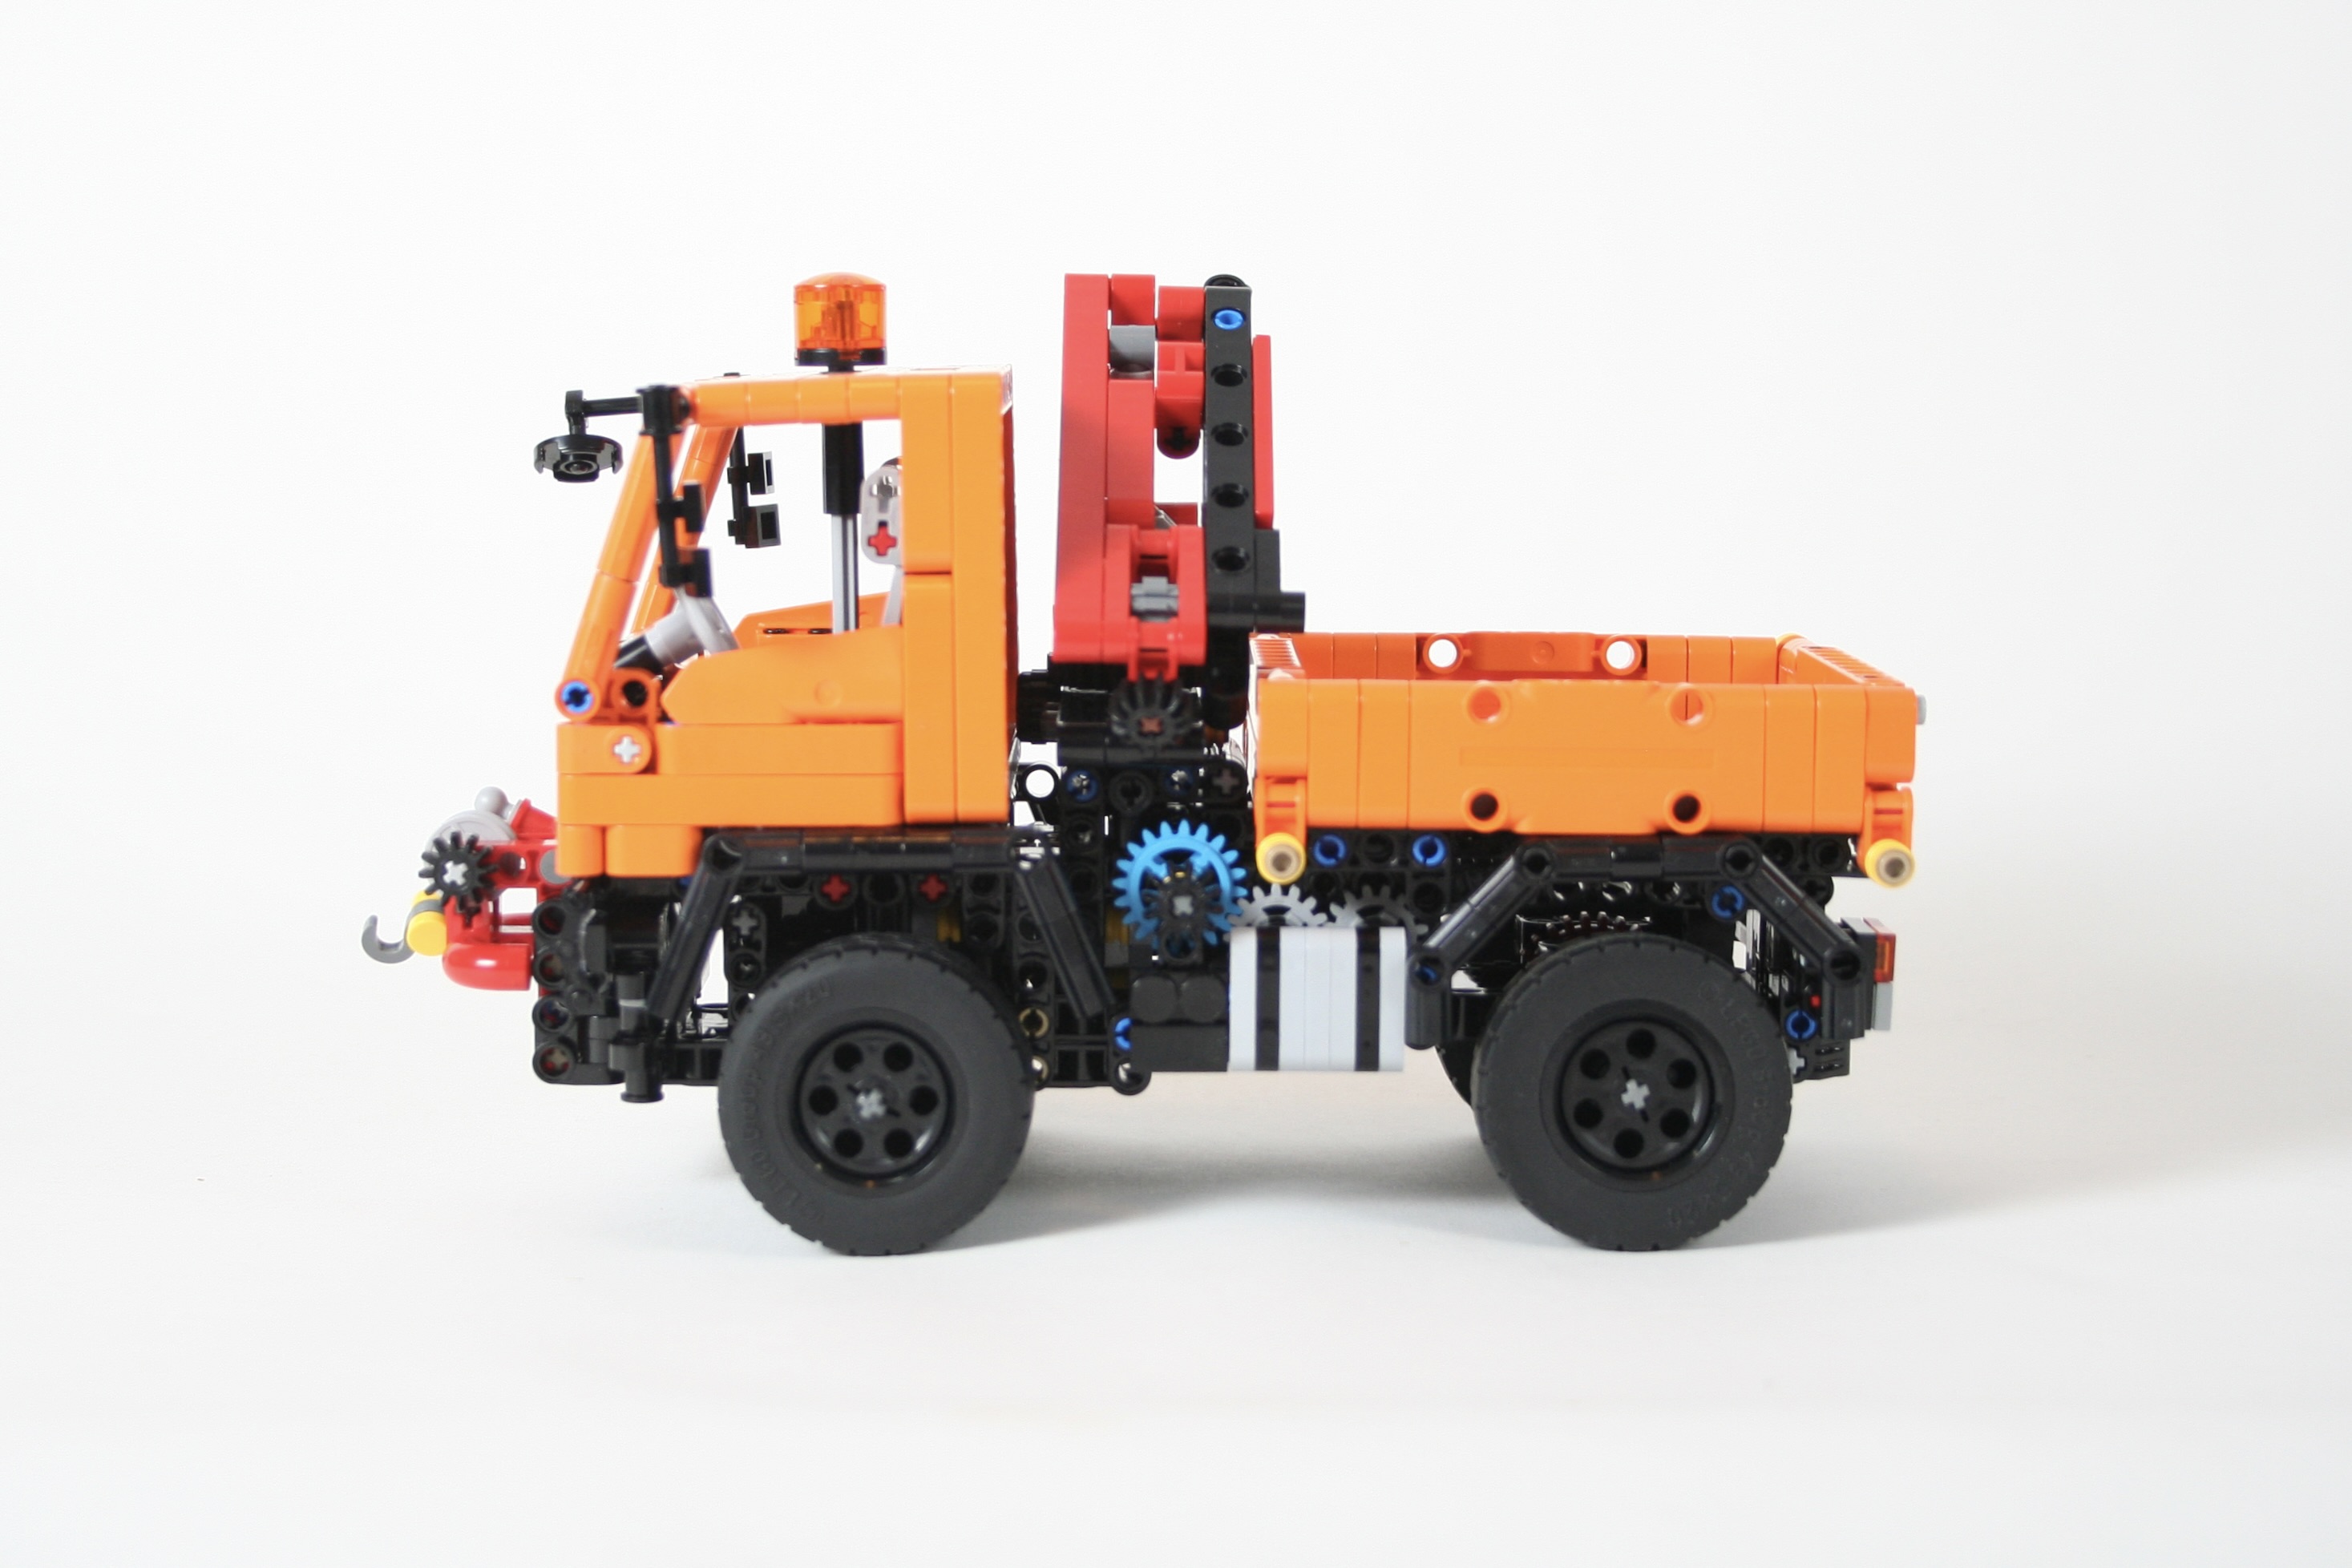
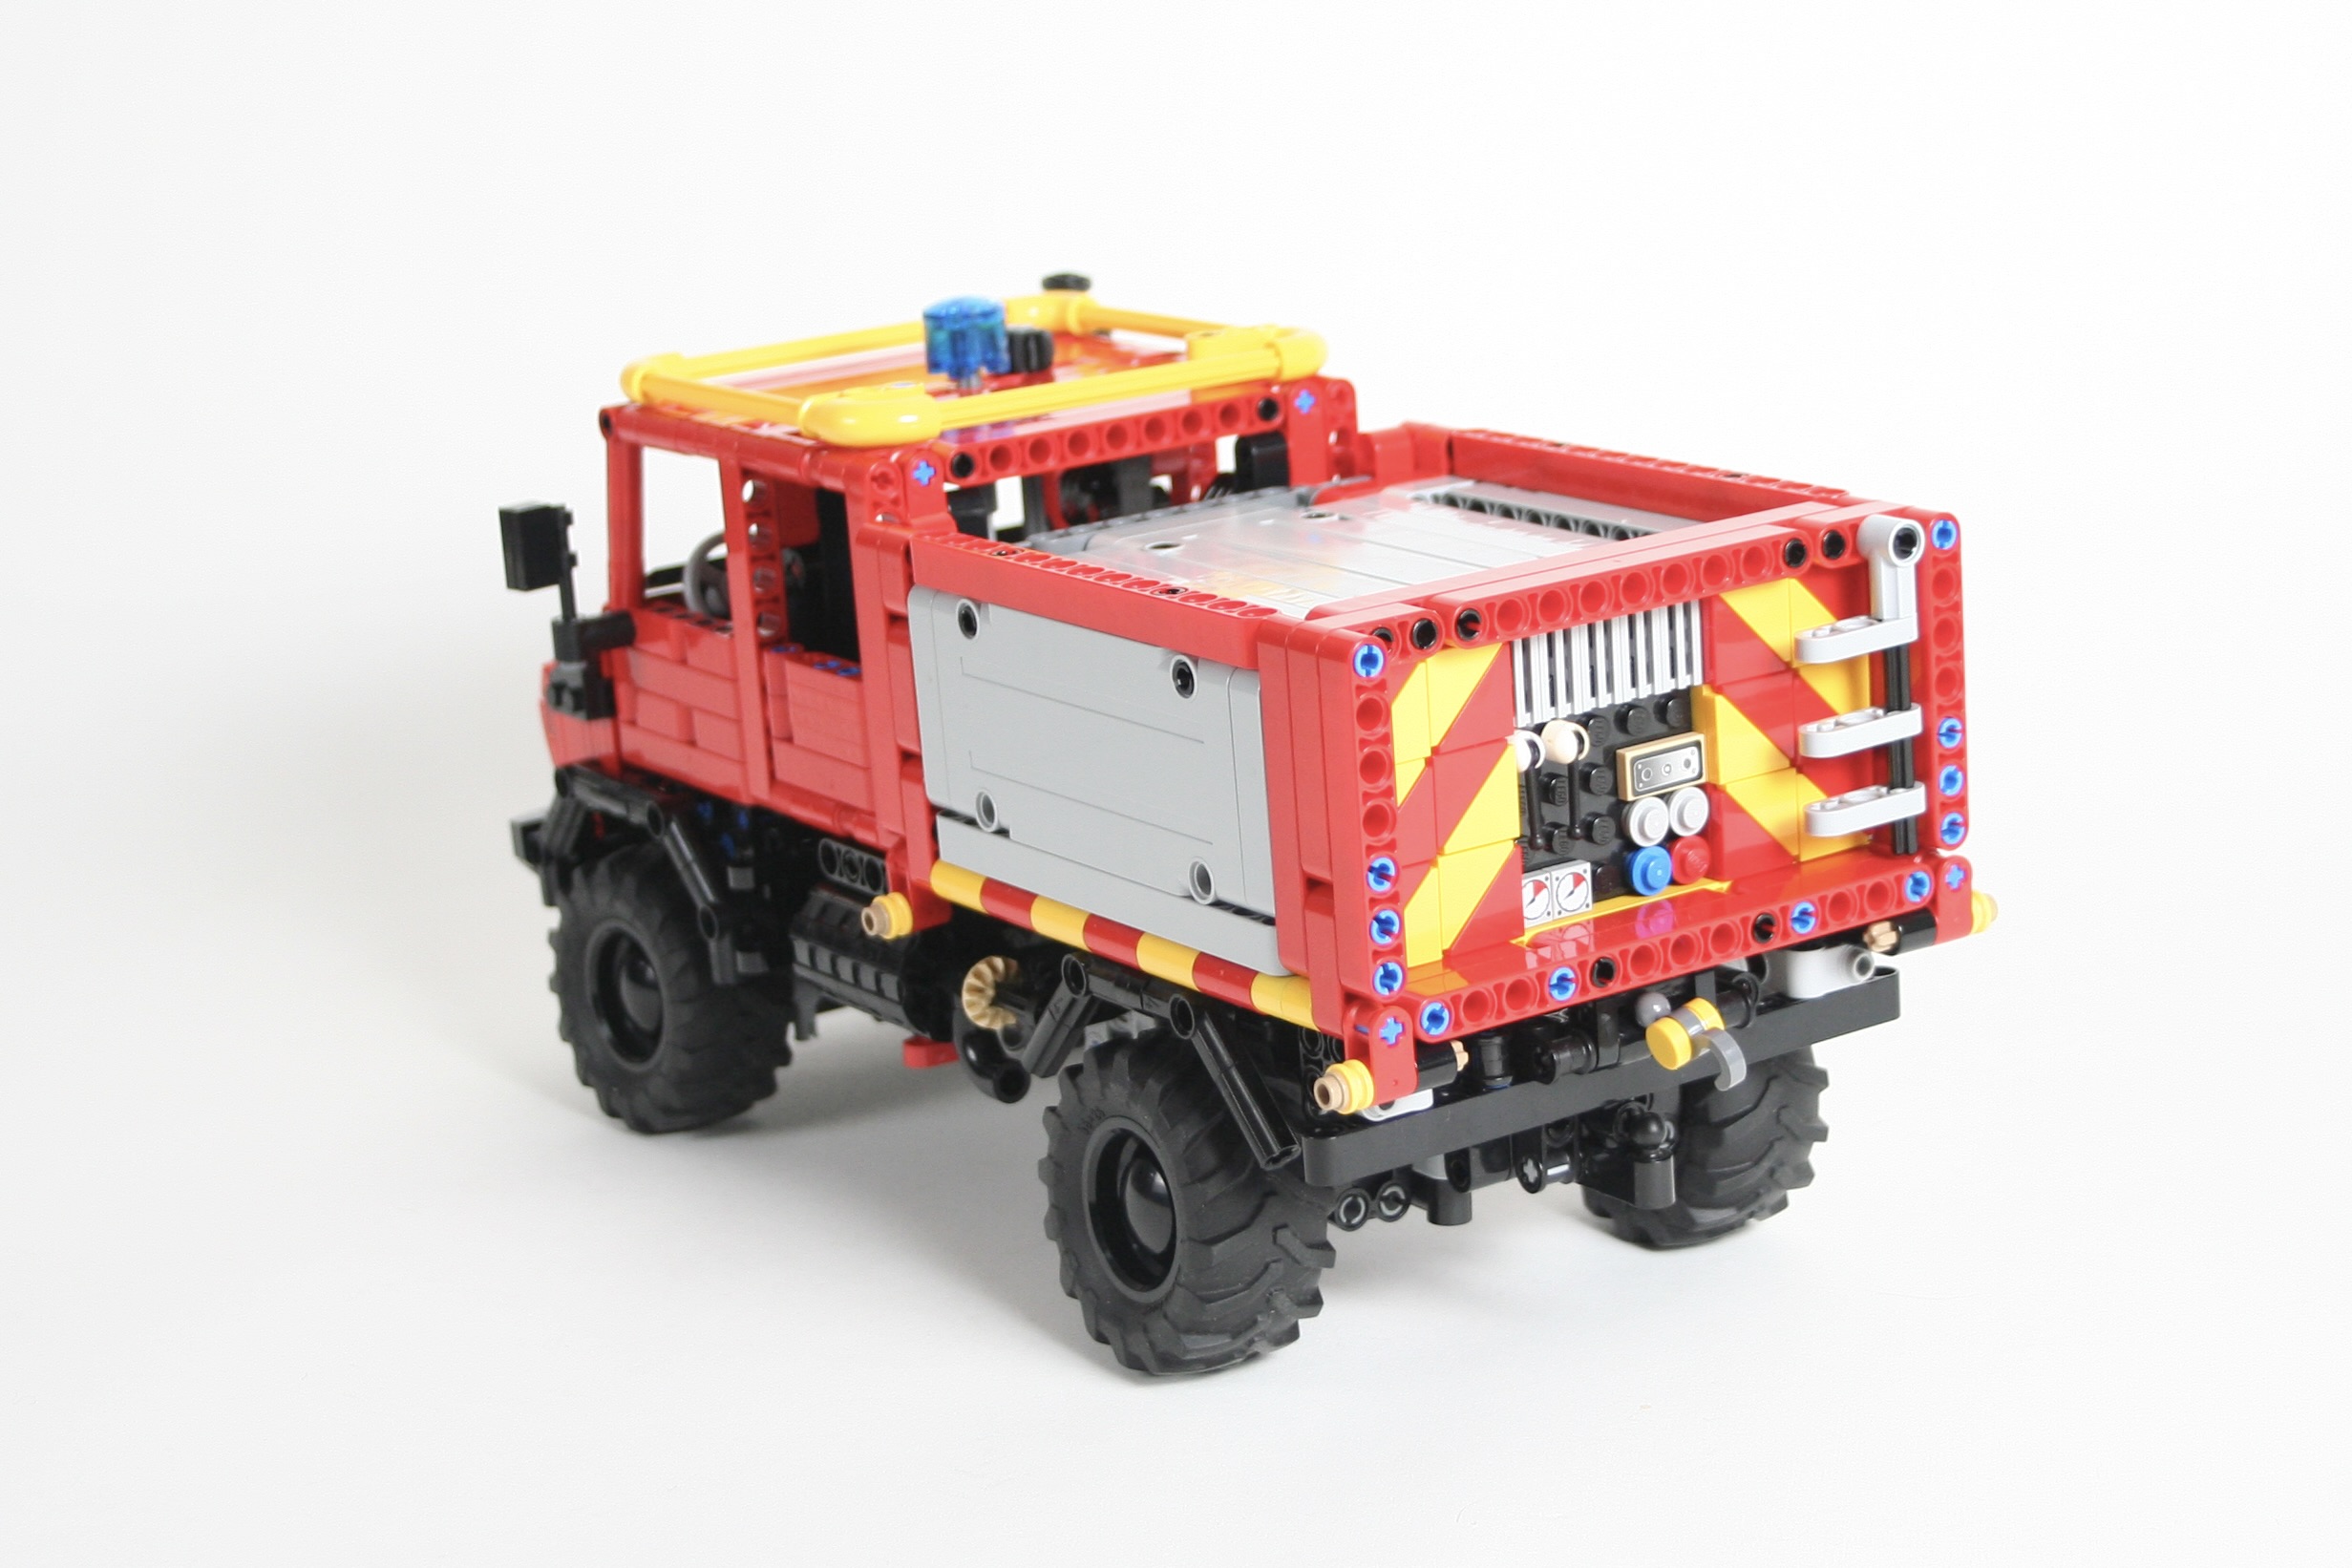
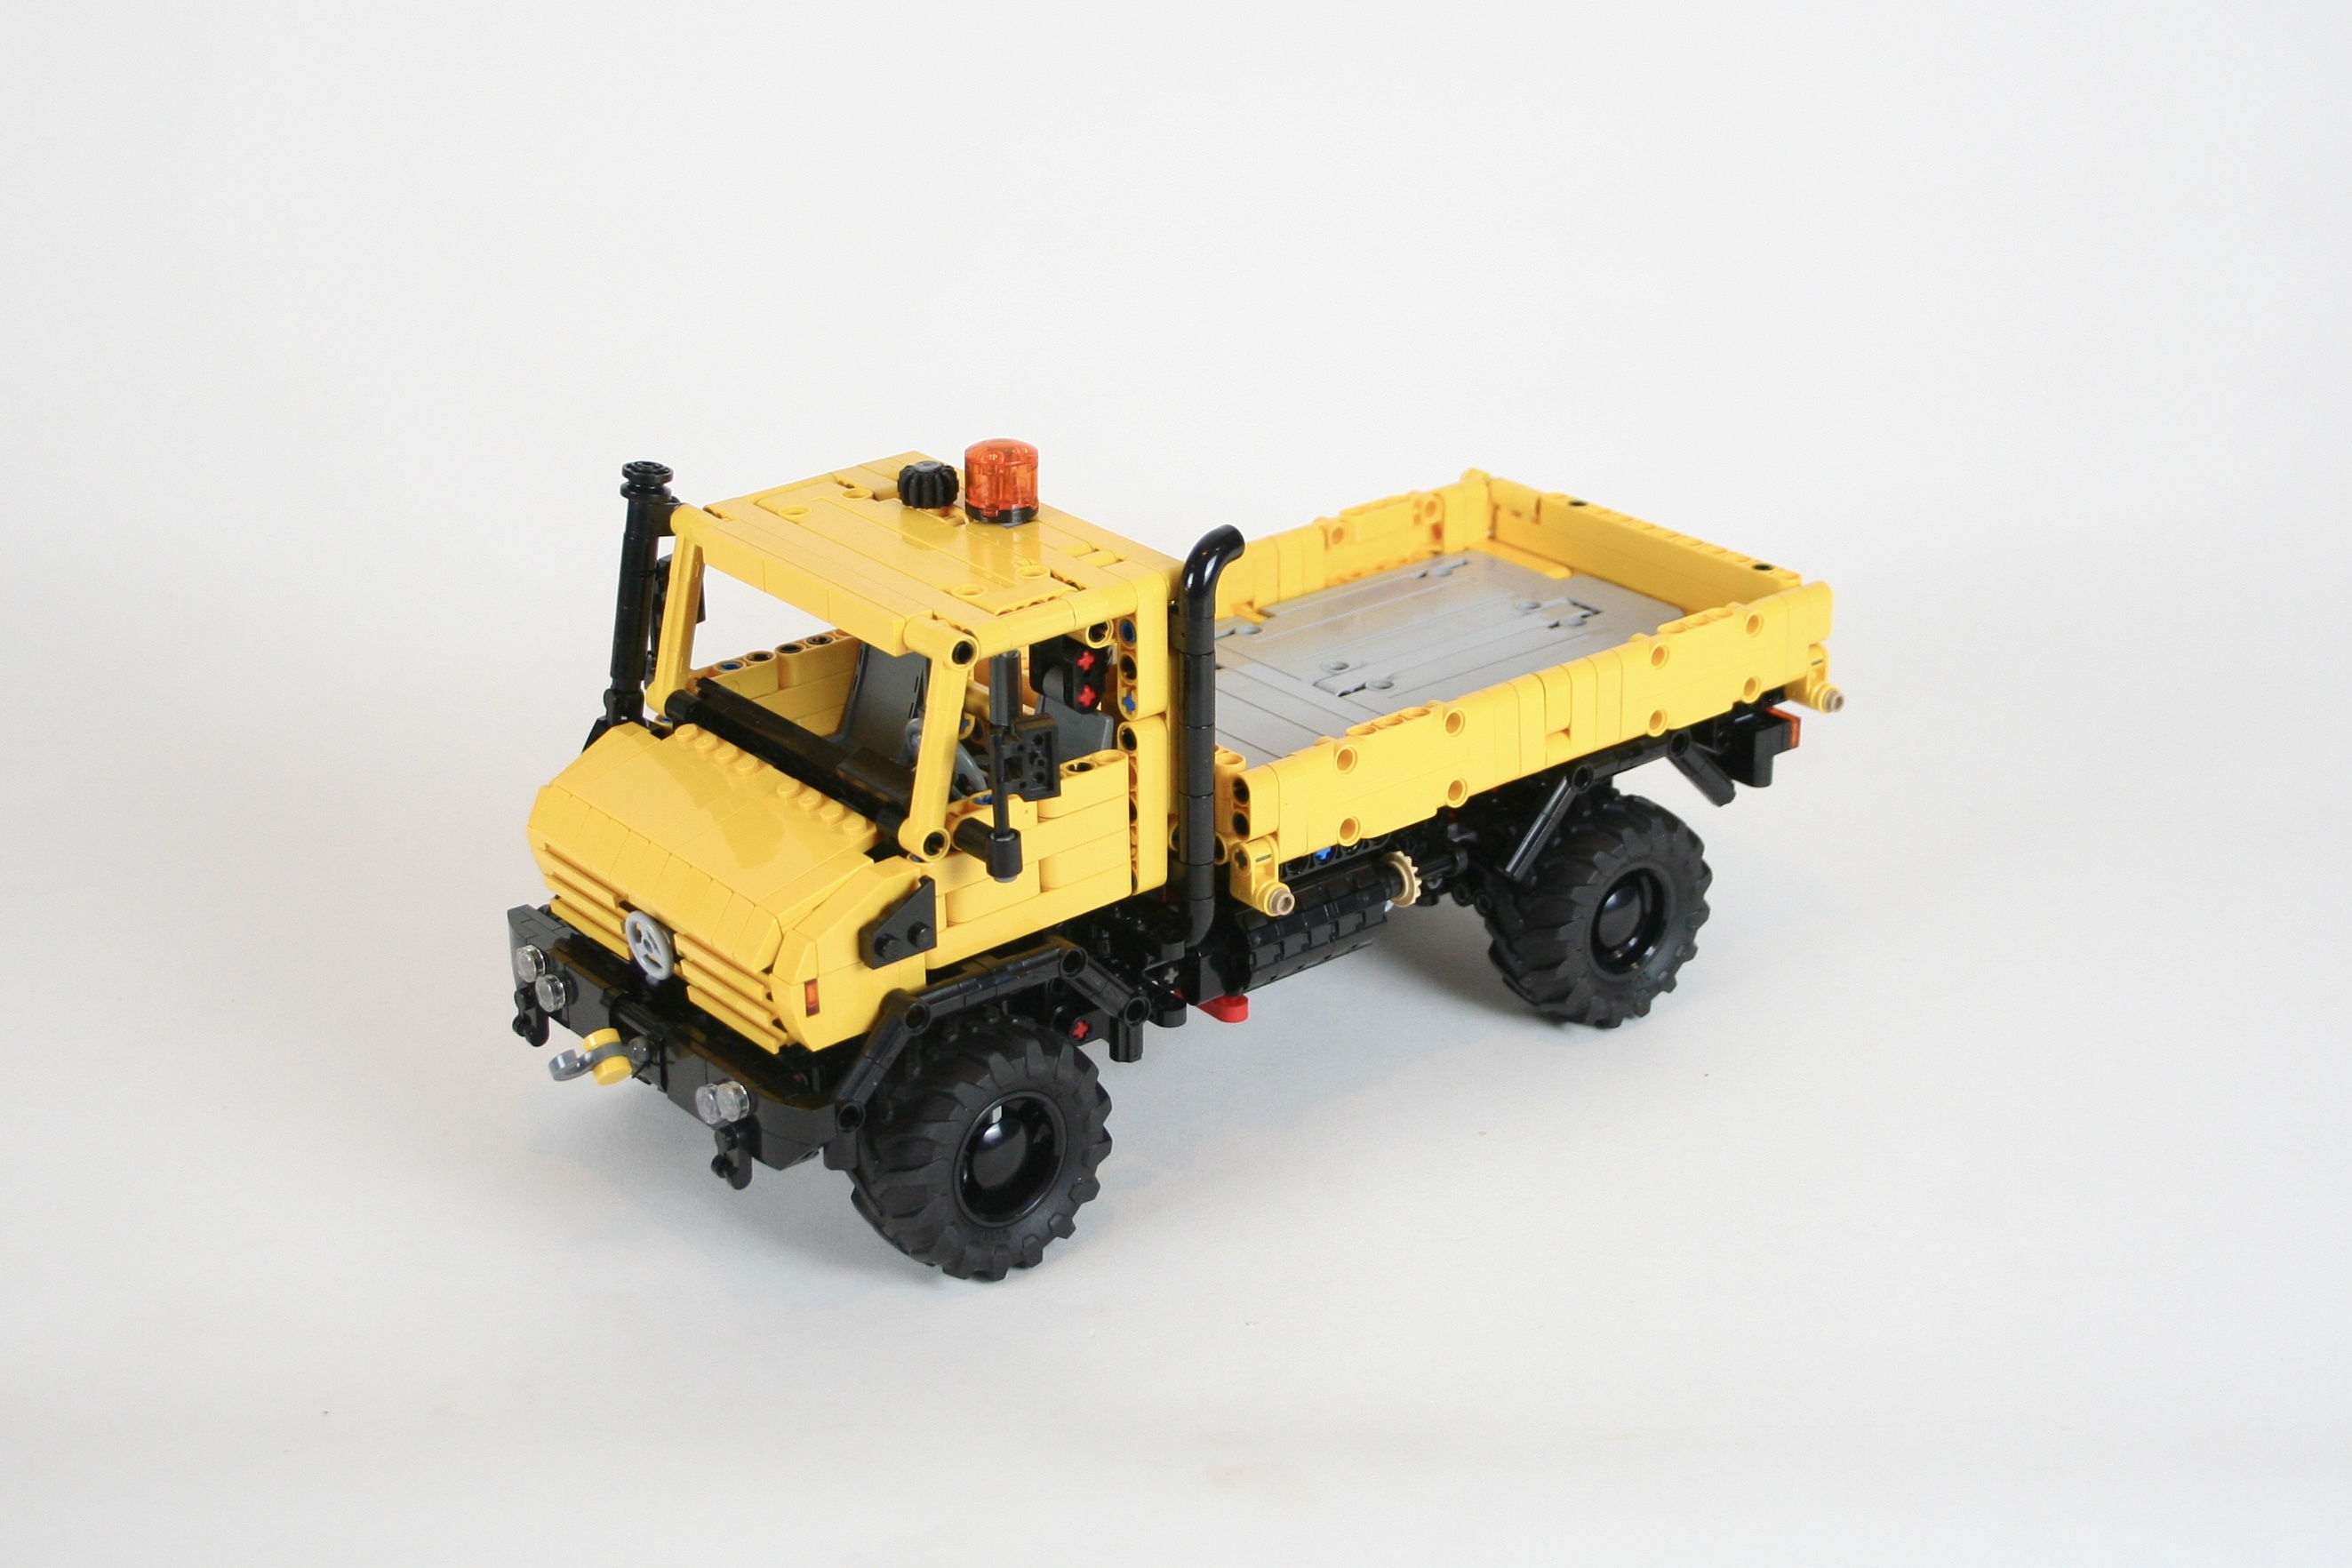
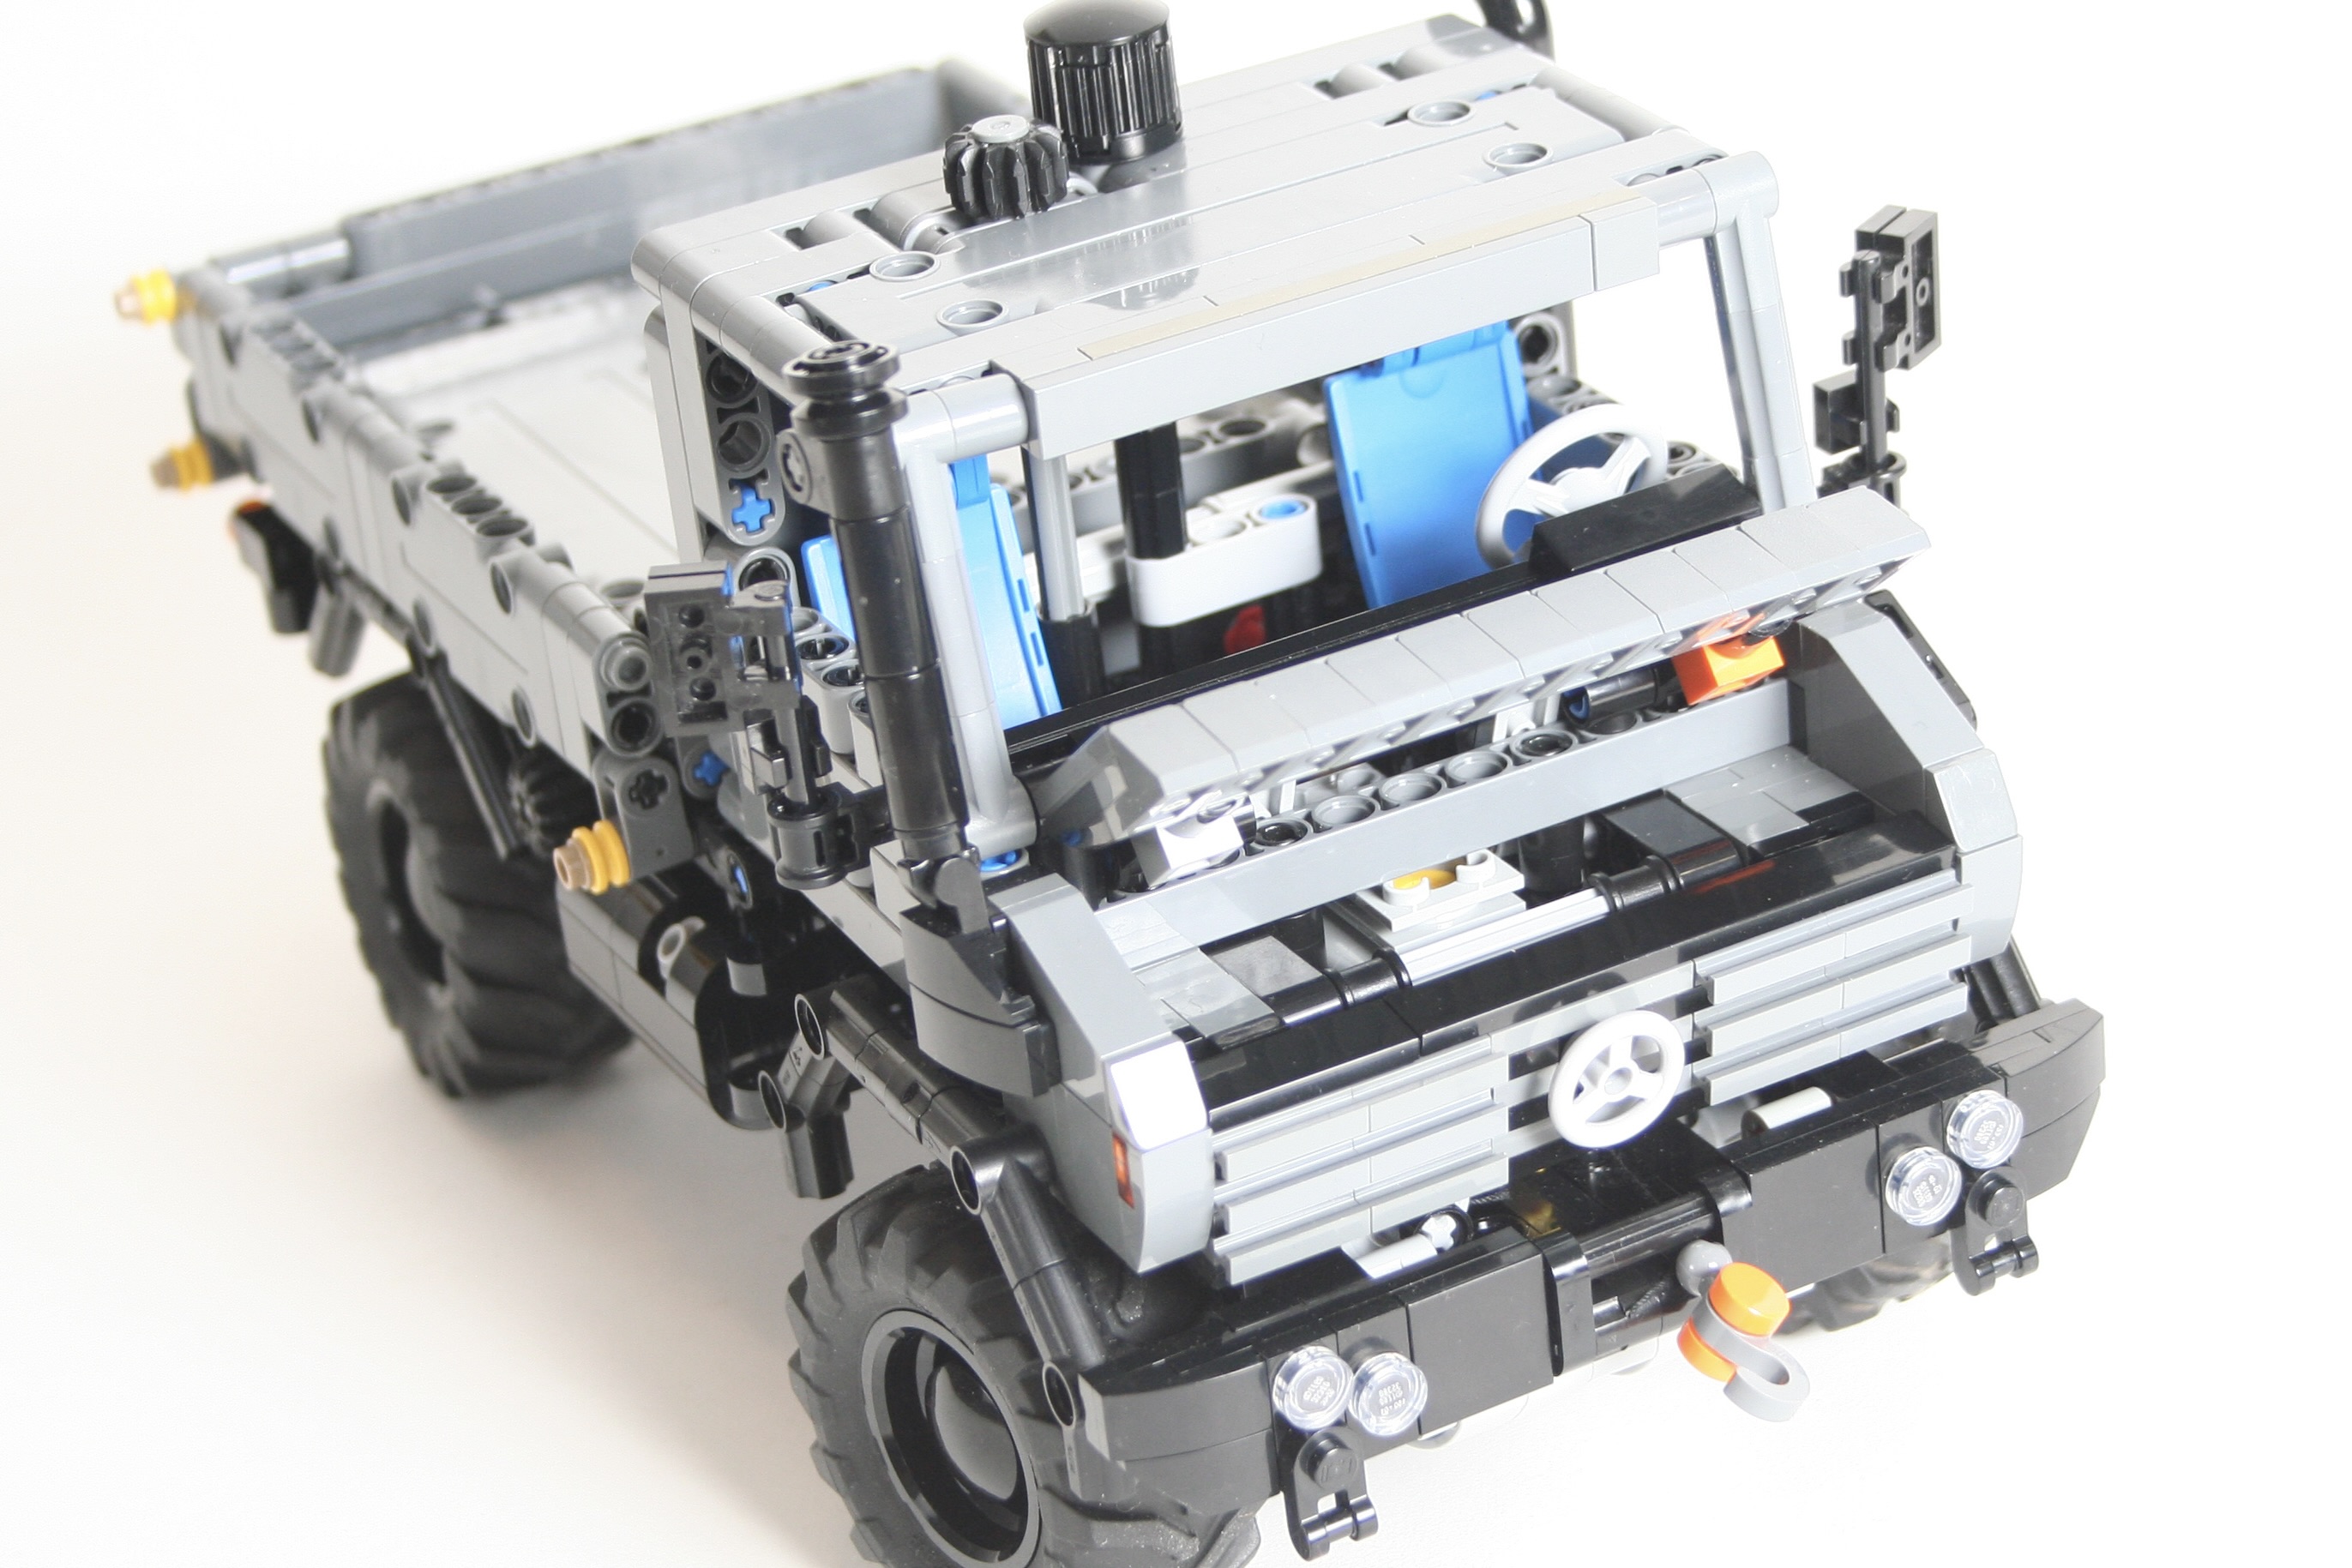
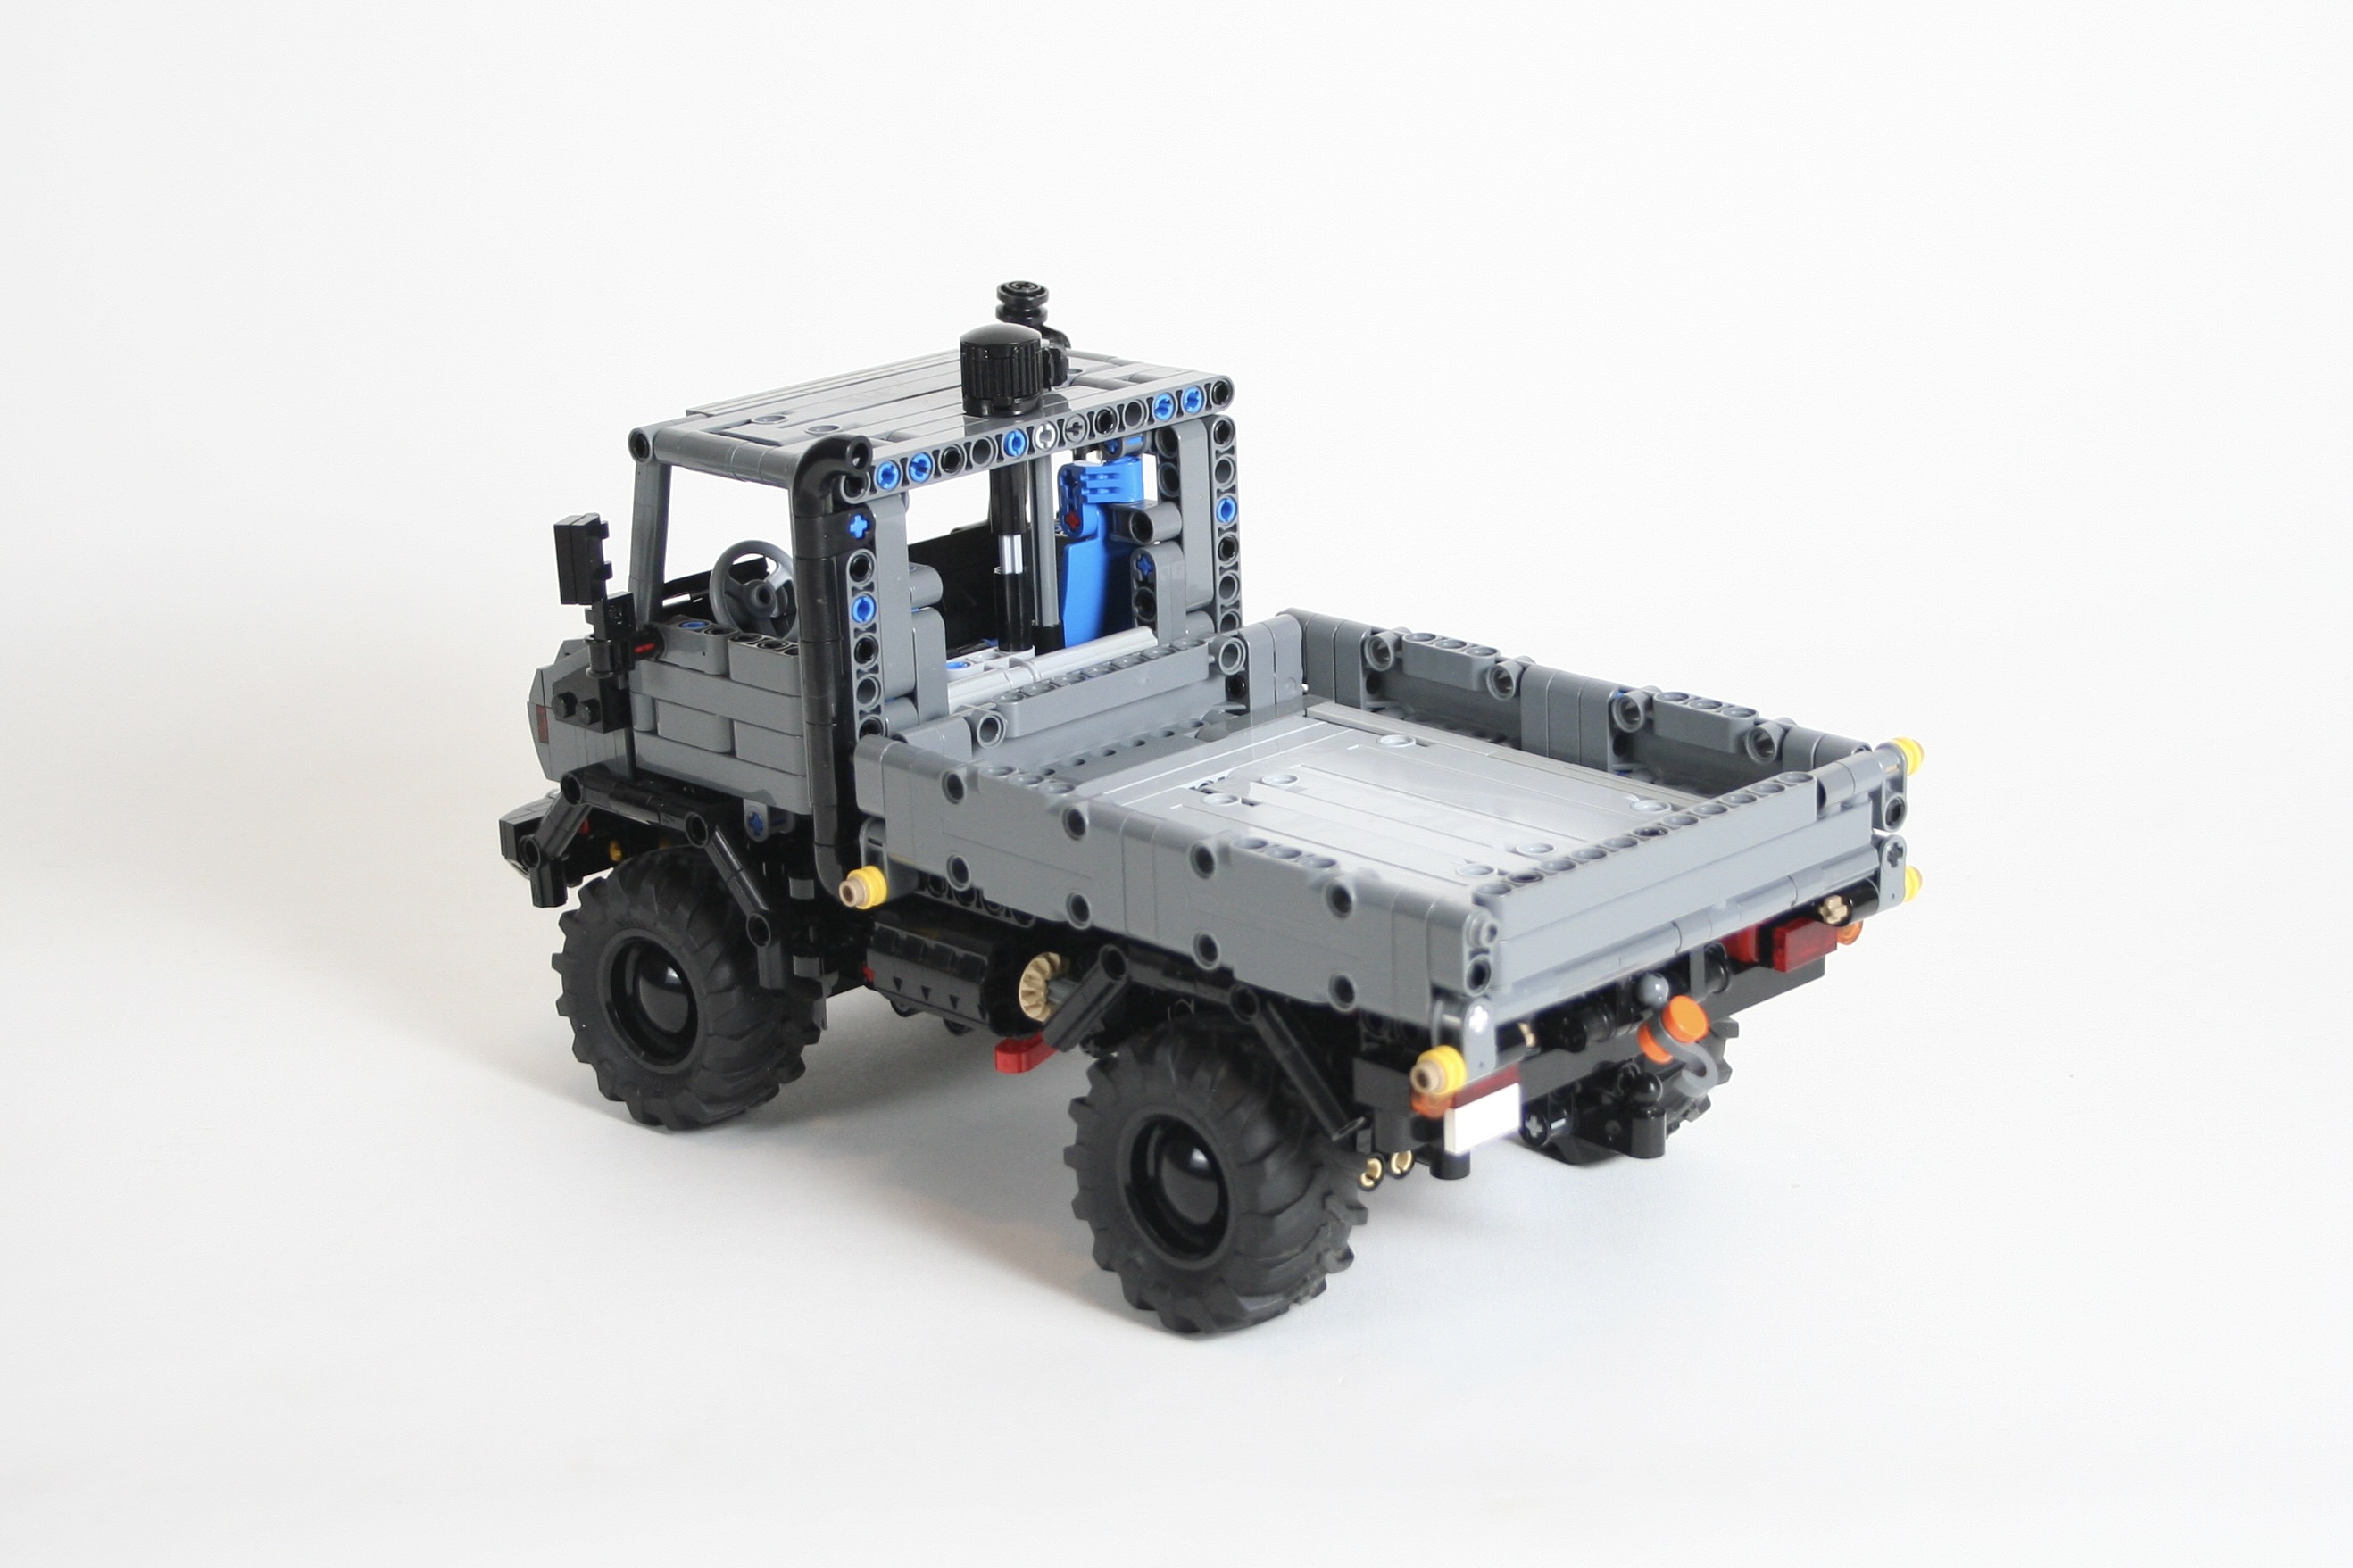
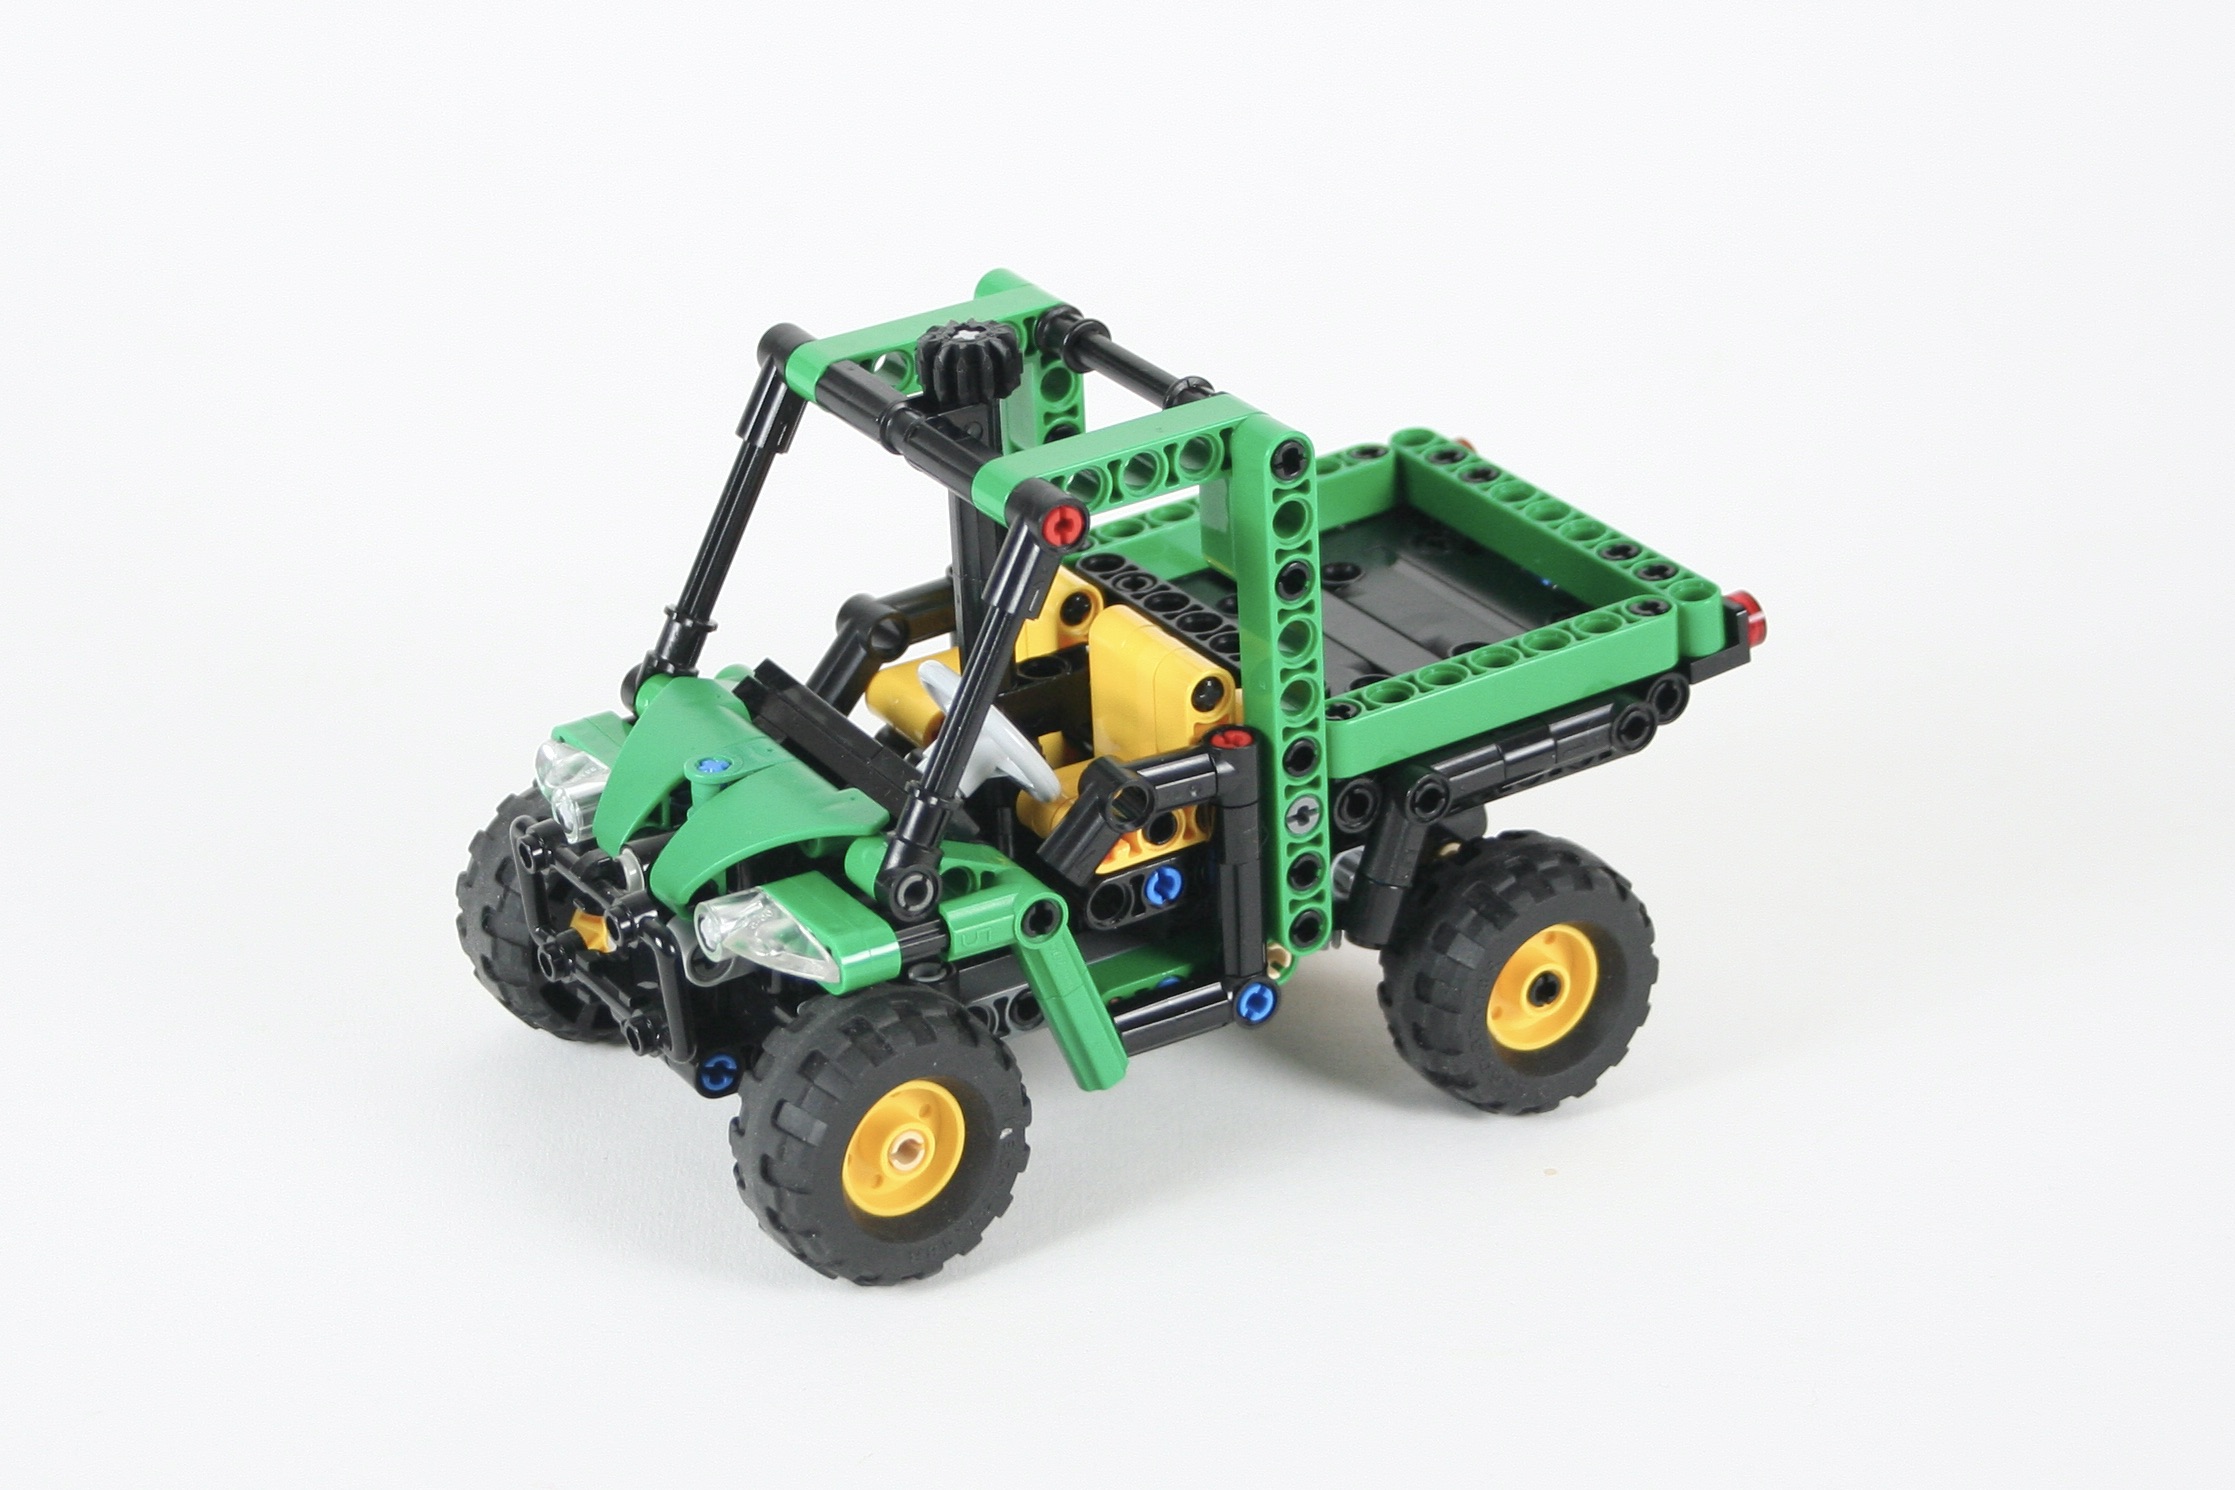
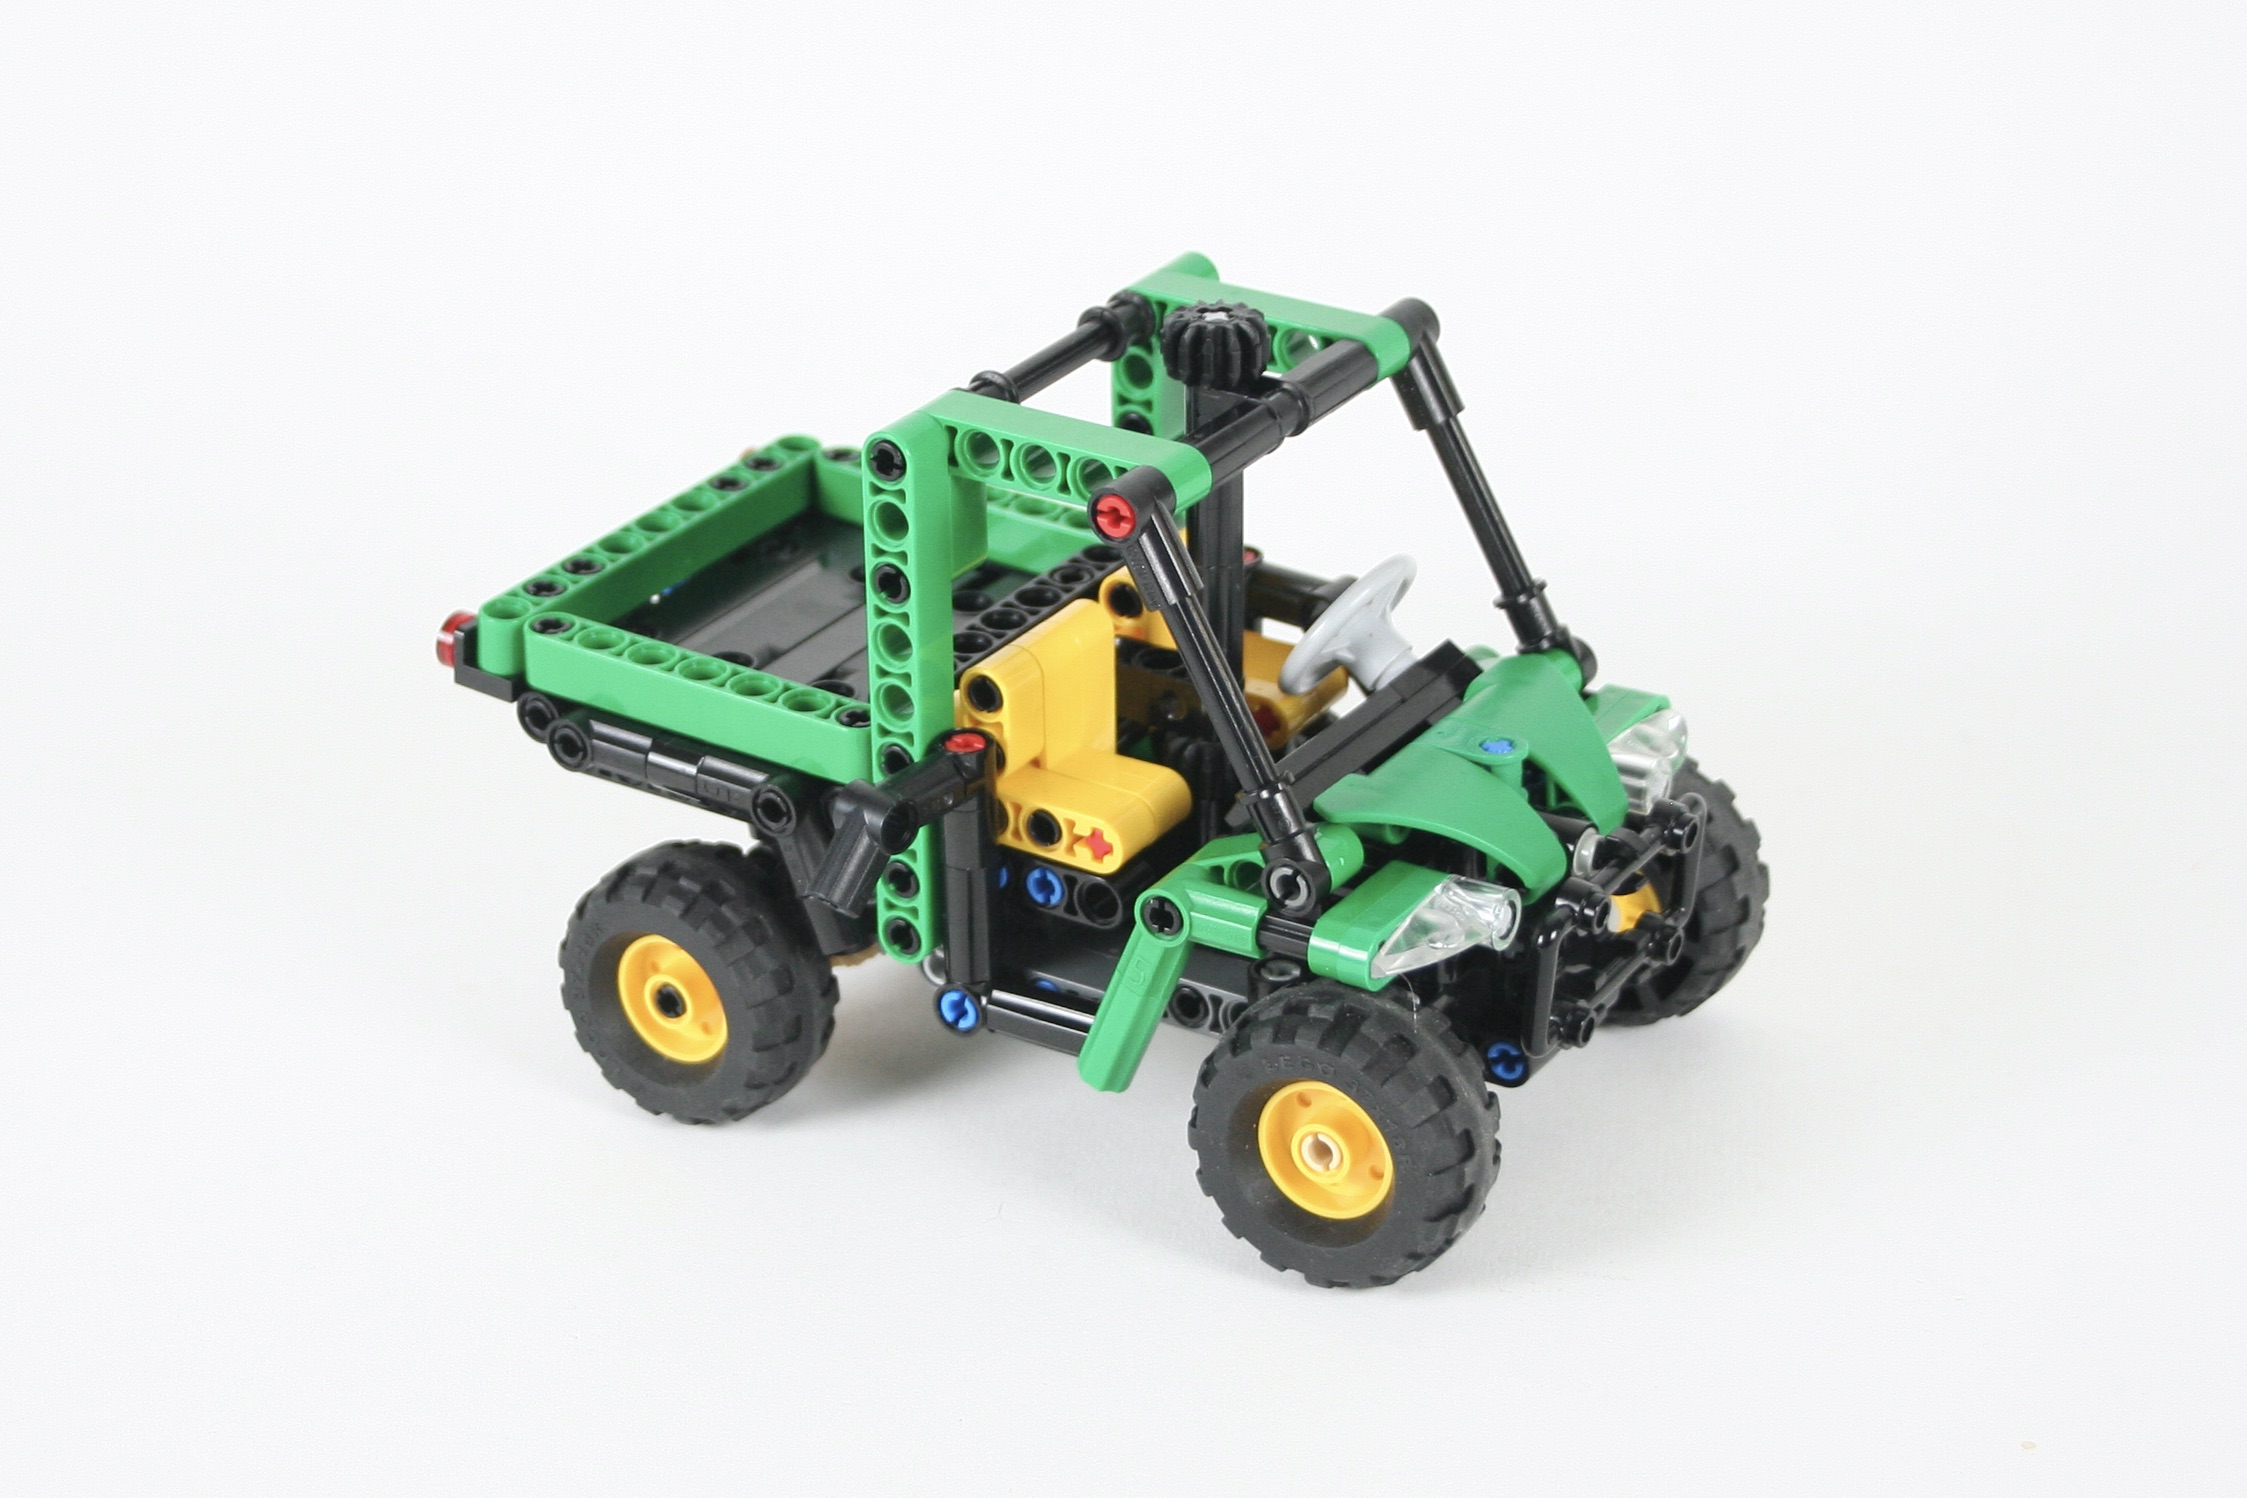
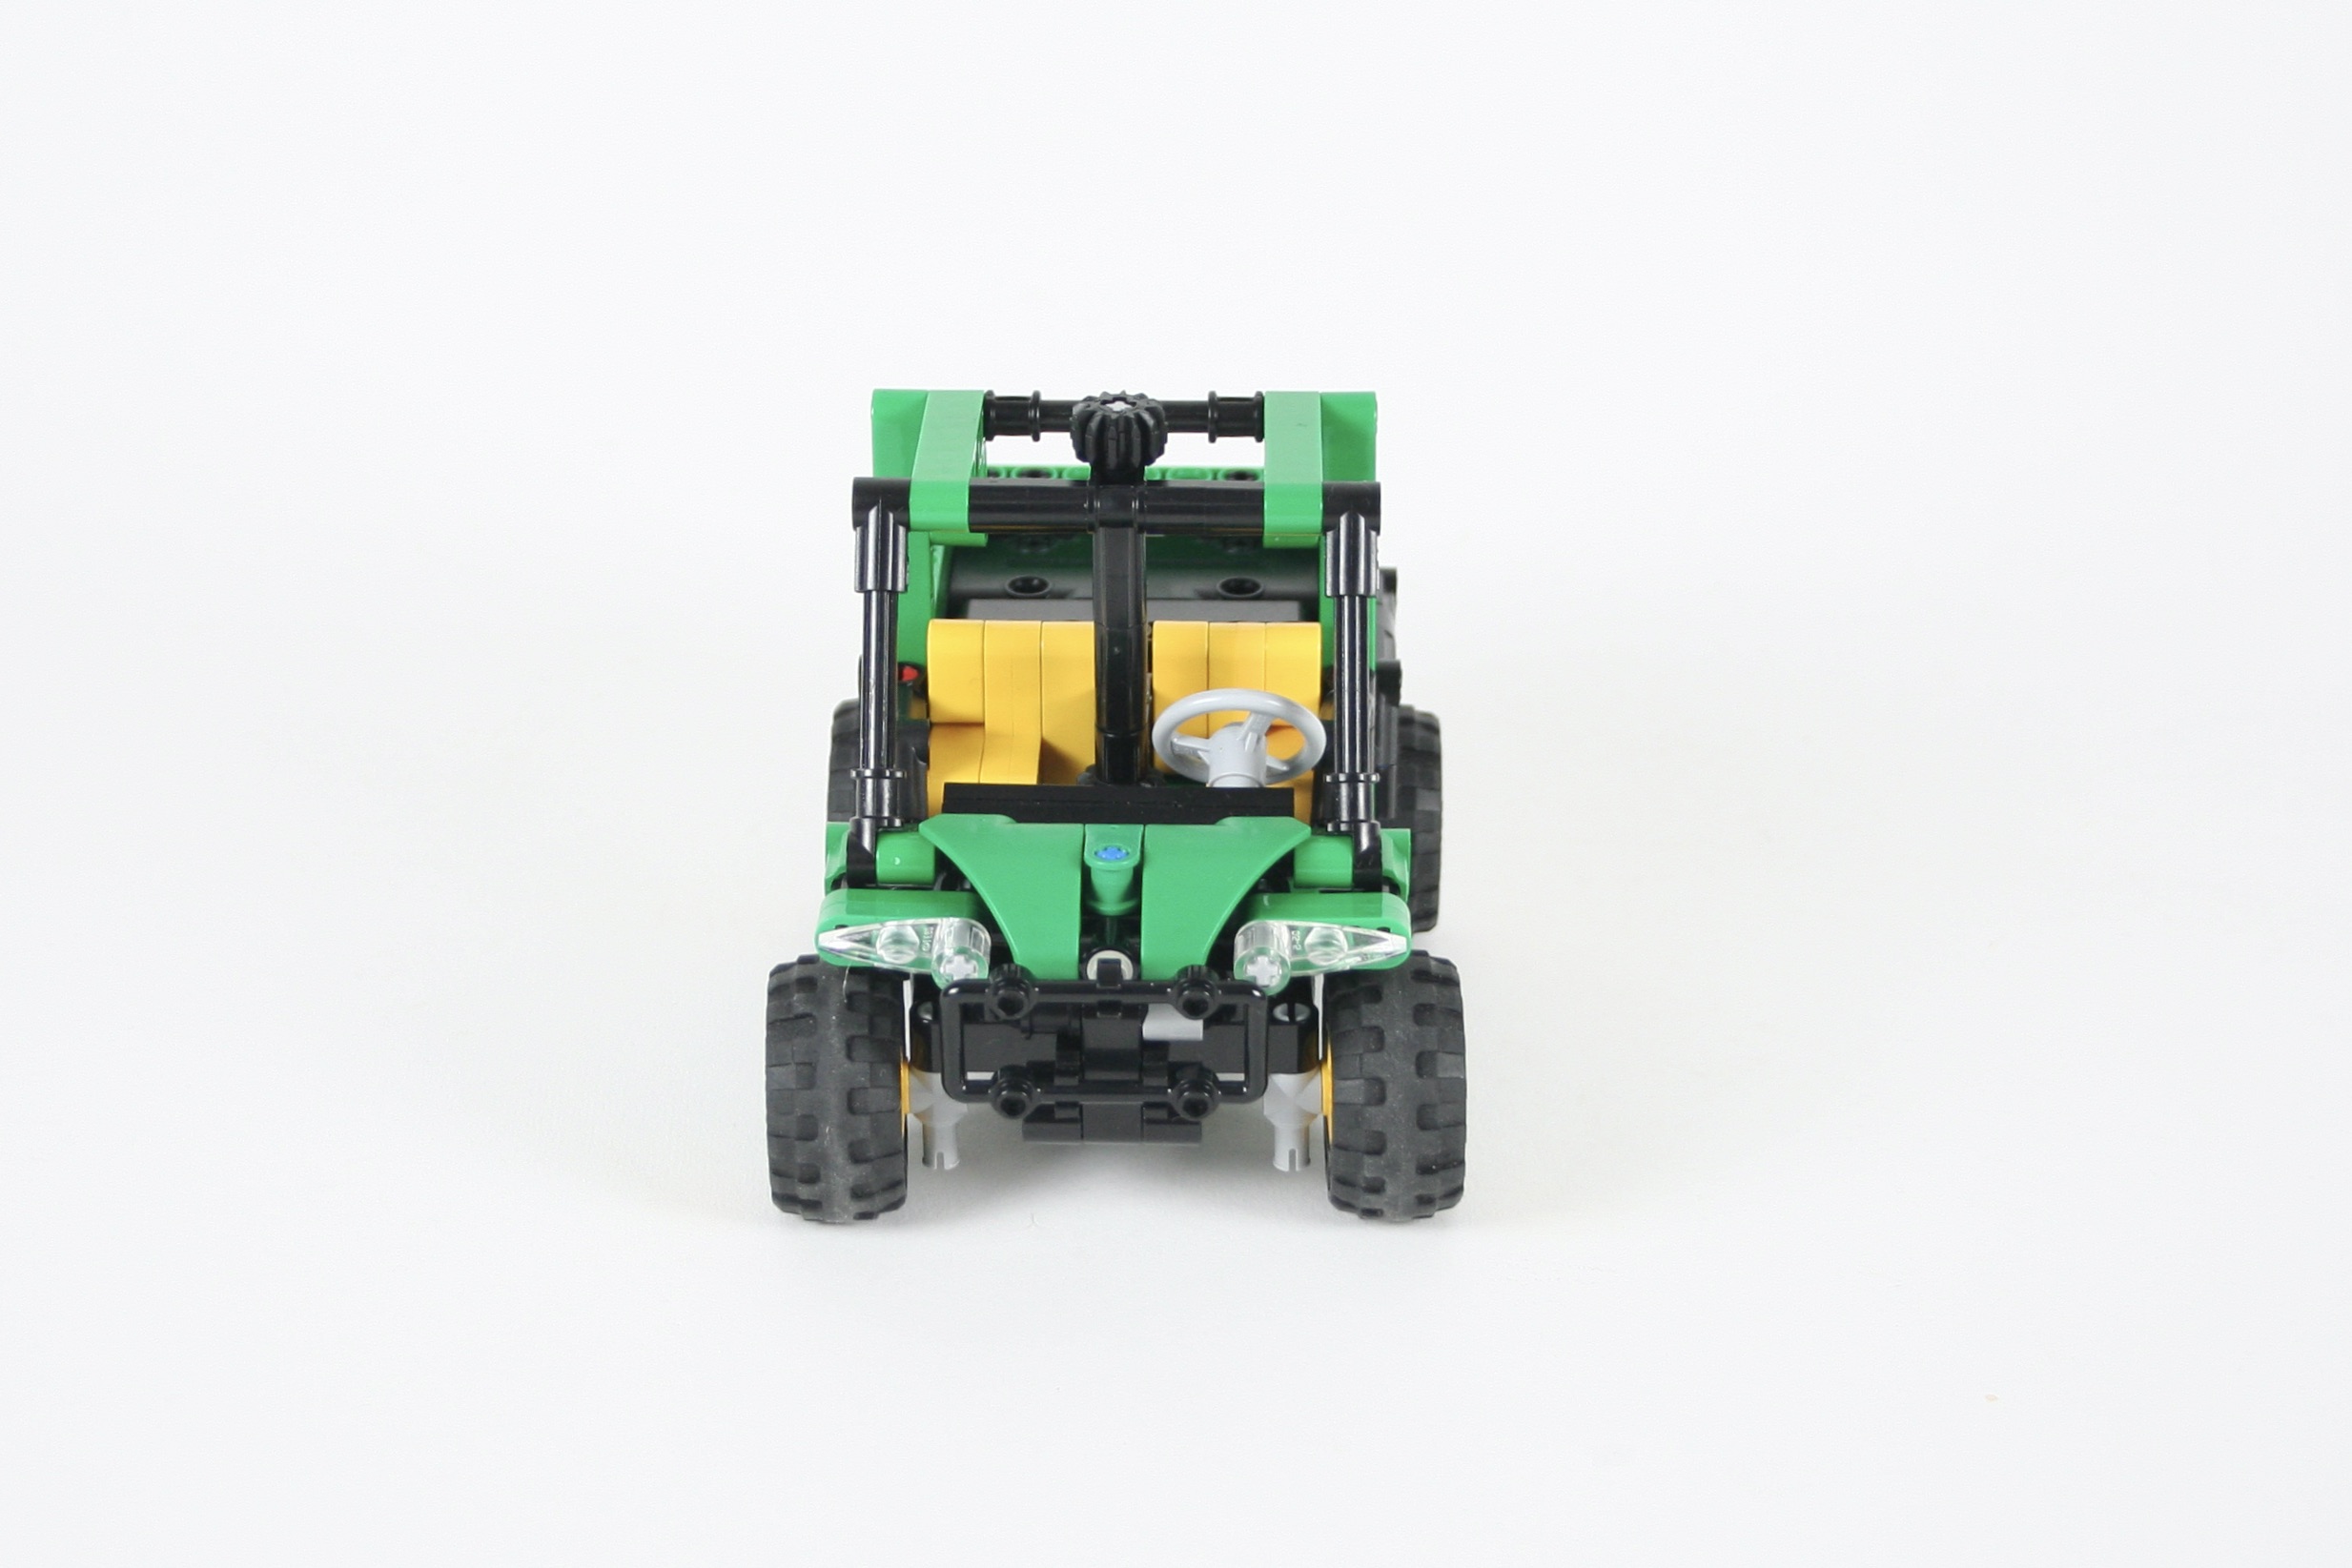
I like to think of the Unimog U20 as “the weird one.” It was built by taking the Unimog U300 chassis, and inserting a Mercedes Benz Accelo cab to the chassis. As such, it is one of the few Unimogs with a distinct cab over design. It also means it does not have the unique nose design that I have come to love about Unimogs. But, I have build so many U400s and U4000s so it was time to expand into another version.

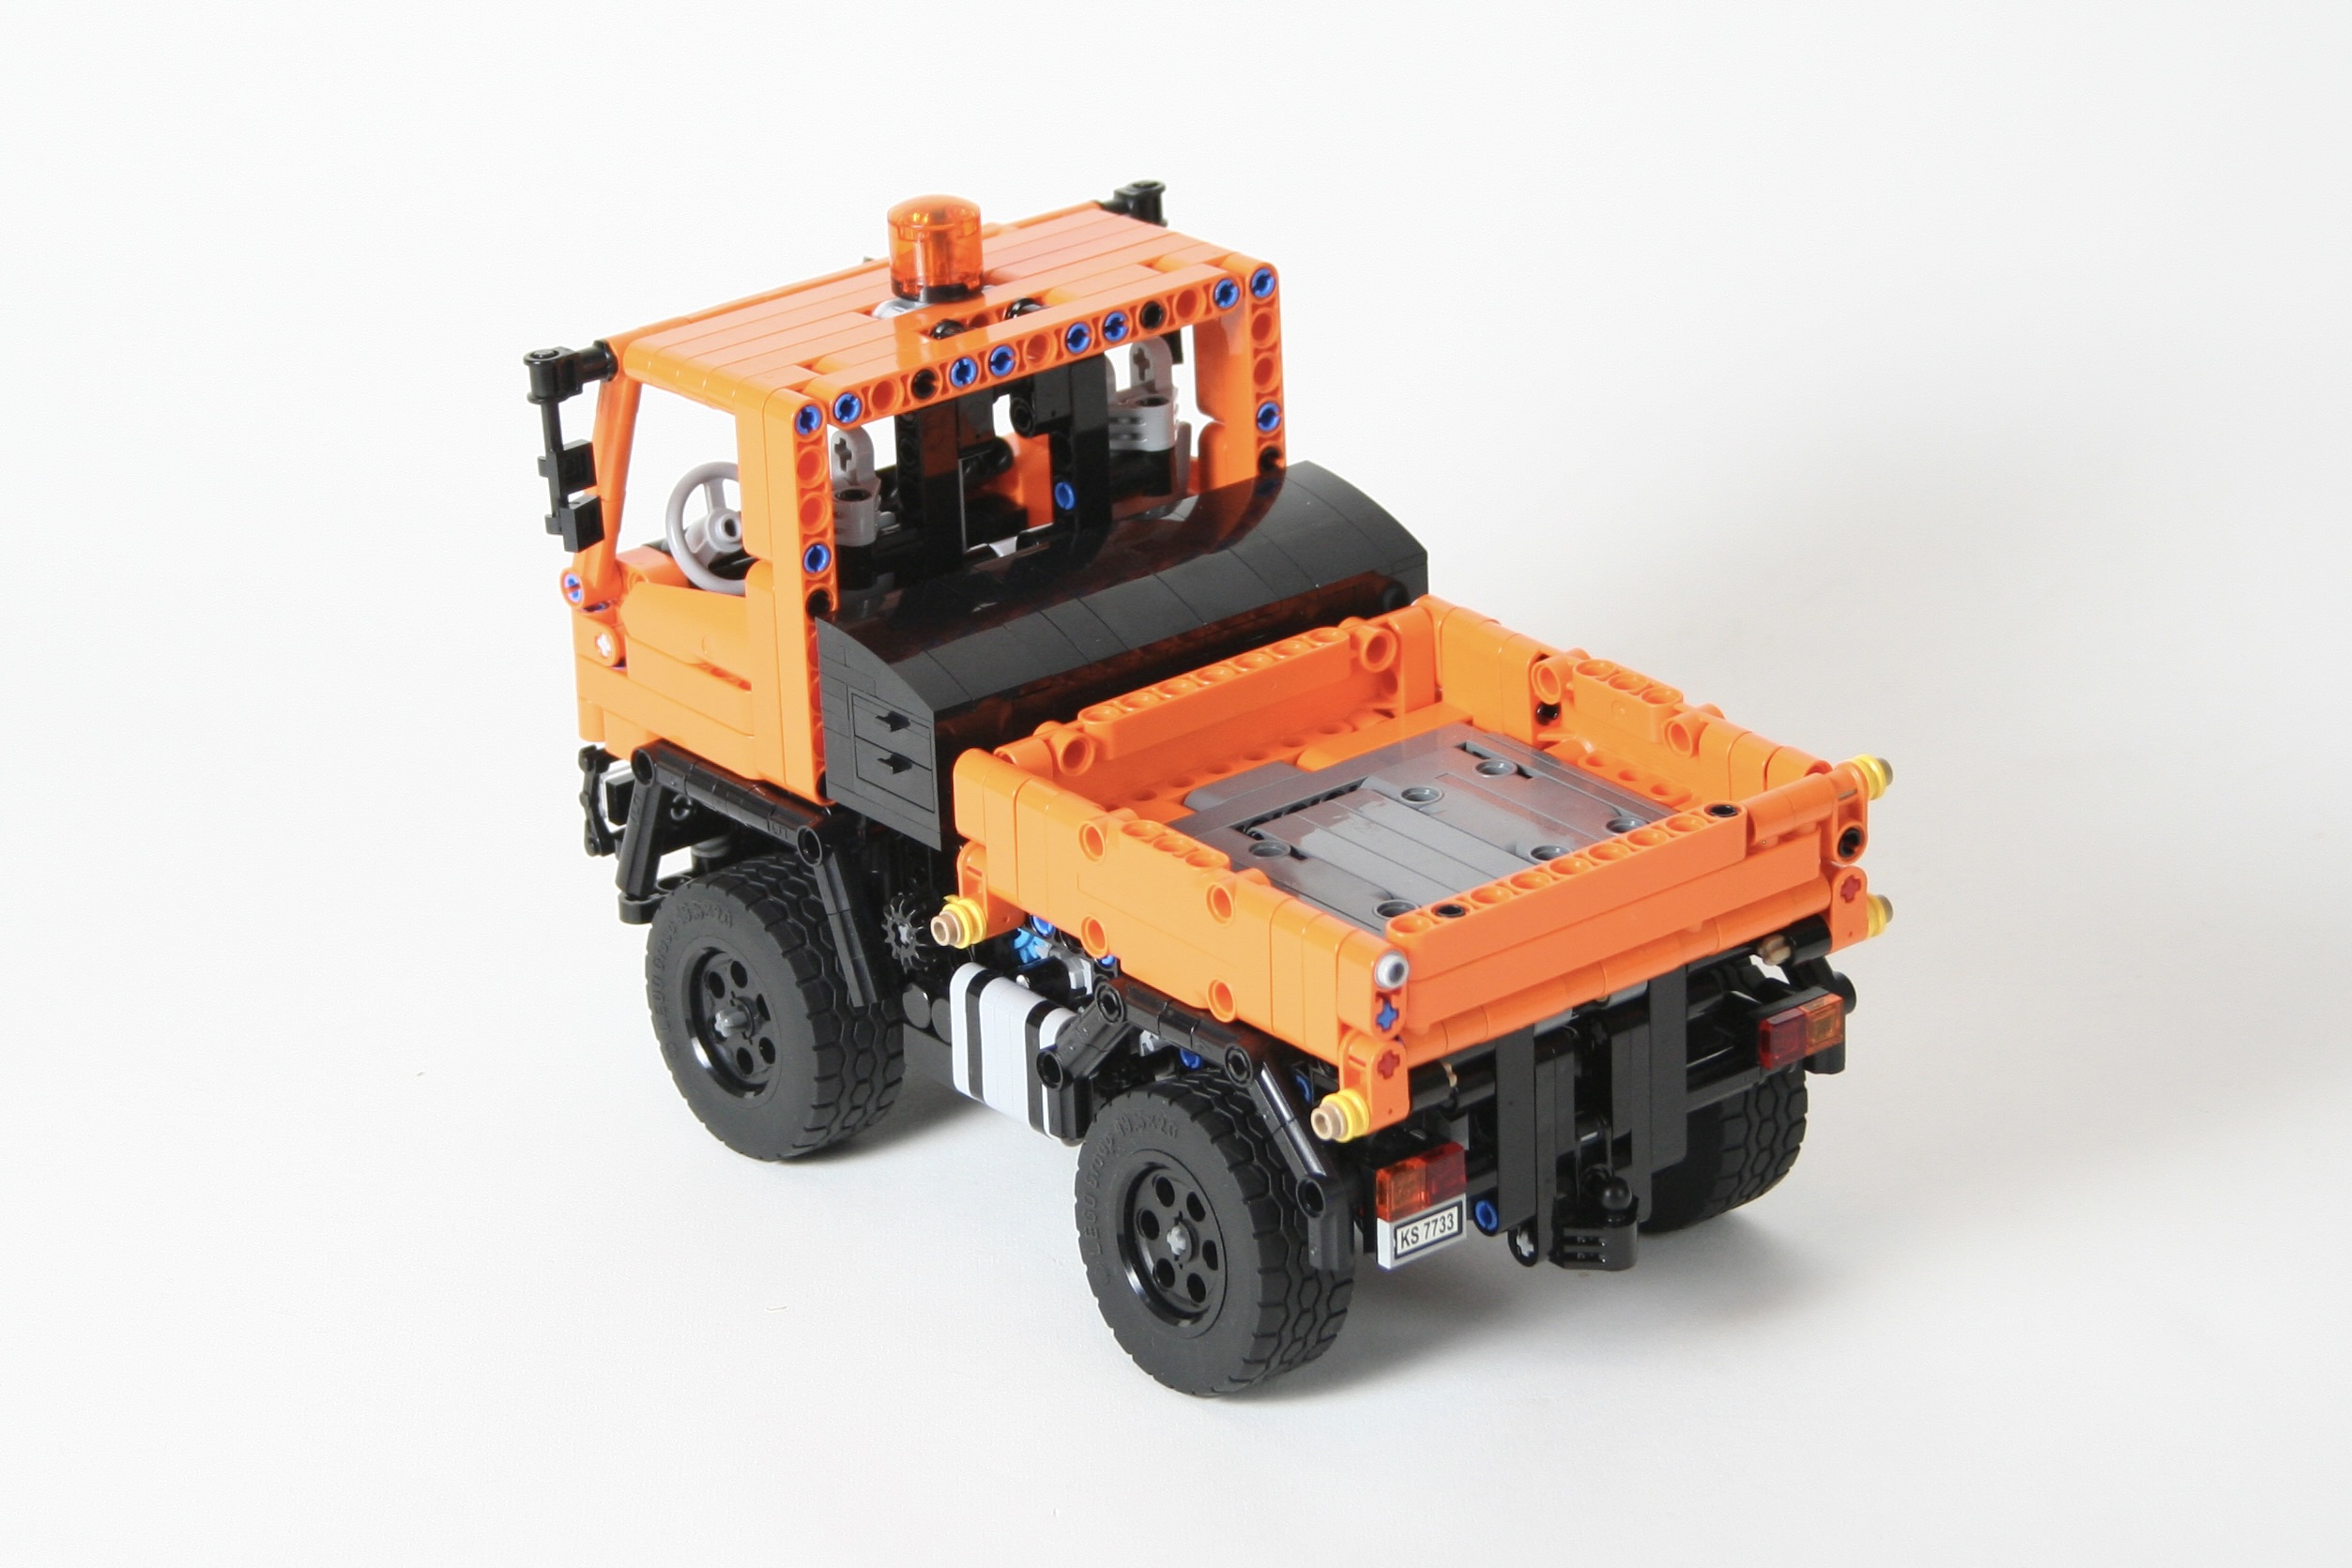
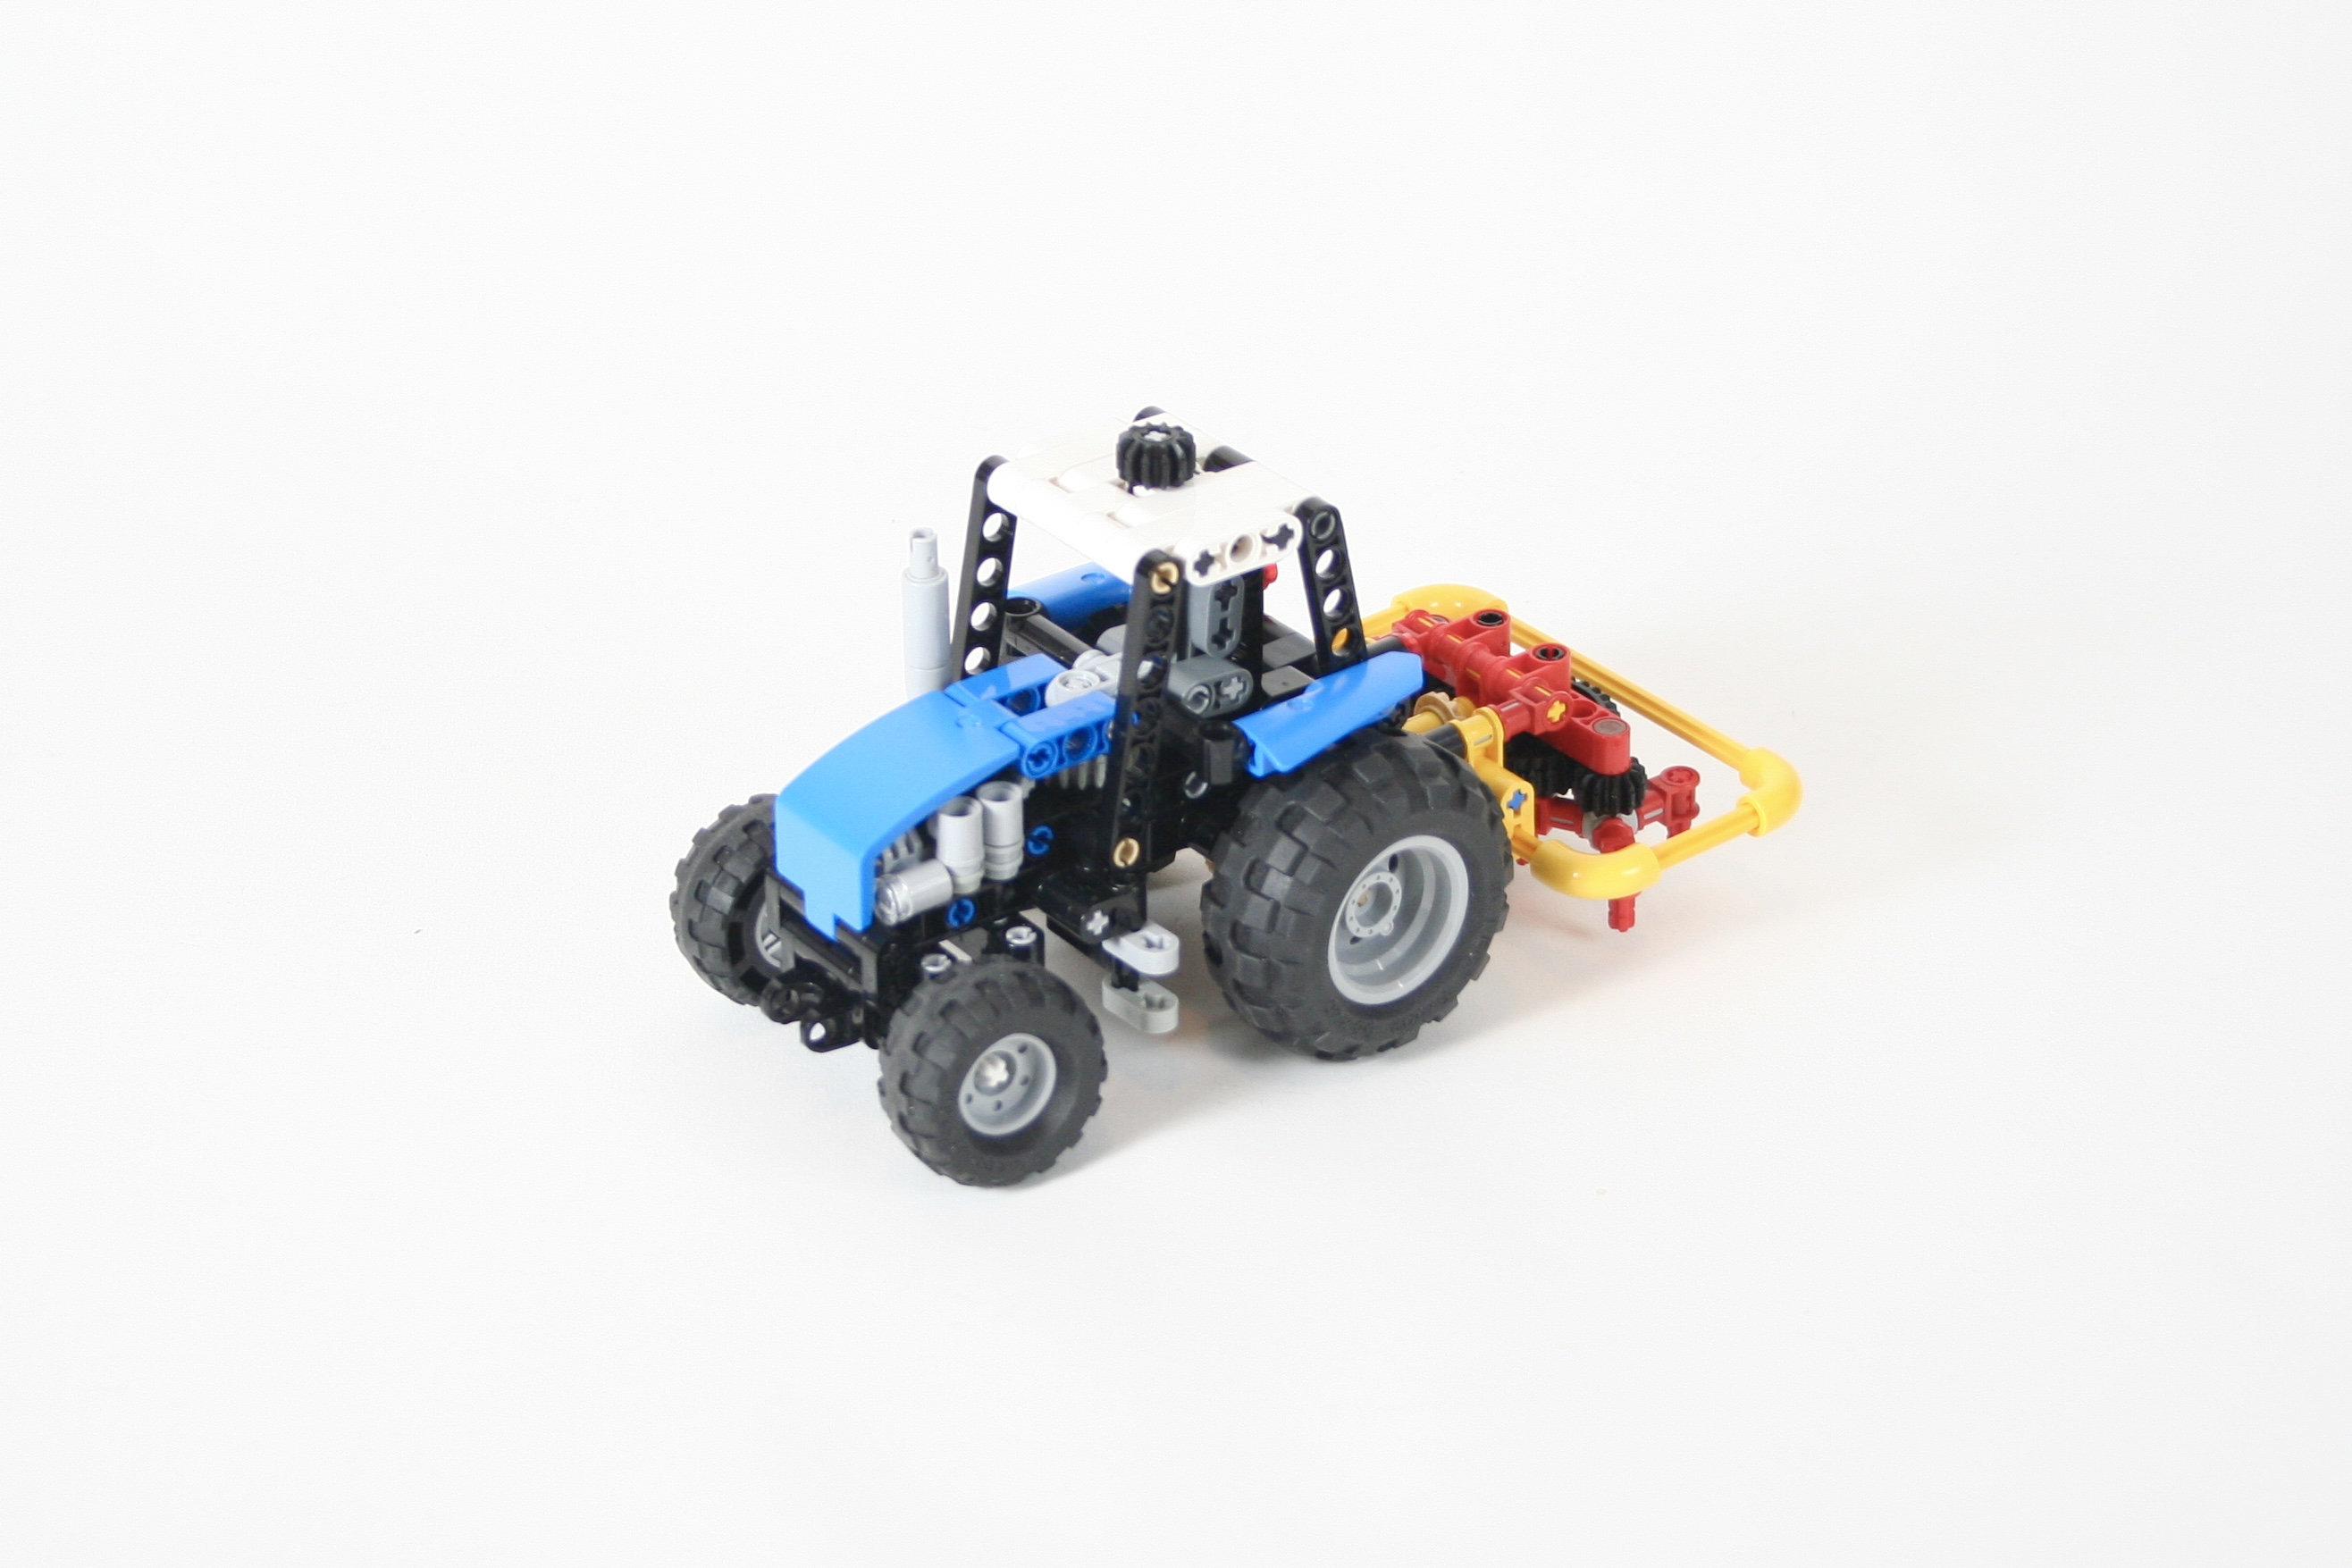
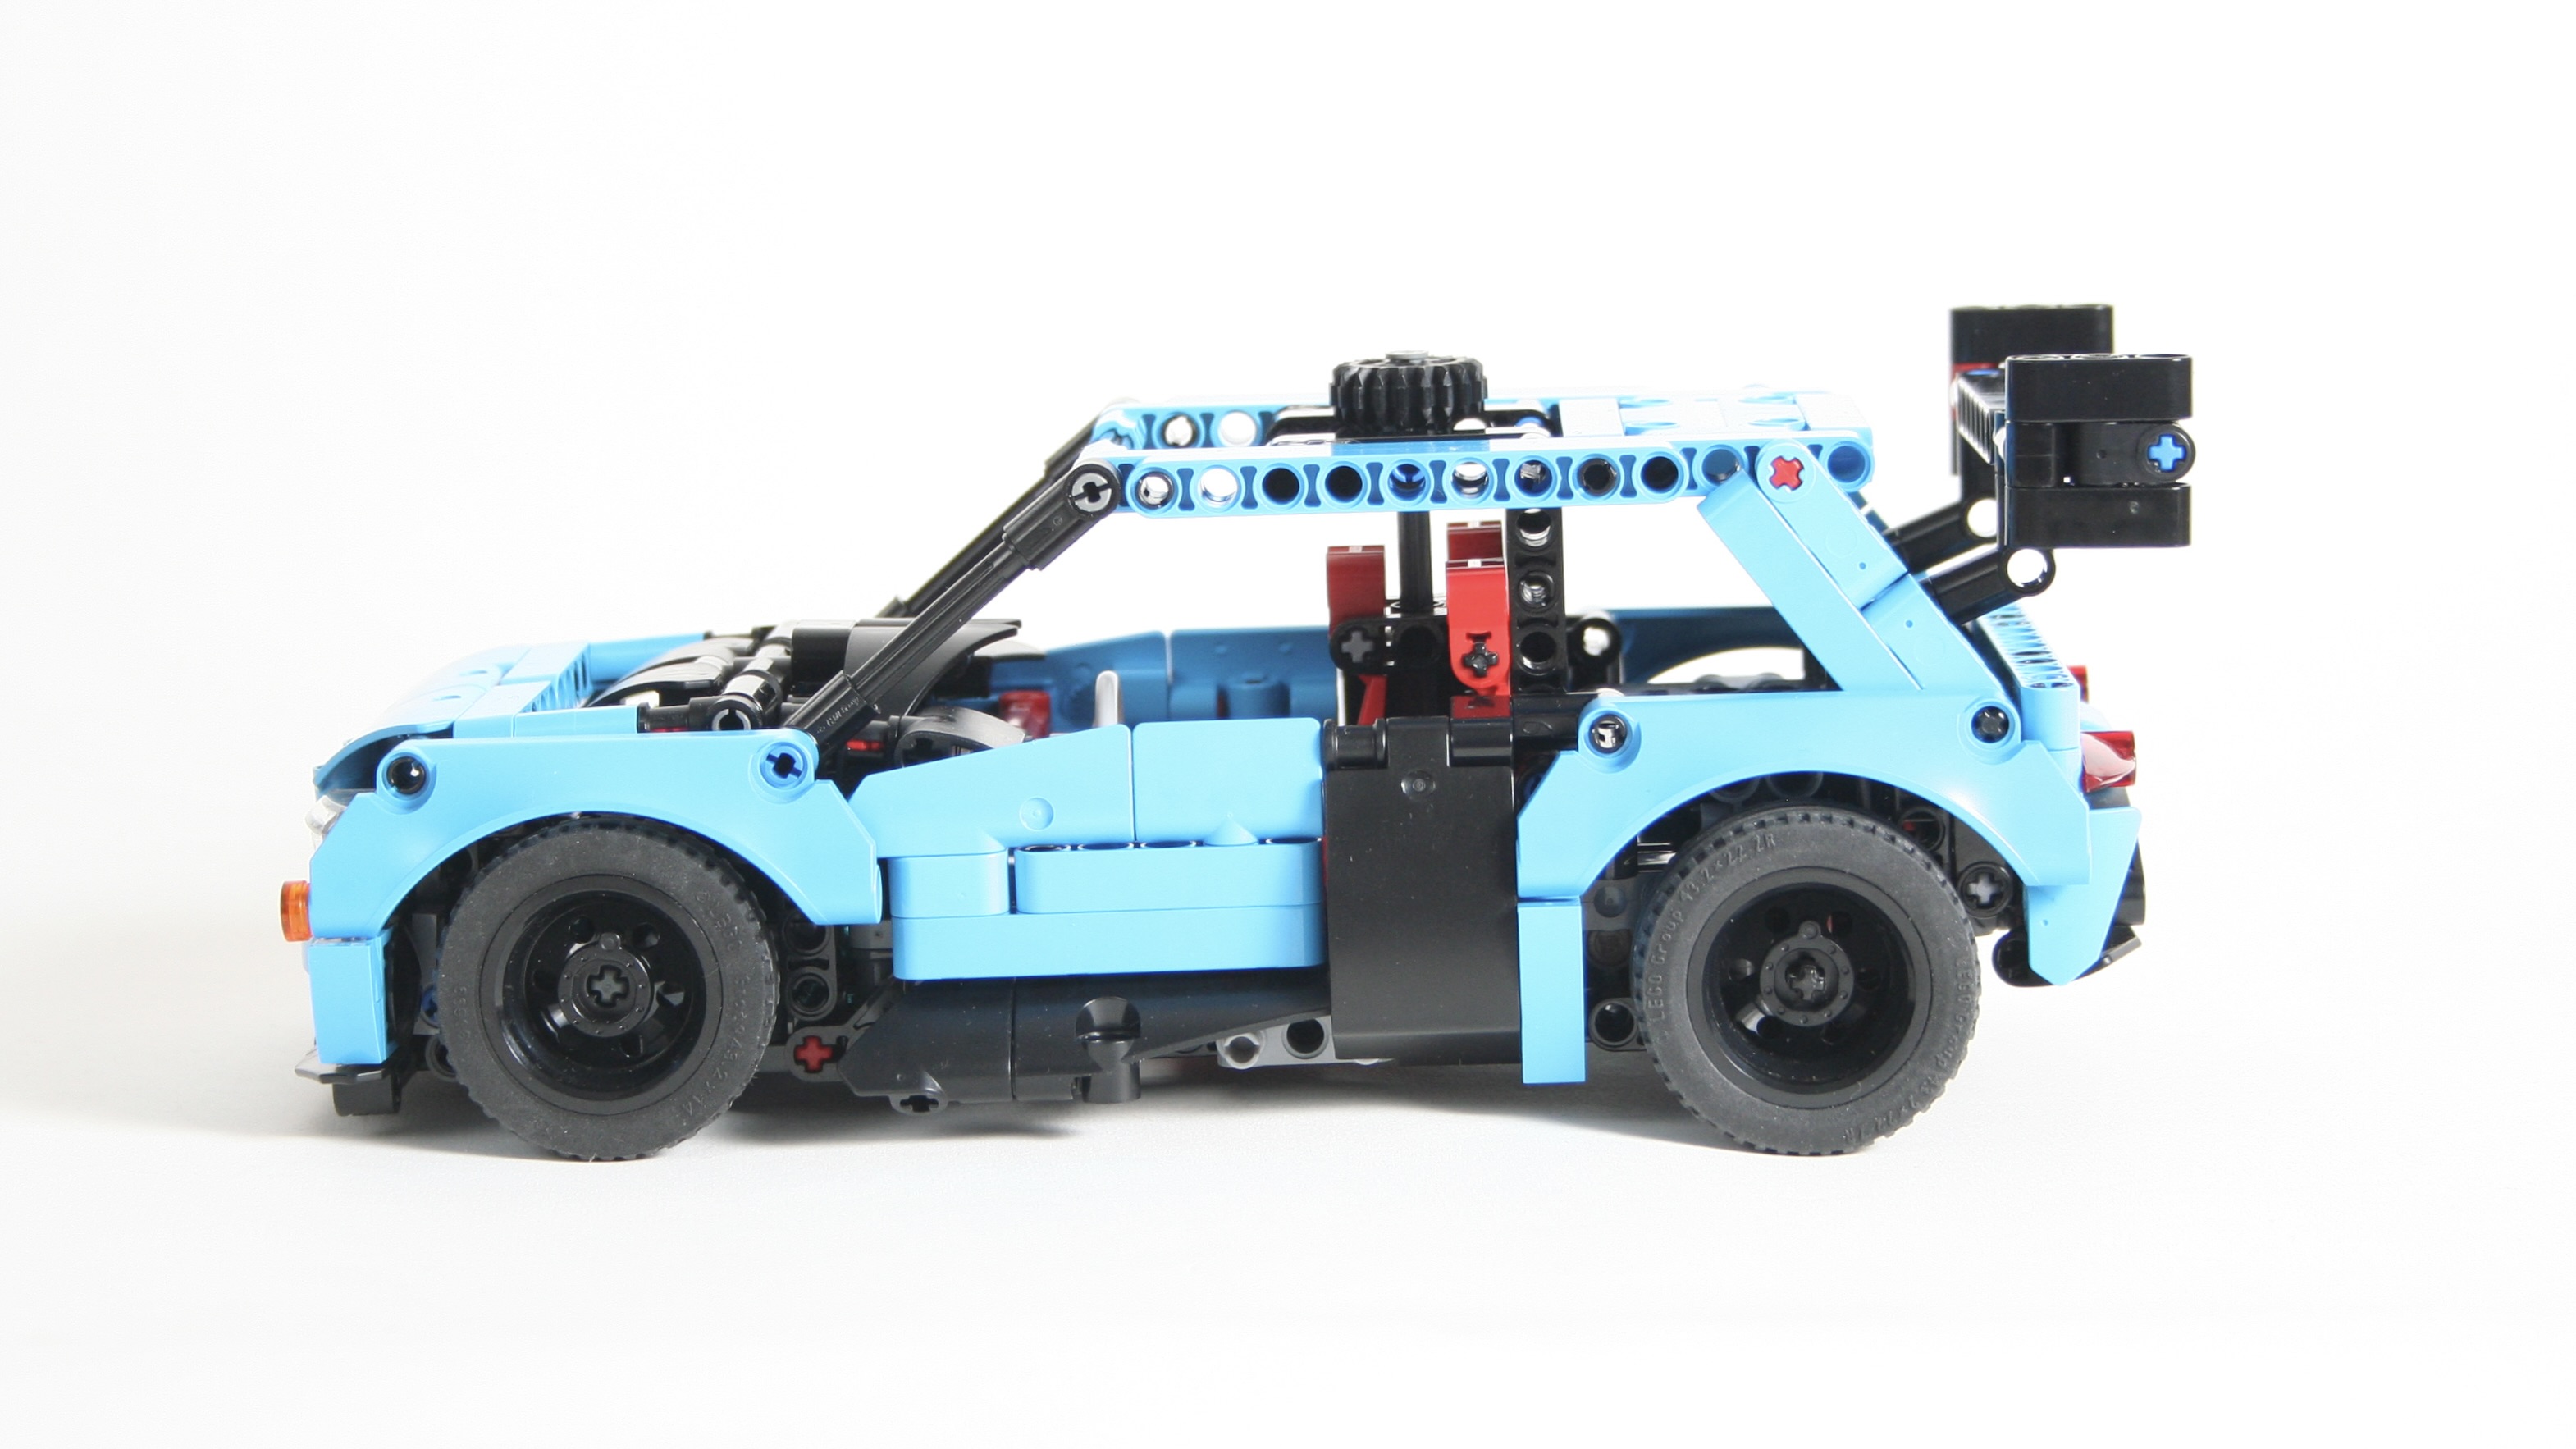
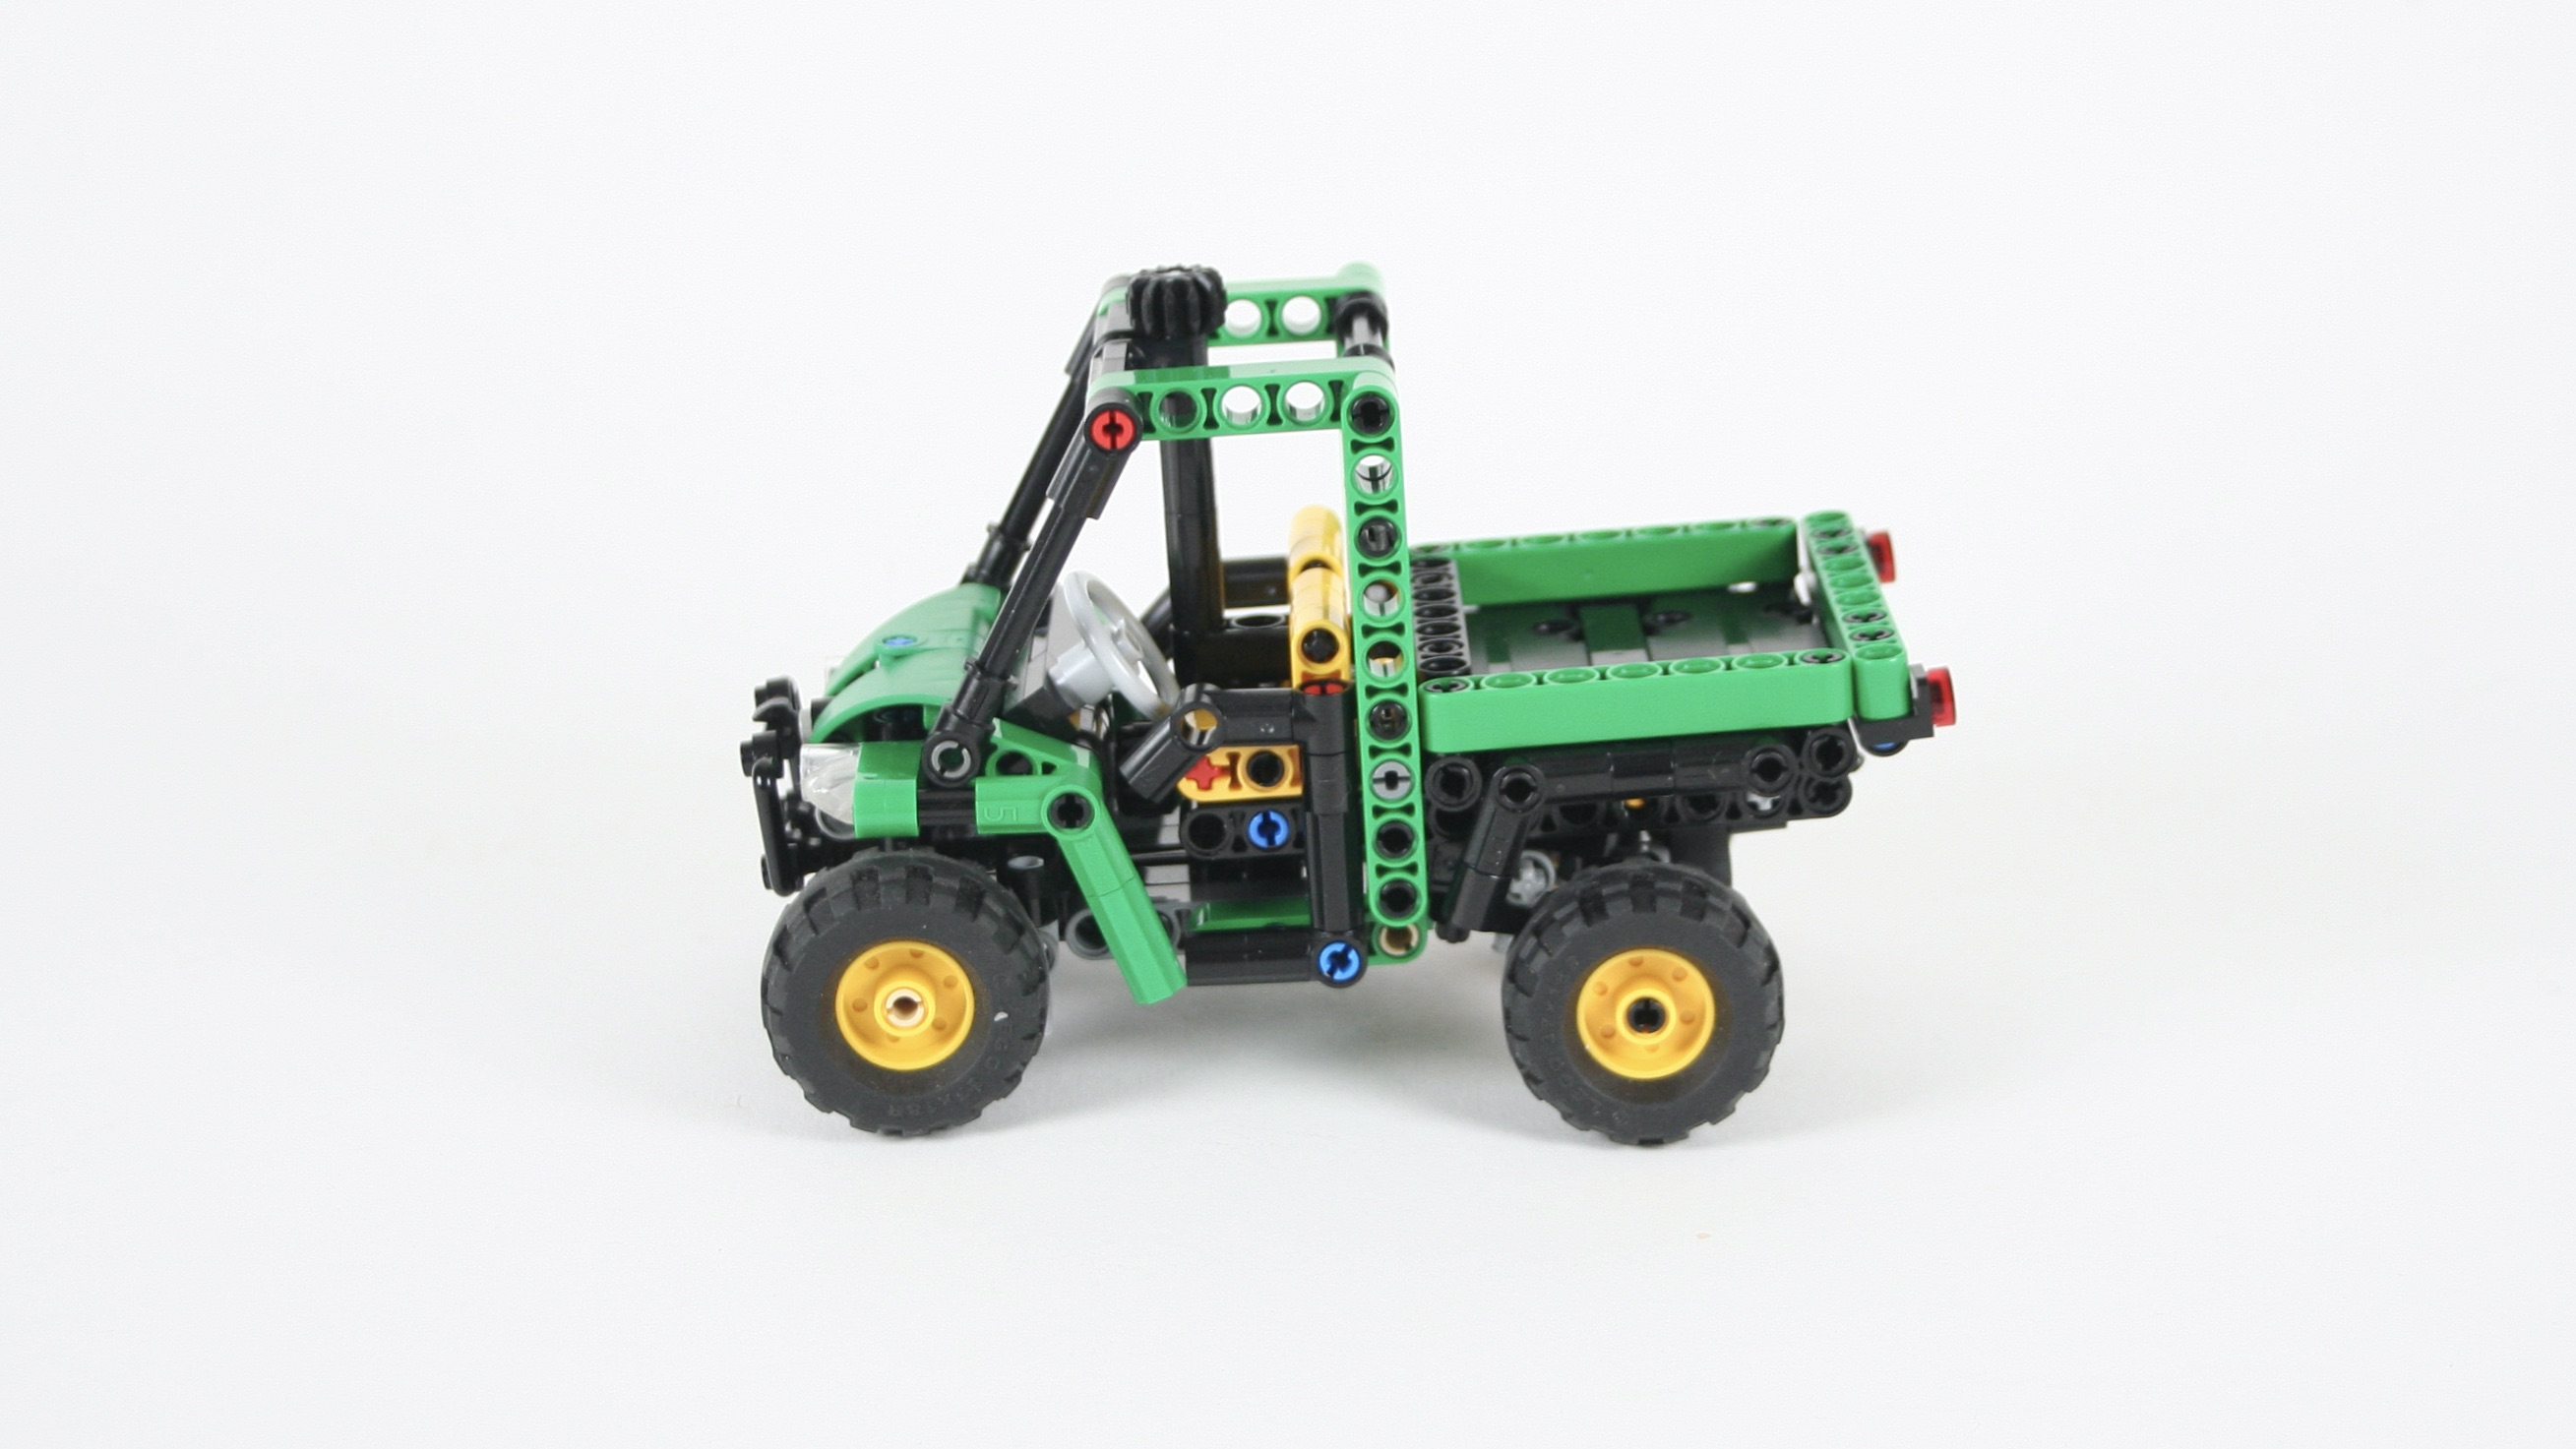
This design is similar to many of my other 1:21 scale trucks. But the U20 is smaller than some of these other trucks, so some changes needed to be made. First, the truck is narrower than others, so the U20 would be 14 studs wide in the chassis rather than the more common 15 studs wide. Second, the wheelbase is very short; 16 studs. Since much of this space would be taken up with the engine, steering, and the bed tipping mechanism, adding additional features in the chassis would be difficult.

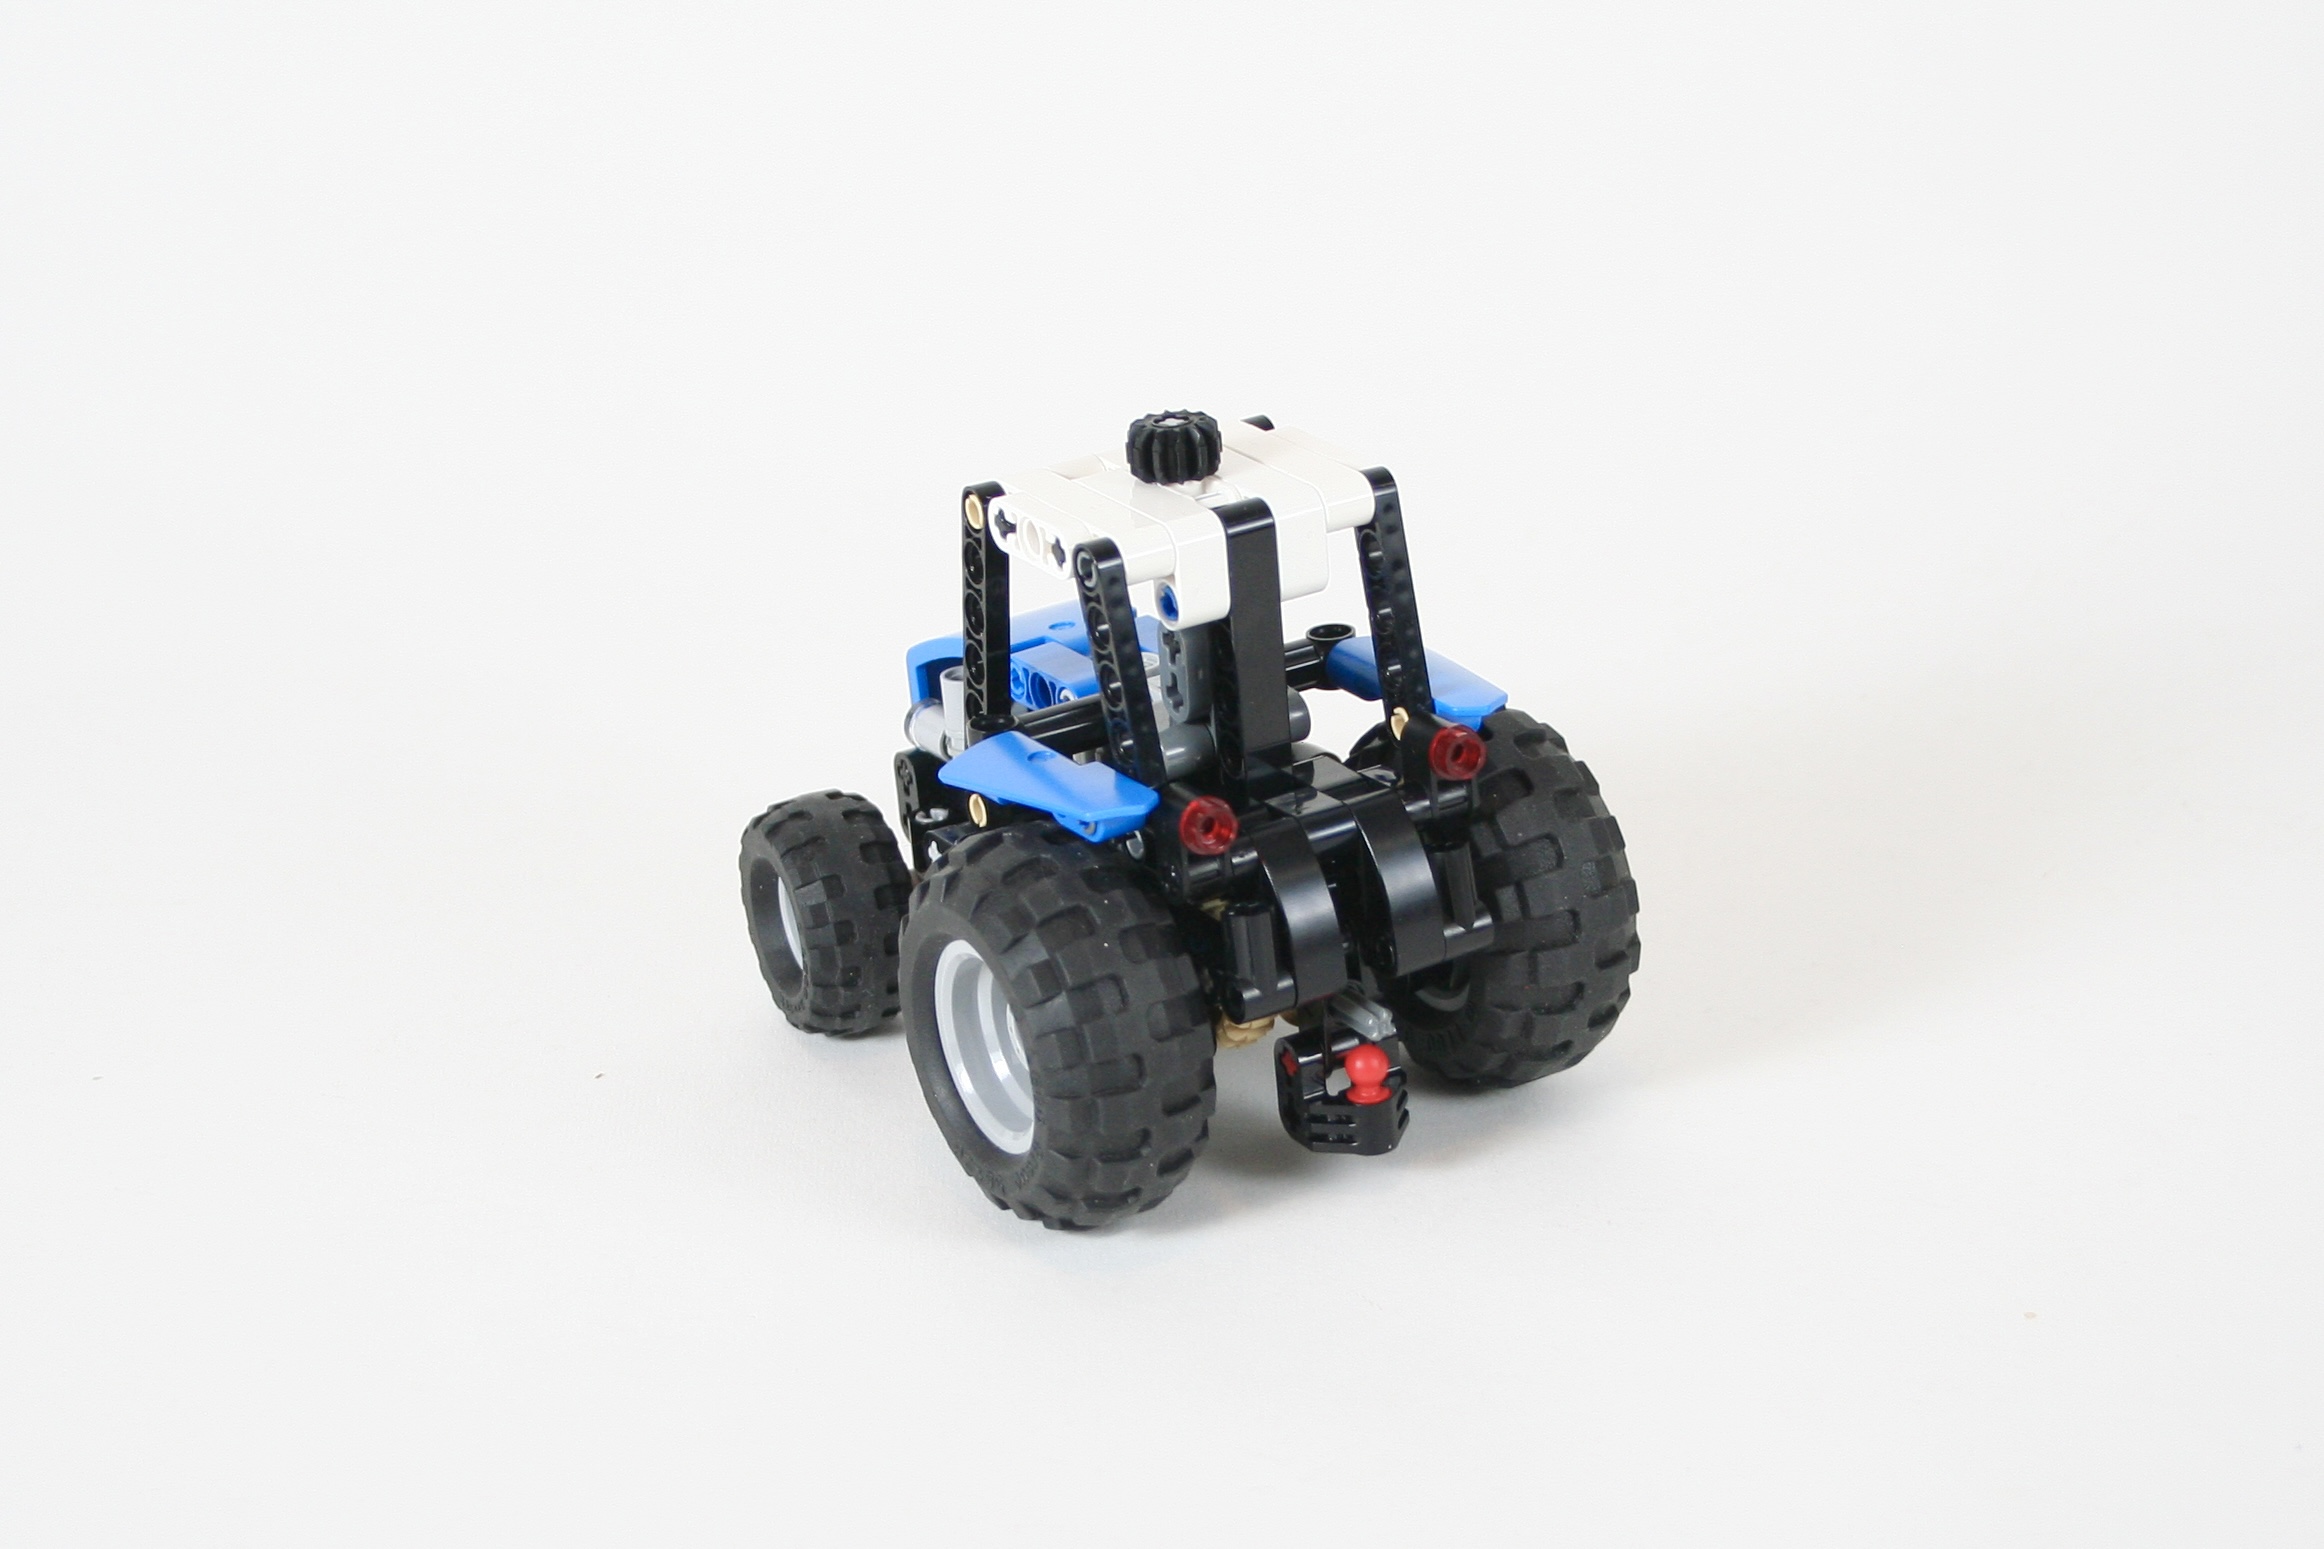
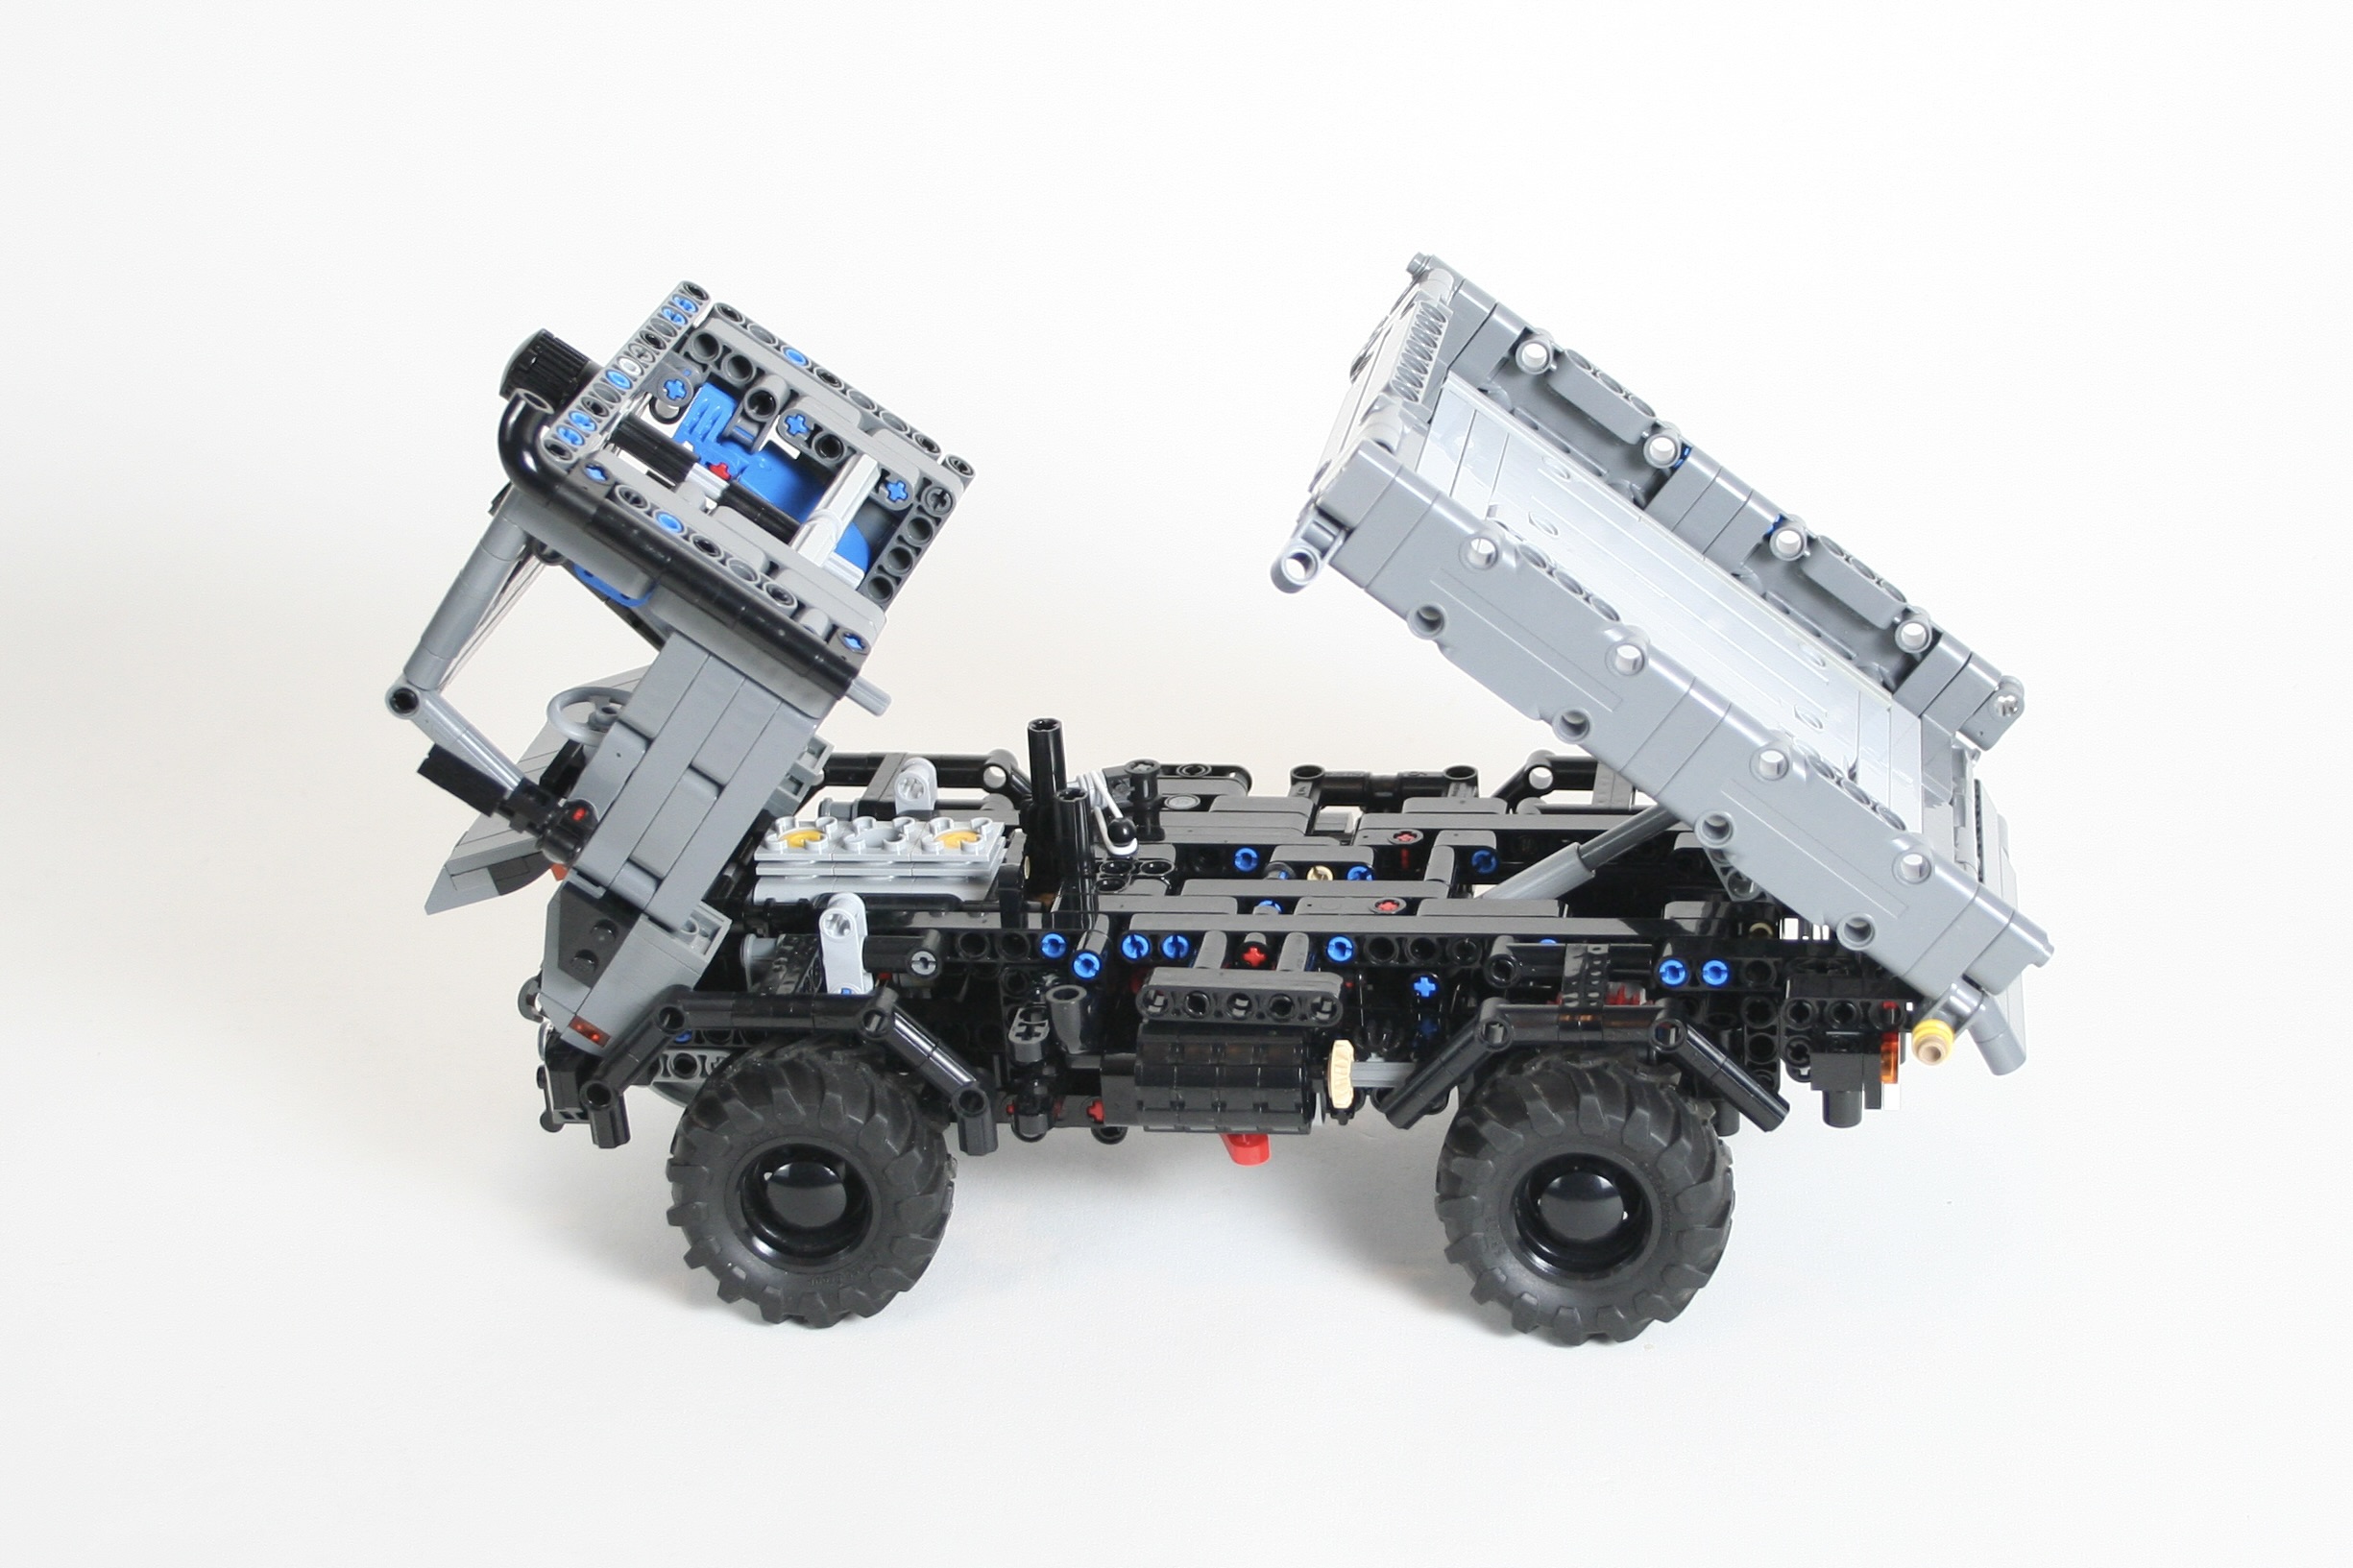
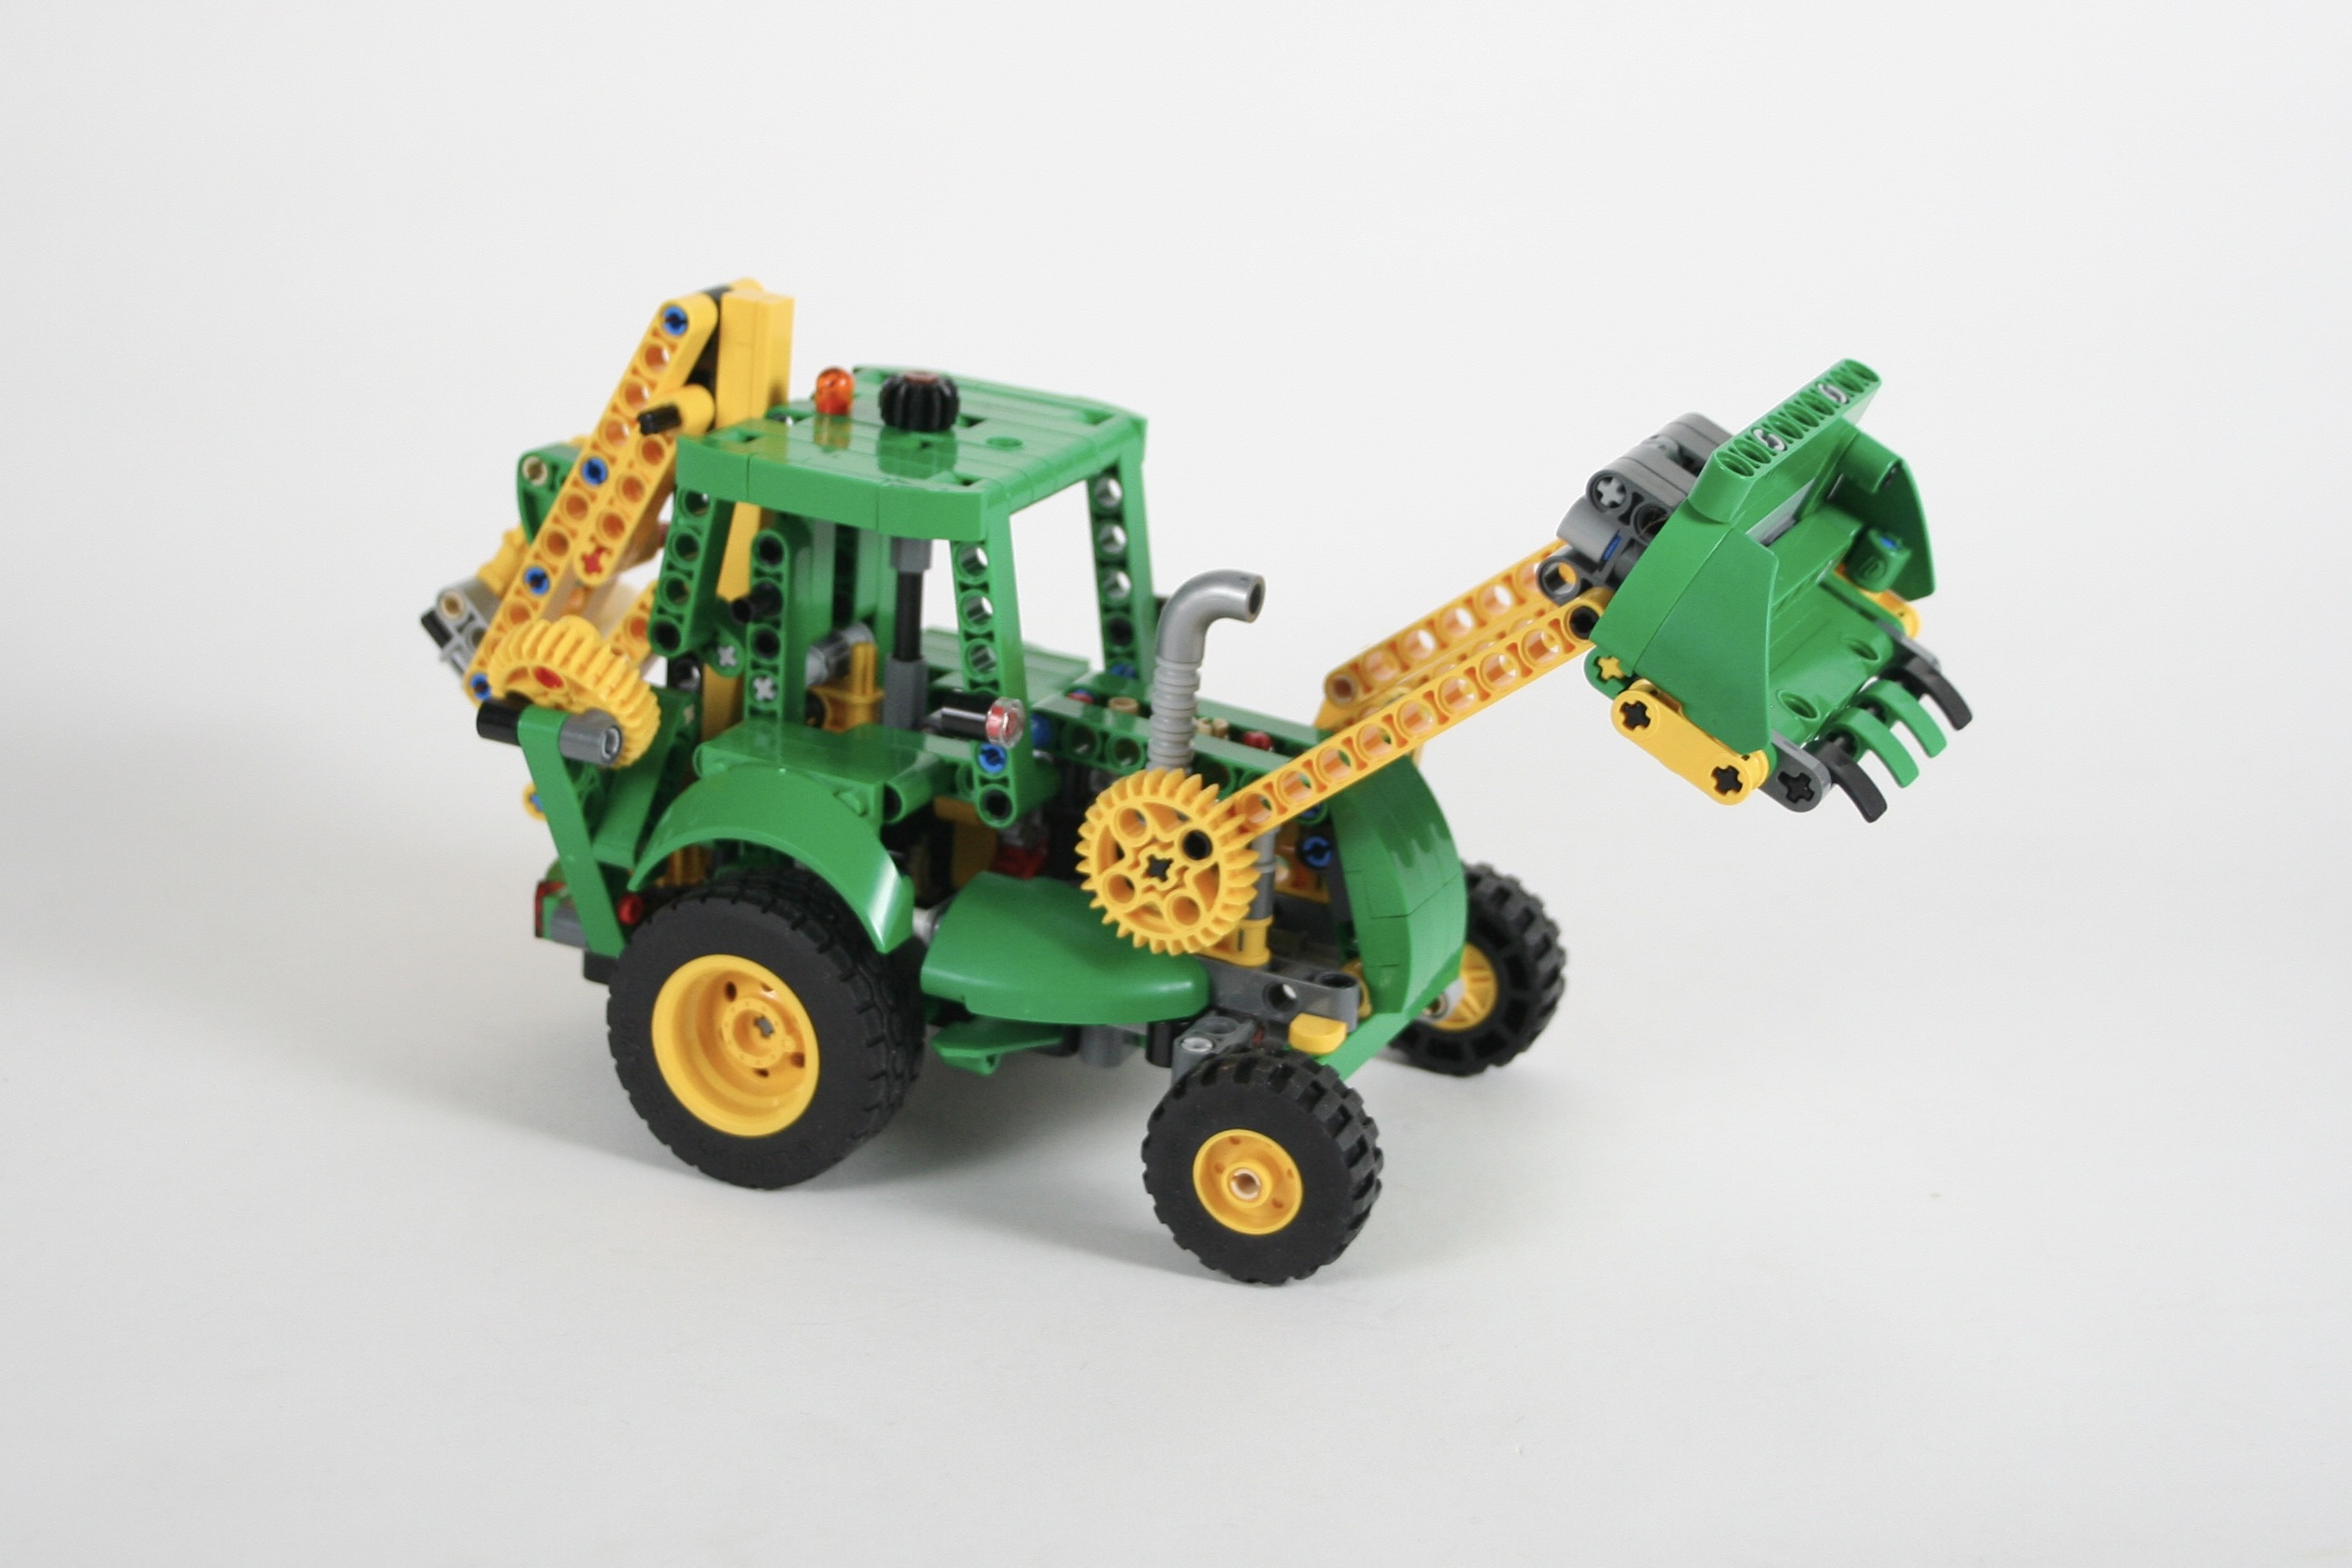
After designing the rear axle and steering axle, placing the engine was the next task. It is placed just behind the steering HOG, and drives directly to the rear axle without an ability to change gears. On the left of the truck is a HOG that moves the bed tipping mechanism up and down. The chassis was designed to support all the other front attachments that we designed for U423.

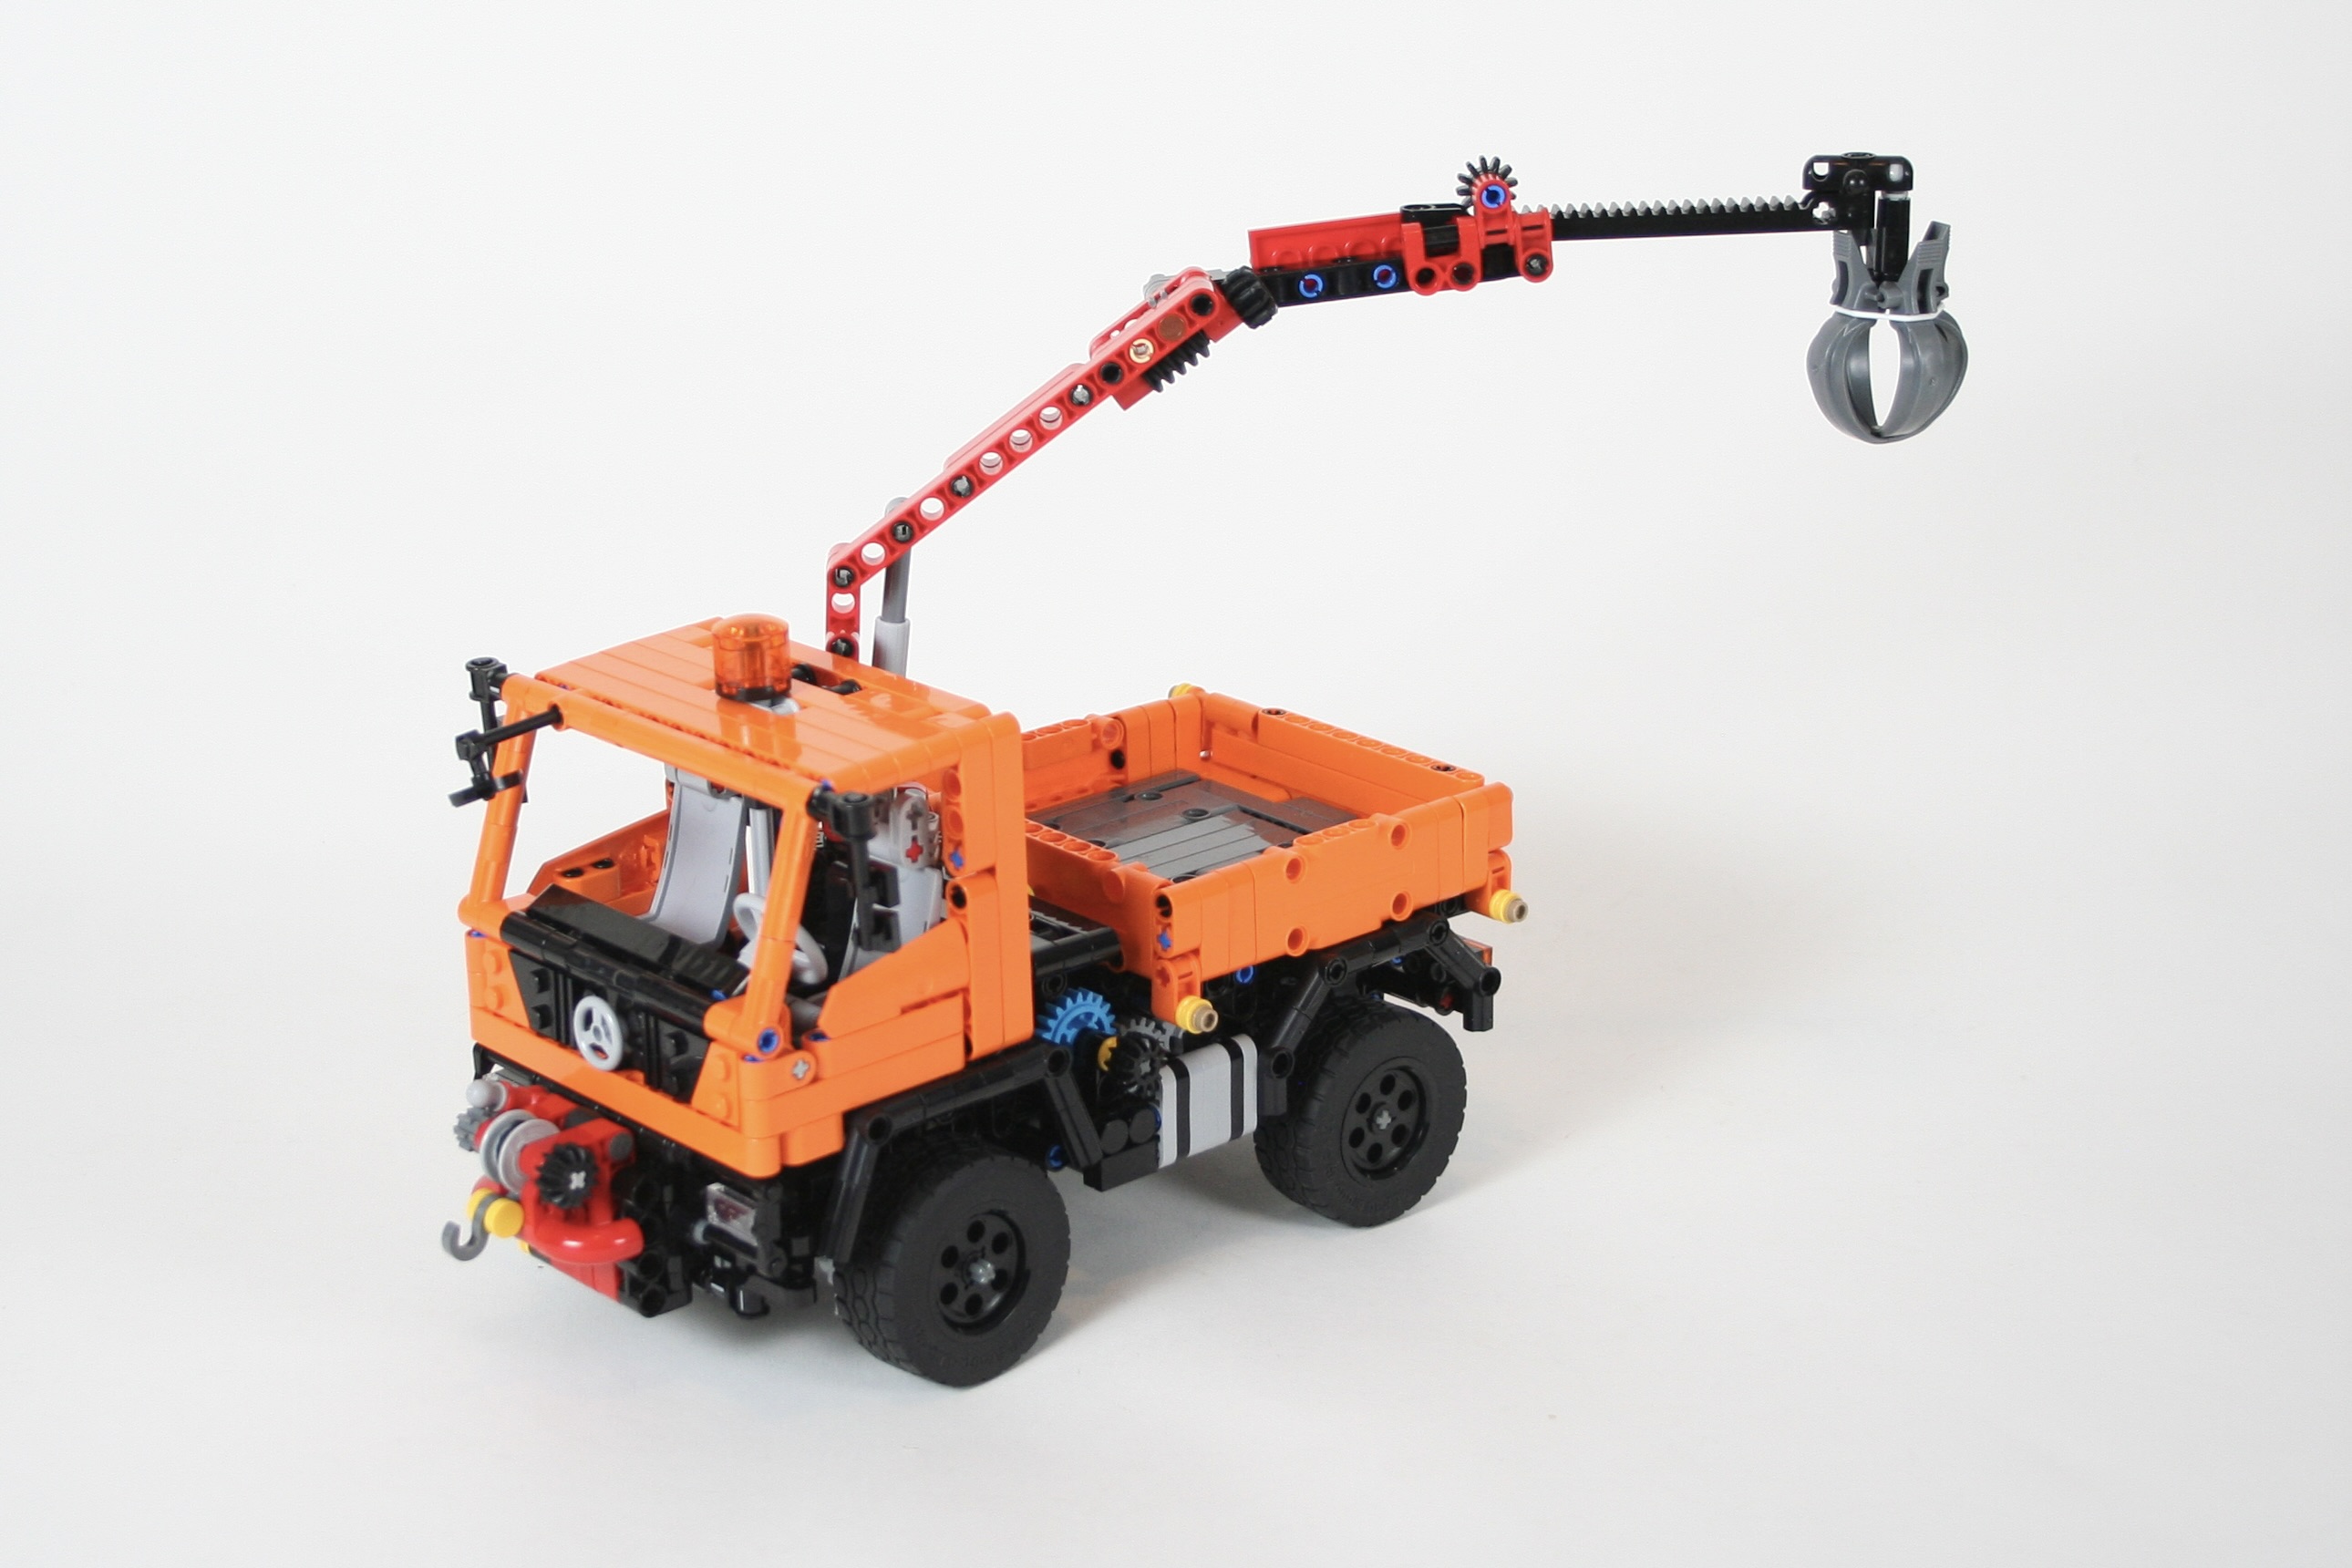
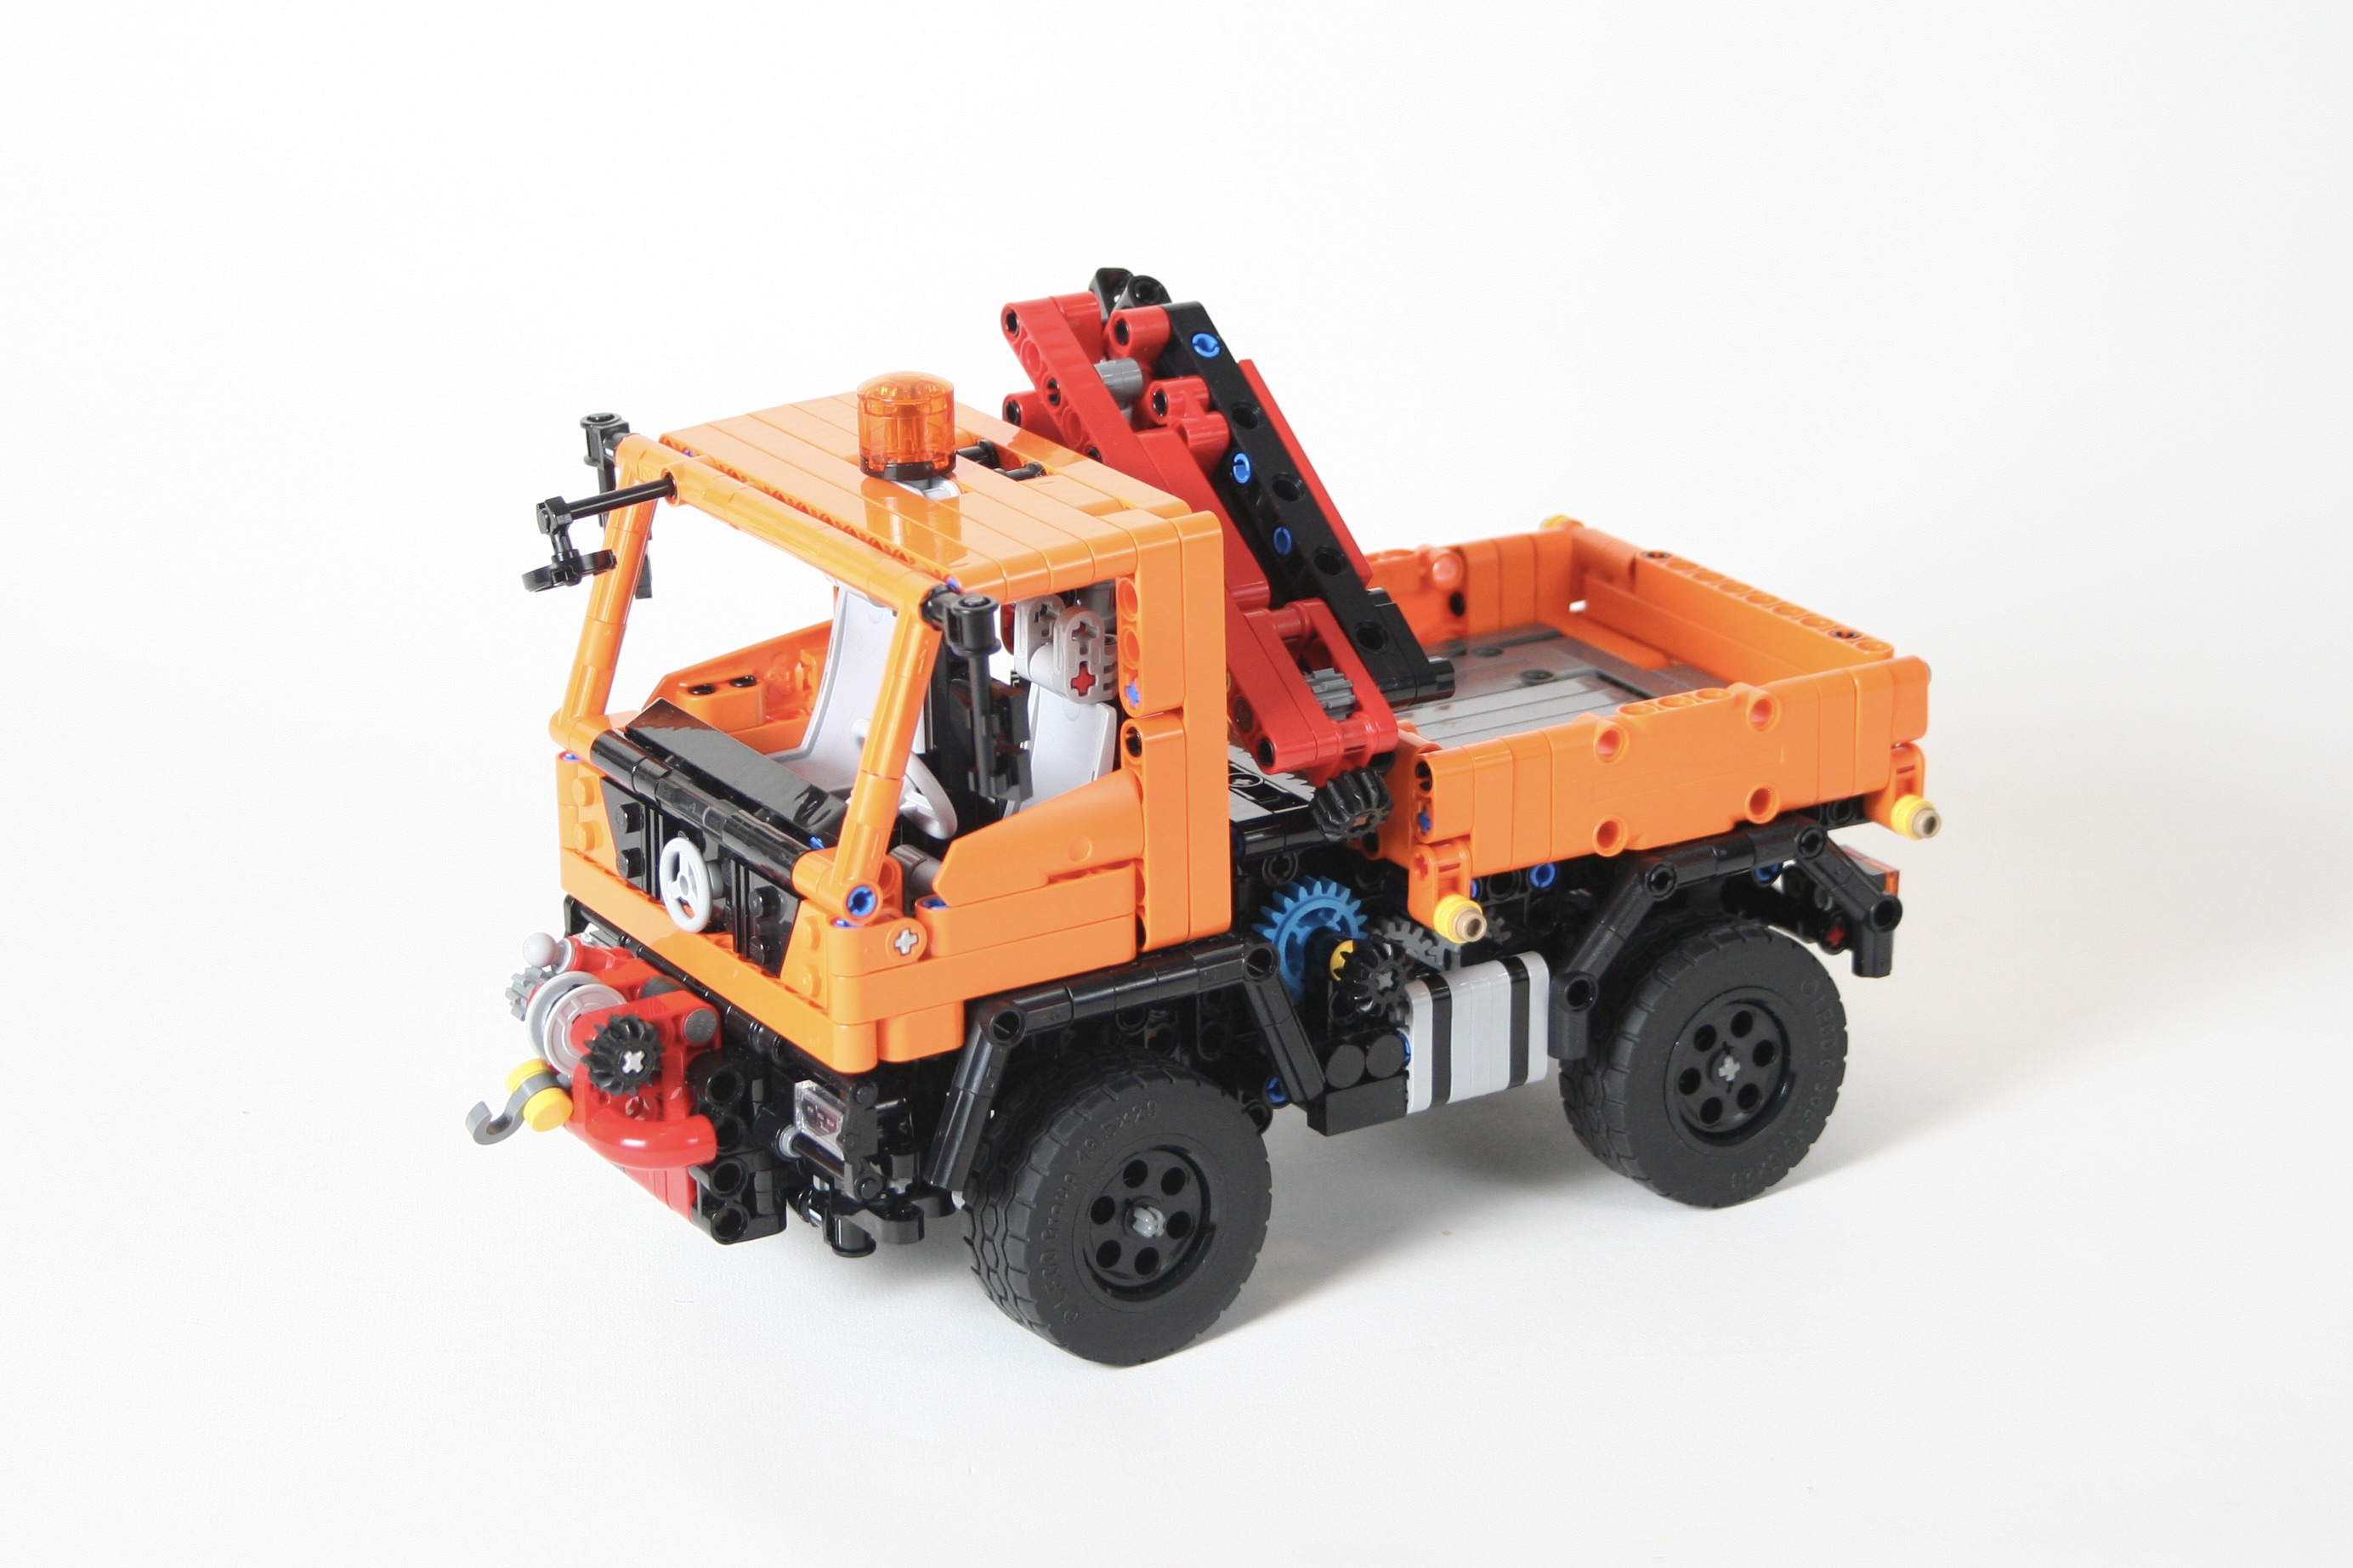
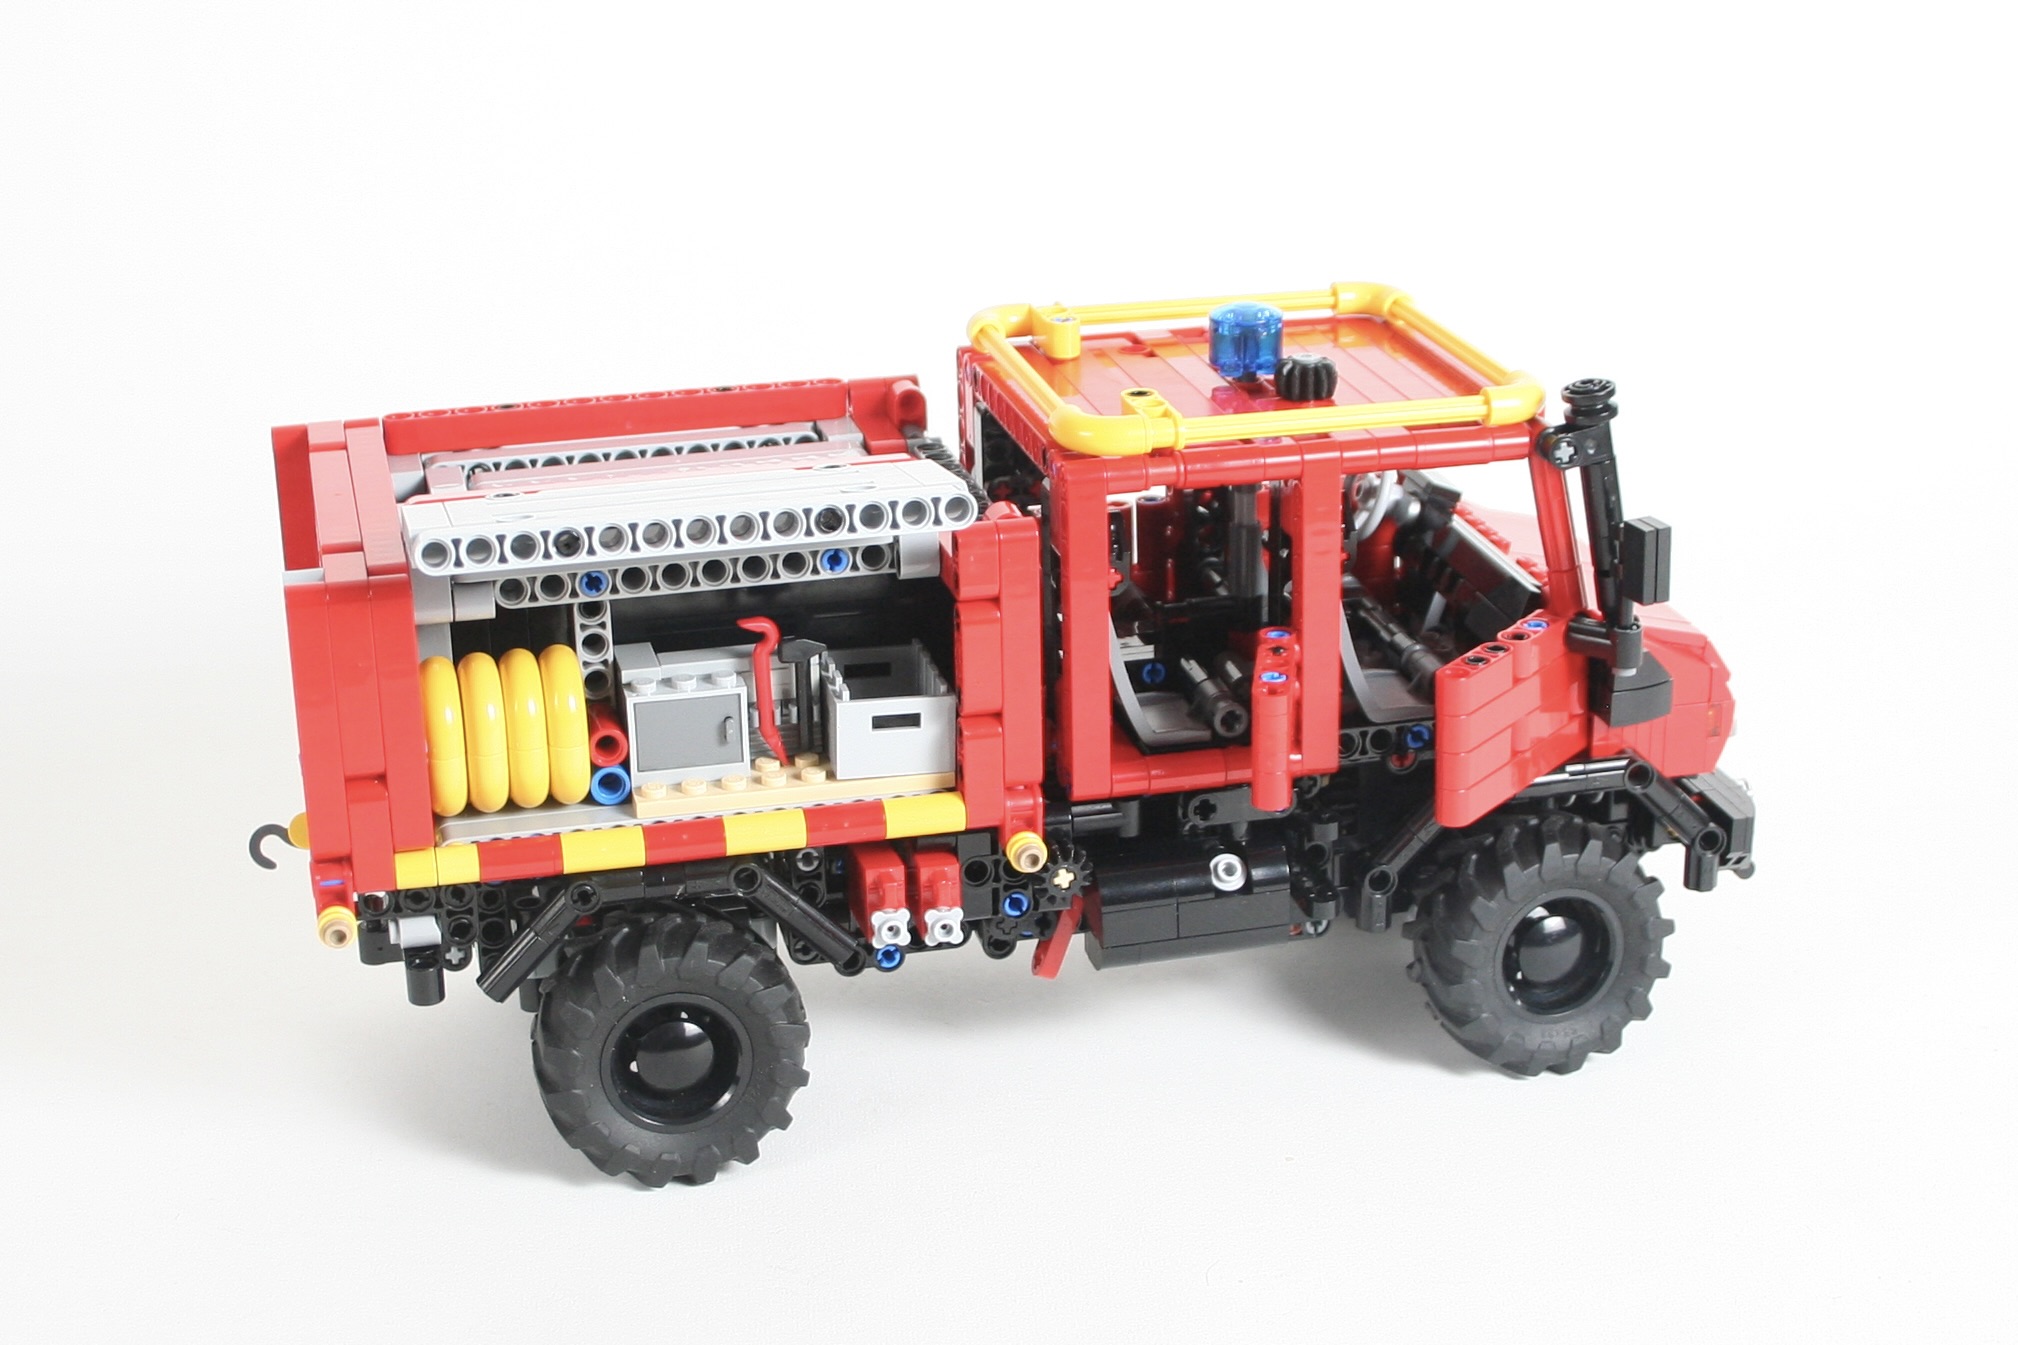
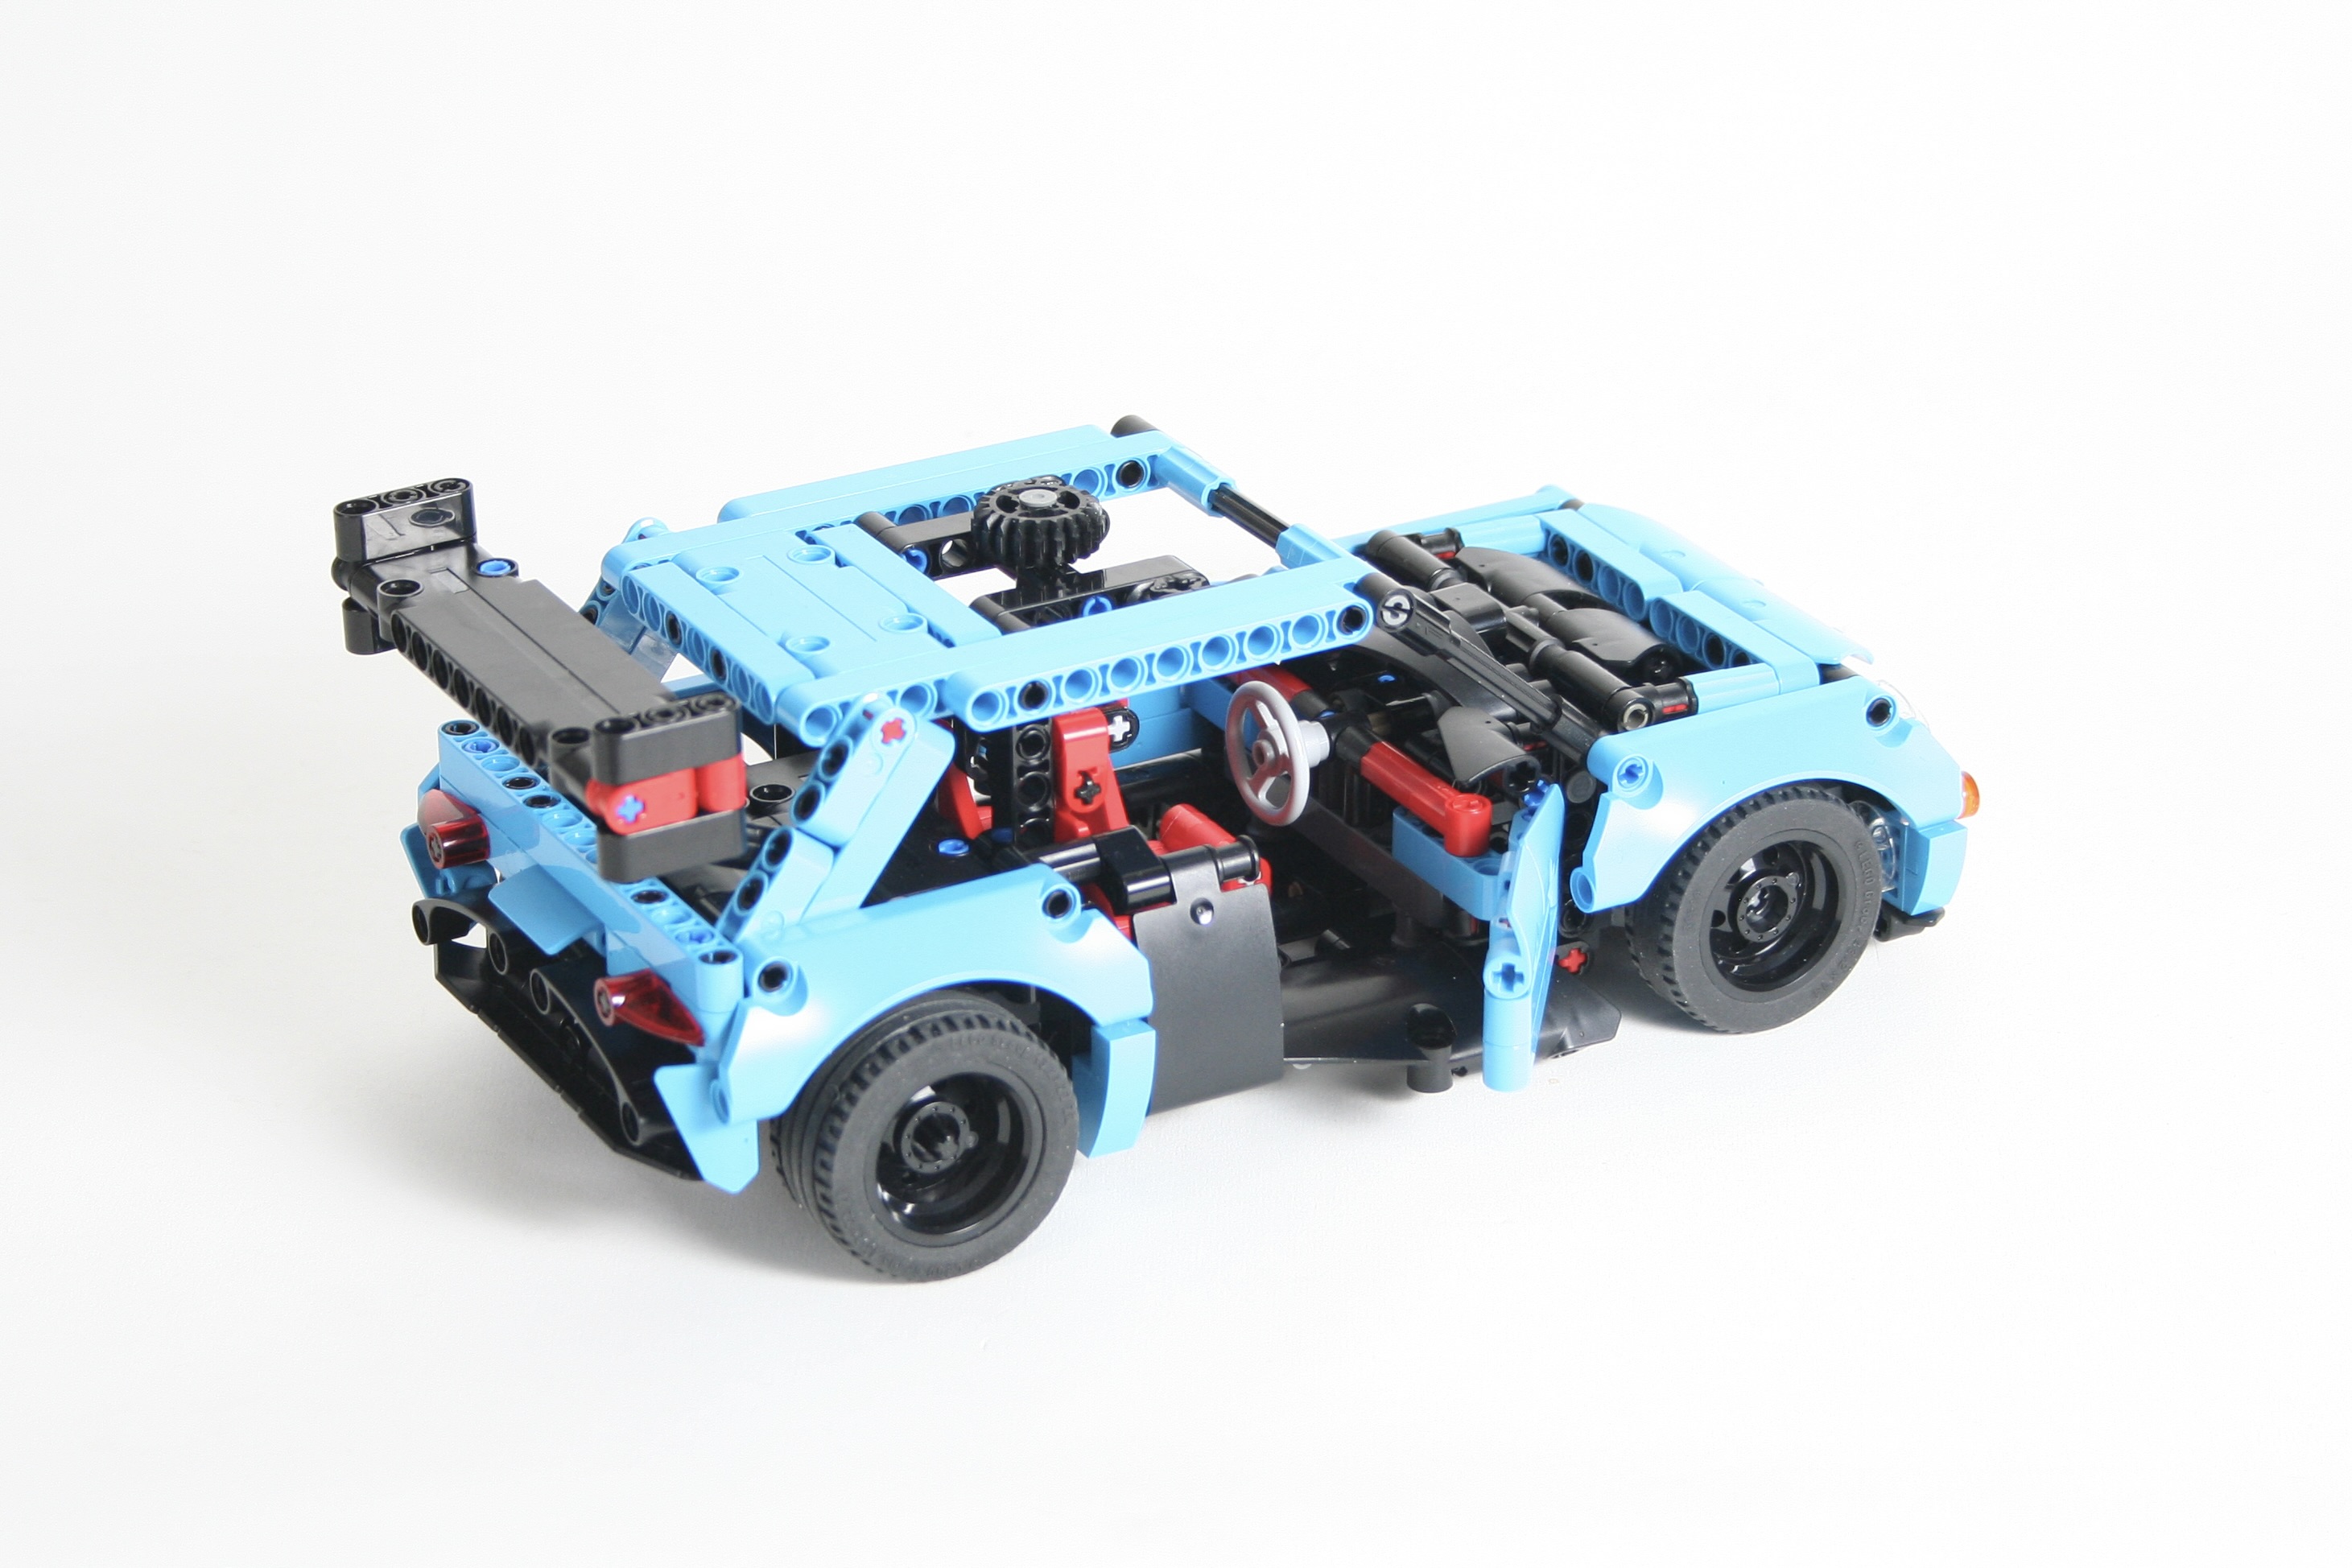
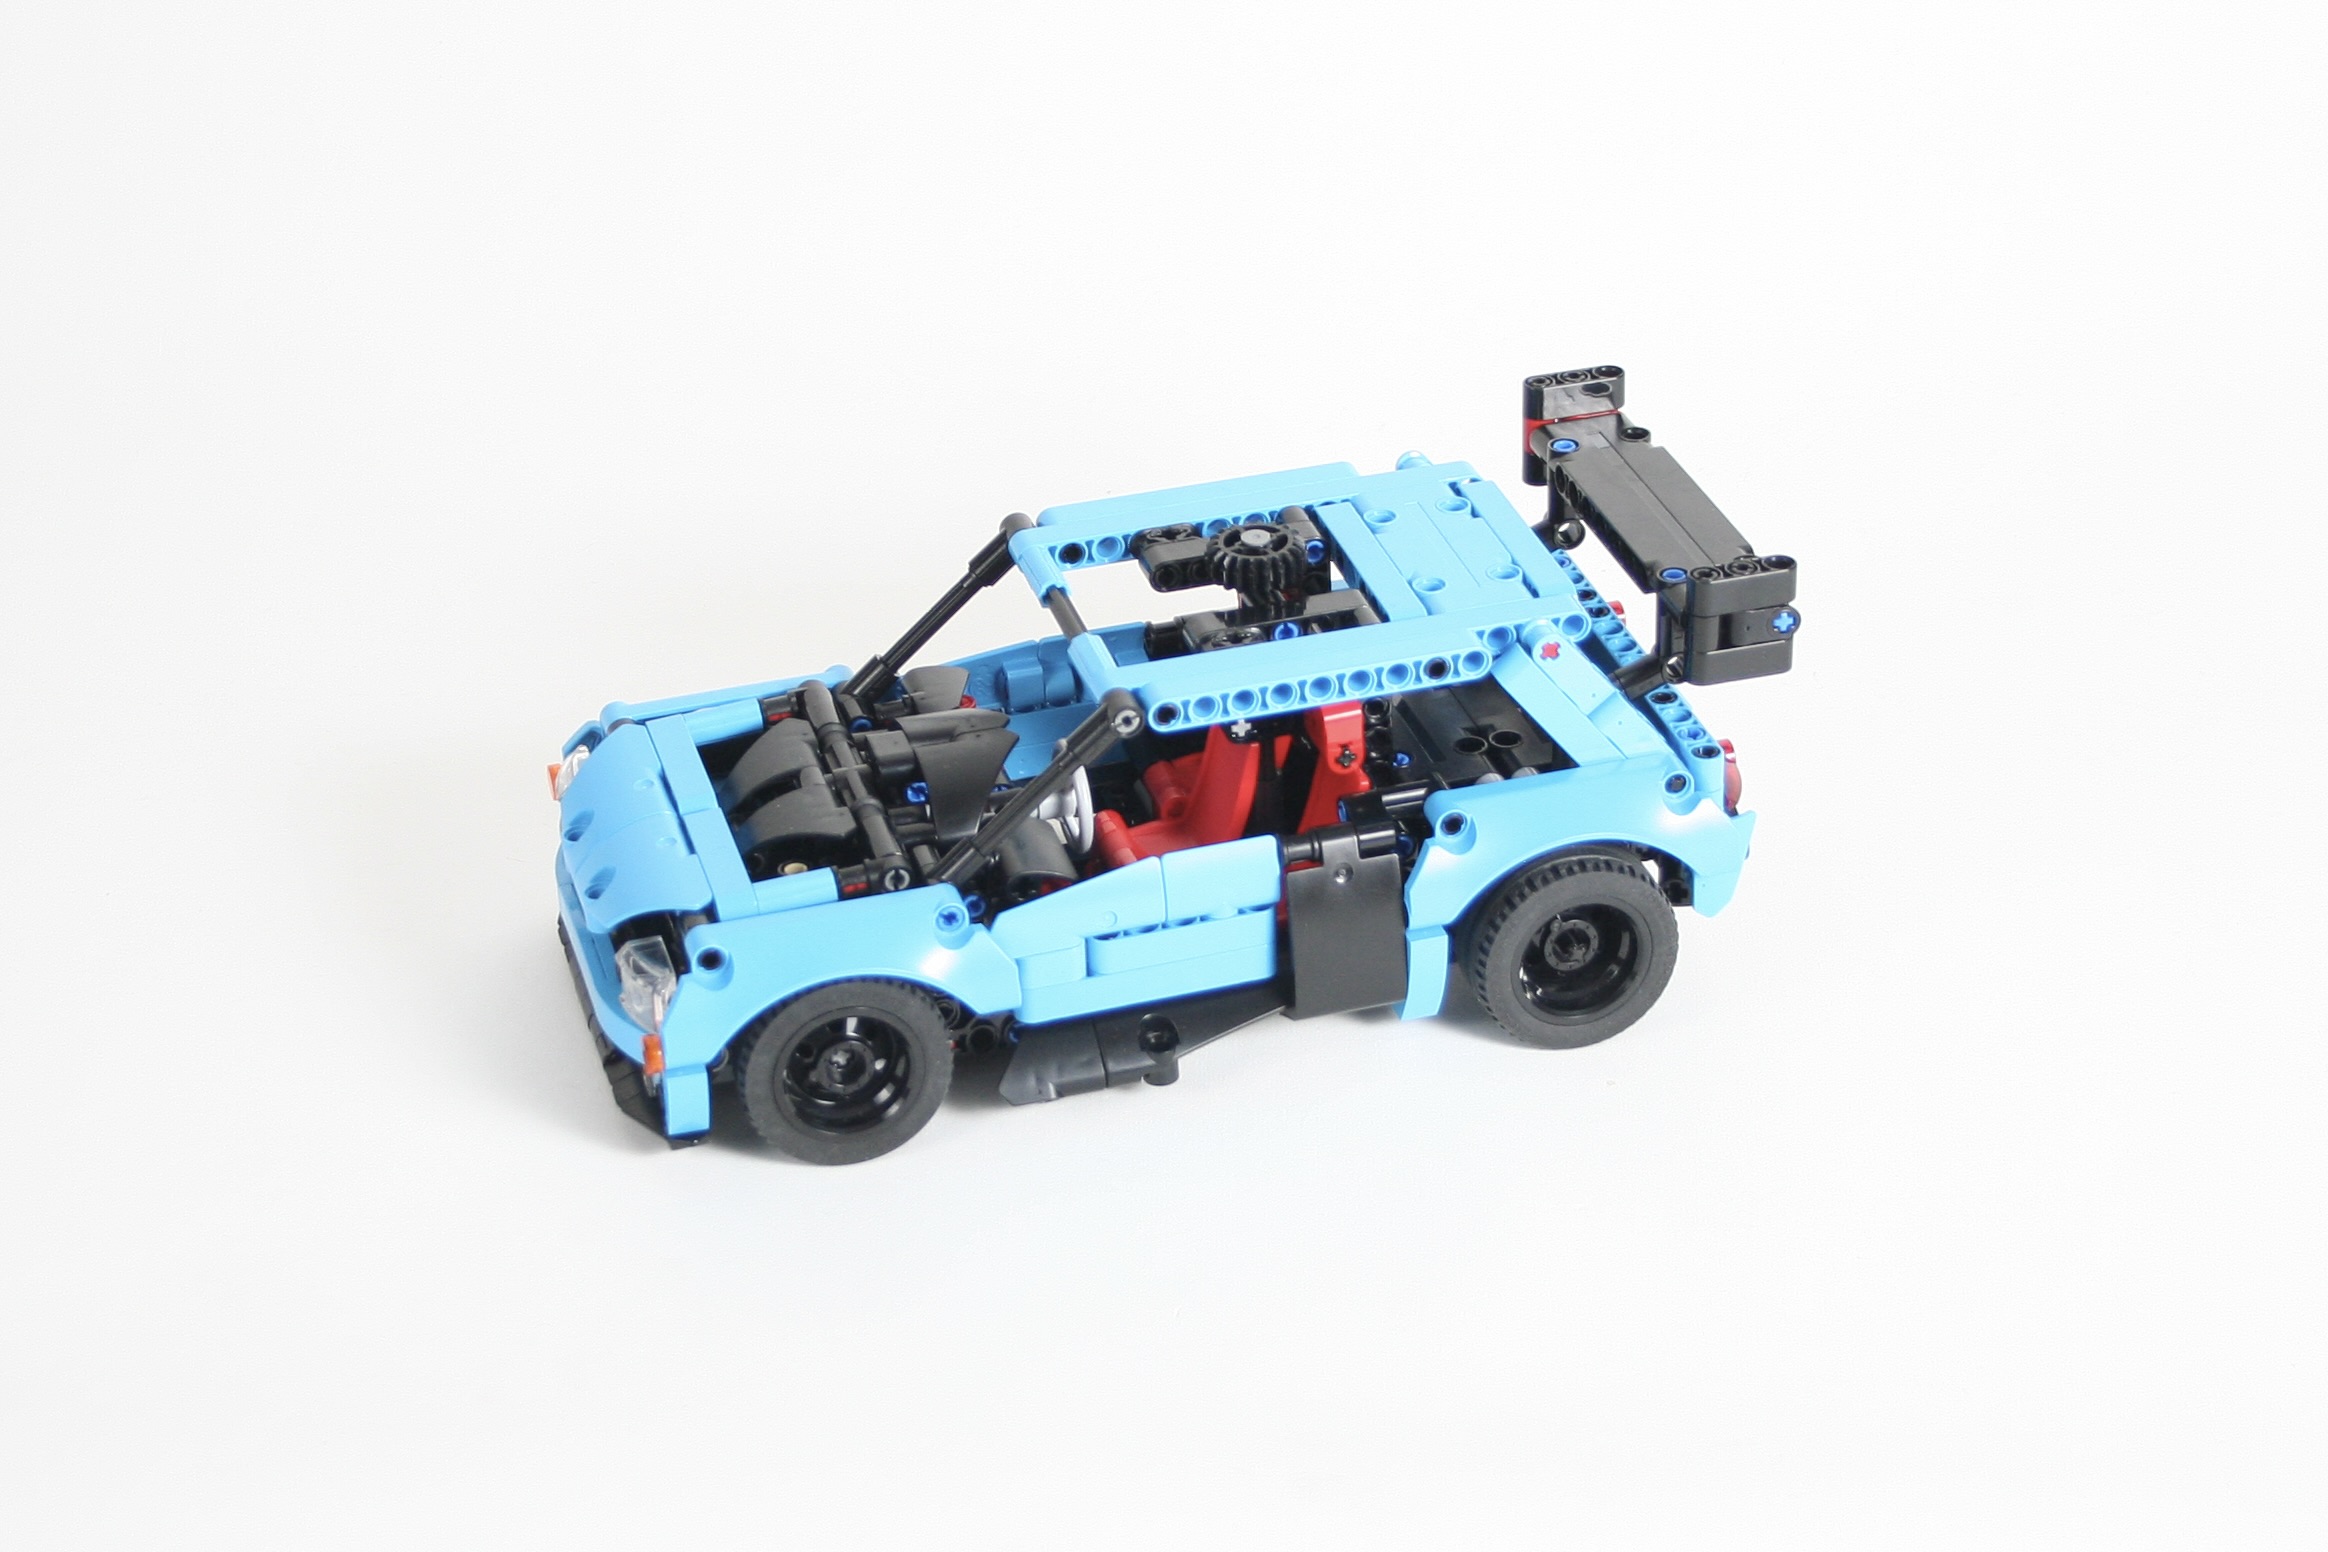
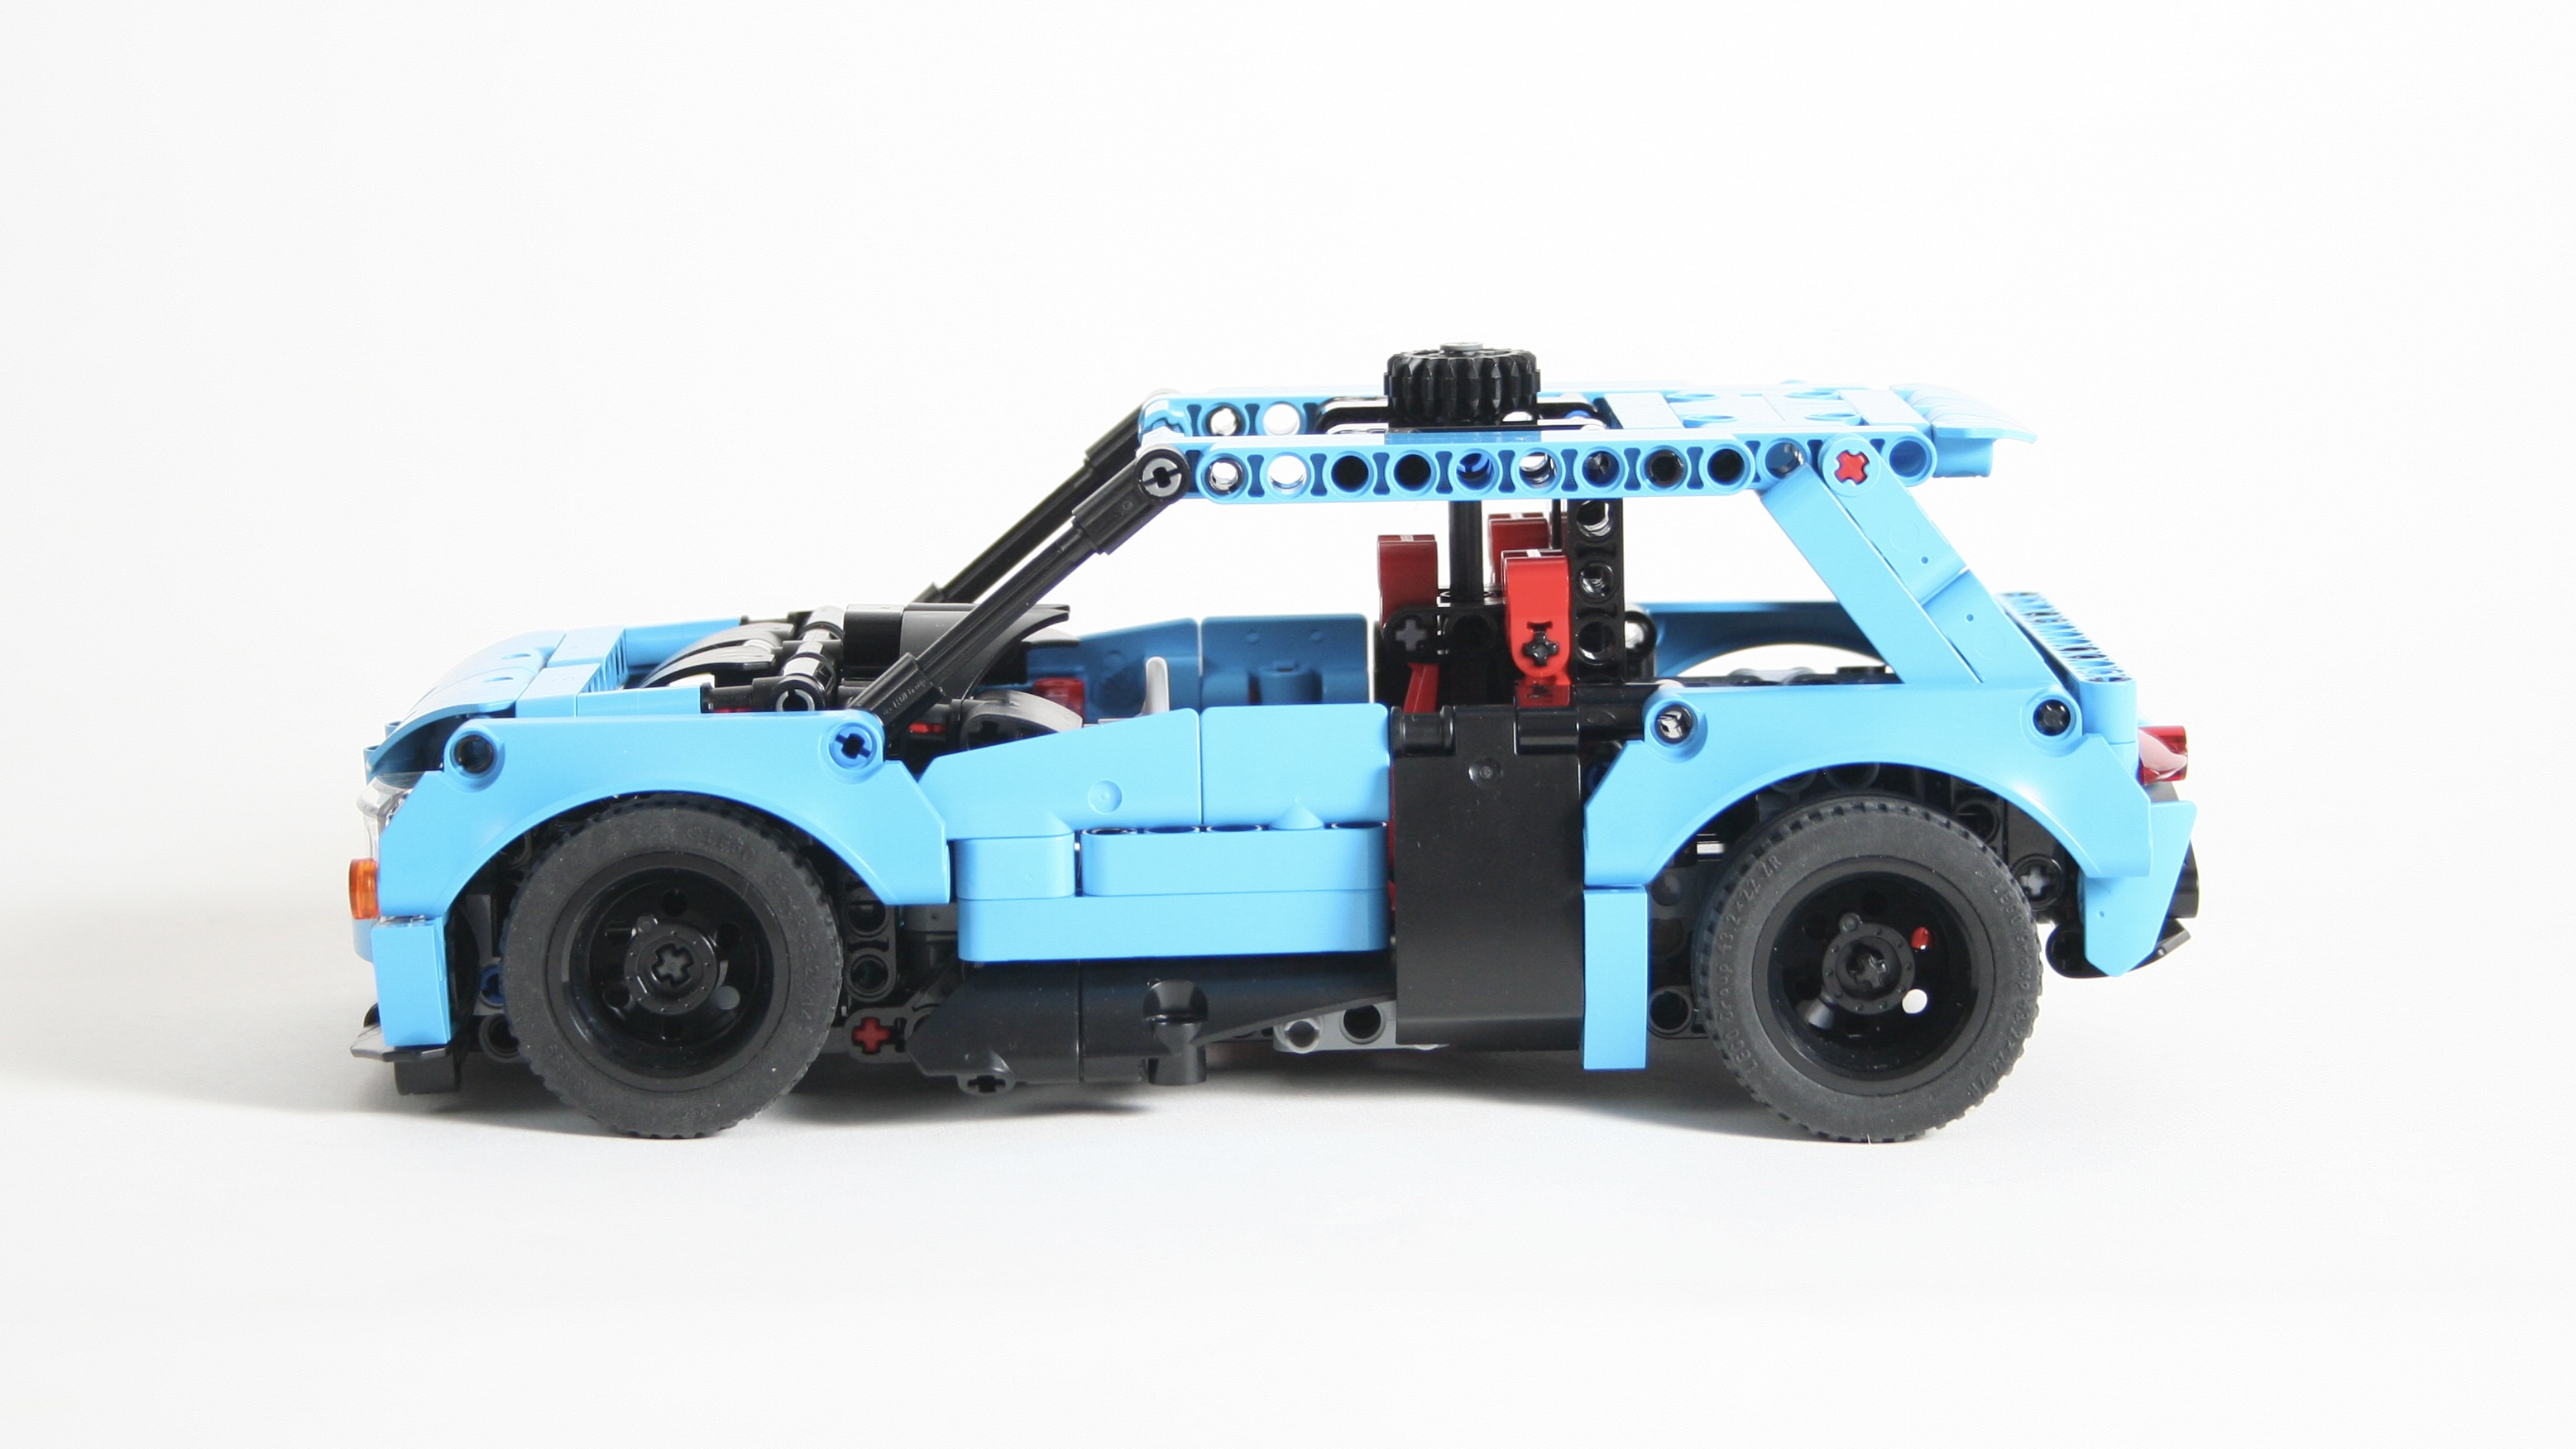
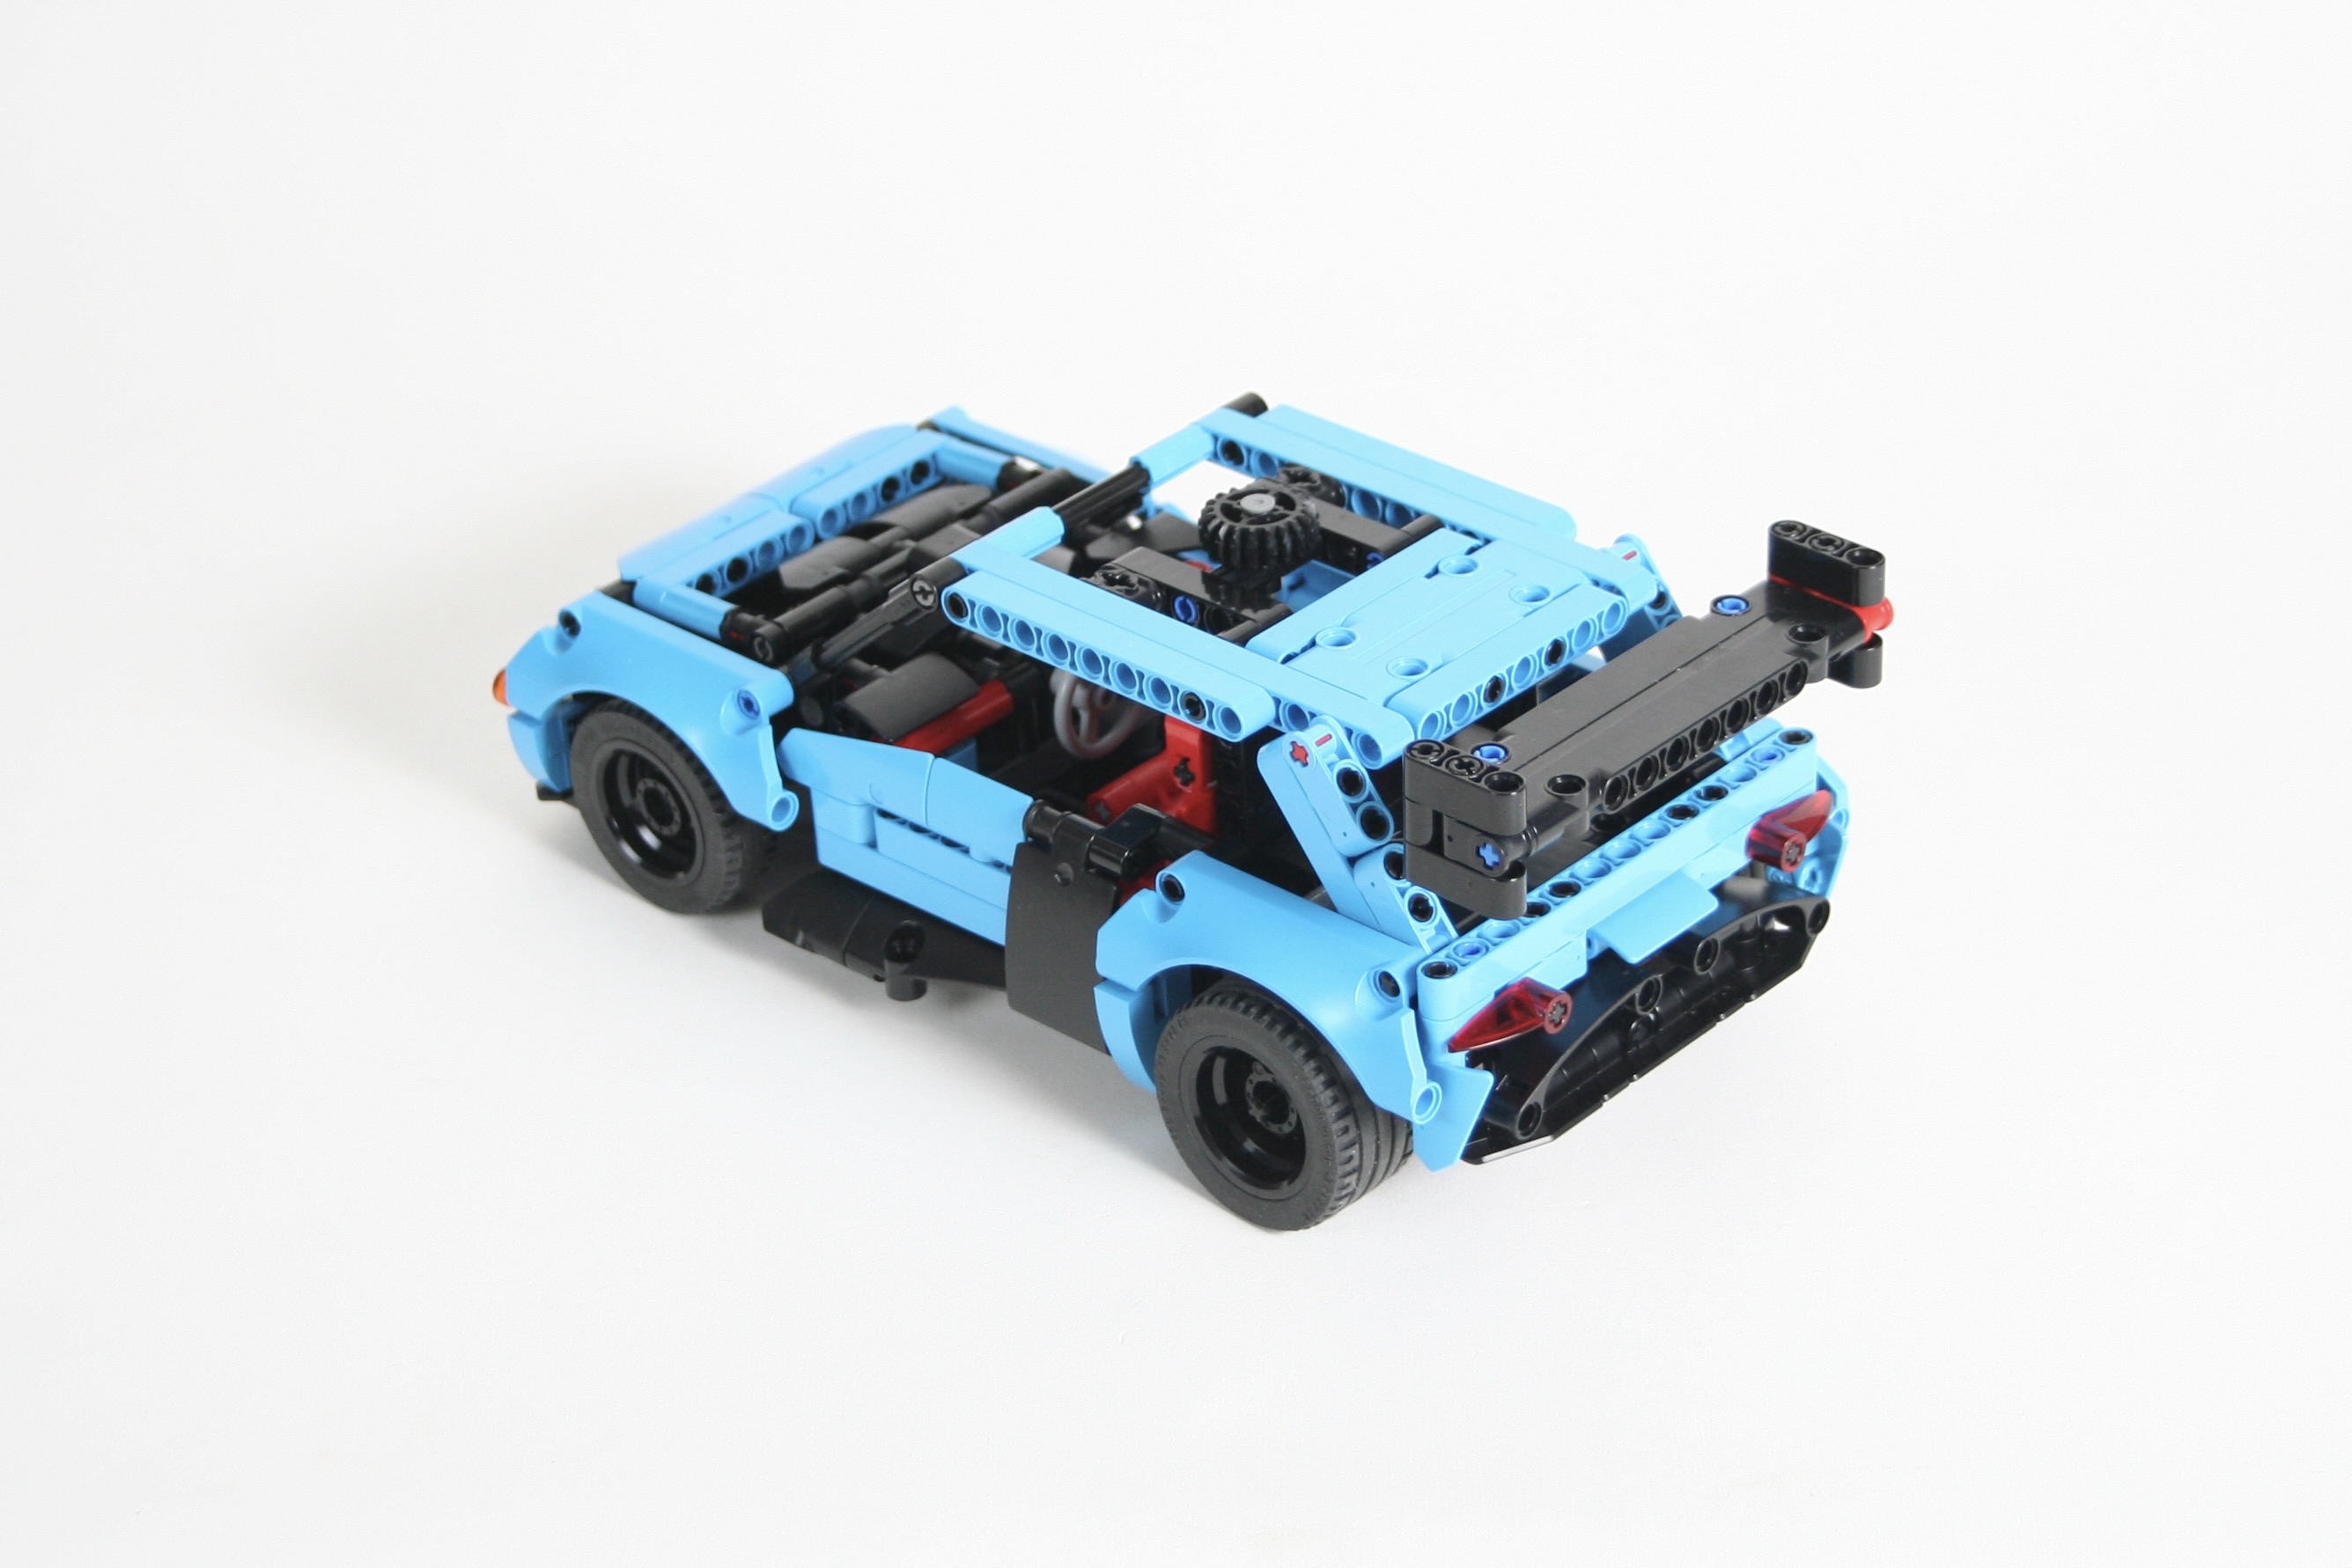
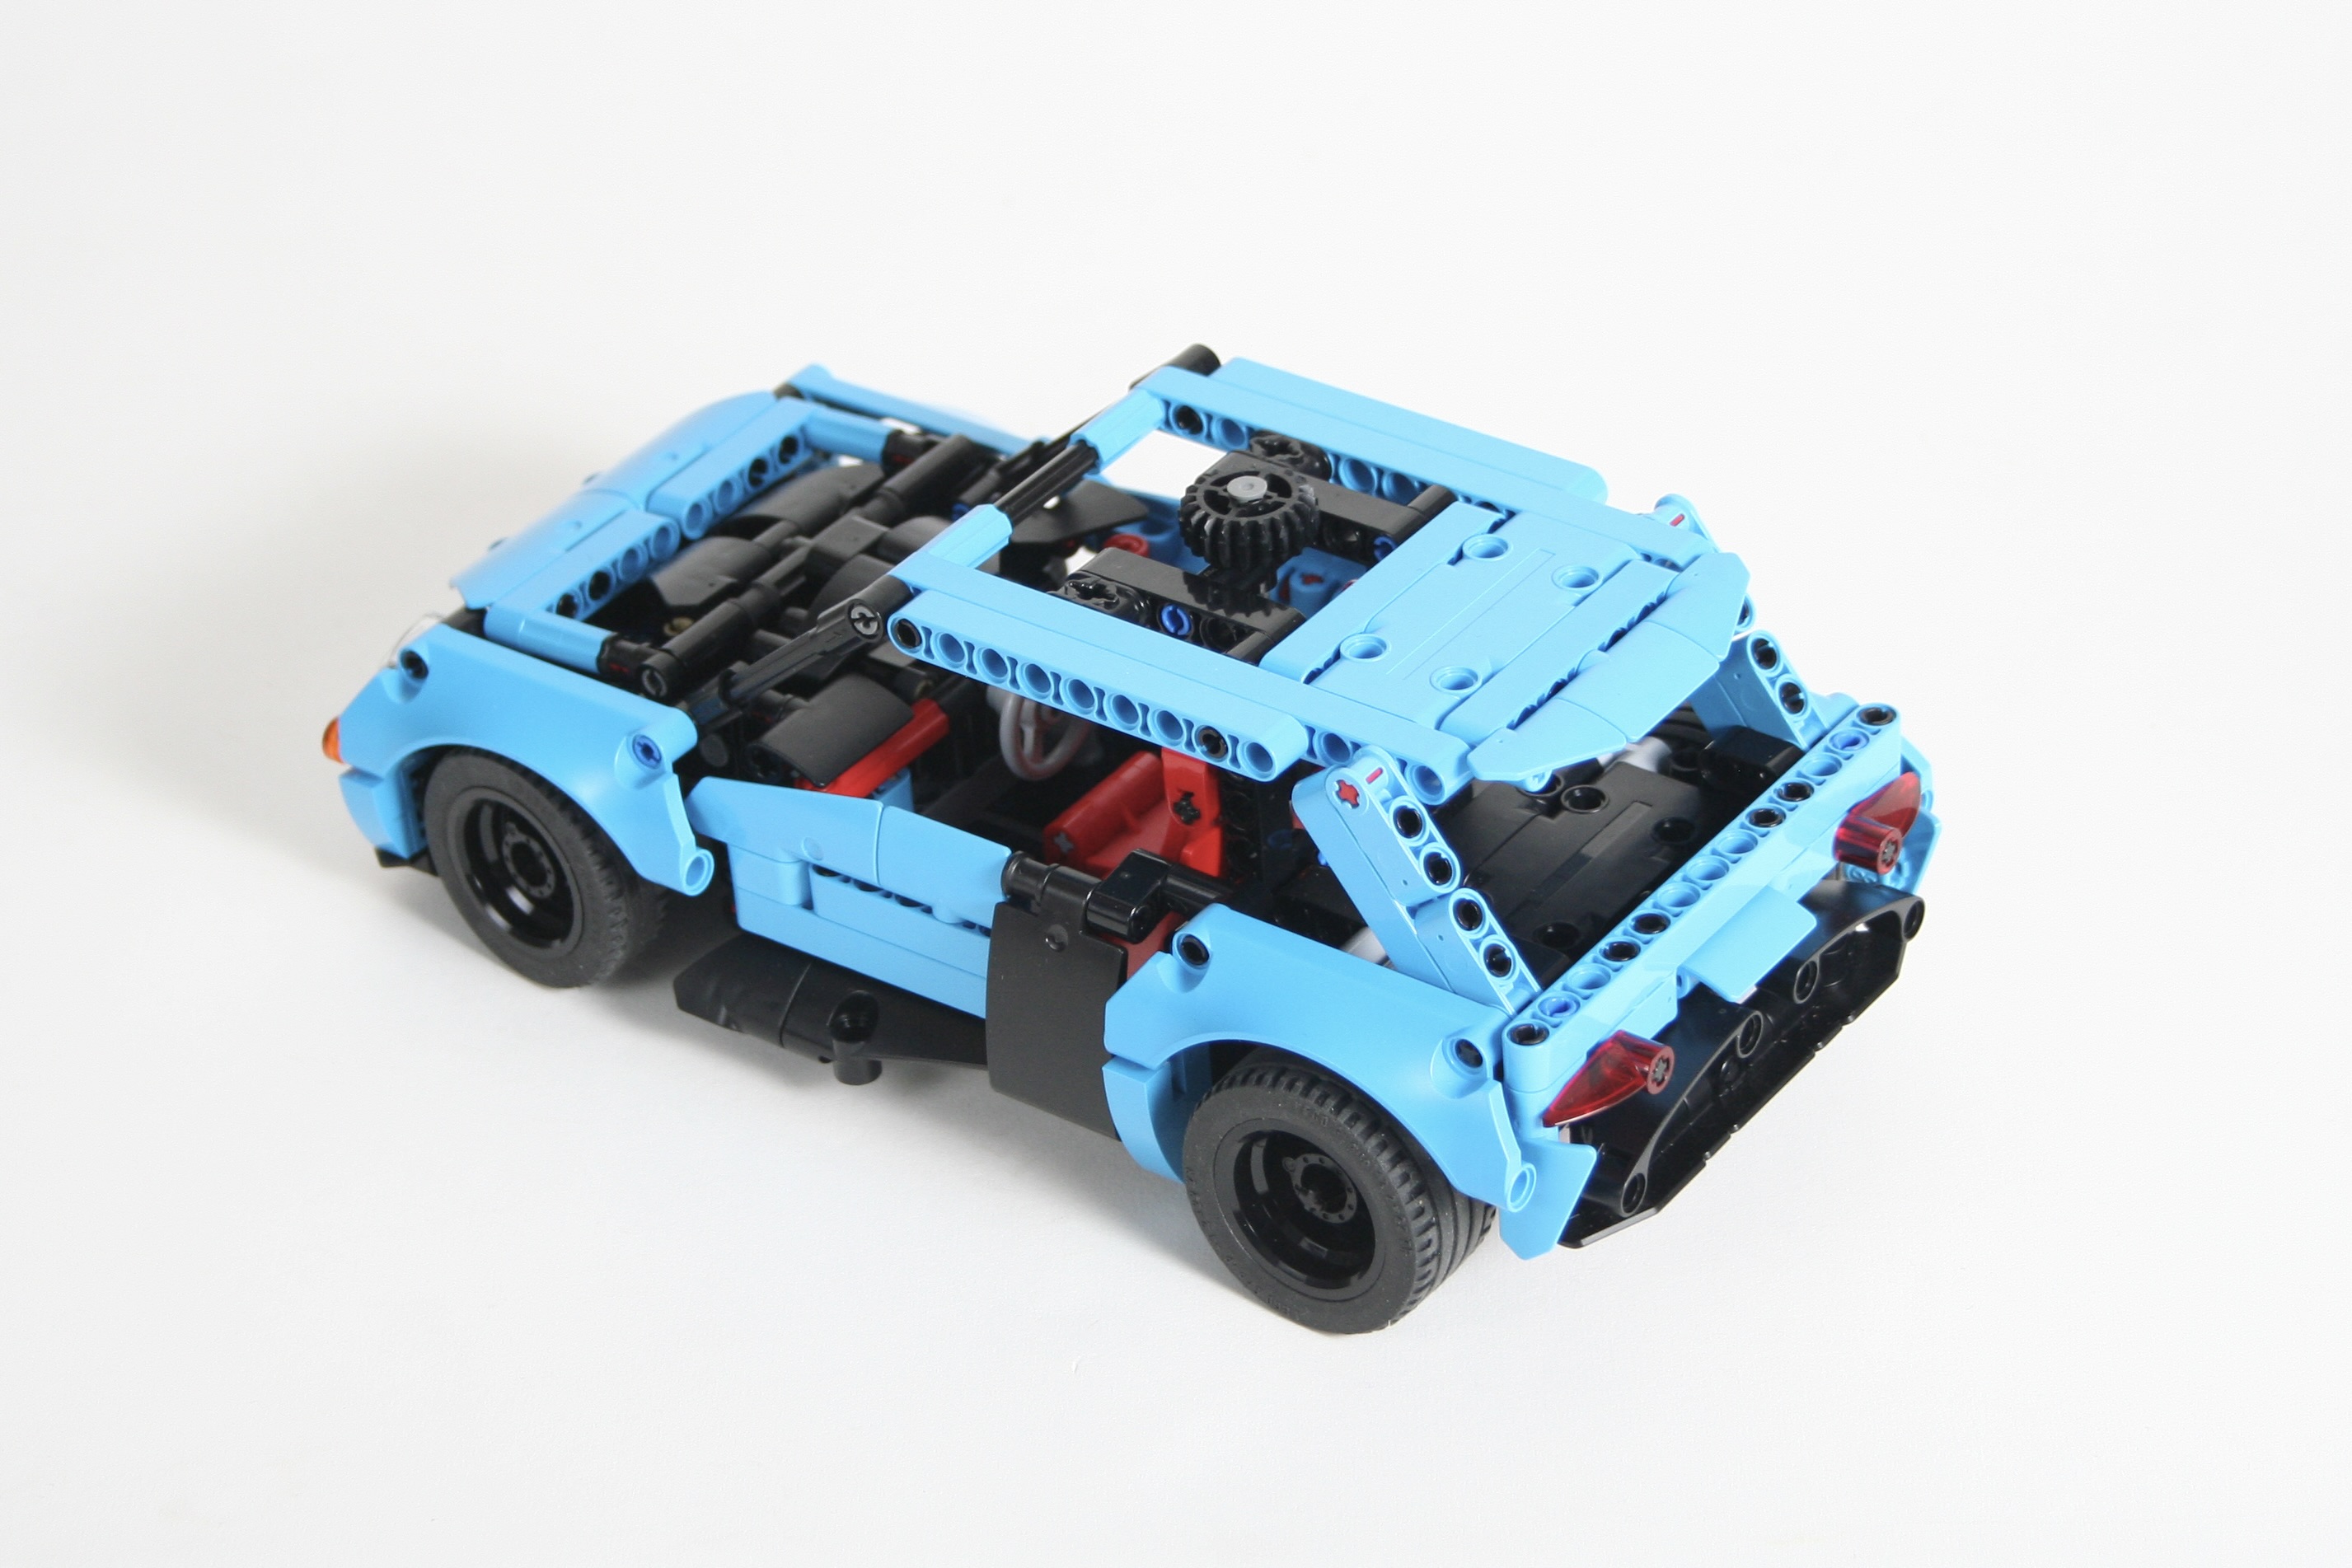
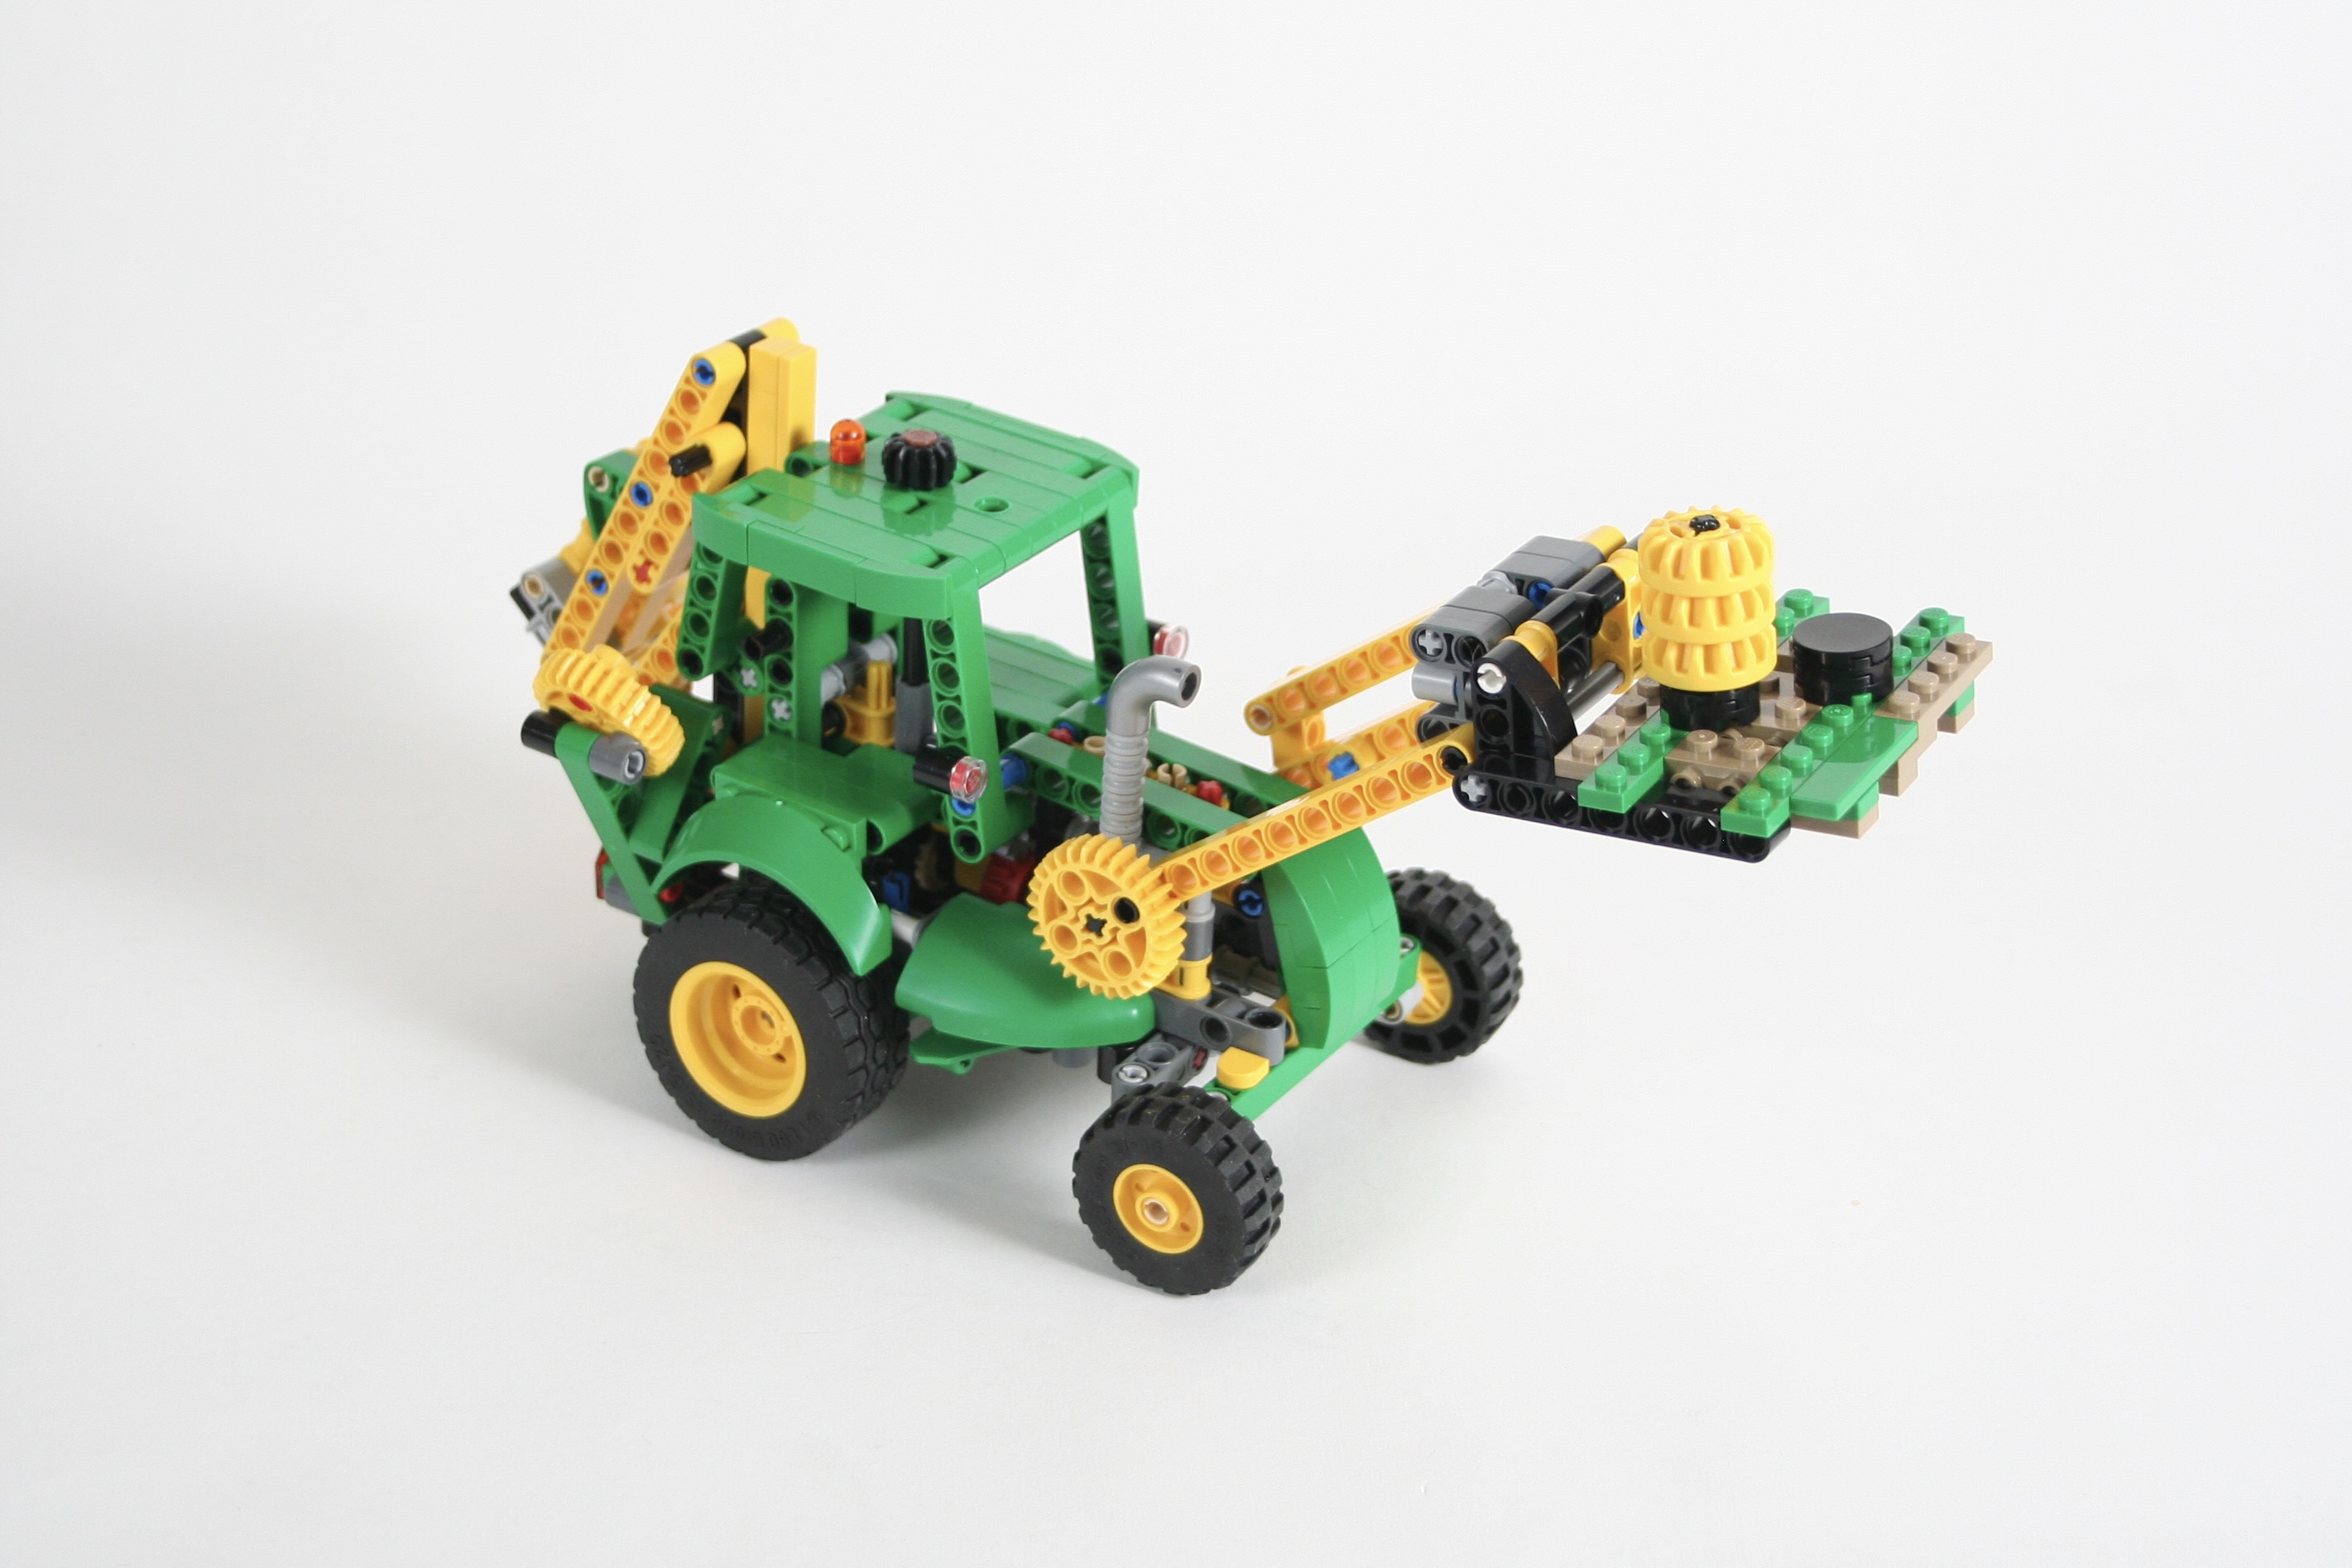
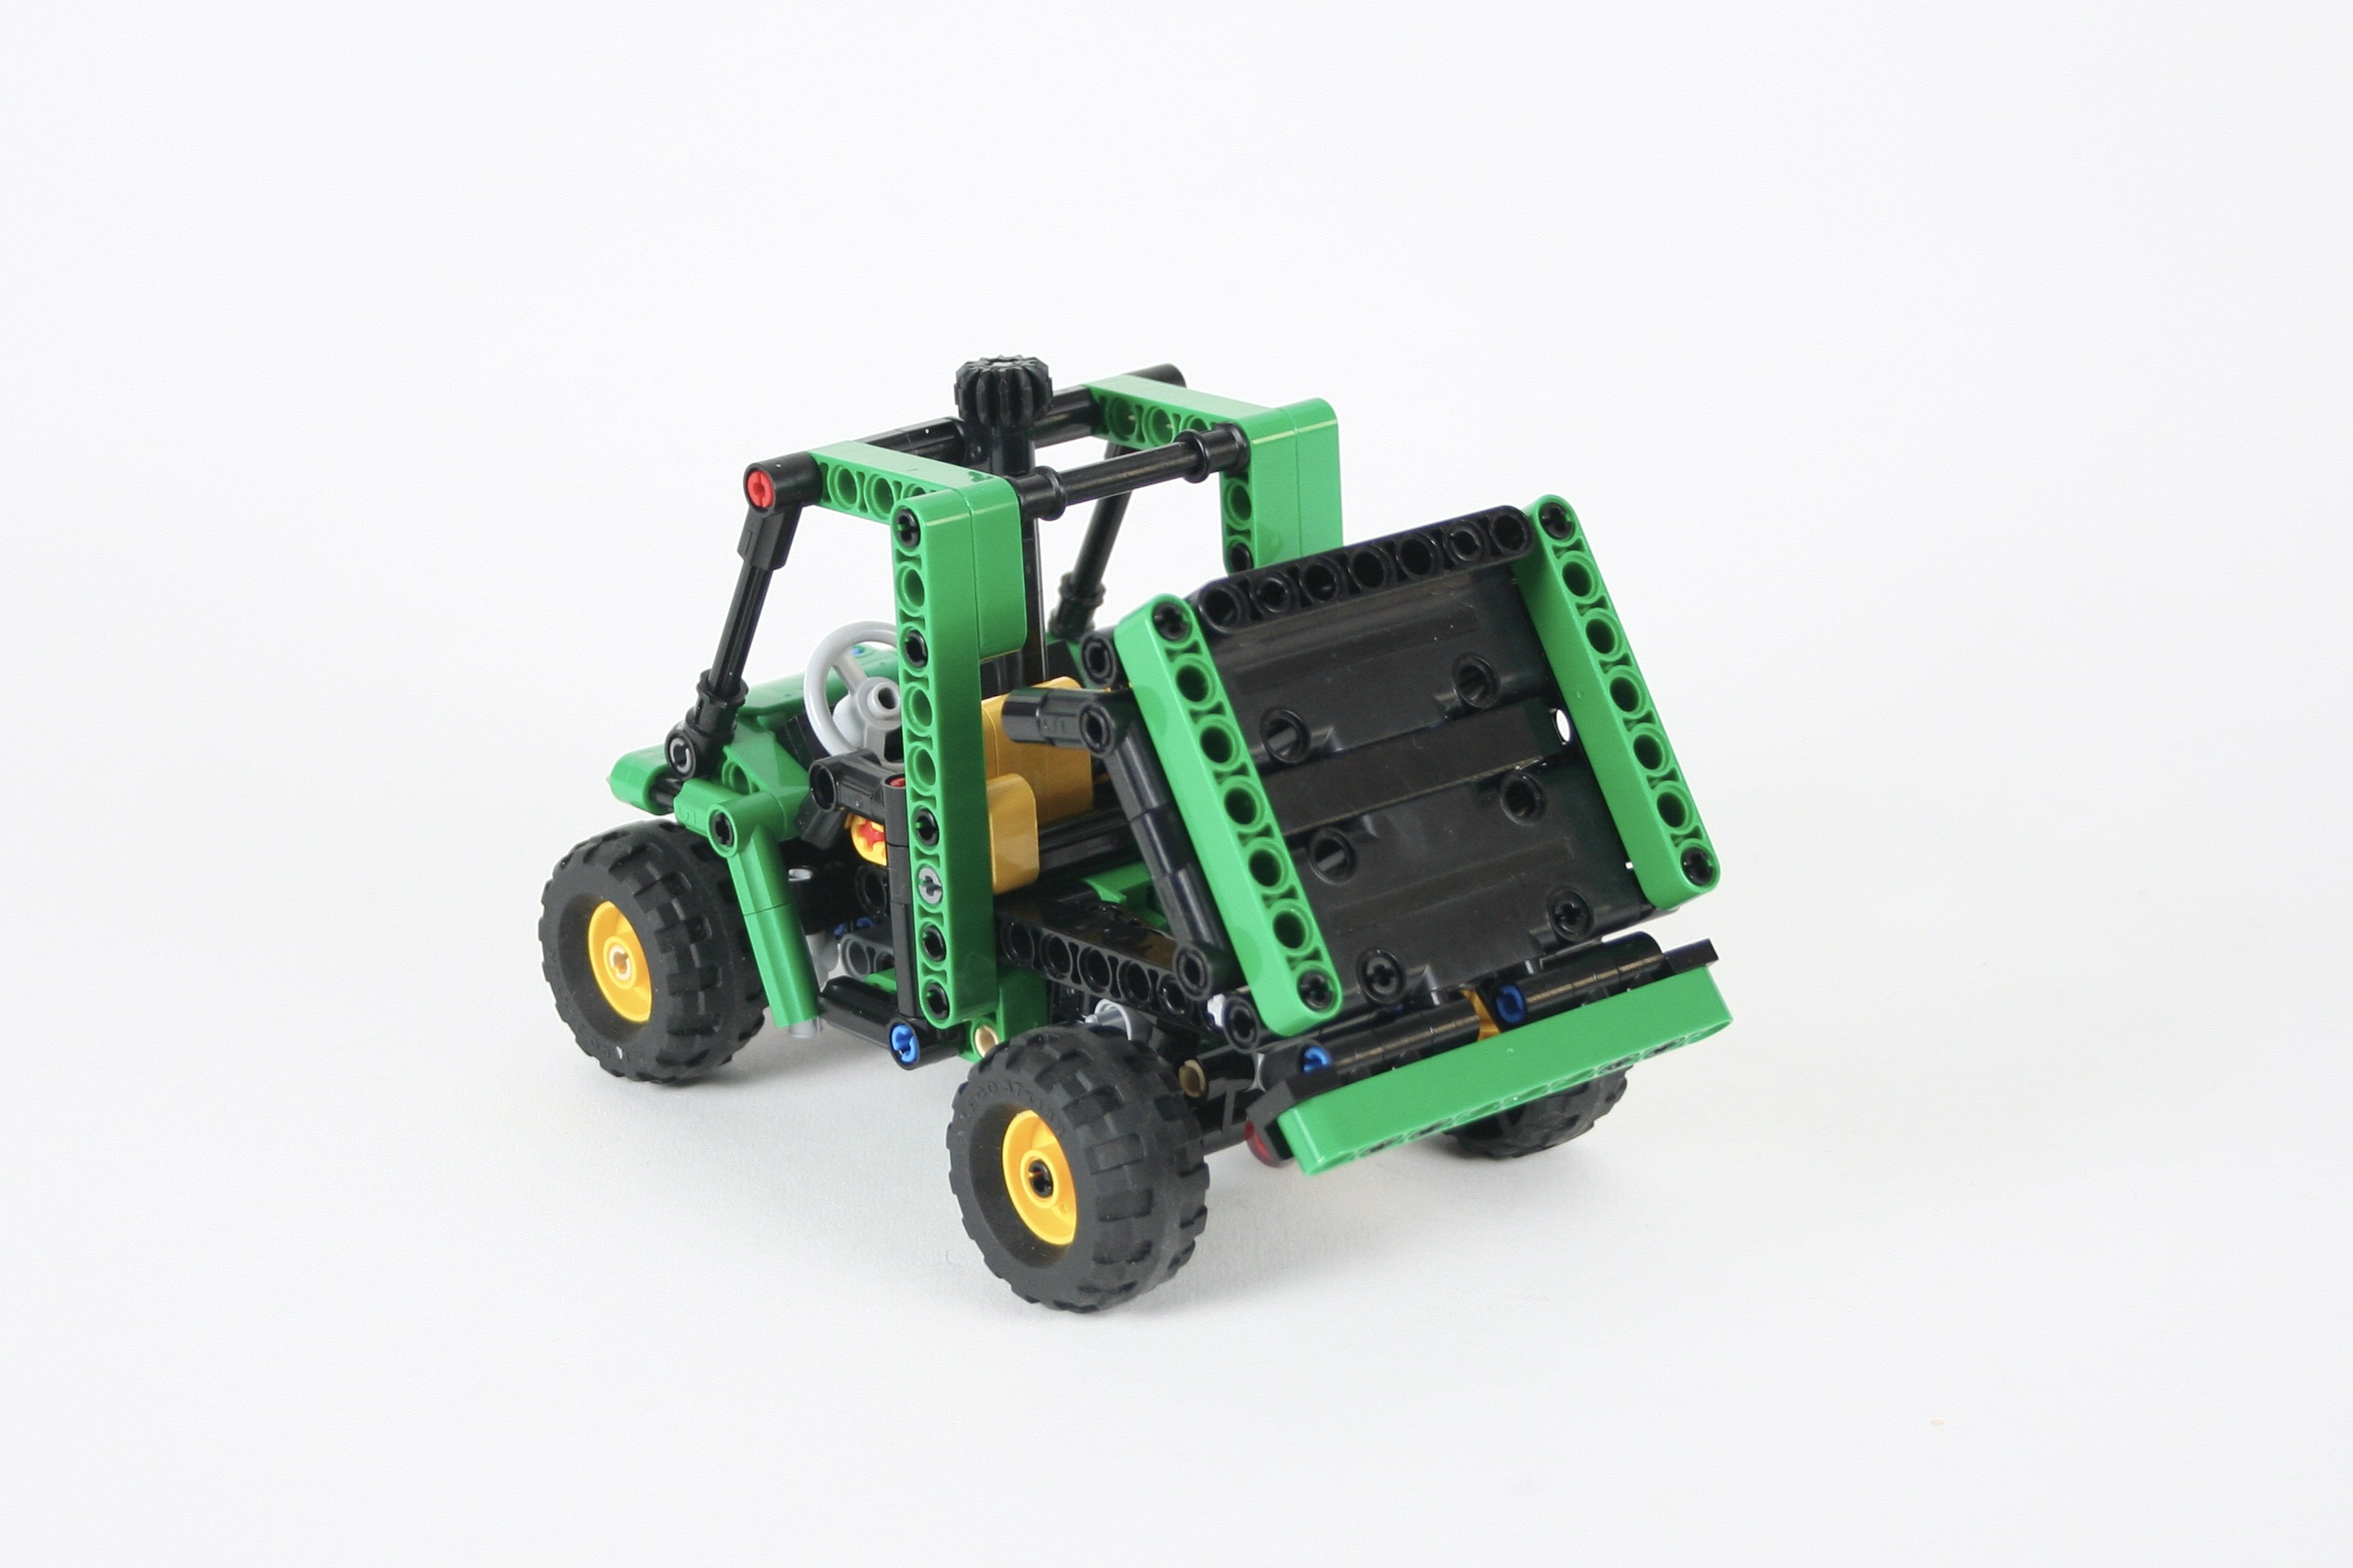
The U20 has a strange body addition behind the cab and in front of the bed. Since the U20 is based on the U300 but has a different cab, a significant portion of the engine is behind the cab and mounts high and in the way of the bed. As such, a little toolbox was designed to bring value to this space that is otherwise unused. I designed a little removable toolbox, and a little center mounted crane. Both can be removed by sliding out two axles (though the bed needs to tip out of the way to do so).
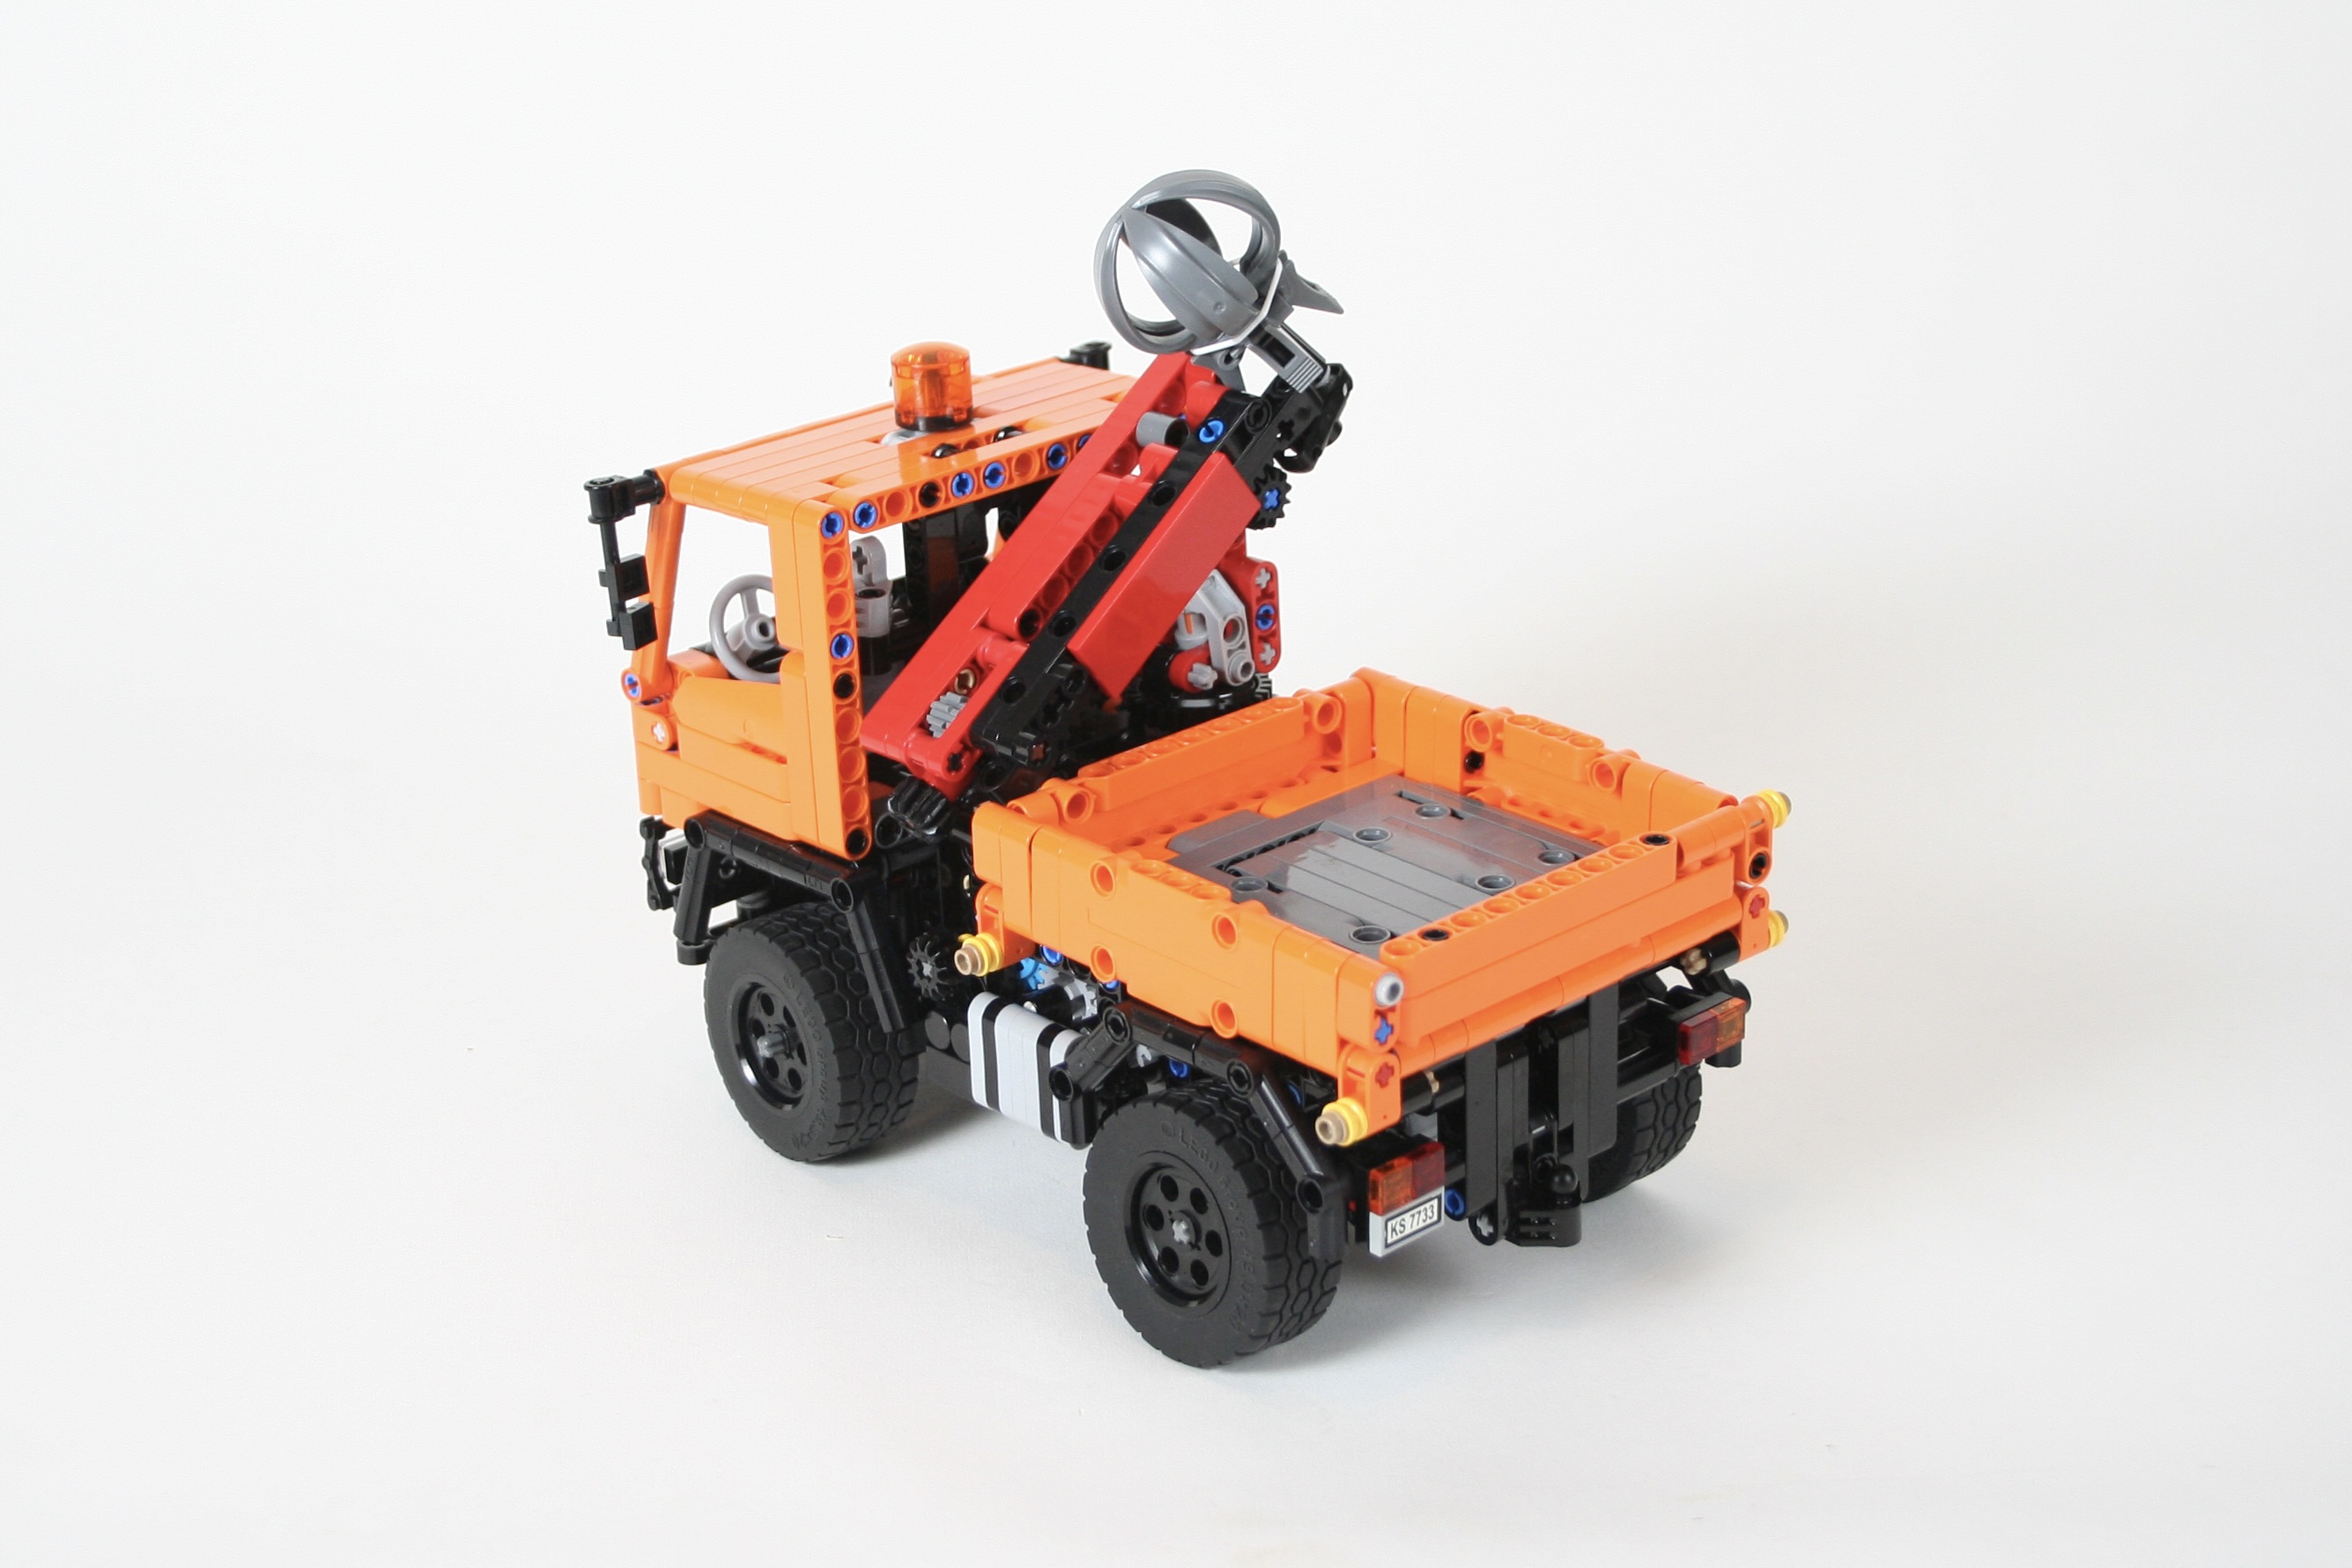
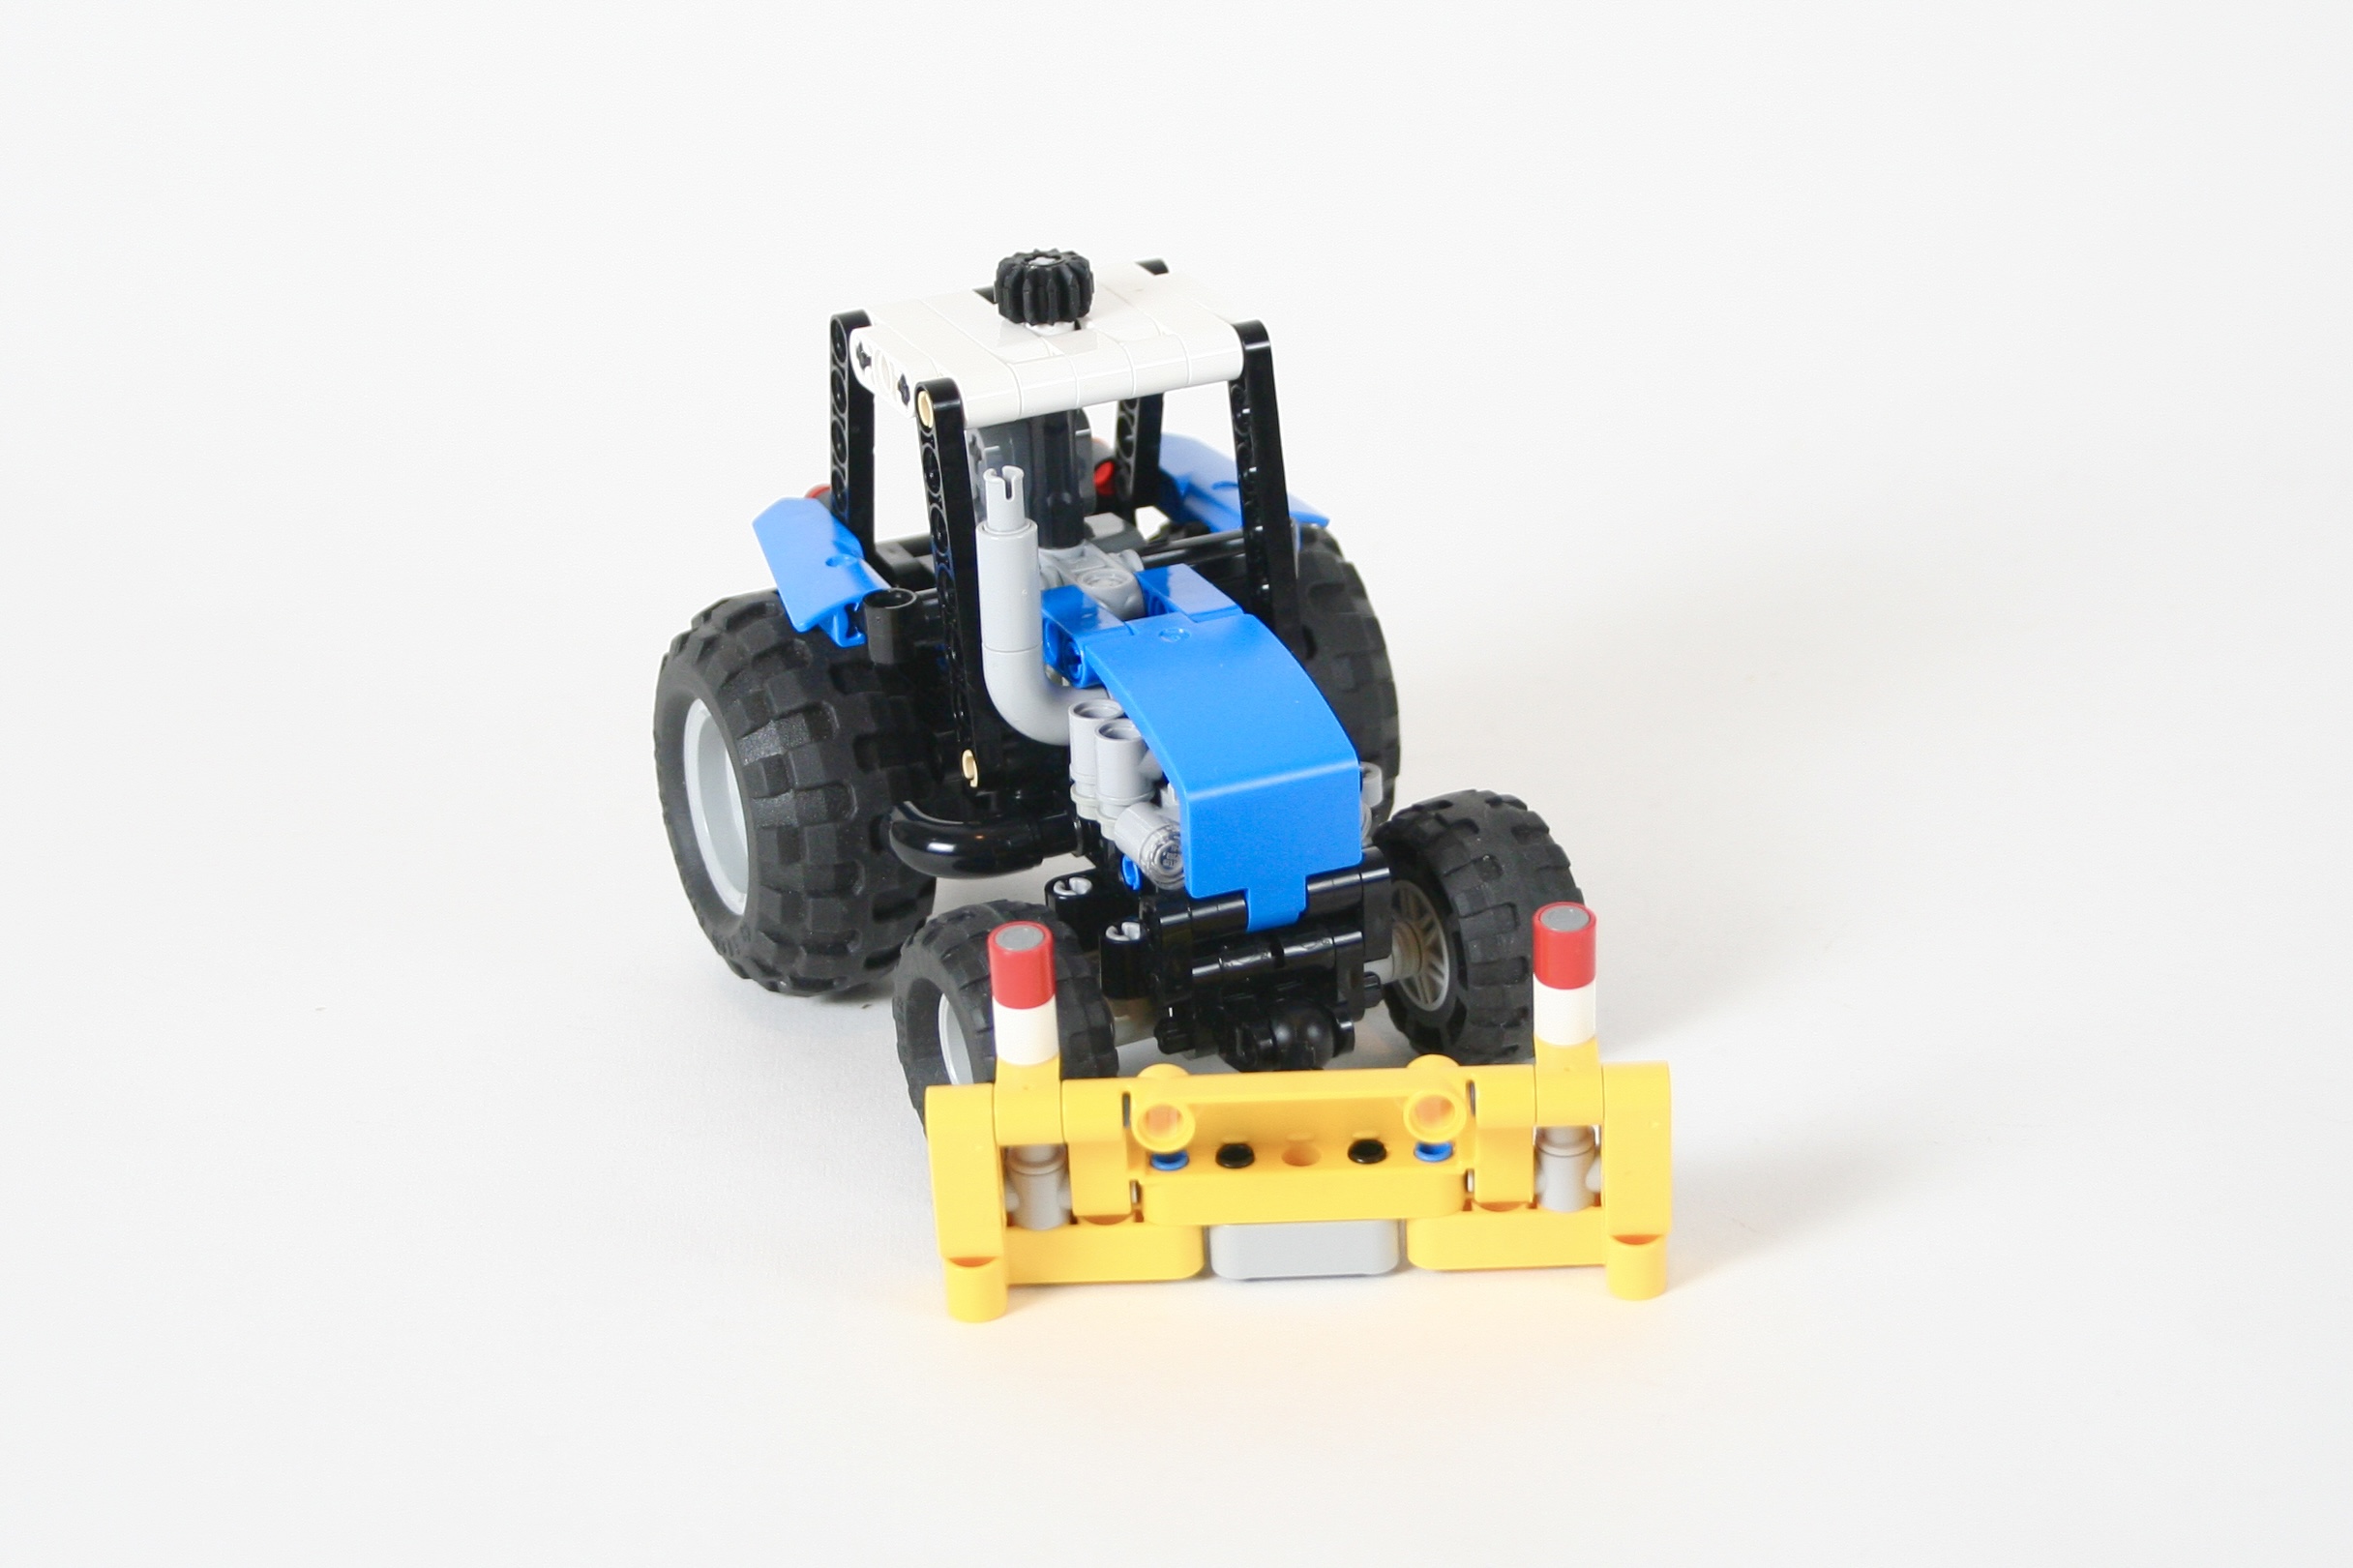
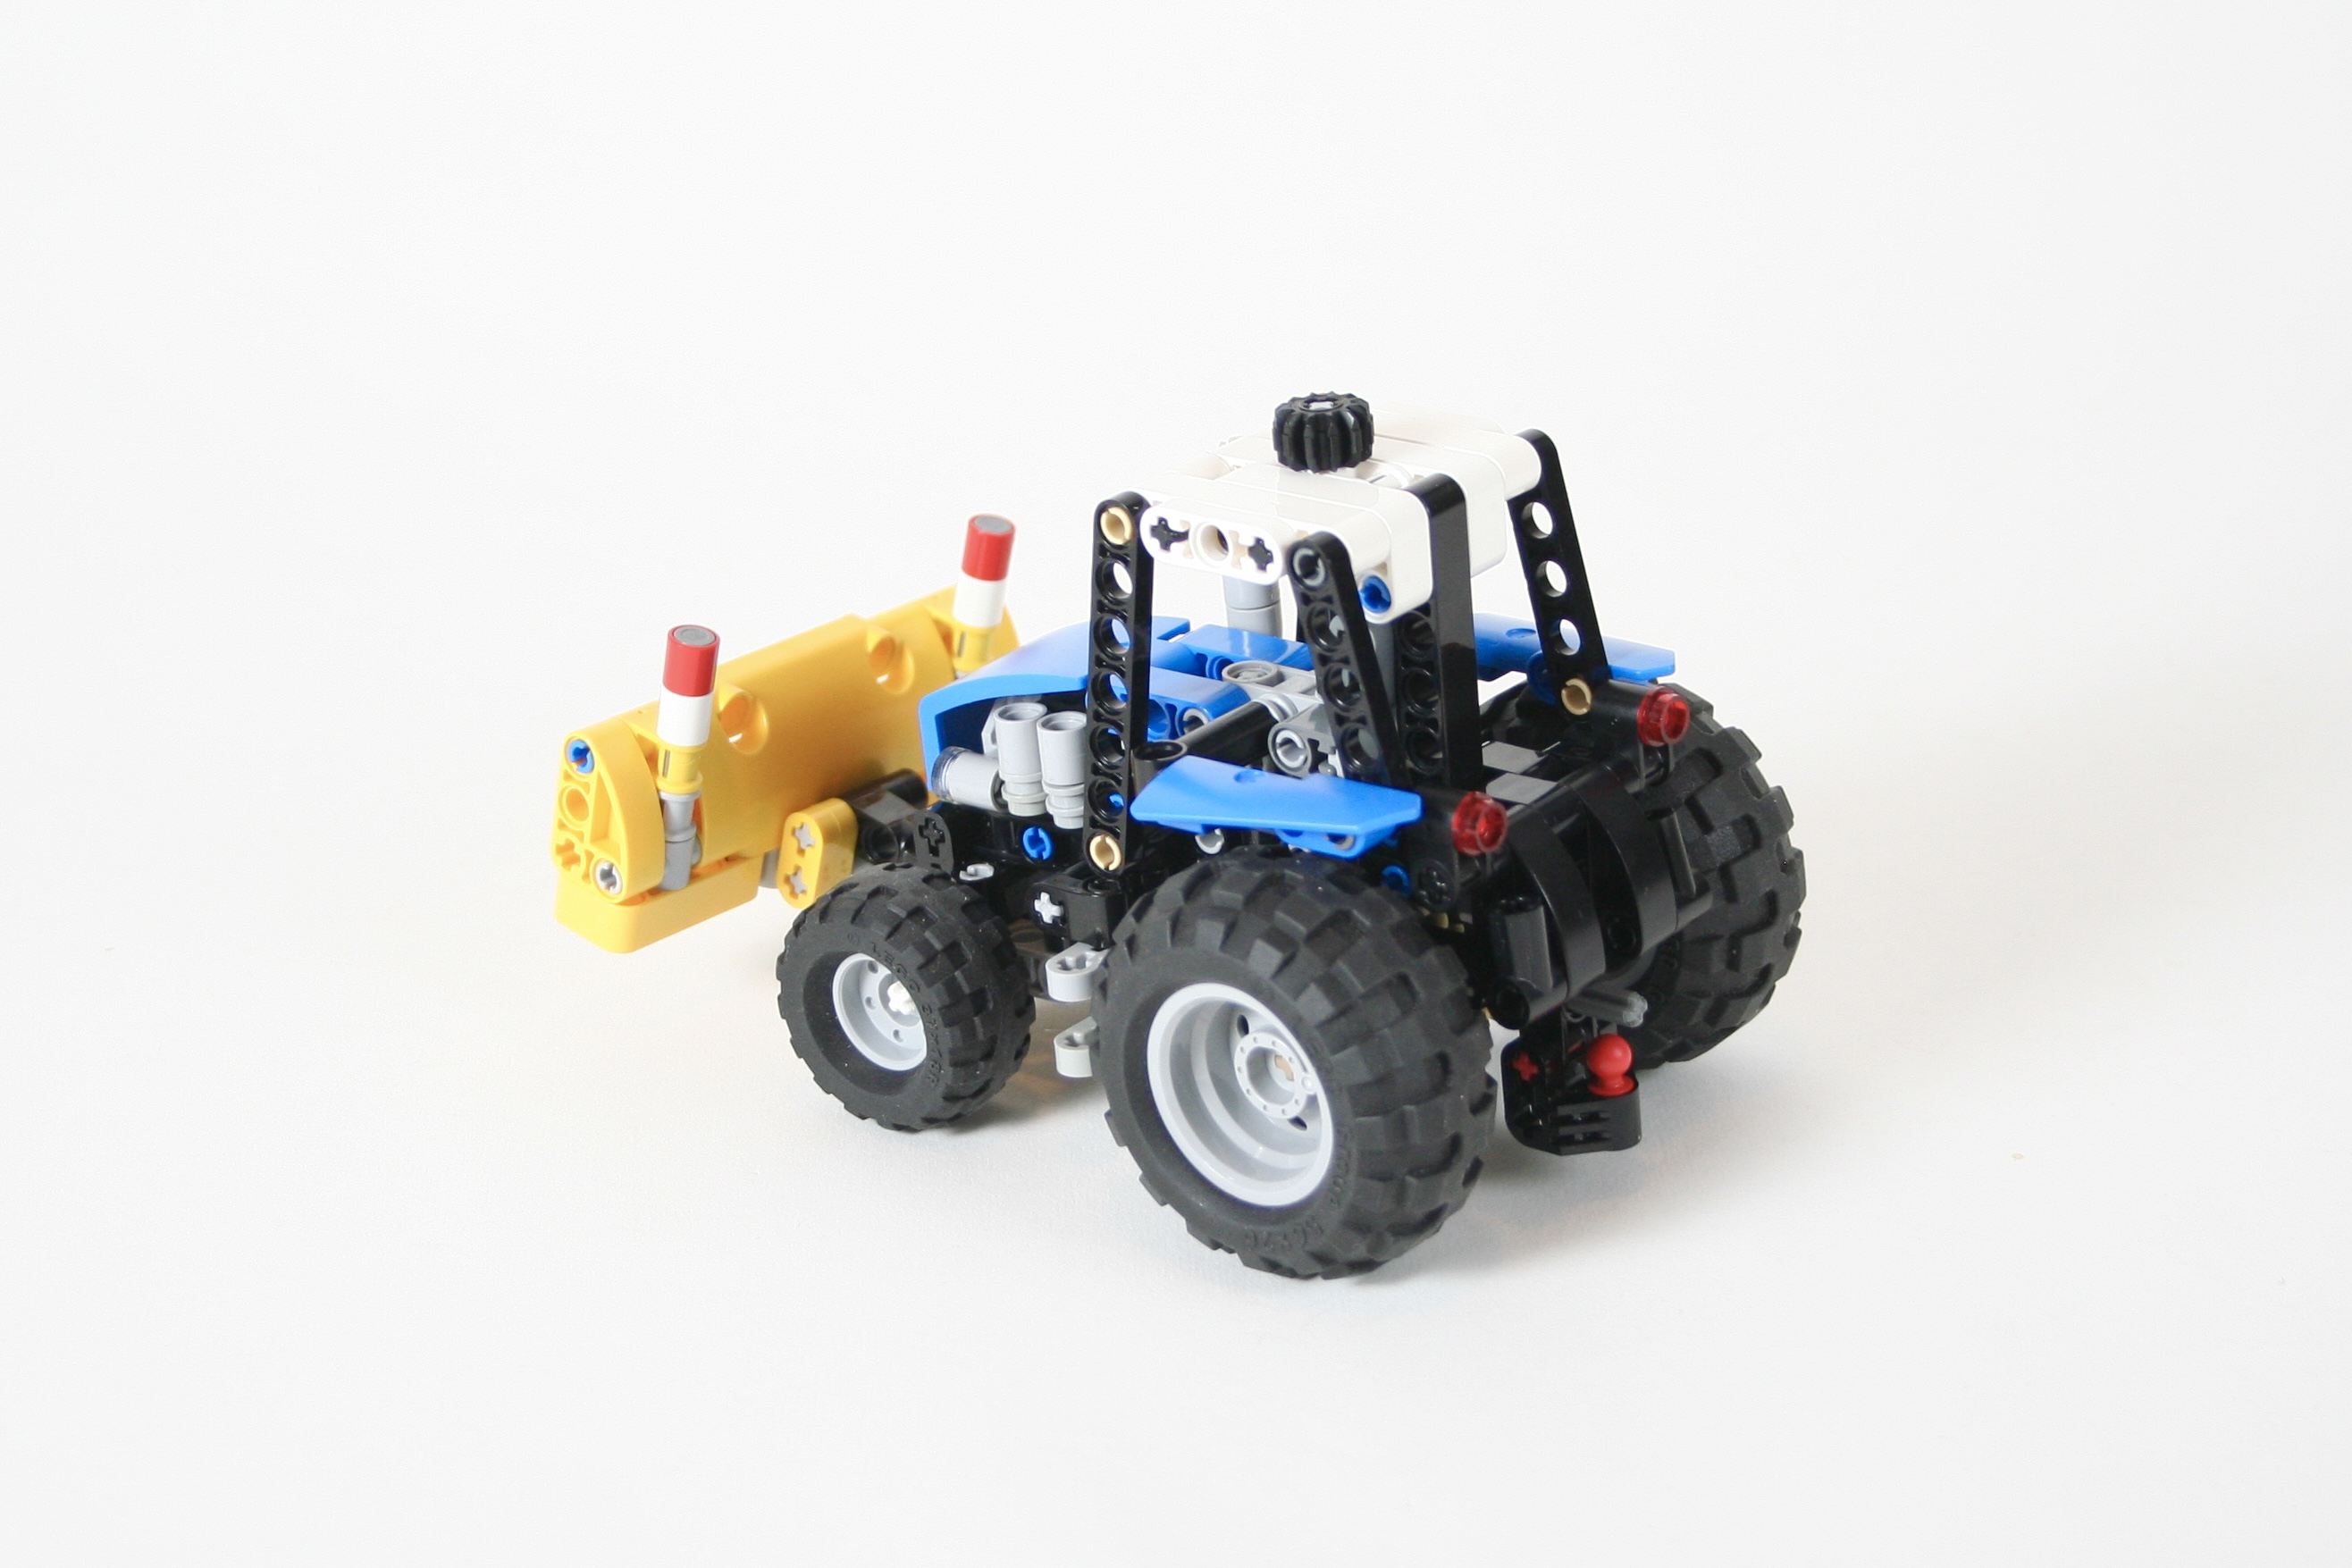
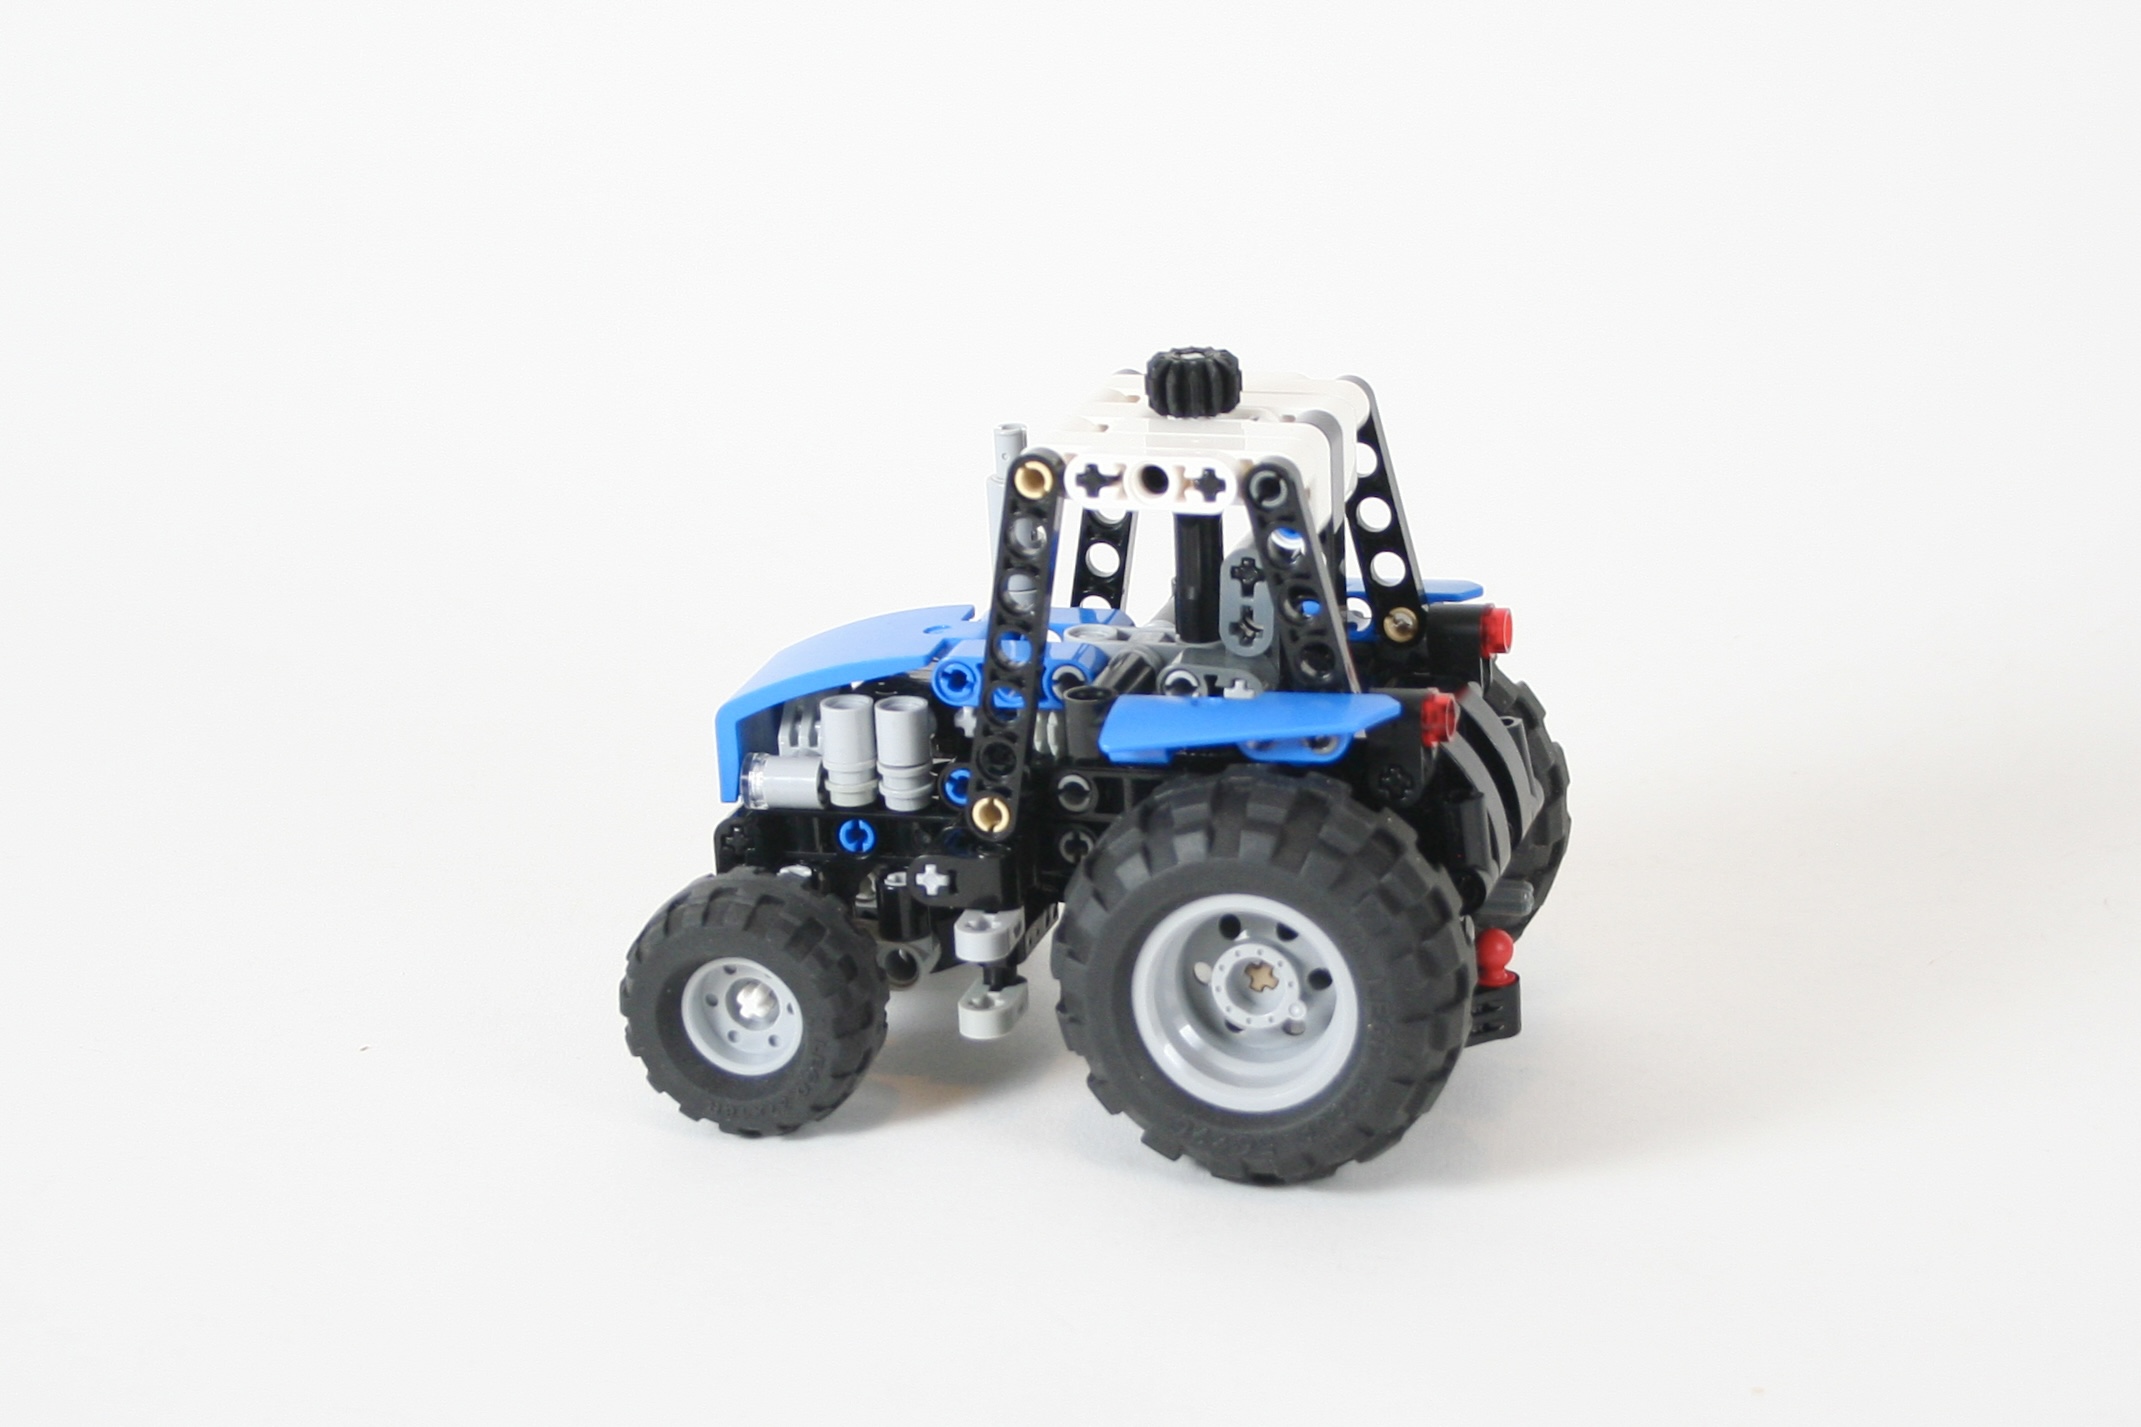
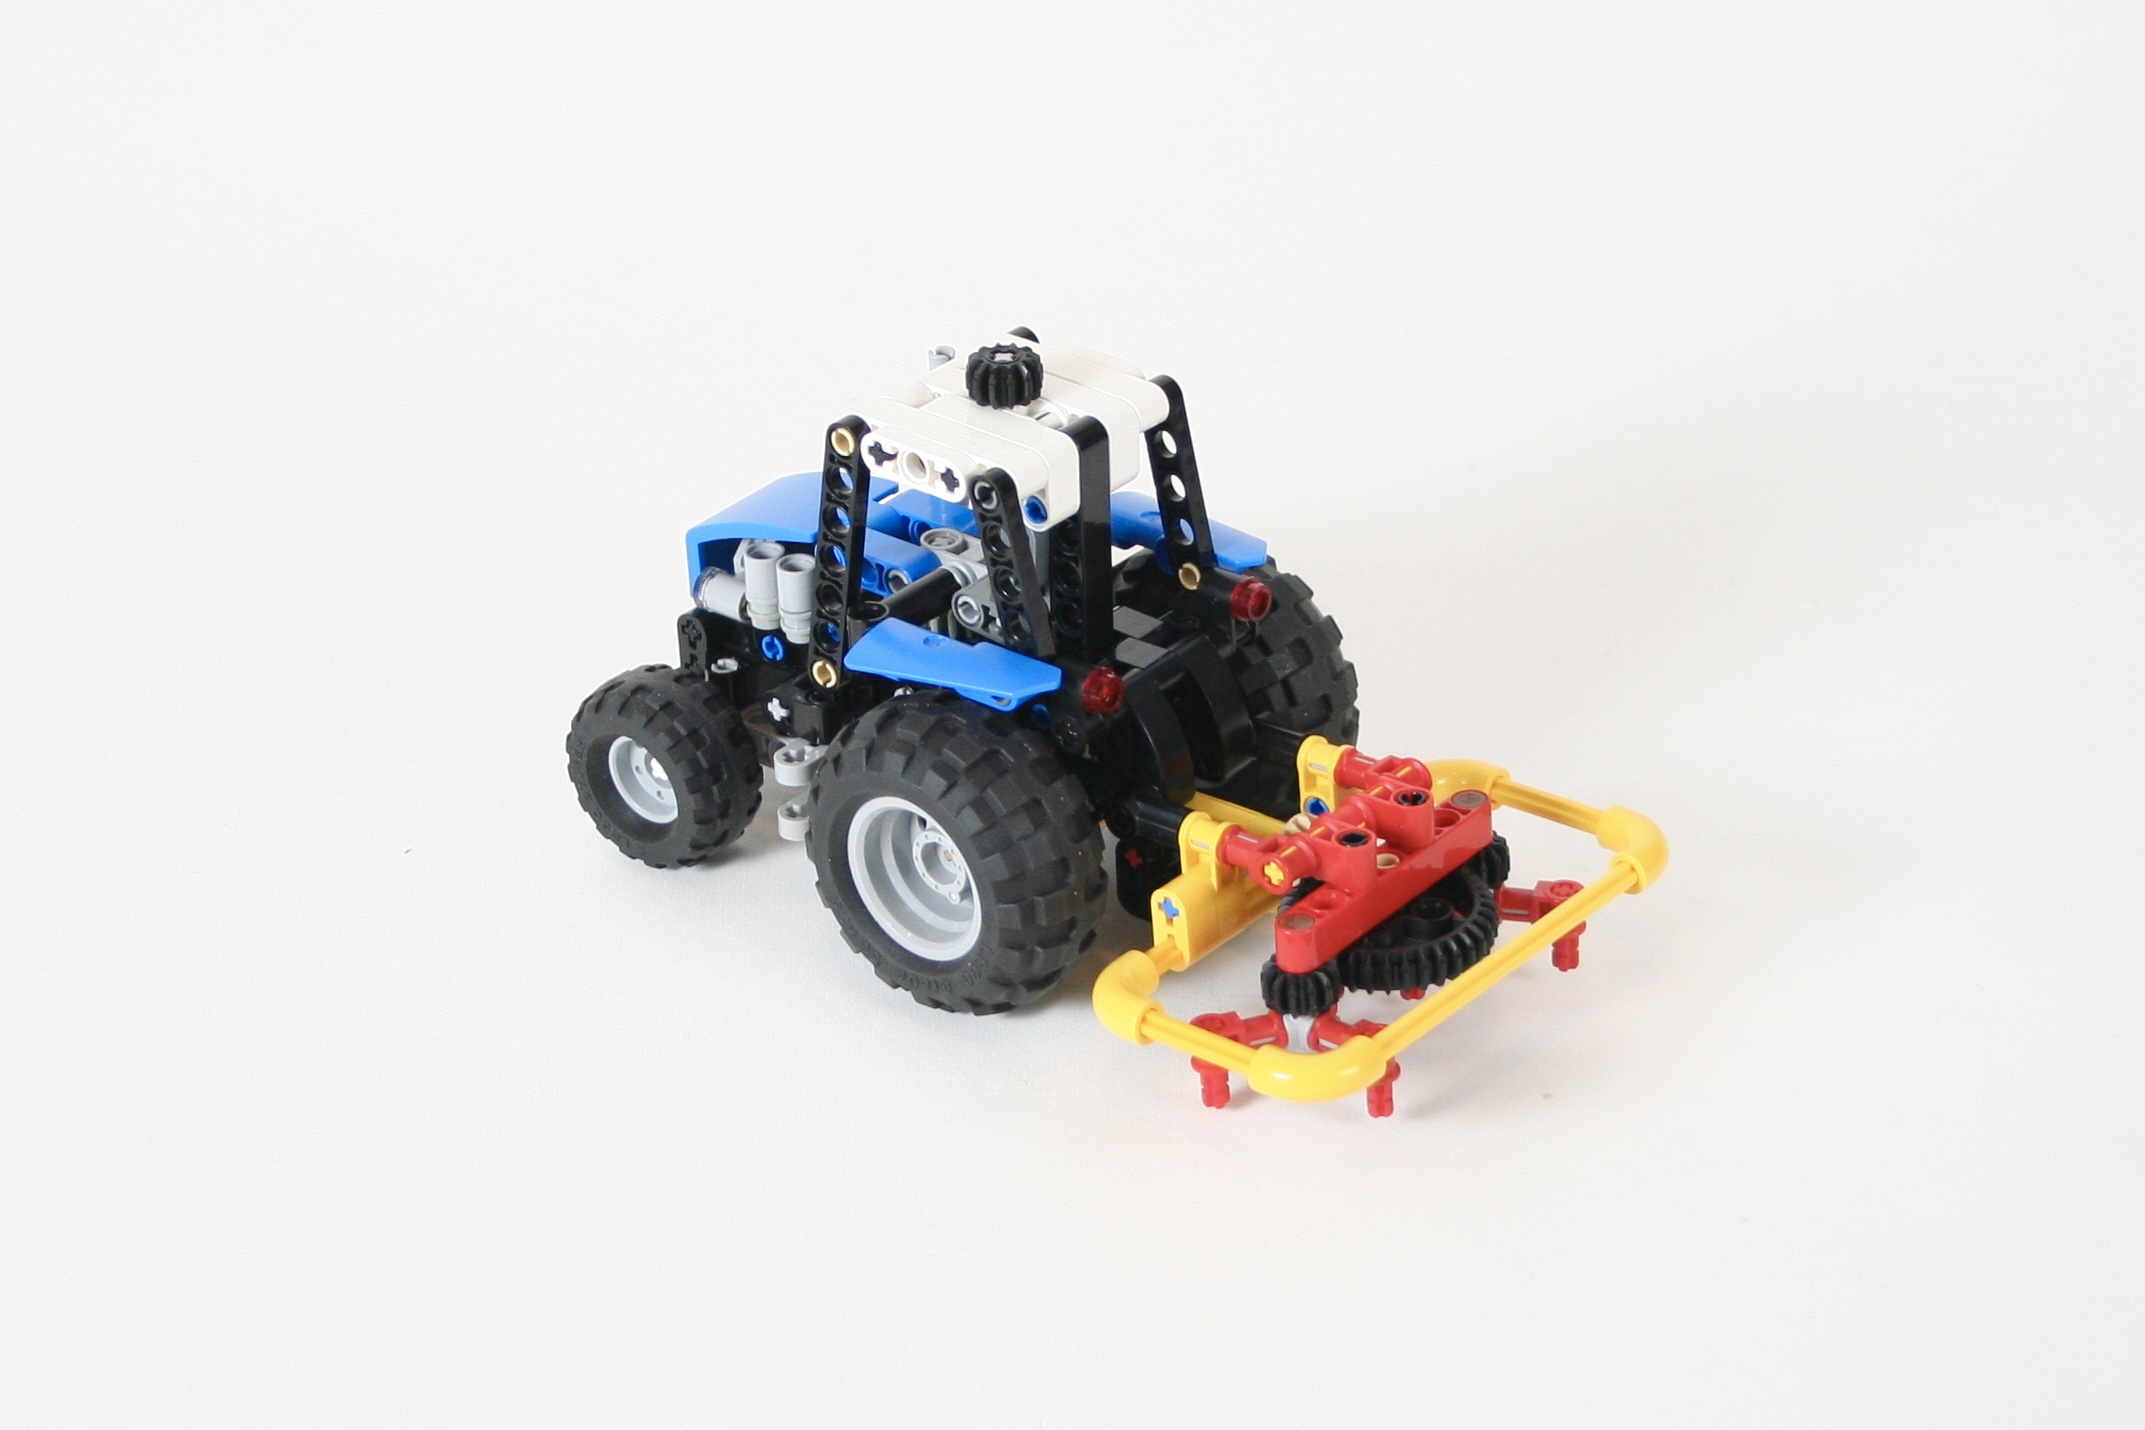
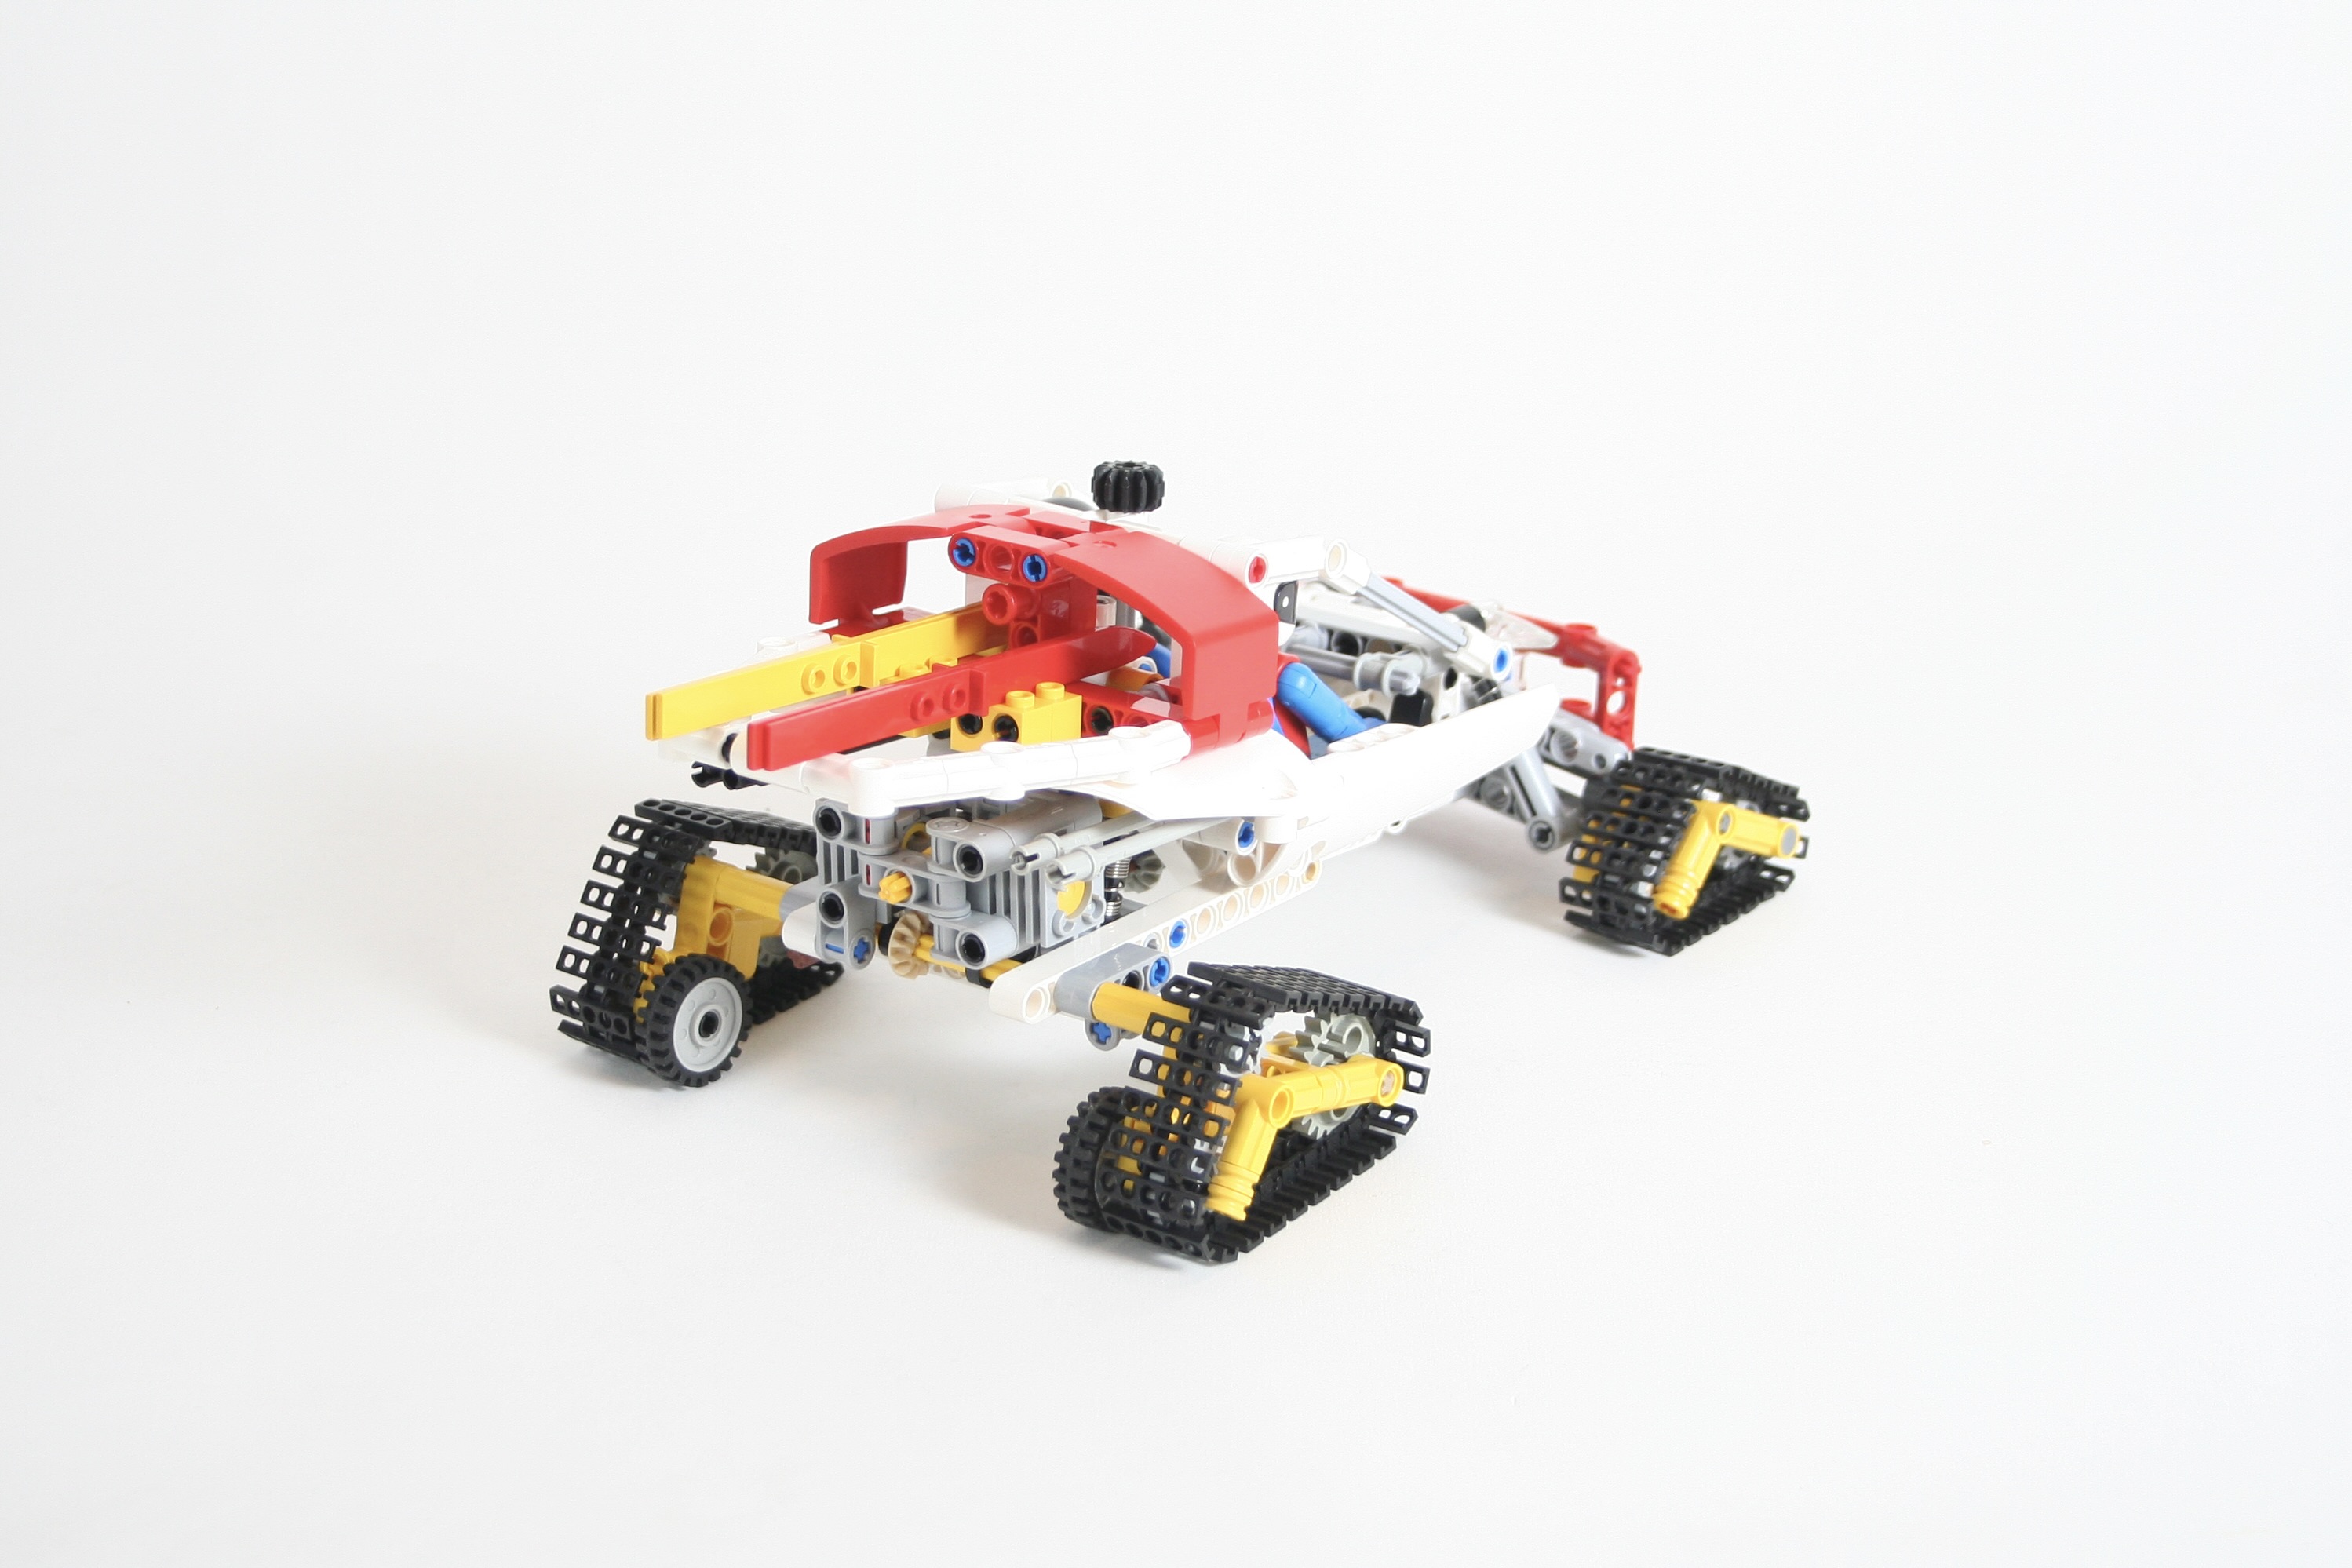
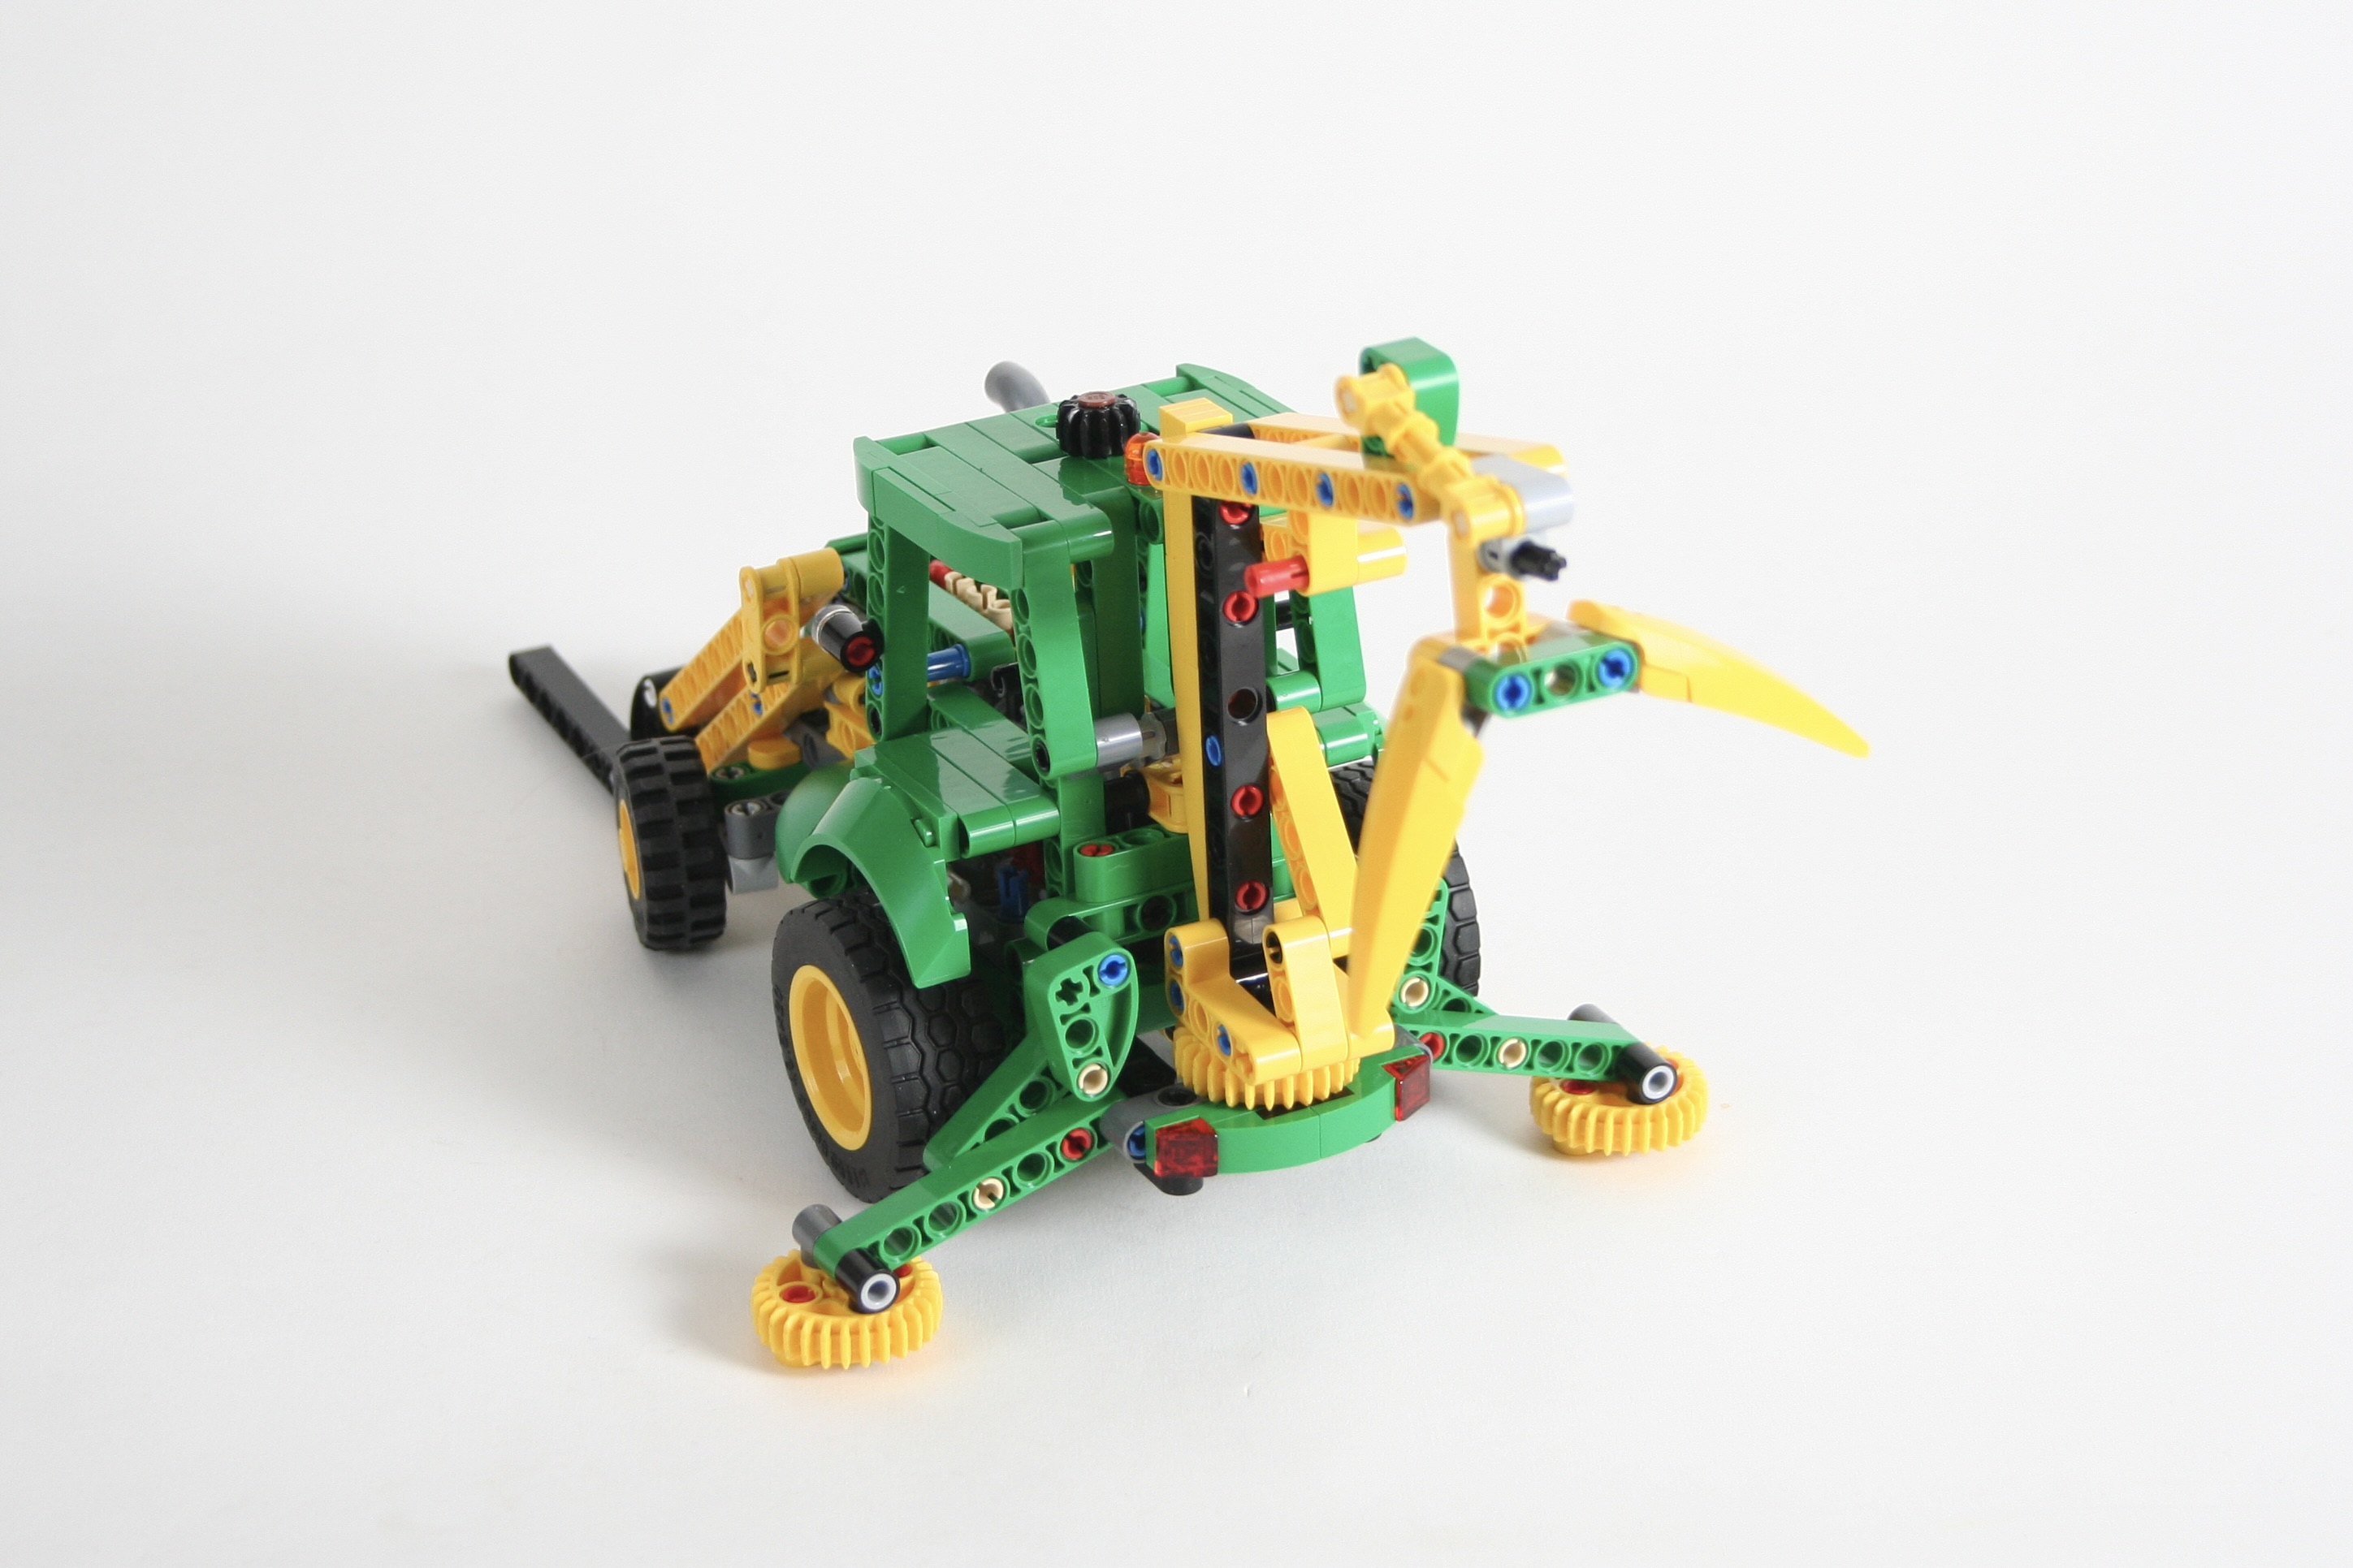
In addition to other attachments that will work on the front of the U20, I designed a little sweeper for this truck. When installed the sweeper will move when the truck moves.
The build was a nice addition to the other Unimogs I have build. It looks great with the U423 and the U4000 on my shelf. It continues my work of recreating many of the various Unimogs that I have been designed over the years. I would have liked this MOC to have as many functions as some of the other trucks, but I guess they should each be a little different. Until the next build,
Happy Building!