Blizzard Blazer Update
June 23, 2024 Leave a comment
Sometimes I need to do a small MOC to reset my creativity.
Free instructions may be found at Rebrickable.com.

I have been working on a number of MOCs for the last couple of weeks, and each of them have been stuck on some part. Sometimes when I get into this situation, it is helpful for me to put each of them aside, and design something small, simple, and quick. It helps me feel like I still have some creative ability, and satisfies the accomplisher in me.

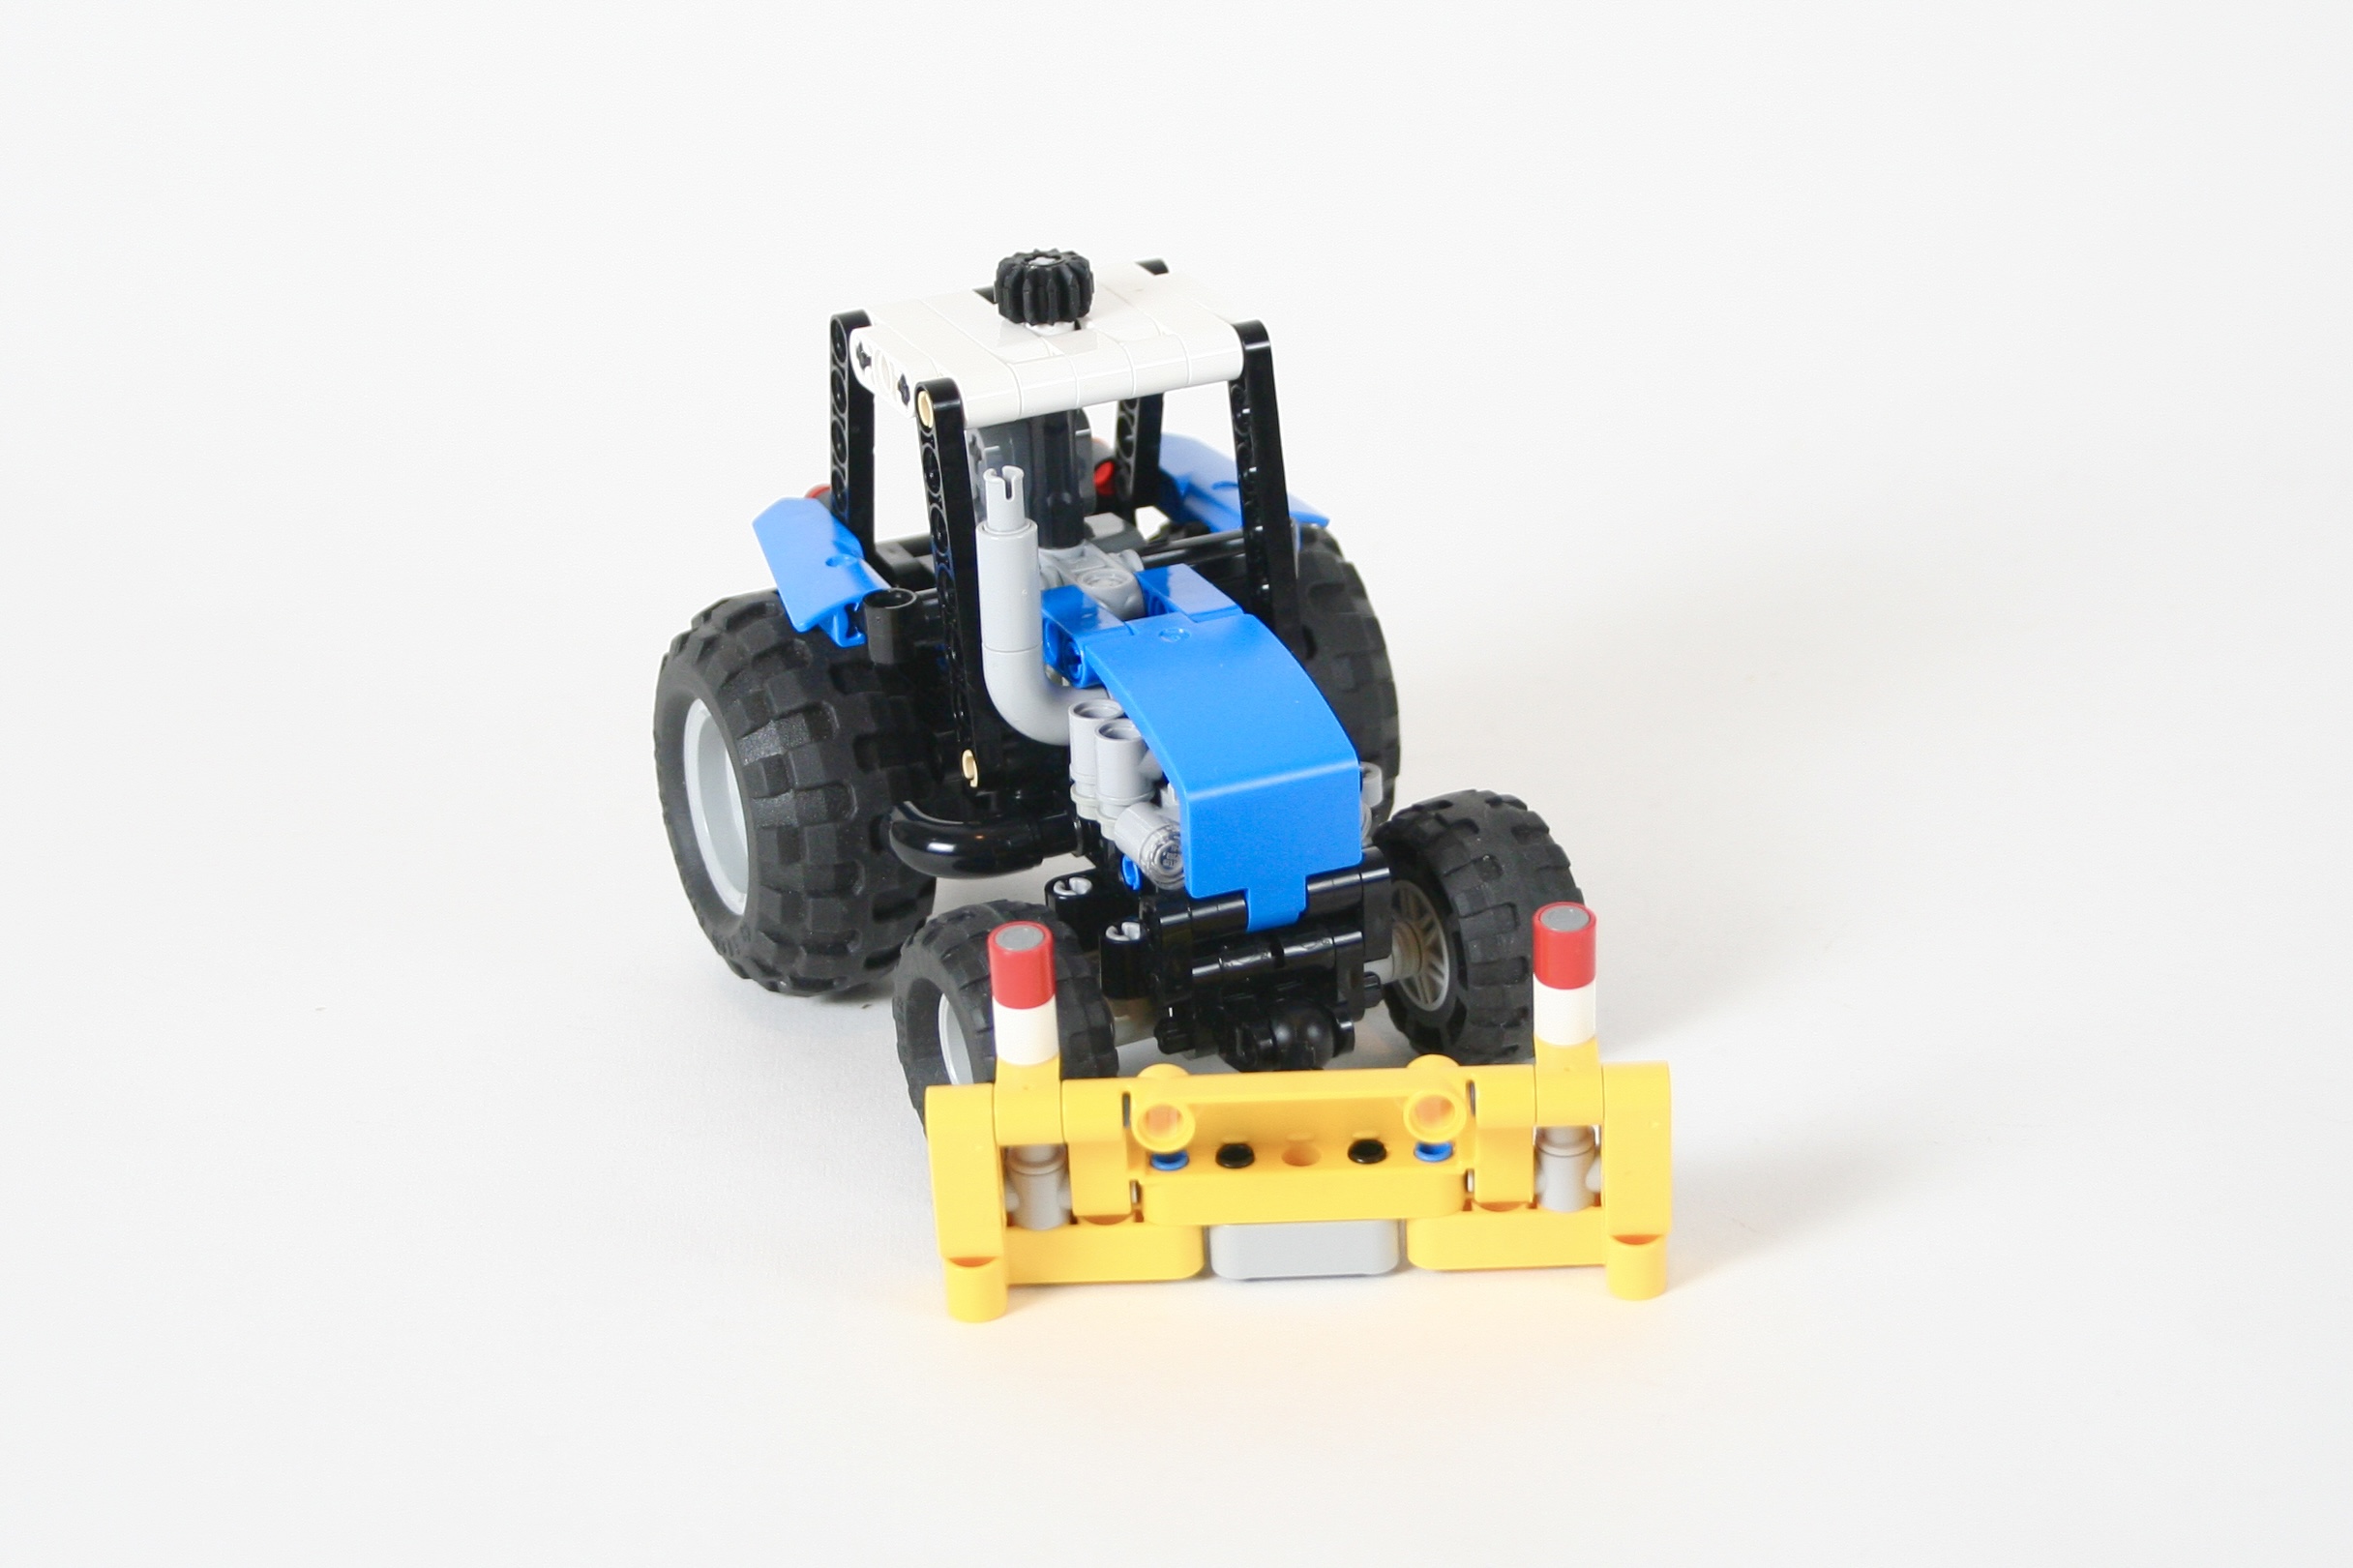
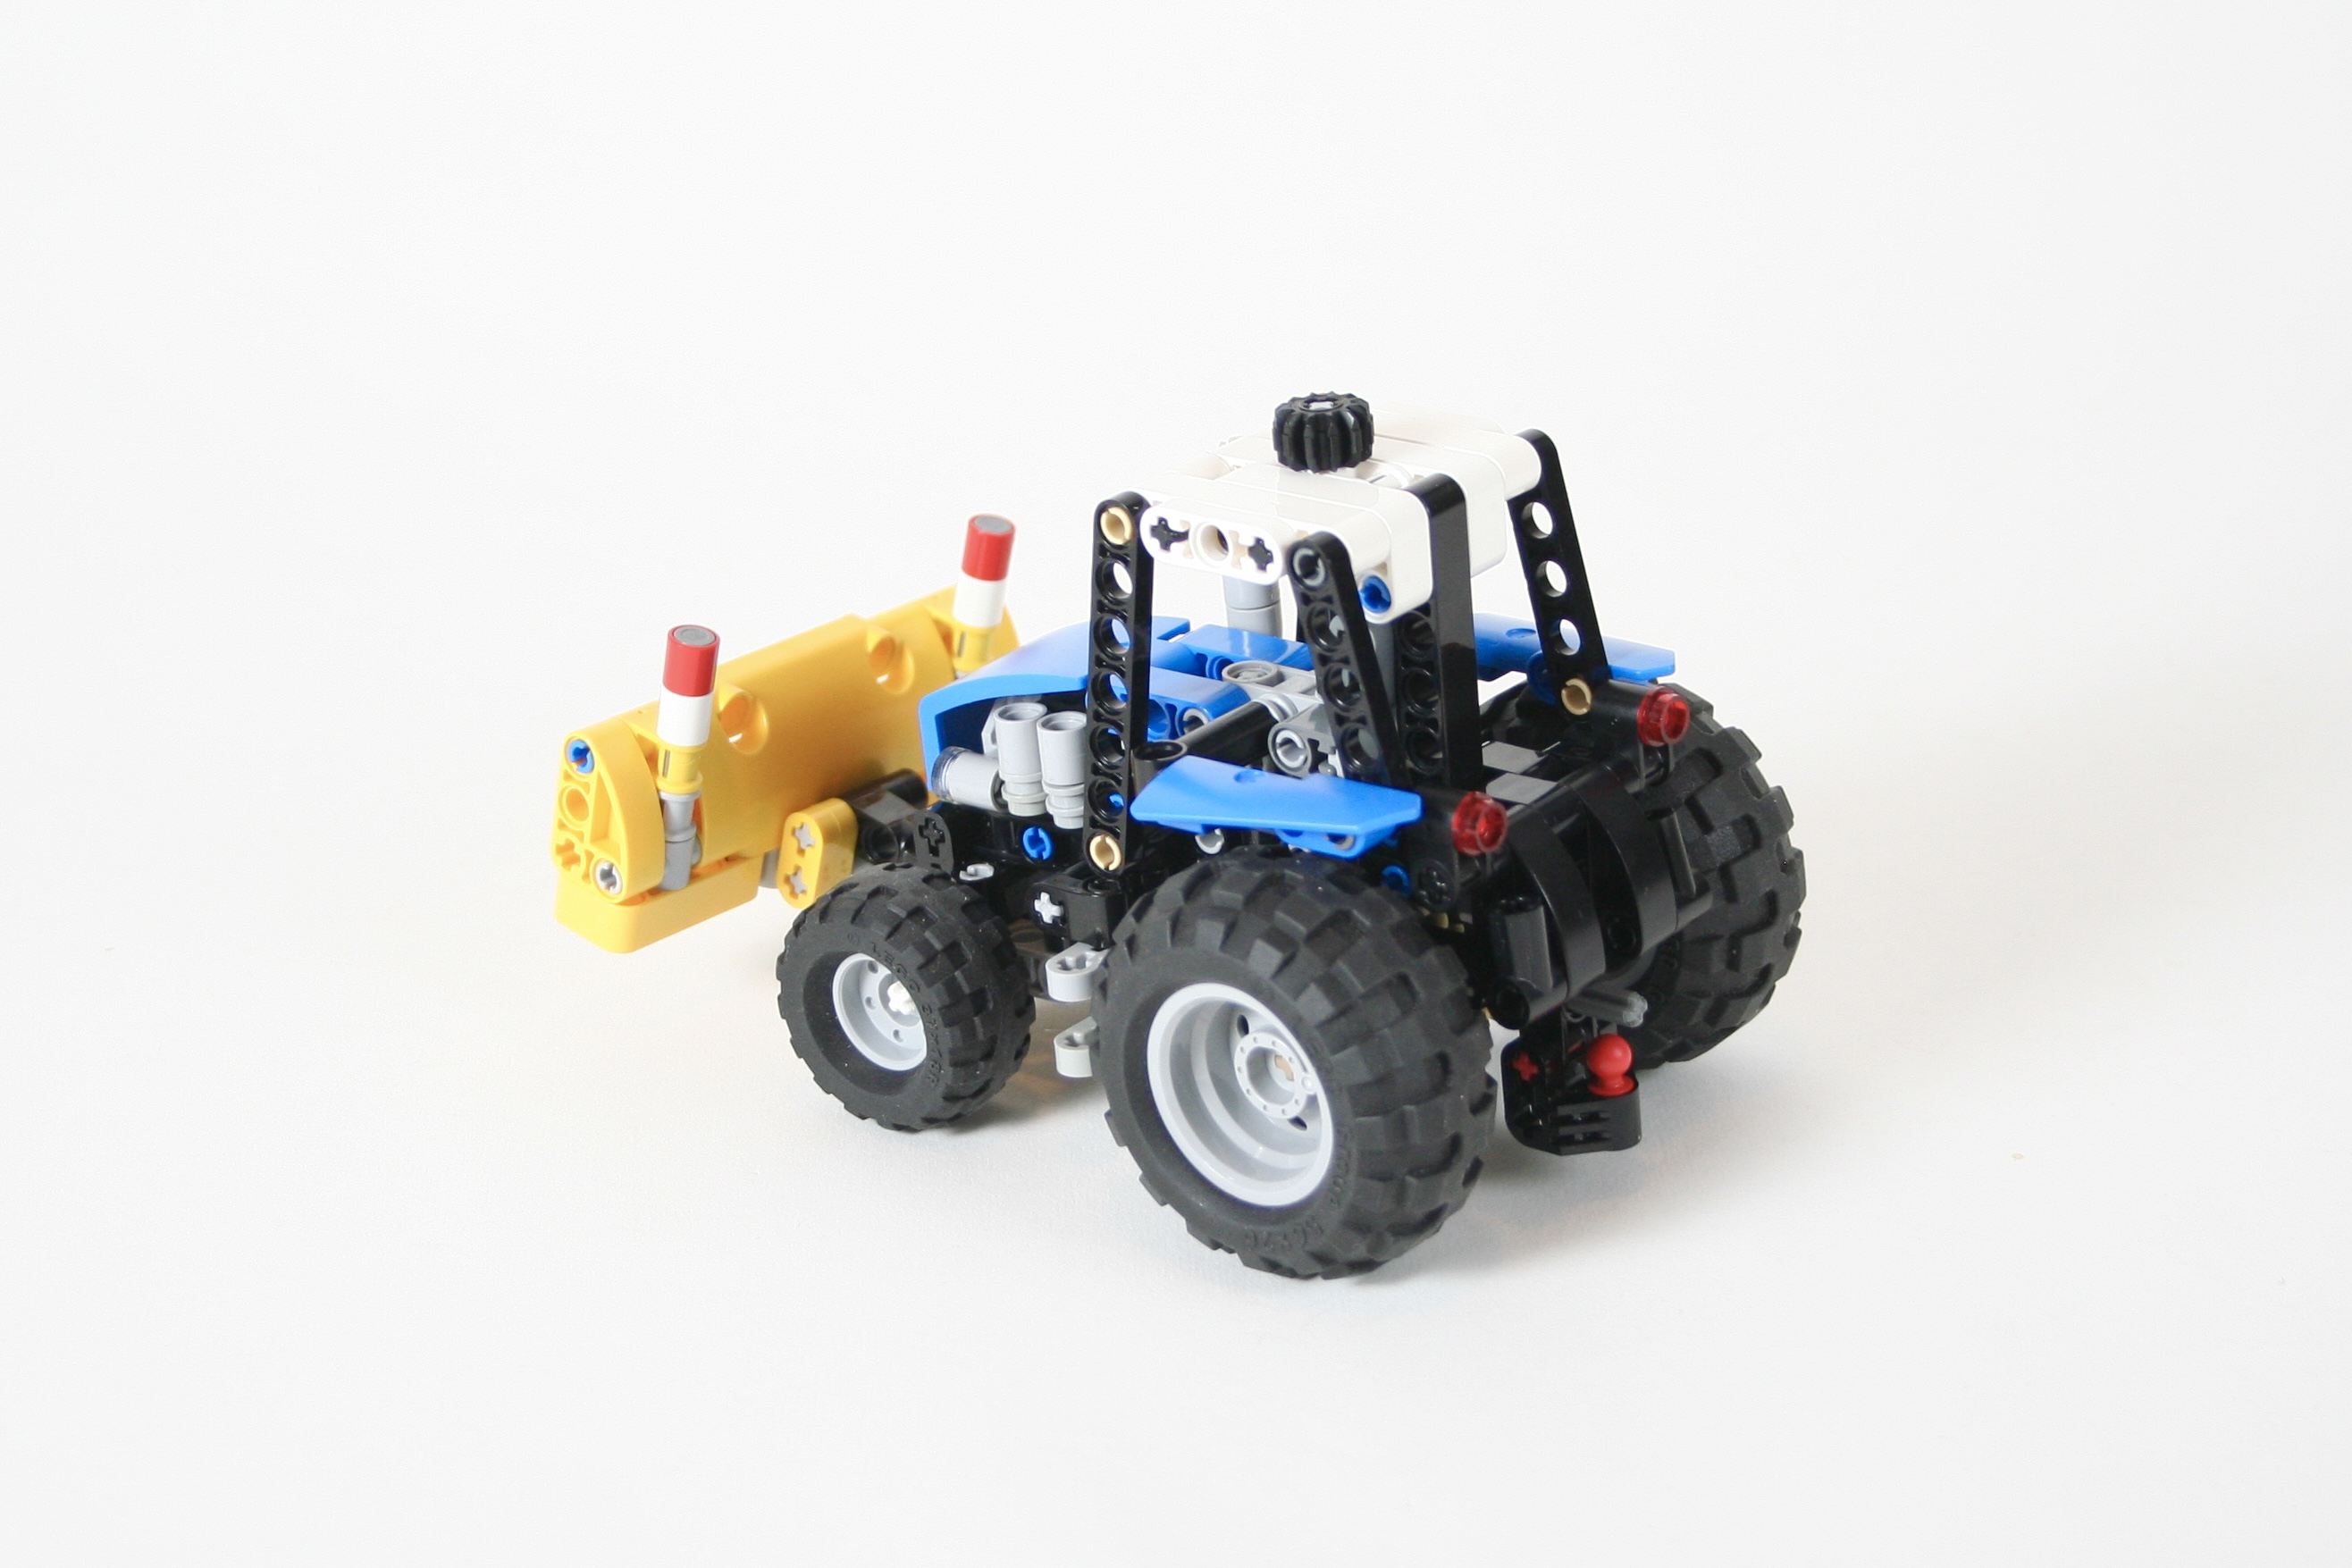
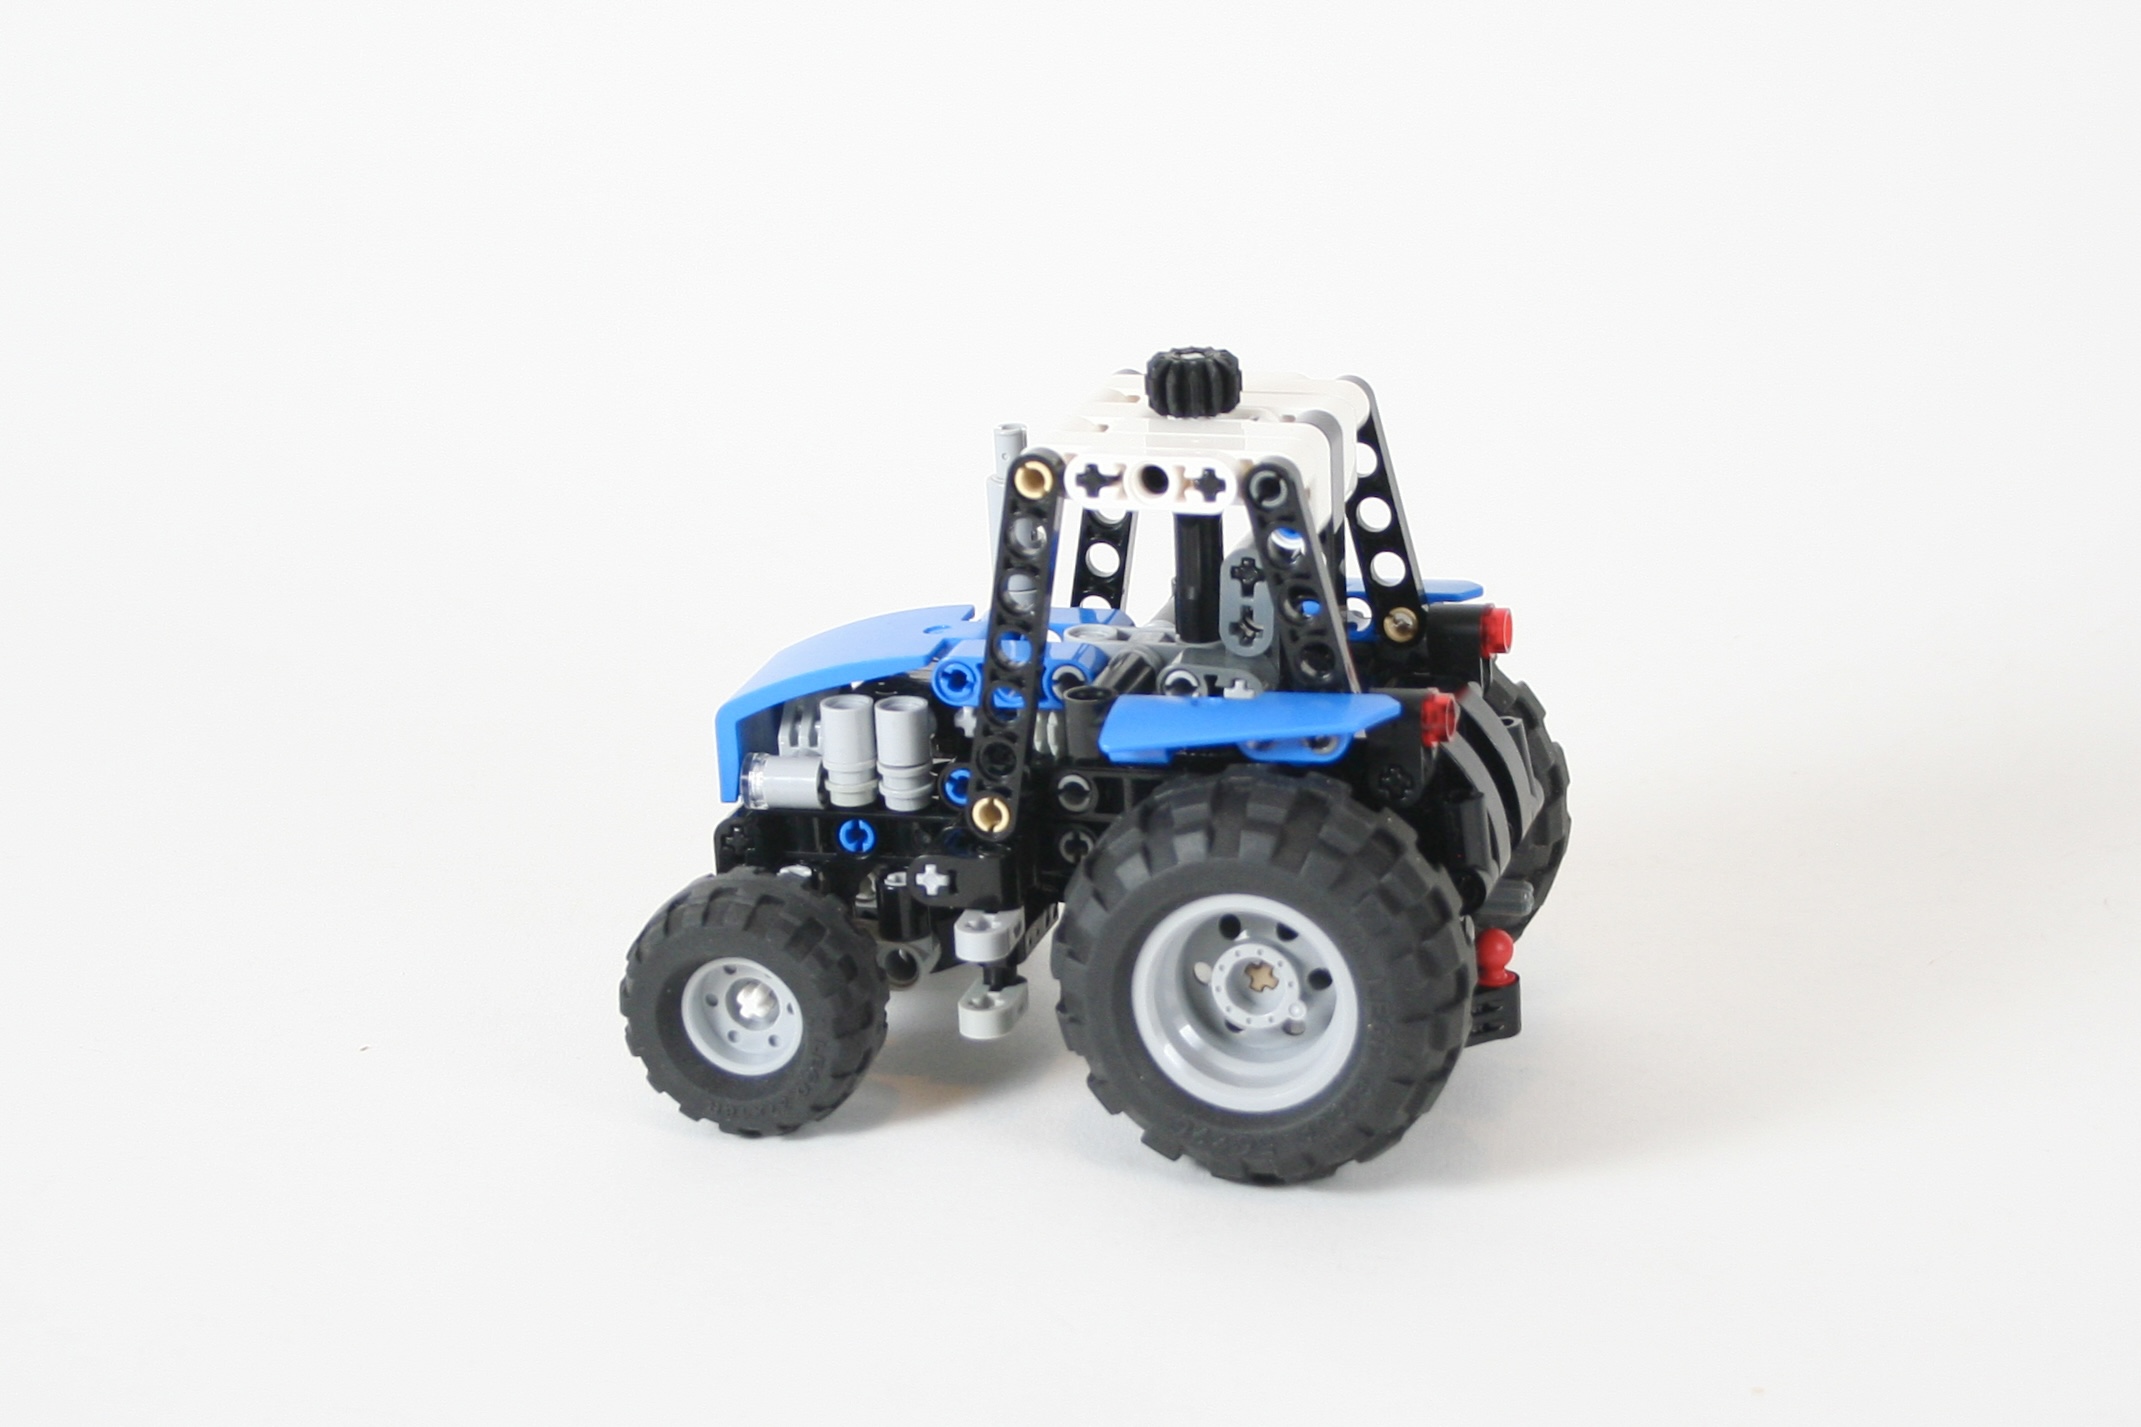
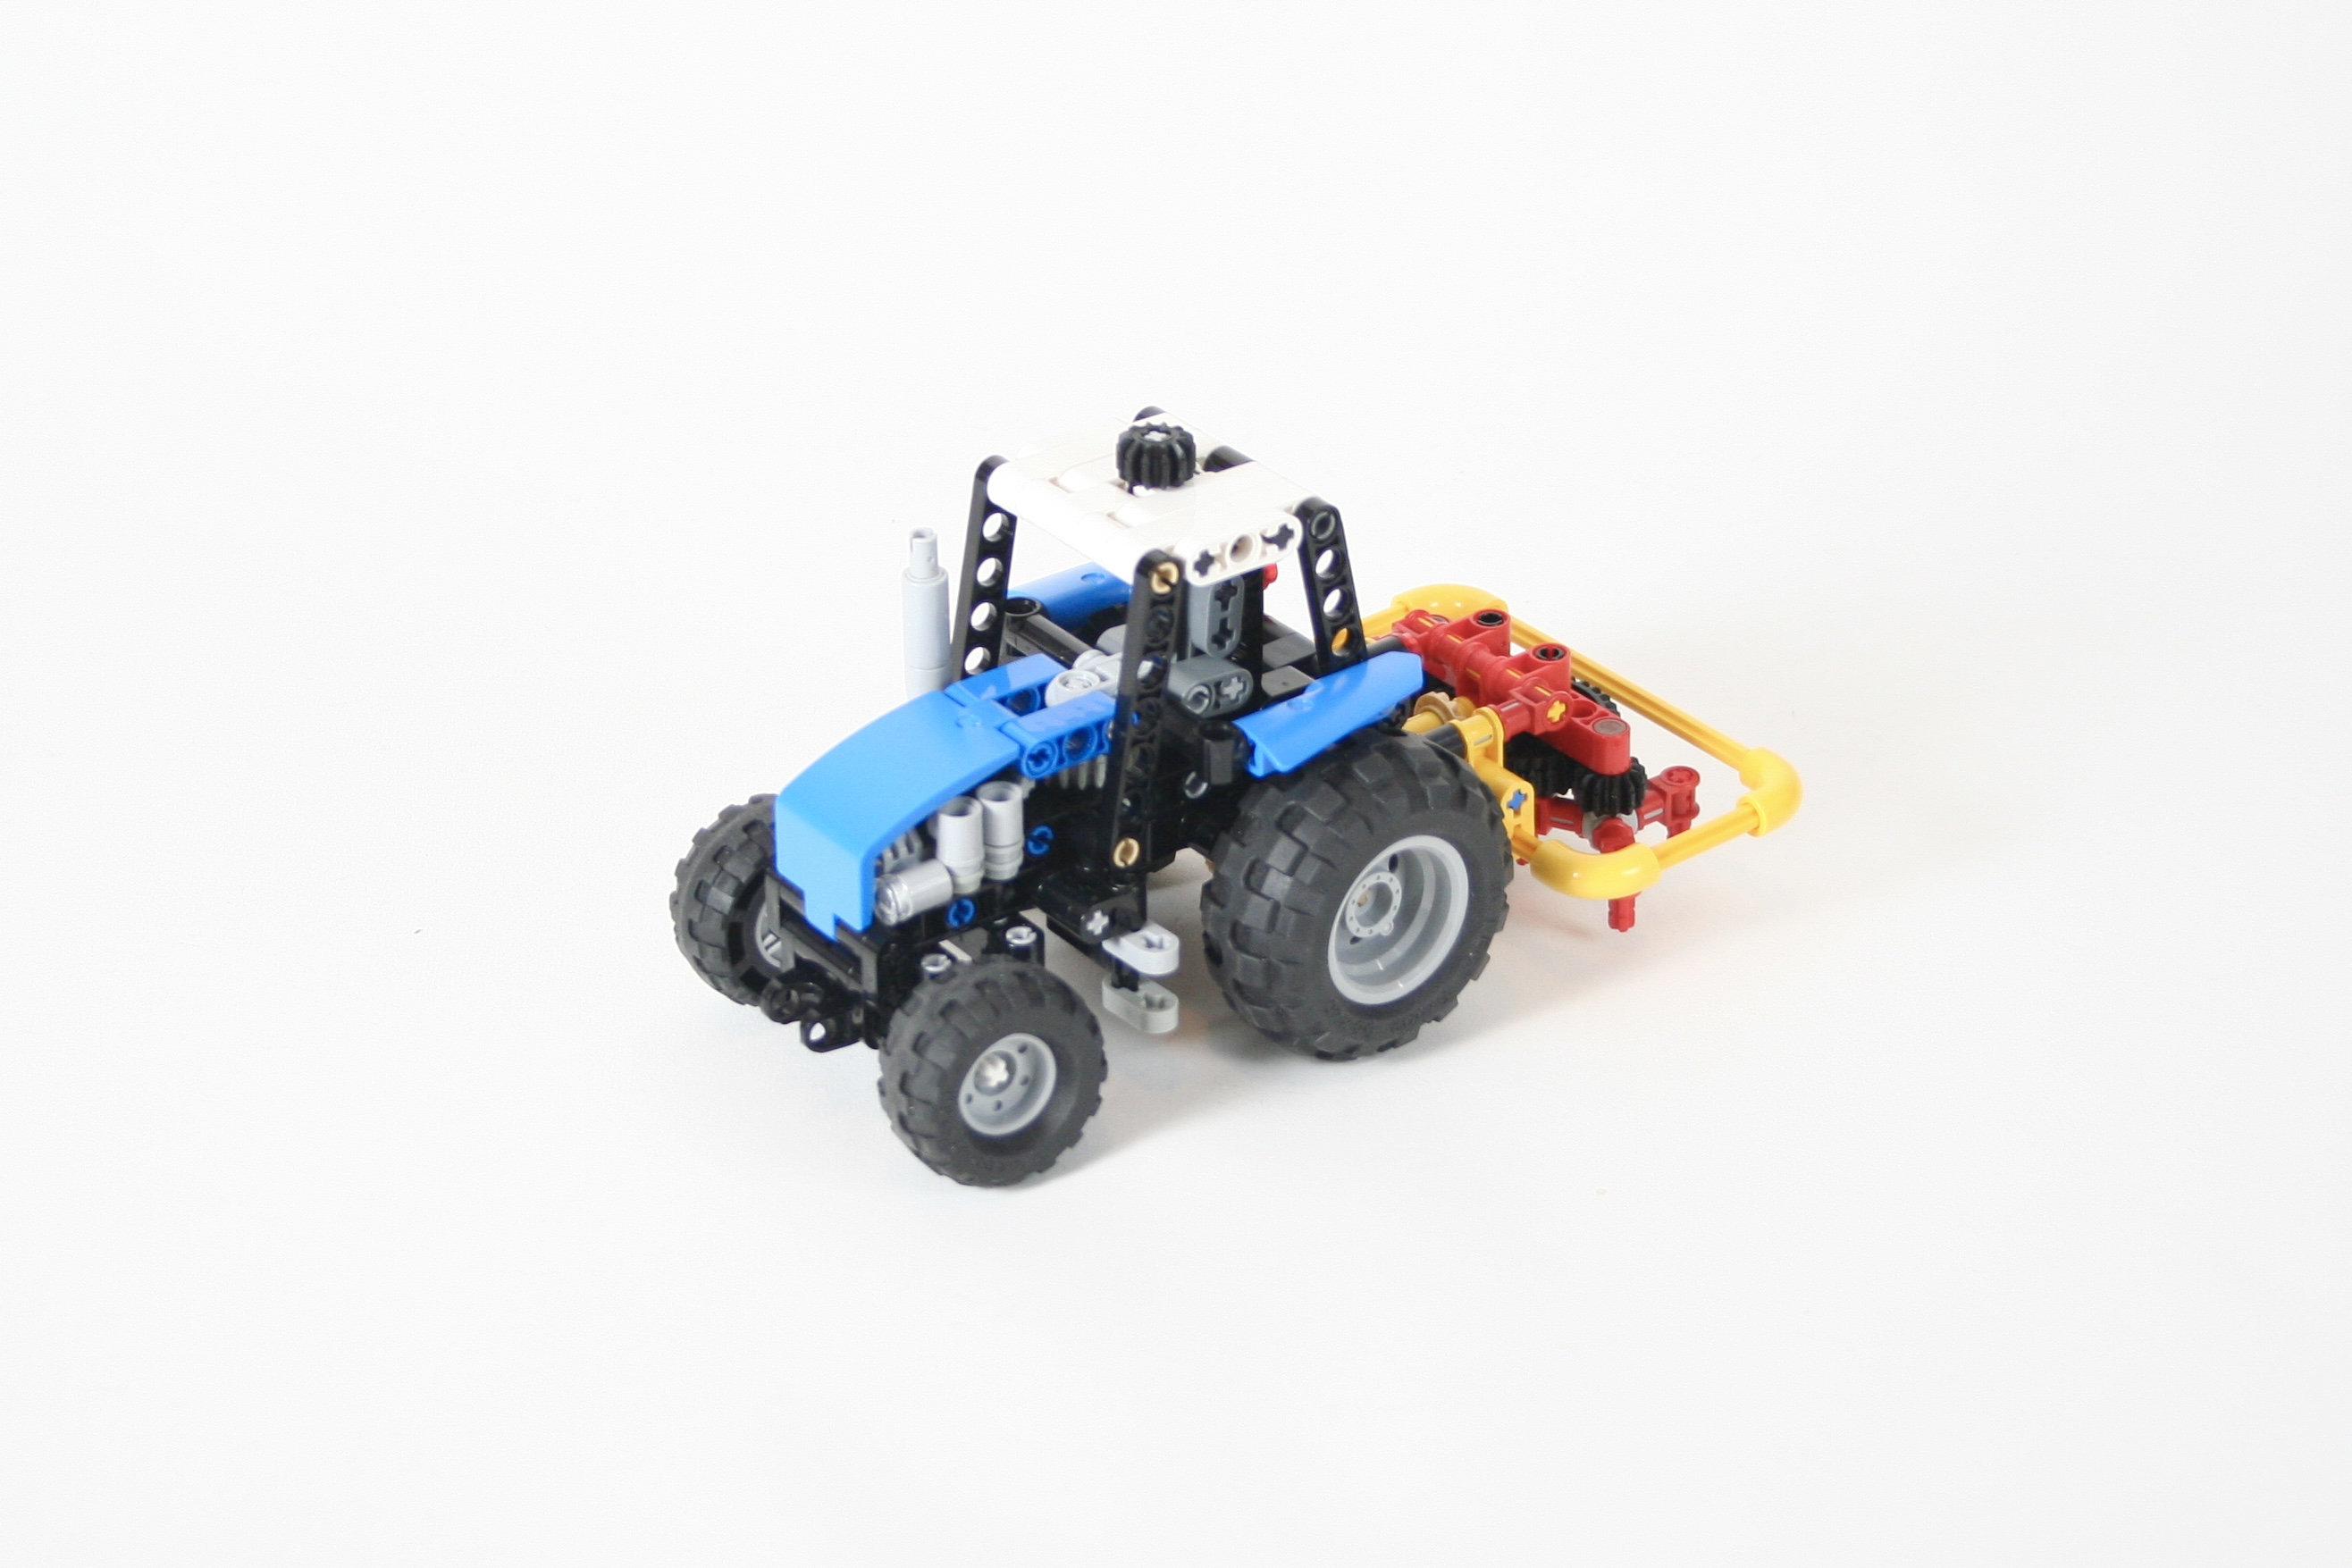
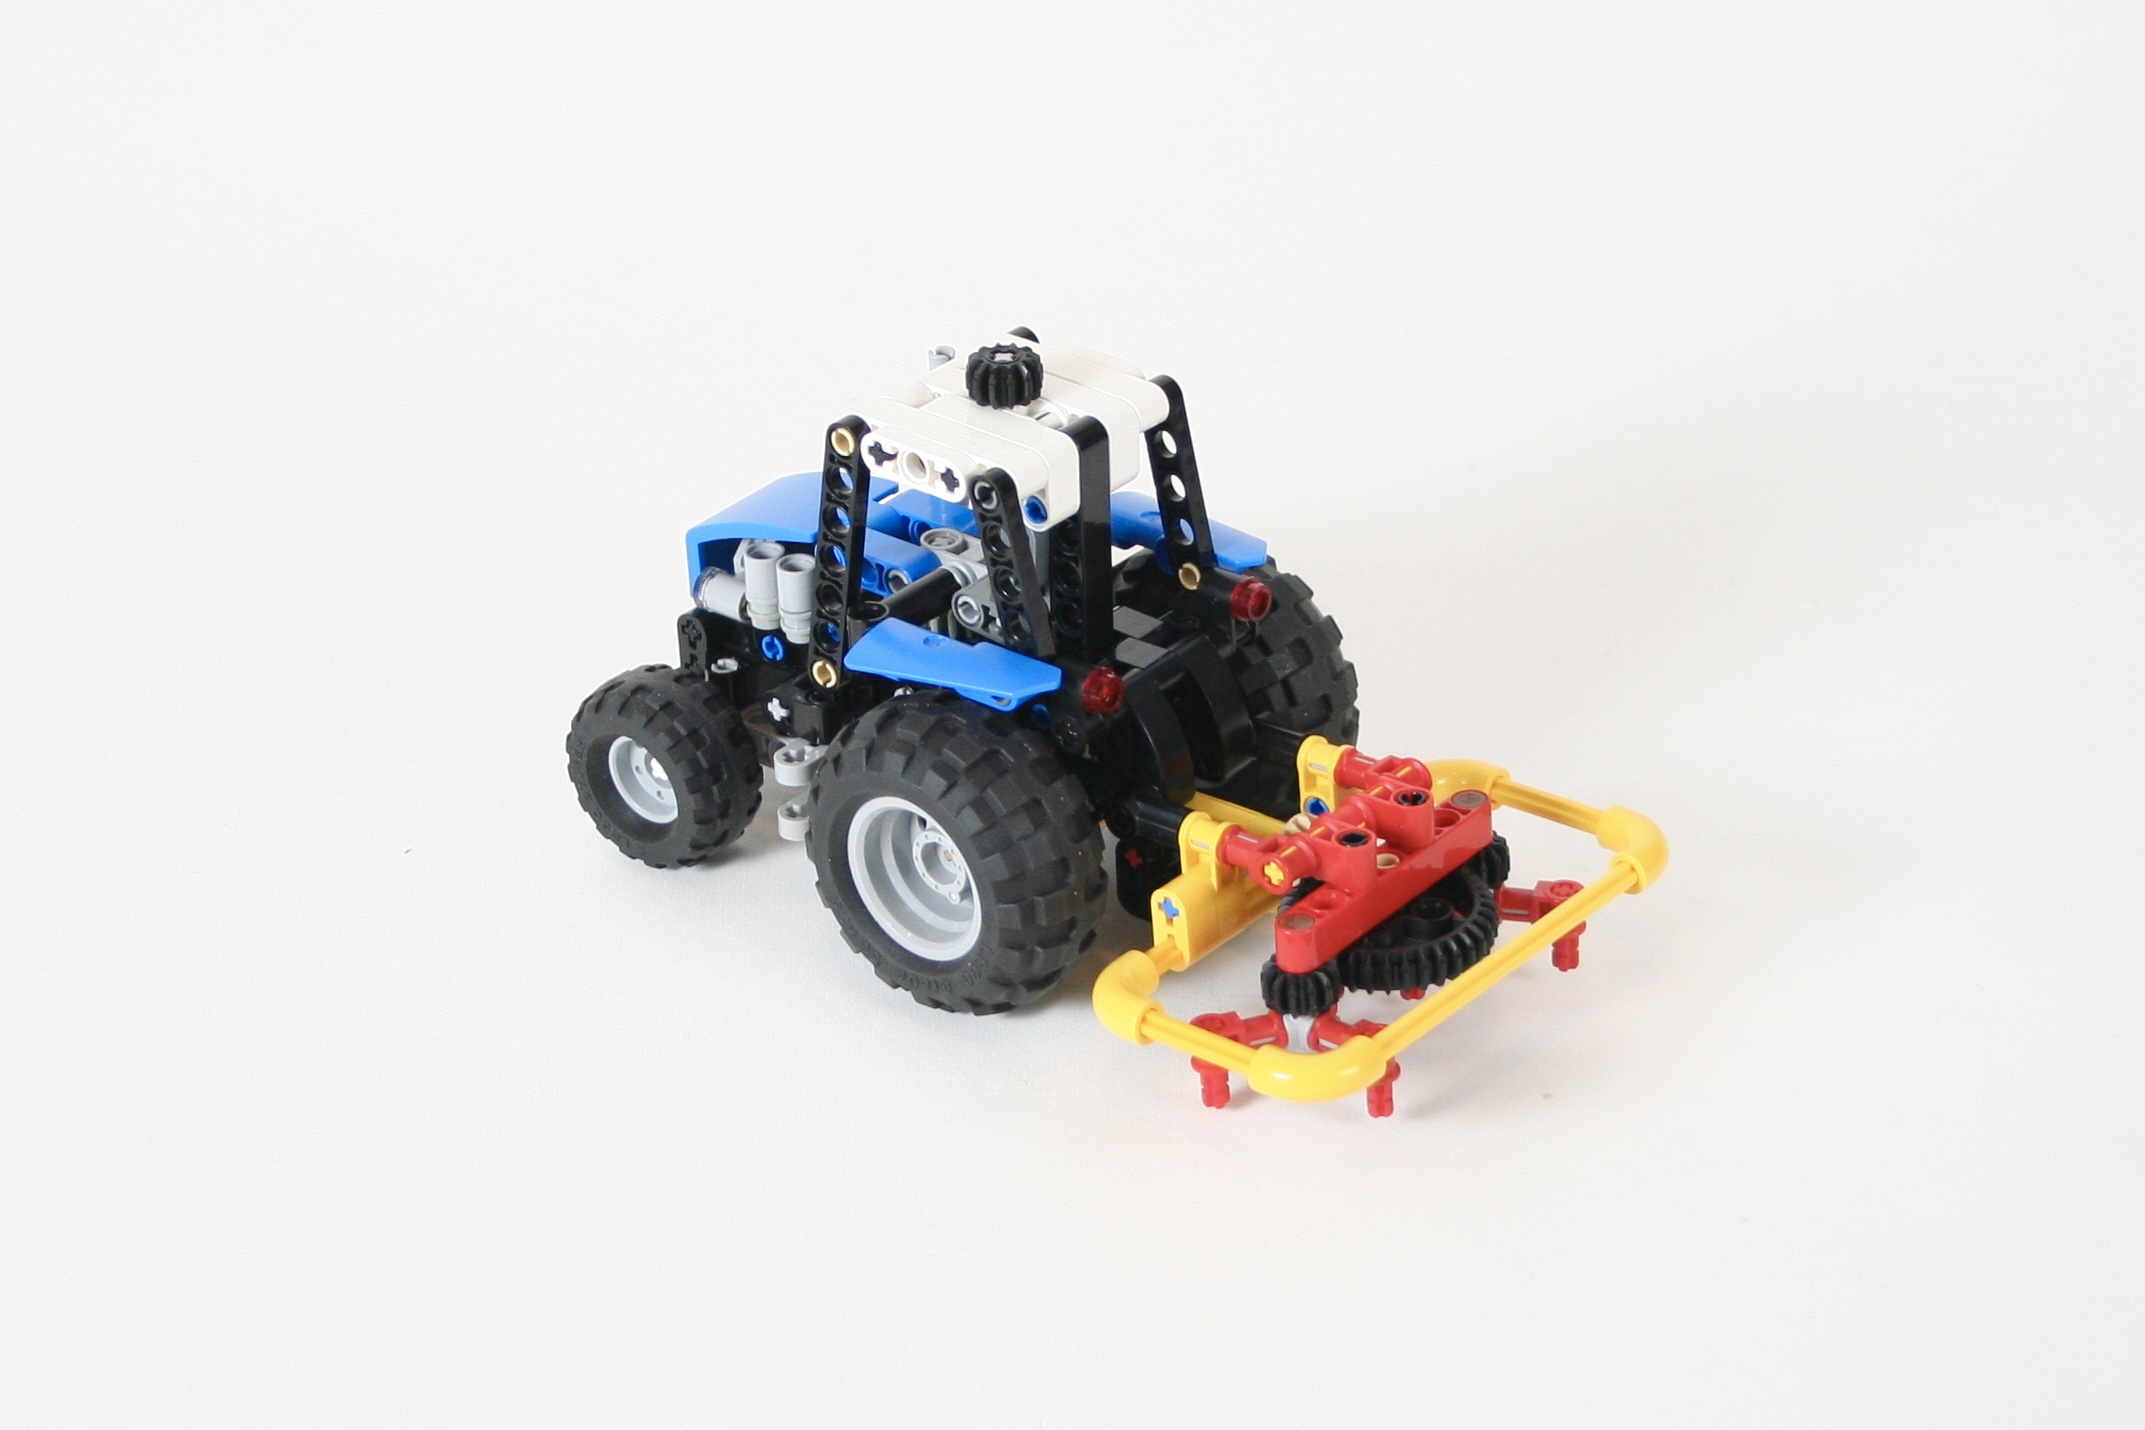
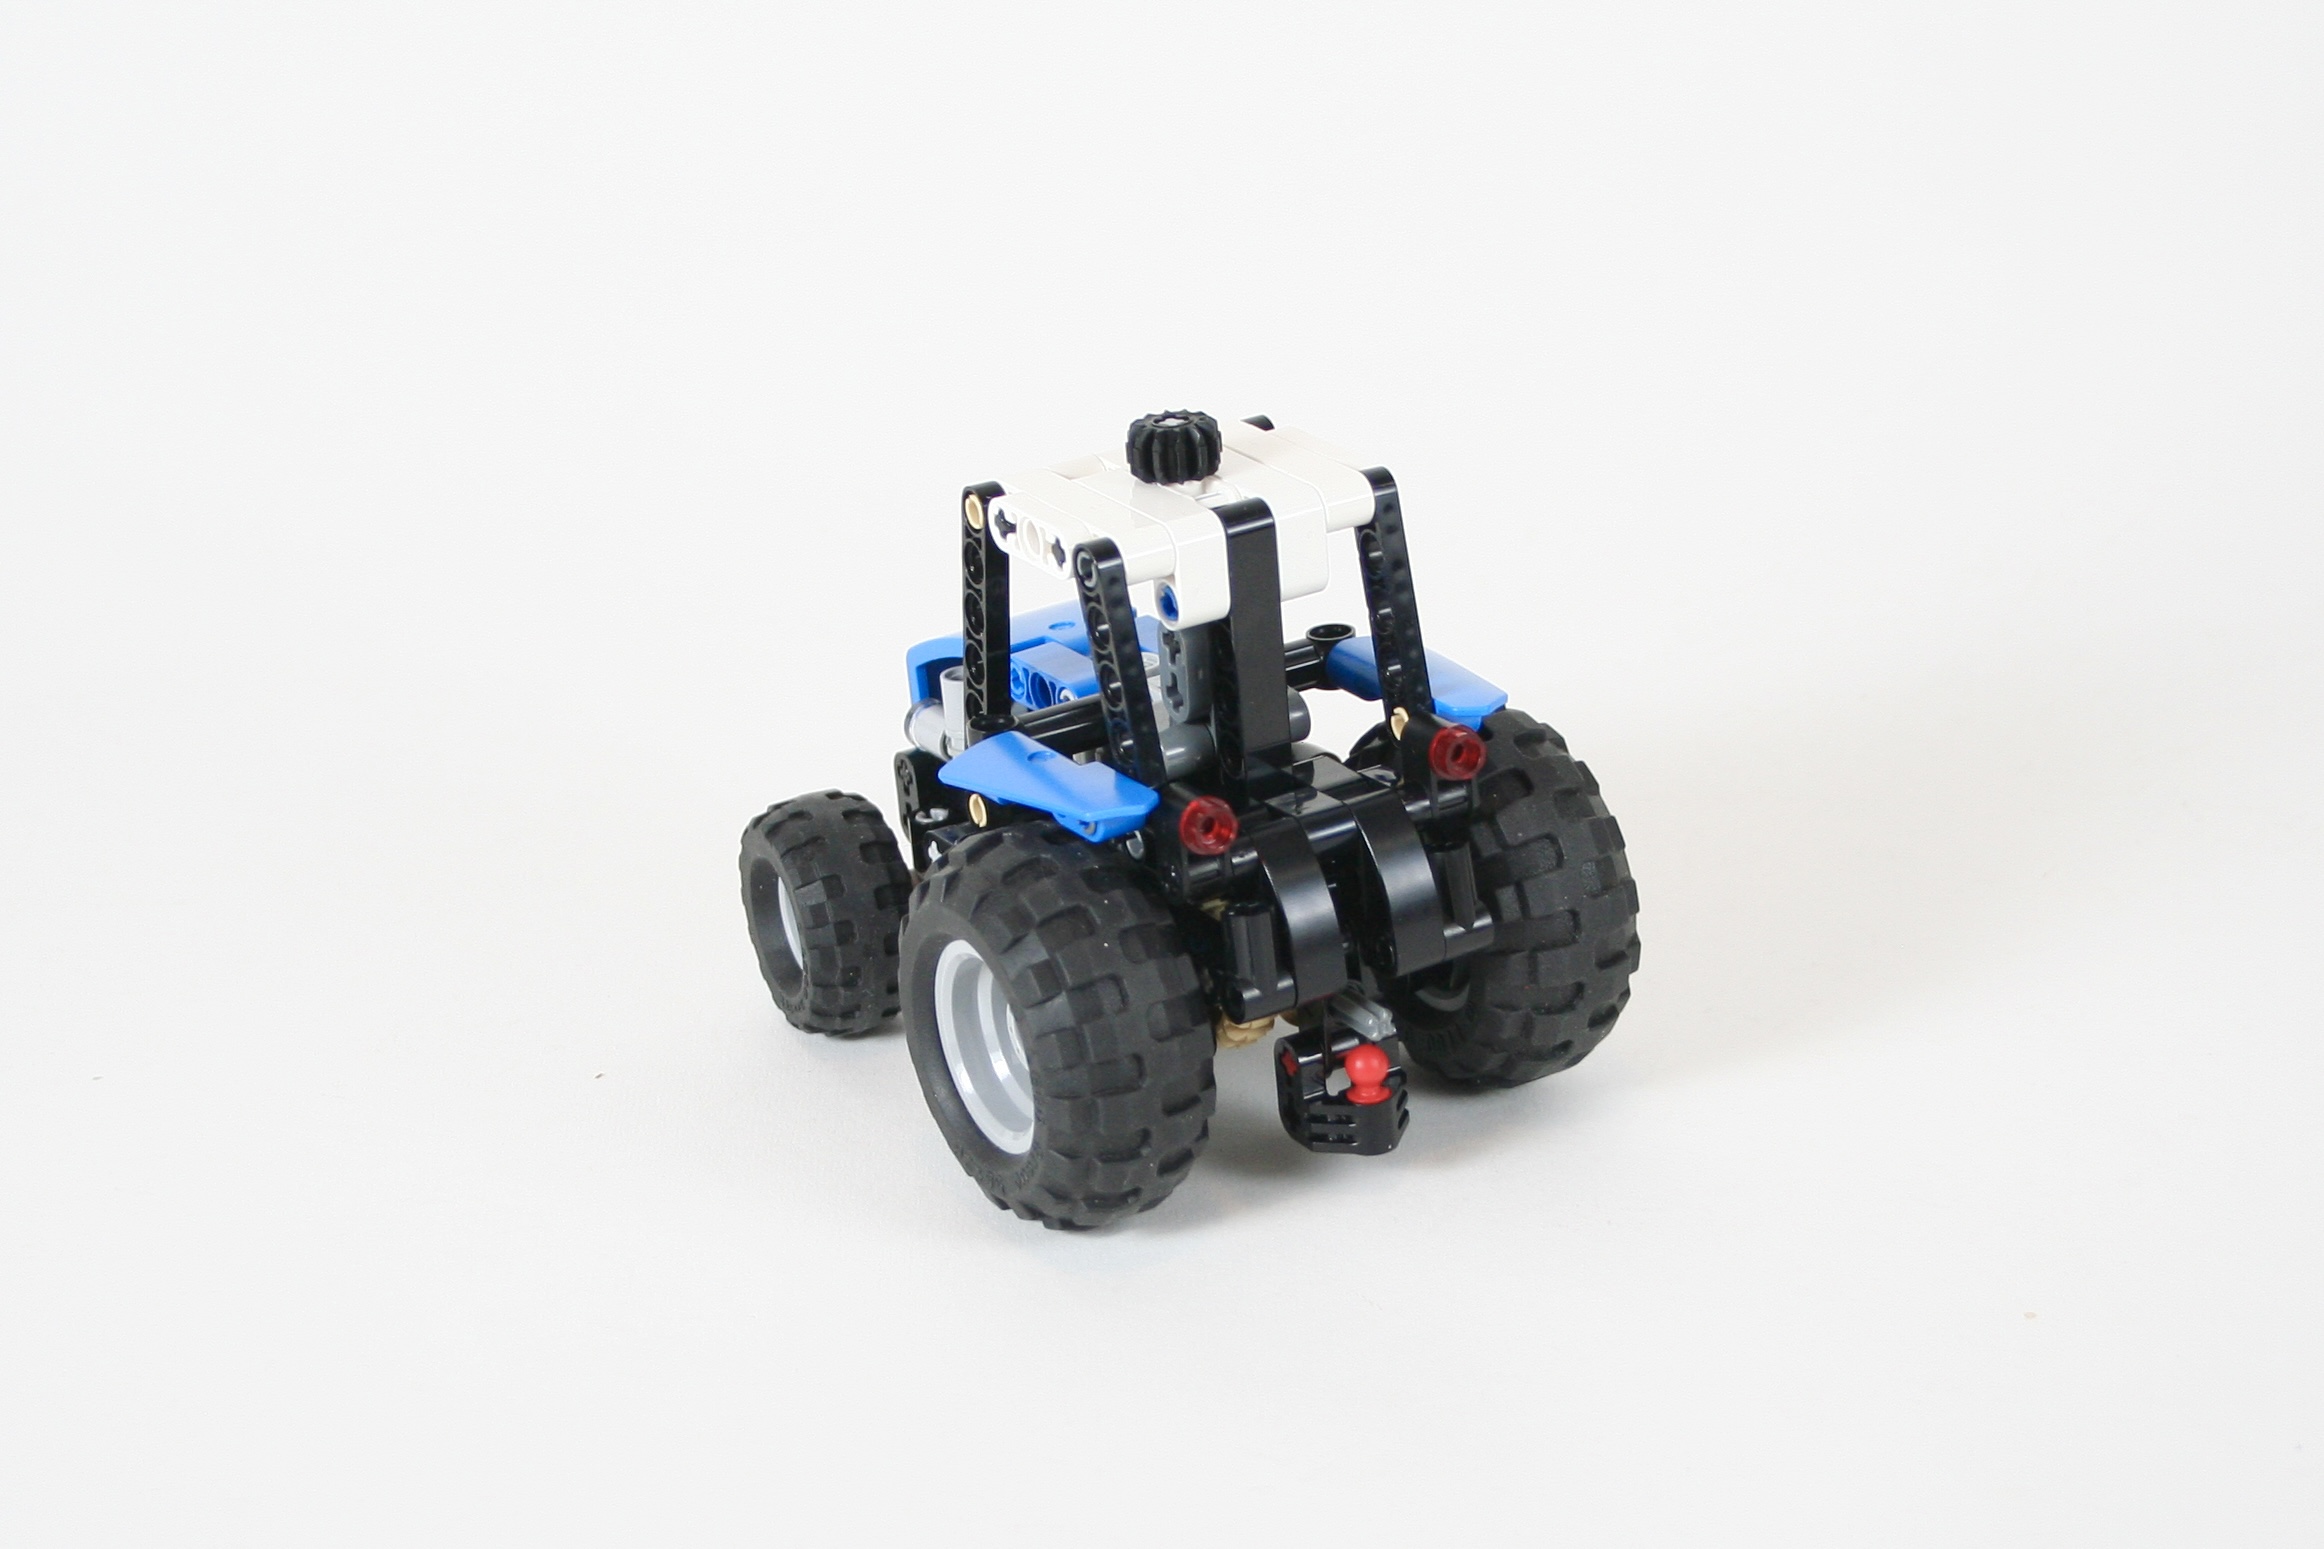
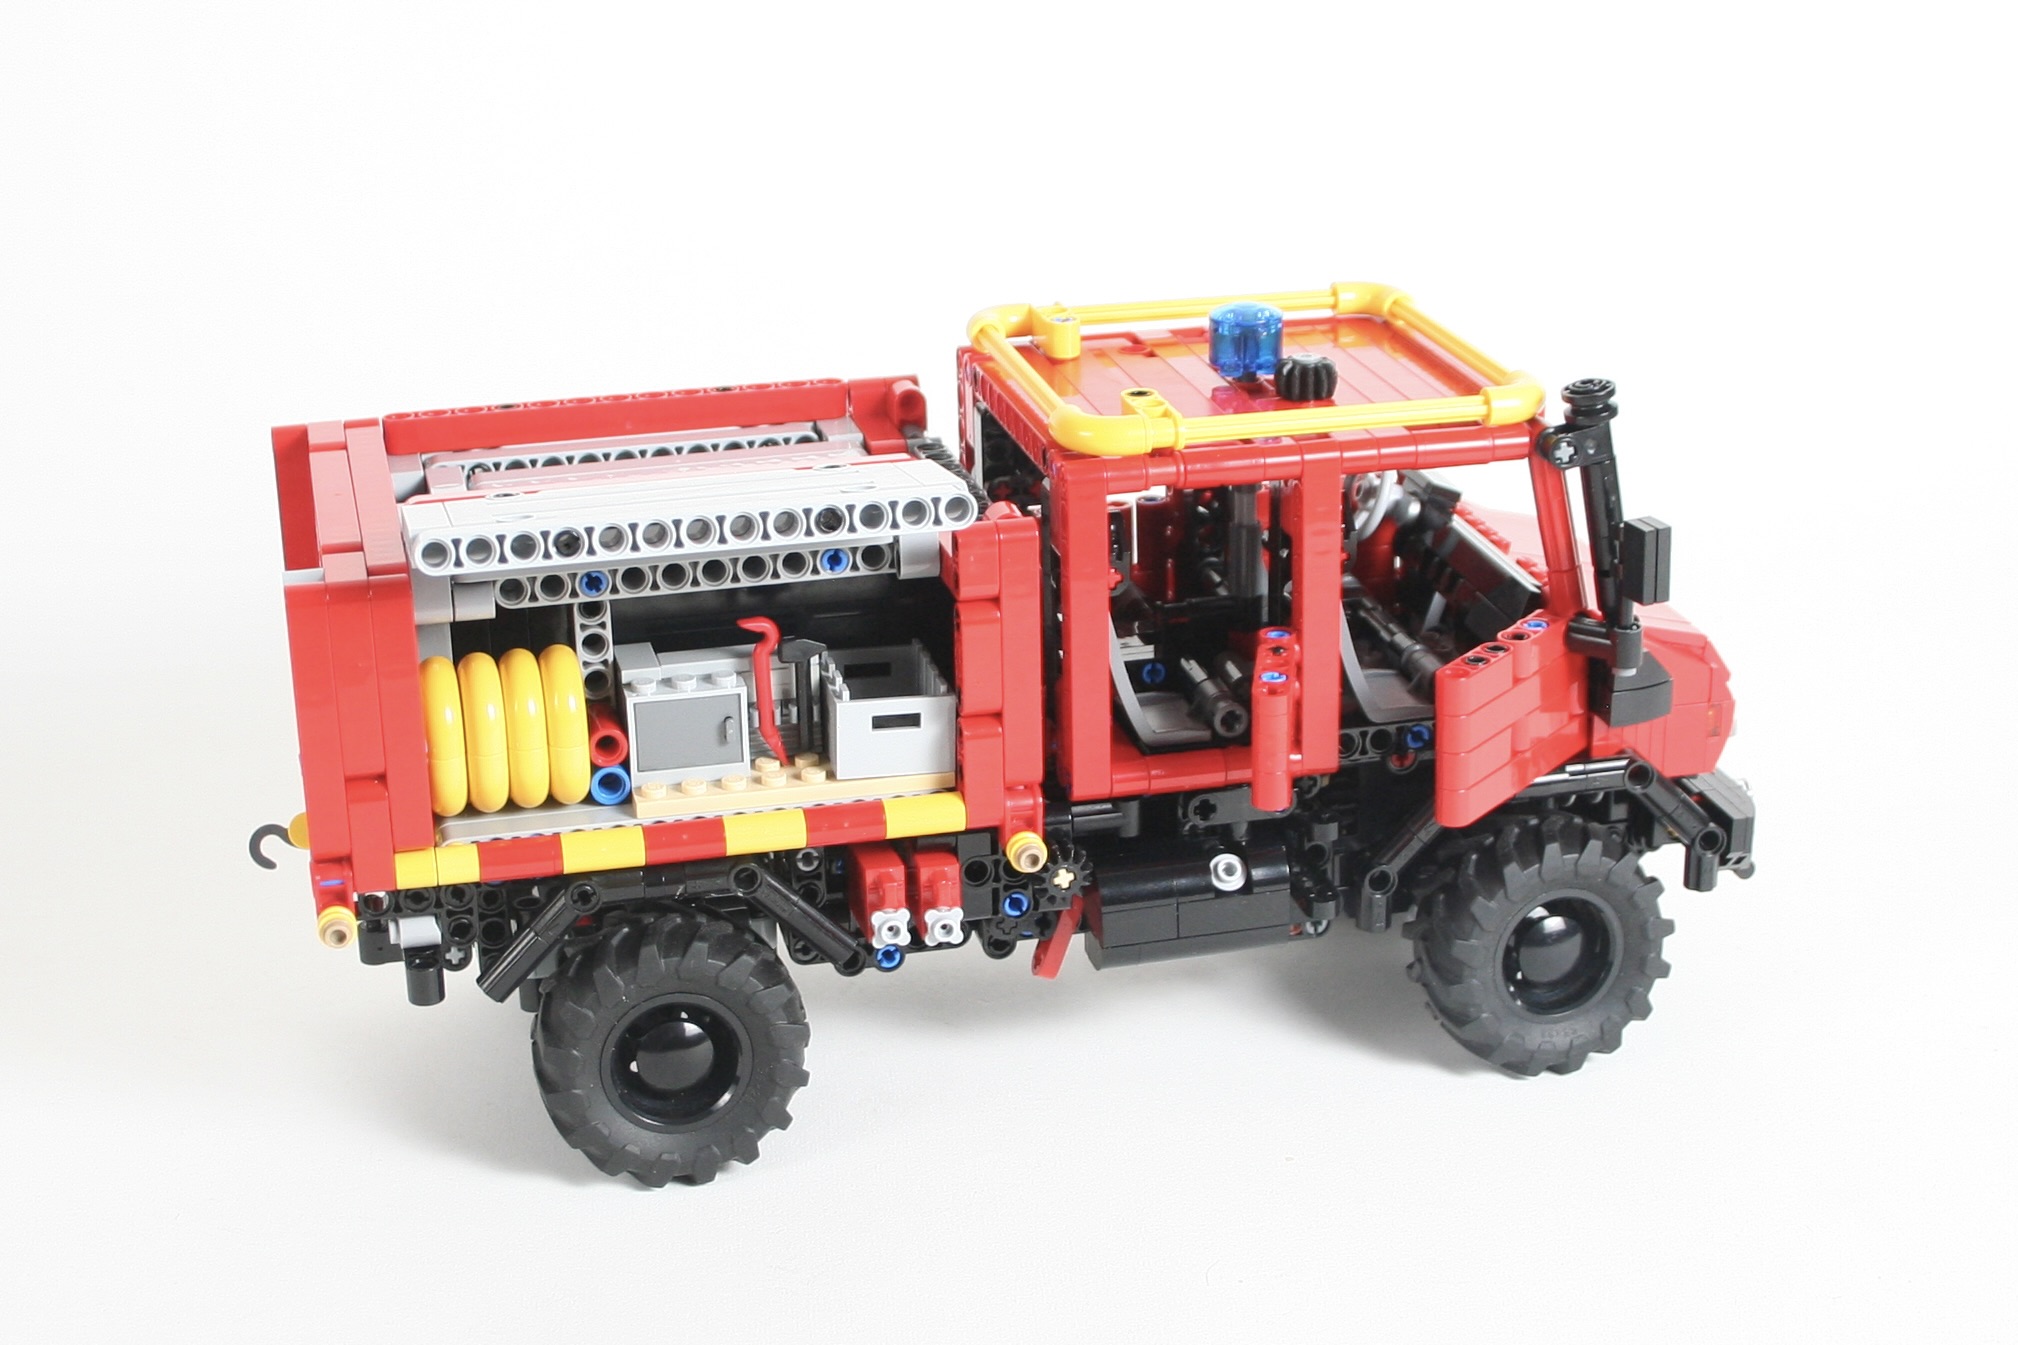
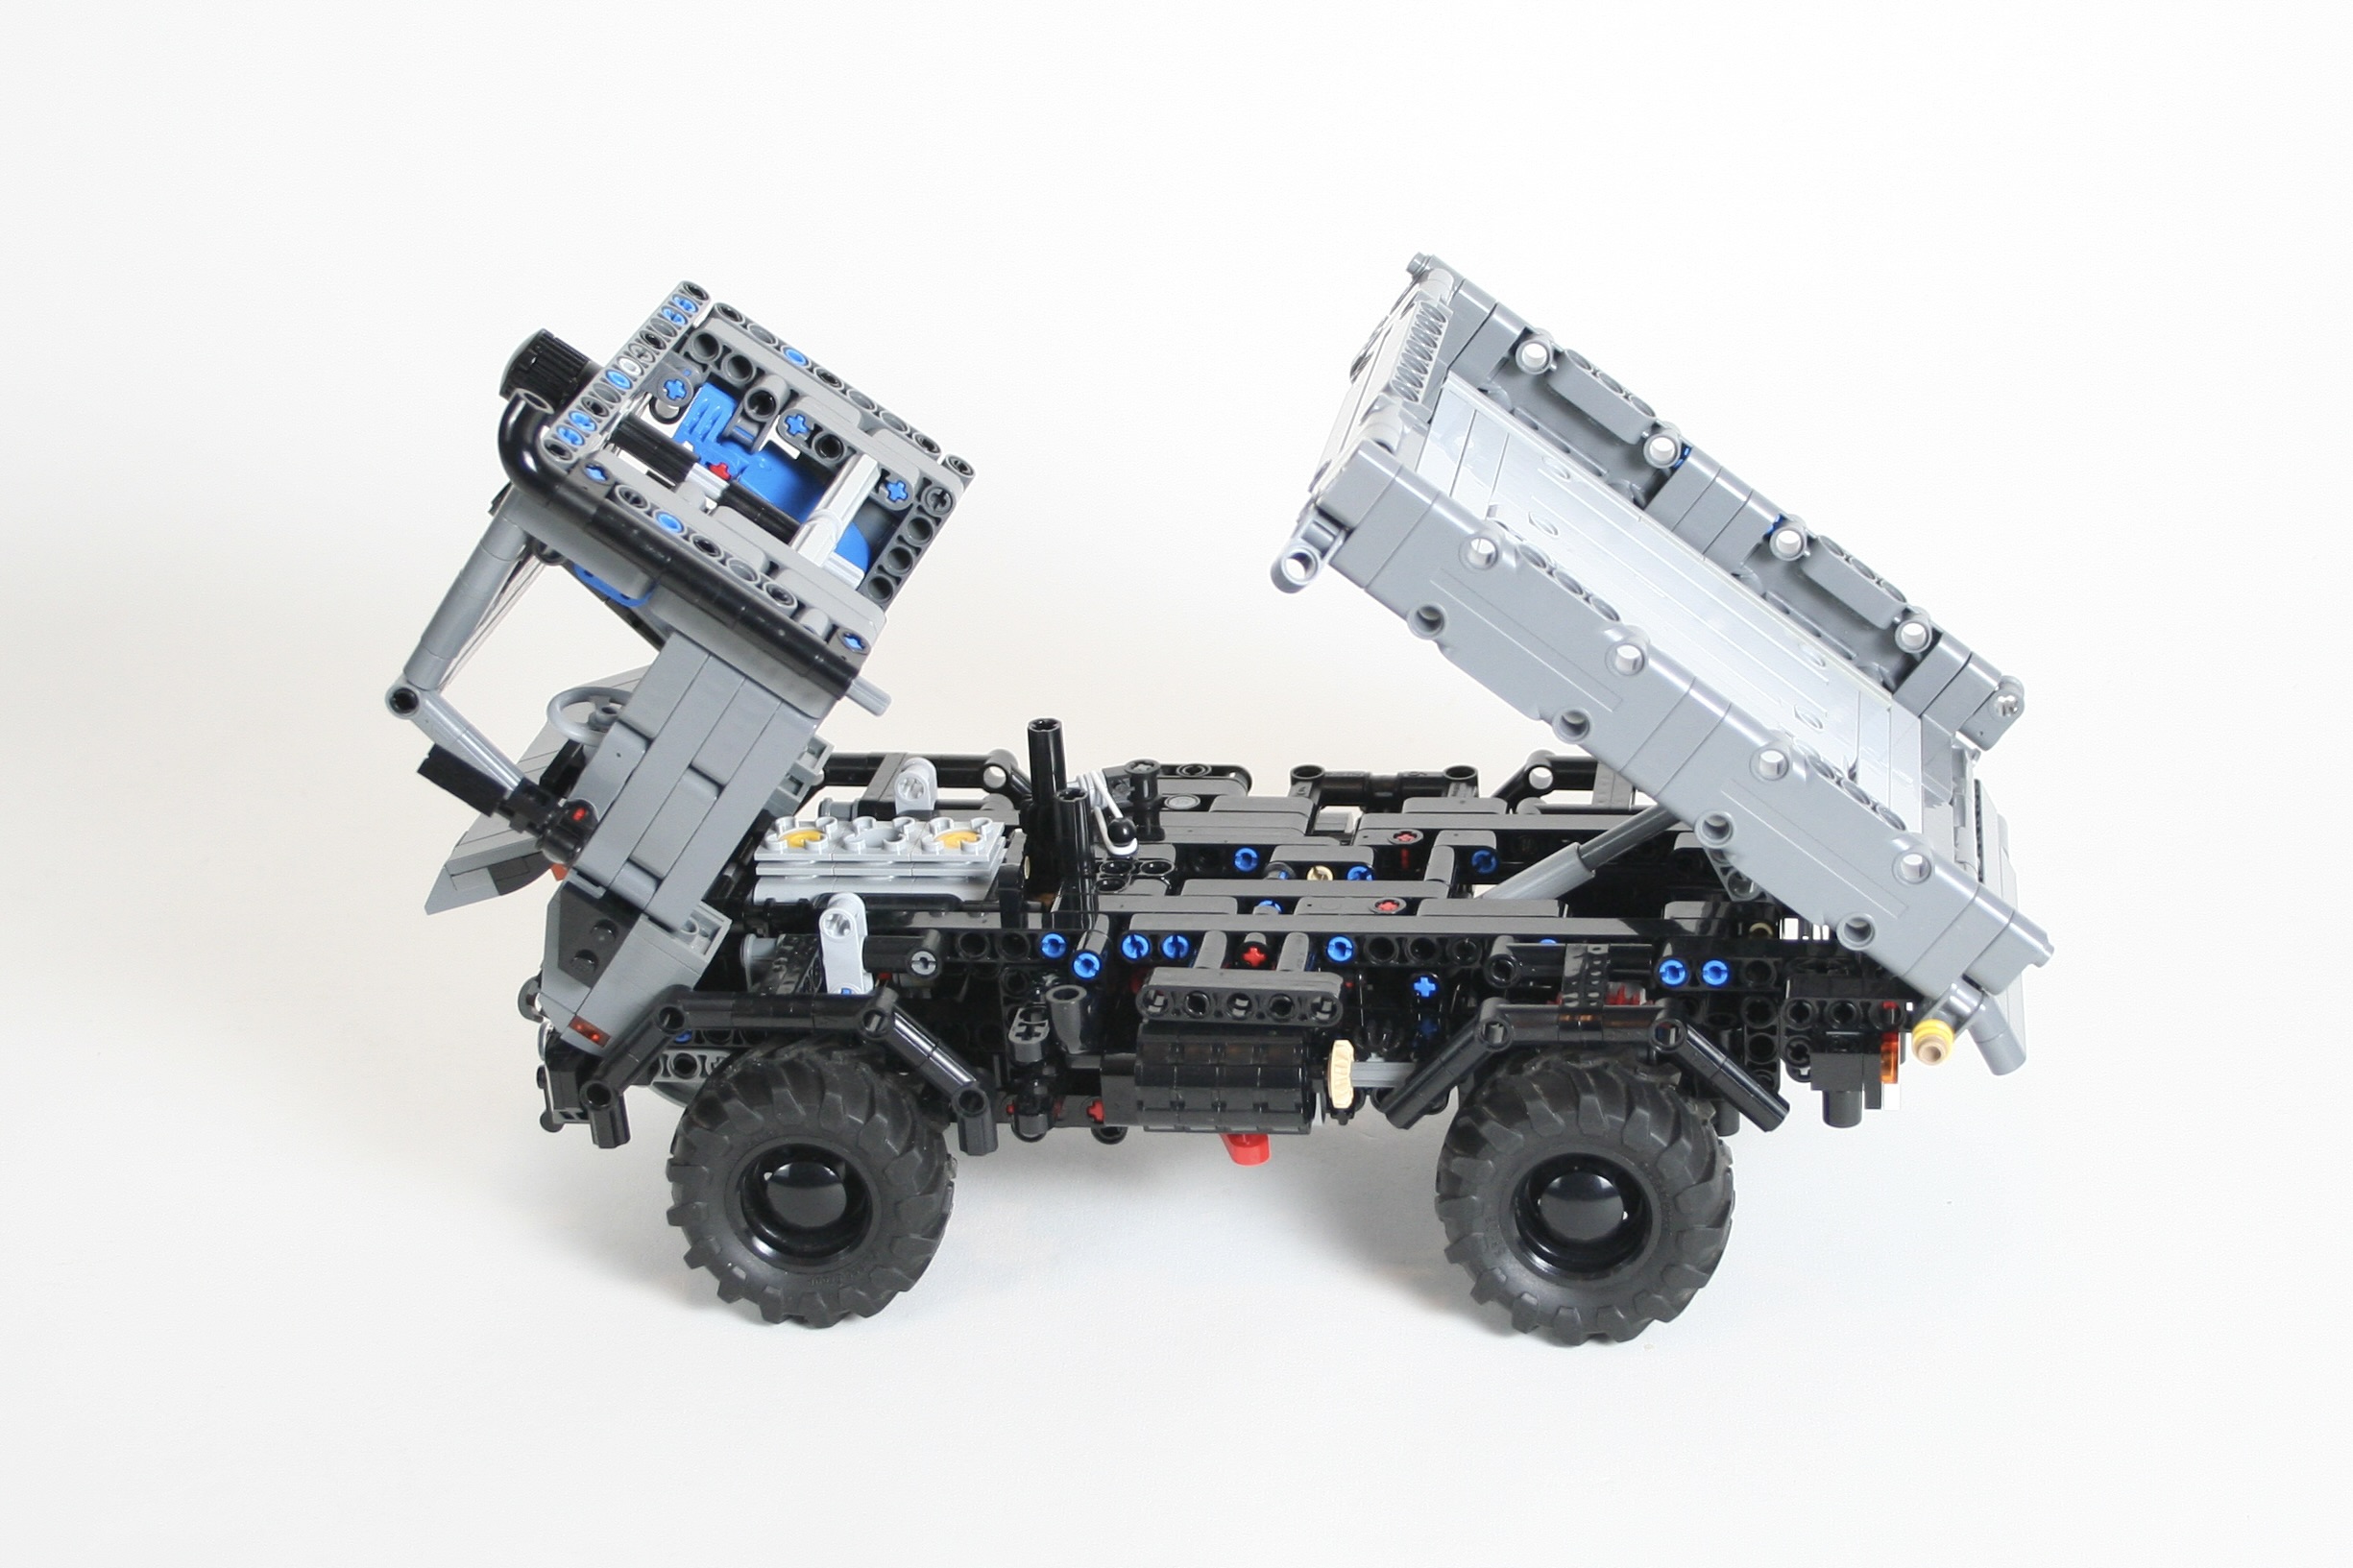
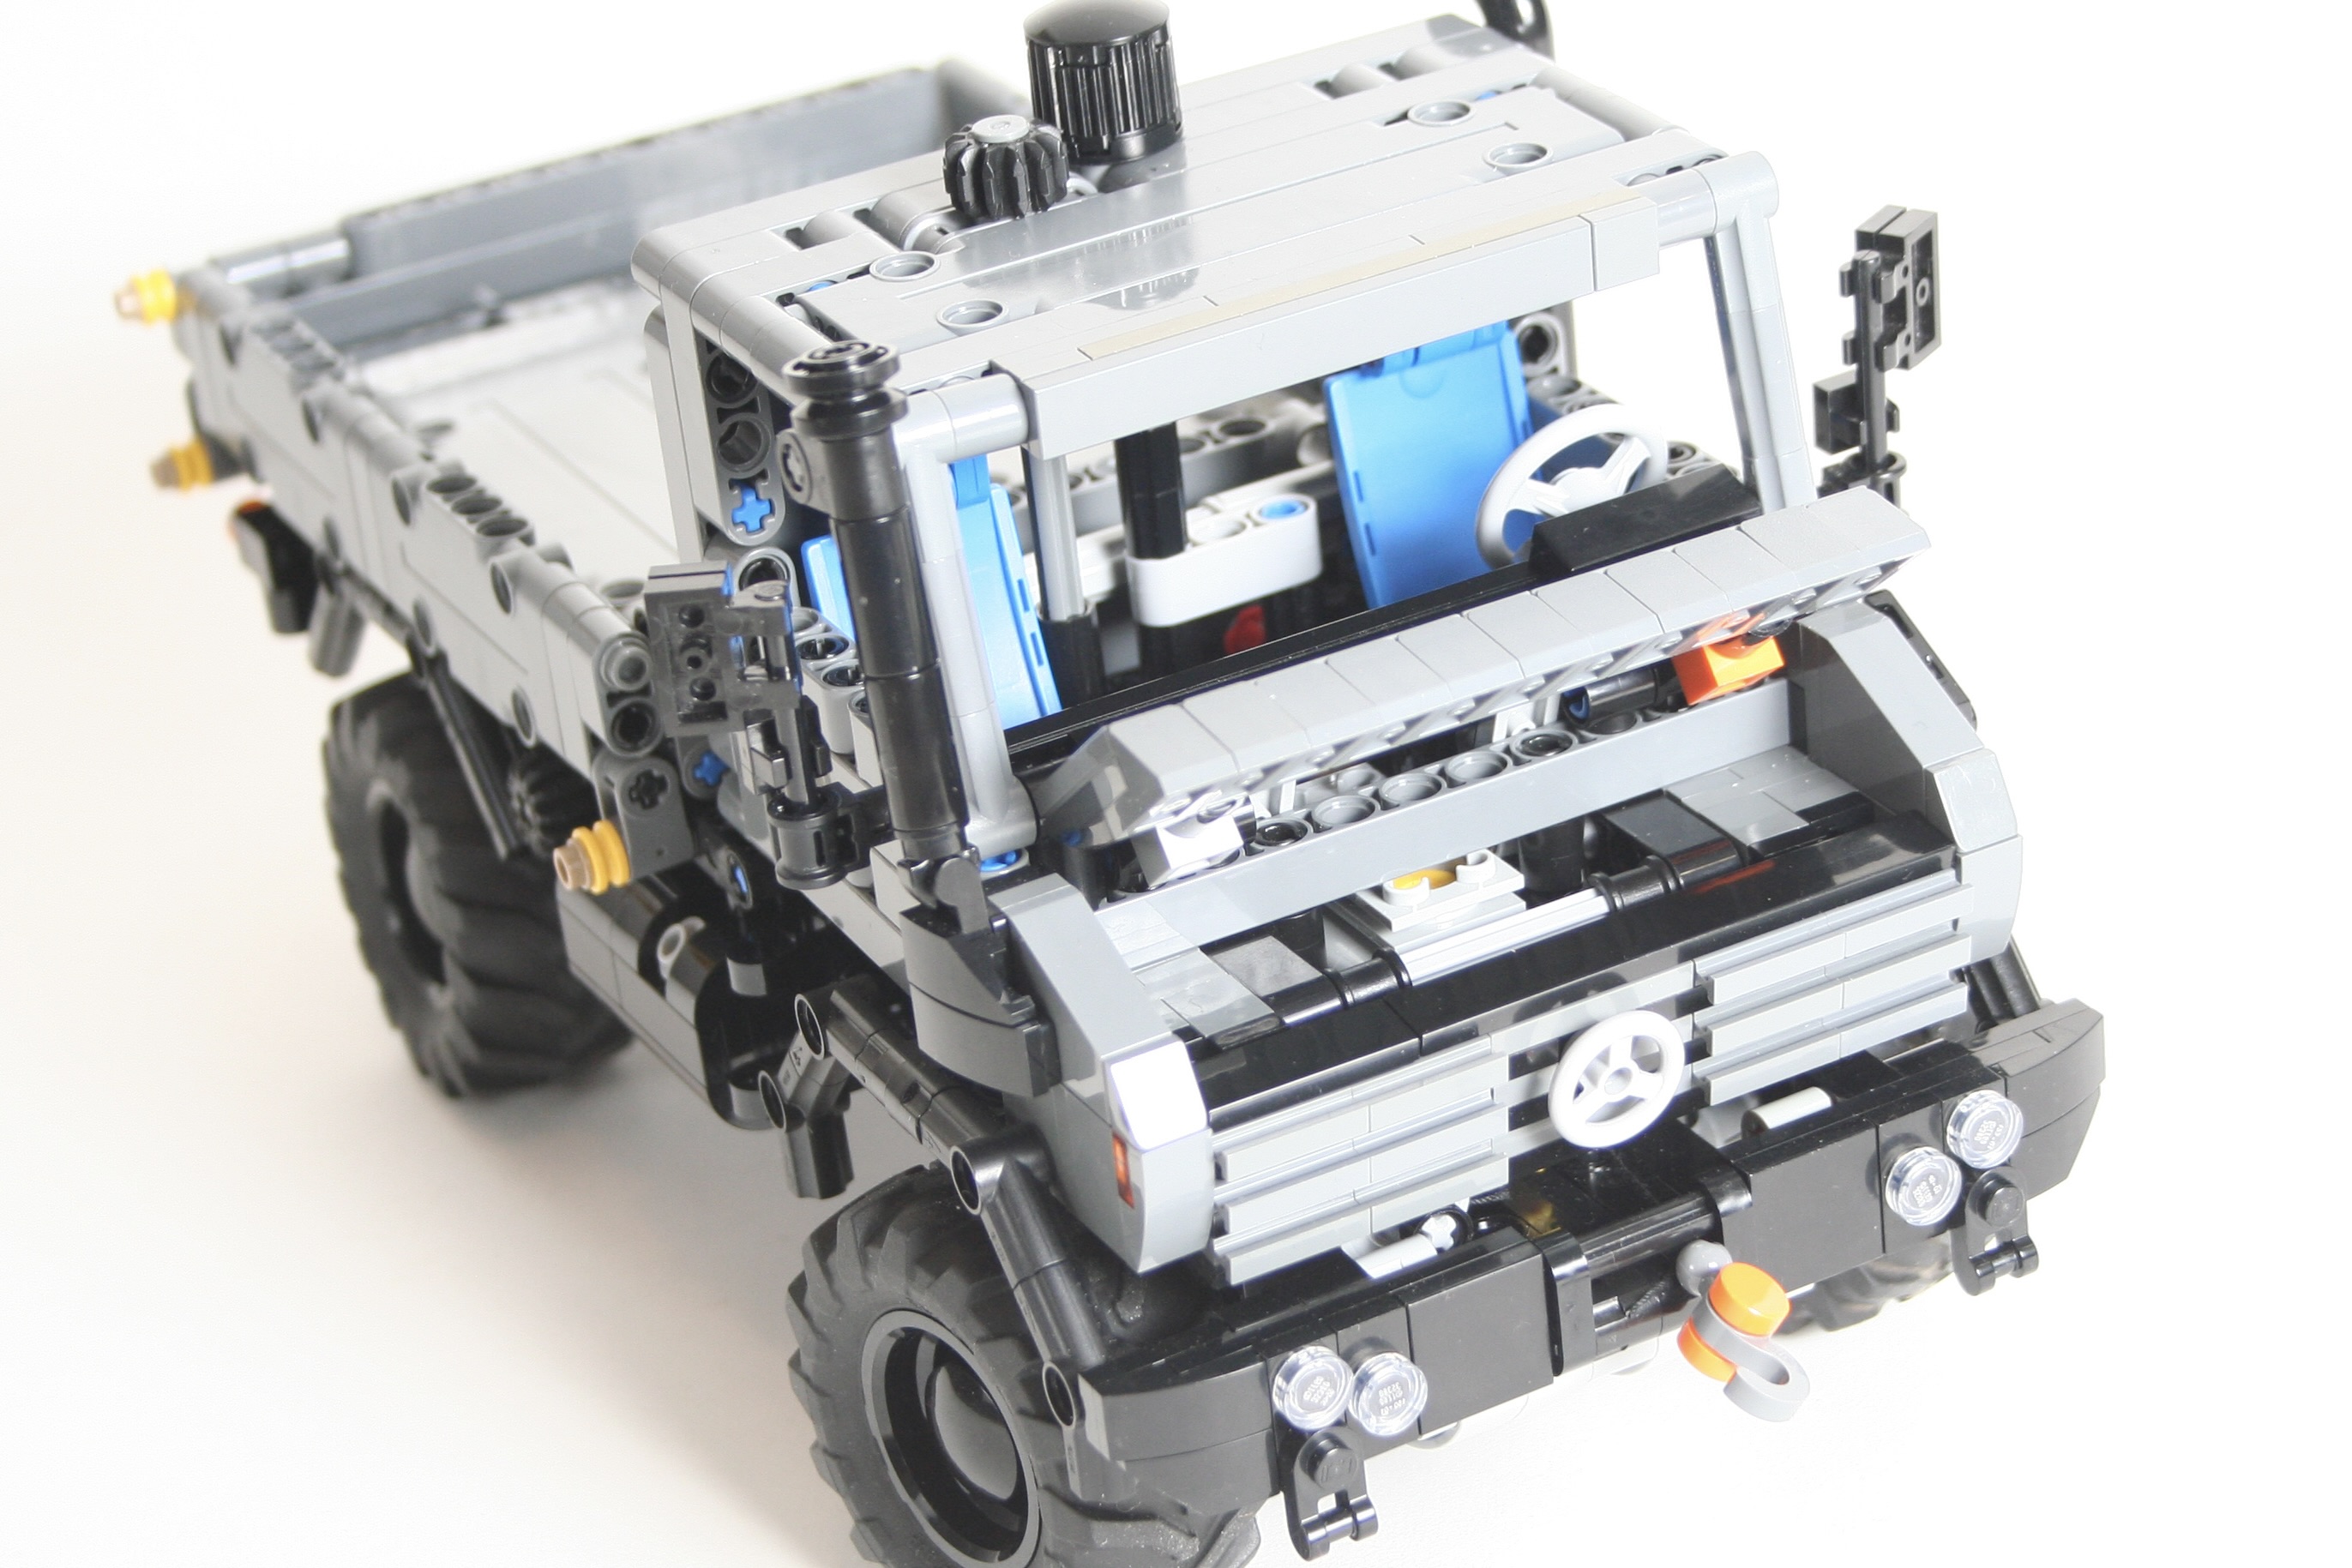
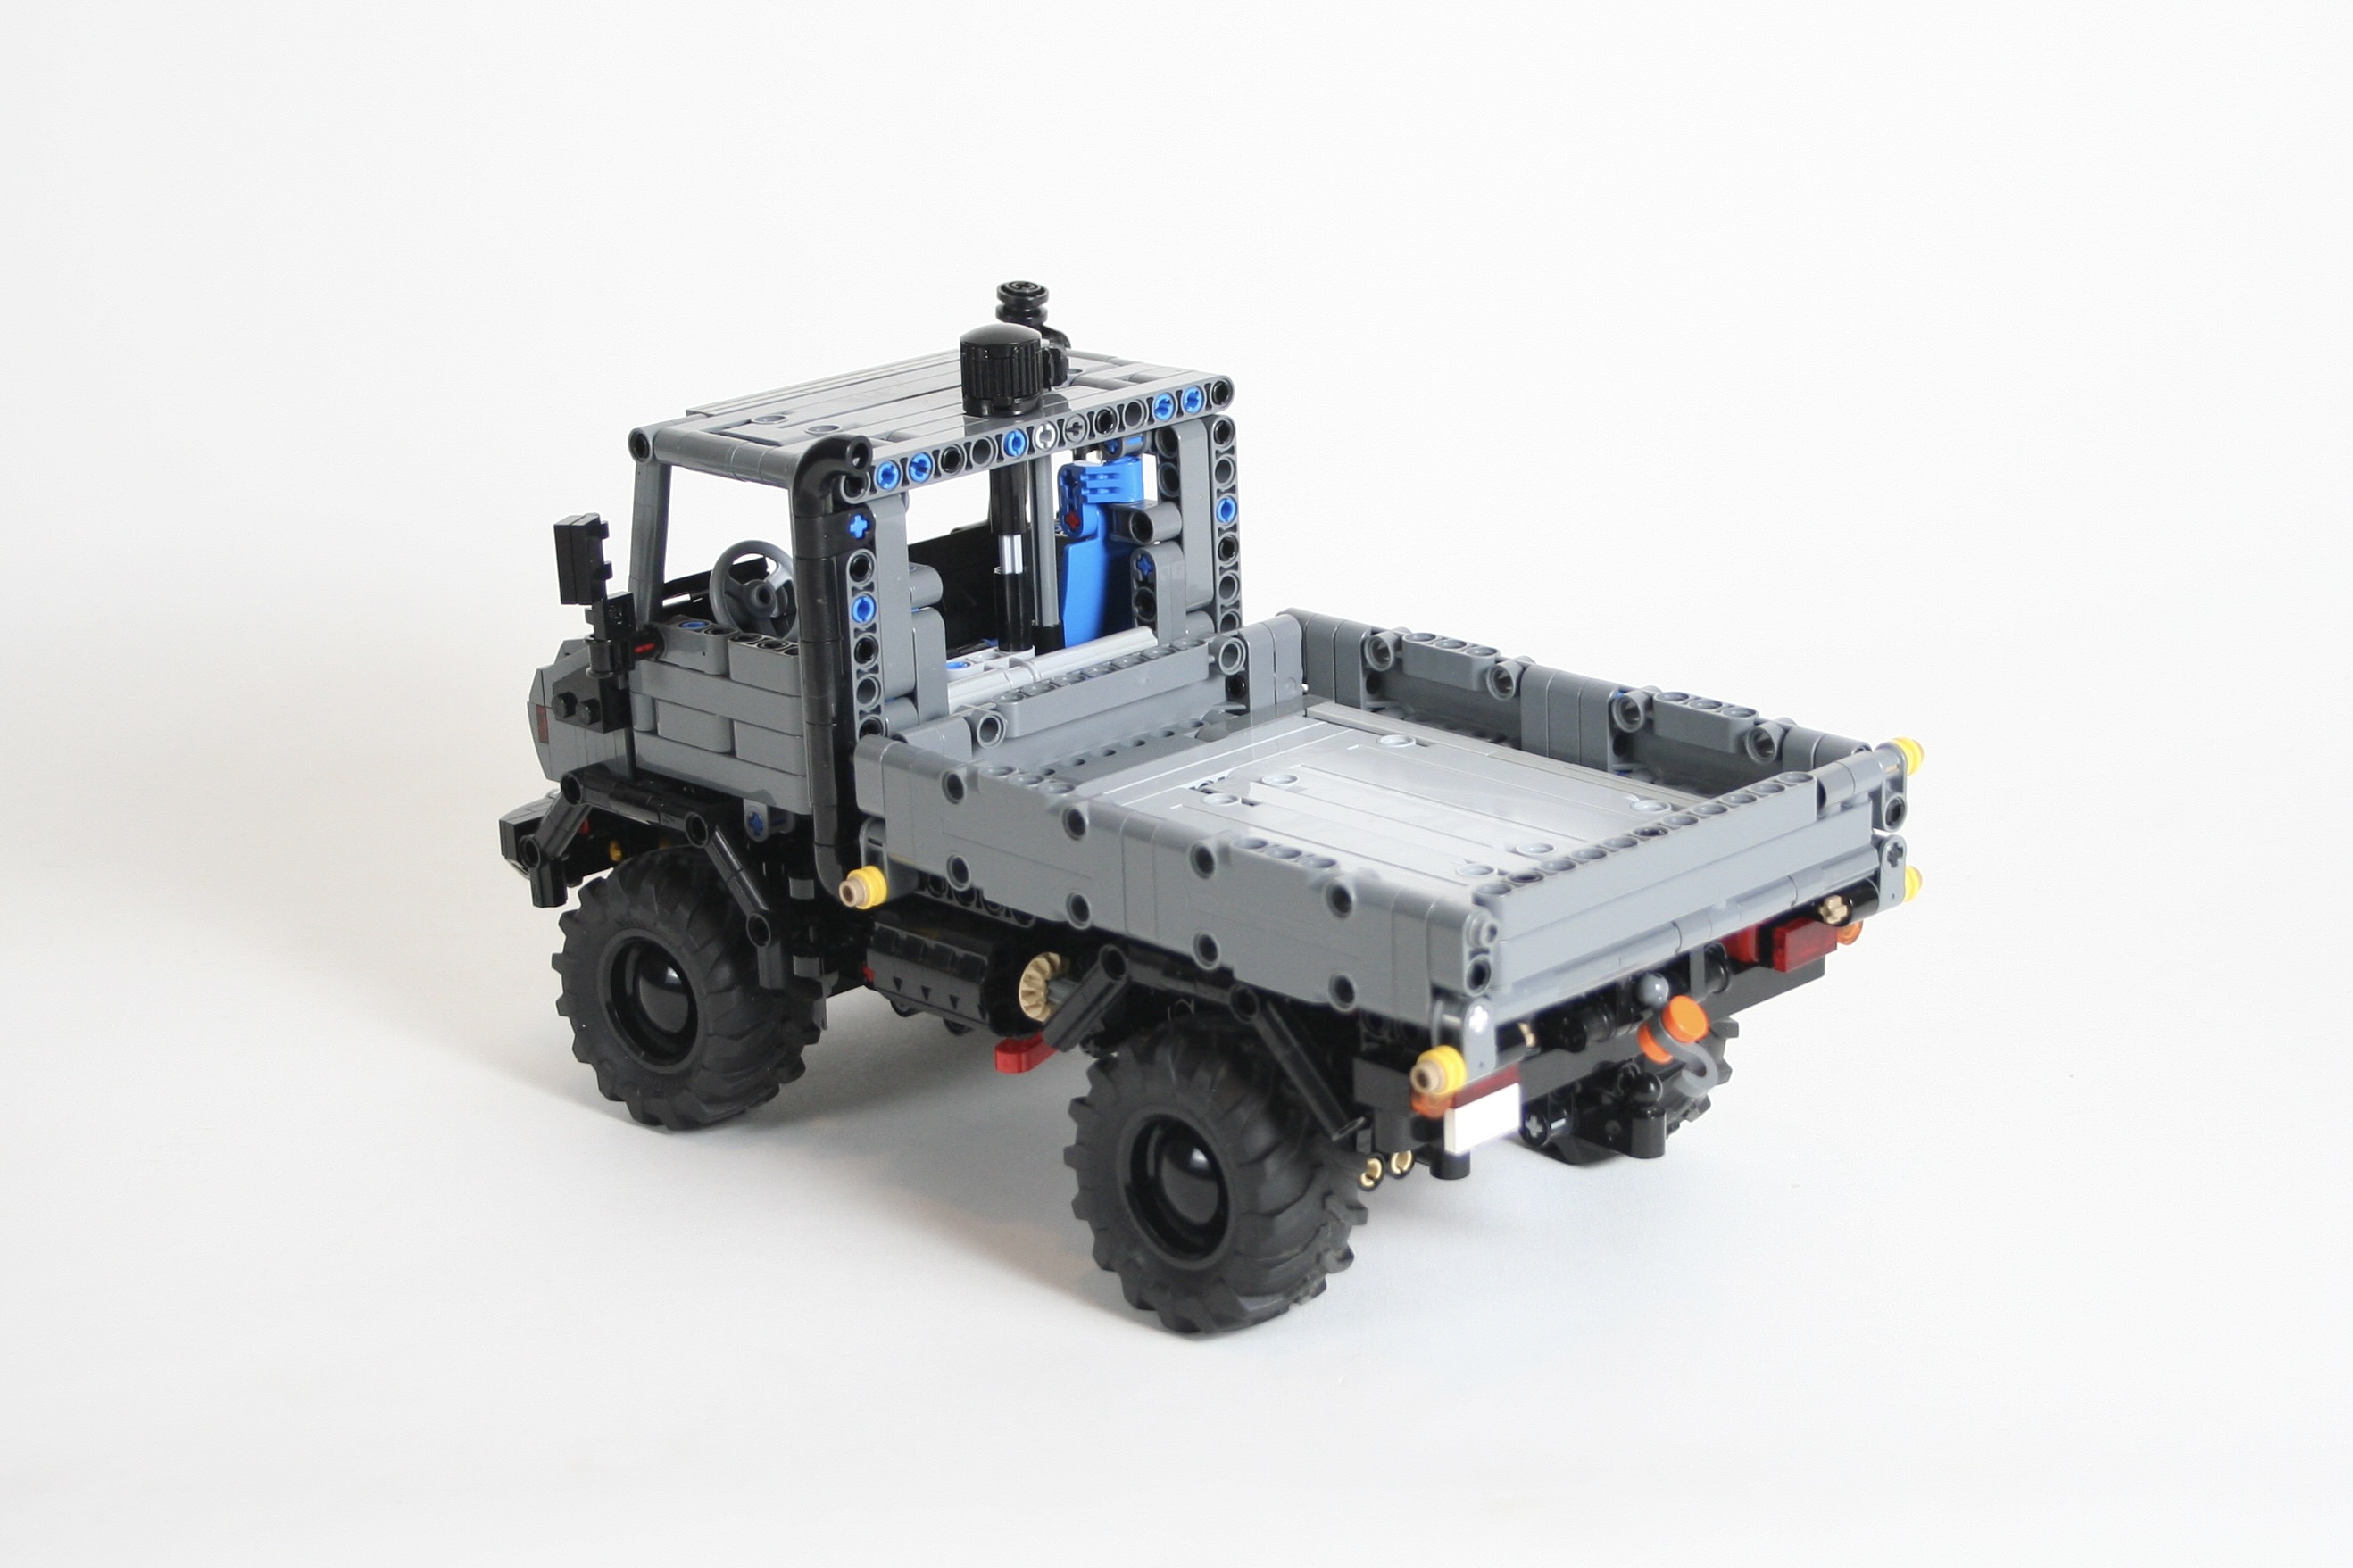
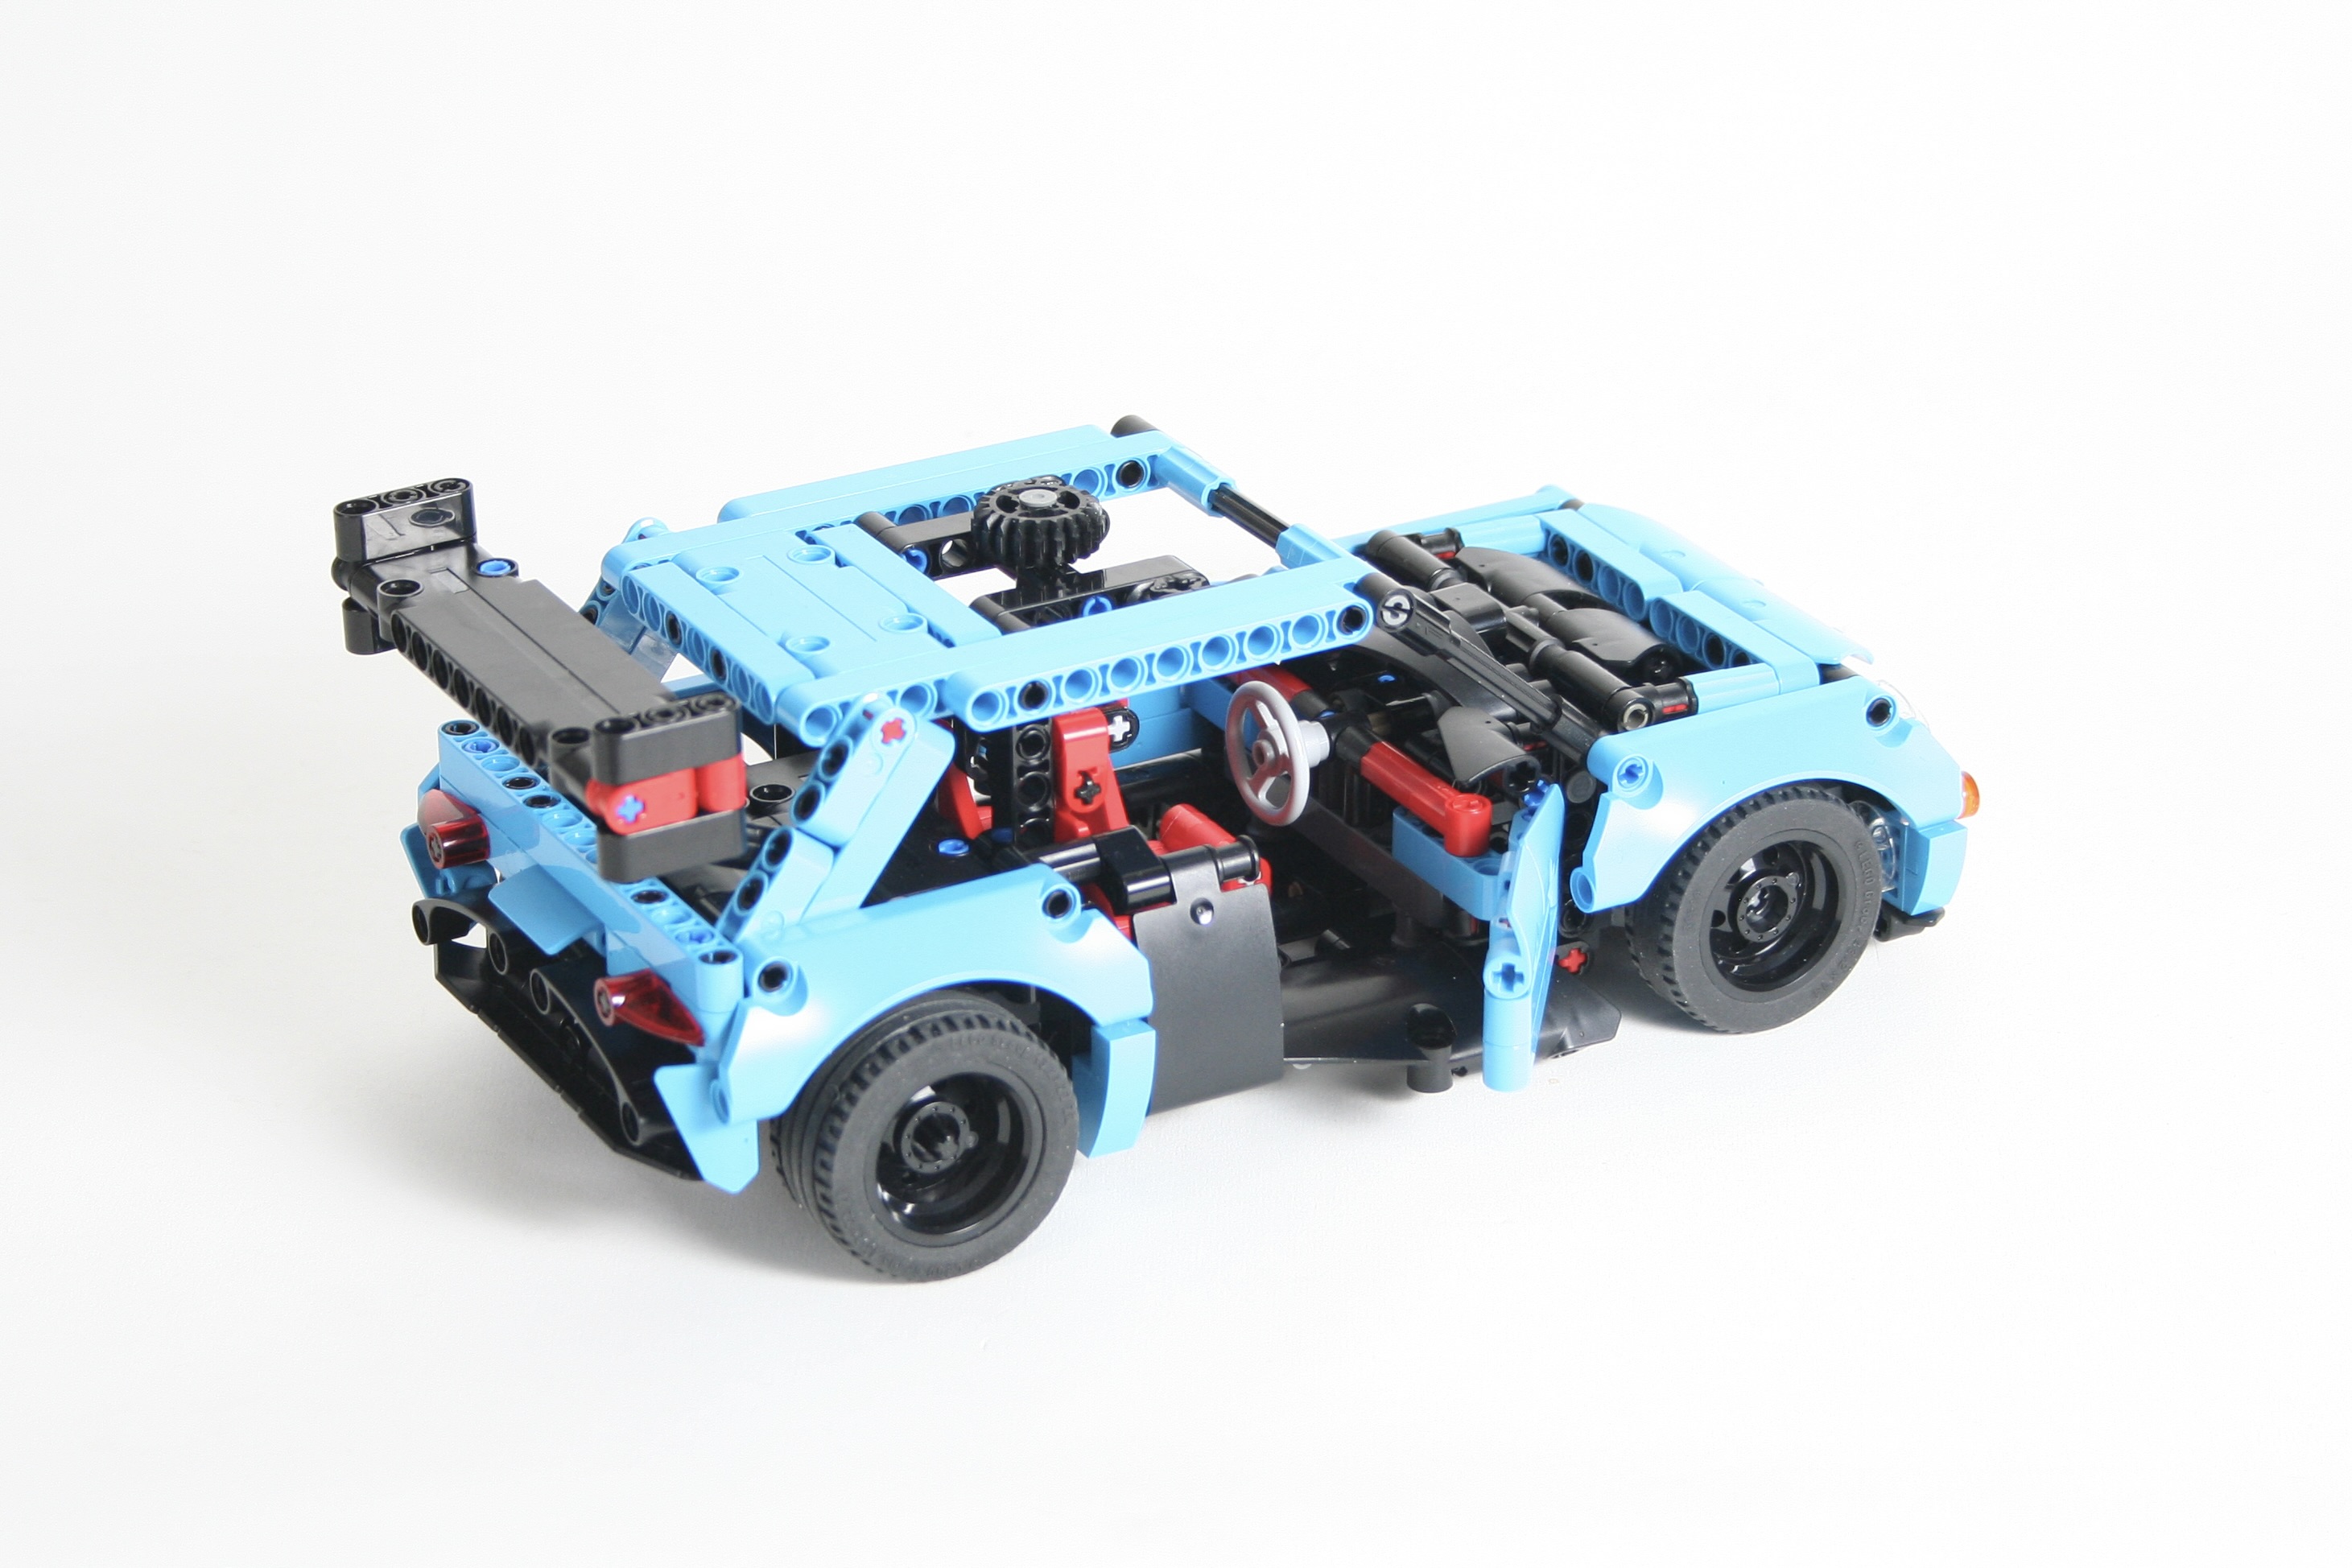
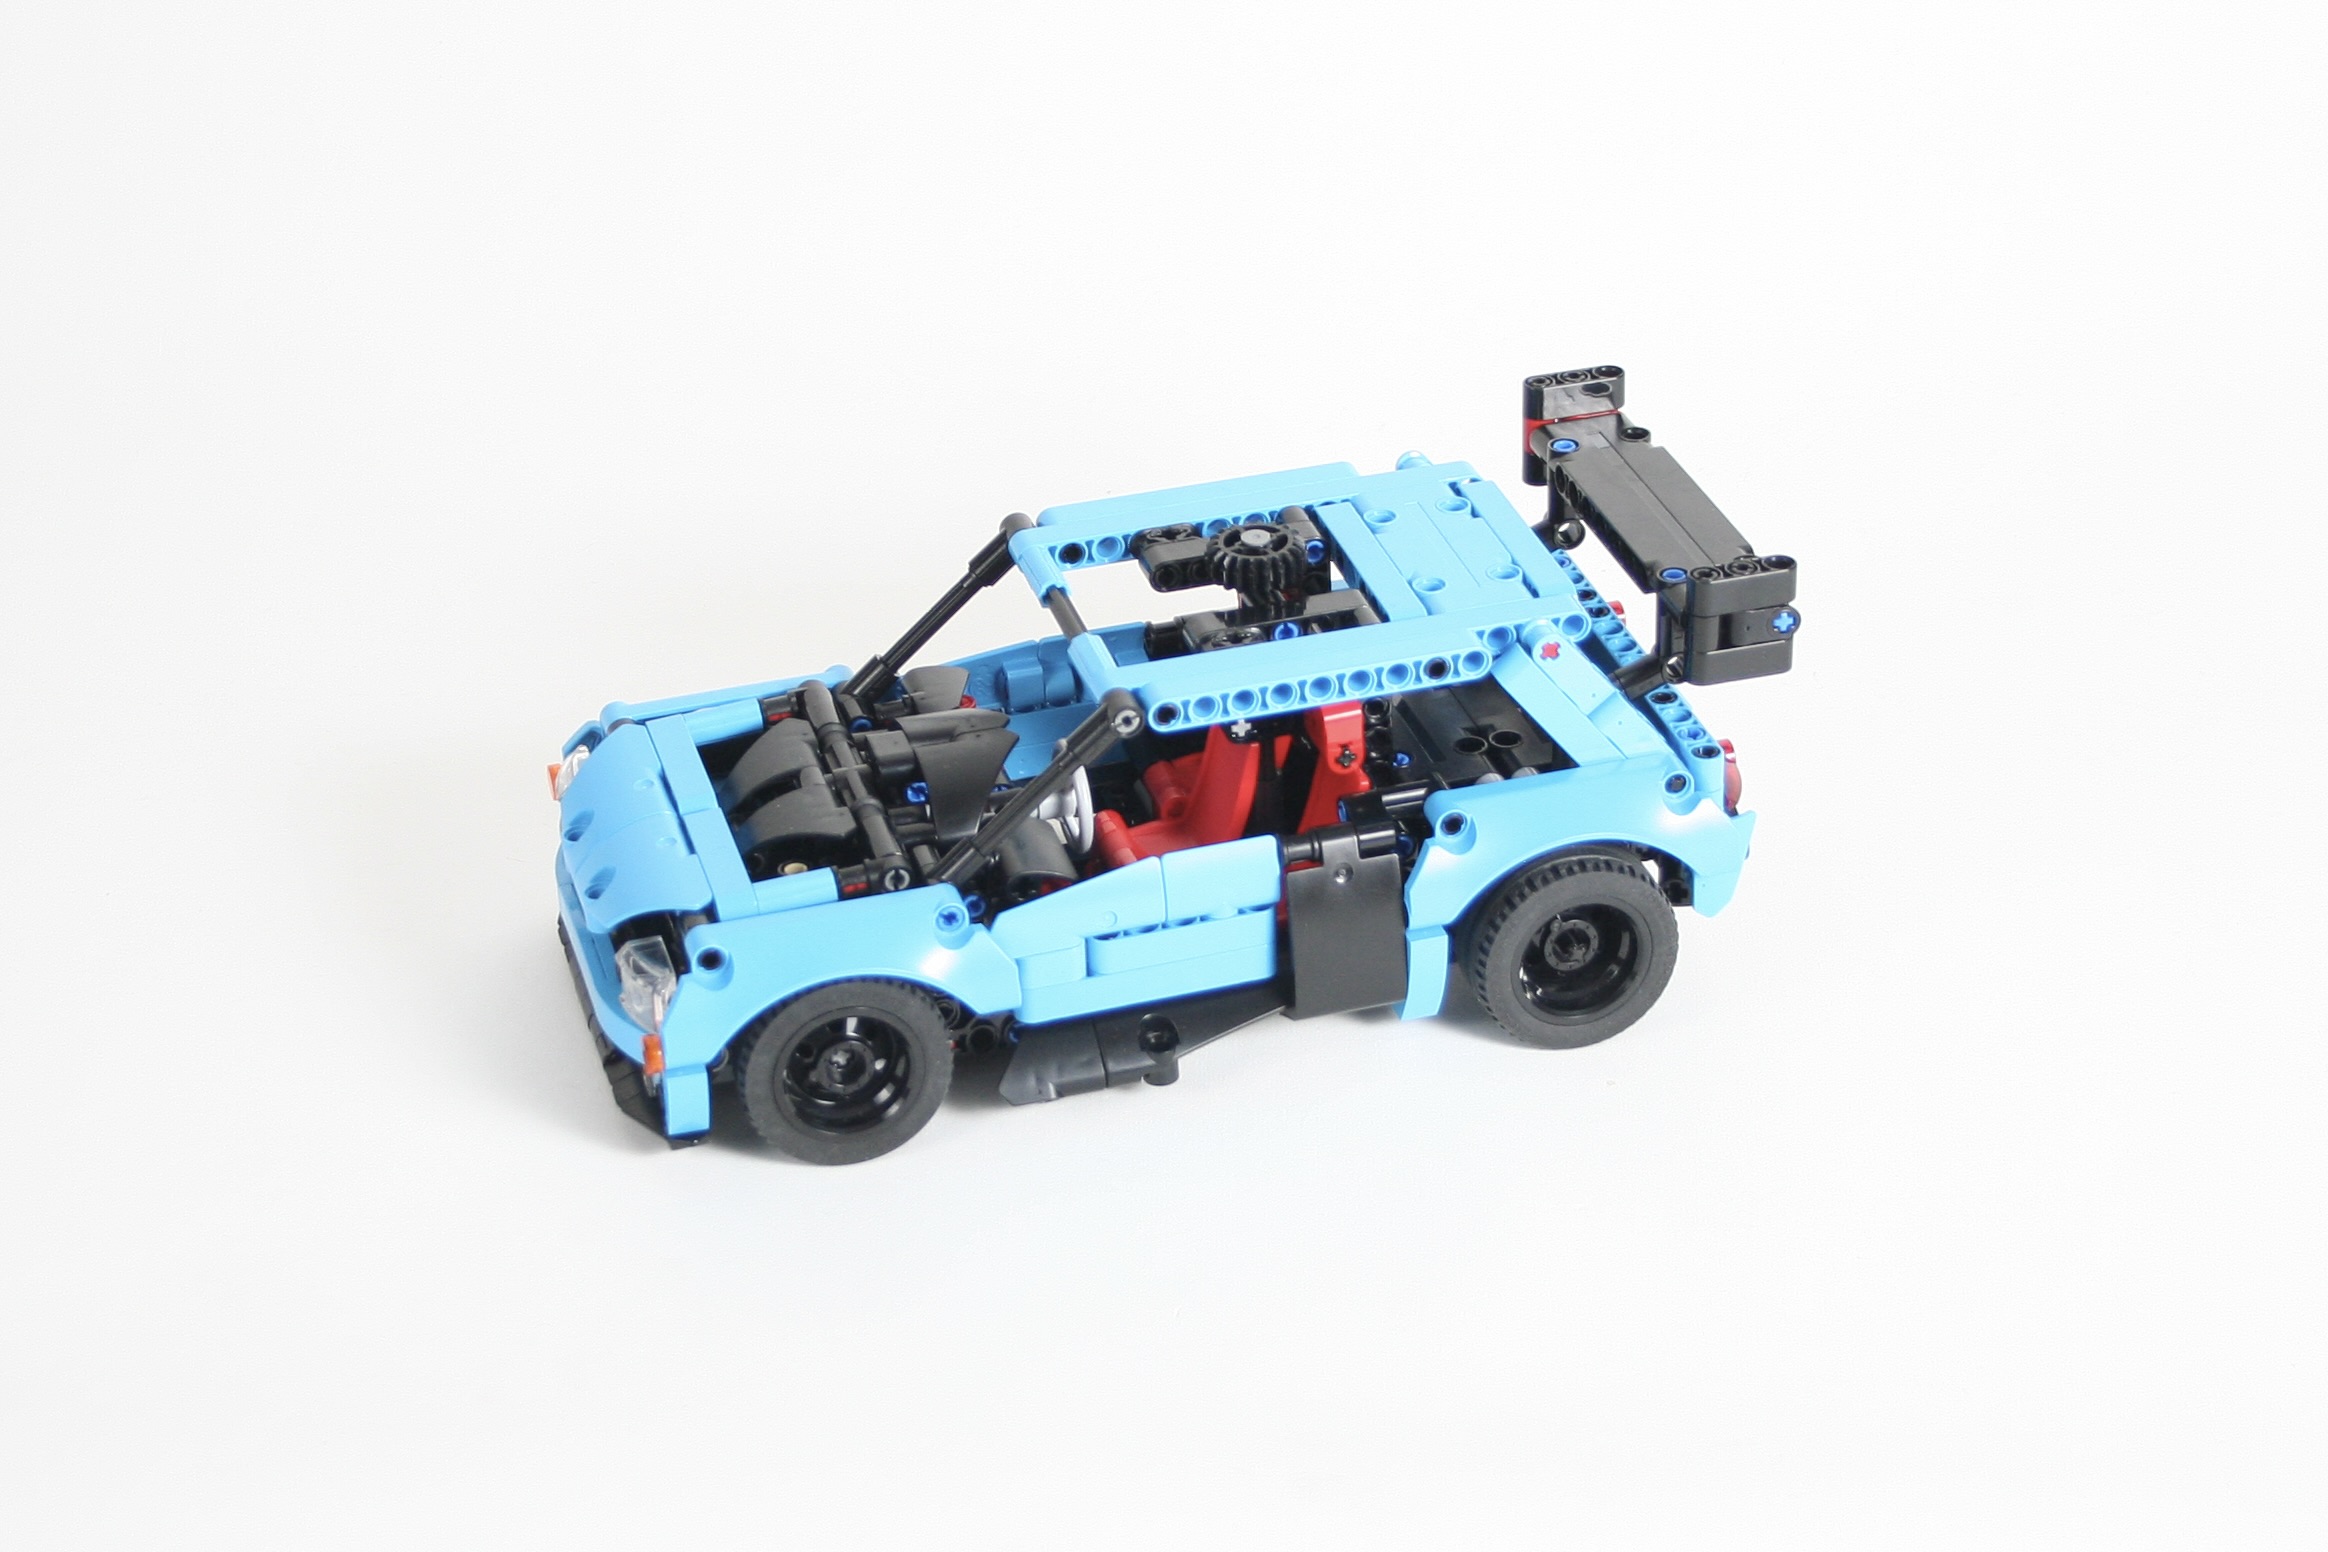
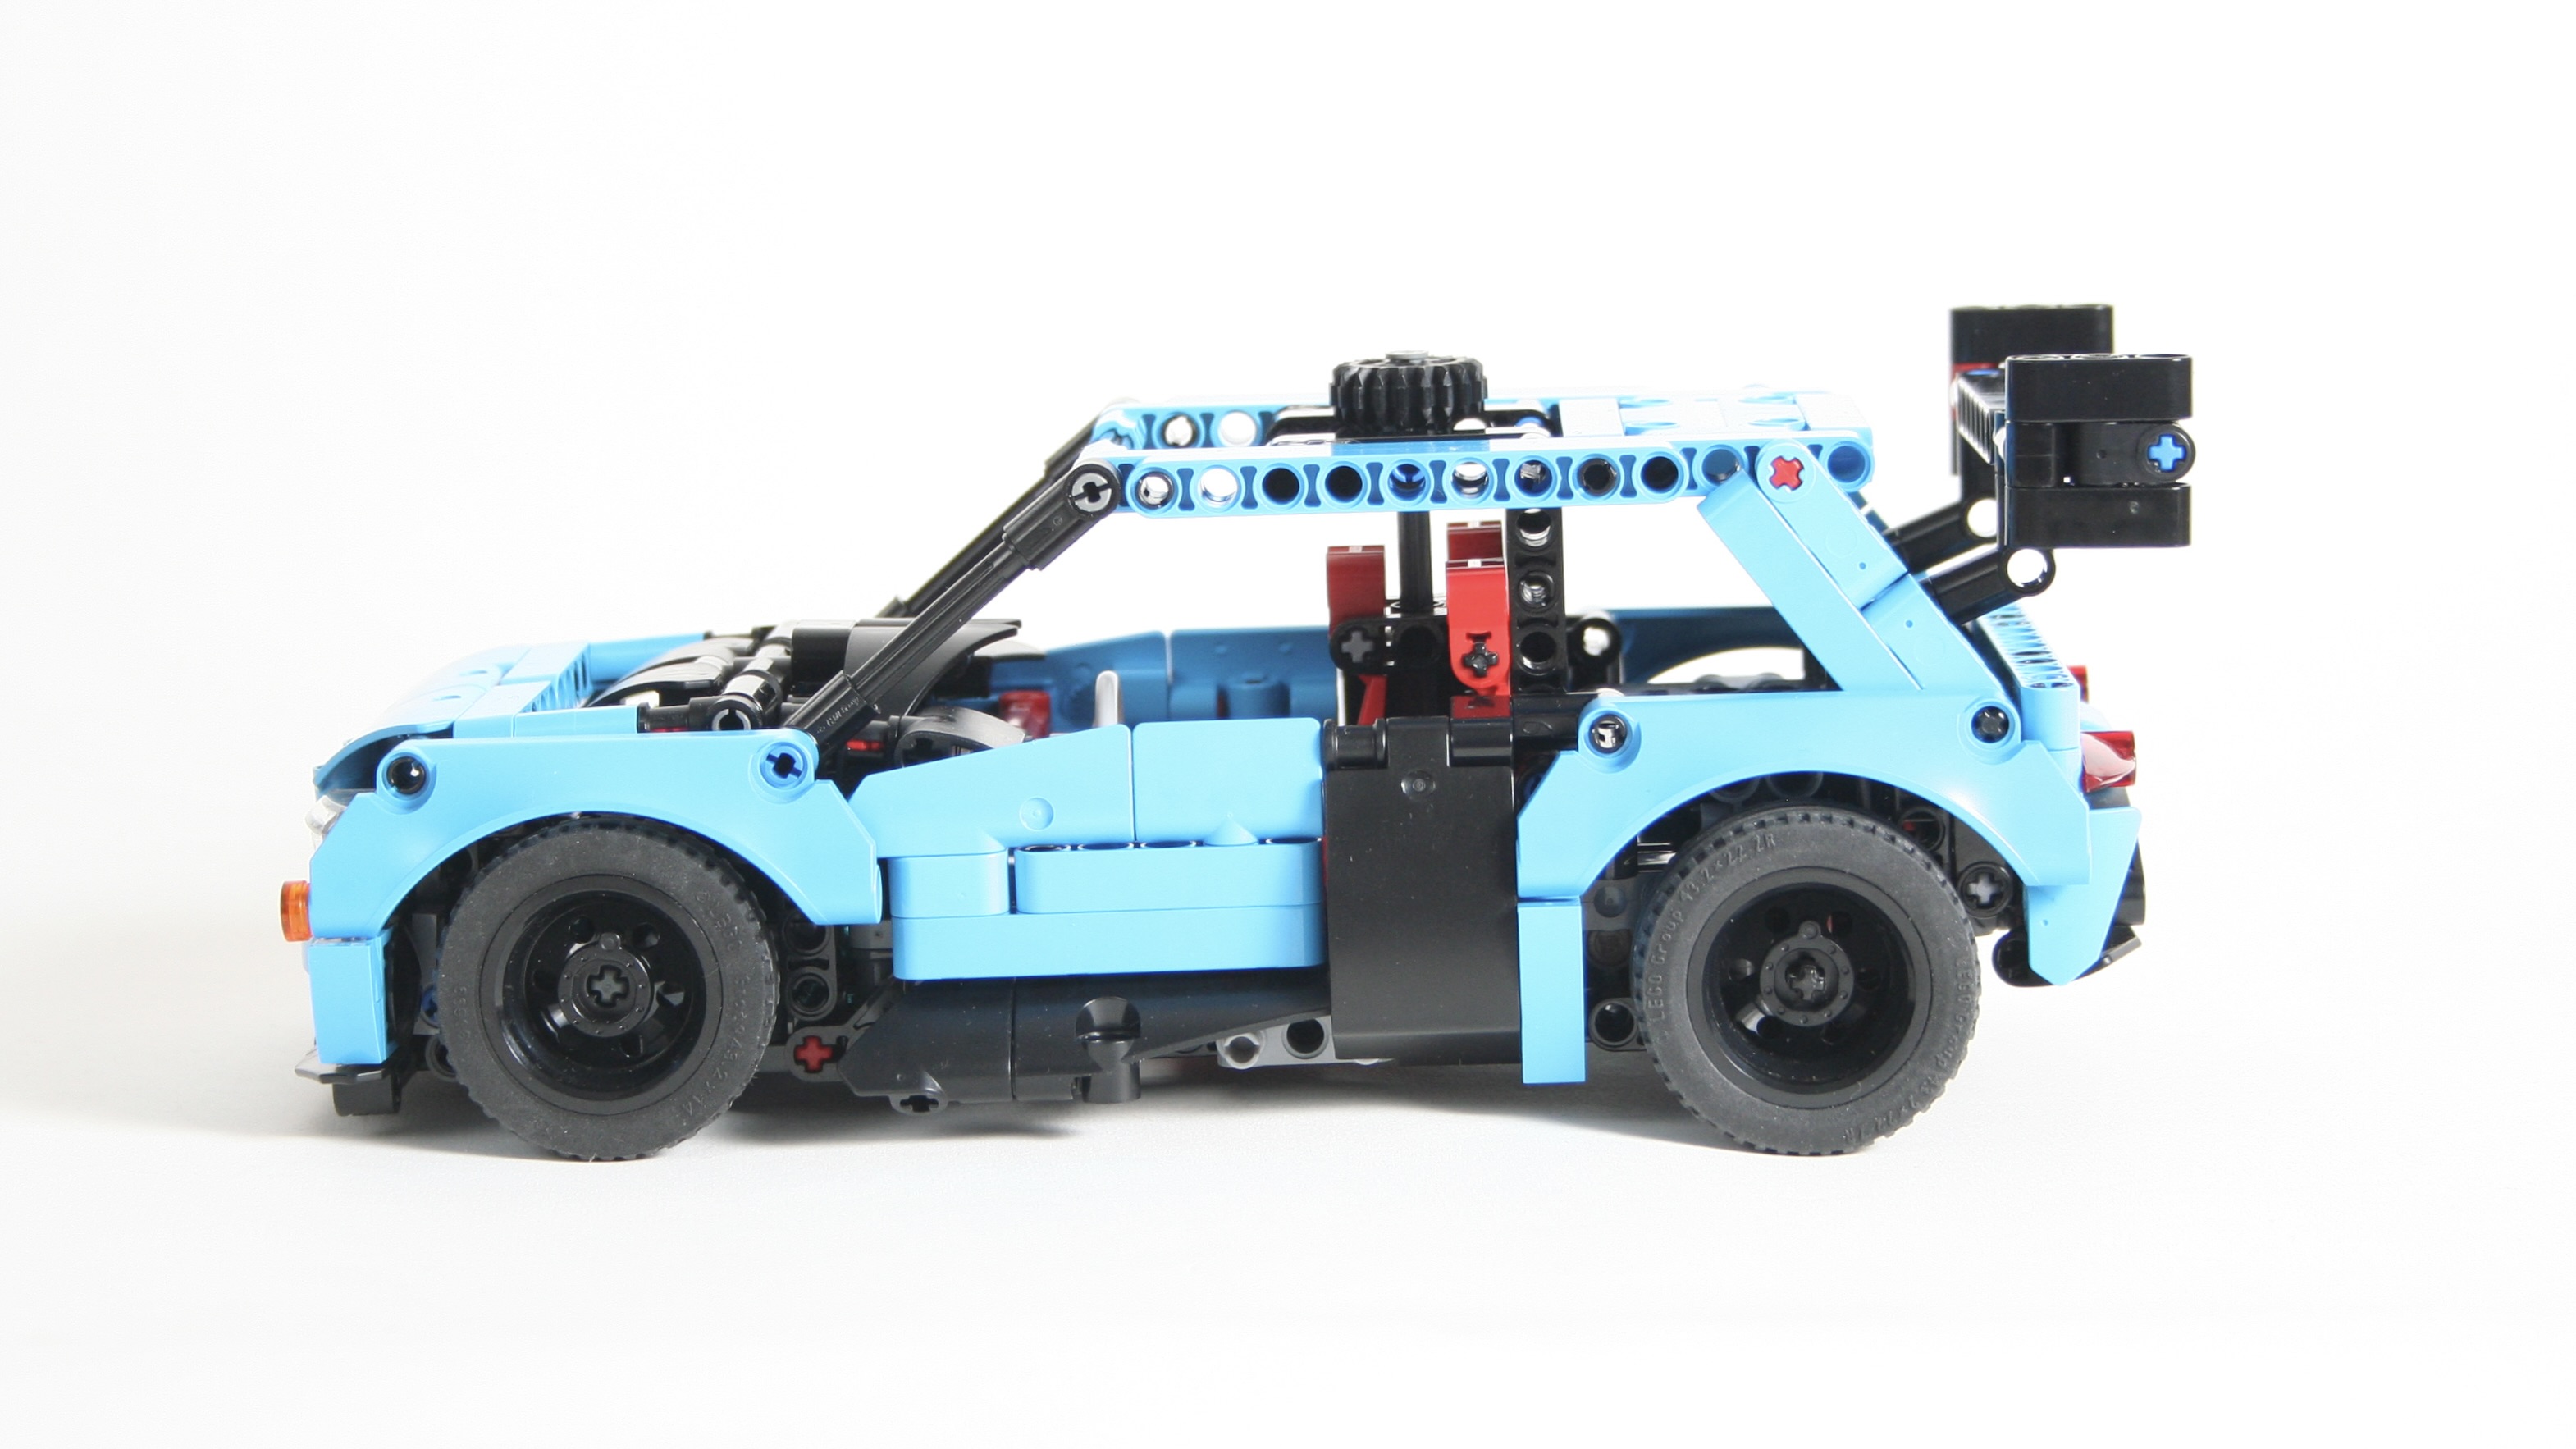
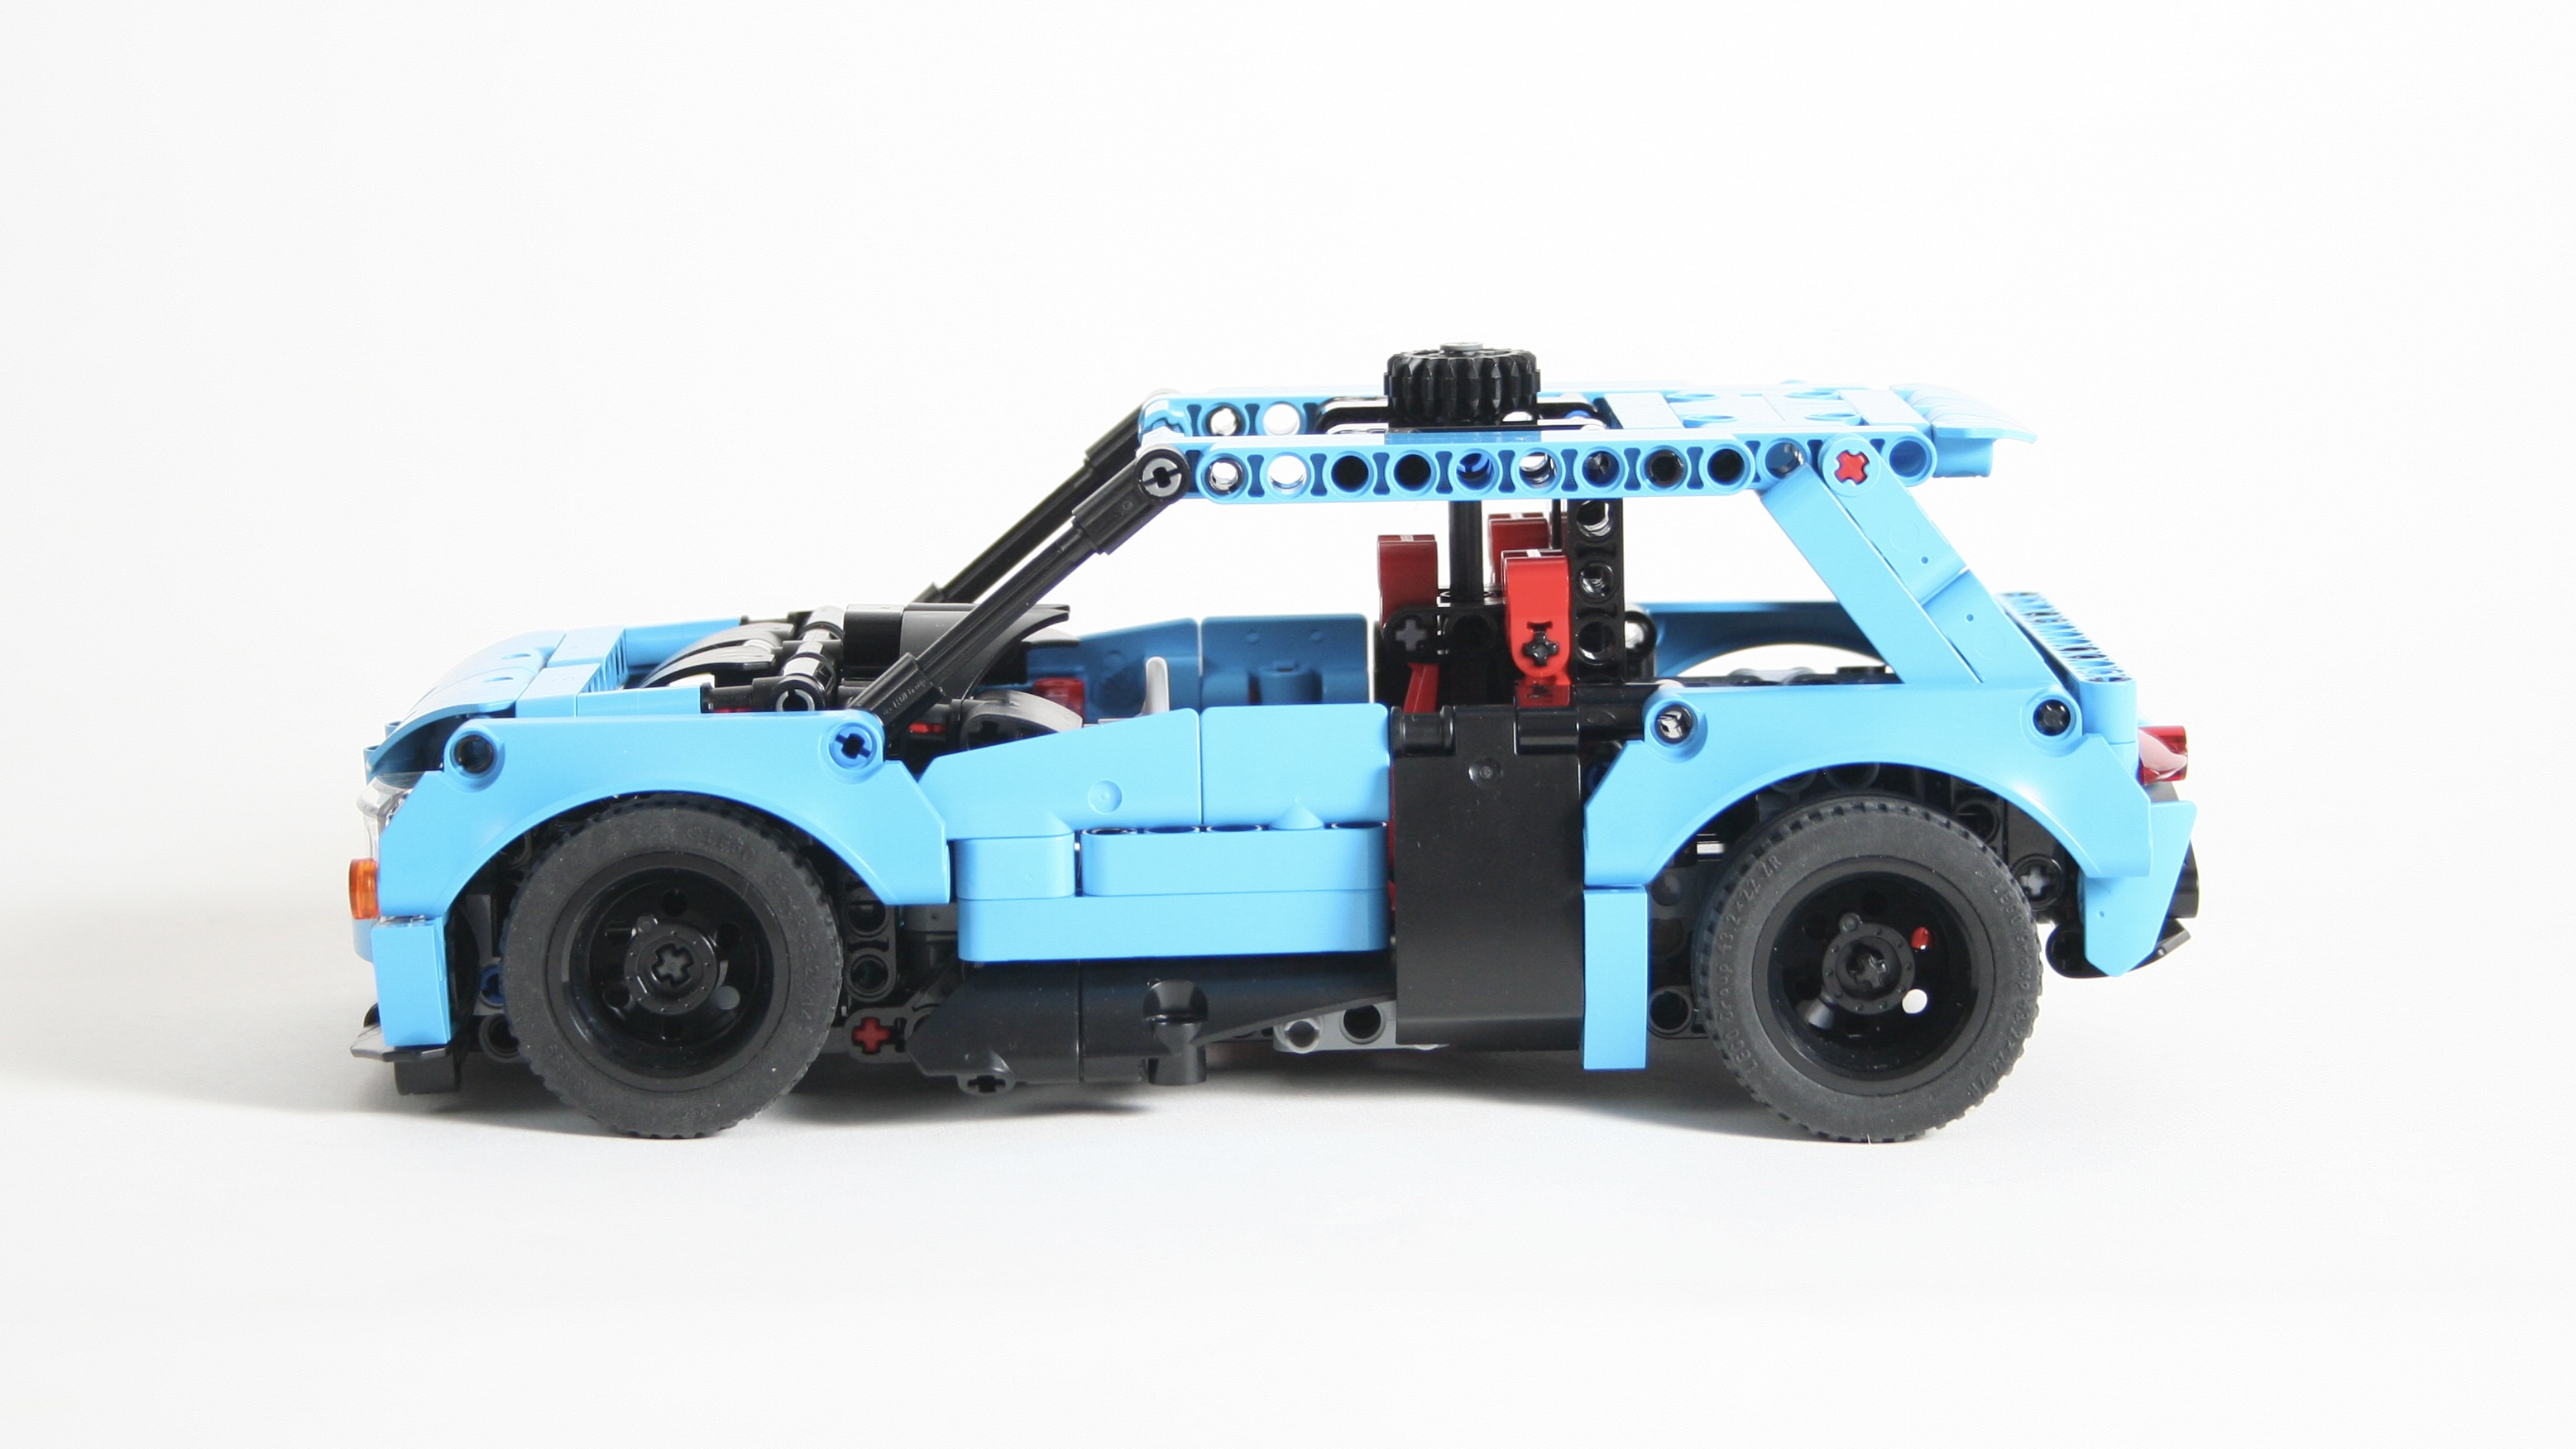
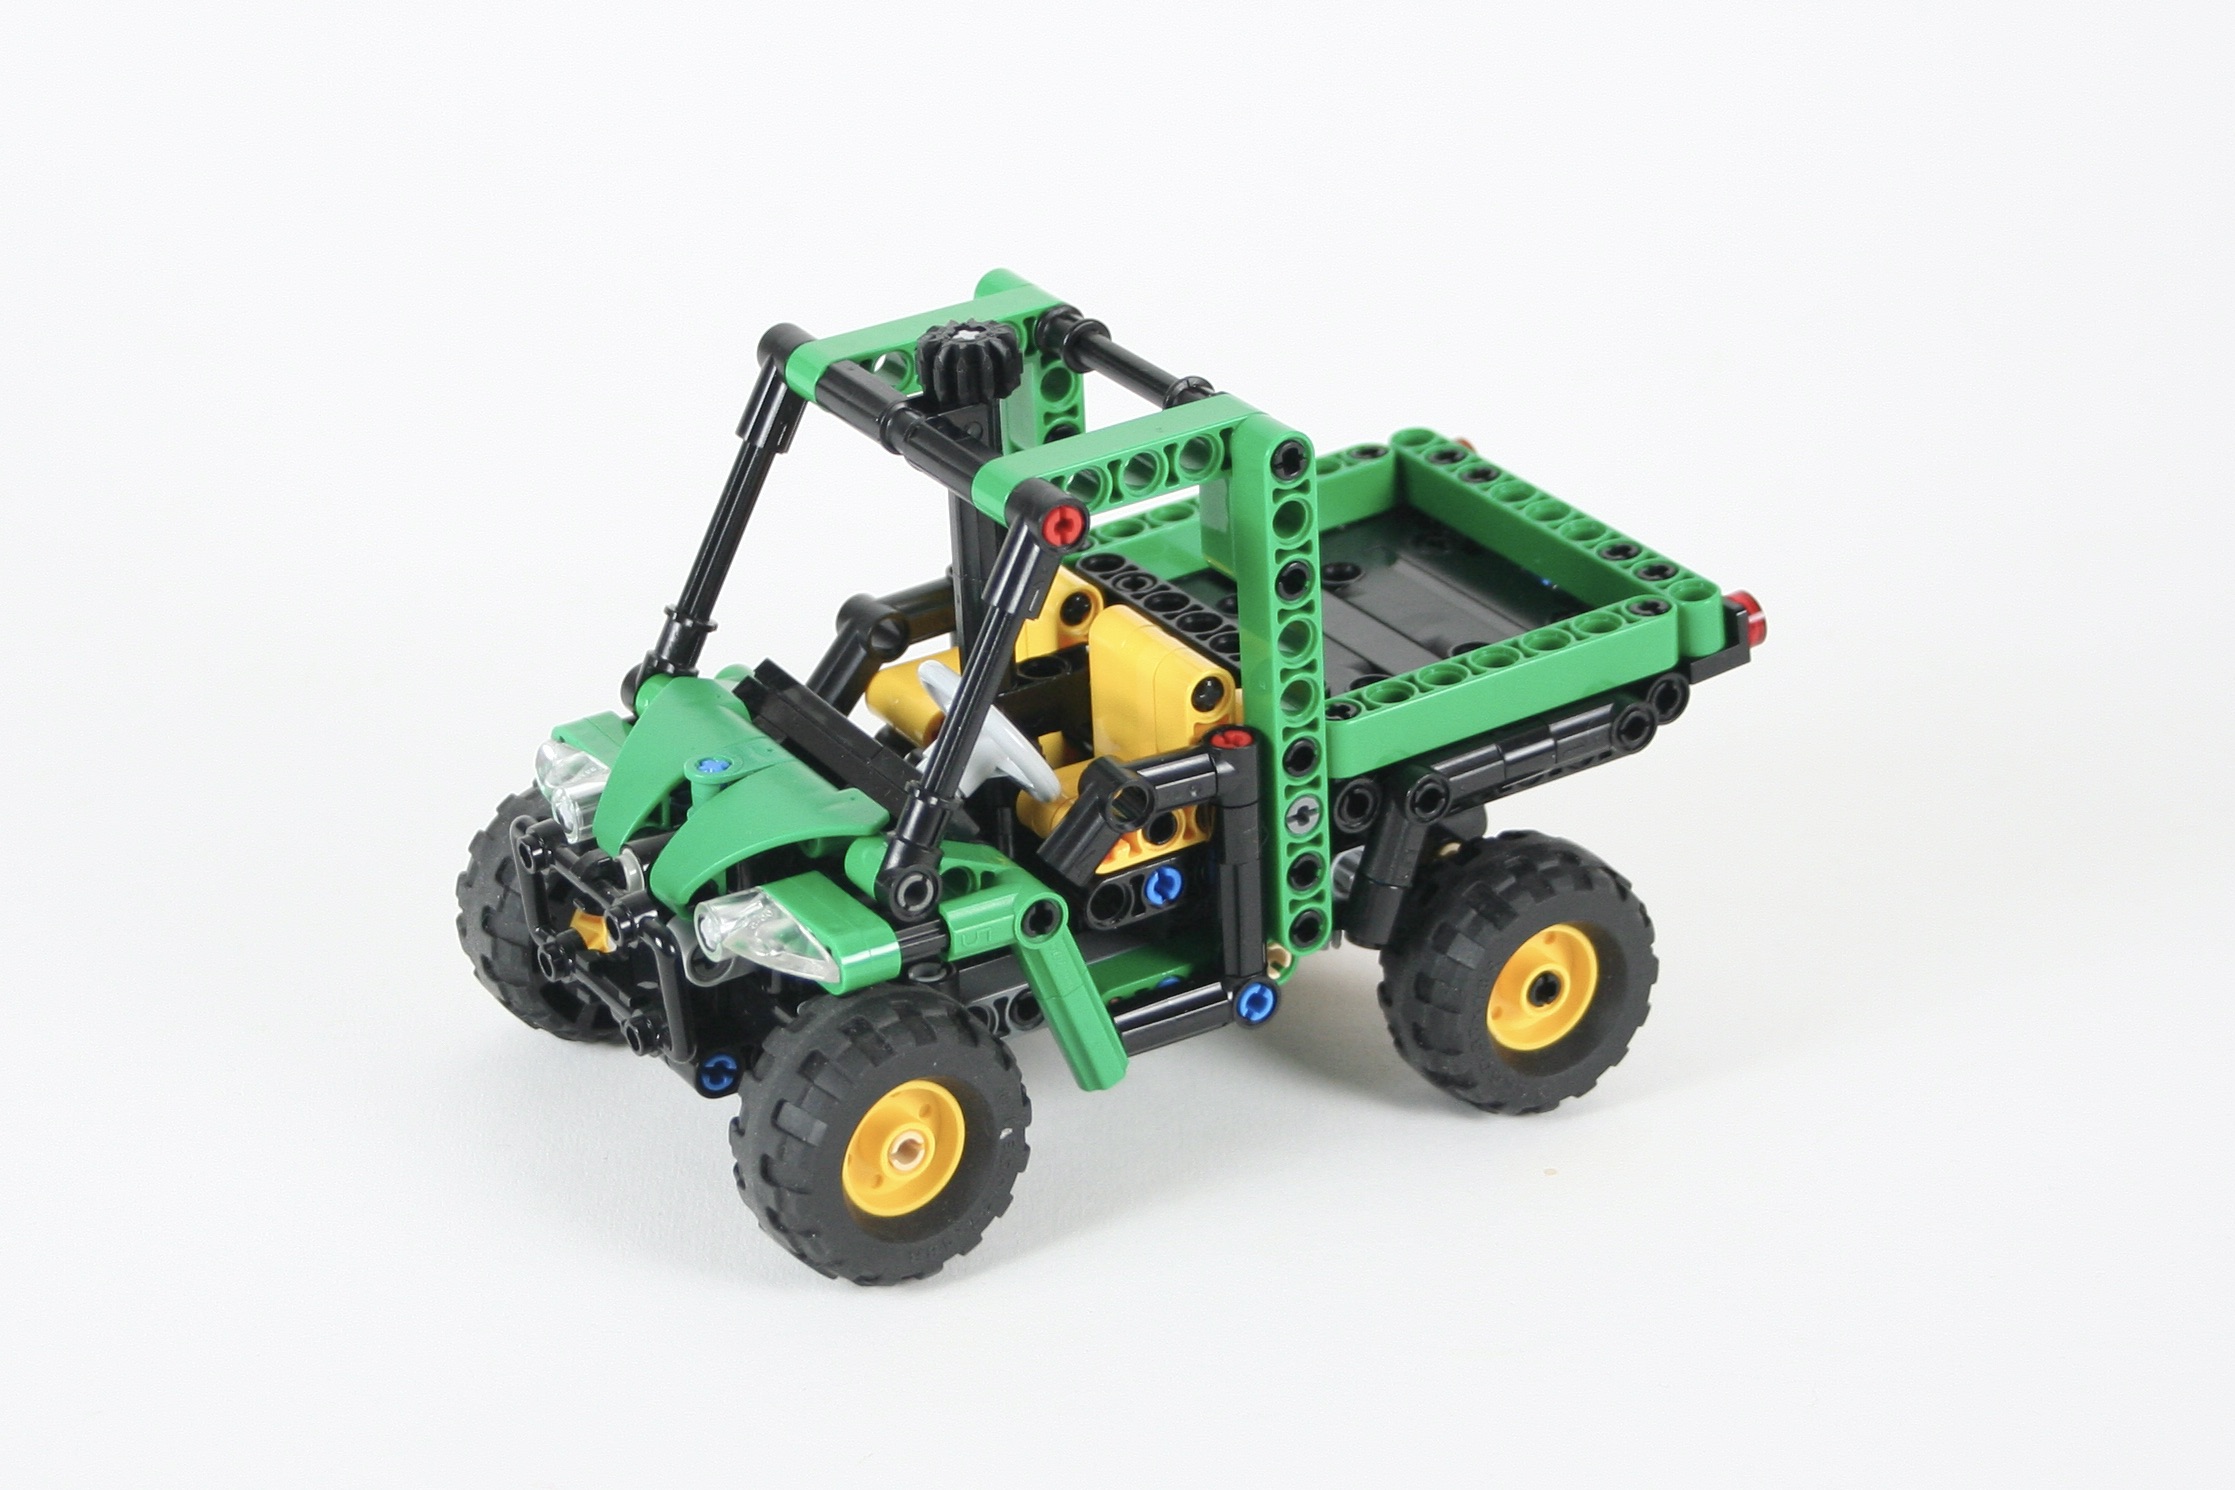
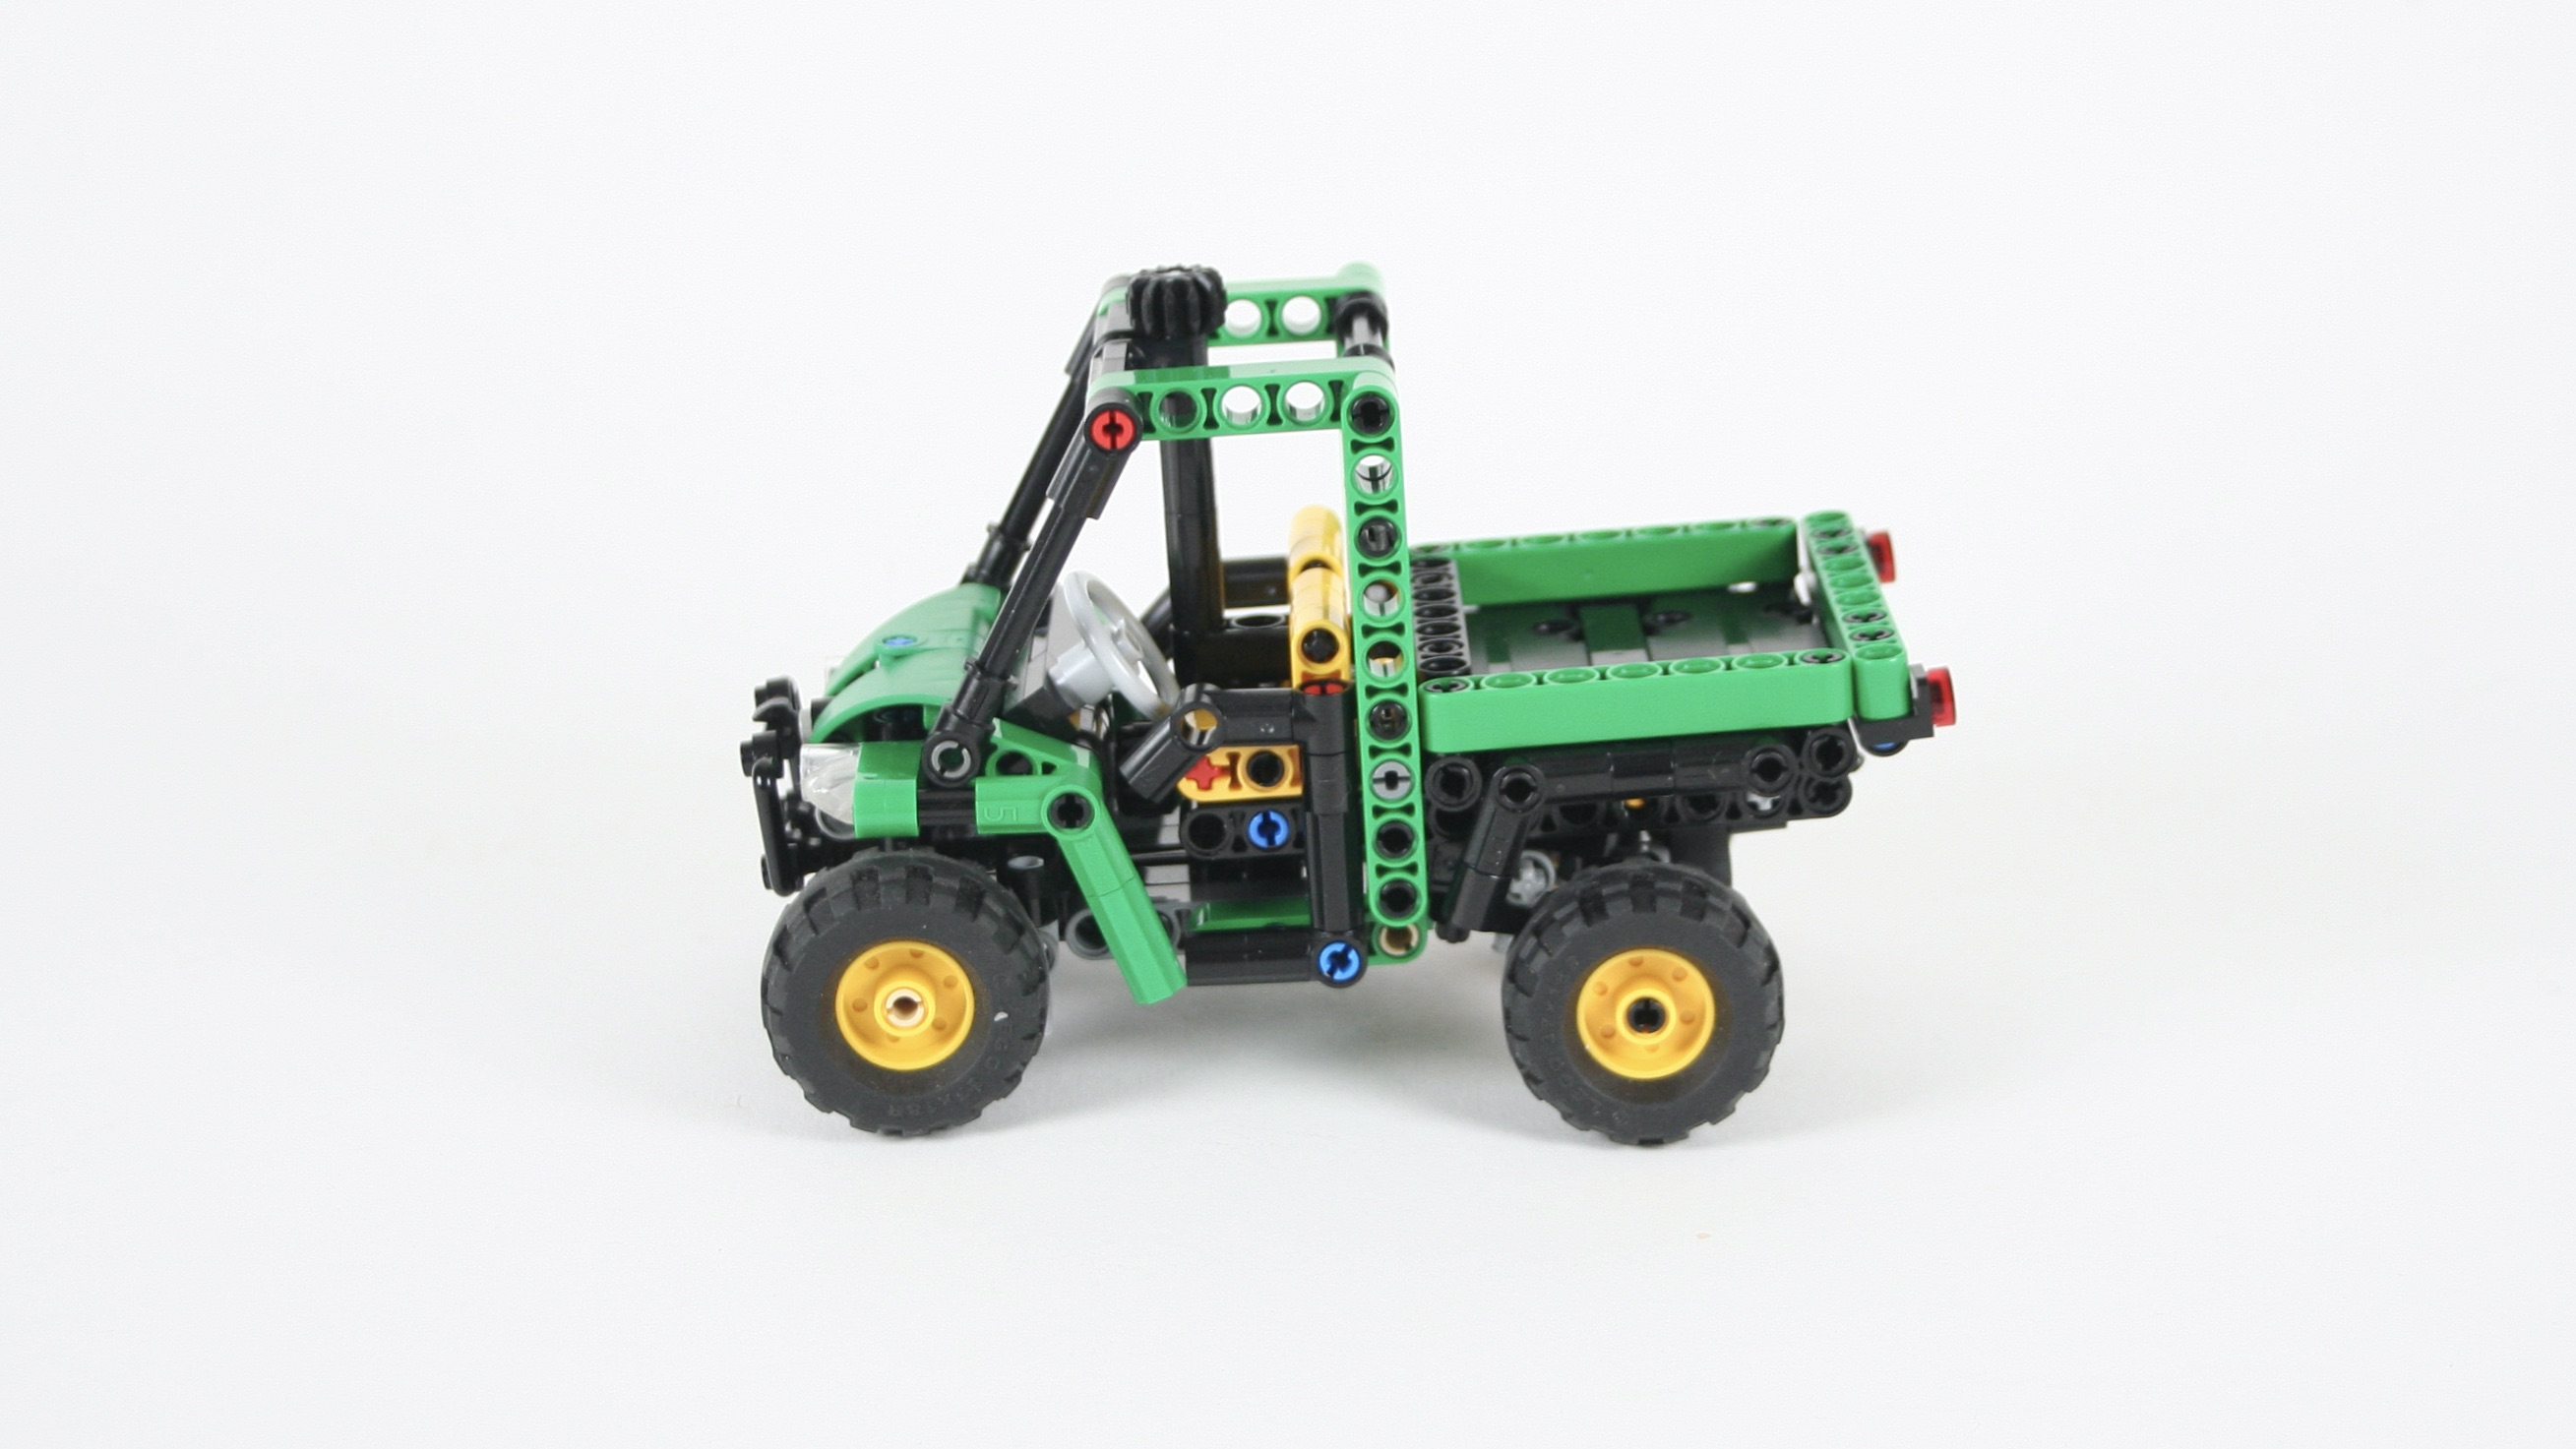
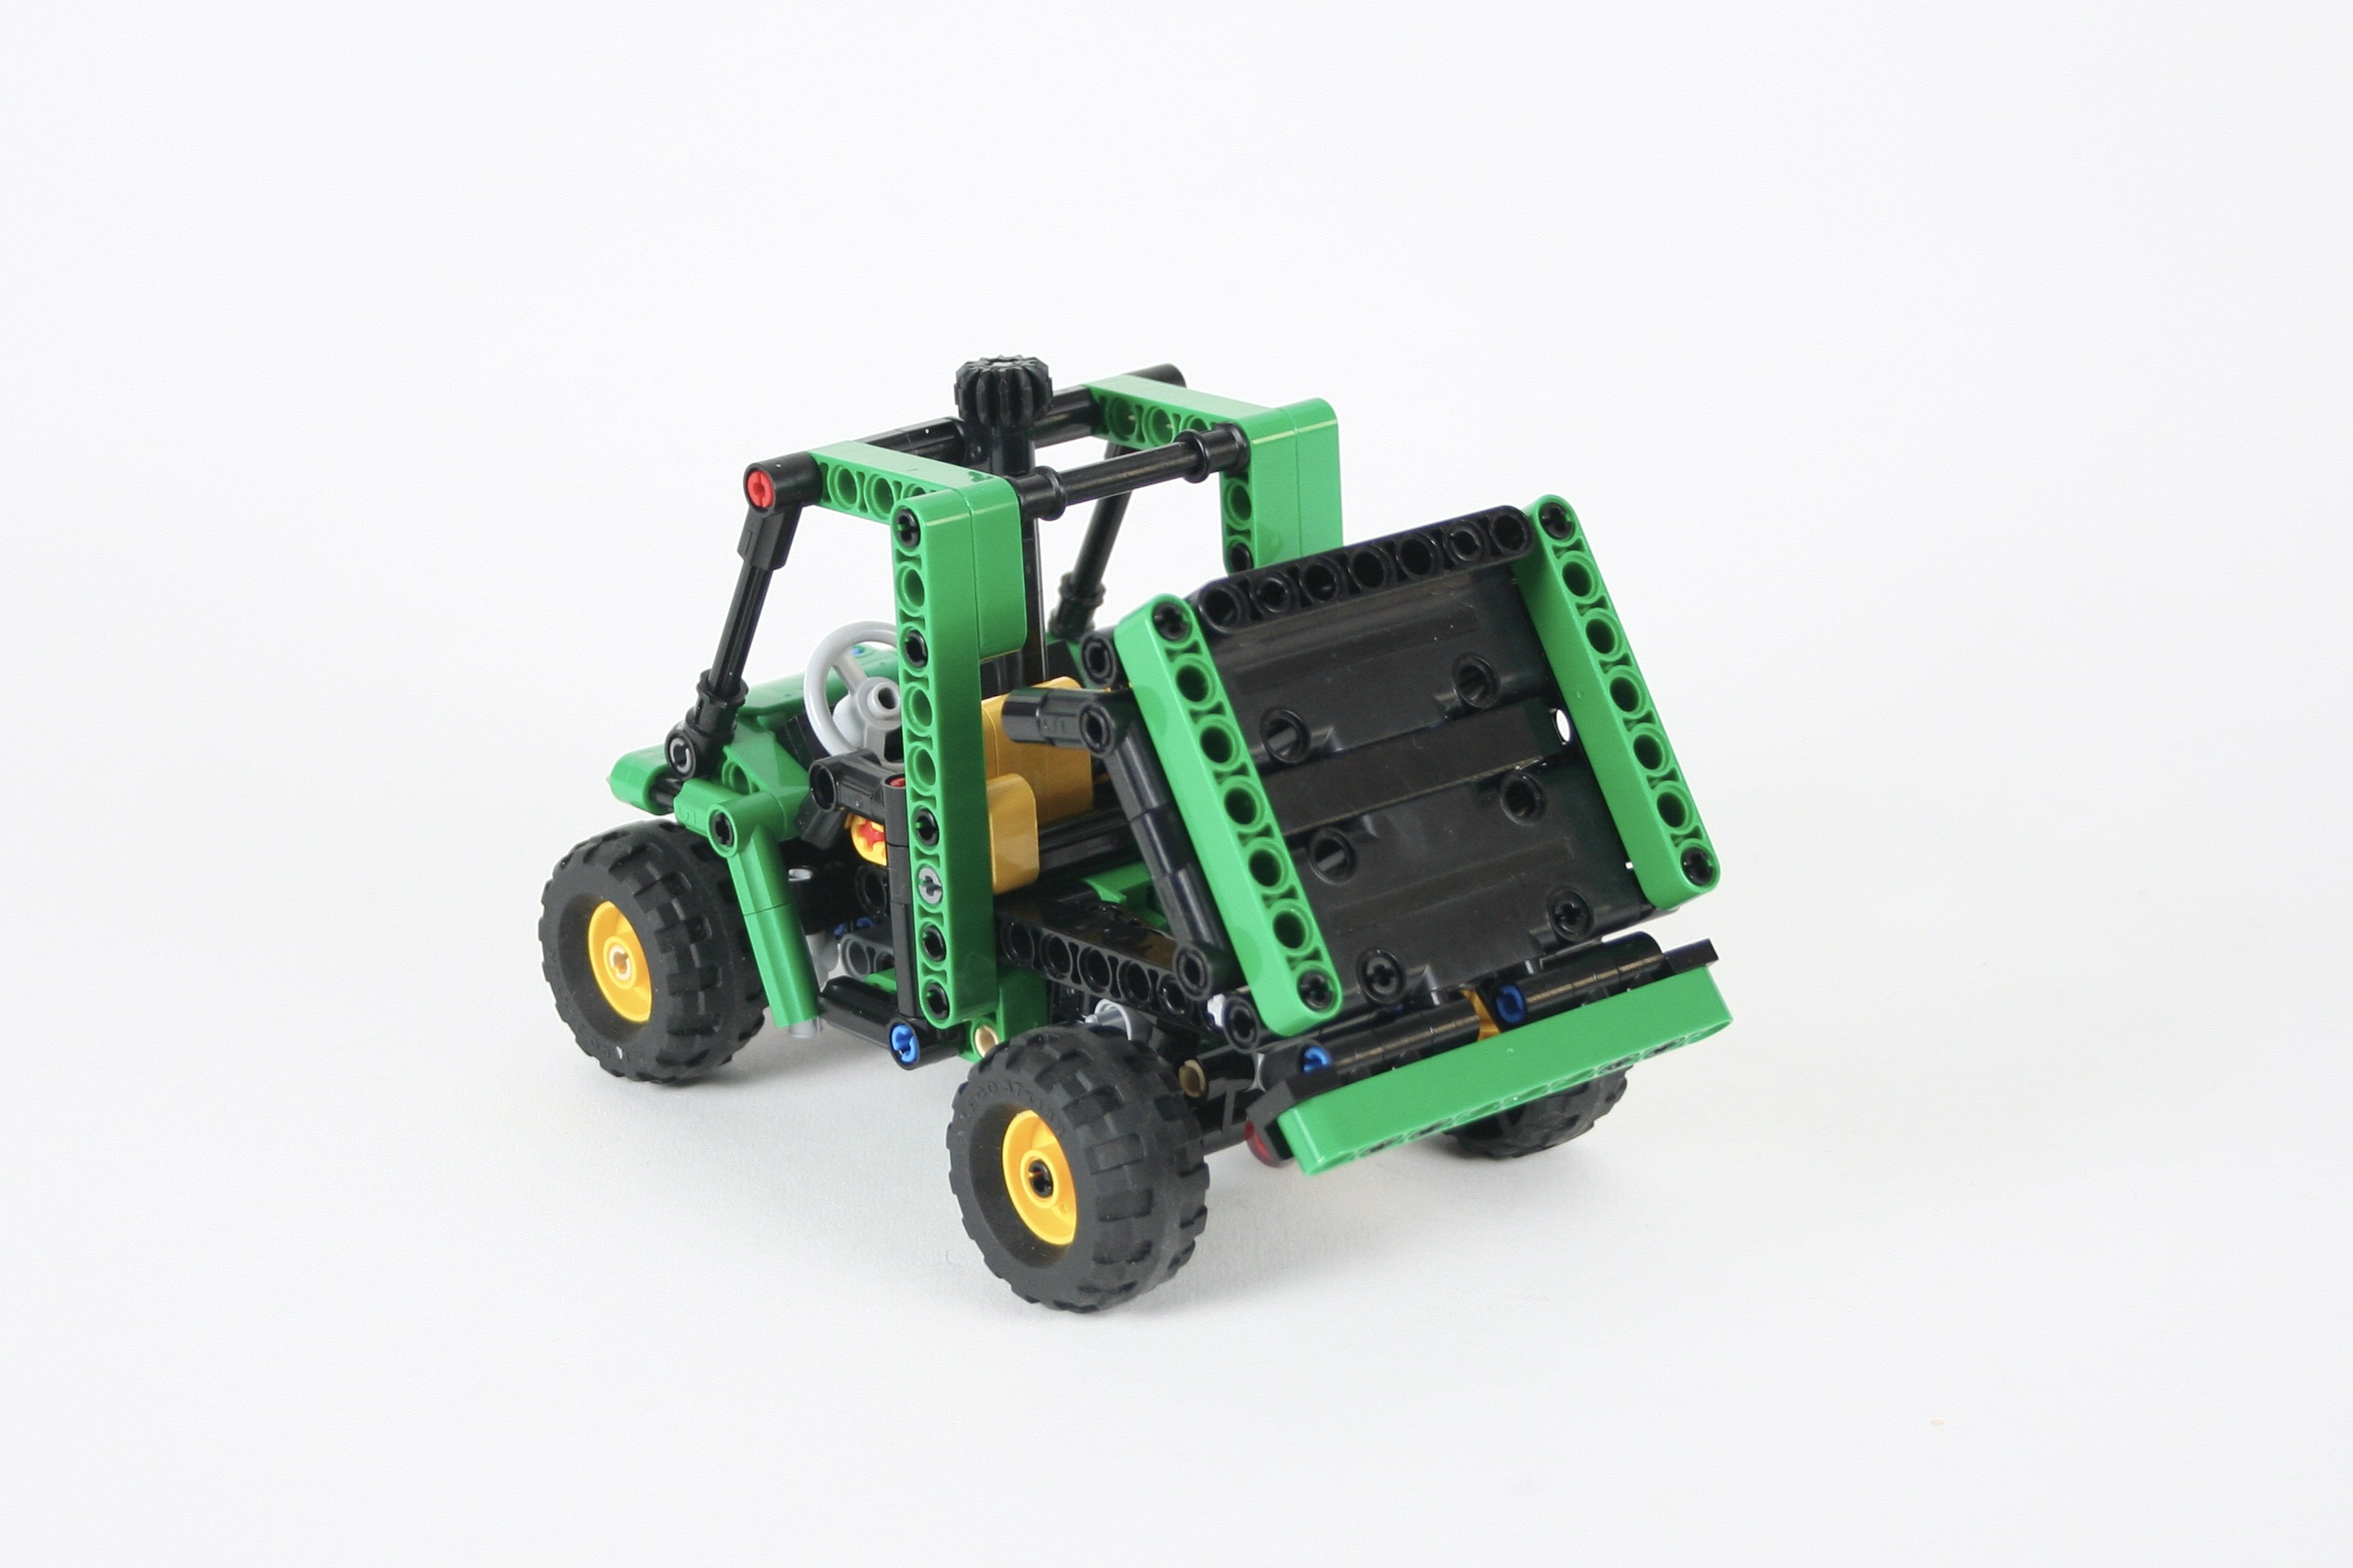
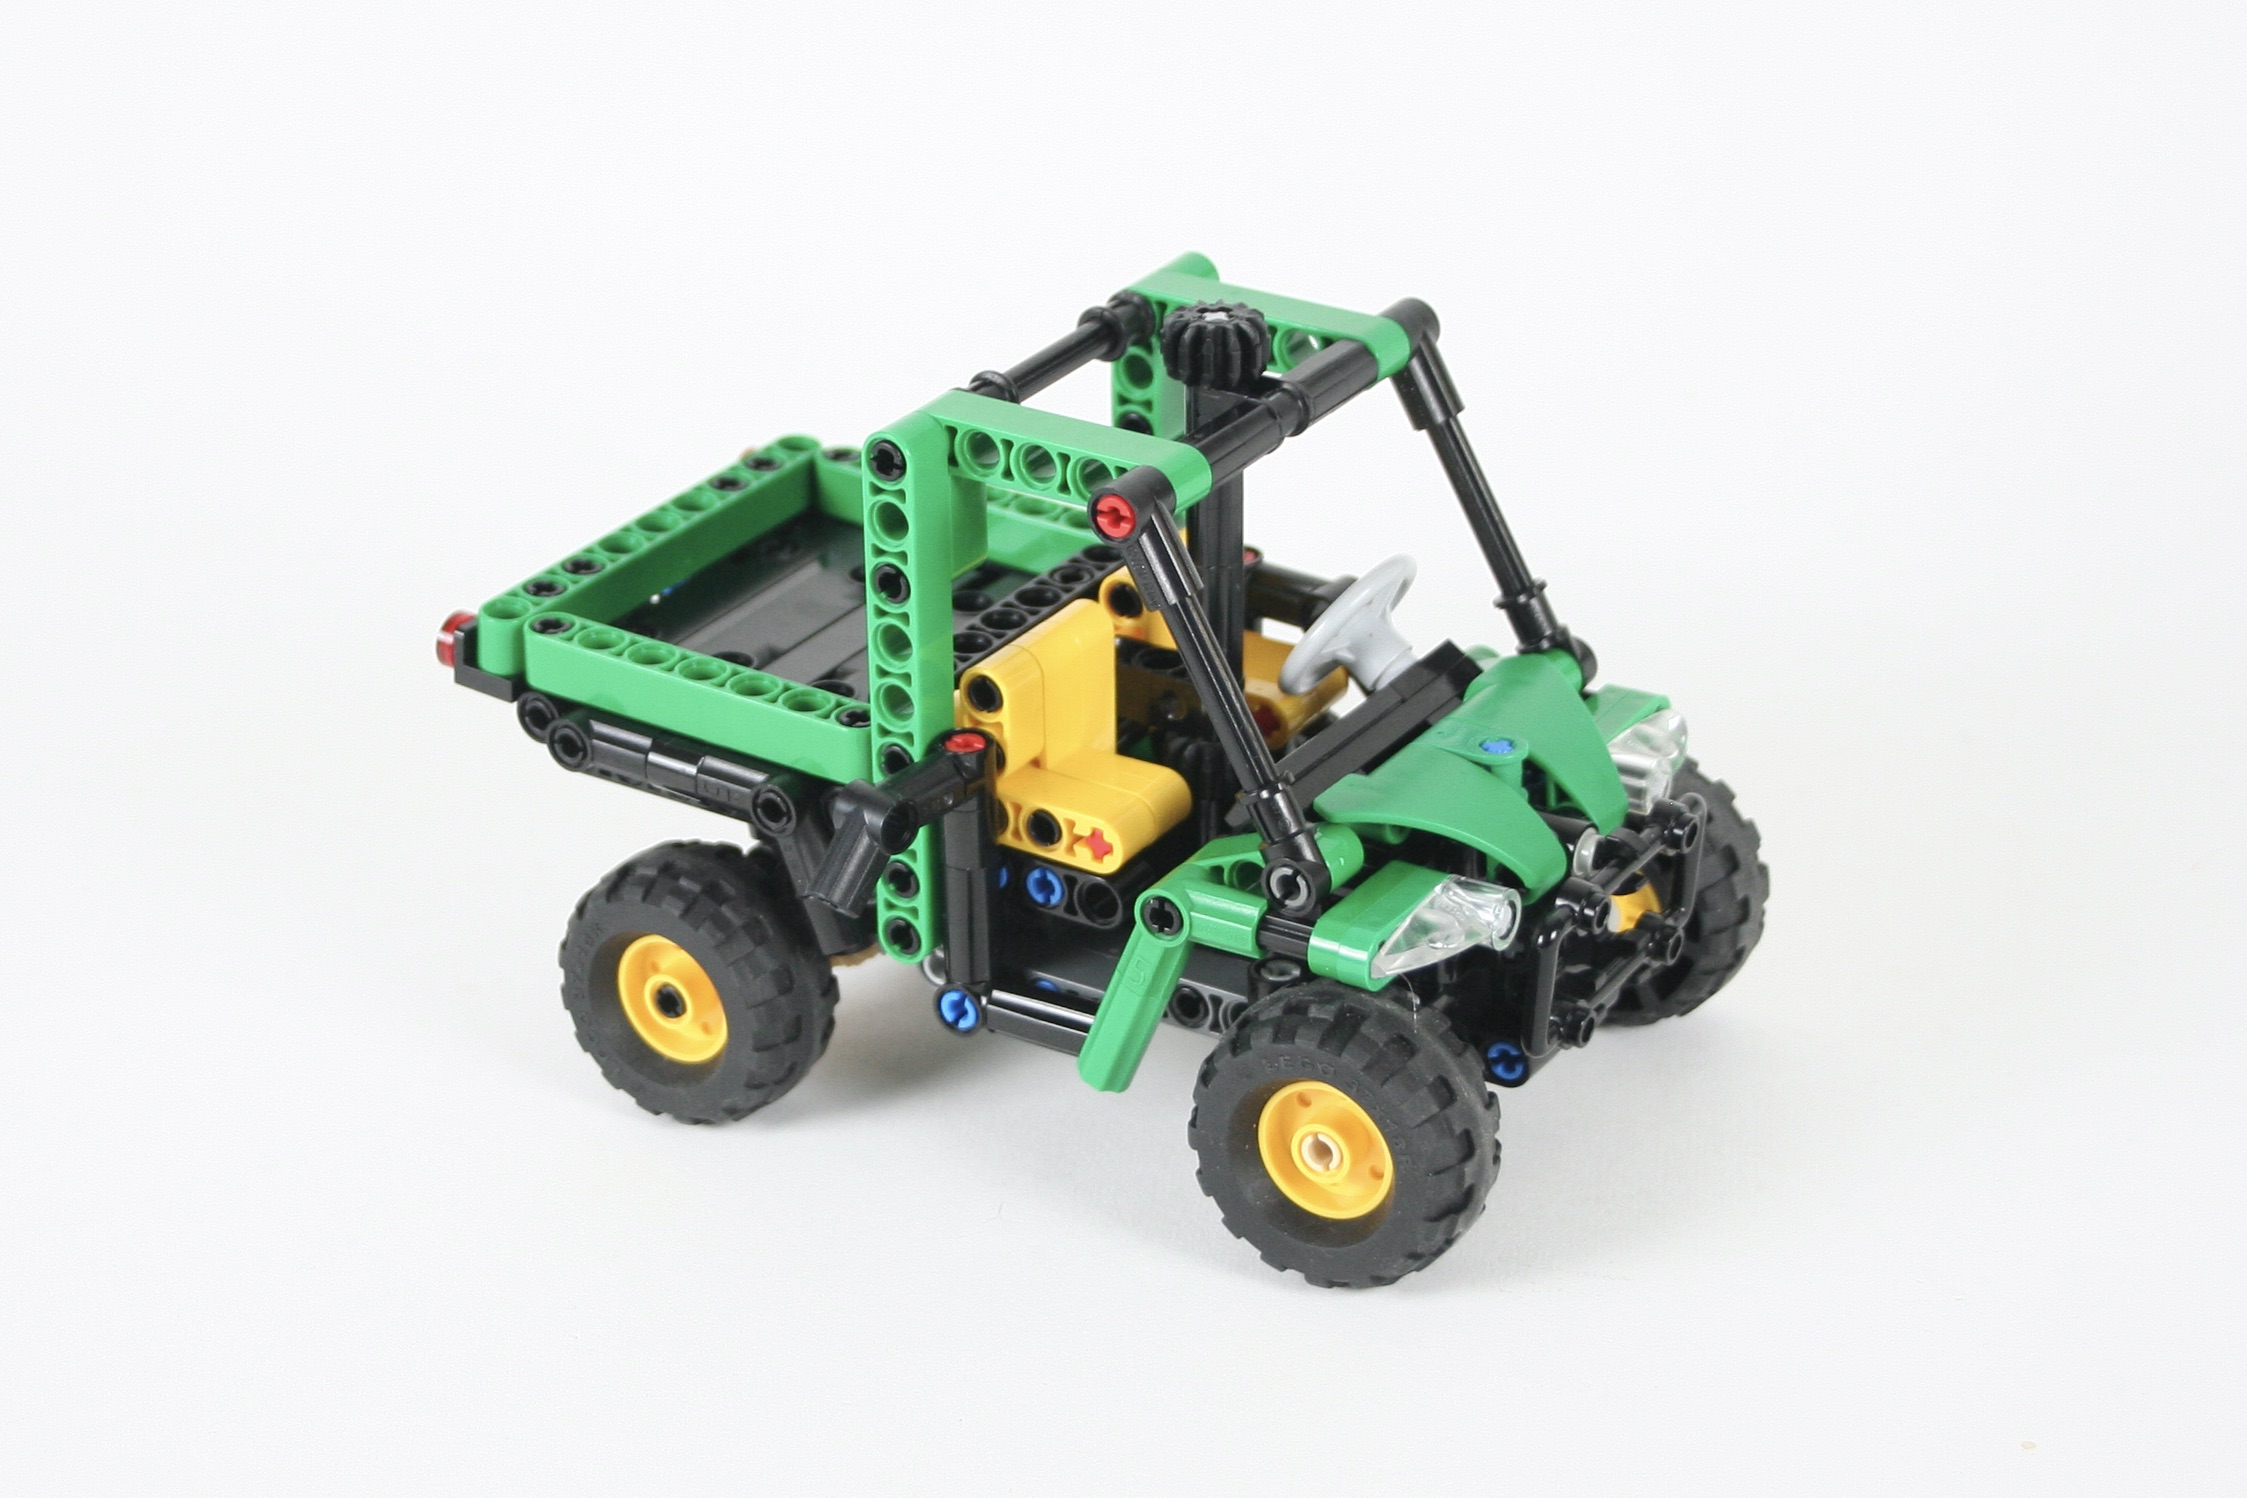
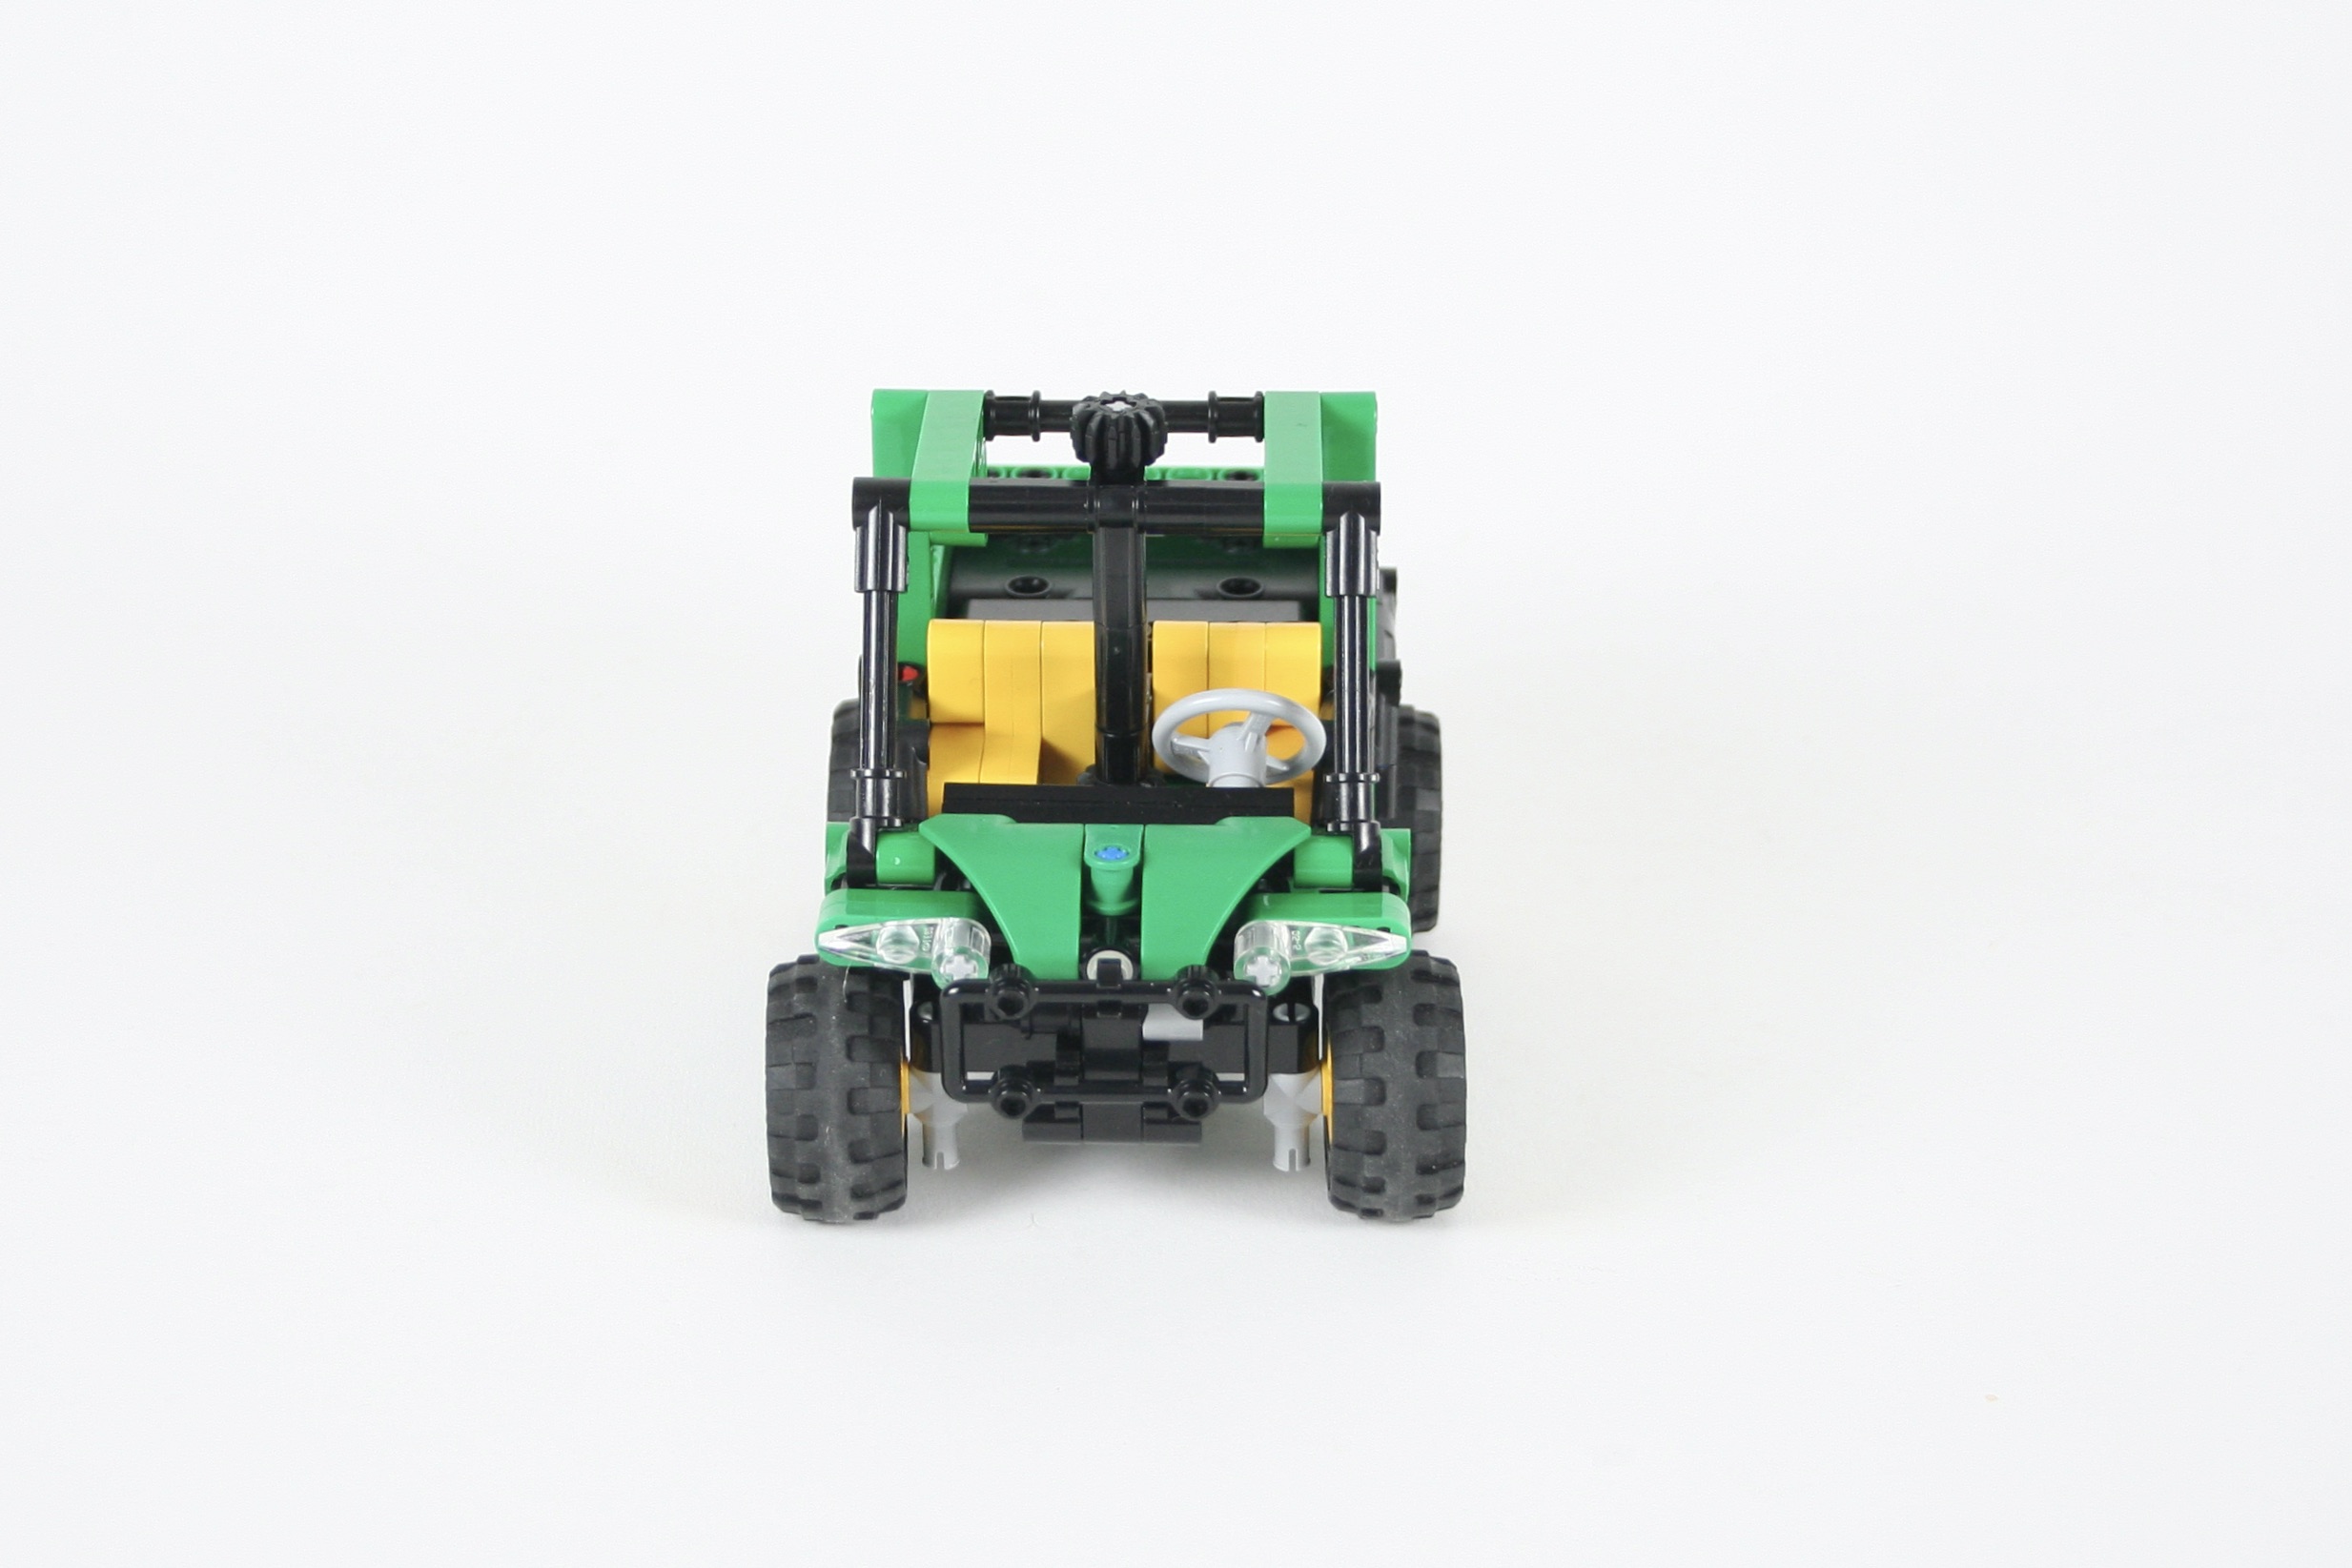
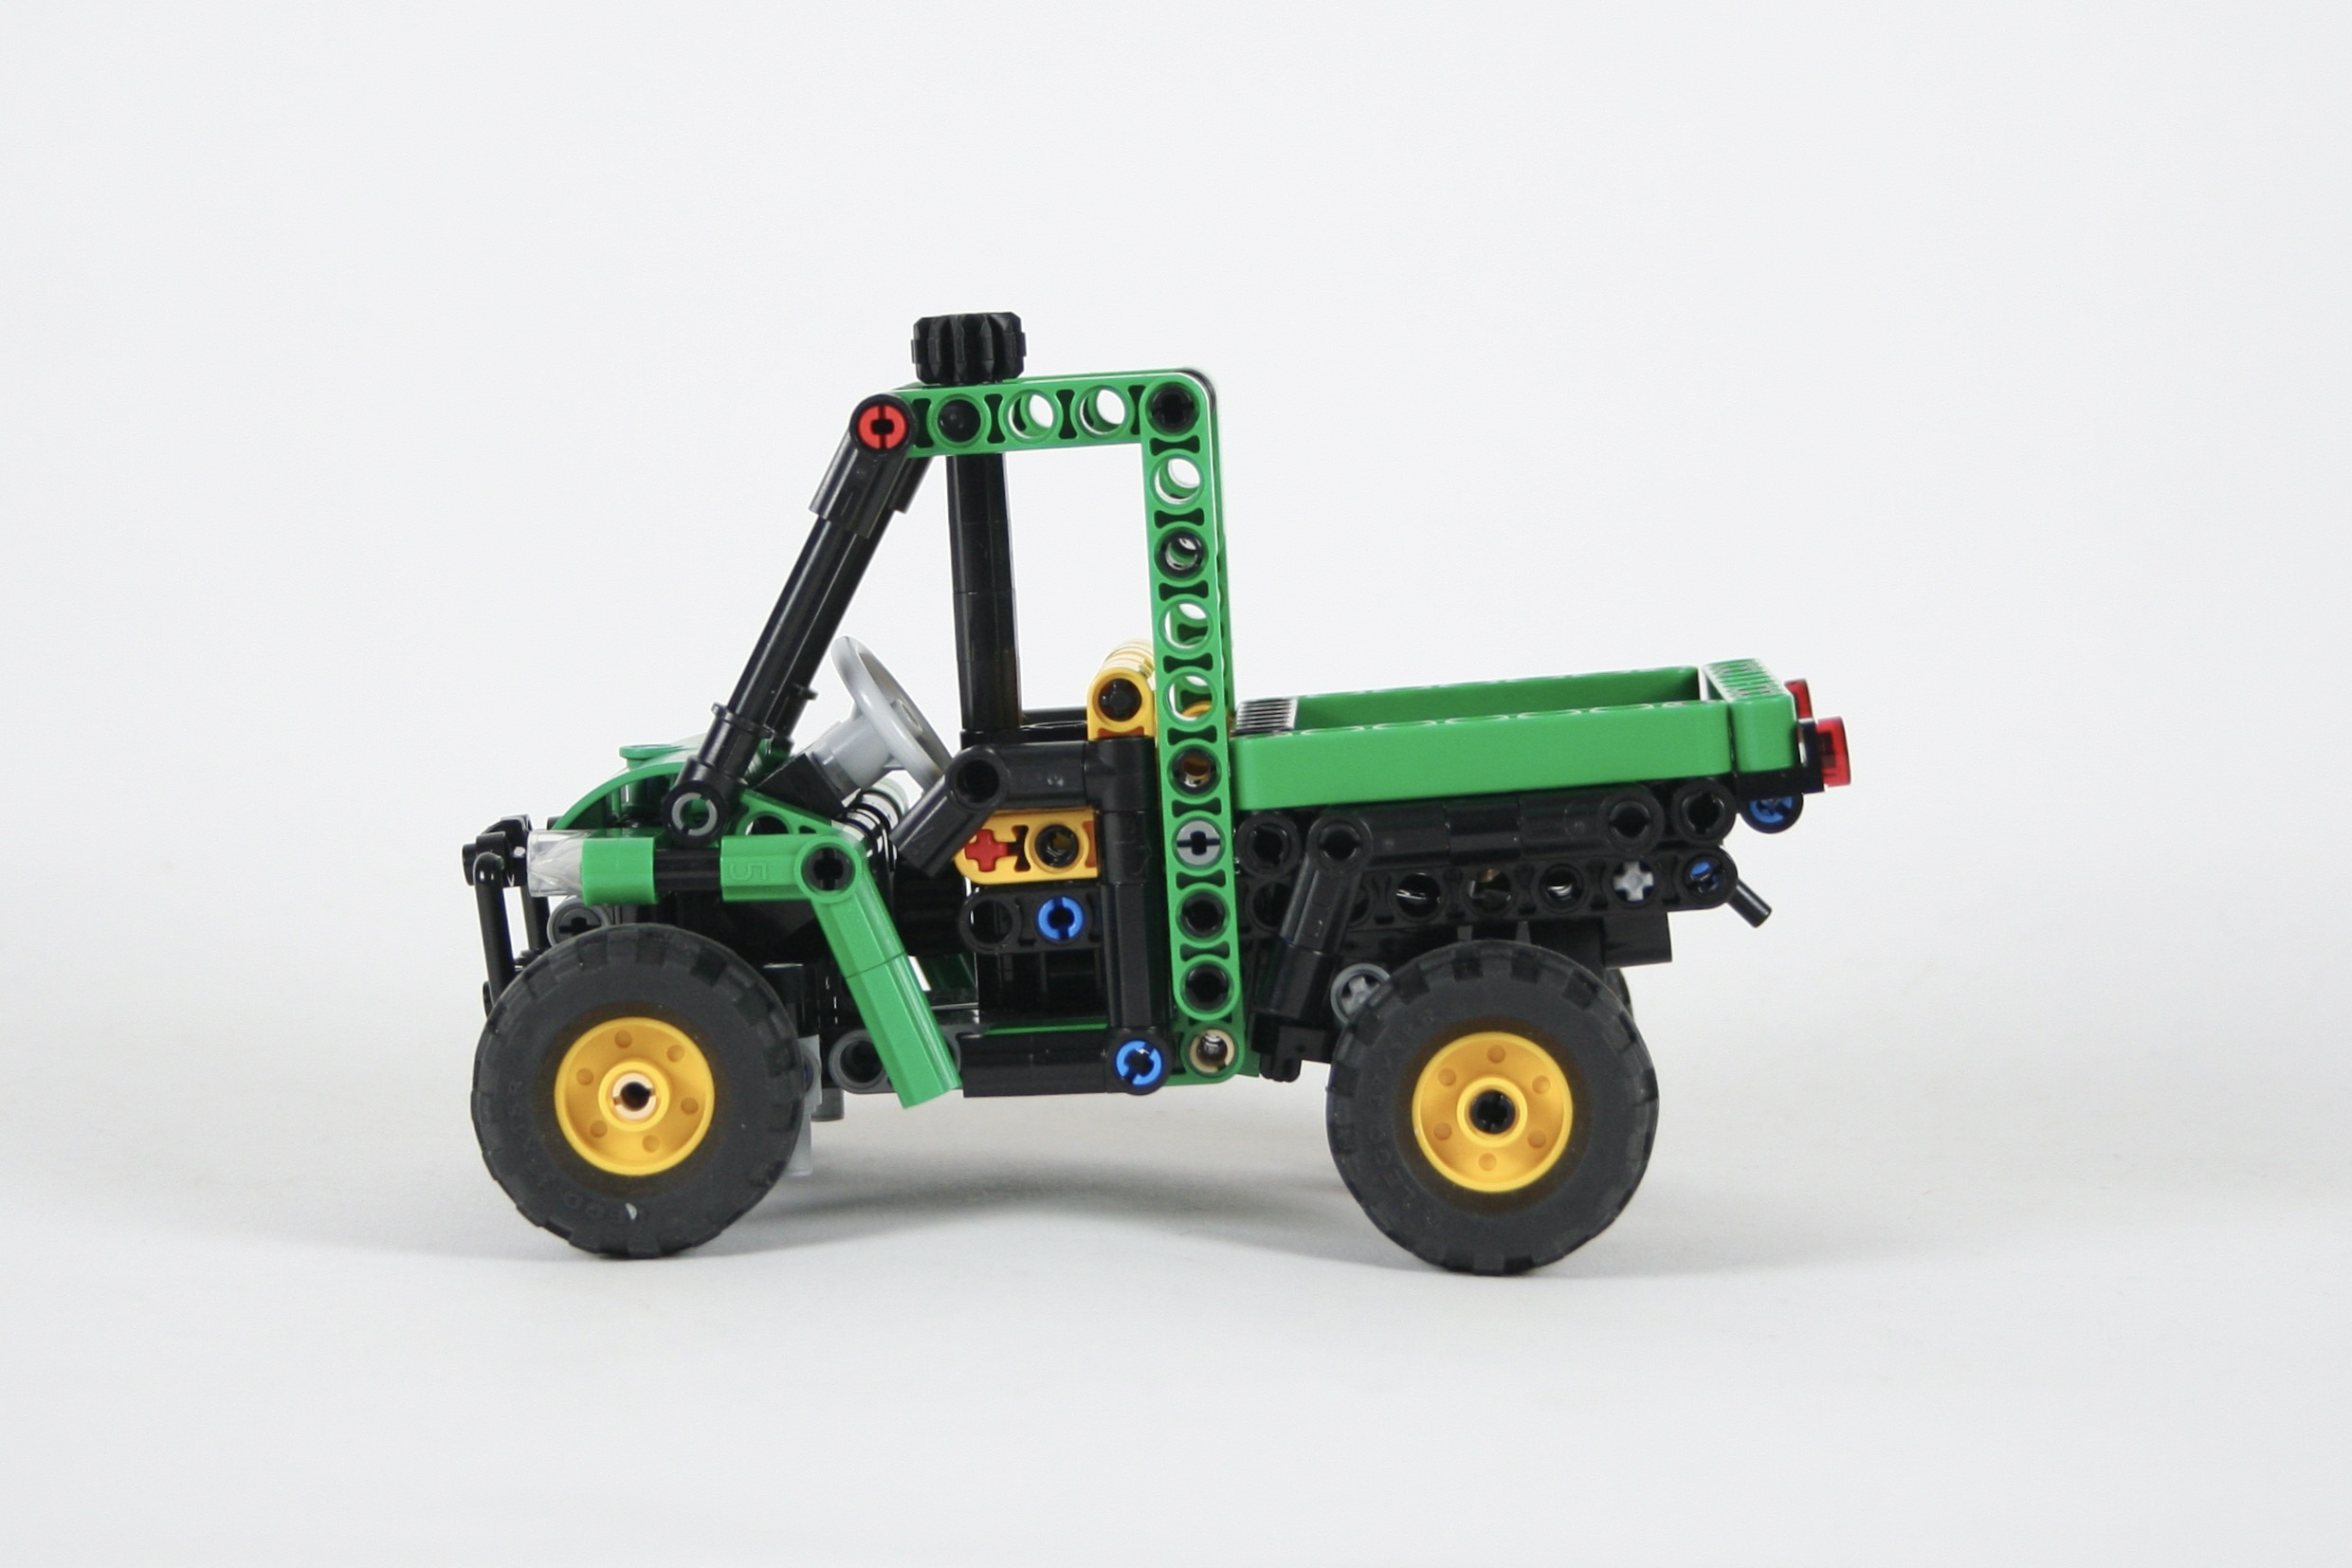
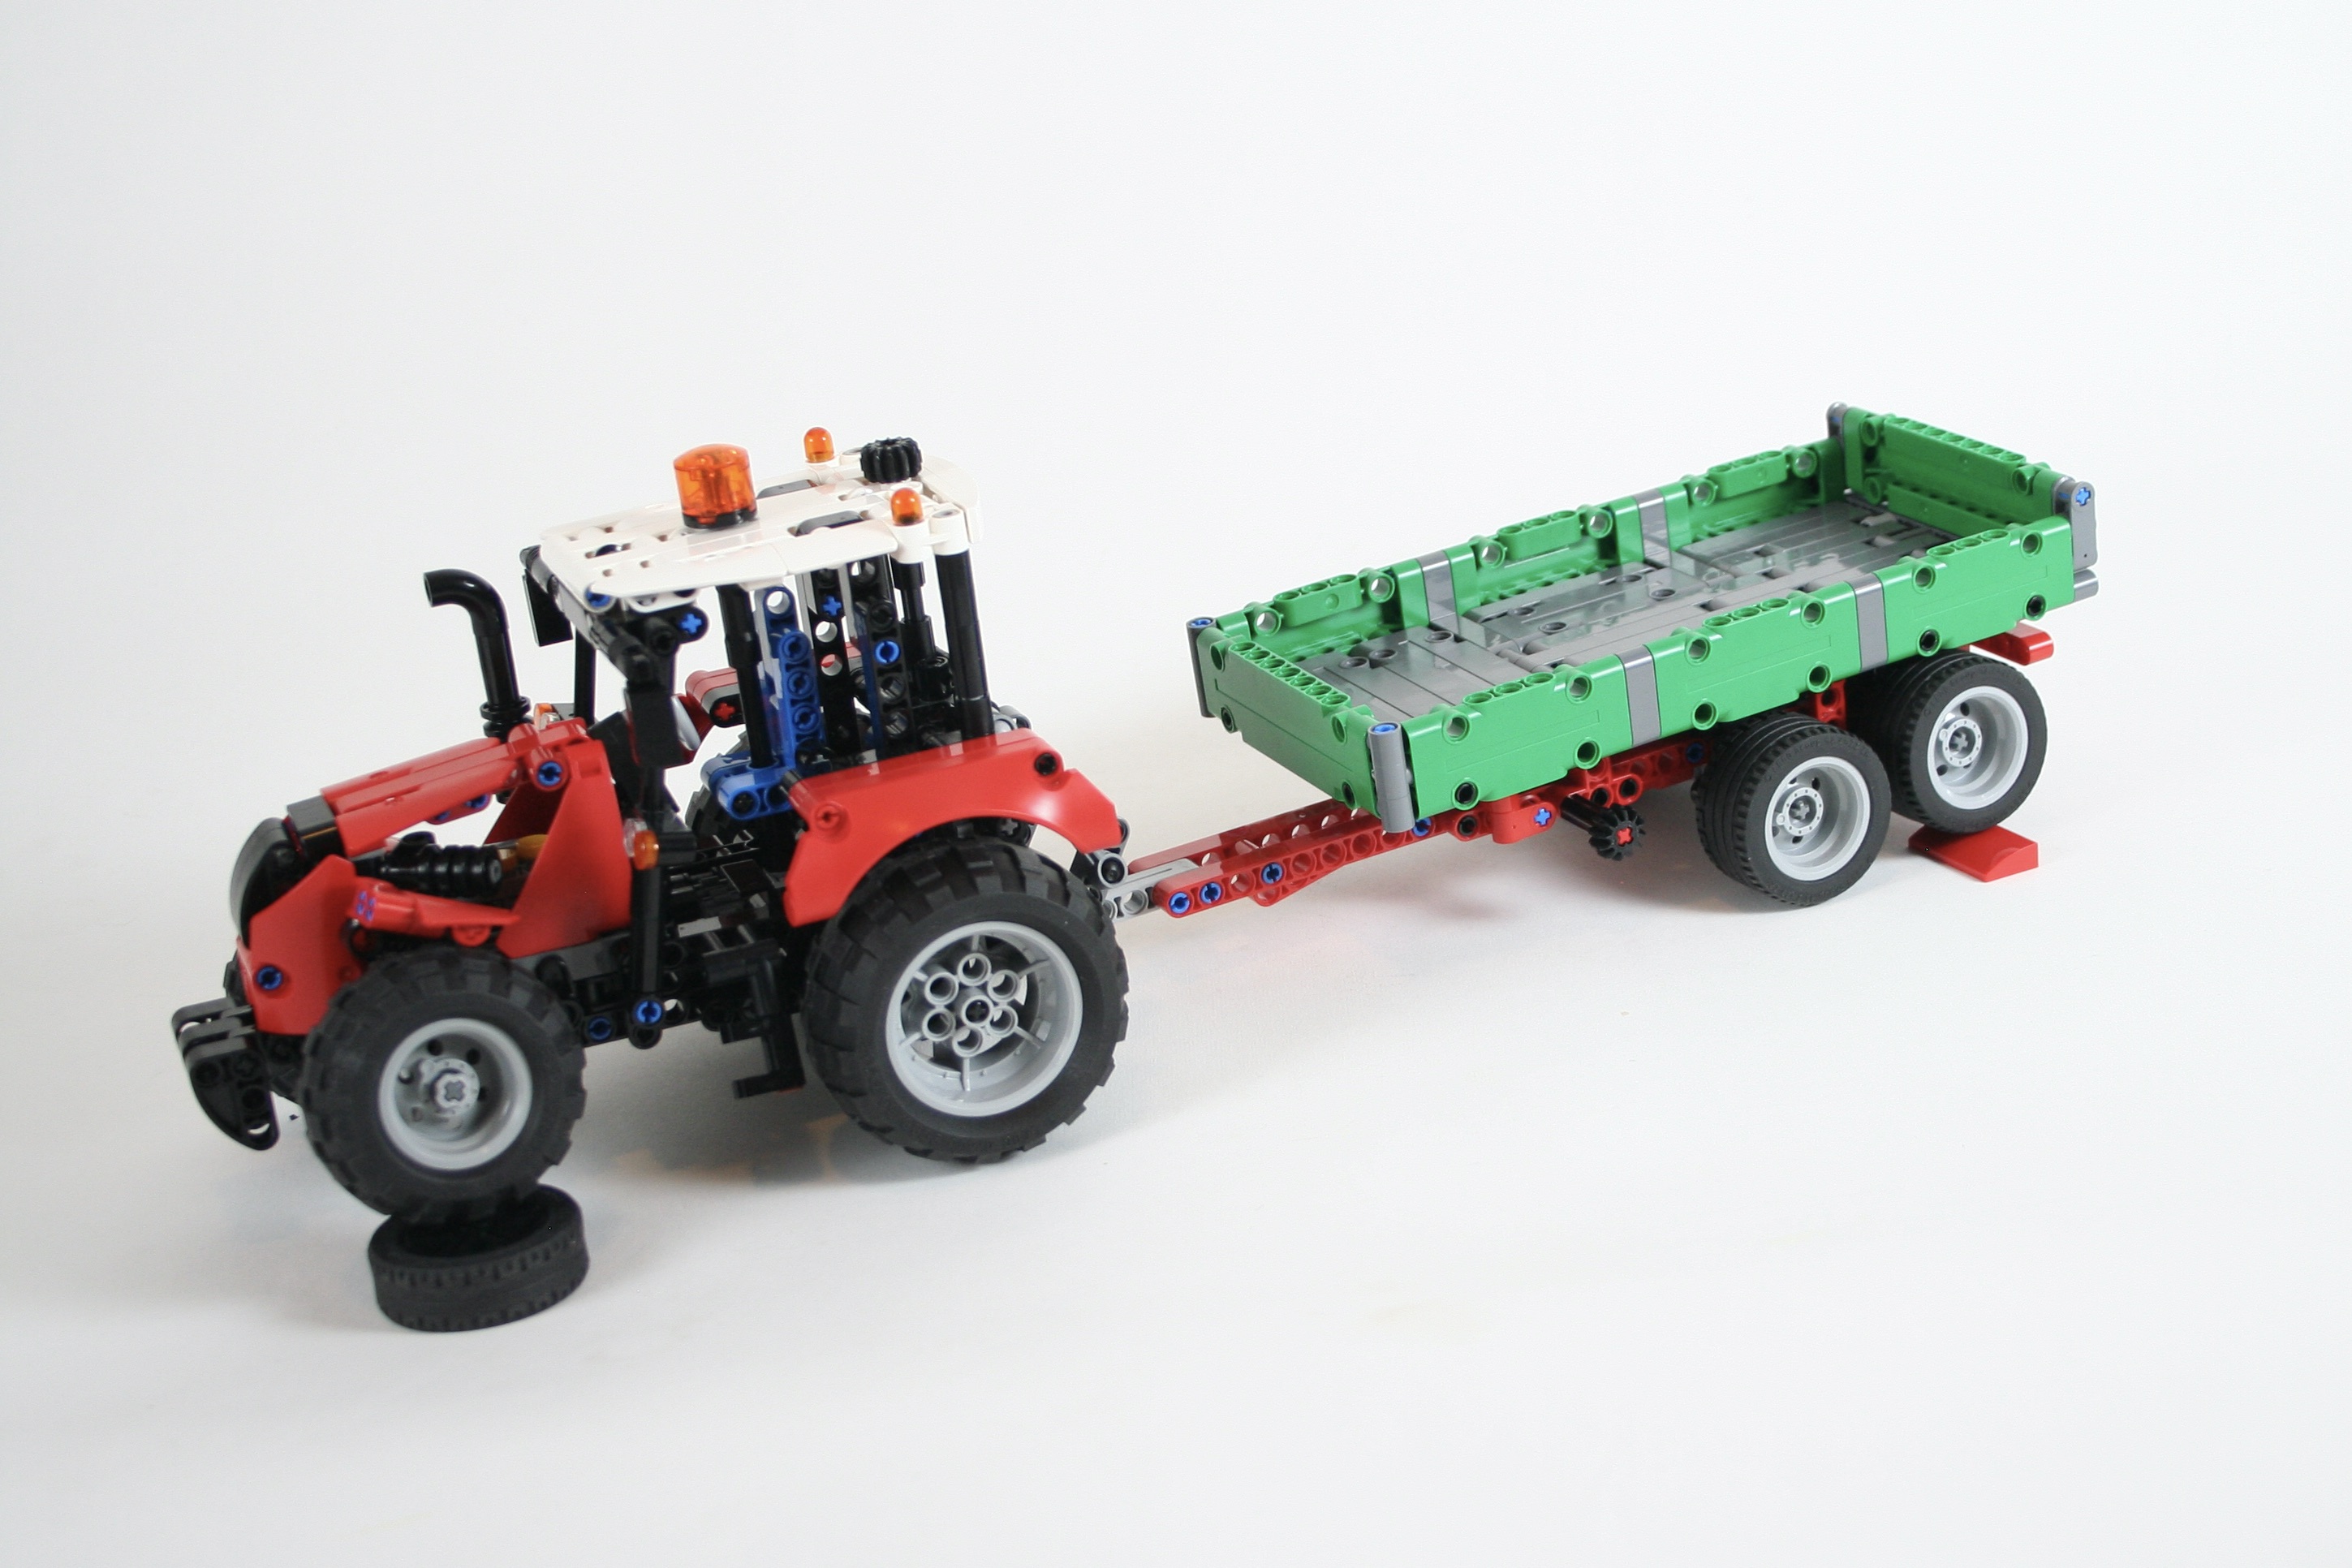
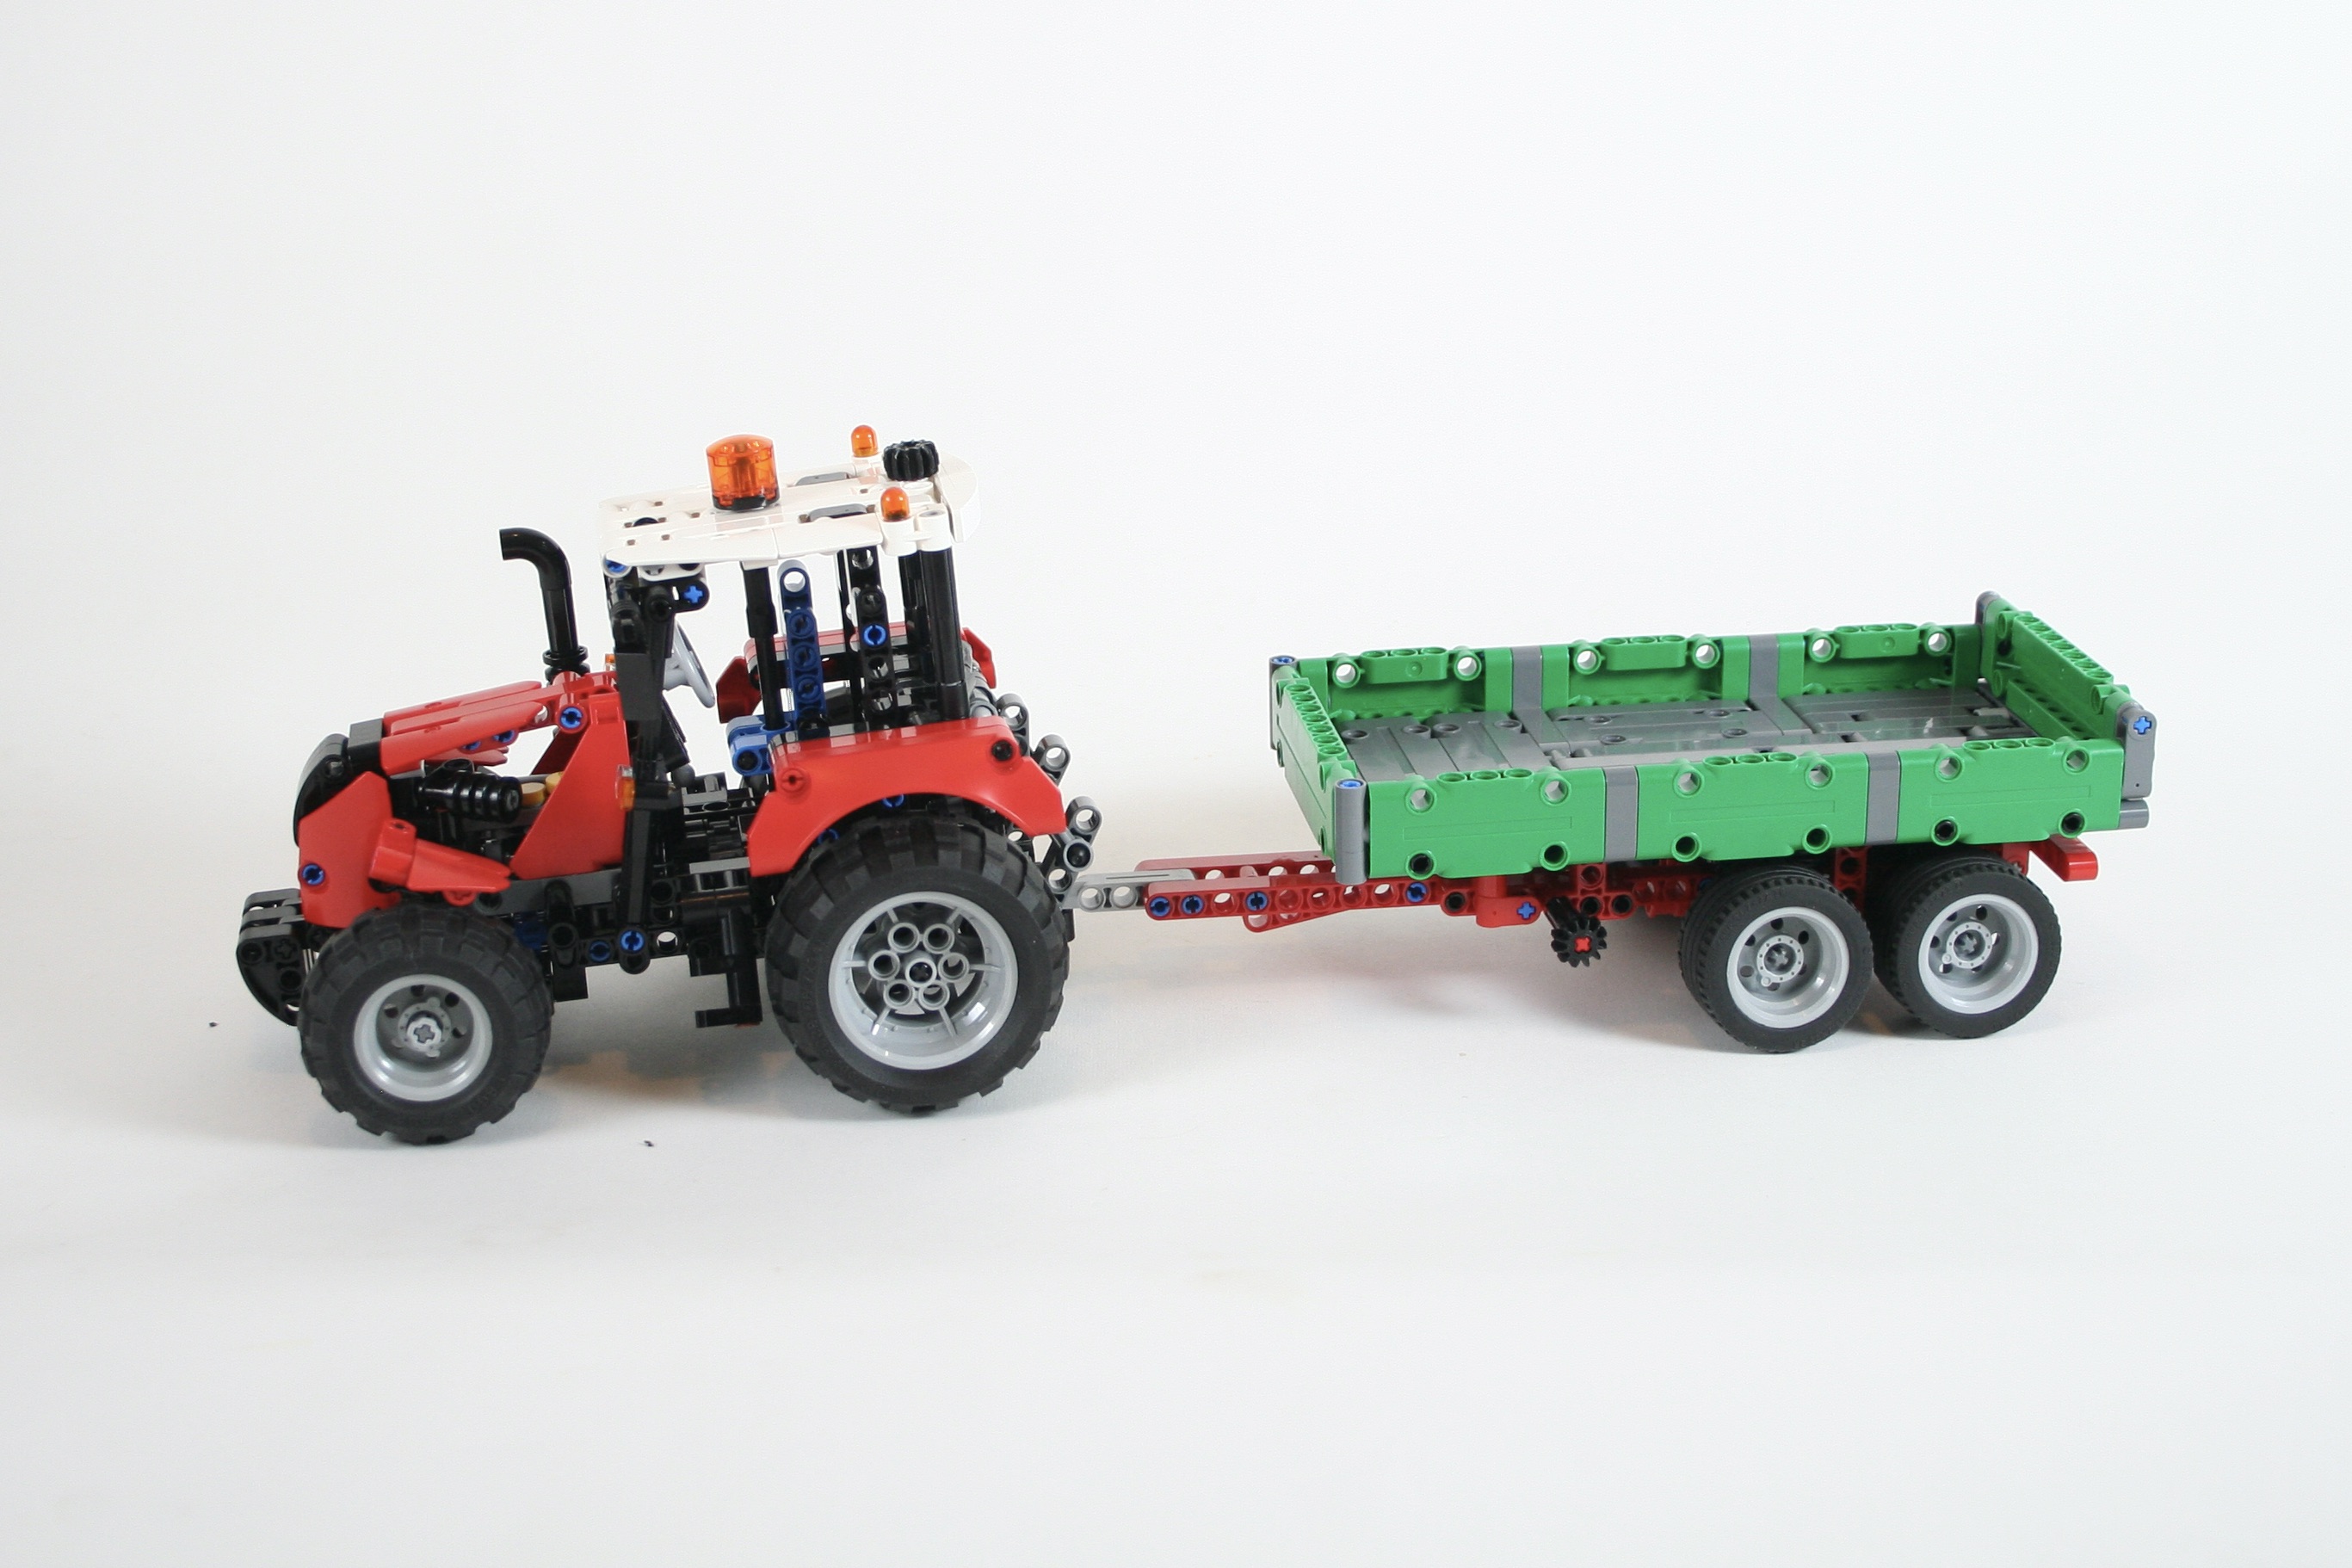
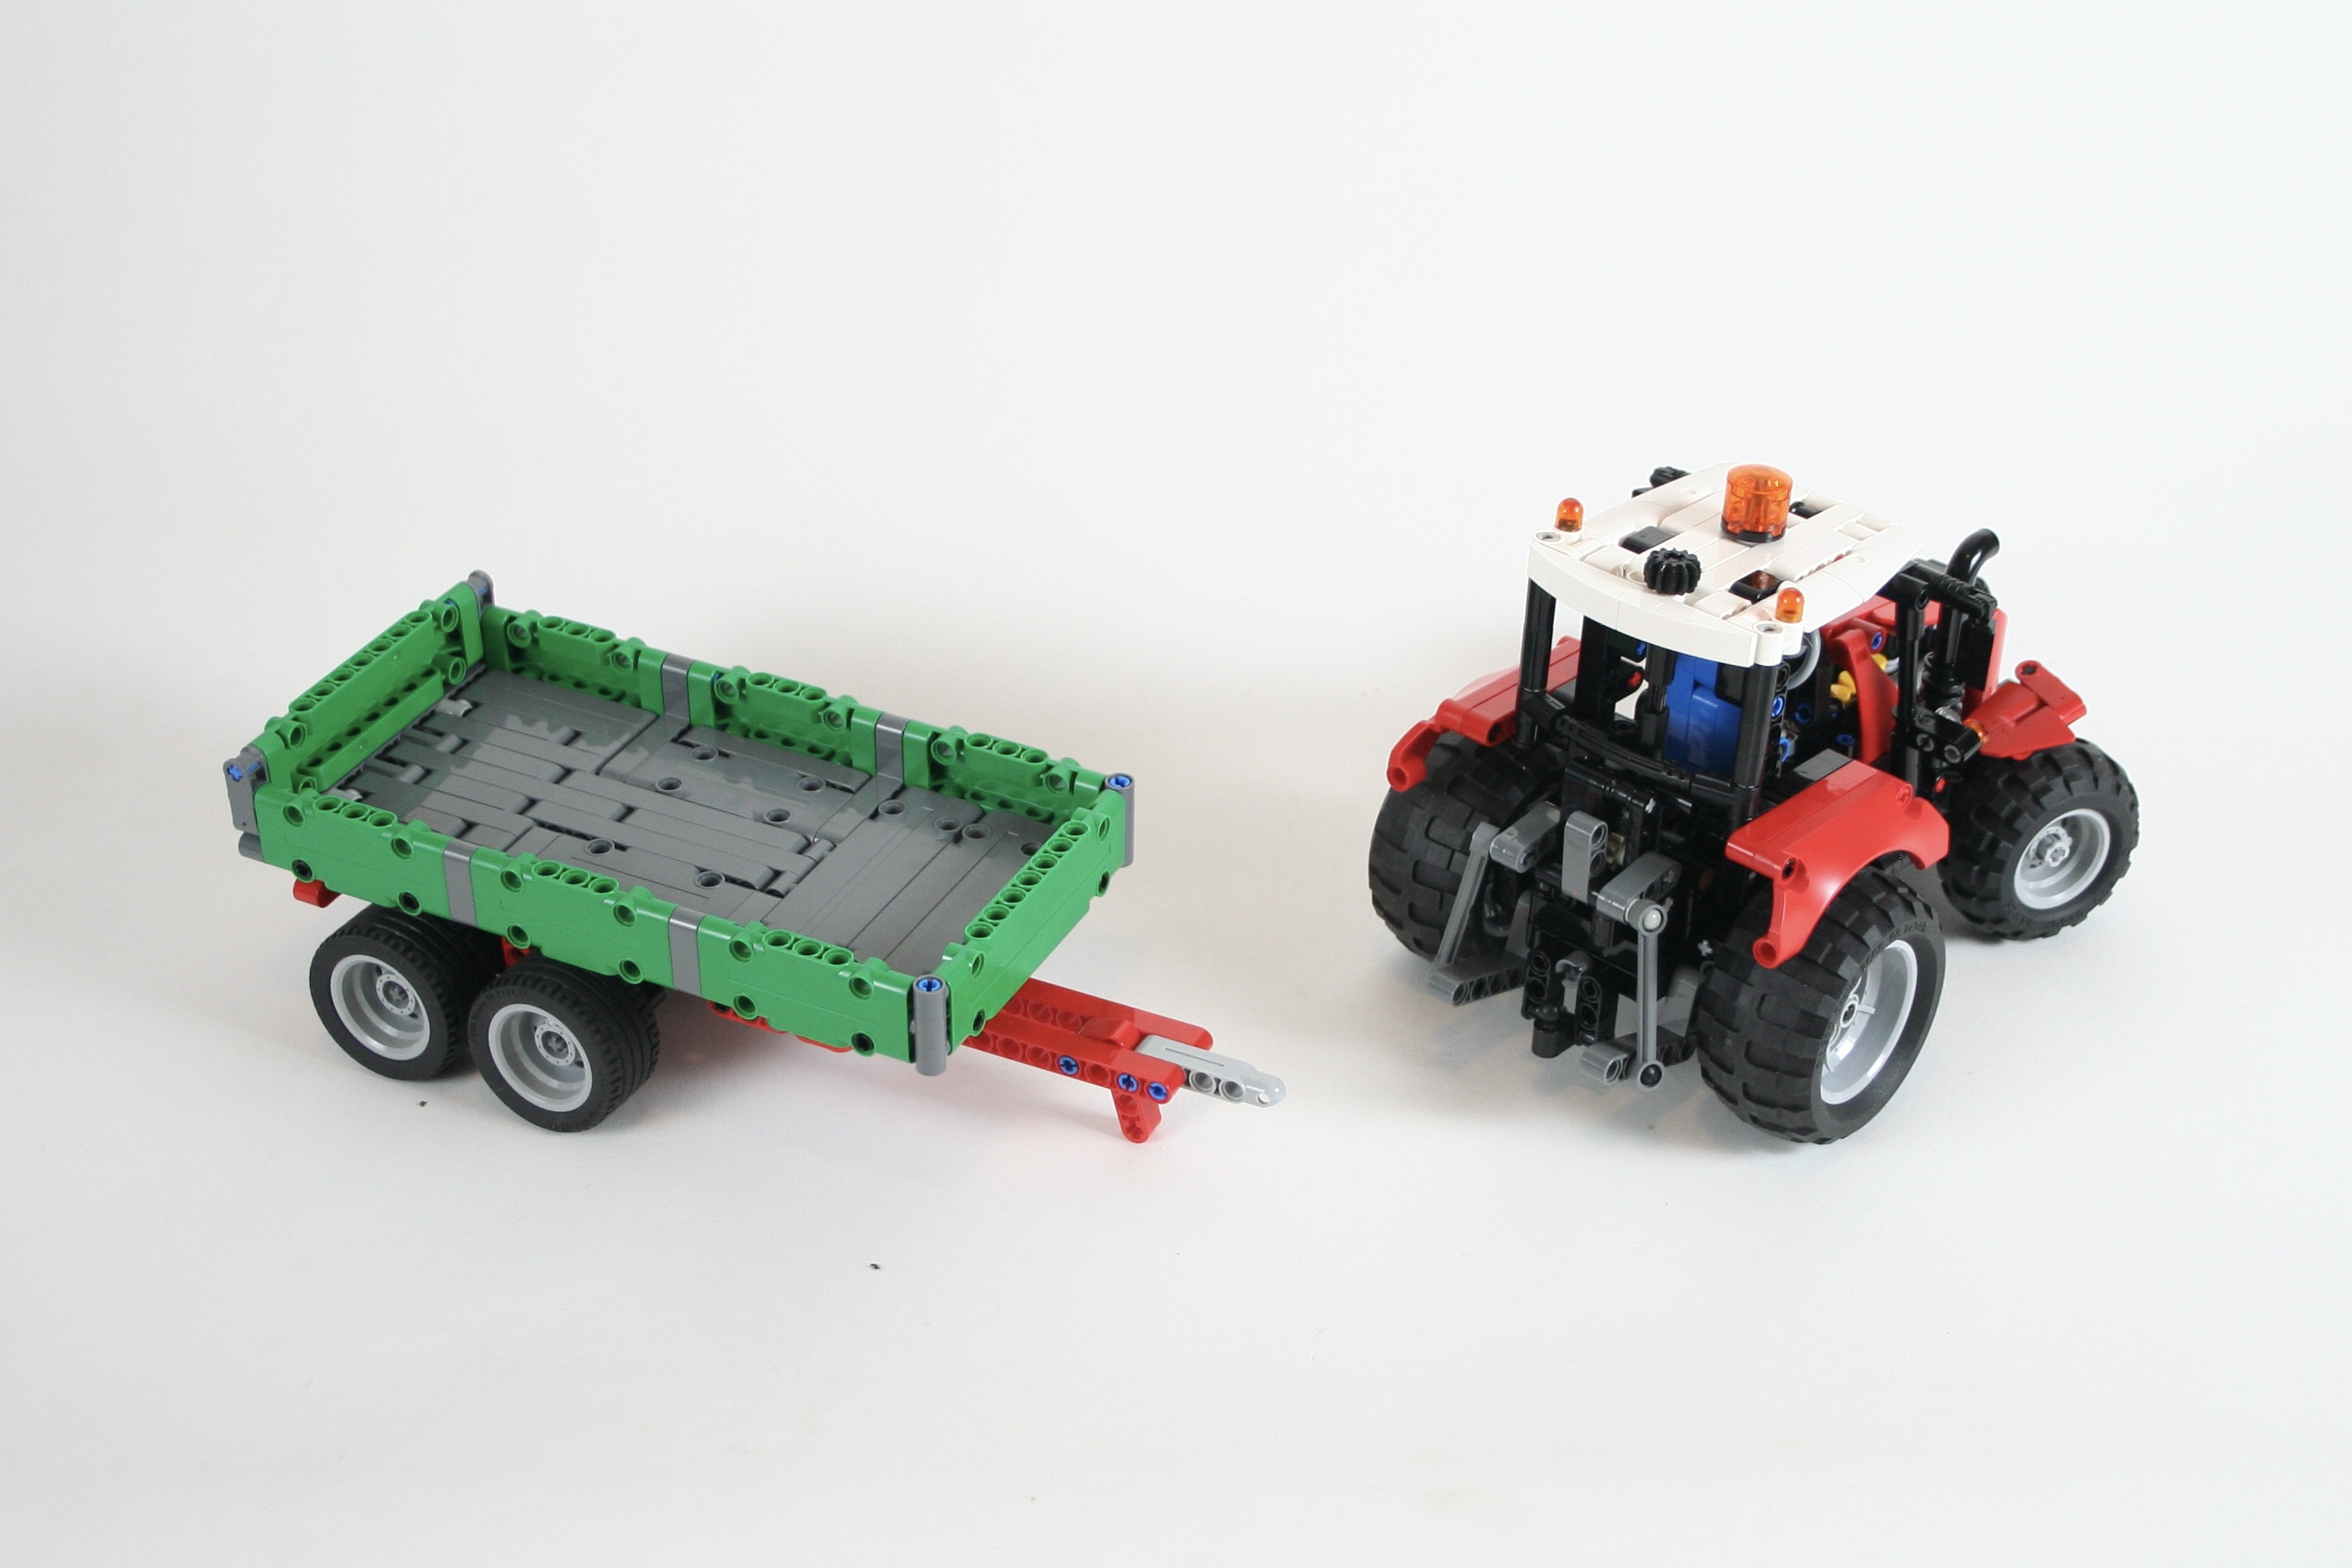
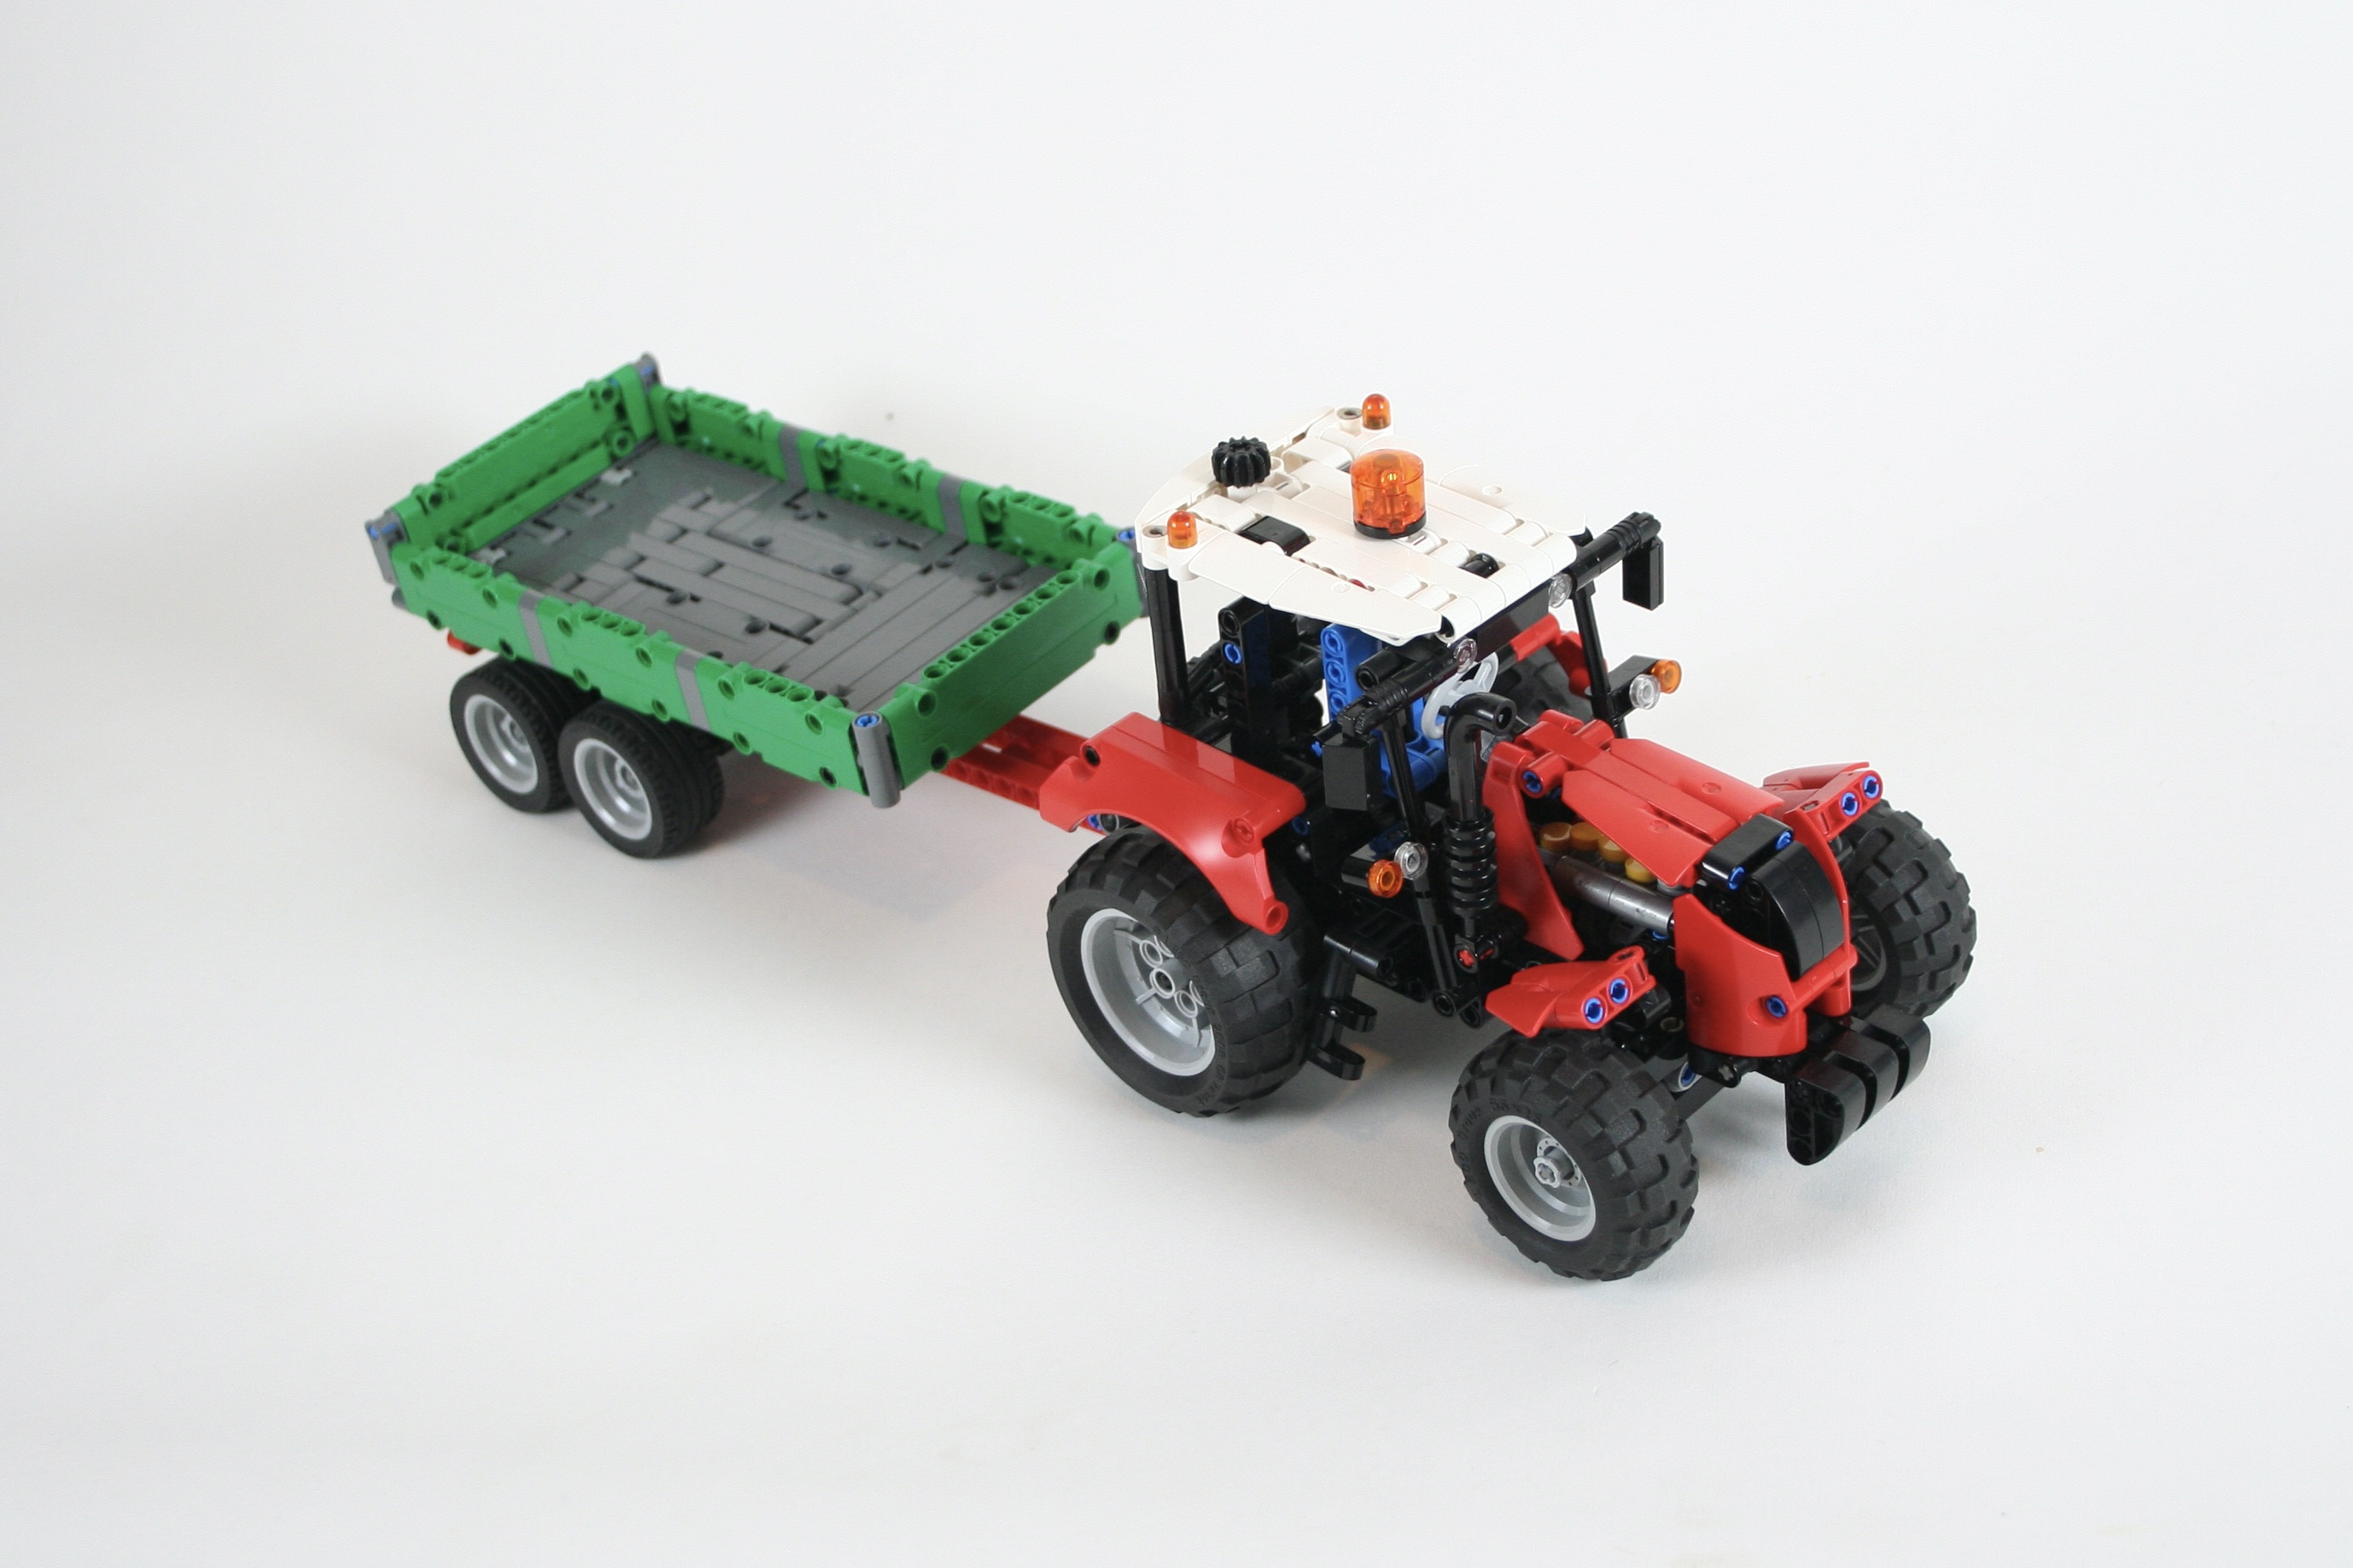
This little tractor was the result of three days of designing and building. It was modeled off the 6524 Blizzard Blazer set from 1988, which to the best of my memory, was the first set I ever acquired. This little tractor has a simple steering design, with a HOG on the top of the cabin. Additionally, a little PTO is run off one of the rear wheels and can power an attachment. Finally, a mount for a front attachment is included, as is an attachment and hitch at the rear of the tractor.

To demonstrate the versatility of this small tractor, I built a hay wagon, and two attachments. Naturally, a little snow plow was built for the front. A little hay tedder was built for the rear which is powered by the PTO. Finally, the hay wagon connects to the rear hitch and has a steerable axle. Free instructions for the wagon are also available at Rebrickable.com.
While this is not one of the best builds I have made in the last couple of years, it served a specific function of clearing my creative head. It accomplished this. It was a fun little build, and I’m sure there will be more like it in the coming years.
Happy building.