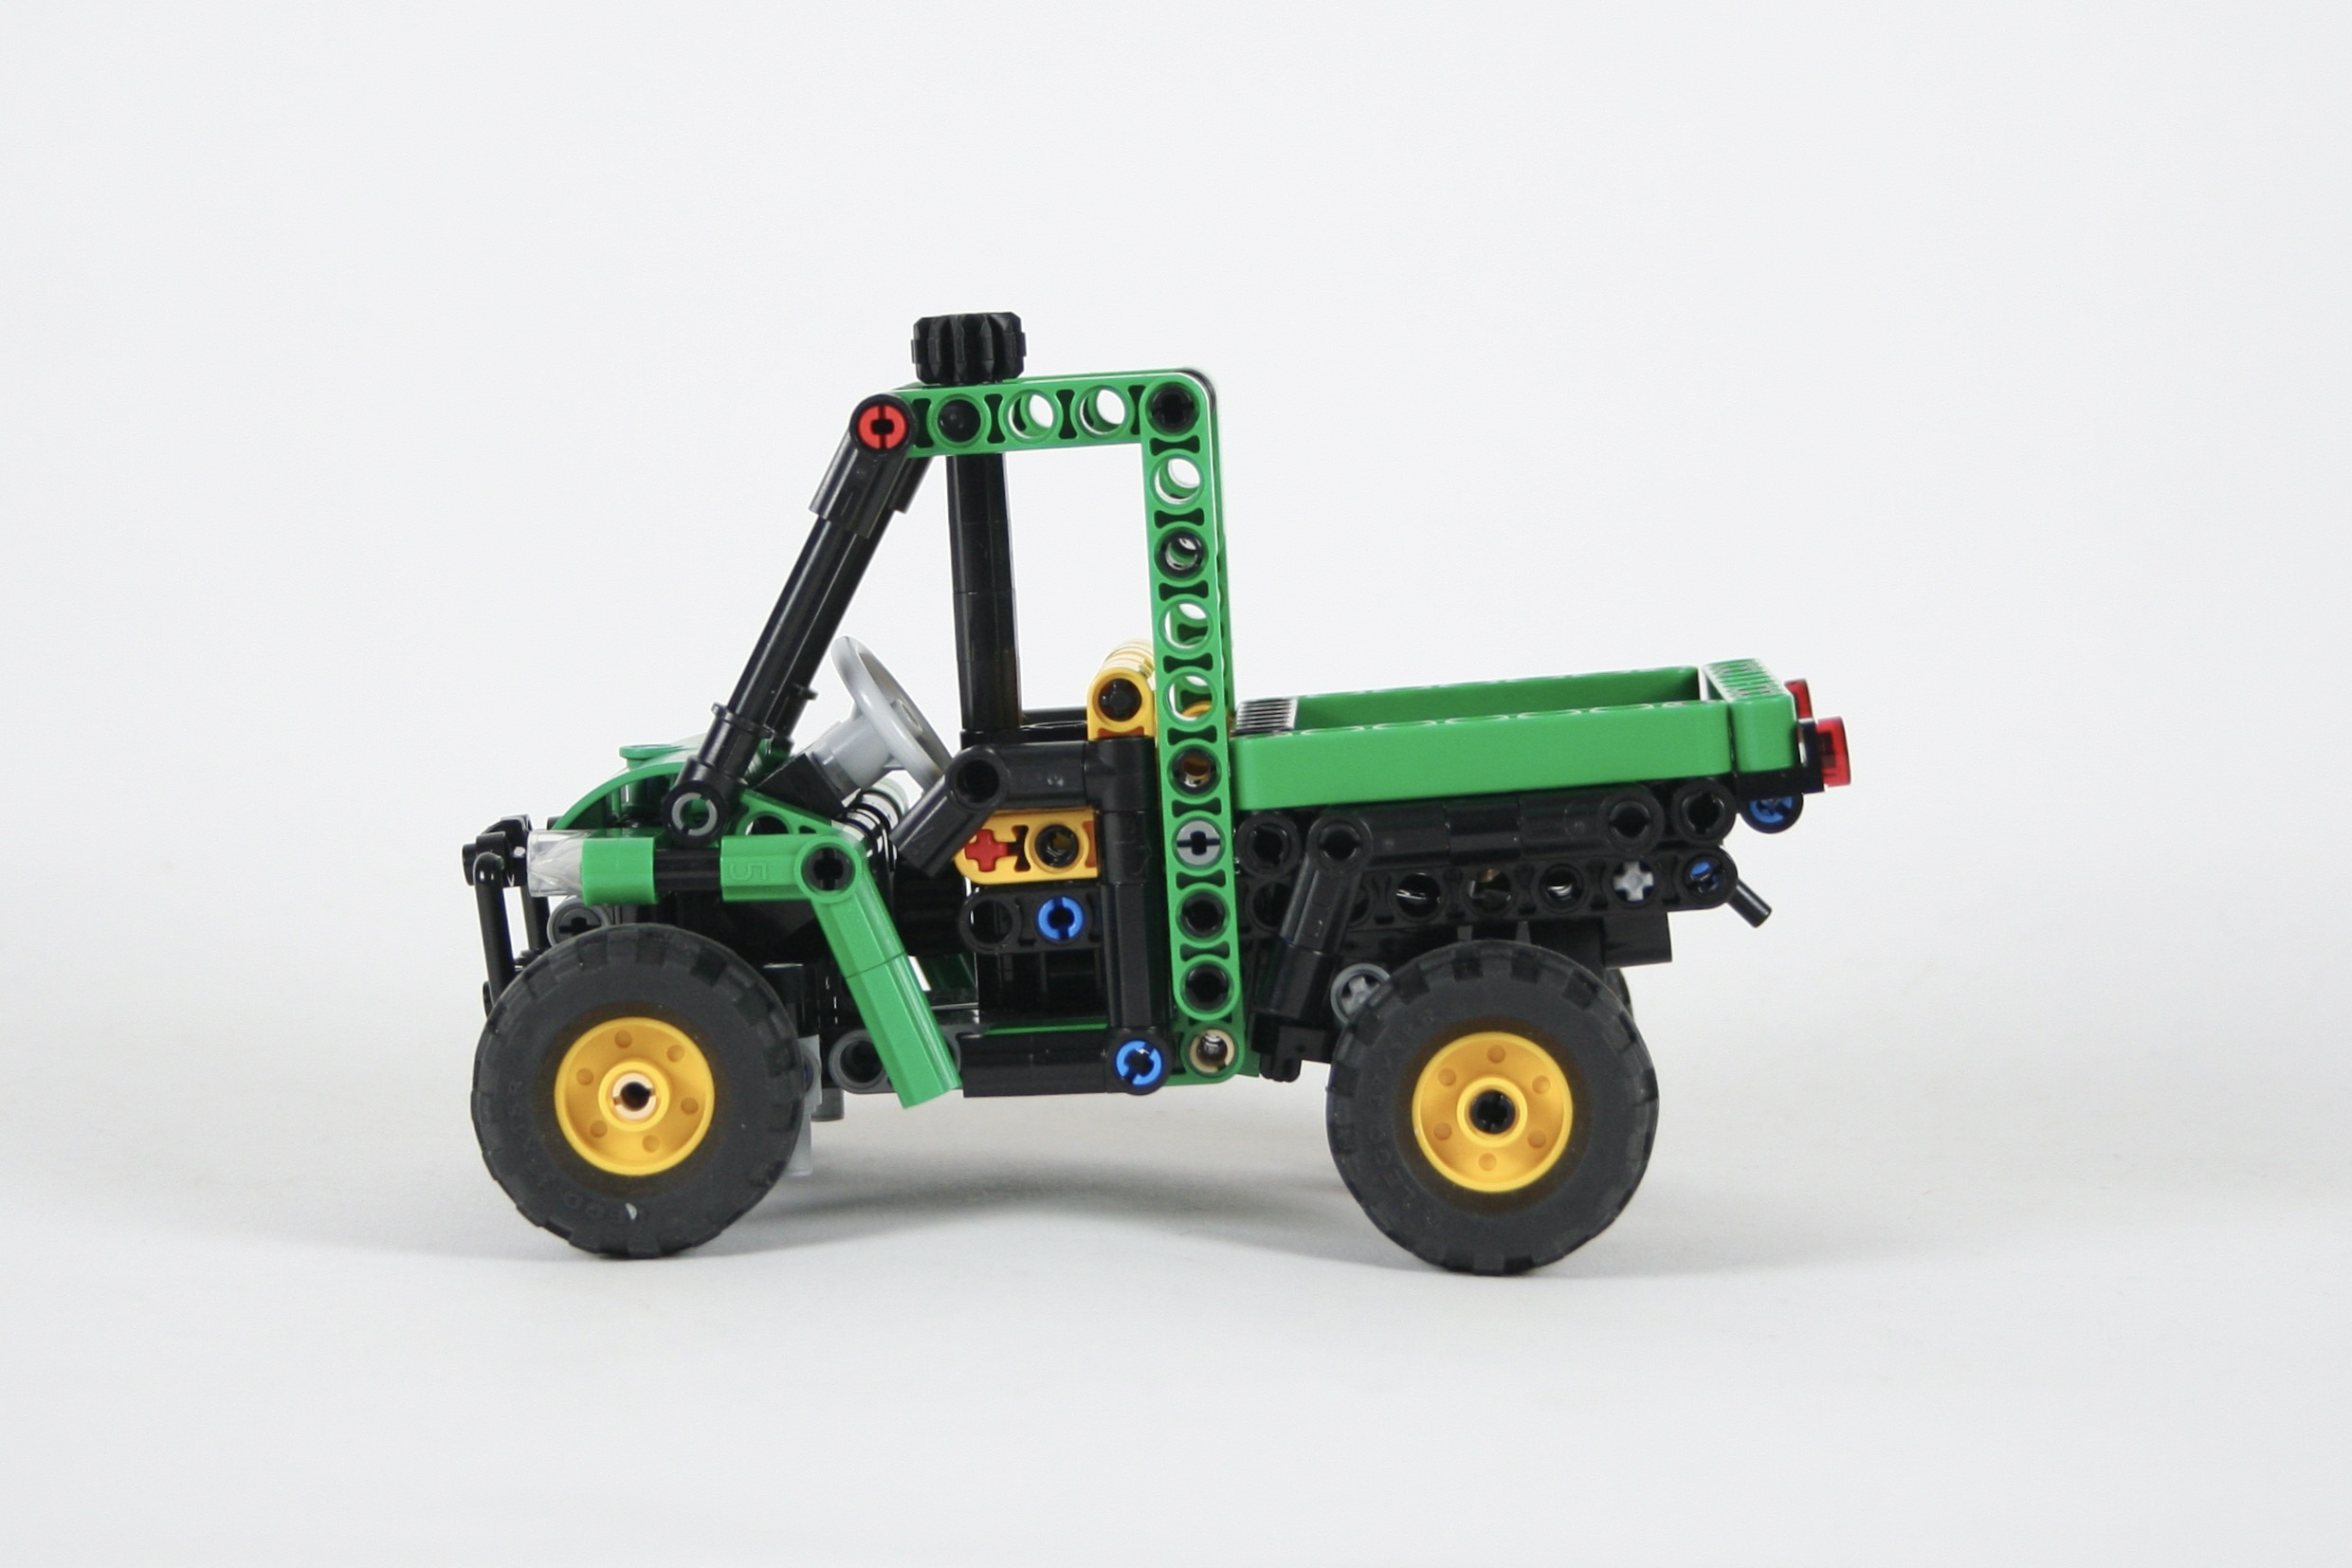
John Deere Gator


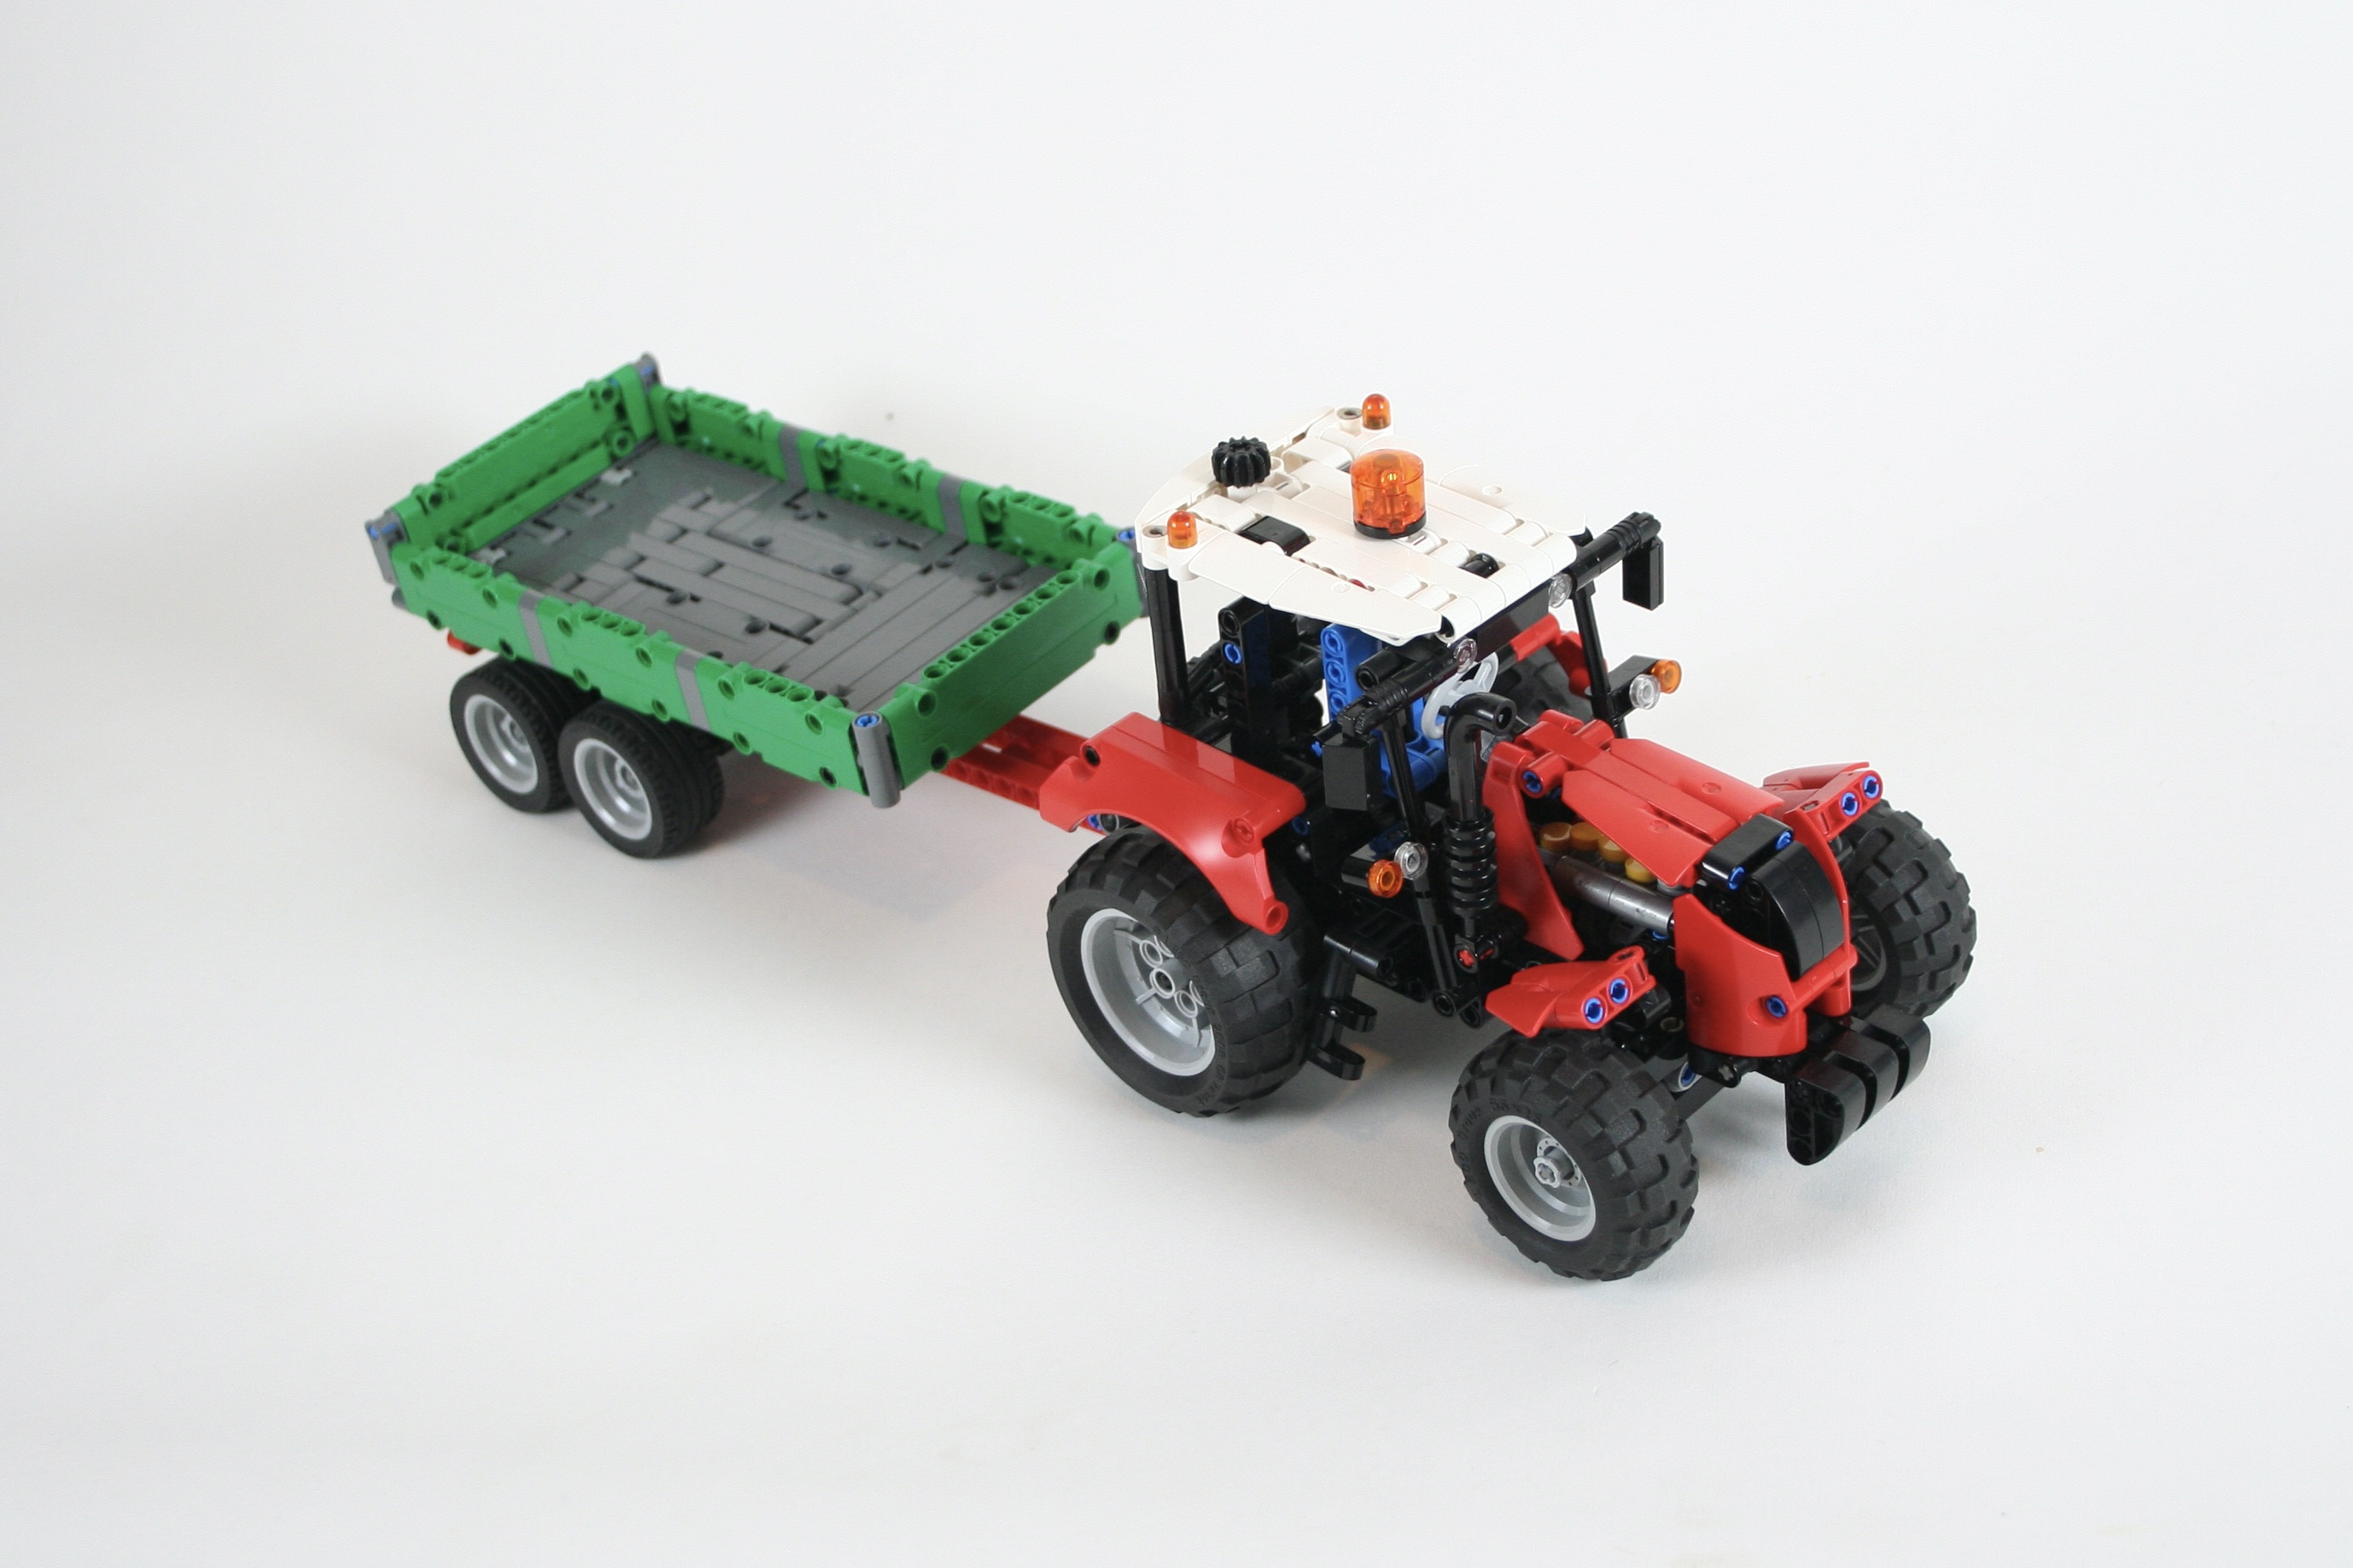
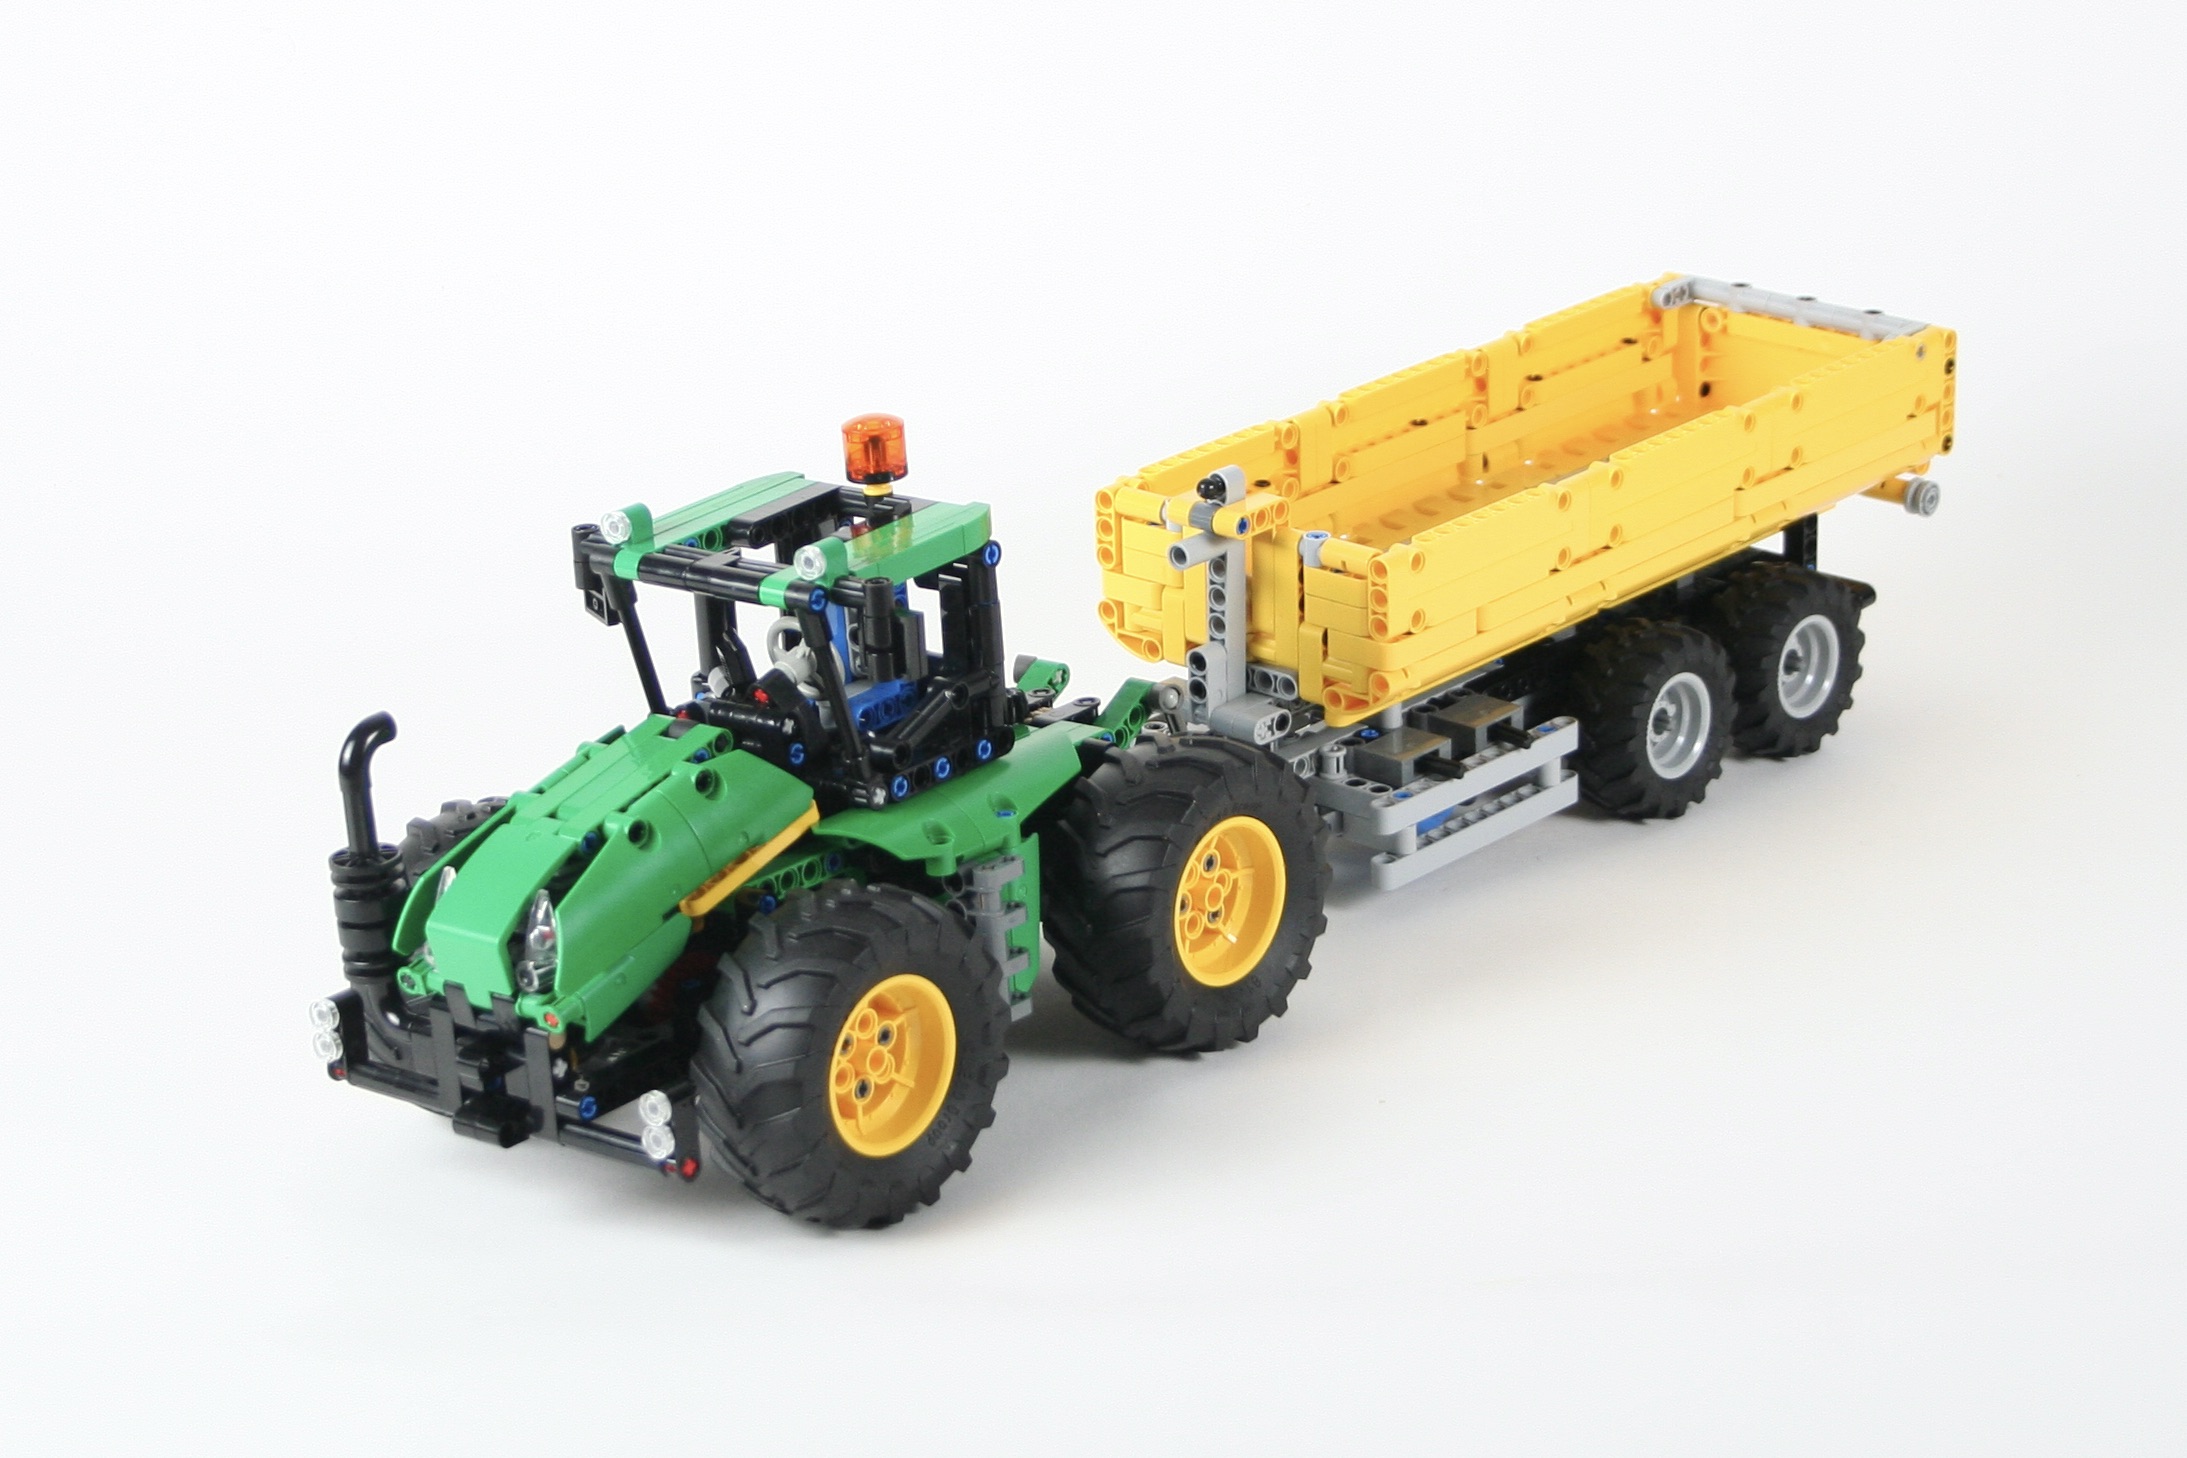
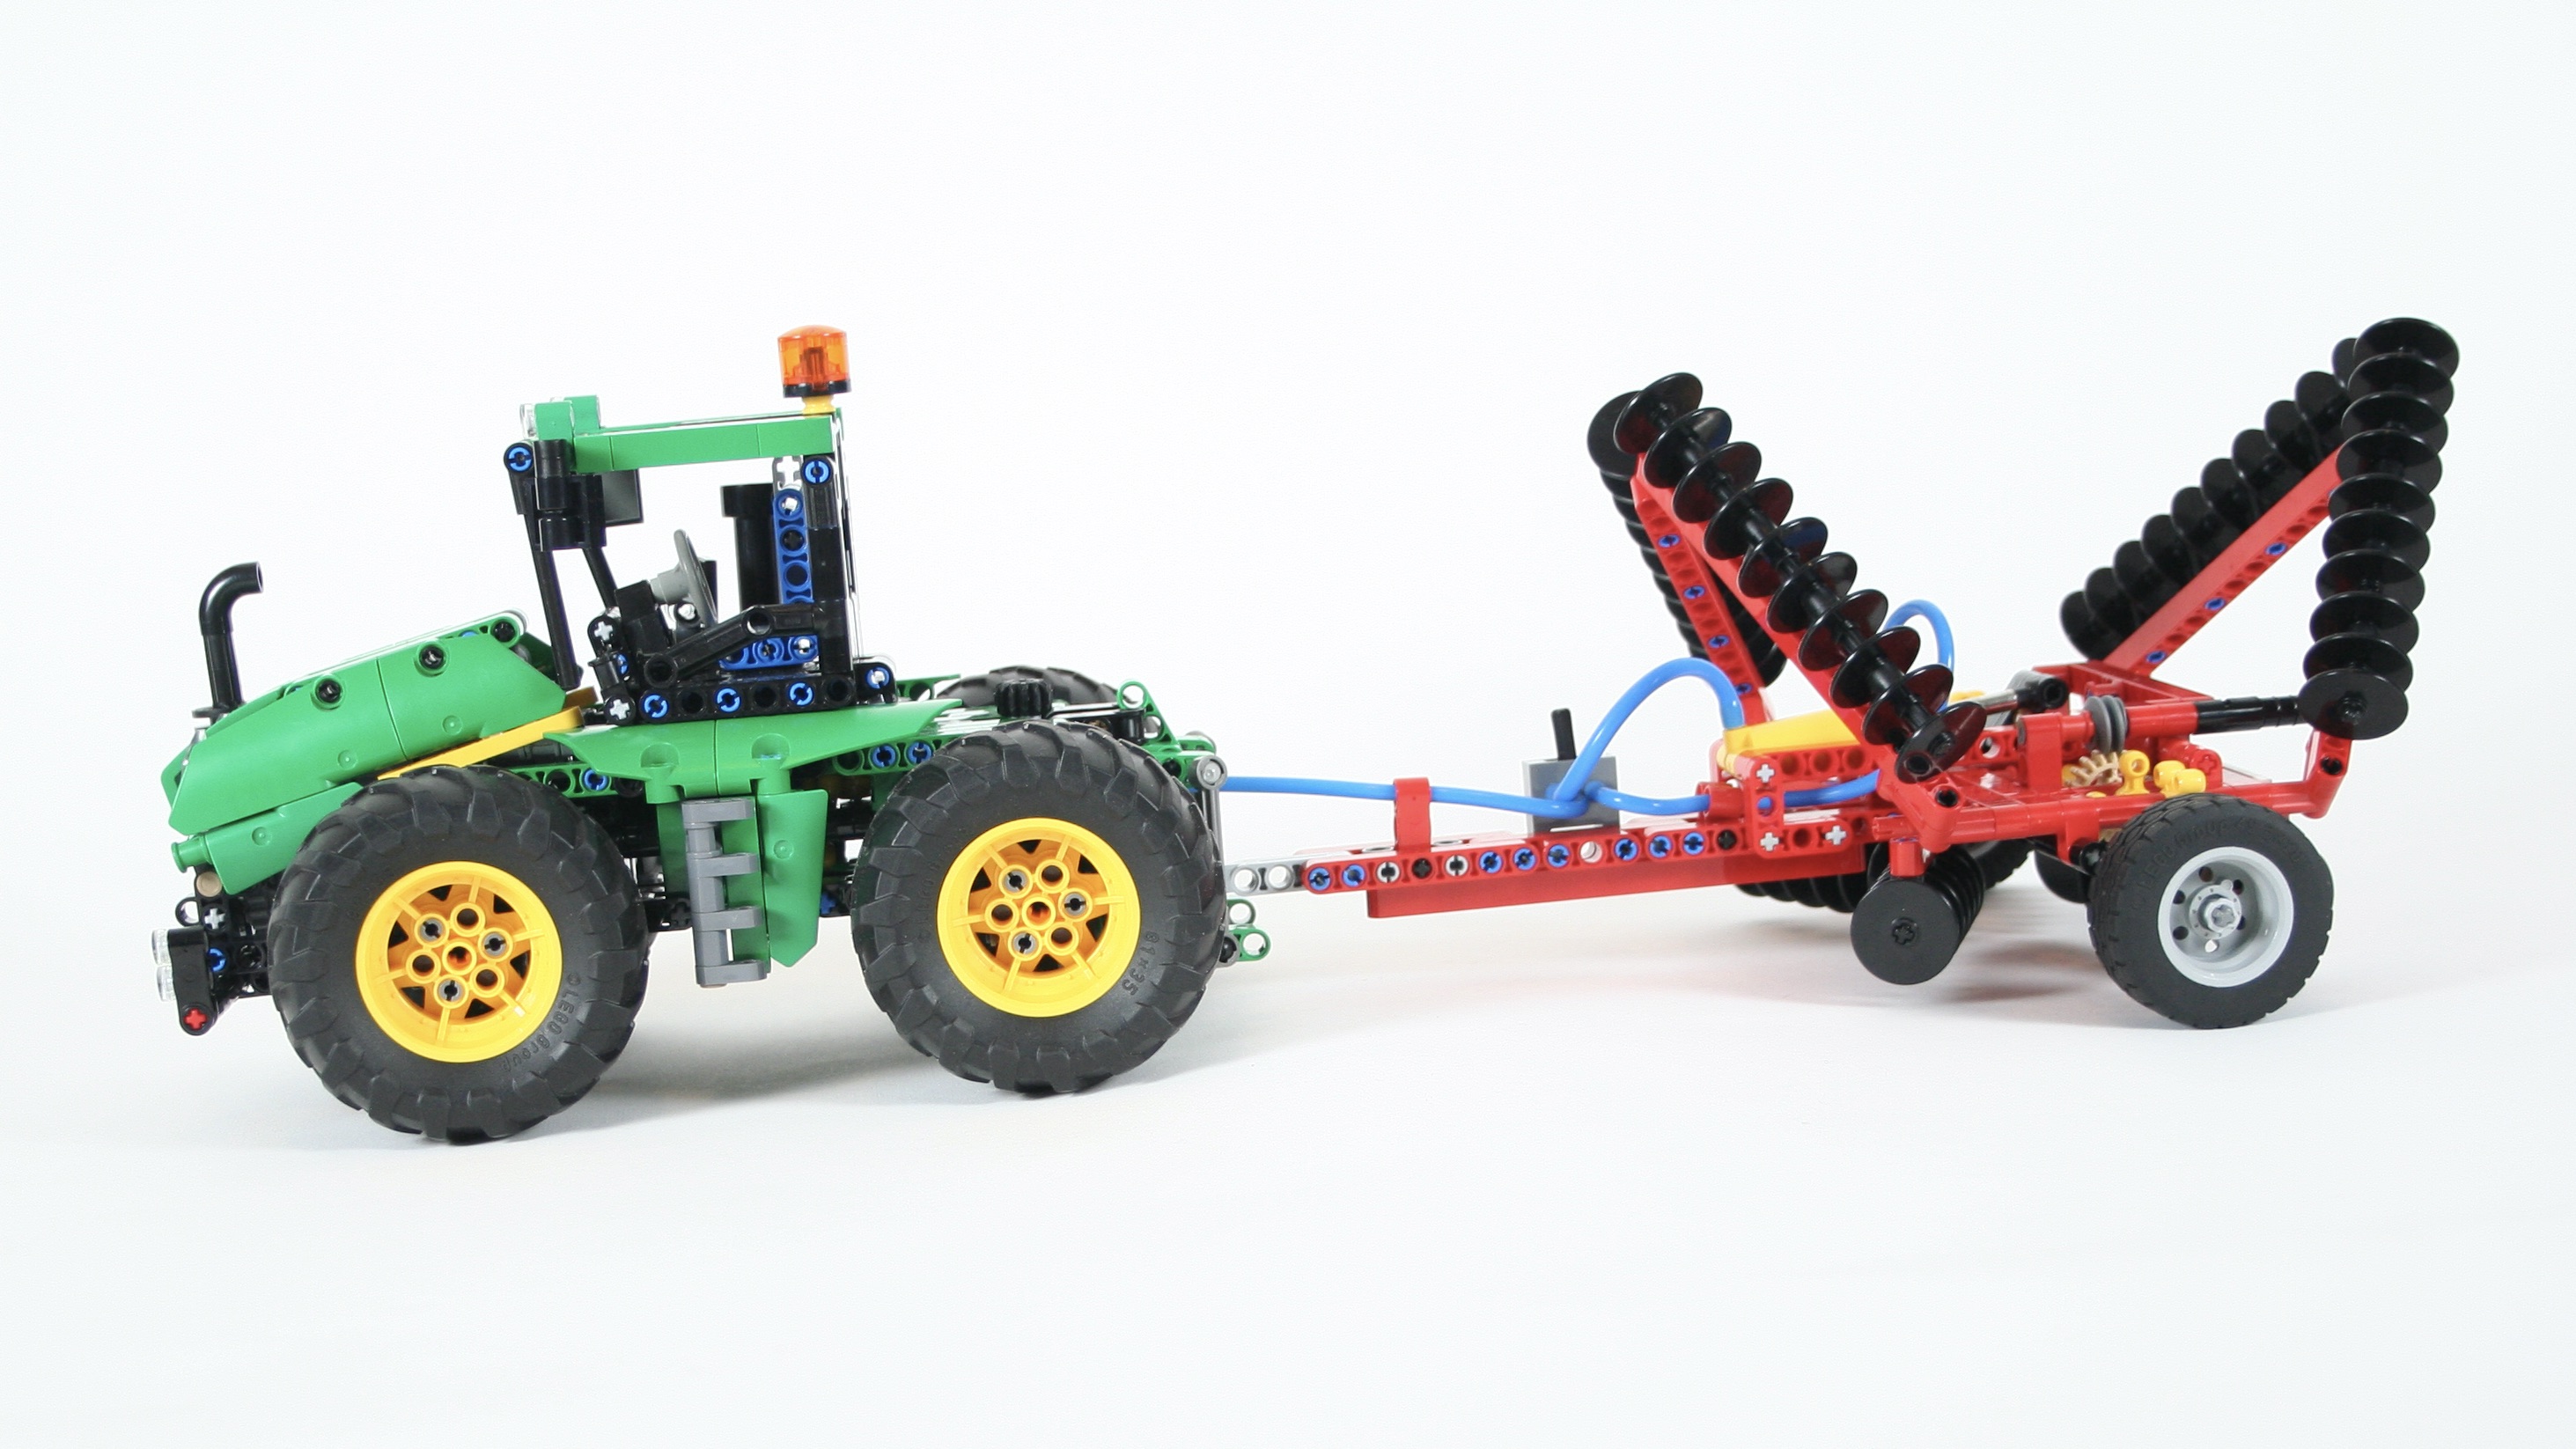
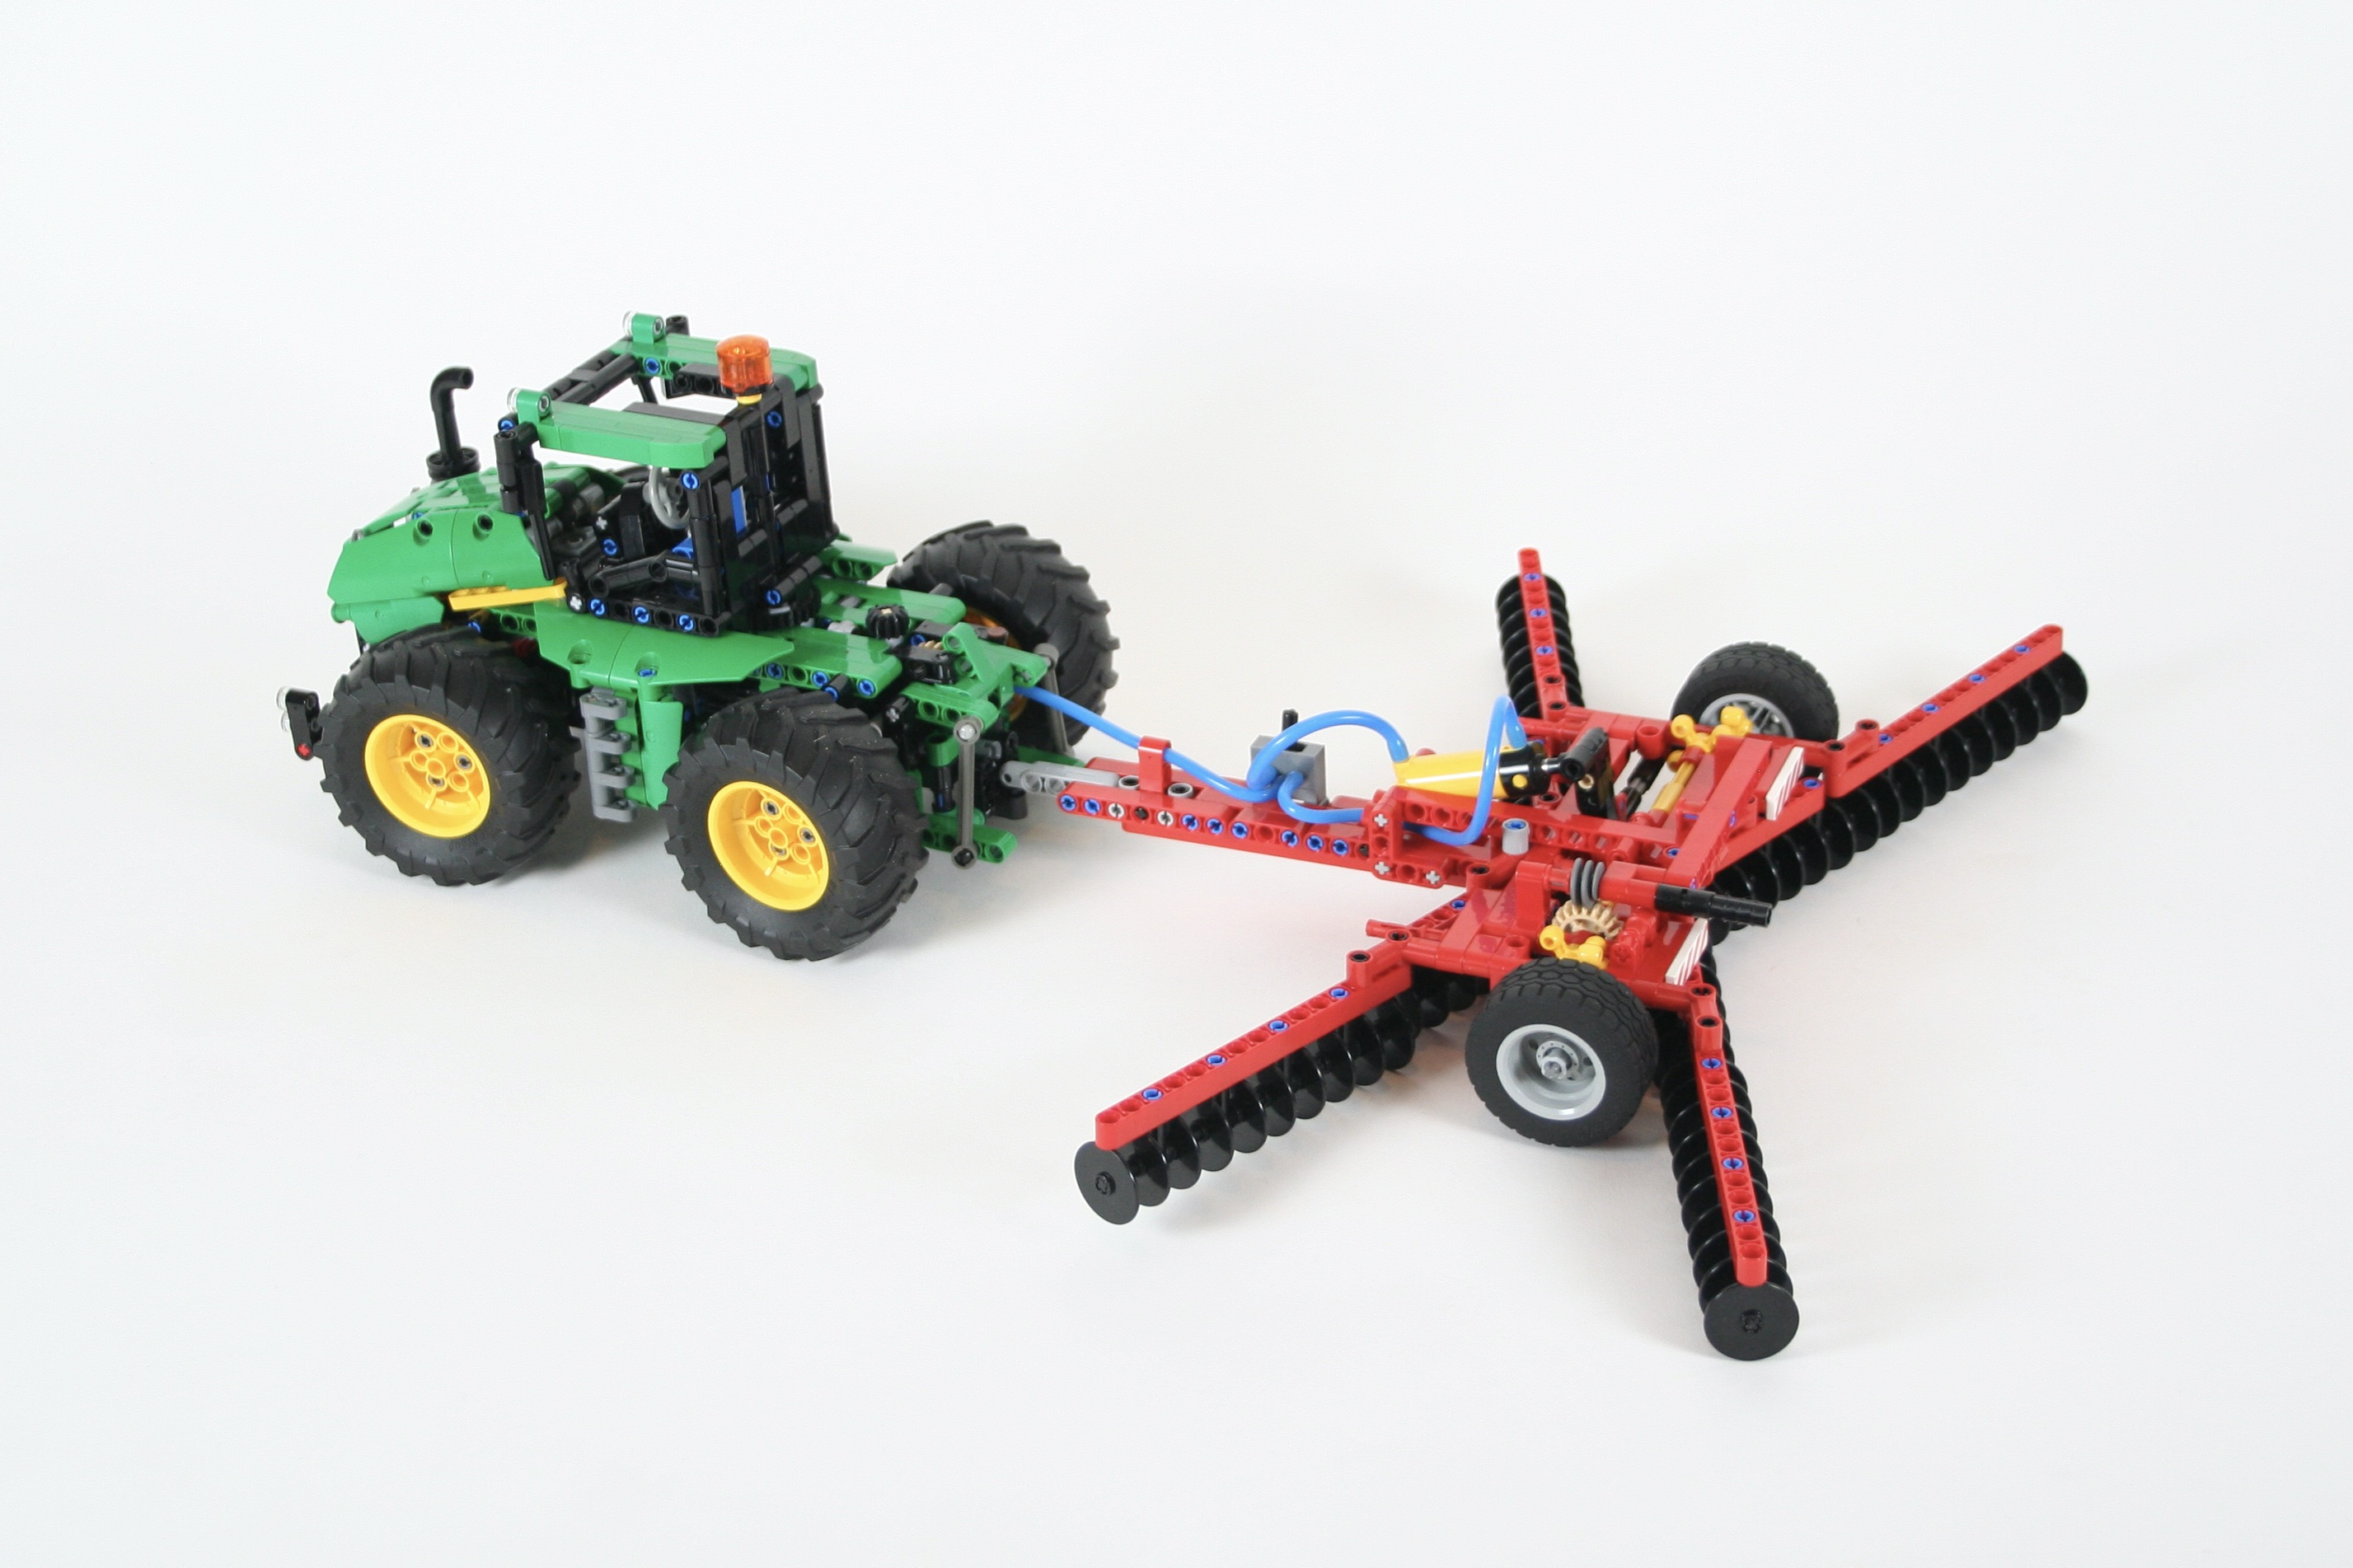
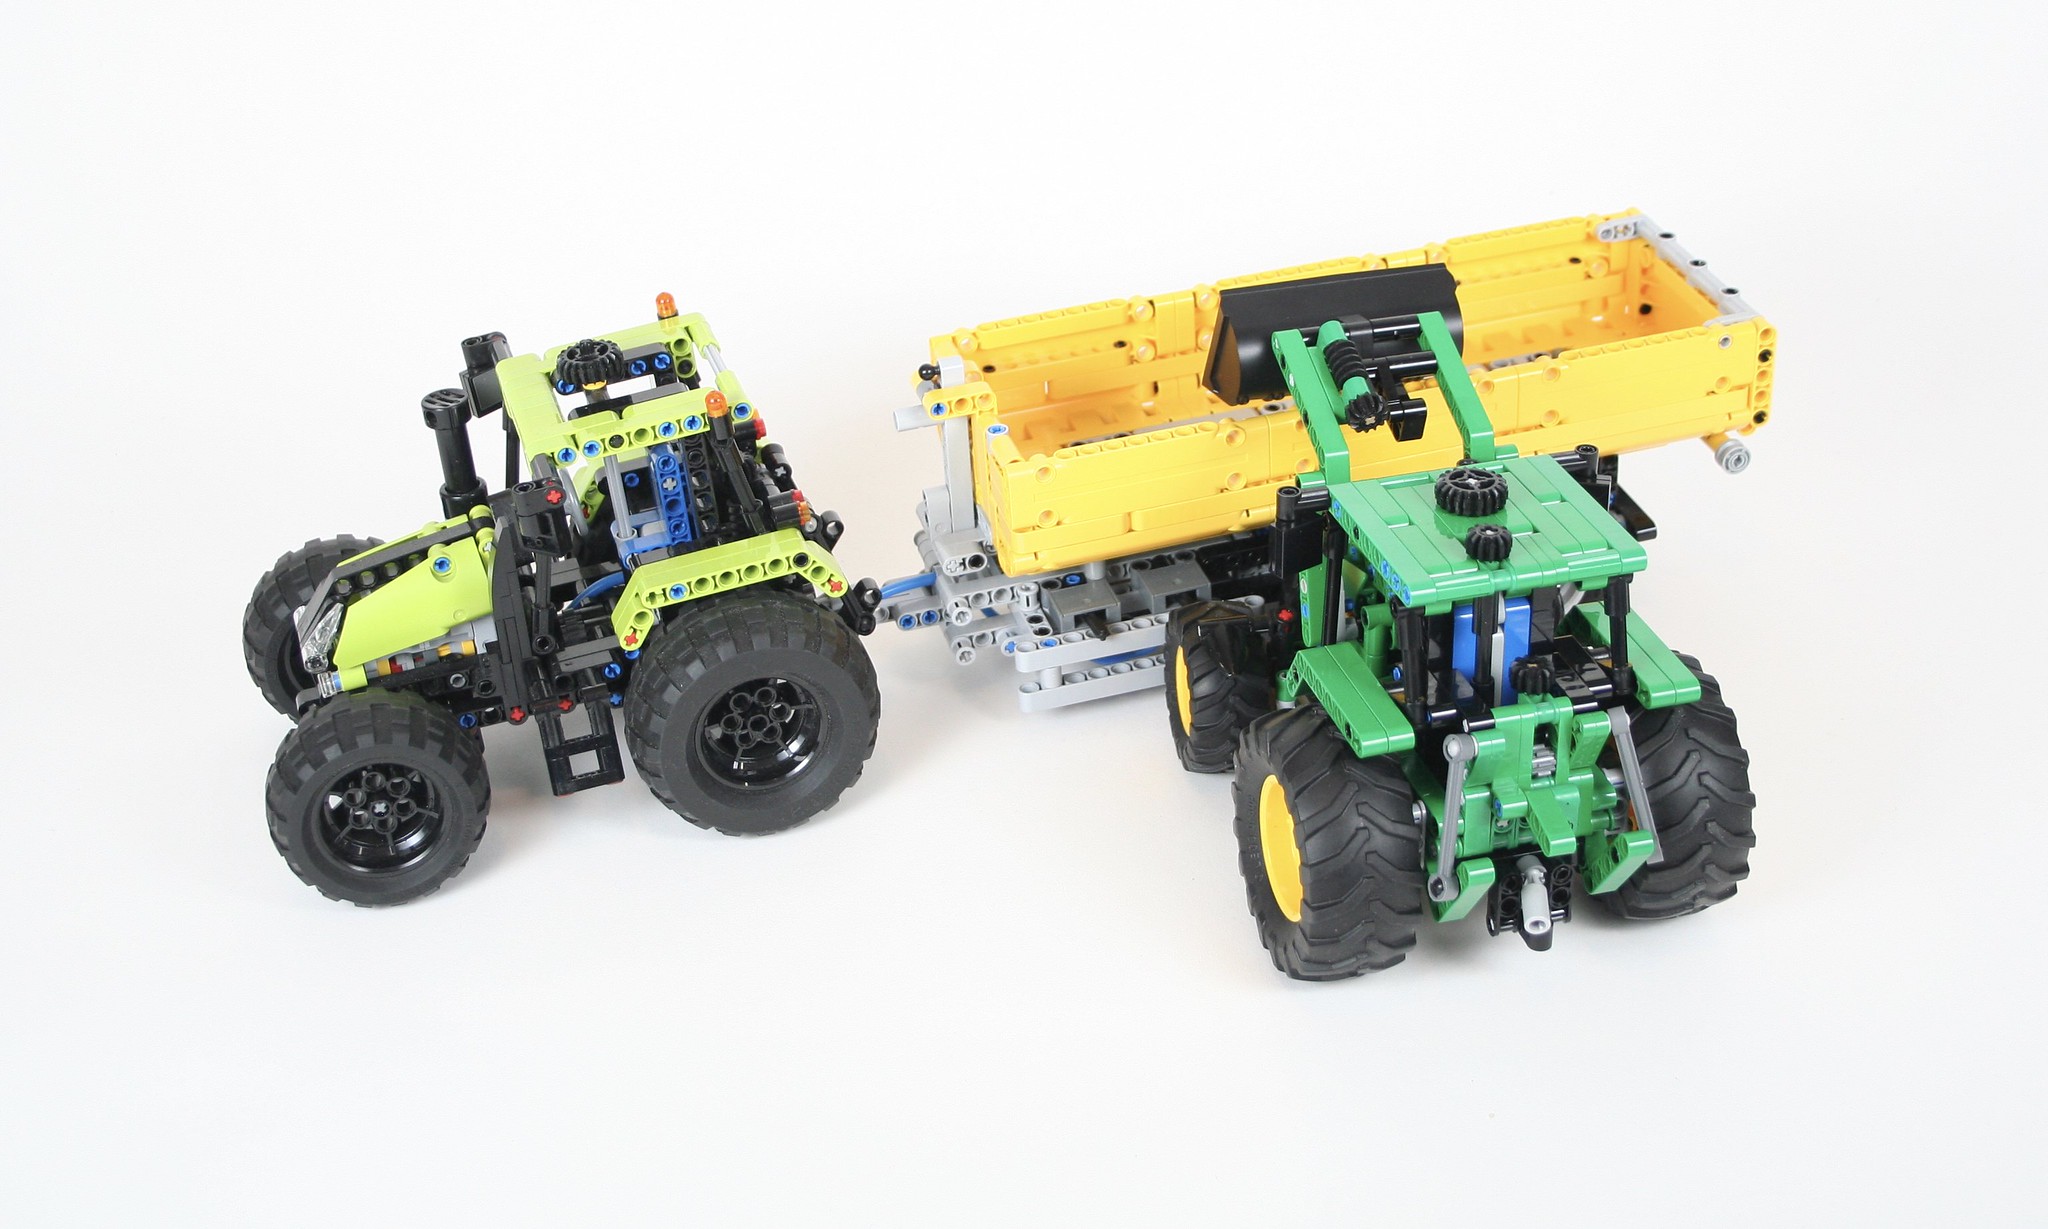
Another little helper for the Thirdwigg Farm.

Instructions may be found at rebrickable.com.

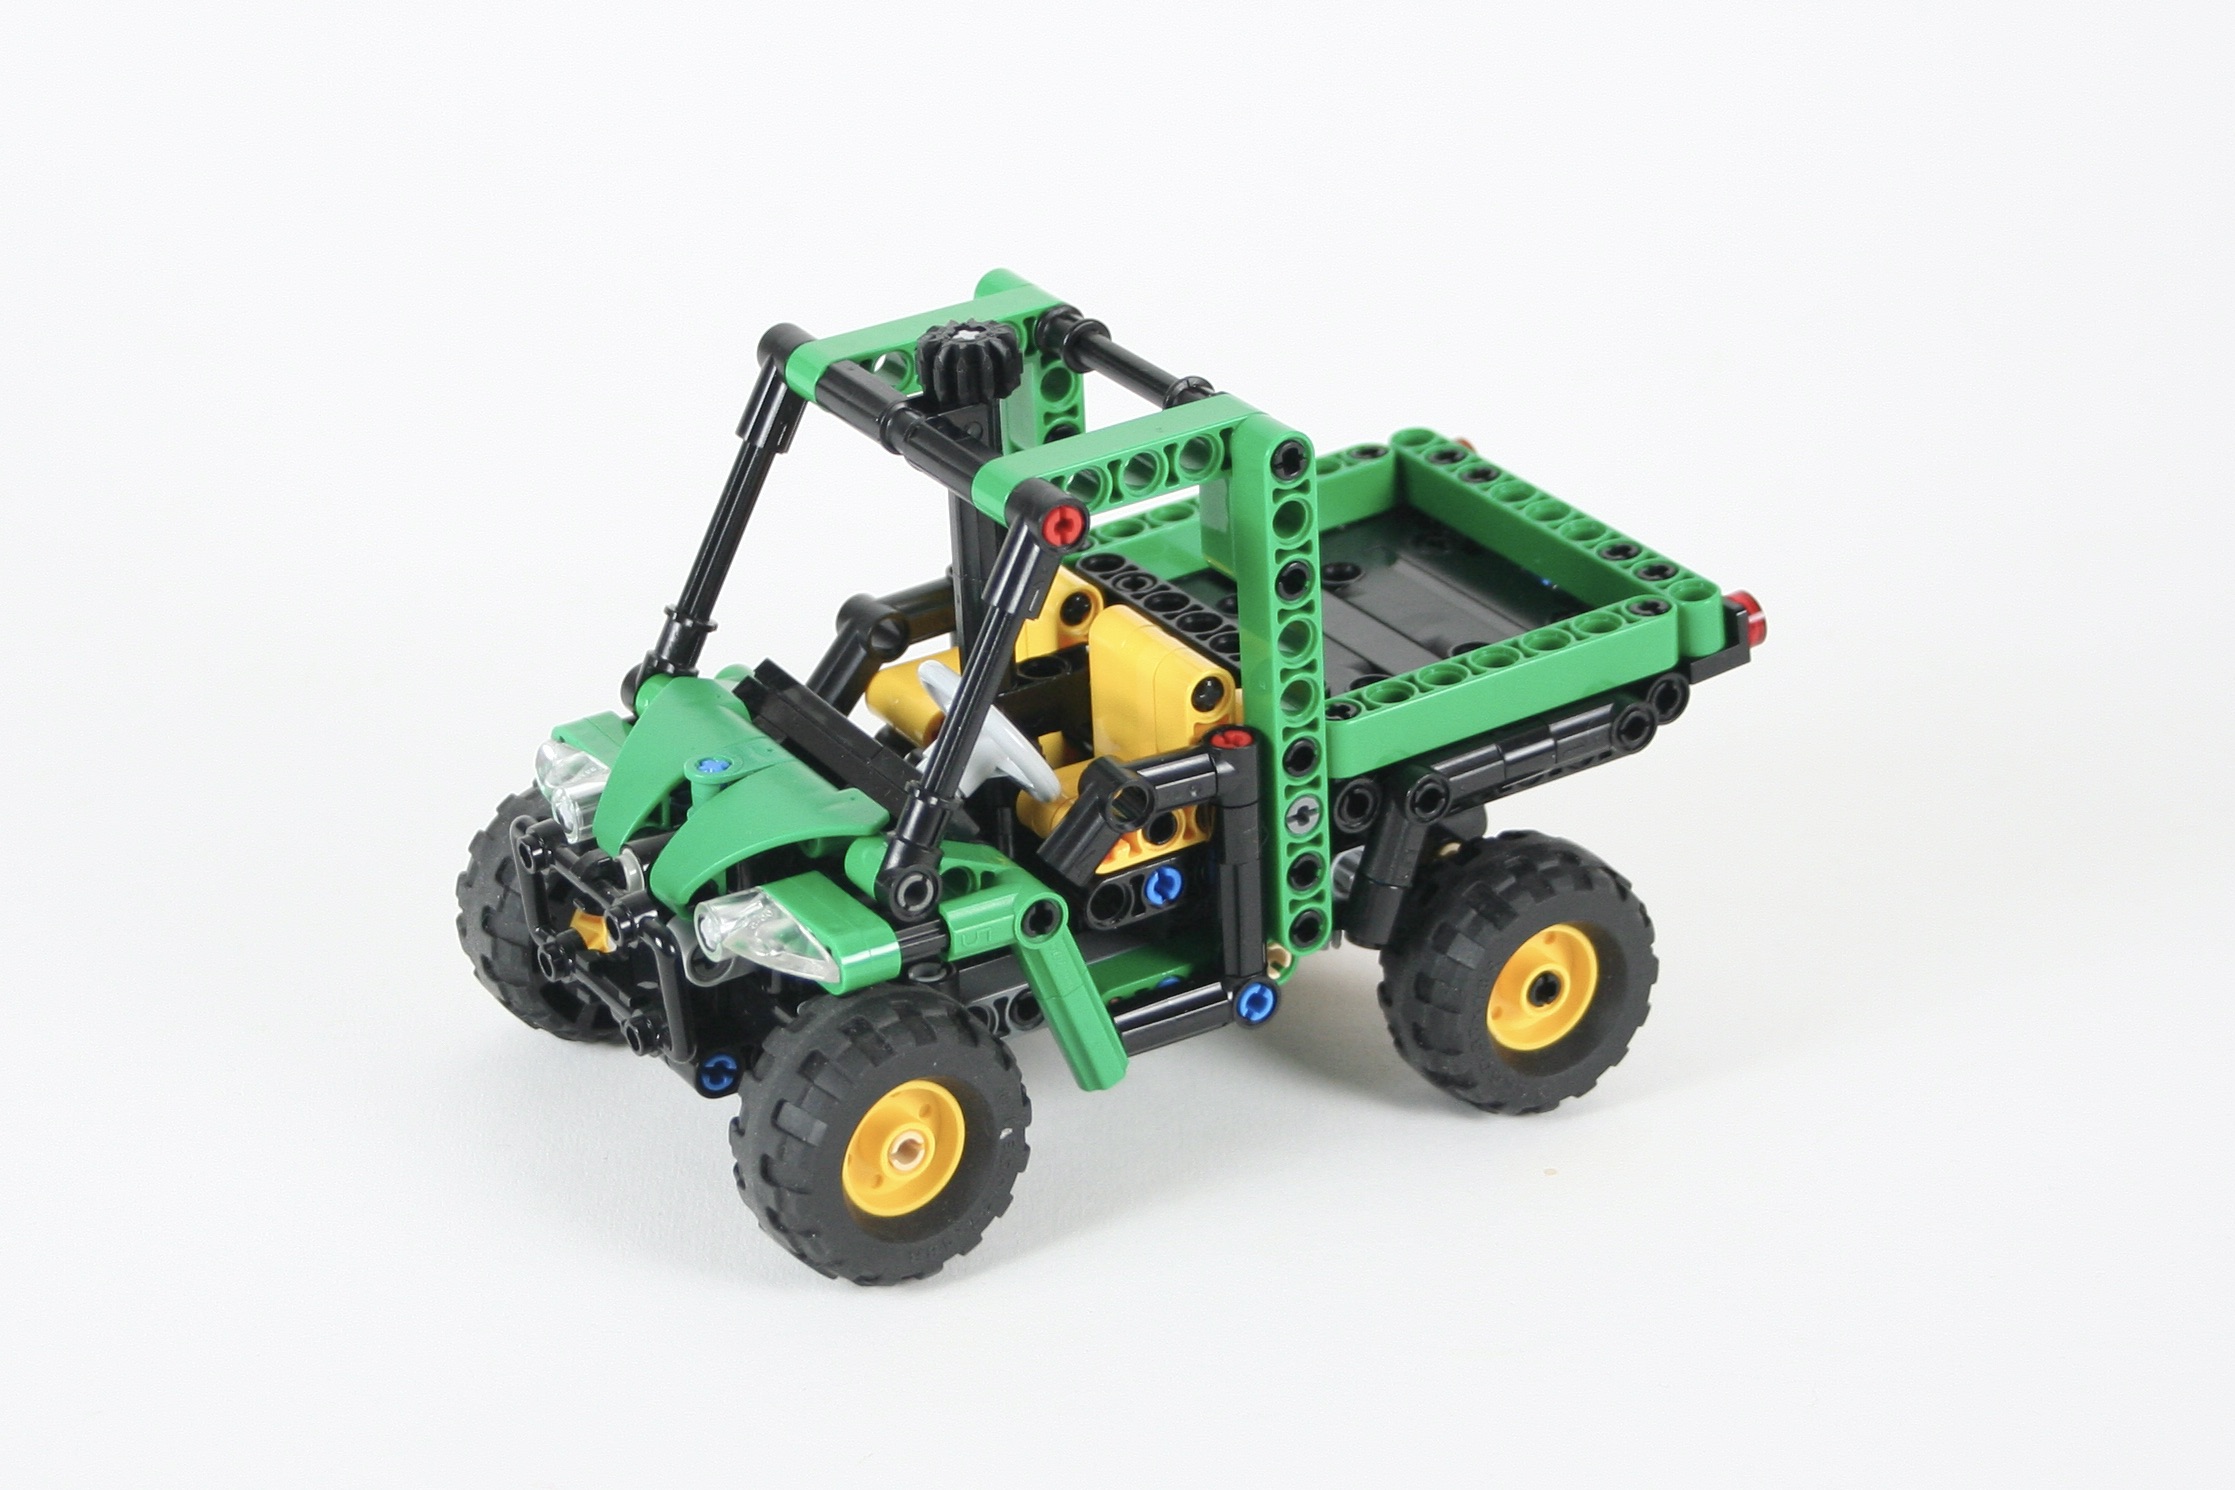
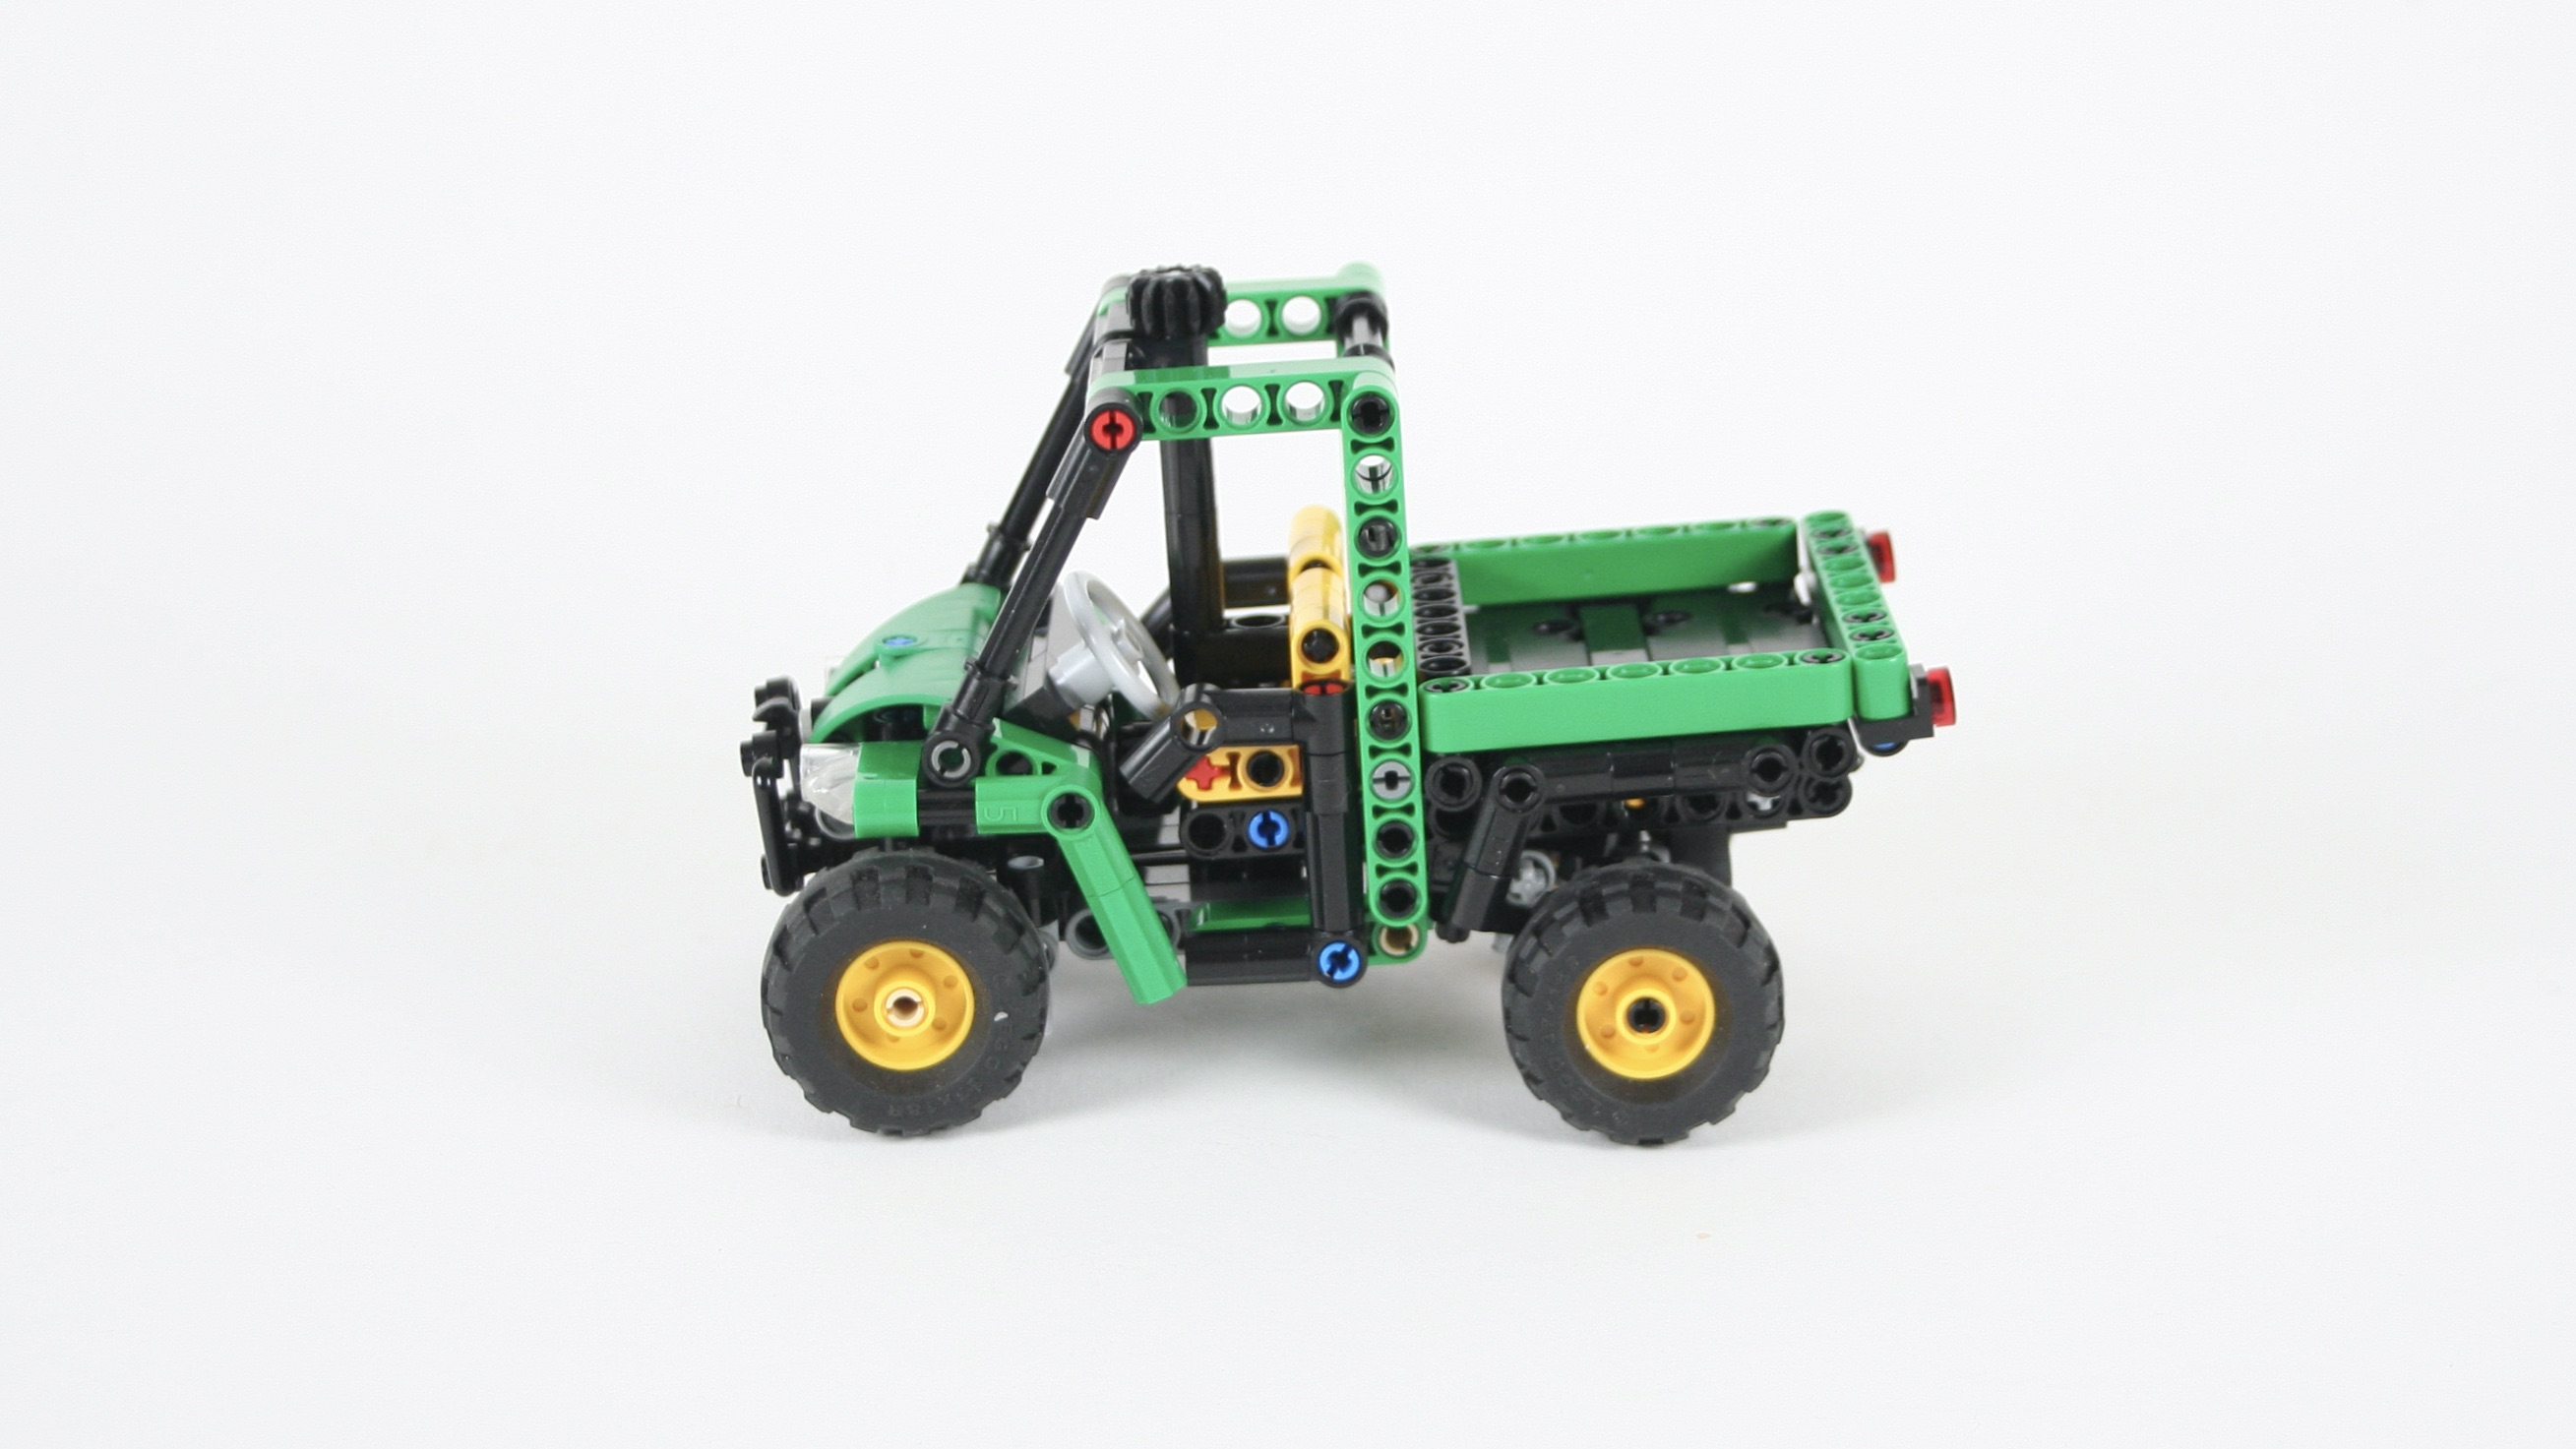
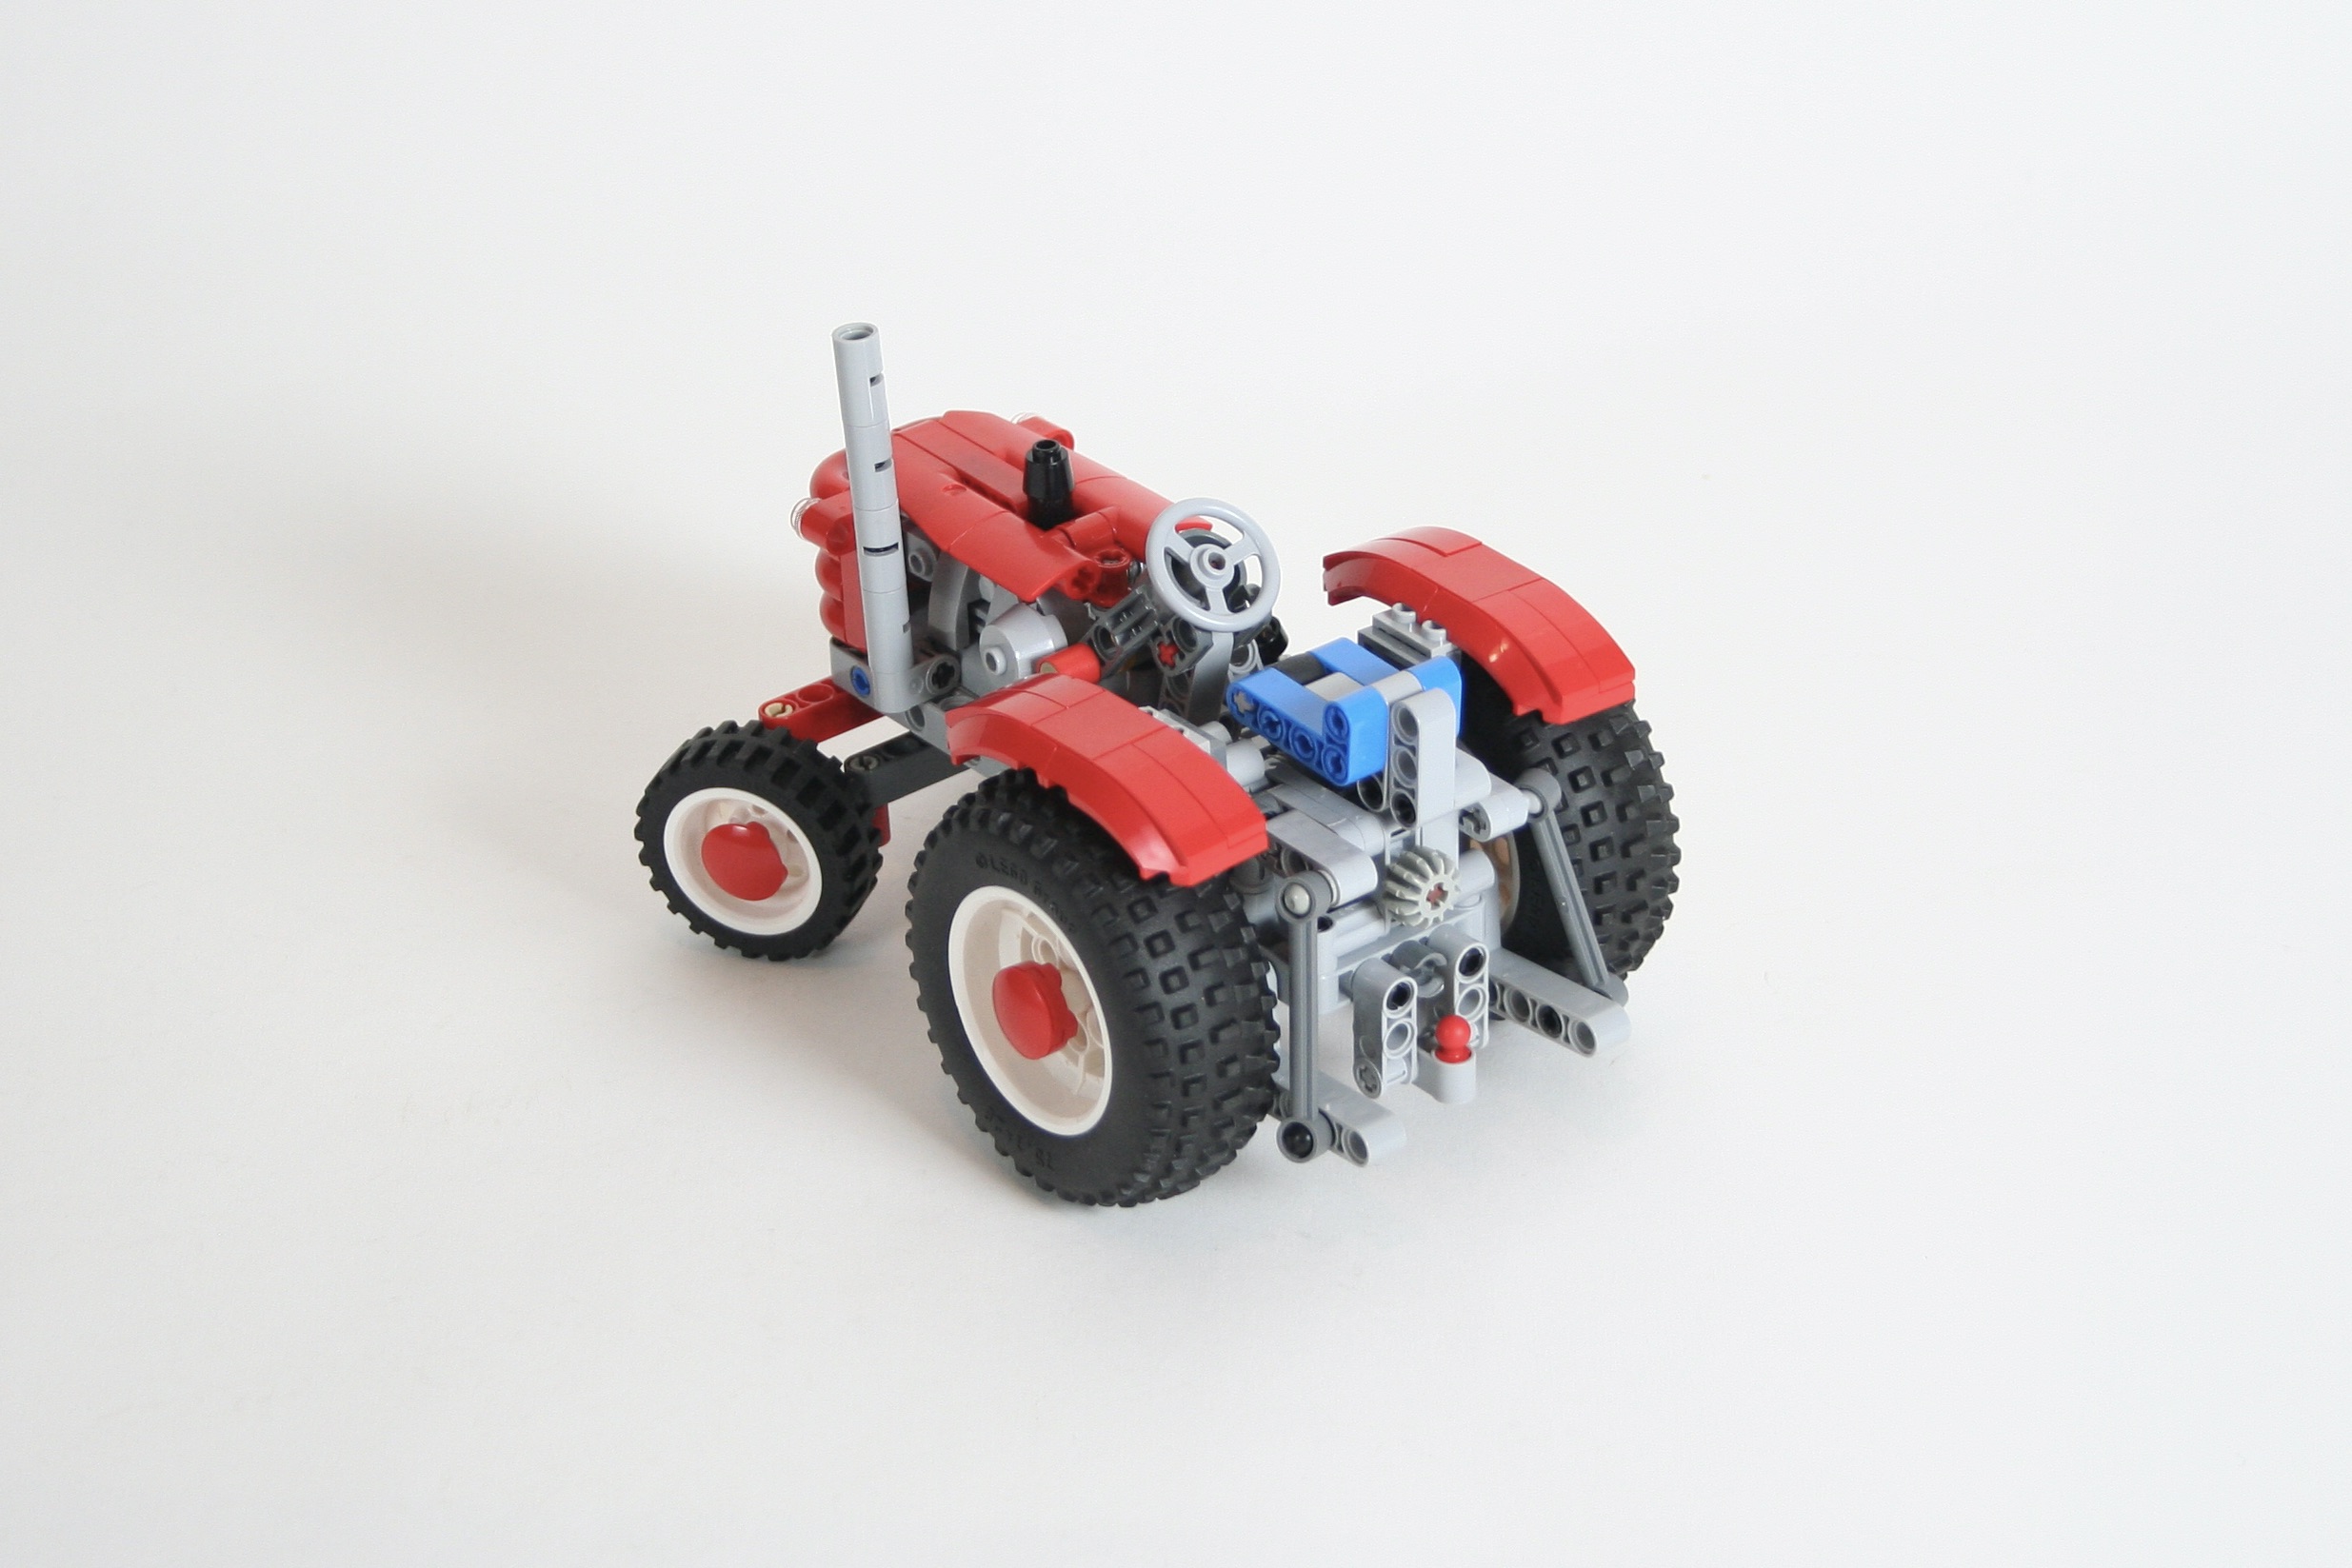
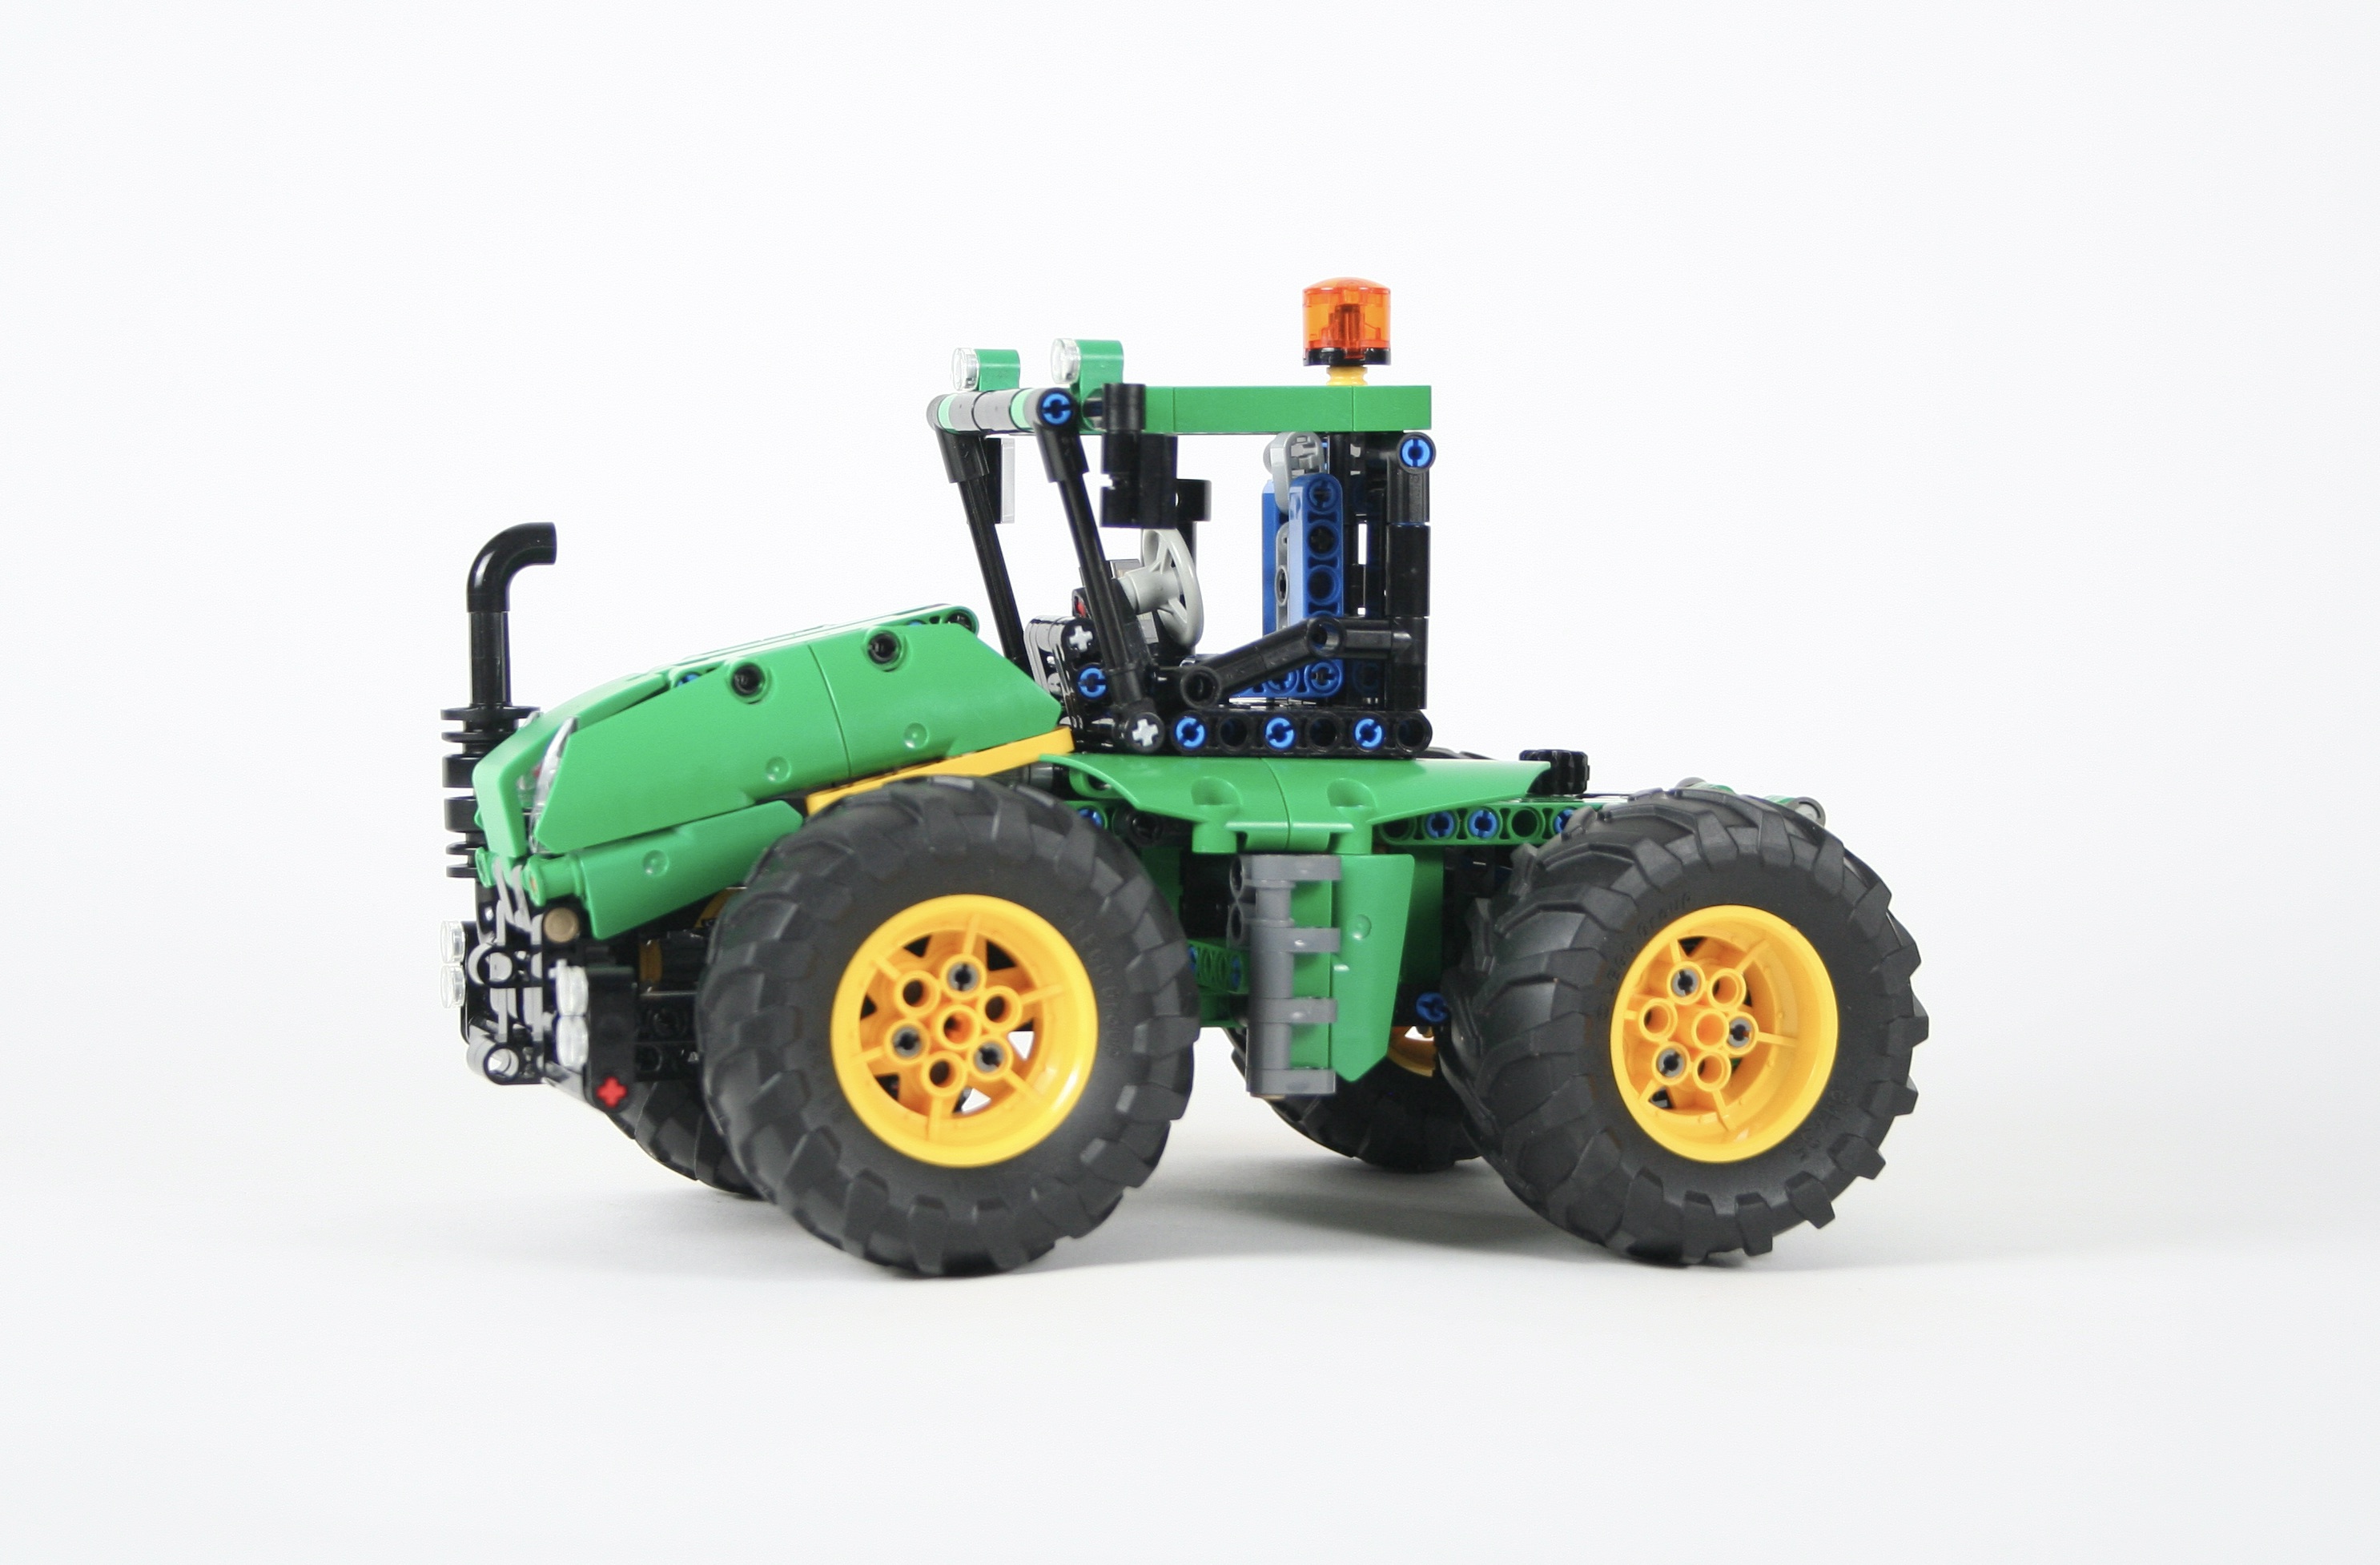
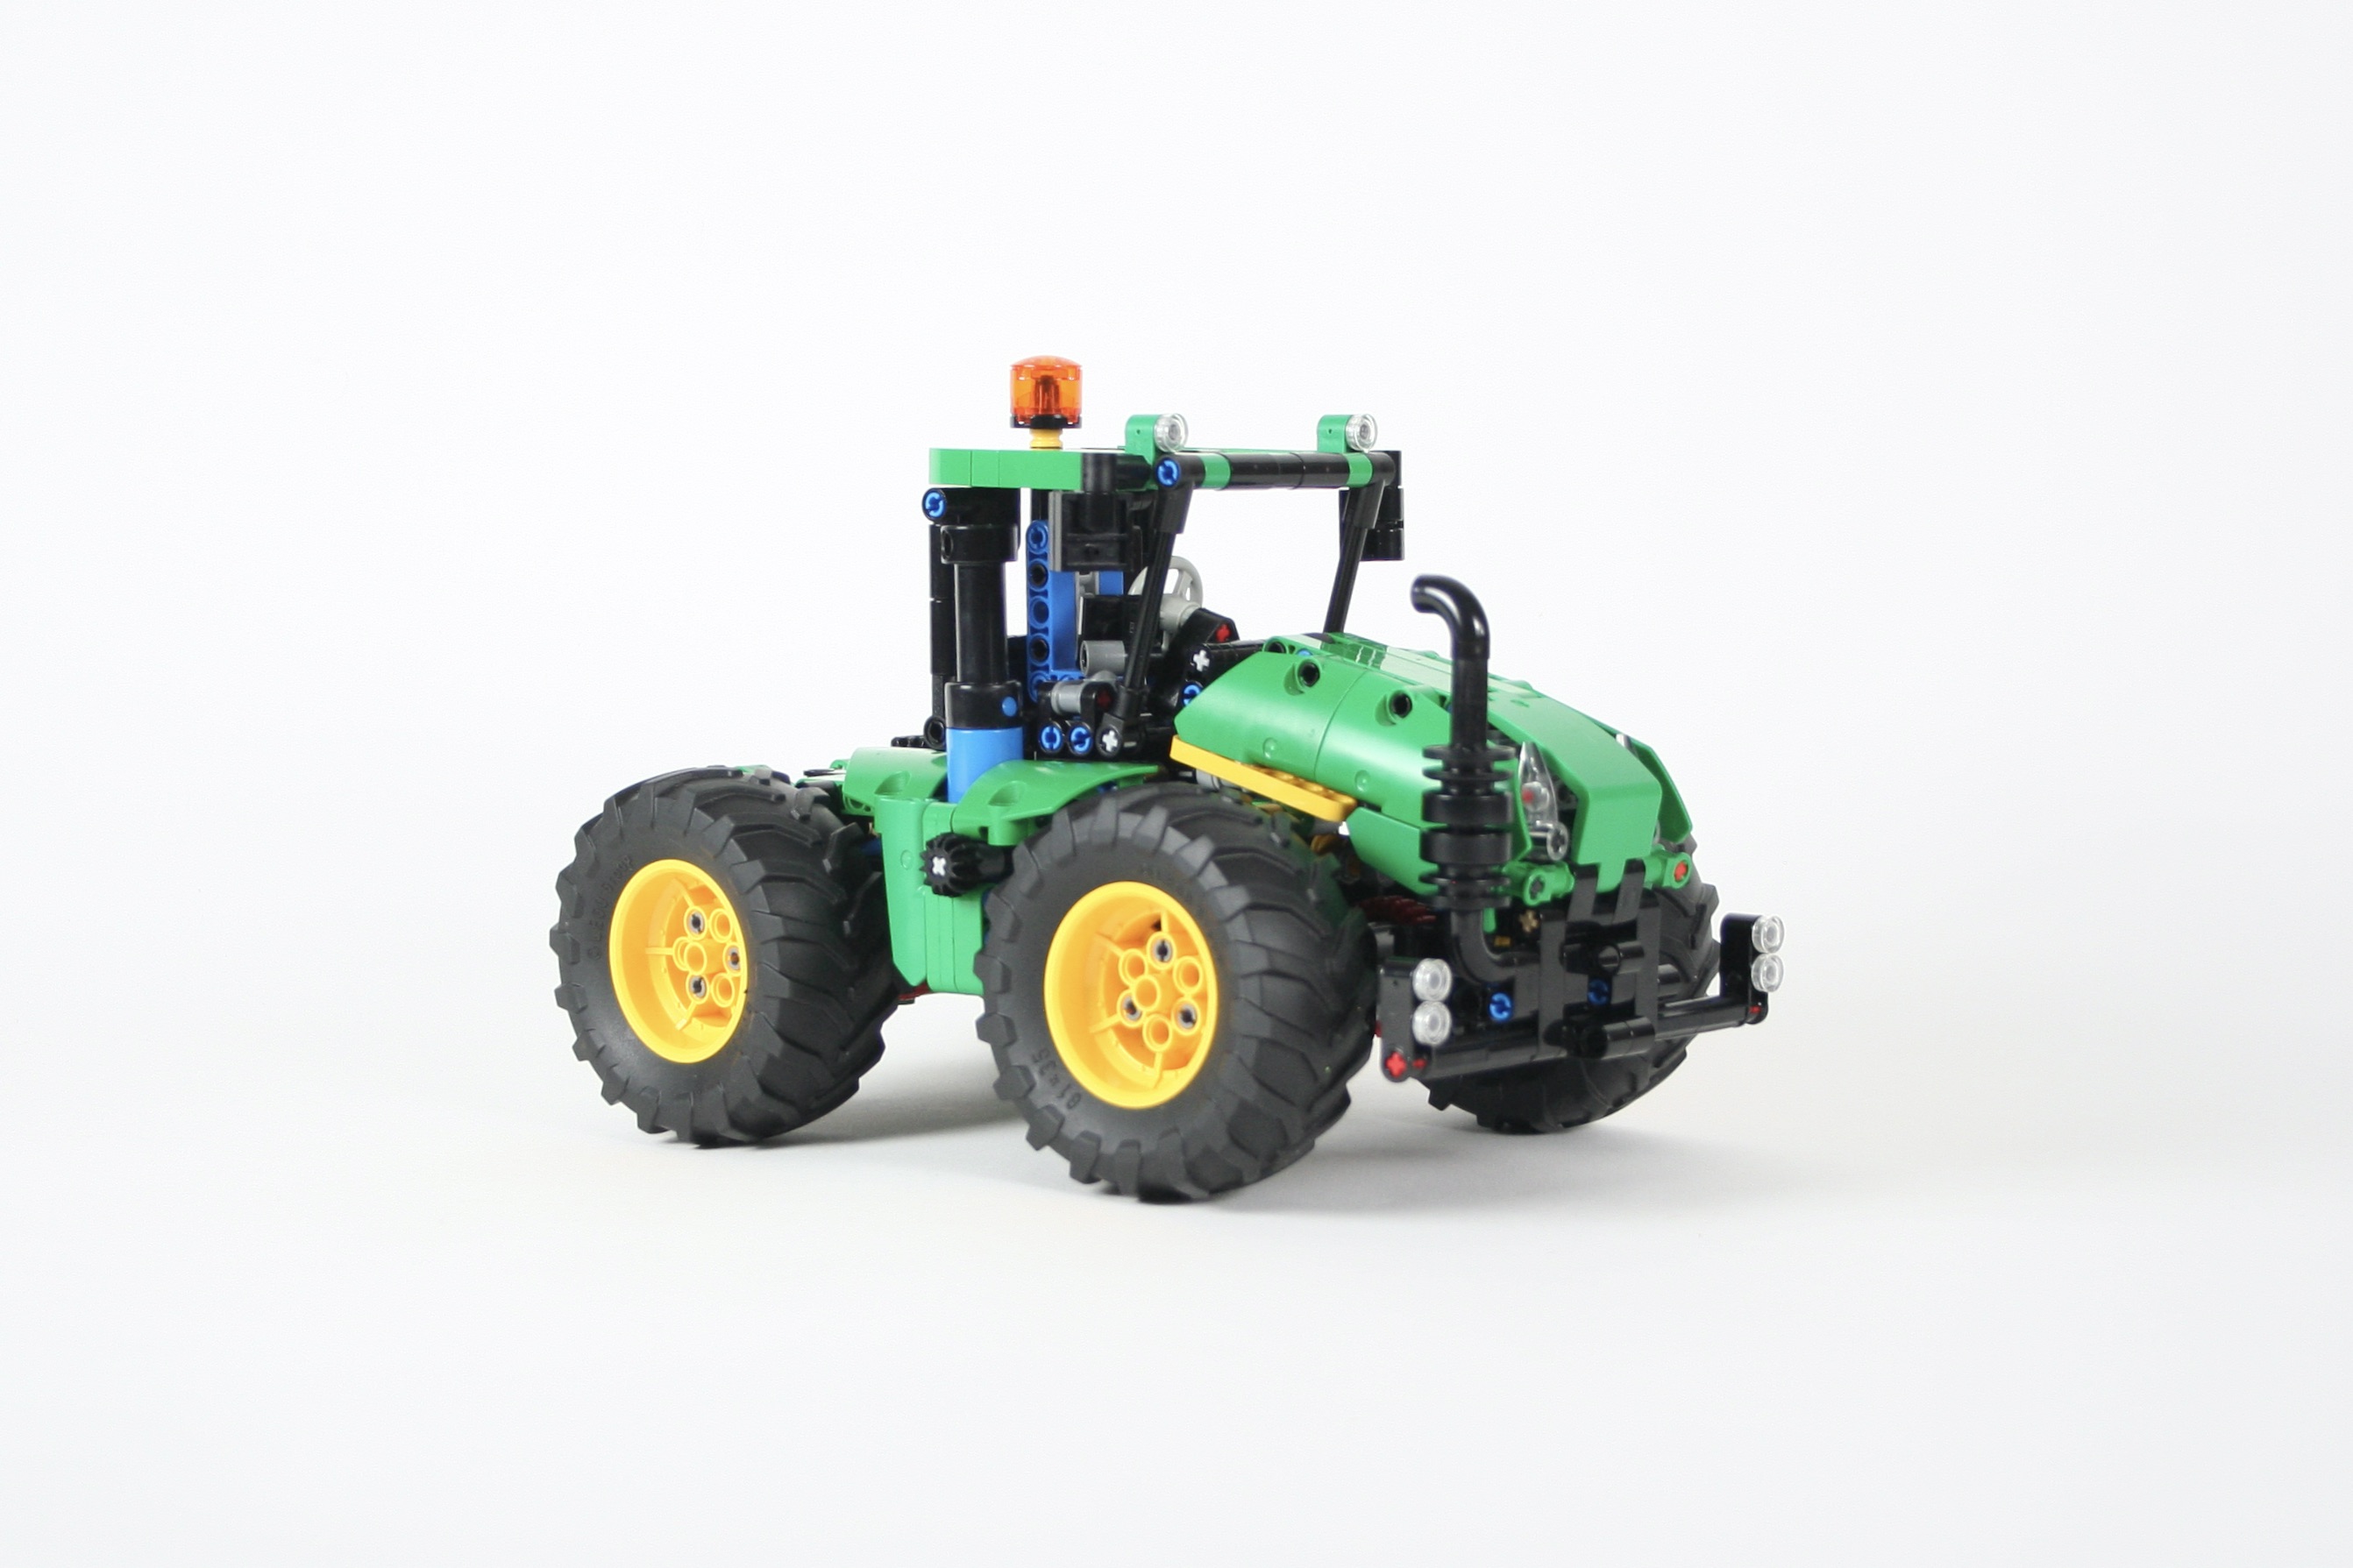
I get ideas from all over the place, and recently I saw a little John Deere Gator at a local park, and decided that was just what the Thirdwigg Farm needed running around and moving supplies. Plus, with each passing year, the addition of new green parts, makes additional John Deere builds possible.

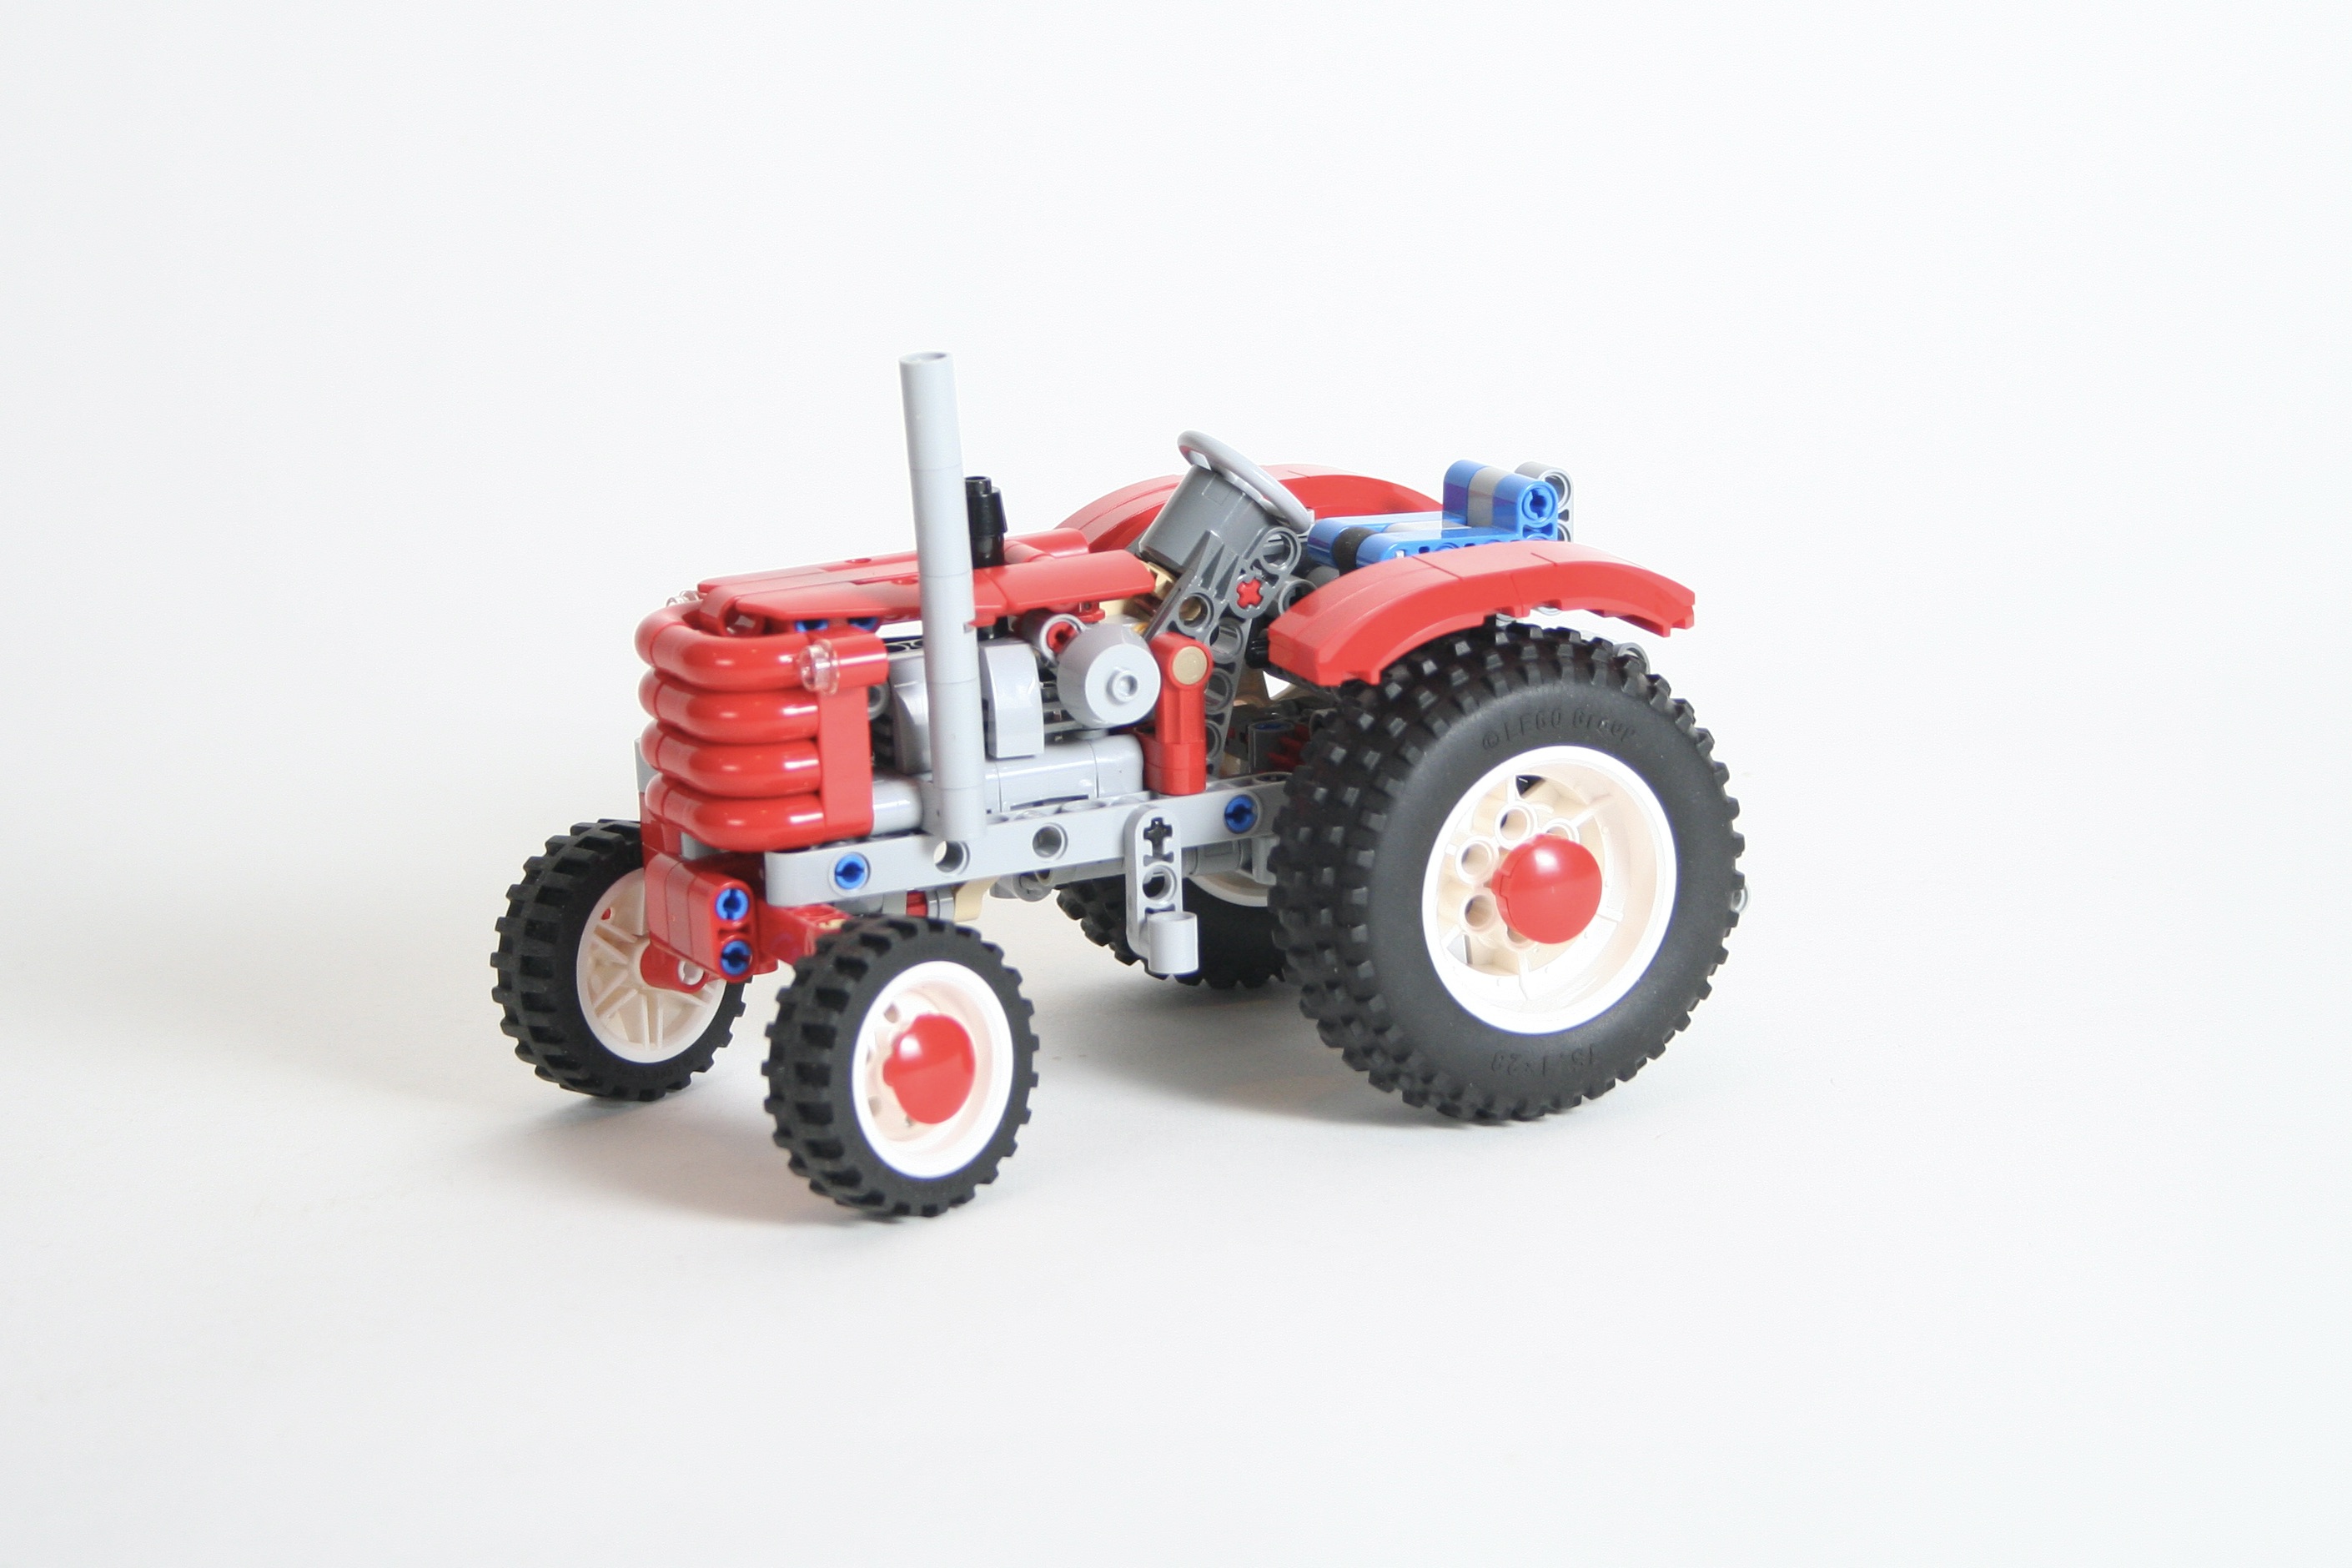
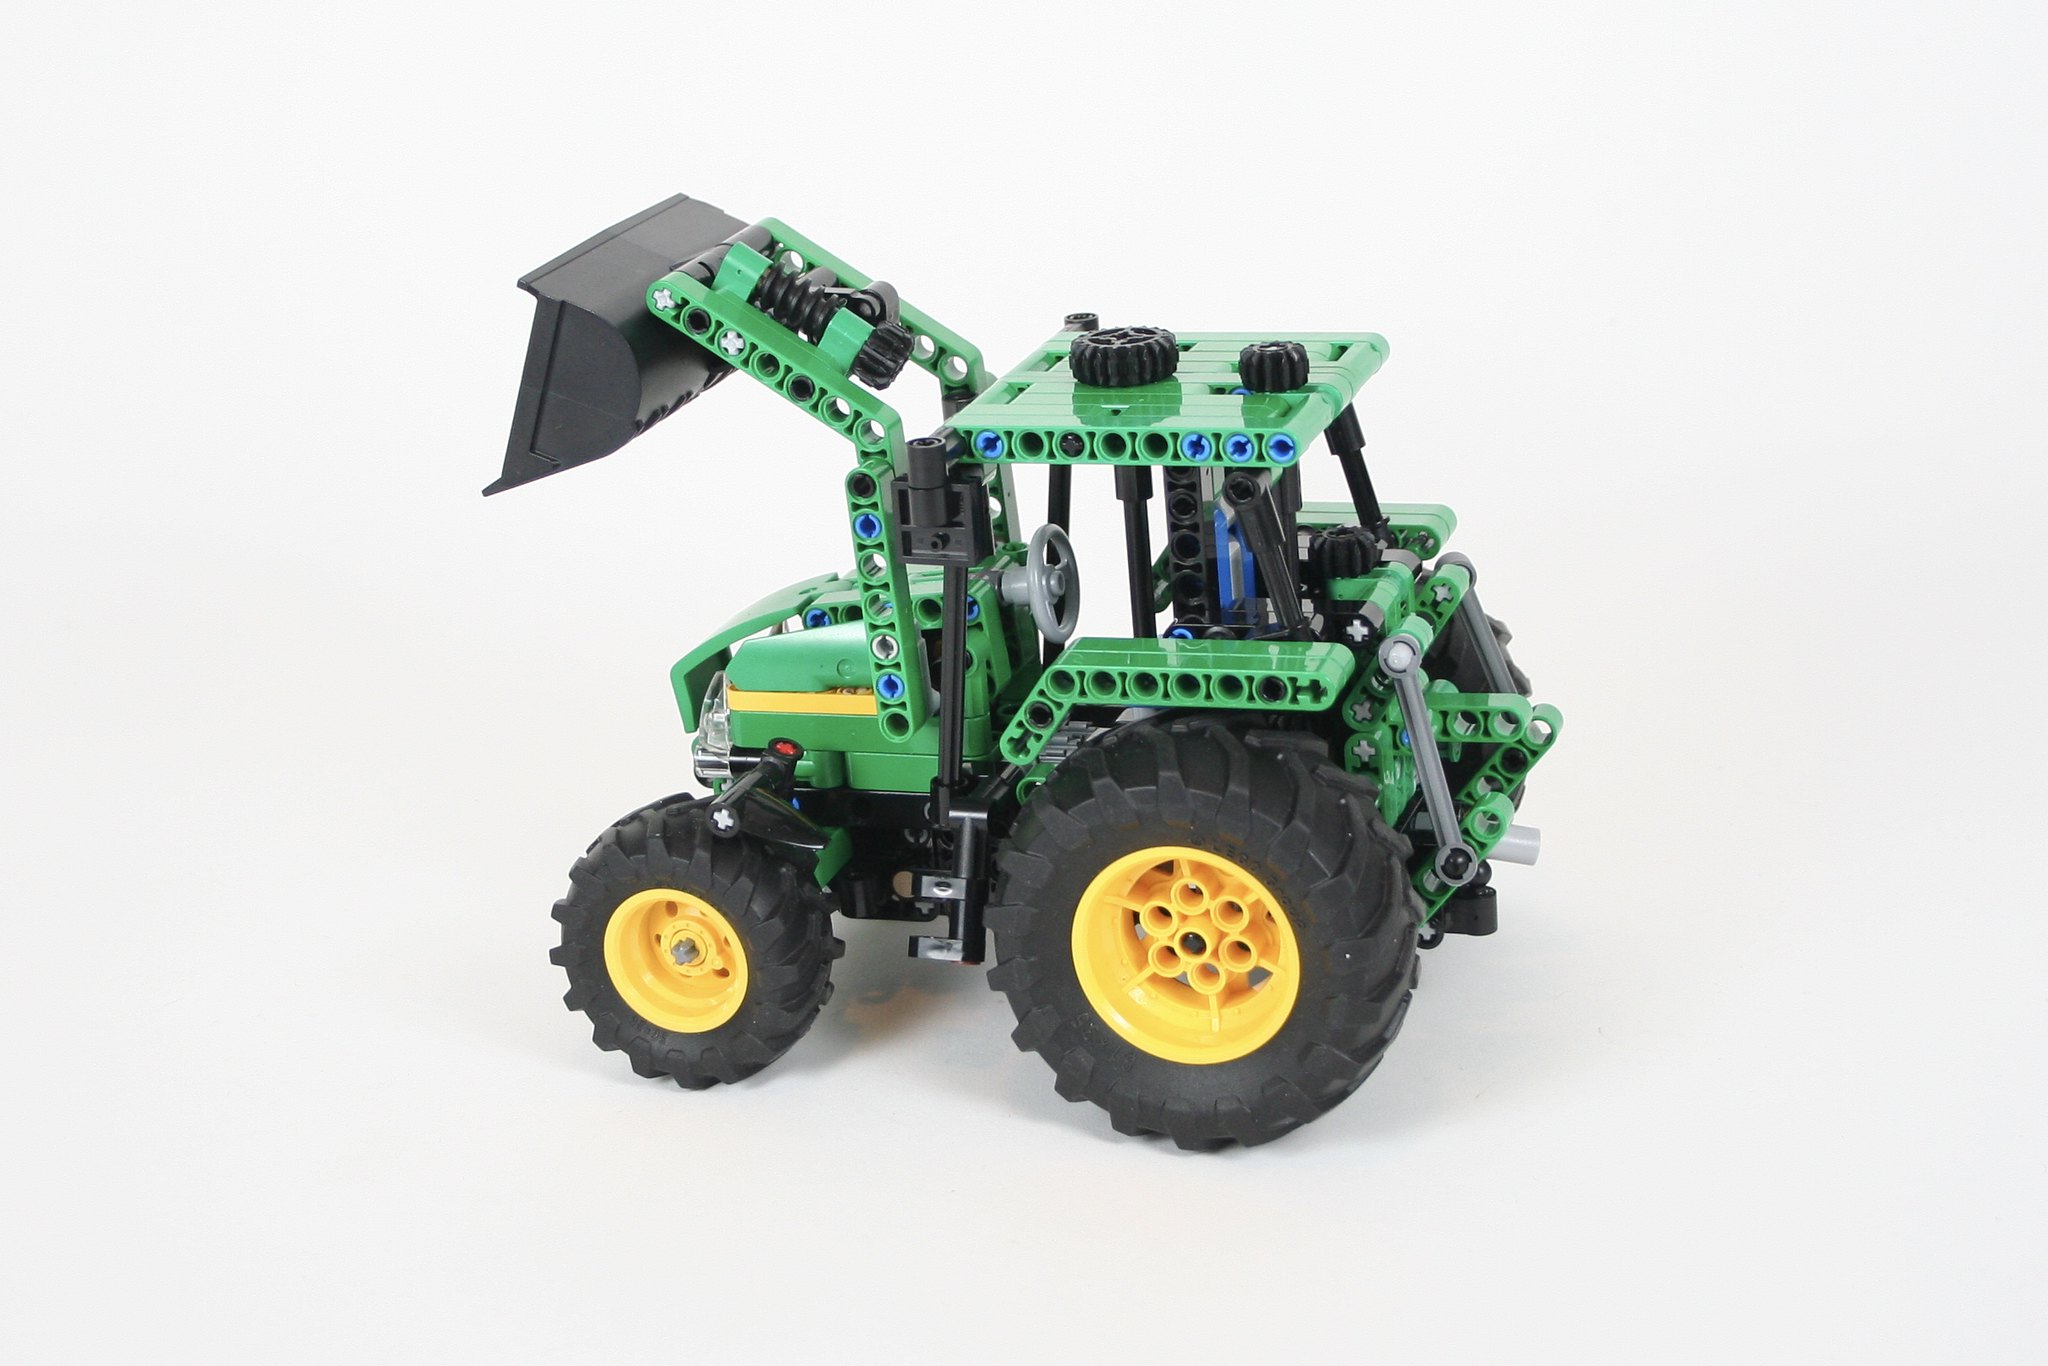
As I alway do, I started determining the size tires needed for the scale. I settled on the 37mm balloon tires, but this presented a problem right away. These tires, need a 18mm hub, but this wheel does not come in yellow with an axle hole. After some tinkering, I found a little solution. I would use the yellow wheels with a pin hole, and mount the wheels on a Technic Pin with Bush Stop. Not only would the bush stop be able to connect to an axle and transmit power to a fake engine, the friction connection of the pin would allow for slight slippage between the axle and each wheel to function as a differential. Quickly I was then able to add in a little one cylinder engine, and a simple suspension on the rear axle.

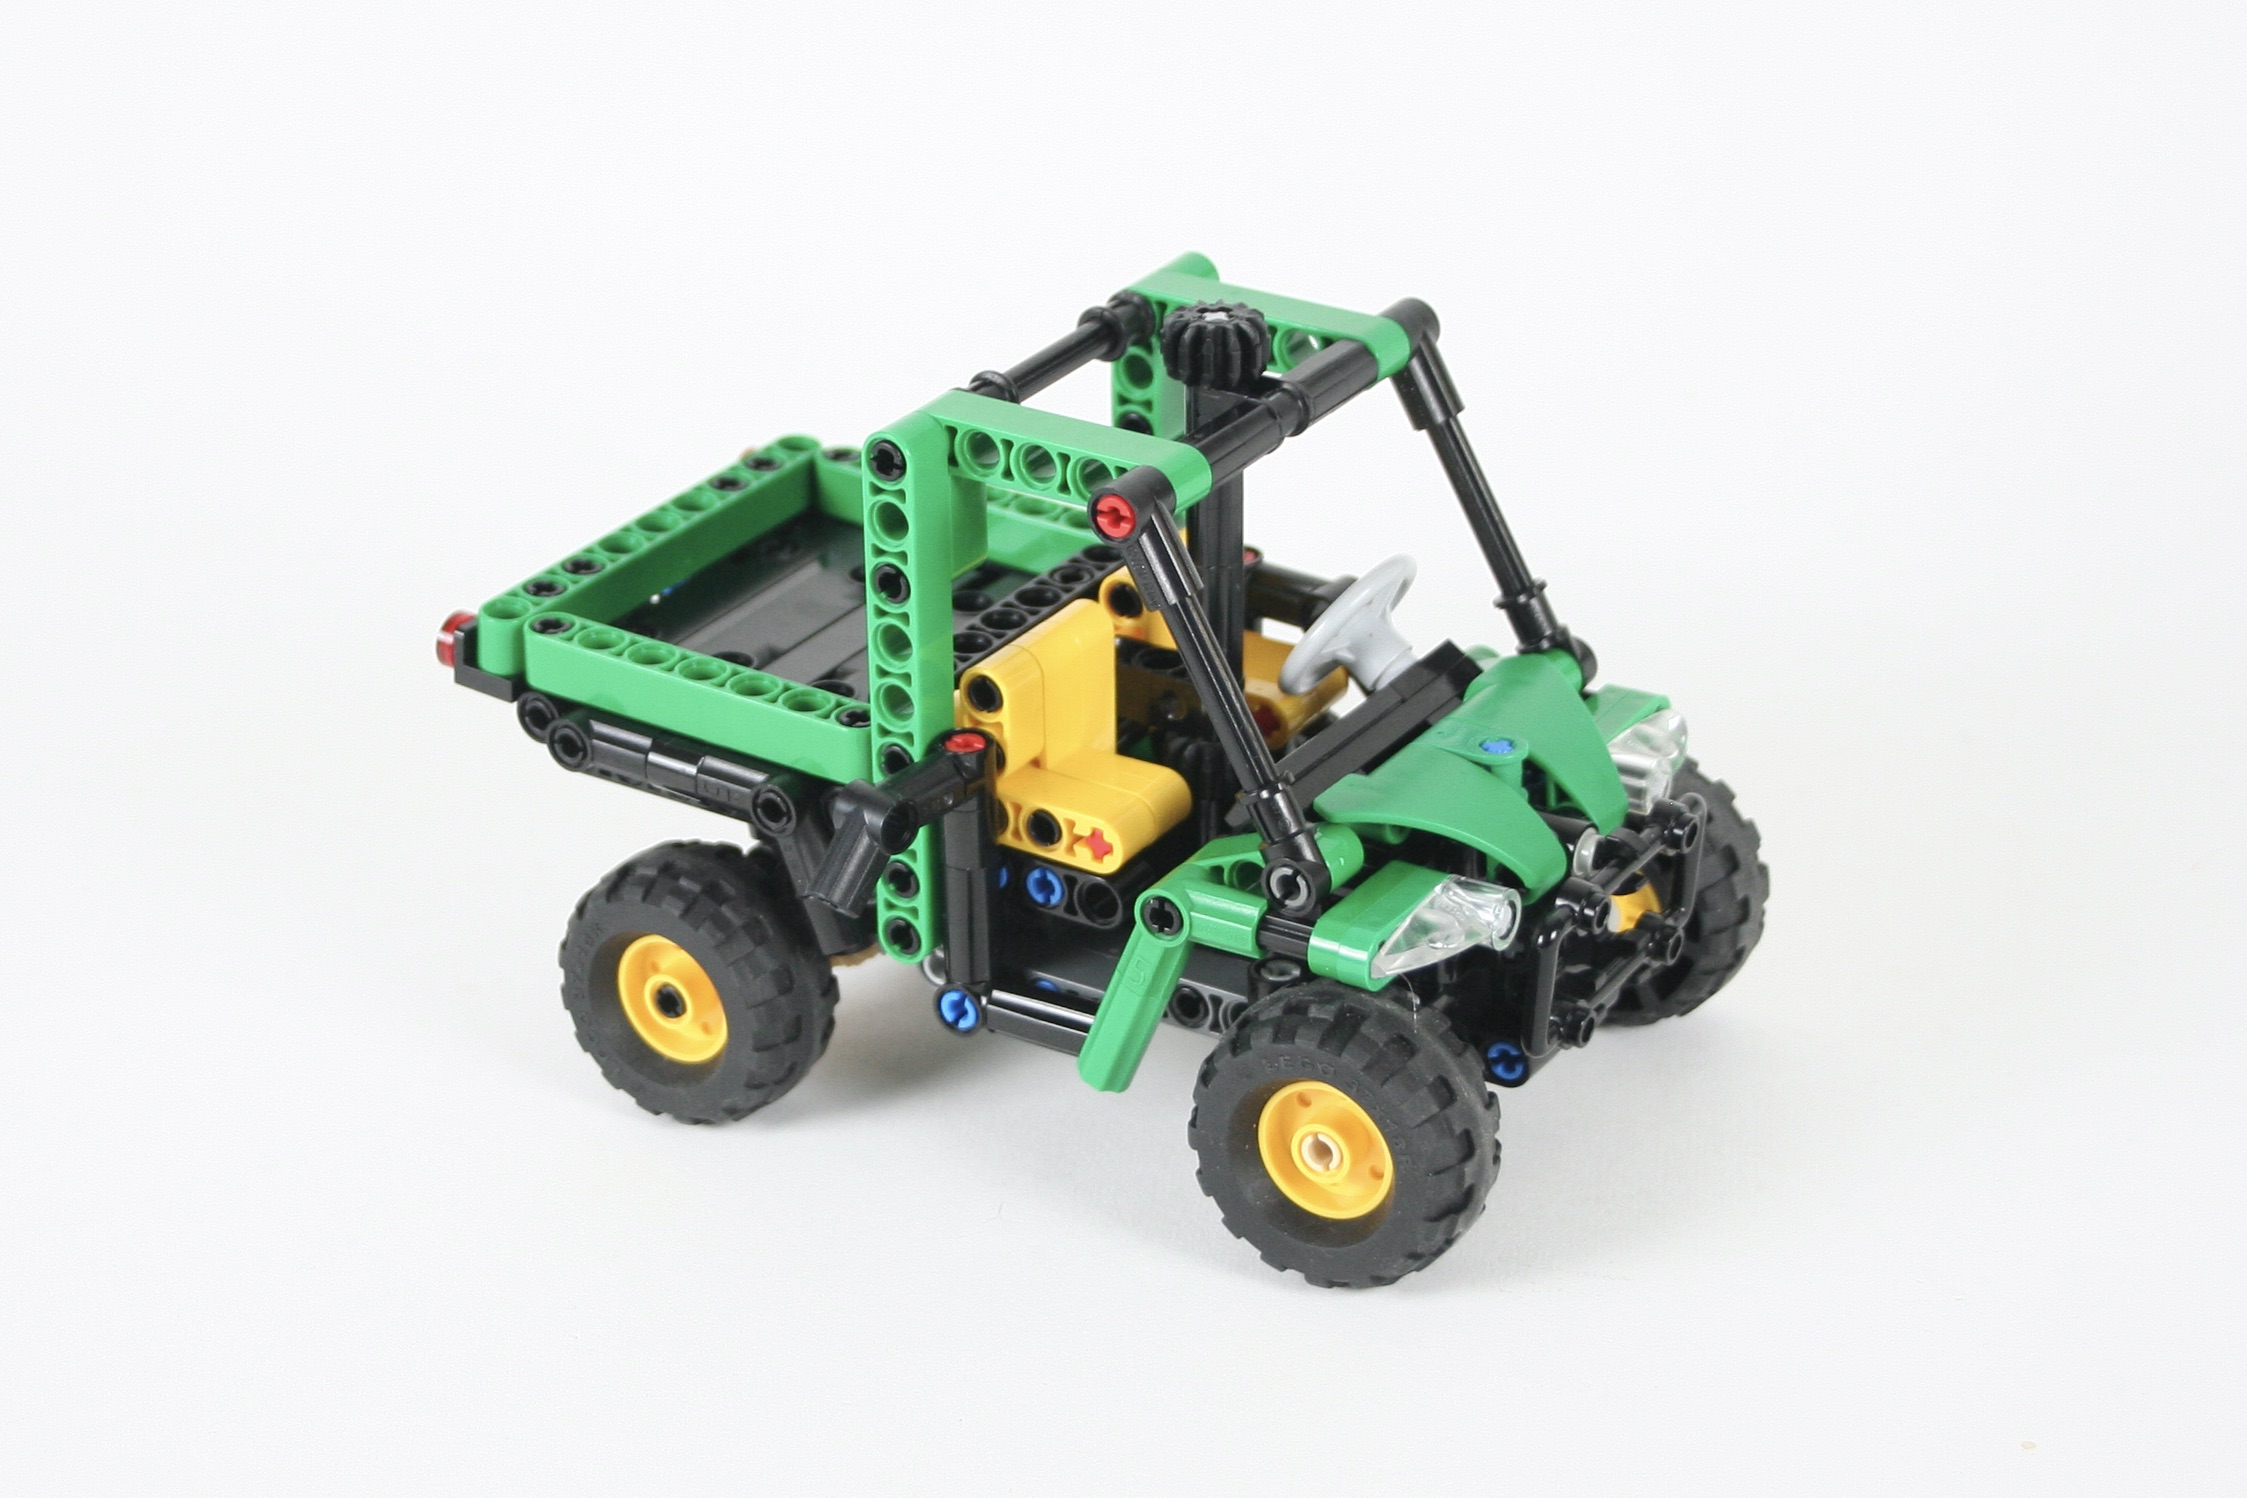
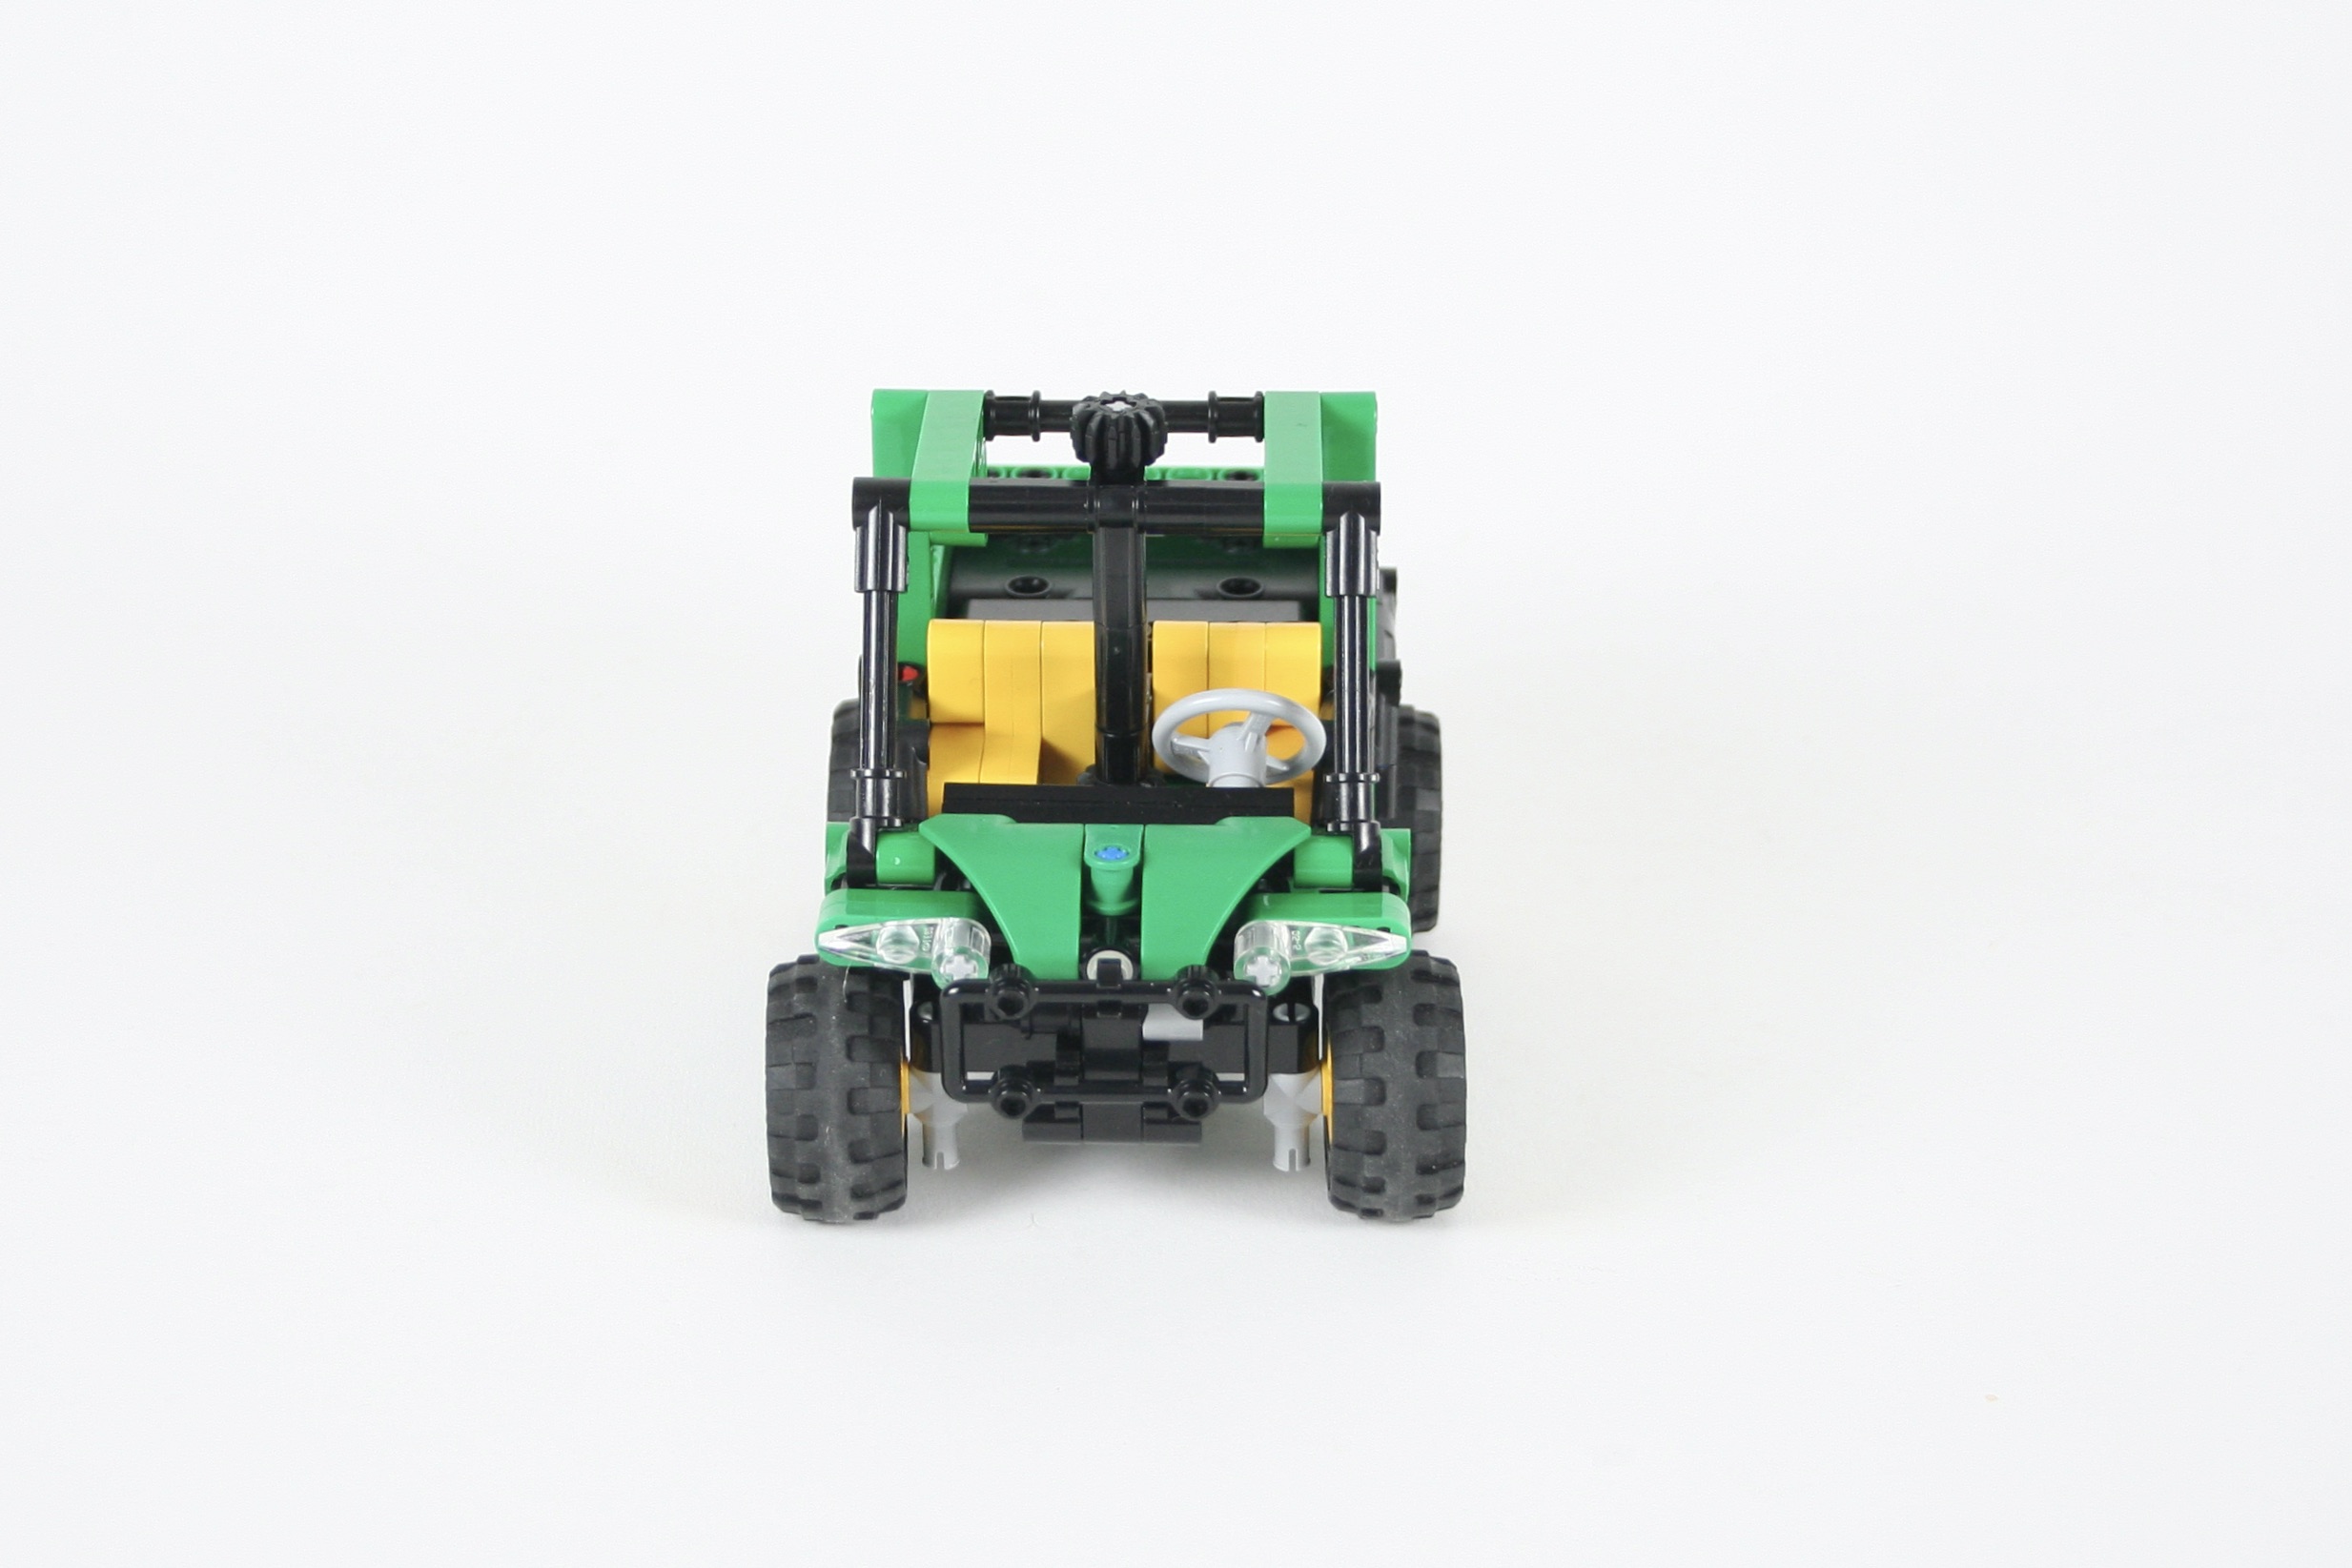
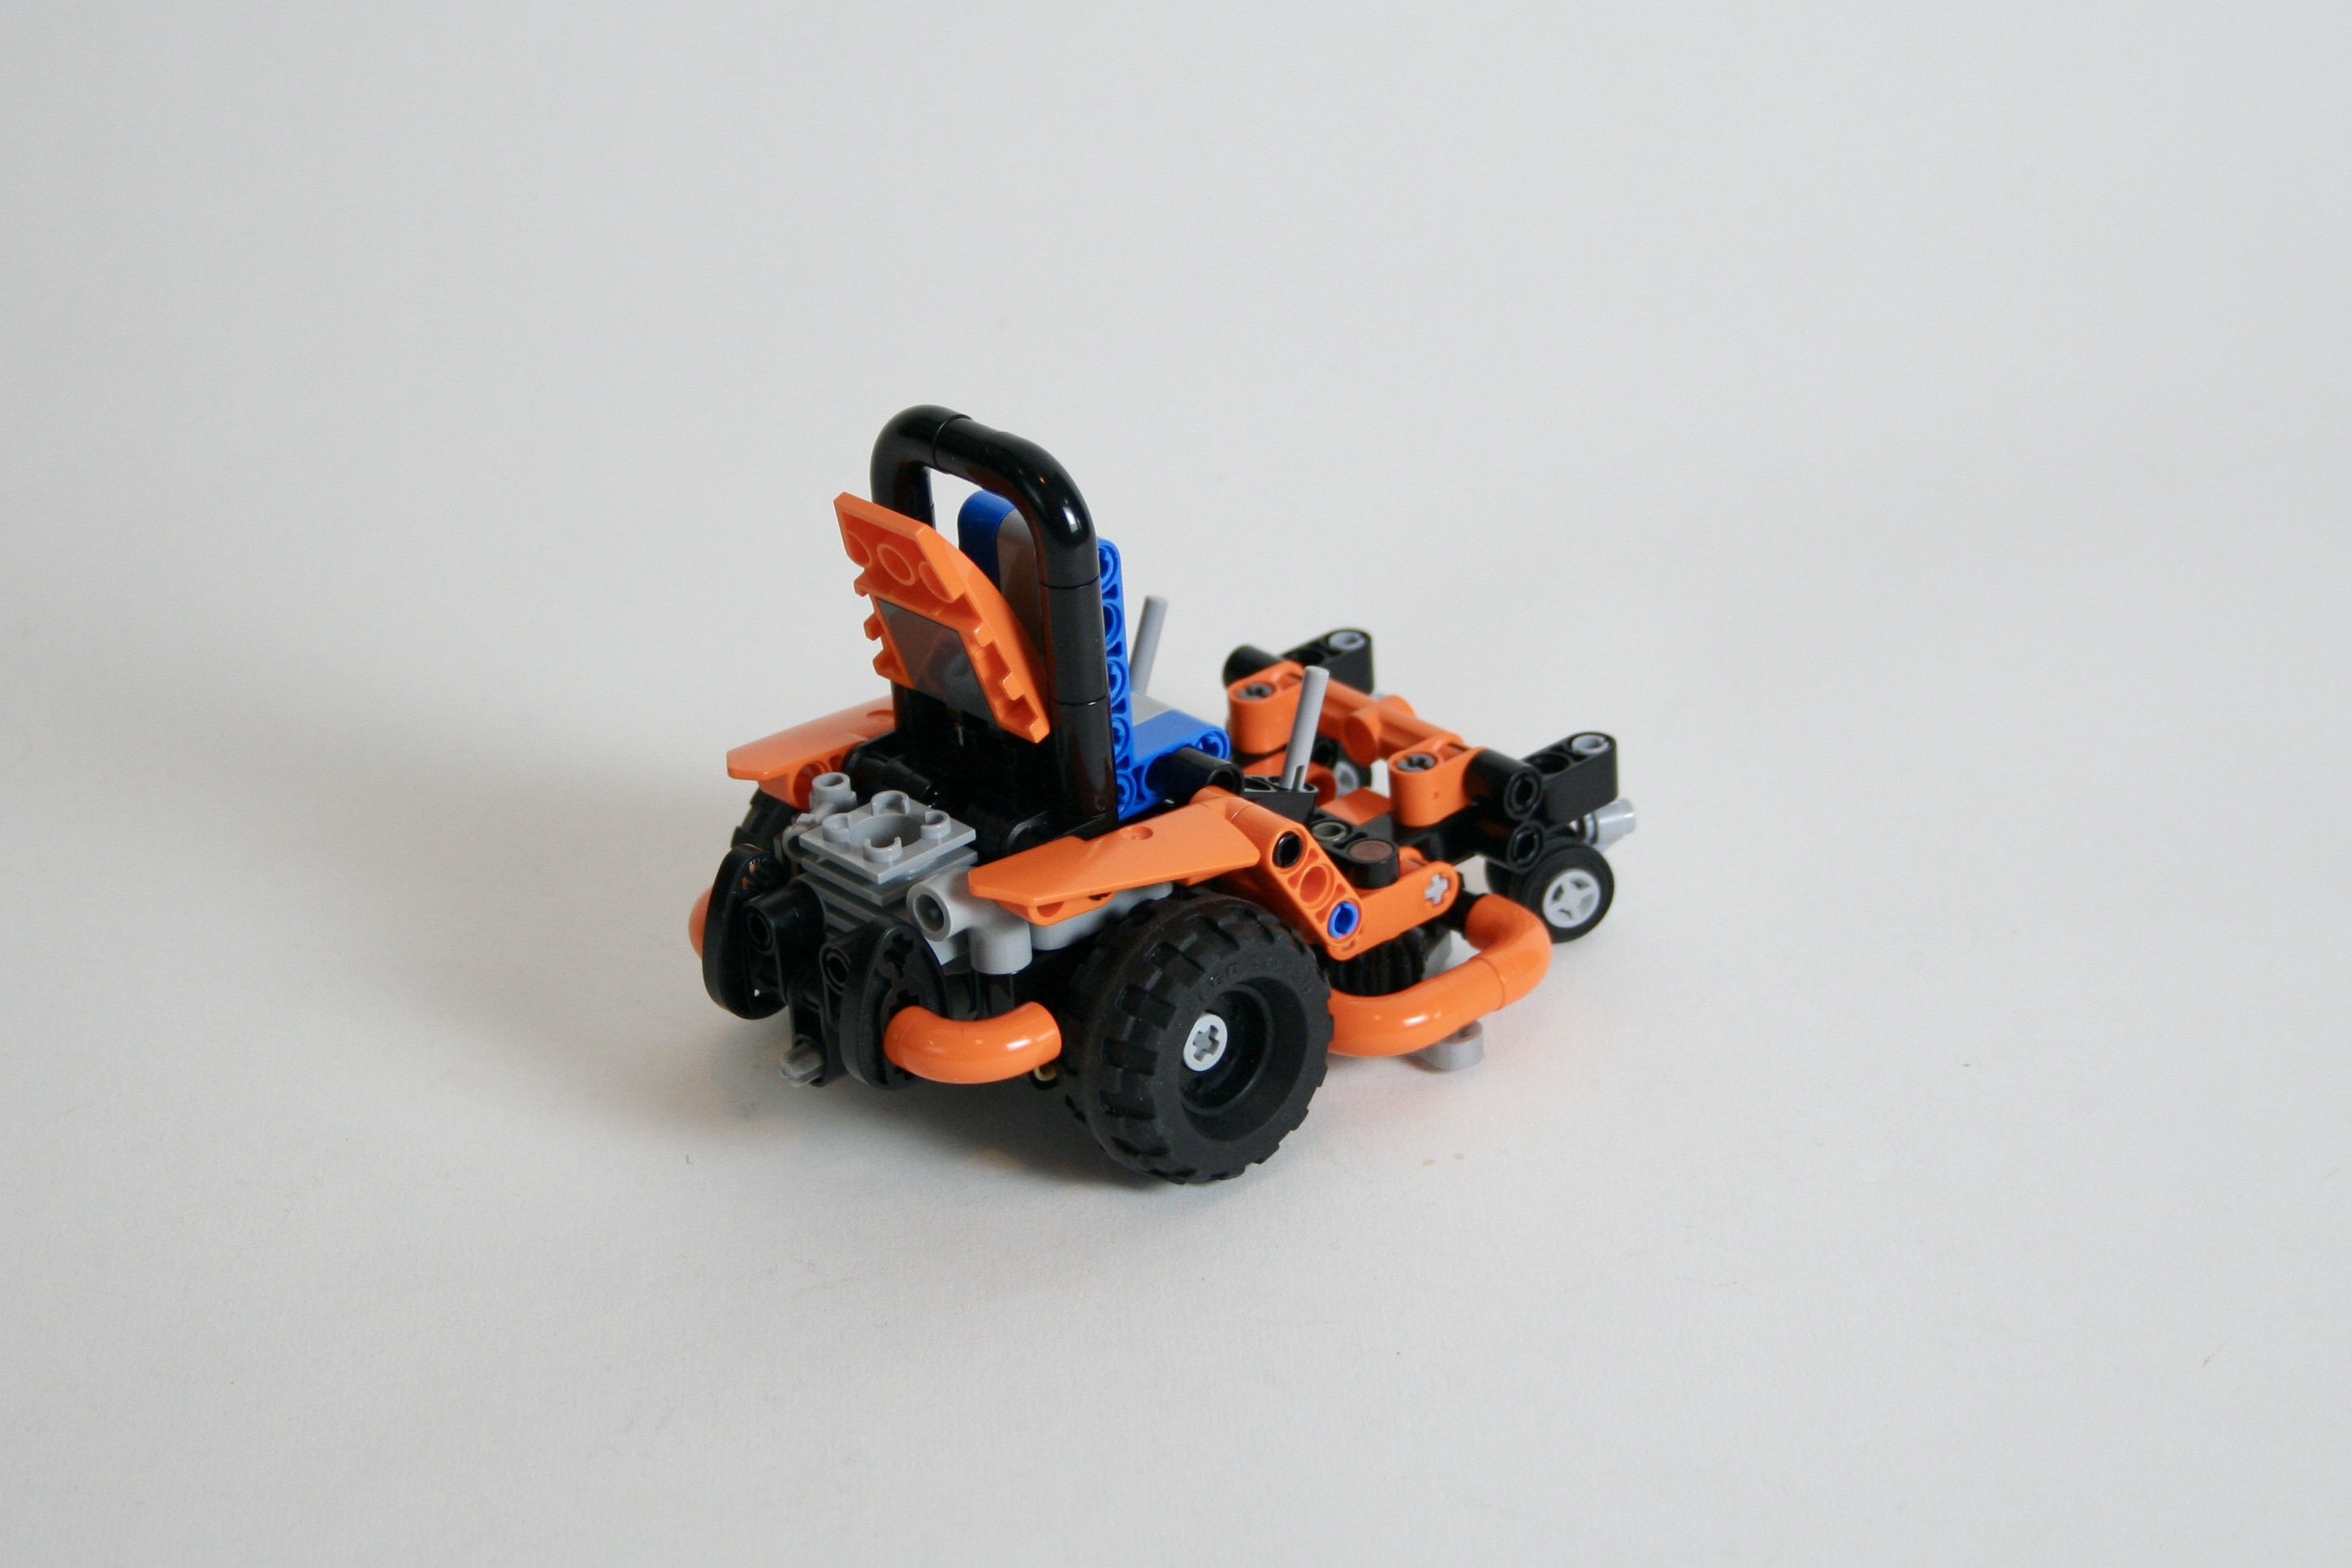
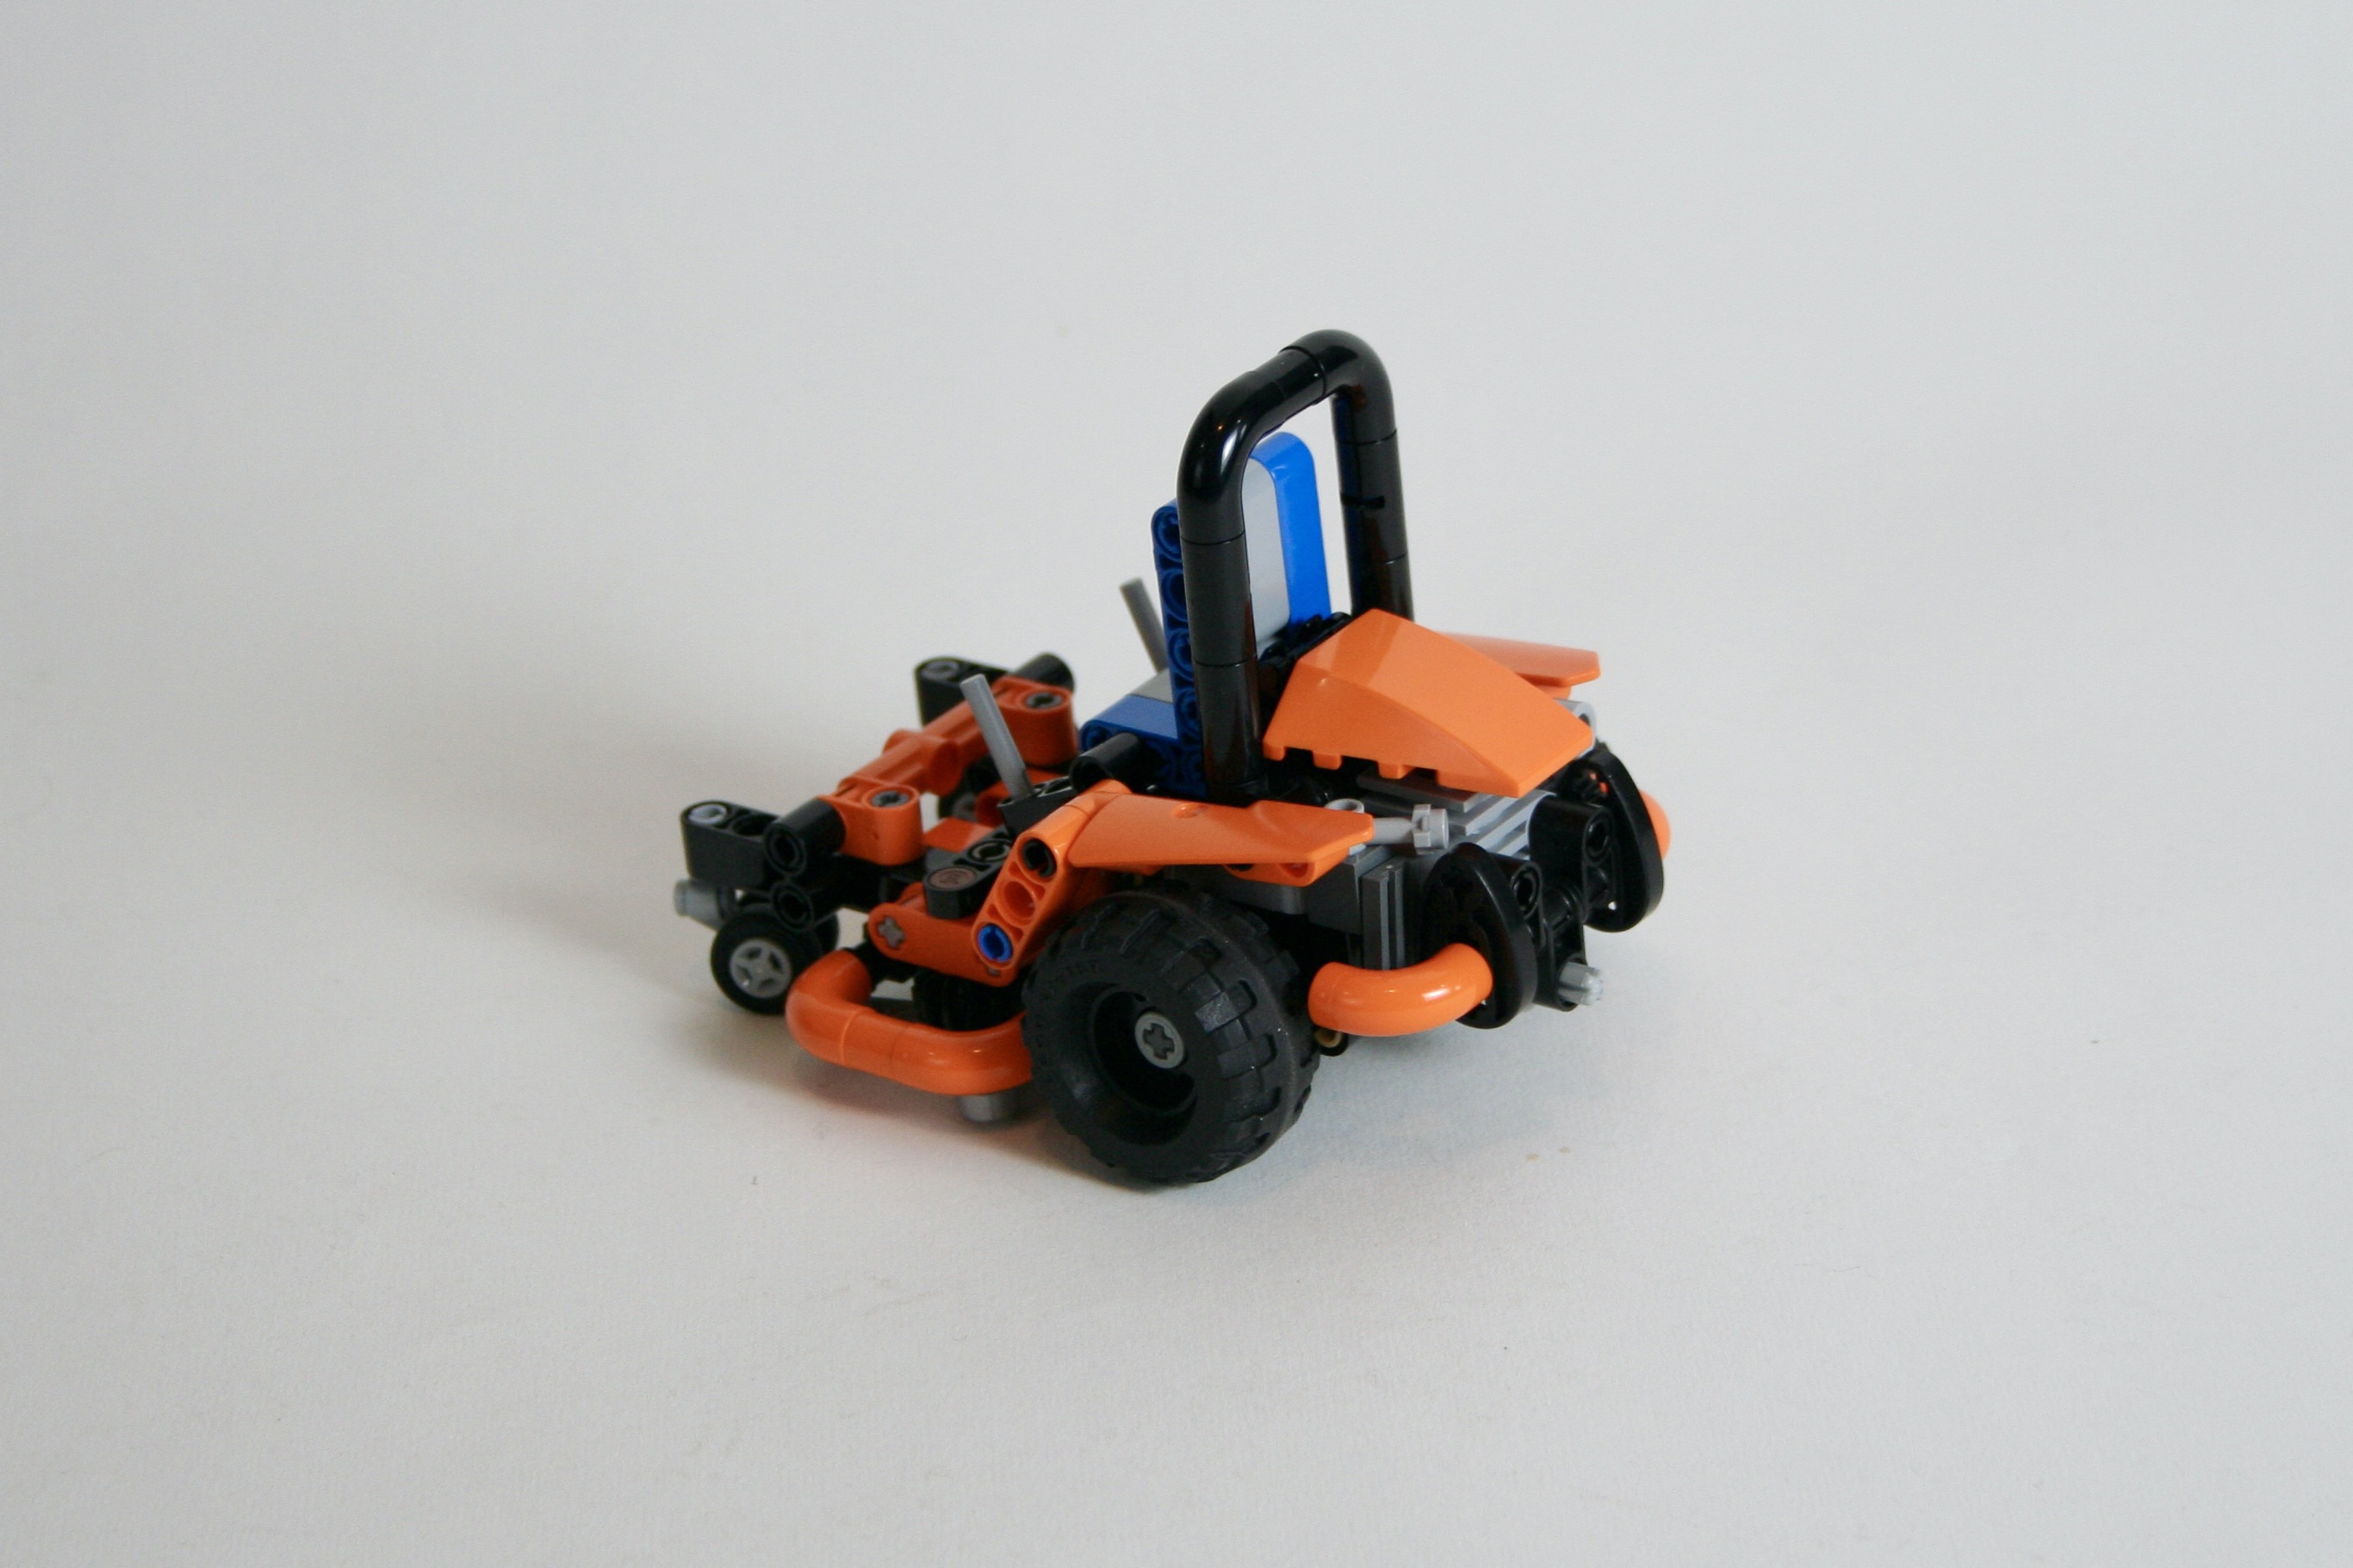
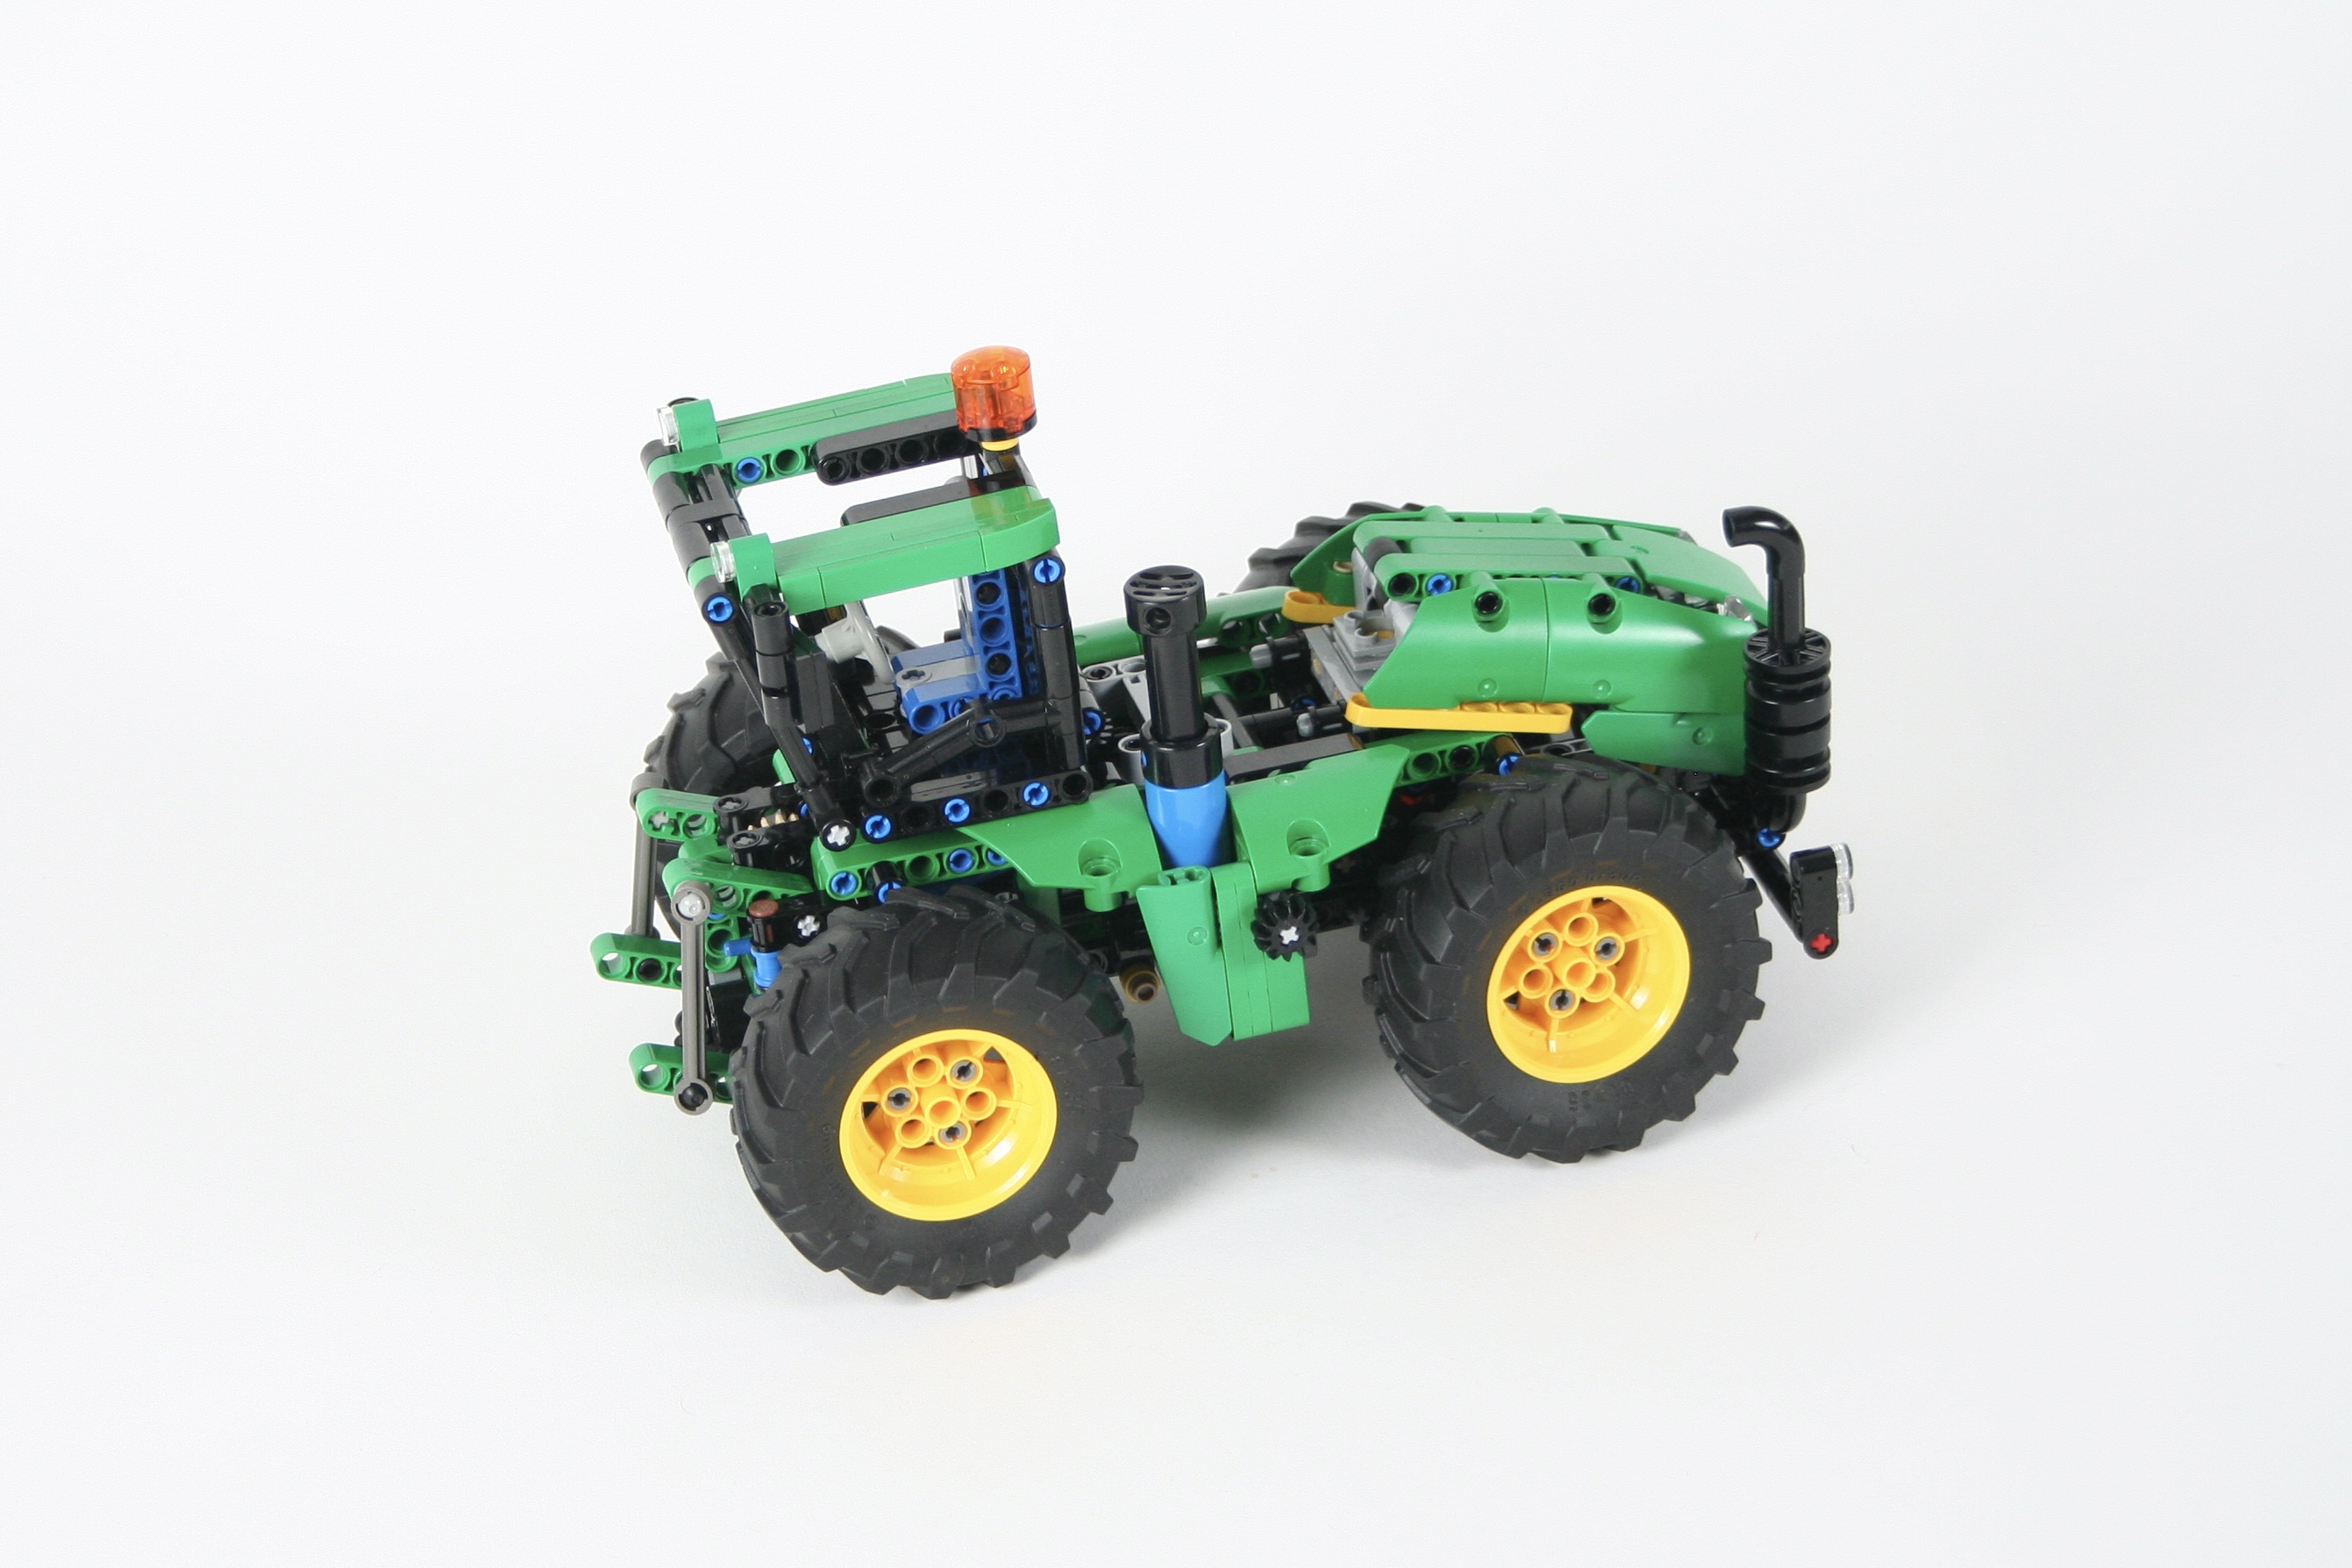
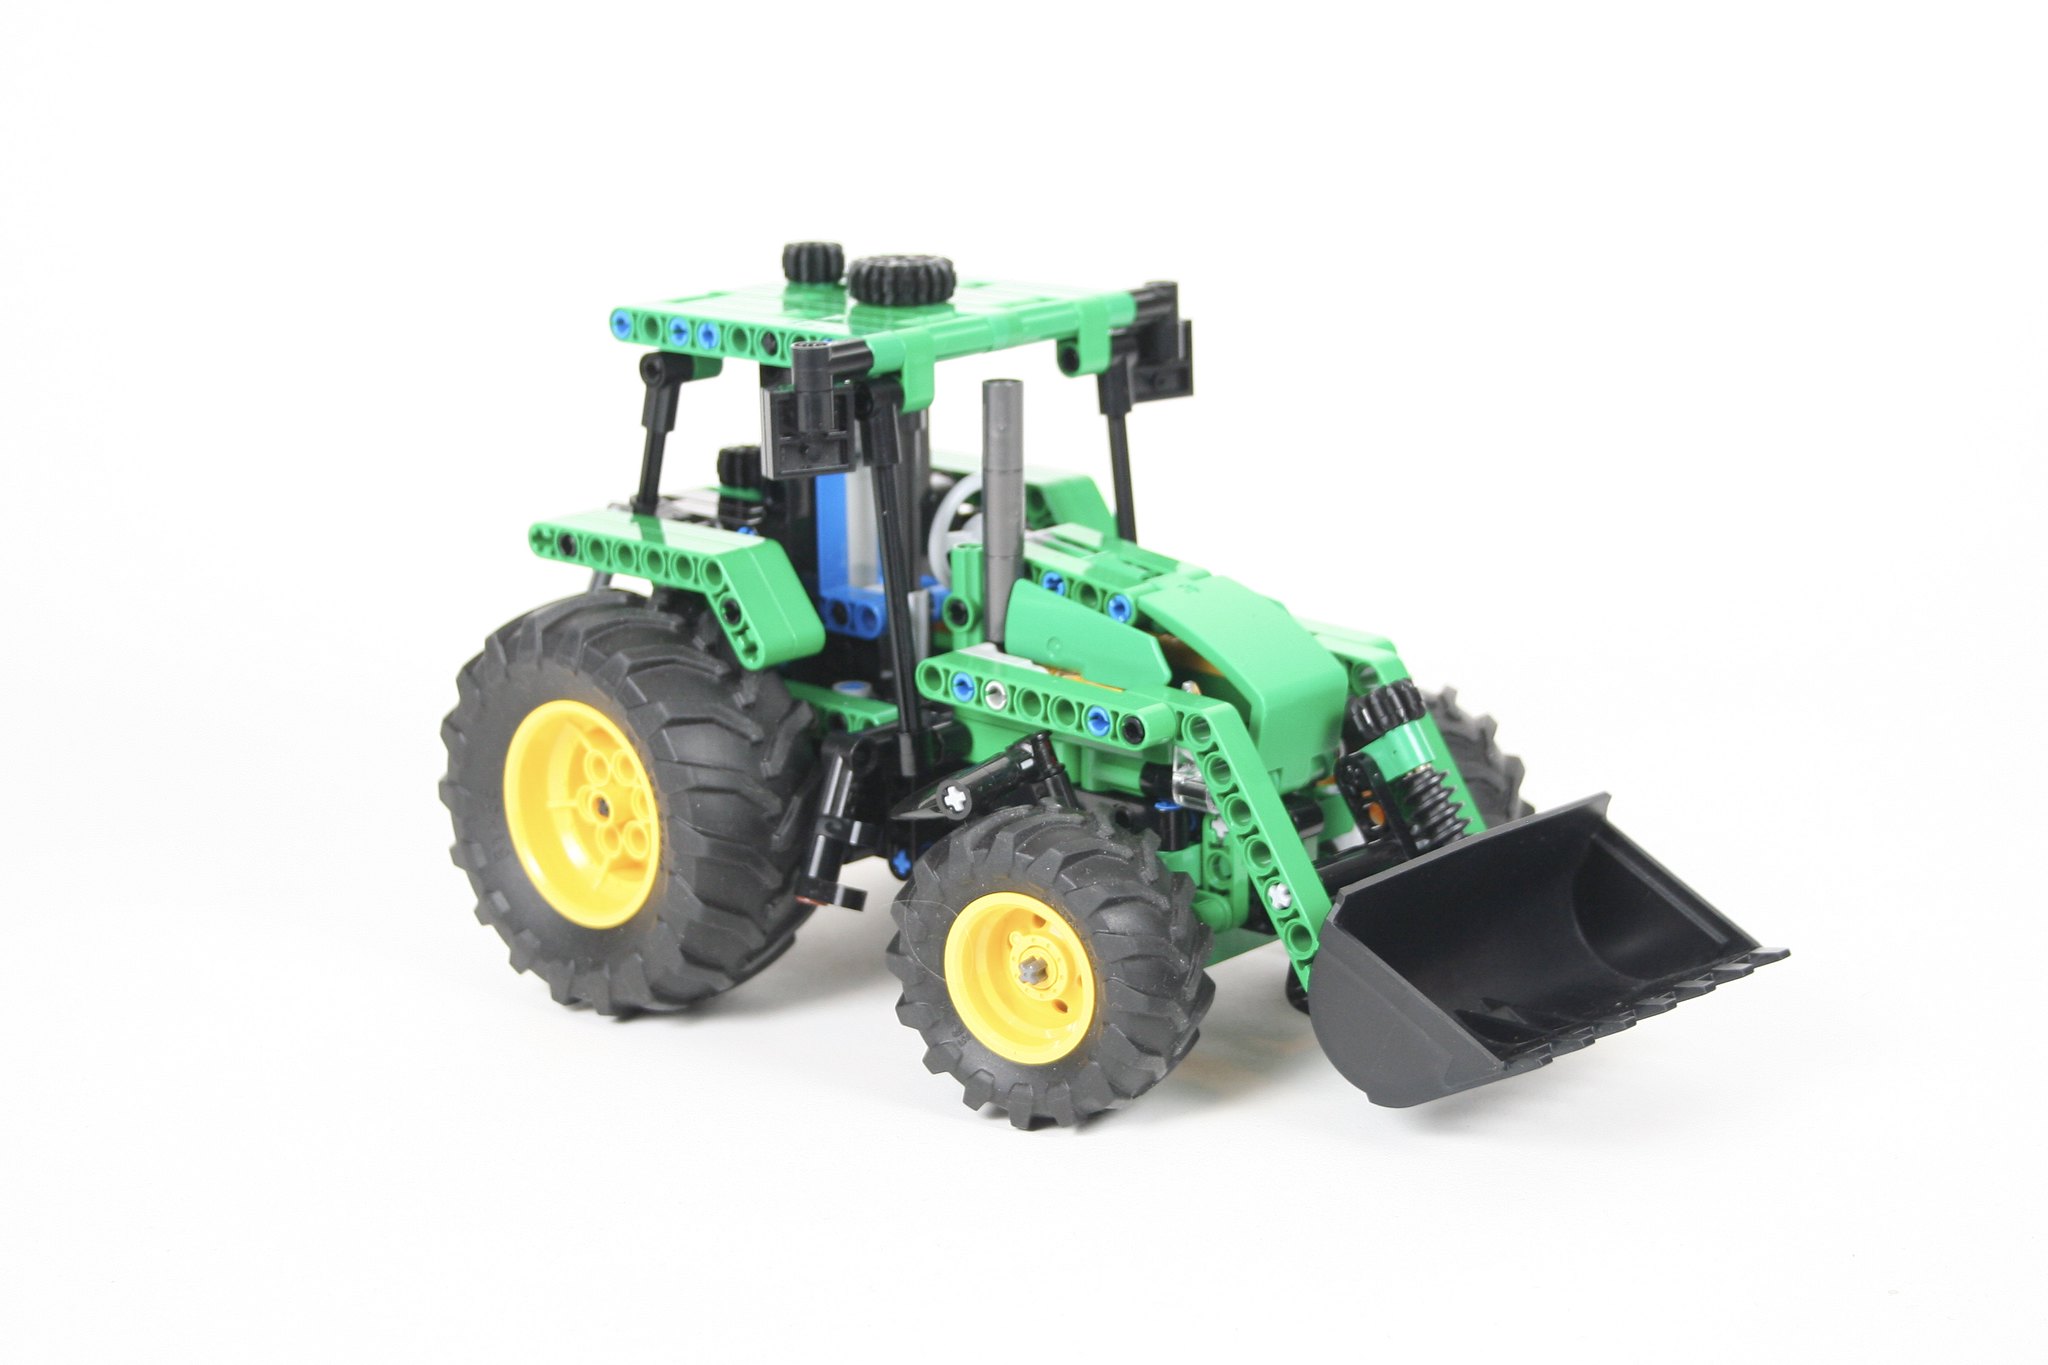
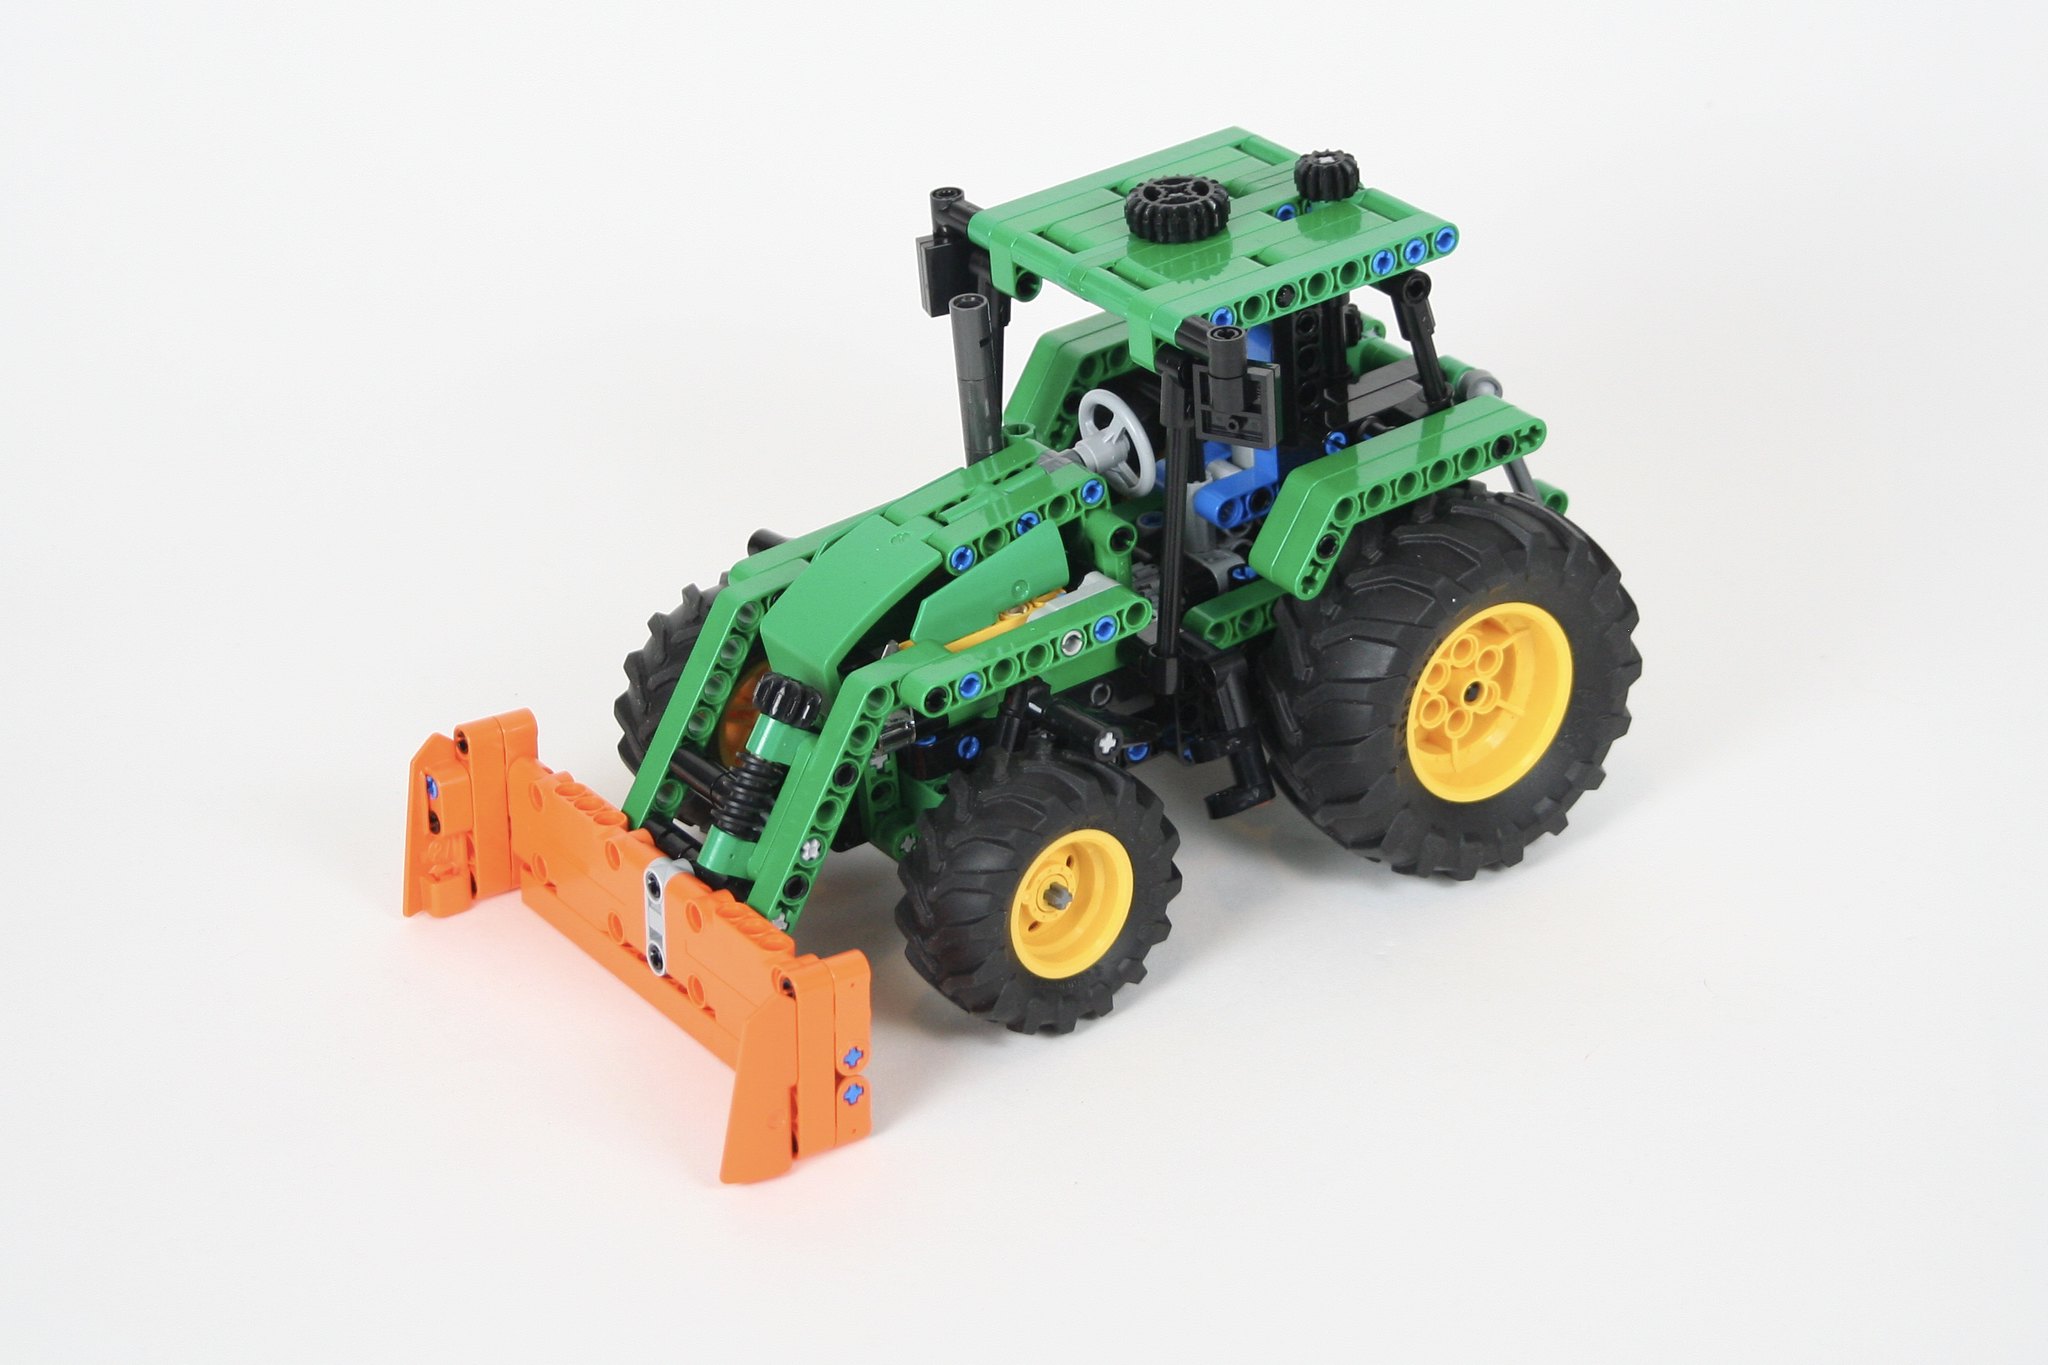
The front was a little easier. A simple steering rack is design, covered by the hood and a little grill guard. The HOG is mounted on the top of the roll cage, and bisects the two front seats. I took some time to get the wheel fenders to look the way I wanted while still allowing for tire clearance as they turned, but I was able to make it work by using a half stud offset.

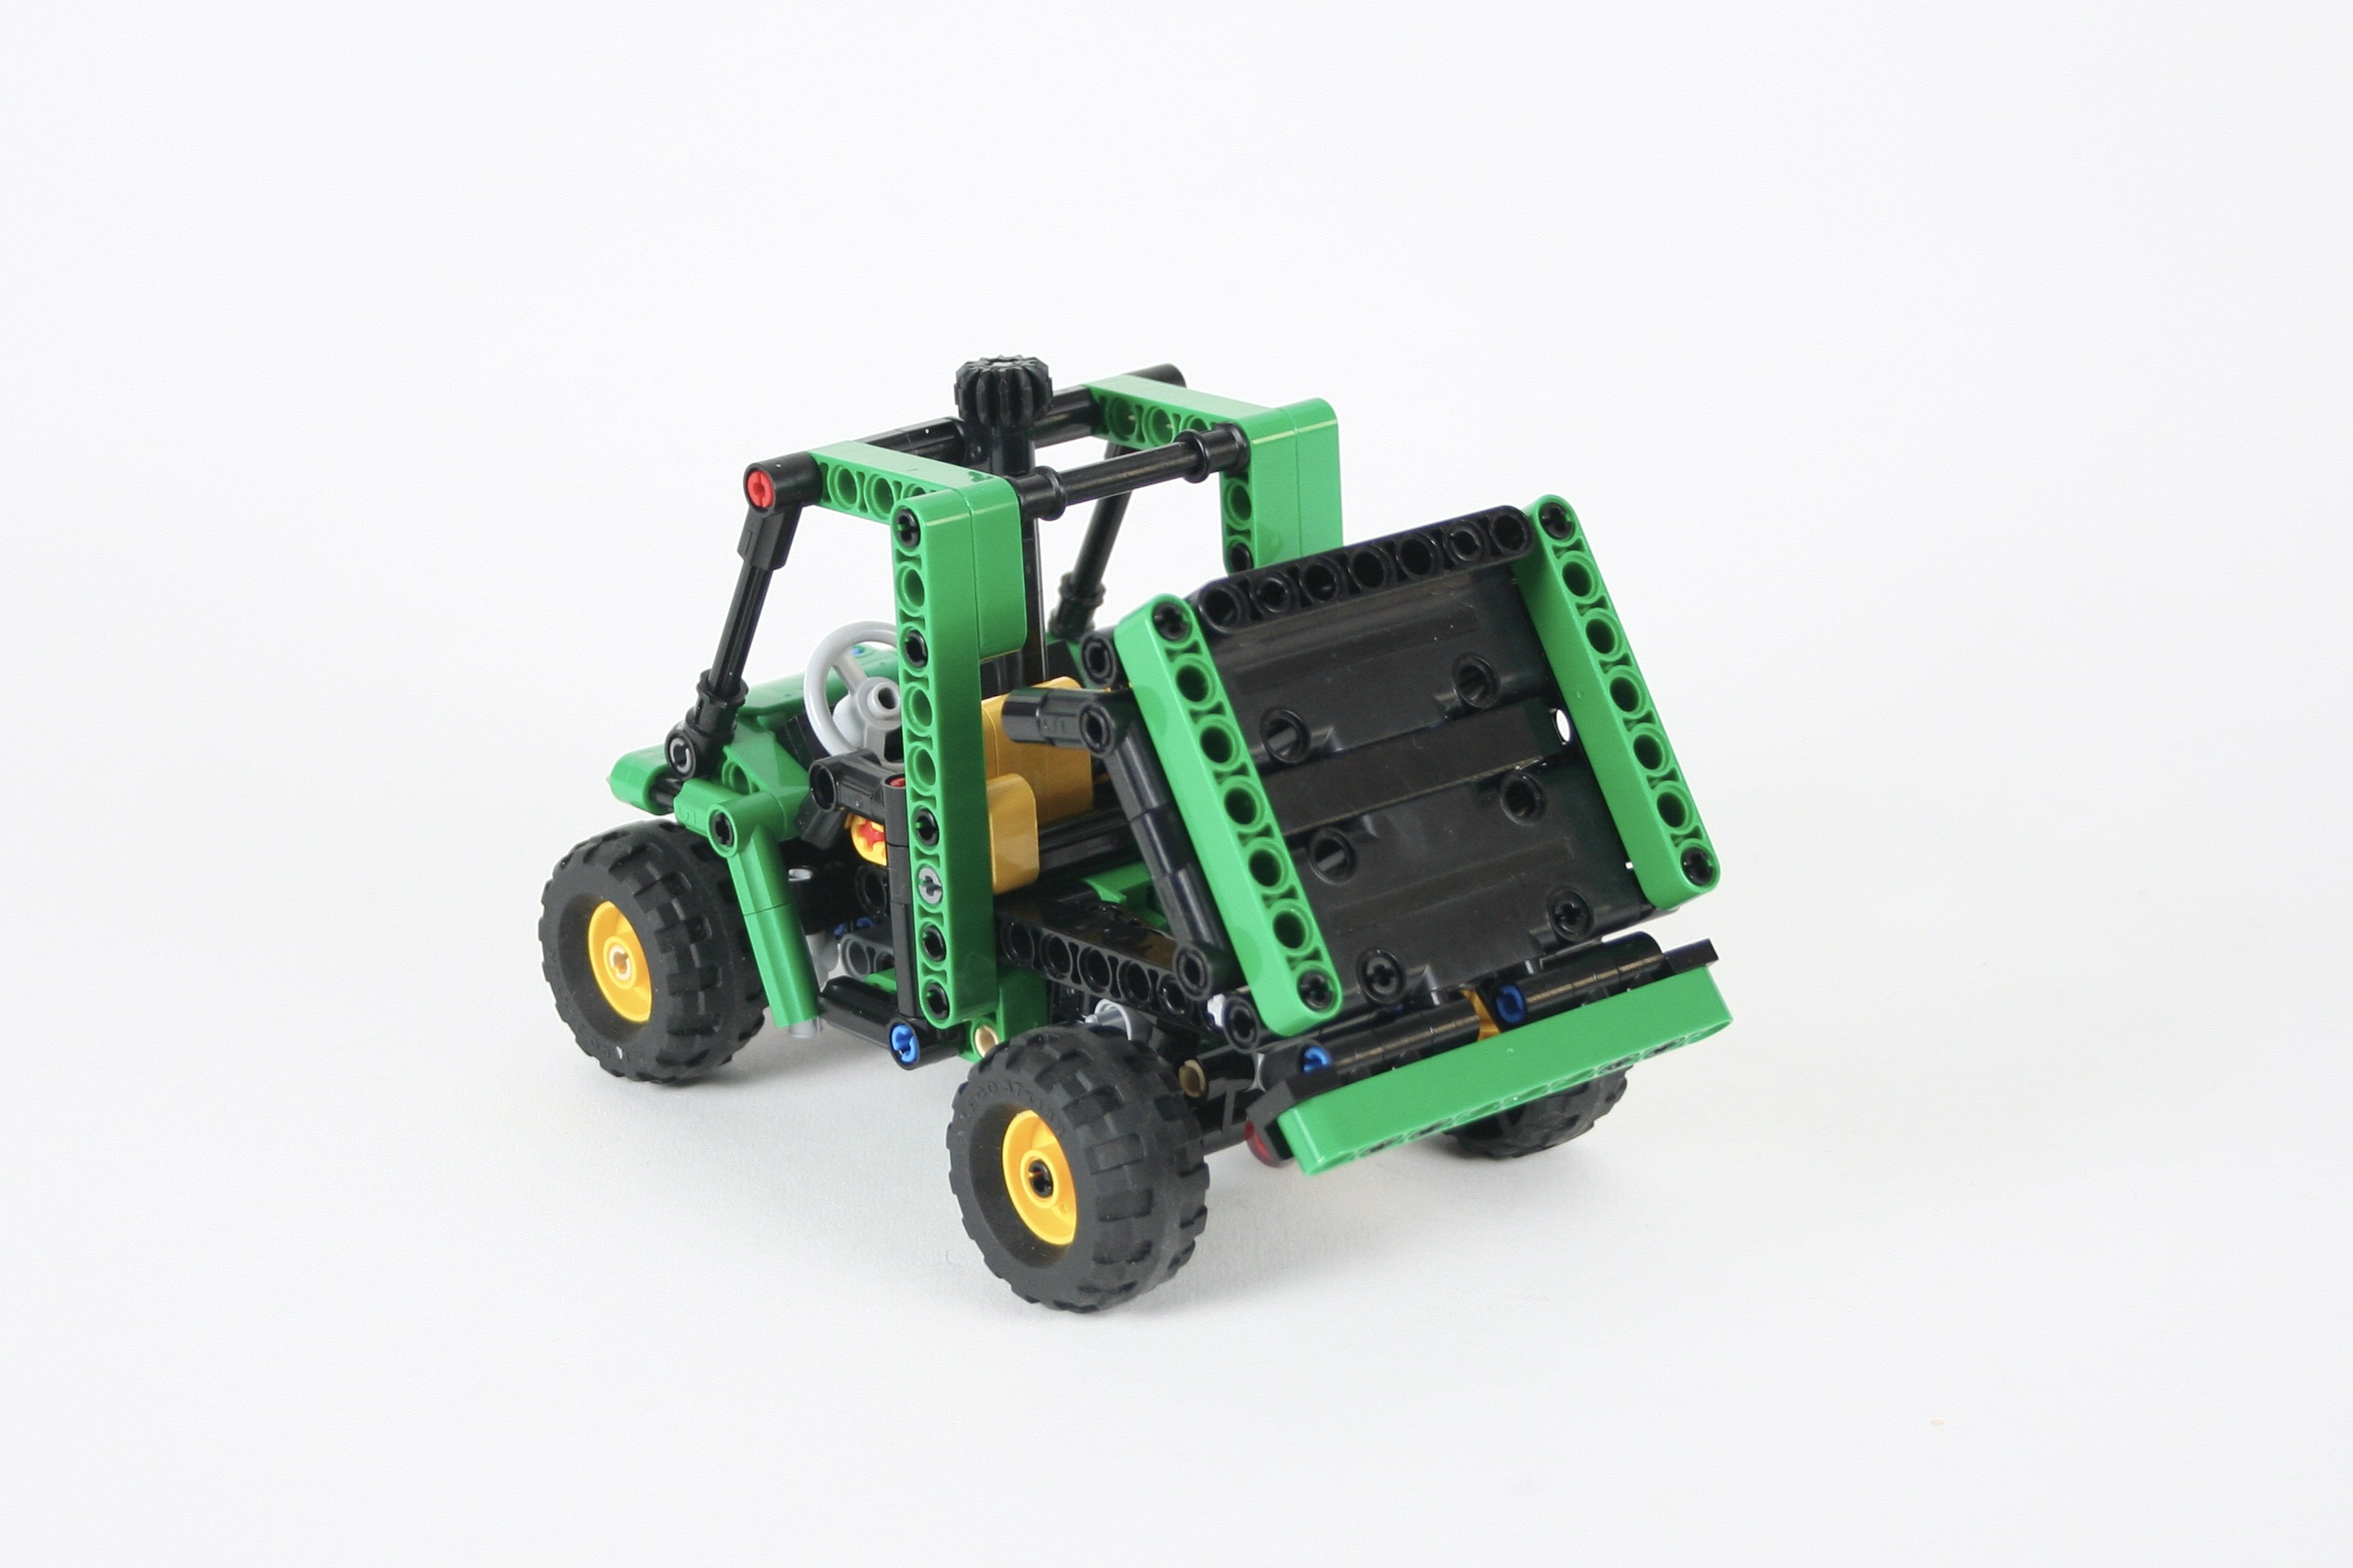
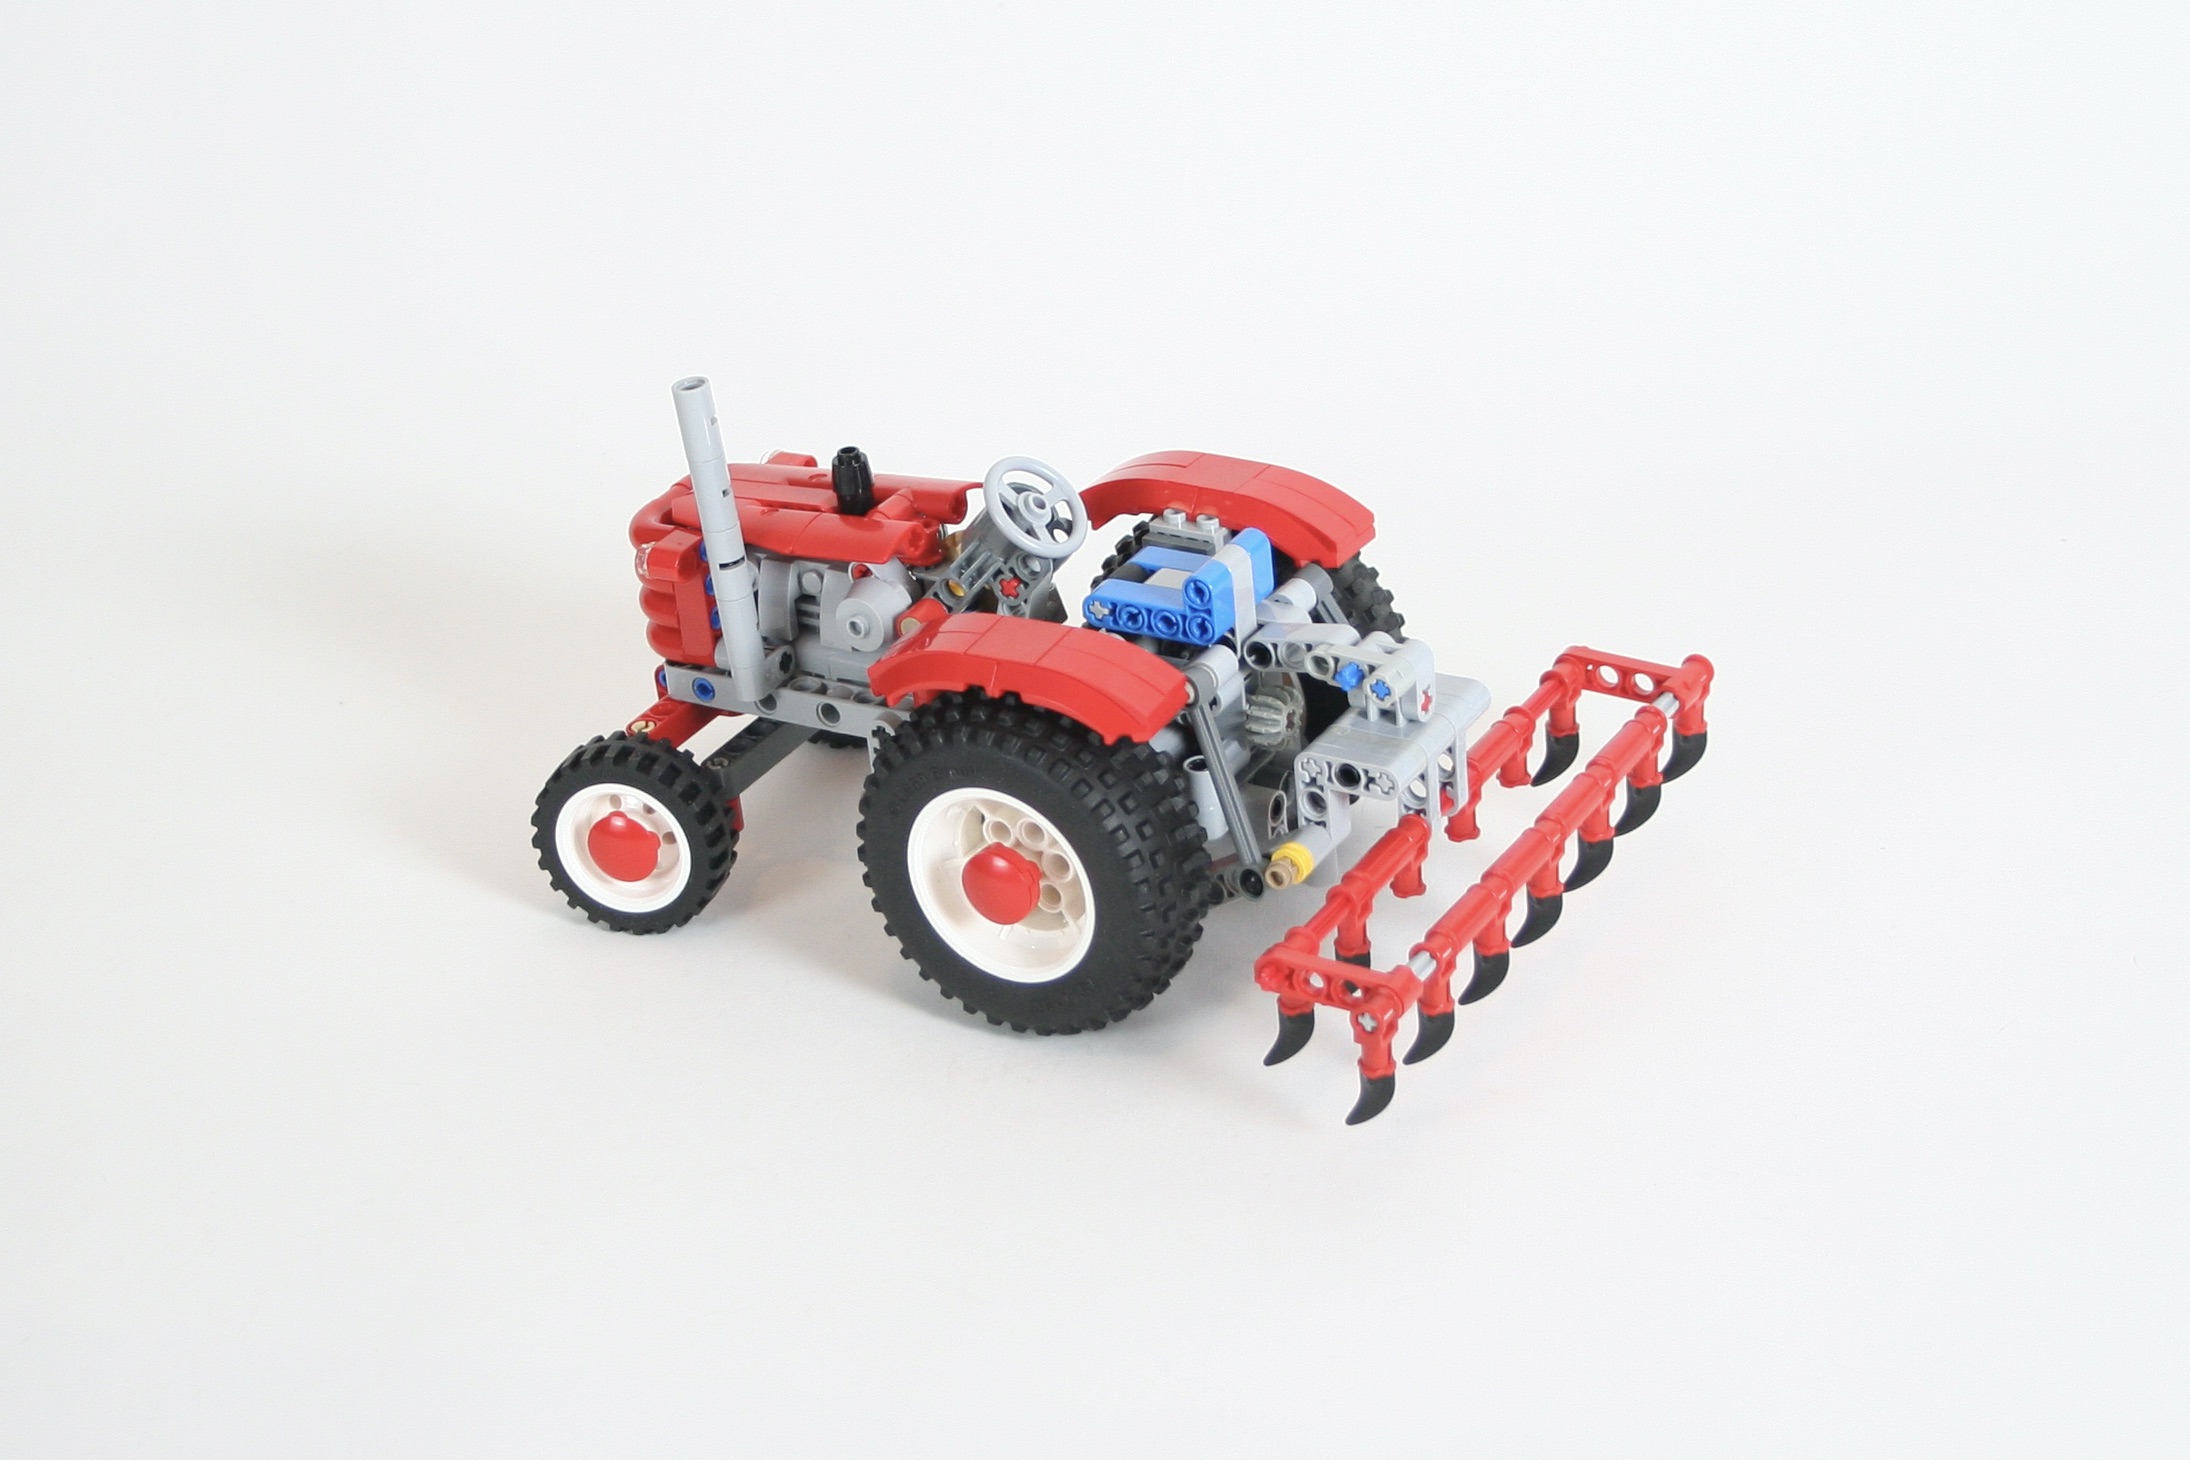
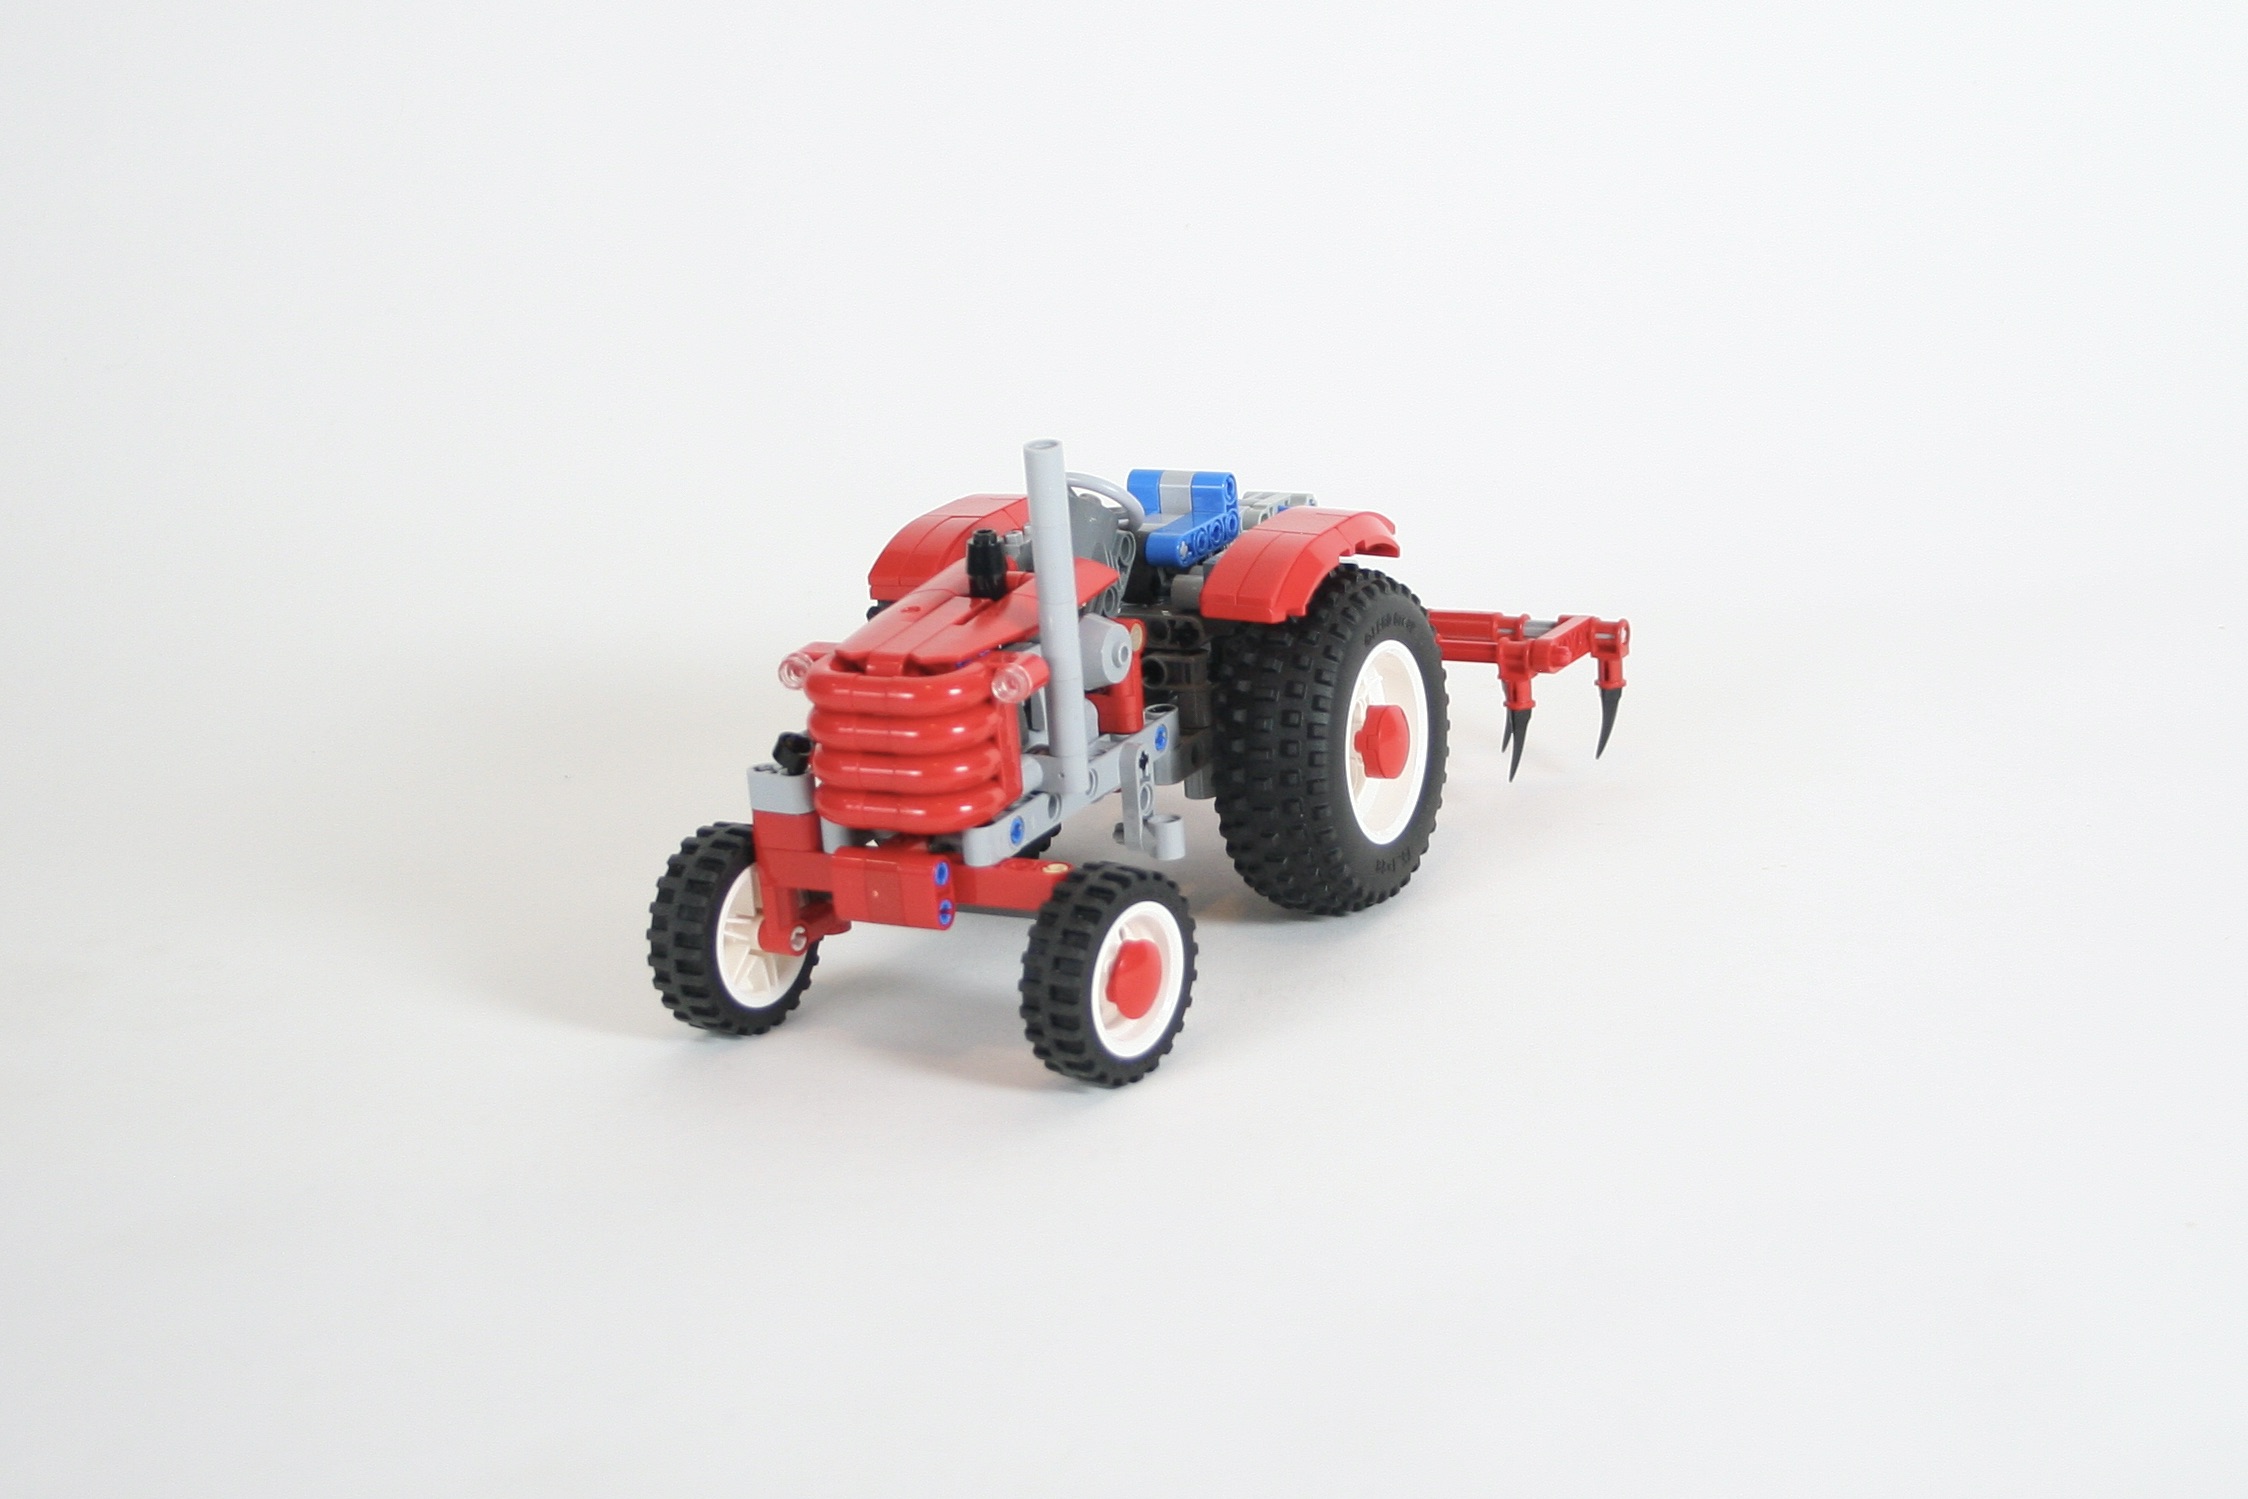
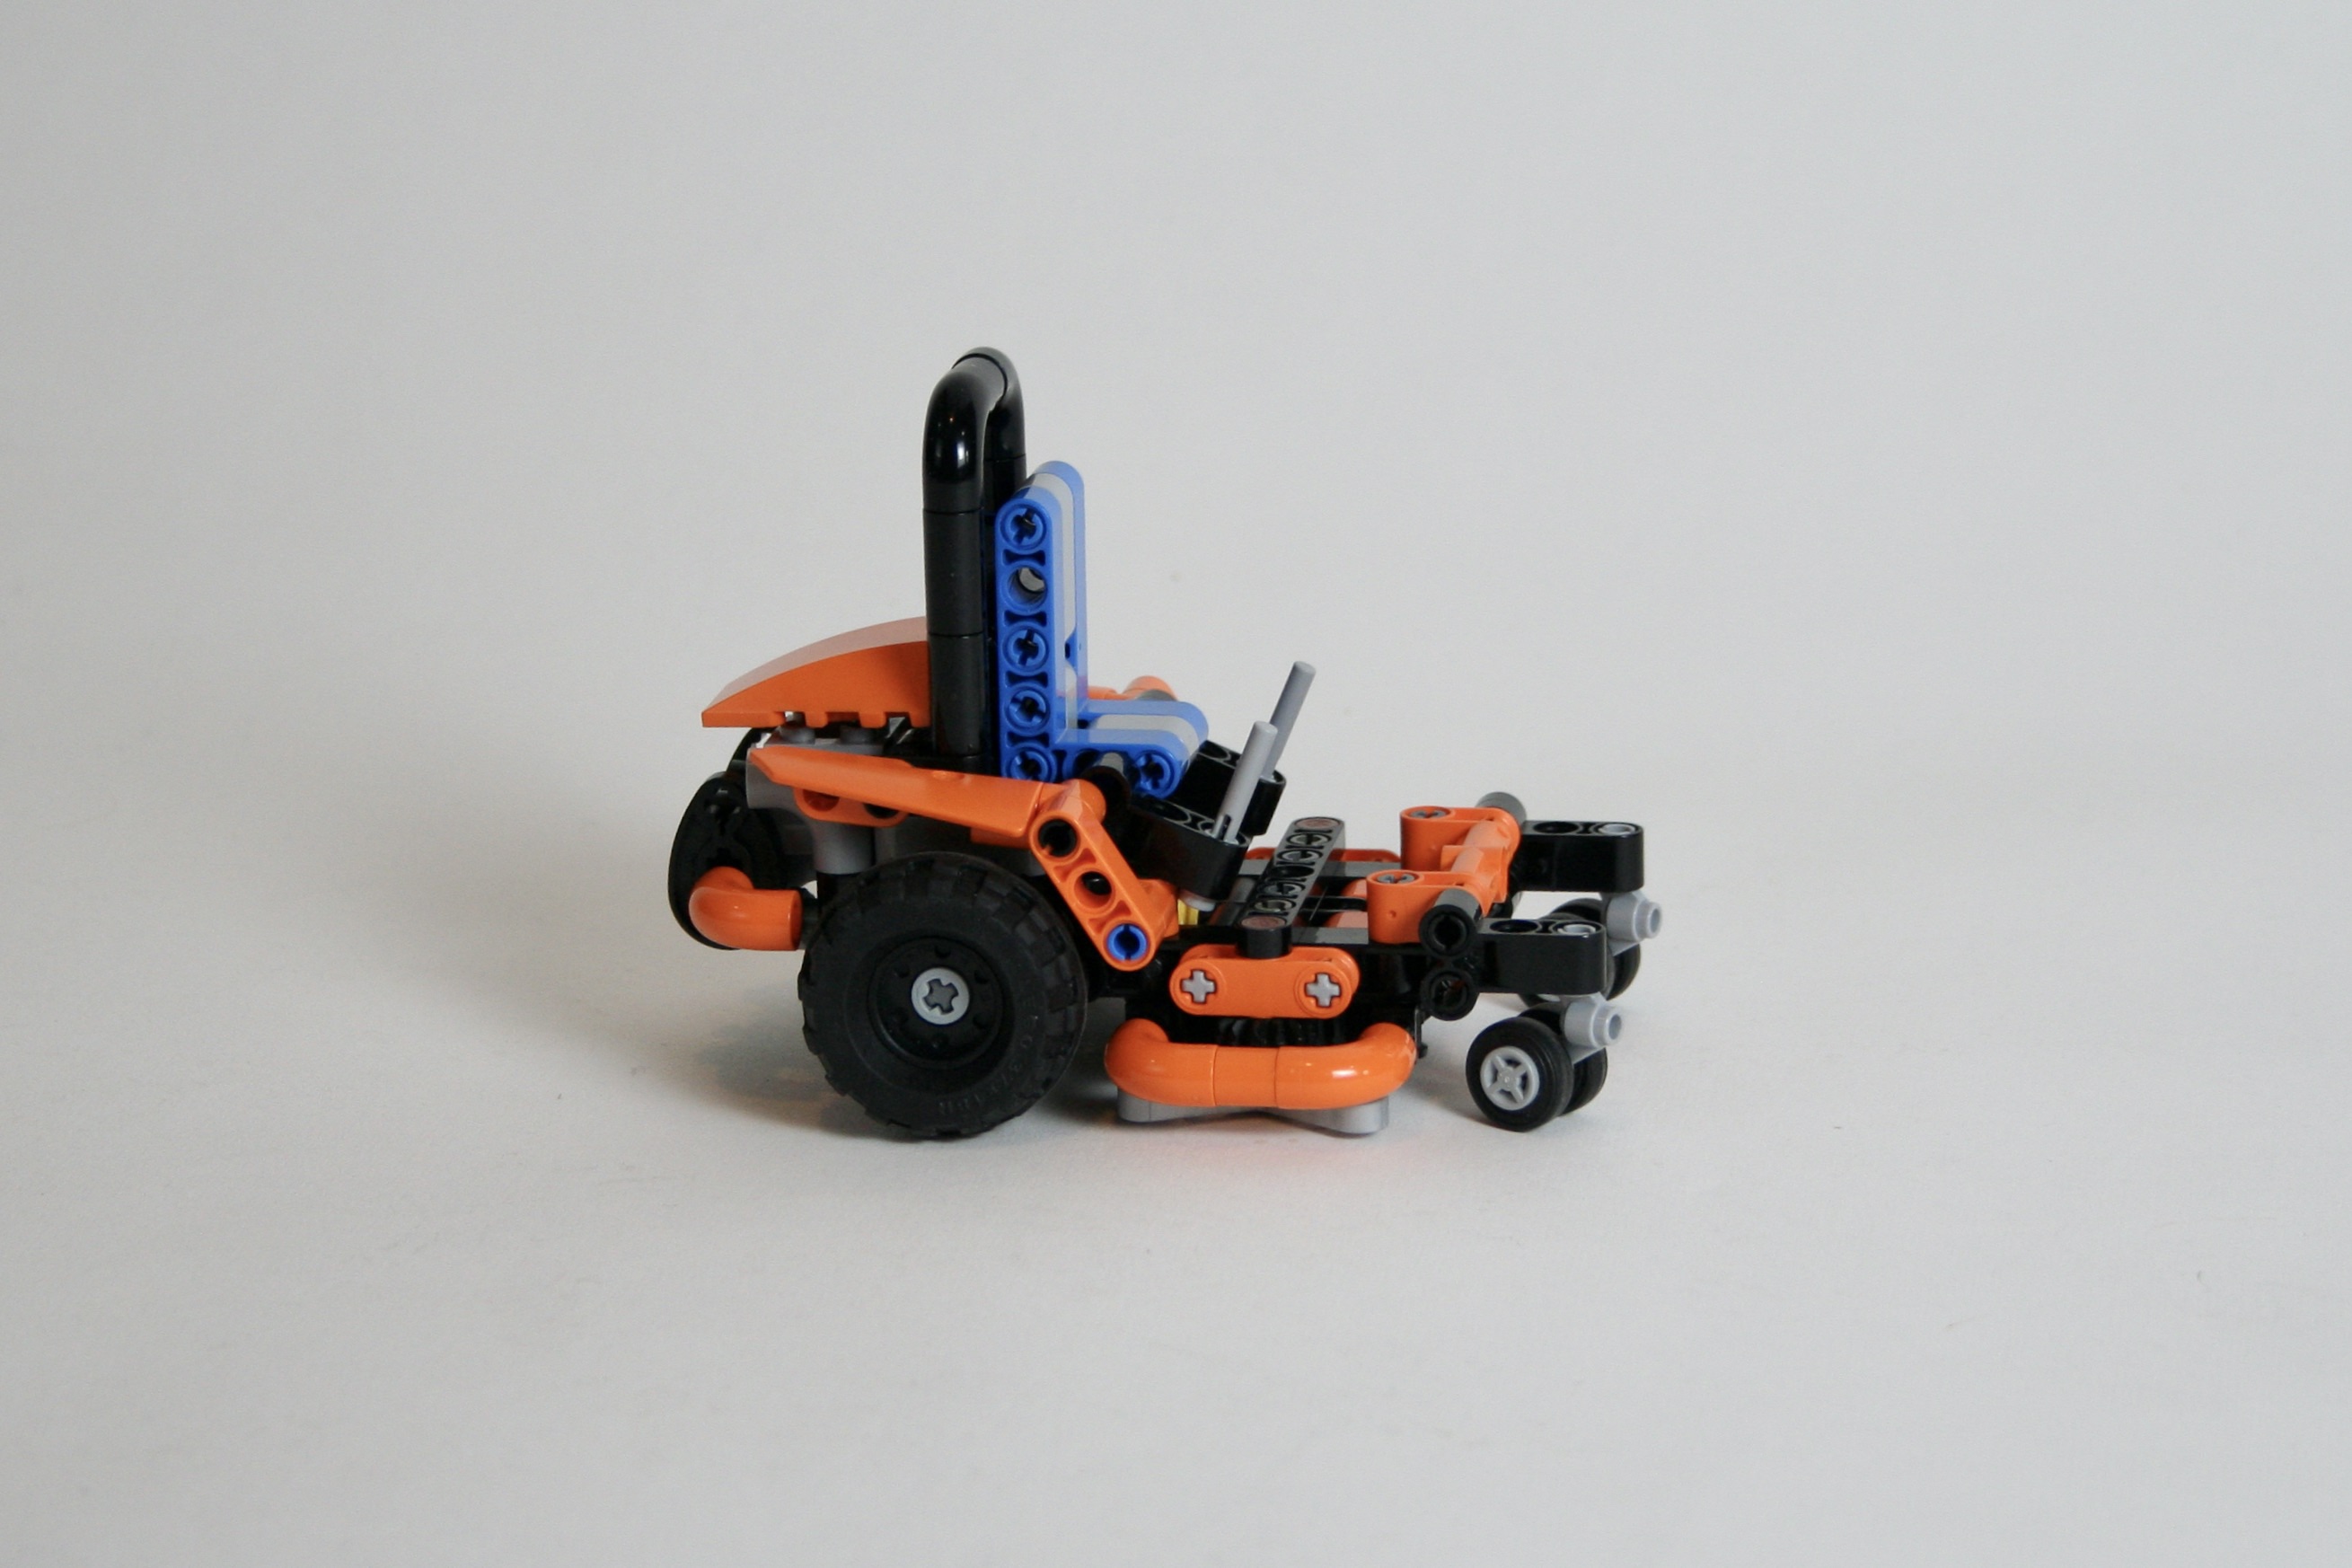
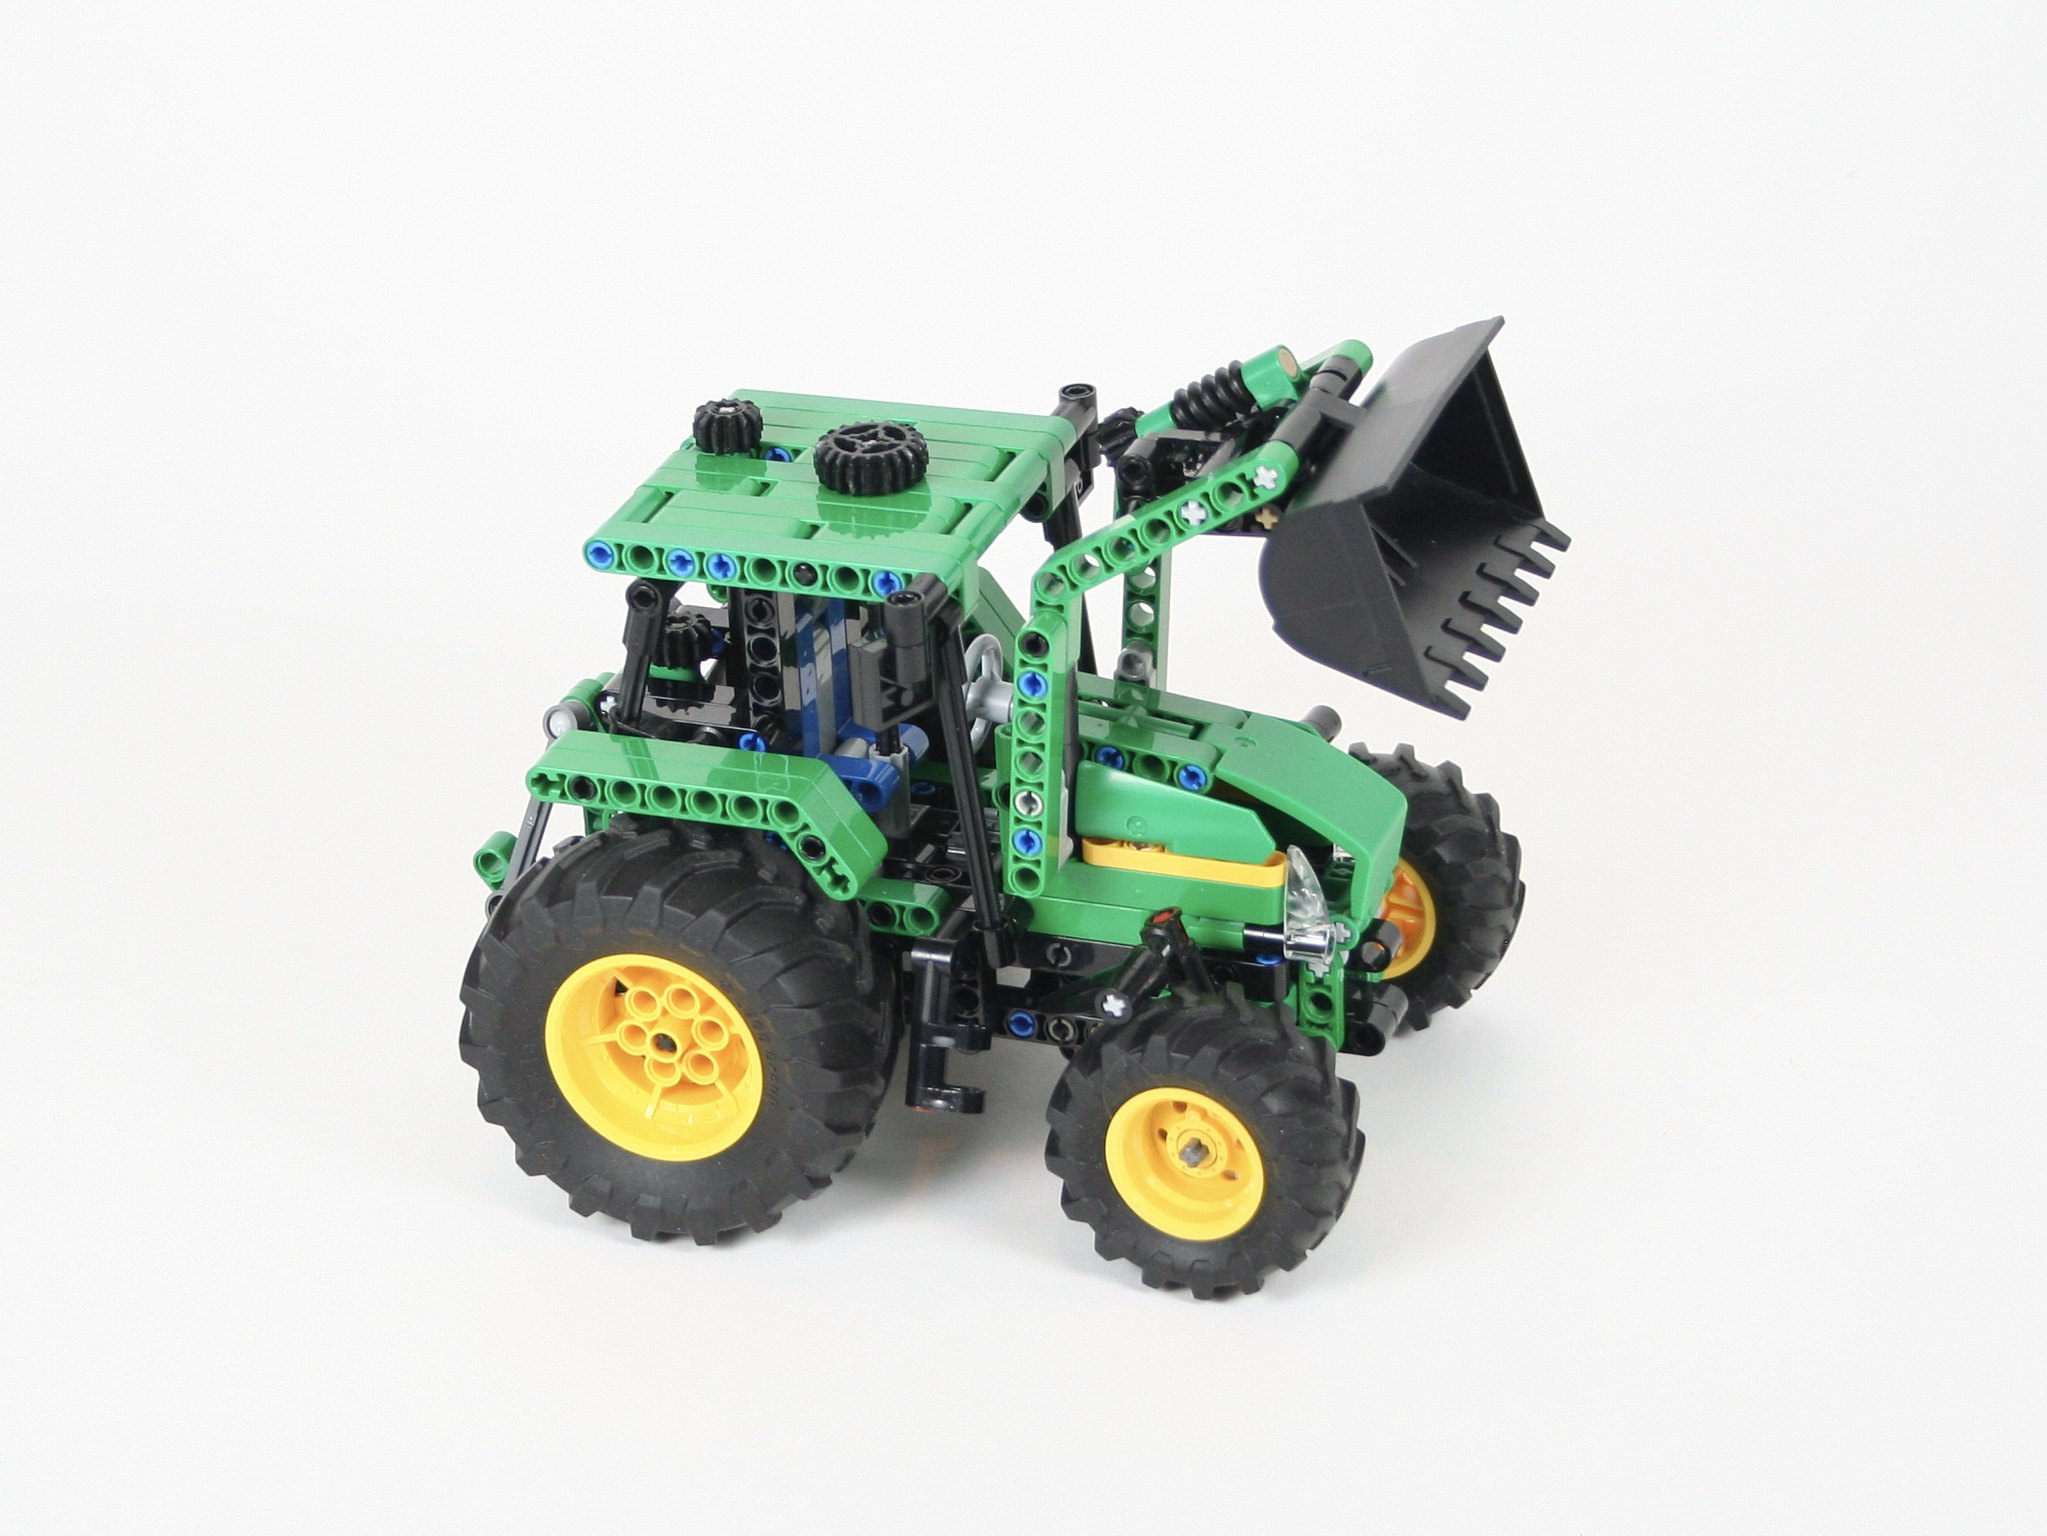
Finally, I added simple opening doors, and a tilting rear bed. Both are simple in their design, but allow for additional play features. I’m especially proud of using Part 85940 as a stop so the rear bed does not overtip.

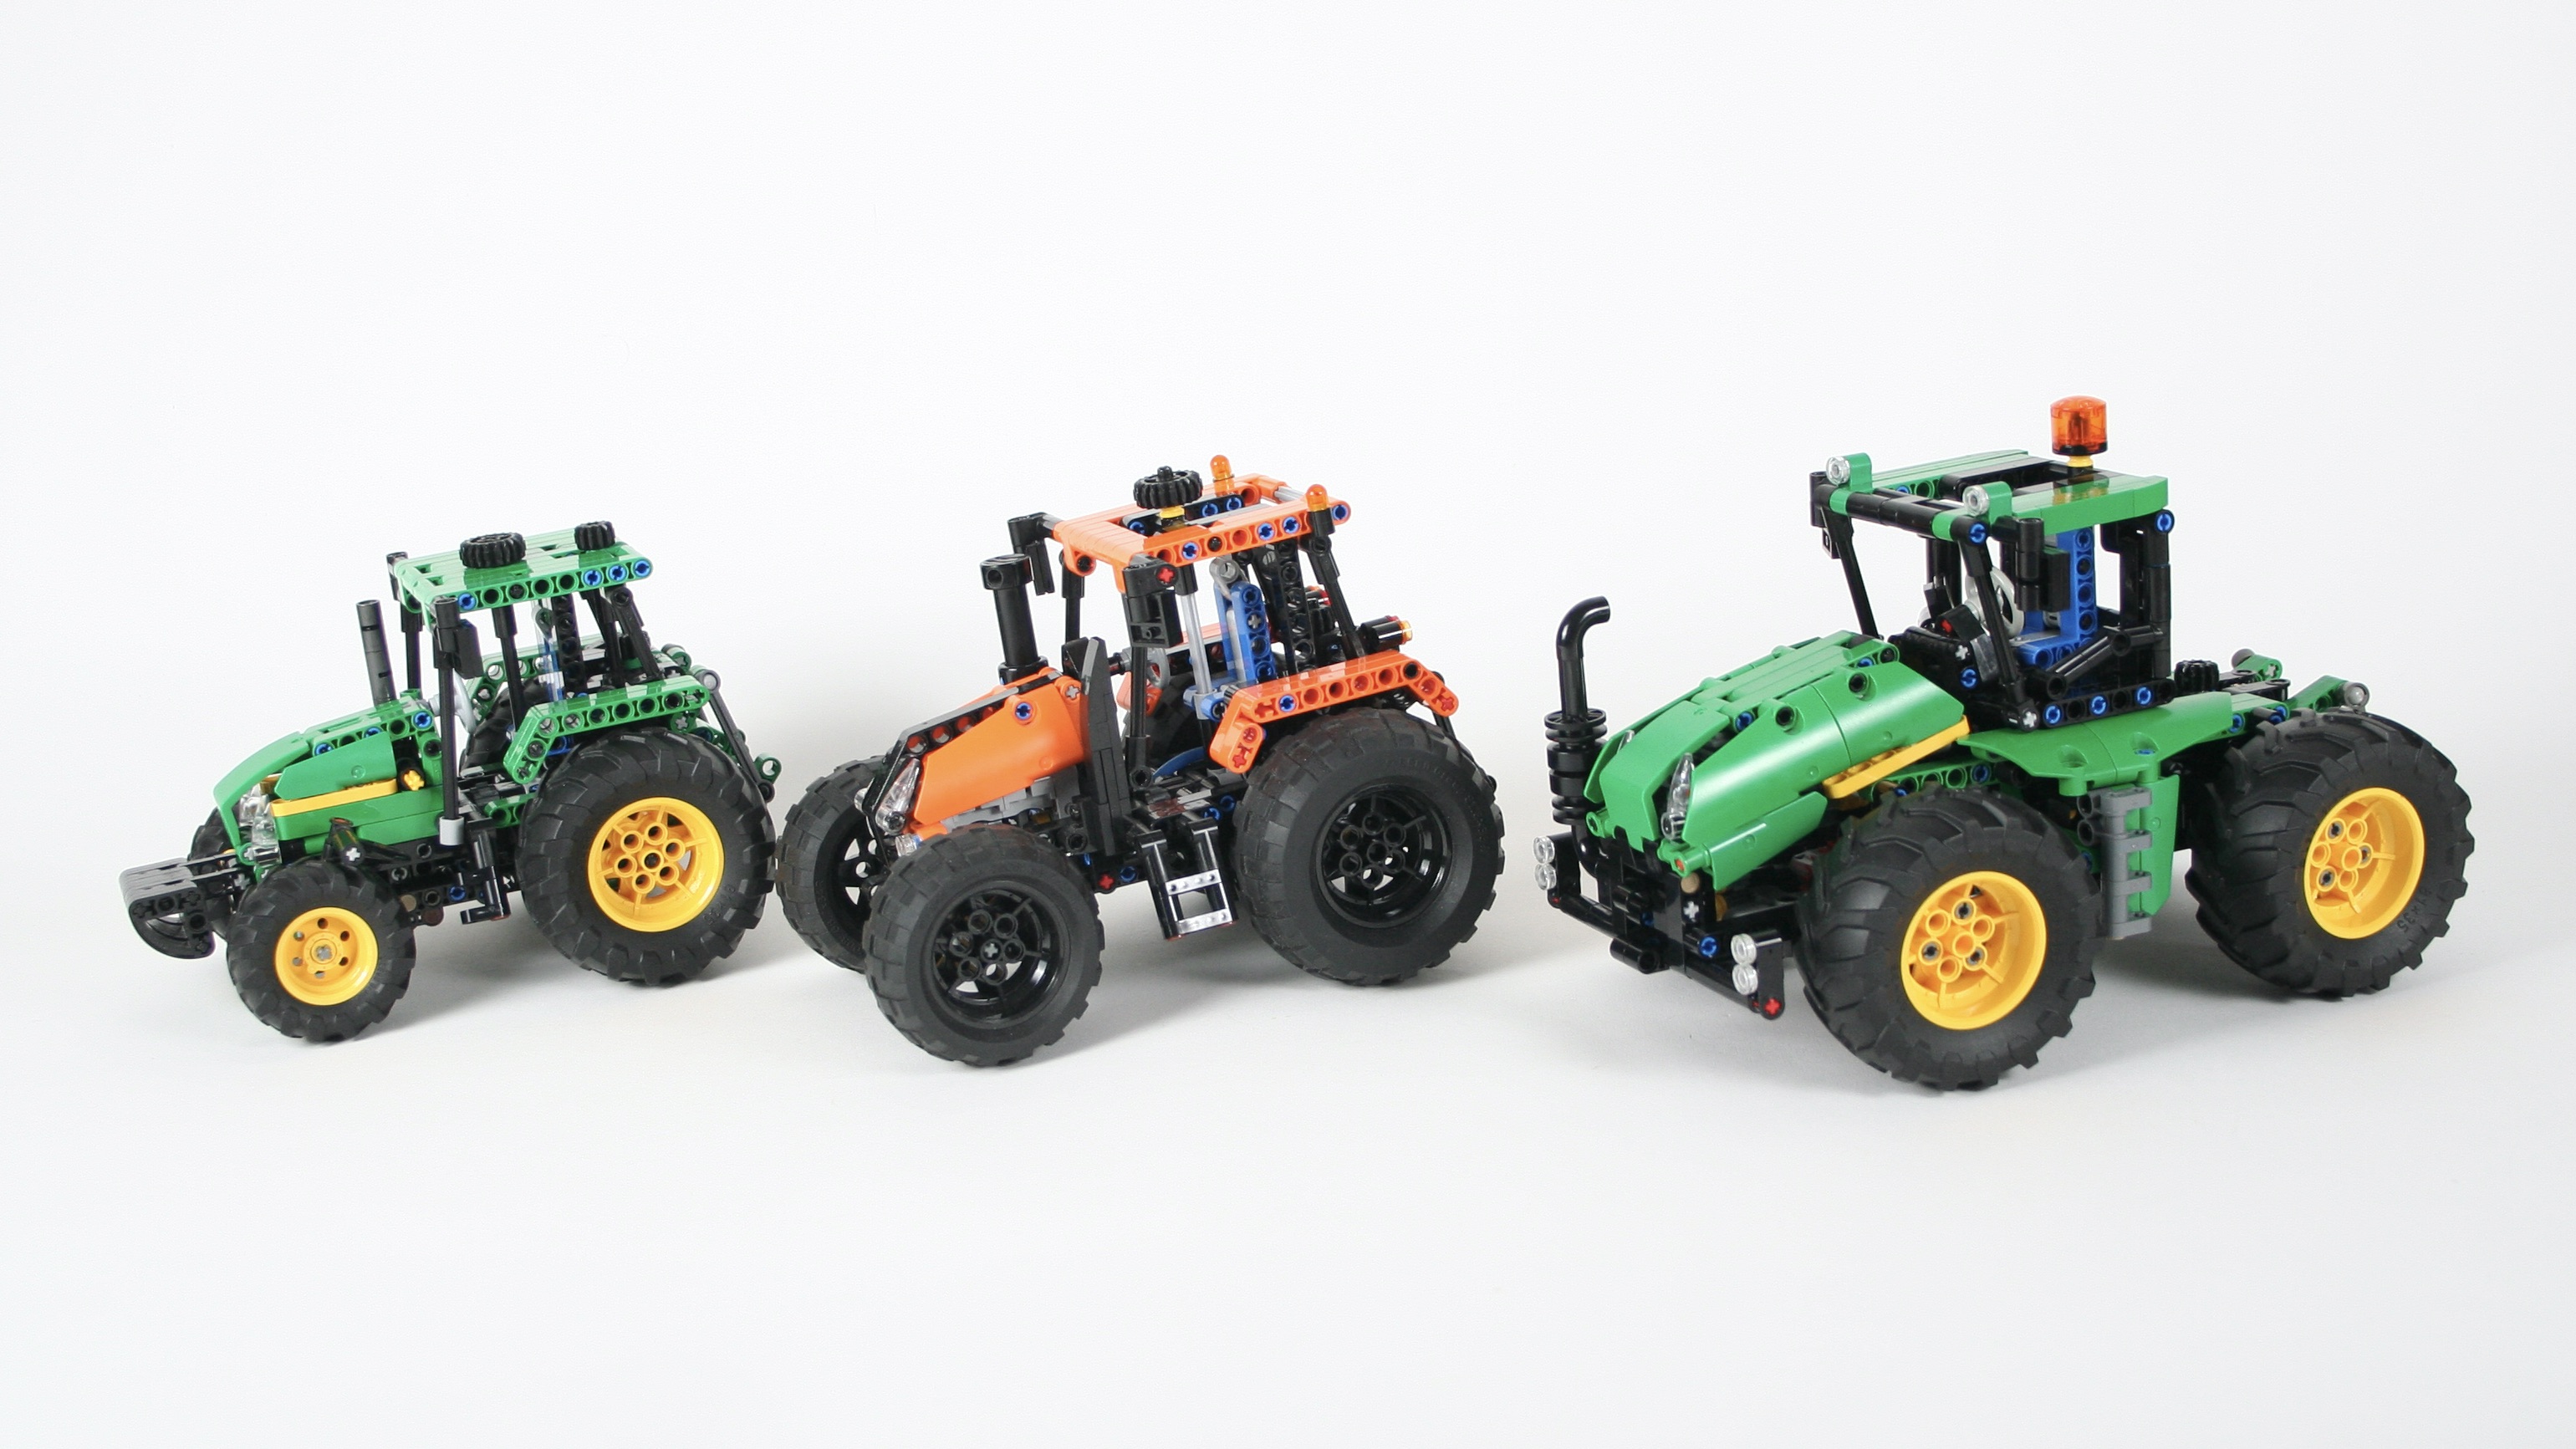
Big MOCs get all the glory, but it’s the smaller ones that I like and I’m most proud of. Anyone can add suspension to a car that is 31 studs wide, but figuring out how to stuff suspension, a differential, and an engine in 20 cubic studs, its what keeps me building. This little MOC was a great project, and I am so happy with all the functions I was able to include. I hope you enjoyed it too.

Happy building.

Mini 8063


Another build that harkens to an older set, and this time for a contest.

Free instructions may be found at Rebrickable.com.

I participate in a number of Technic build contests at Eurobricks.com, the TC25 contest was another one that I was excited to join. This contest asked you to rebuild a Technic set, but smaller. After selecting a couple of sets for my shortlist to explore, I went though each to determine what I had parts for, what interesting features I could keep or add, and what I would be motivated to finish. Through this process, I decided on LEGO set 8063 from 2009. After numerous tractors for the Thirdwigg Farm, I decided I would be well suited to update this tractor.

I stared with the trailer, and added suspension for the rear axles. The tipping of the bed uses a linkage so the little mini linear actuator can use its full movement to tip the bed. The control for the tipper is on the left of the hitch. A simple rear tailgate and trailer hitch support is included as well.

The tractor is similar to my other designs in that there is steering, an engine, and a rear PTO. But this tractor also included front suspension as 8063 does. To make this work, I used small 1/2 pins with a yellow round tile on the top for pistons, and ran the steering axle below the engine. The front axle is mounted on a pivot to allow for the pendular suspension. Steering is controlled by a HOG on the cabin roof. A rear PTO was added, and a three point hitch using the Thirdwigg Farm standard.

I always love building tractors, and this scale is my favorite. I would have rather used the newer tractor tires for this MOC, but it did not match the feel of 8063, so the balloon tires were used instead. All the functions worked well, and it was nice to include all the functions of the original 8063 as well. And the red and green compliment each other so well on this build. I hope you enjoyed another little tractor until I build another one.

Happy Building.

Vintage Tractor


The Thirdwigg Farm now has a lot of builds, and this one was found in the back of an old barn.

Free Instructions may be found at Rebrickable.com

I tend to find new and flashy machines the most interesting, but sometimes something older can excite my creative juices. Someone suggested I build an old tractor, so this is the result. As I planned this build, it became clear that I wanted it to be part of the Thirdwigg Farm scale, so that determined the scale and some of the features right away. The Vintage tractor can be used with all the other Thirdwigg Farm builds.

I worked on the driveline which came together pretty quickly. The two cylinder engine is directly linked to the rear wheels. The steering was a little trickier. I mounted a little steering wheel on a linear actuator block, which moves a steering link to move the front steering rack. It is relatively simple, but coming up with how to make it work and look alright took a little bit of time. The seat is mounted on a pivot that allows for small suspension travel, just like an older tractor.

A little more time was spent on the bodywork. The round macaroni bricks work perfectly for the grill, and the new little panels cover the engine well. The fenders are a little fragile, but look great for the tires used.

This was a fun little build that has been well loved at shows and in my office. It turns out that an old looking tractor is something that generates some interest.

Until the next tractor, happy building.

Zero Turn Mower


Sometimes I see something, and quickly turn it into a build.

Free instructions at Rebrickable.com.

Recently, there was a little John Deere zero turn mower in my neighborhood, and after building some other machines for the Thirdwigg Farm, I decided maybe a little mower for the farm would be a nice addition. A quick afternoon later, I had thrown together a little chassis and had the rough idea for the build.

For something this small, features can be difficult to add. I wanted to have mower blades connected to the drive wheels, and an engine if I could figure it out. The result was one drive wheel on the rear of the mower which powers a single cylinder engine hanging off the rear of the mower. The same drive wheel turns a couple of gears to drive two mower blades. The rotation speed is sufficient for both, and spin well with a little movement of the mower. I used the little airplane nose wheels as front casters for the mower, which resulted in a perfect ride height for the mower blades.

Then I styled for the mower. I love the look of orange parts, so that was the decision for the mower. I used the round macaroni parts for the blade guards and for the roll-over structure which gives it a playful look. A simple fender was designed and a rear bumper and the build was done. Quick and 157 parts.

I do not usually build this small, but it was a fun little project; a little palette cleanser from some of the more complicated builds that I sometimes do. We’ll see if I do more like this.

Happy Building.

John Deere Axron


What started out as a little tractor and trailer has grown into the Thirdwigg Farm! And it needed a bigger tractor.

Free instructions are available at Rebrickable.com.

I started with a simple, small, row tractor that I called the Atmos. This tractor was mid scale and in addition to steering and a fake engine like most of my builds, it featured a front implement mount, rear three point hitch, rear PTO, and rear Pneumatic PTO. Little did I know how the tractor would grow into a lot of other tractores, trailers, impliments, and farming support vehicles. At some point, I found myself interested in making a larger tractor, and I have always loved the Claas Xerion. The Claas been done in Lego Technic before, so I went the John Deere styling route for my build.

The tractor had to integrate into the other builds, so the front and rear mount and PTO placement dictated a couple of the hard points. I built the tractor with four wheel drive, and four wheel steering. A four cylinder fake engine is placed under the frond hood above the front axle. The rear most cylinder does not move as the crankshaft would have run into the steering unit, and any change I tried to fix it made for an ugly hood. A worm gear actuated rear three point hitch allows for implements to be mounted to the tractor.

The steering is controlled by a HOG light at the top of the cab, which caused some headaches for placement as I wanted the cab to be able to rotate. There is a small gear on the right of the tractor that controls the rotation through and internally mounted worm gear. Getting the cab to rotate in the right spot, without hitting anything, and while still having the pneumatic pump, required endless test rotations.

Since this is a Thirdwigg Farm tractor, there are many options to pair with this tractor, all with free instructions. My favorite is the Hookloadr trailer, but the Tandem Disc looks great too. Free instructions are available for all the options, so feel free to make your own farm.

It is always fun to make another tractor and this one was no exception. I wish the drivetrain was a little more smooth, but the rest of the tractor worked flawlessly. And it looks fantastic. Coupled with a trailer, makes it look strong and purposeful. And the rotating cab is so much fun to play with. We’ll see what gets added to the Thirdwigg Farm next!

Happy building!

John Deere Scout


Another addition to the vastly growing Thirdwigg Farm.

I built the Atmos Tractor a couple of years ago as a small little project. Soon I had created a number of attachments and trailers to work with the tractor, and soon I was more tractors and other machines were added. But the balance needed some additional tractors, so I decided to make a little partner.

The John Deere Scout specifically so I could use the new Tractor tires that came from Lego 42122 and Lego 42129. But I wanted to it to be a smaller tractor with many of the features needed for full Thirdwigg Farm integration. Thus, the tractor had to have the common front and rear attachment points, a rear PTO, and steering because I put that it everything. Soon it was clear that the size of the tractor was going to make a fake engine poorly done, so I left it out. But I wanted some other feature to make this tractor unique.

The front bucket uses a worm gear function to lift the front arms. It is driven by a mechanism that drives rear, and then up to the top of the cab. There is a little gear for the HOG function that is just behind the steering HOG. A small worm gear mechanism is used to tilt the bucket. The arm can be easily removed if the desire is for the tractor to mount something on the front attachment point. The rear PTO is connected directly to the rear differential, and the common three point hitch is installed as well. Finally a trailer hitch is attached.

I also made a couple of attachments specifically for this tractor including a snow plow and scrapper, and a little trailer. Both may be found for free at Rebrickable.

With each additional tractor I add, I think it will be the last, but I keep having more ideas, and each one has been fun to design. I was pleased with how this tractor turned out, and how well it functioned. The tires look great at this scale. Most importantly, it matched well with each of the other tractors. The instructions are freely available at Rebrickable along with all the other Thirdwigg Farm builds, so feel free to make one of your own.

Happy building.

Synthe Combine


It was time to build a combine harvester for the Thirdwigg farm.

You may find instructions for this model at Rebrickable.com.

I was putting off building a combine for a while because they are pretty complicated. It took me a while before I felt like I understood enough about them to translate them to a LEGO MOC. After some time learning about them, I was ready to begin something. The scale was set based on the Atmos Tractor, so then it was a matter of deciding how many features I could add into the model. The models started with the thrashing mechnism, and then everthing fit in around it. I settled on a rotating thresher rather than a set of shuffling screens. In the center of the combine is a rotating auger that separates the grain from the staukes. As the auger spins it move the crop rearward separating the grain as it travels rearward. In the MOC, the auger is connected to the front wheels as the combine moves. Under the auger is a reciprocating screen that further separates the grain. Likewise this is also connected to the front wheels. At the rear of the auger are two spreaders that spread the chaft out the back of the combine.

Also connected to the front wheels is a takeoff that operates one of two cutting heads. The cutting head uses two augers on each side to move the corn to the center so it may be driven into the combine. A cutting edge is right behind the cones, and its movement is driven by a link below the combine, so it may cut back and forth. The full corn head is removable, and can be easily replace with a grain head. Each head is mounted on a moveable mounting plate, which can be moved up and down for harvesting and transportation.

In addition to the harvesting functions, the combine also has an opening right side so you may see the internal functions of the tractor. Here you may also see the mechanism that opens the top hopper. Additionally, the grain extractor on the left of the combine can be extended. Steering for the rear axle is operated by the air intake on the rear of the body.

This MOC took more time than usual for me, and there were a couple of times that I thought about scrapping the build, but I am happy I stuck with it. In addition to having another vehicle to populate the Thirdwigg Farm, the functions of the Combine were fun to implement in this build. Each worked well, and were fun to play with. The interchangeable head was an addition that changed the look of the combine depending on my mood, and each functioned well.

I guess it’s time to plan another tractor. Until then, happy building!