LEGO 42168 Backhoe


I have been bitten by the Alternative Build bug.

Instructions may be found at Rebrickable.com.

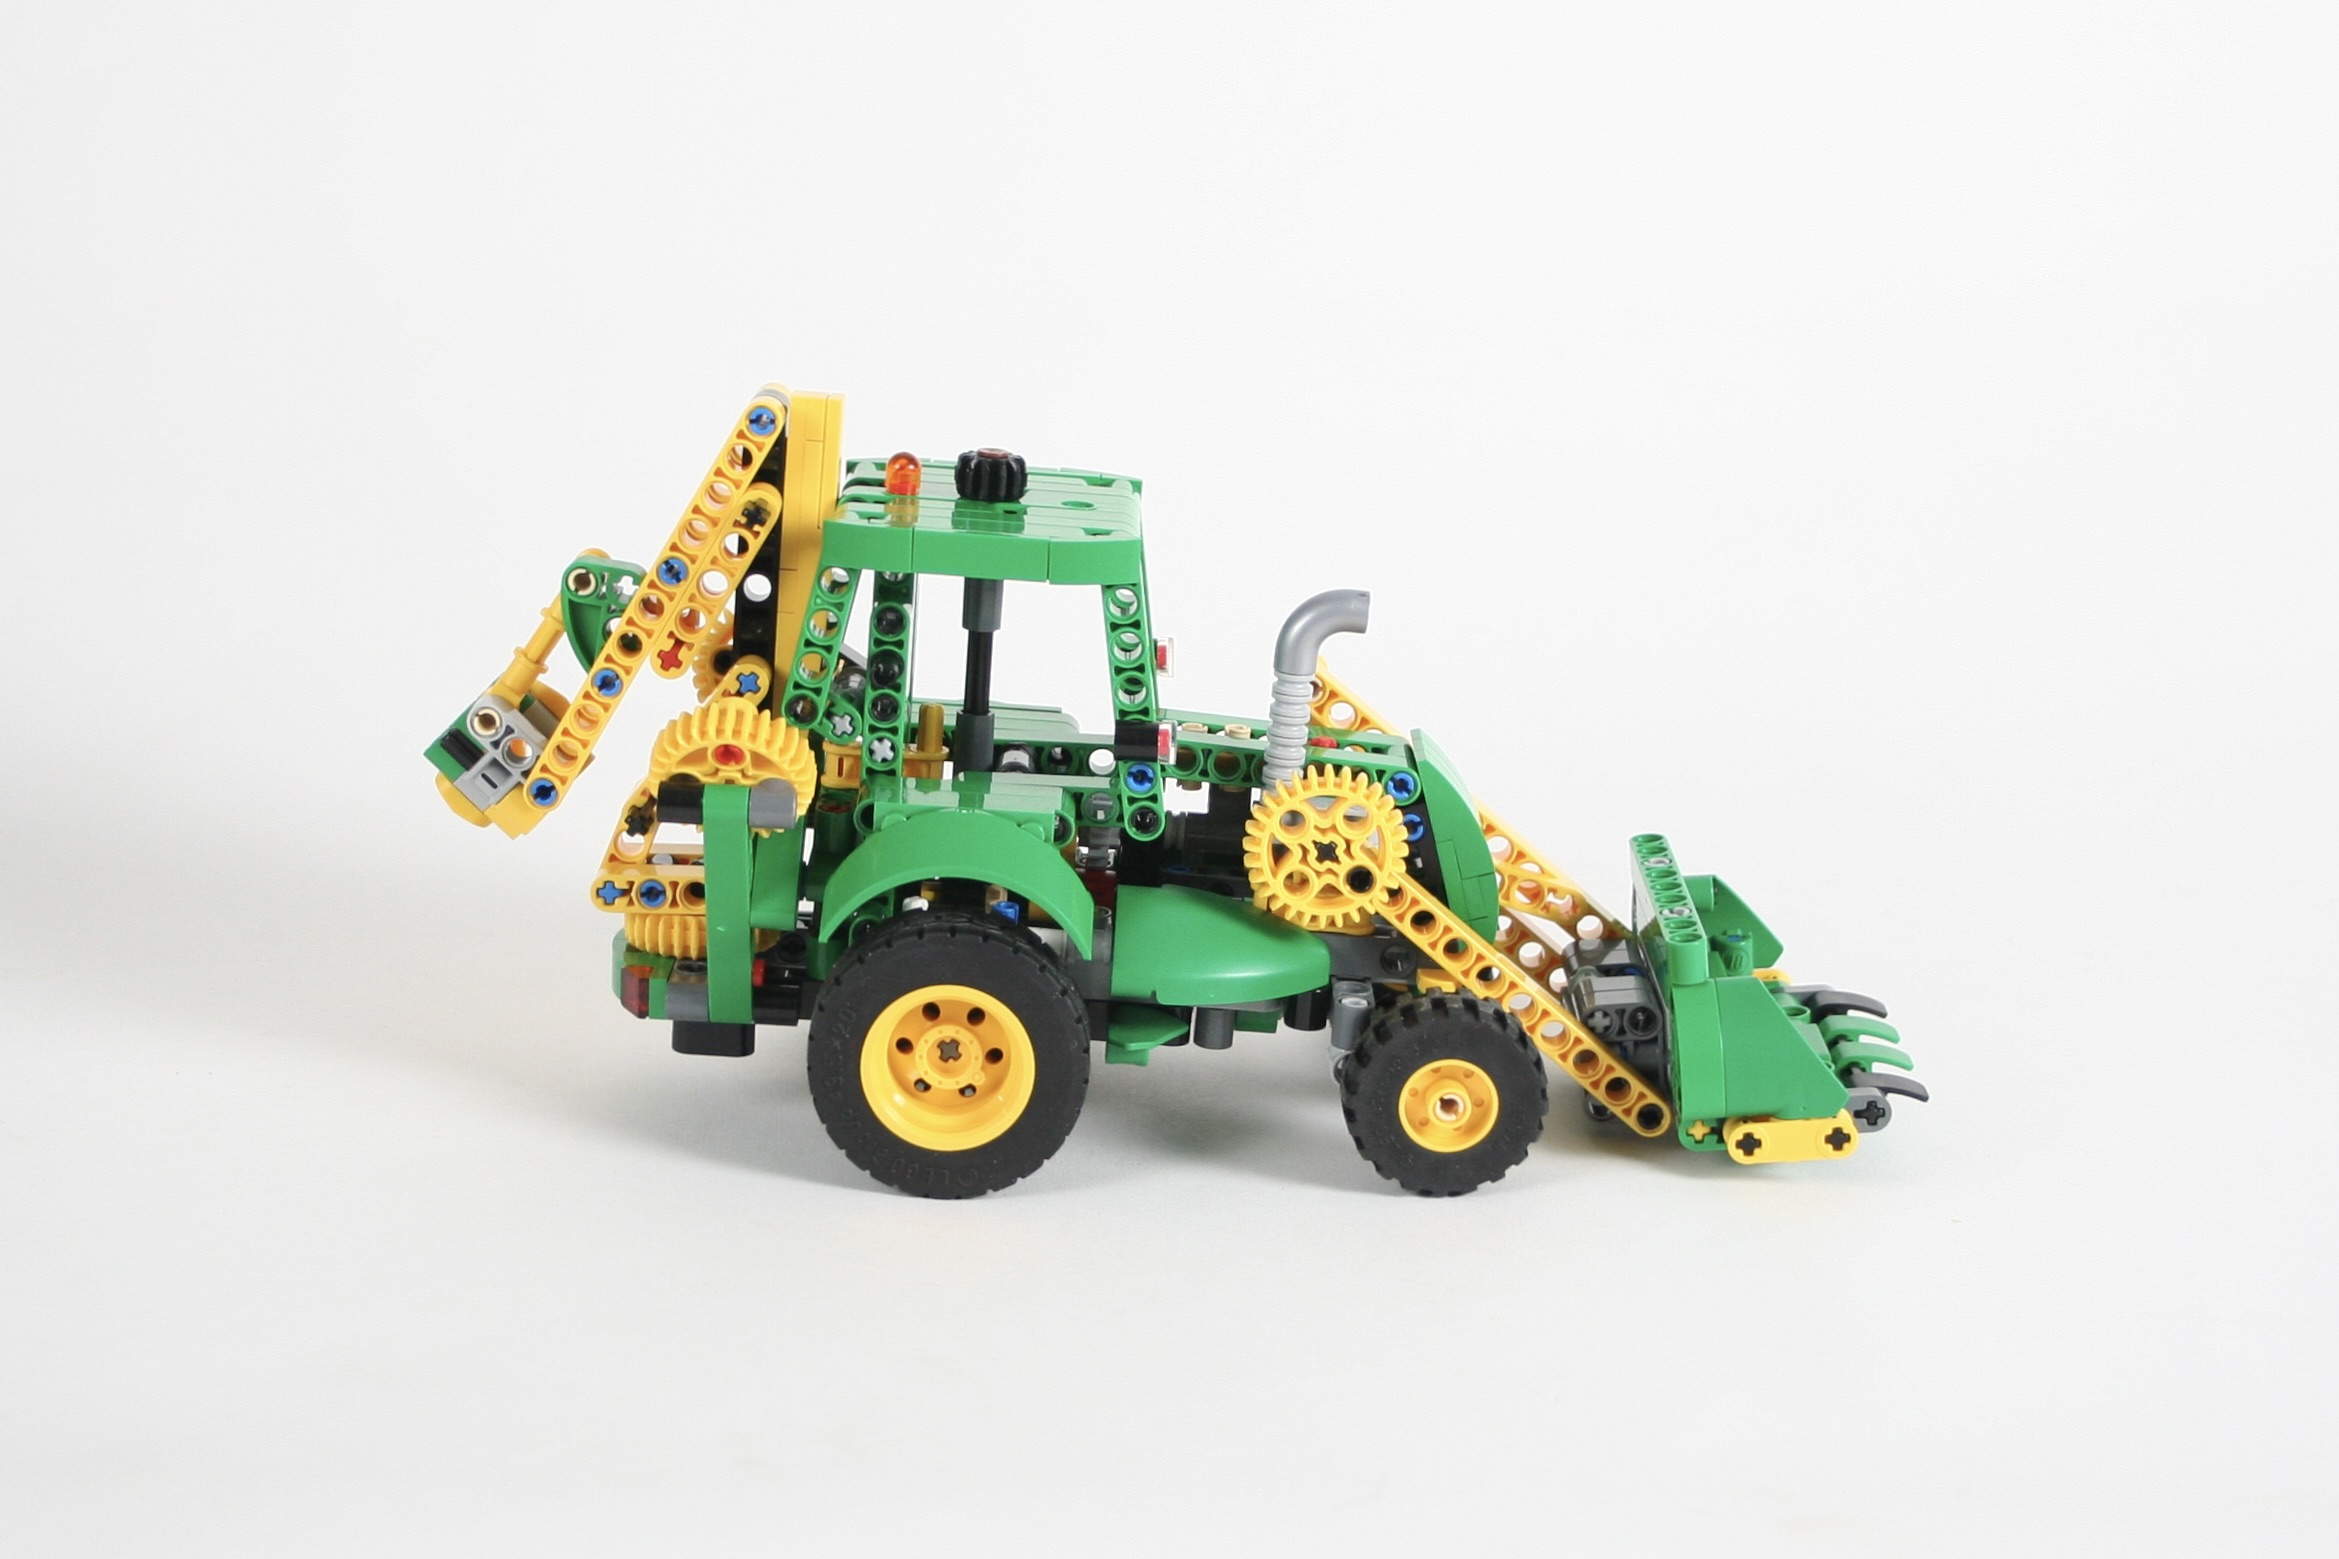
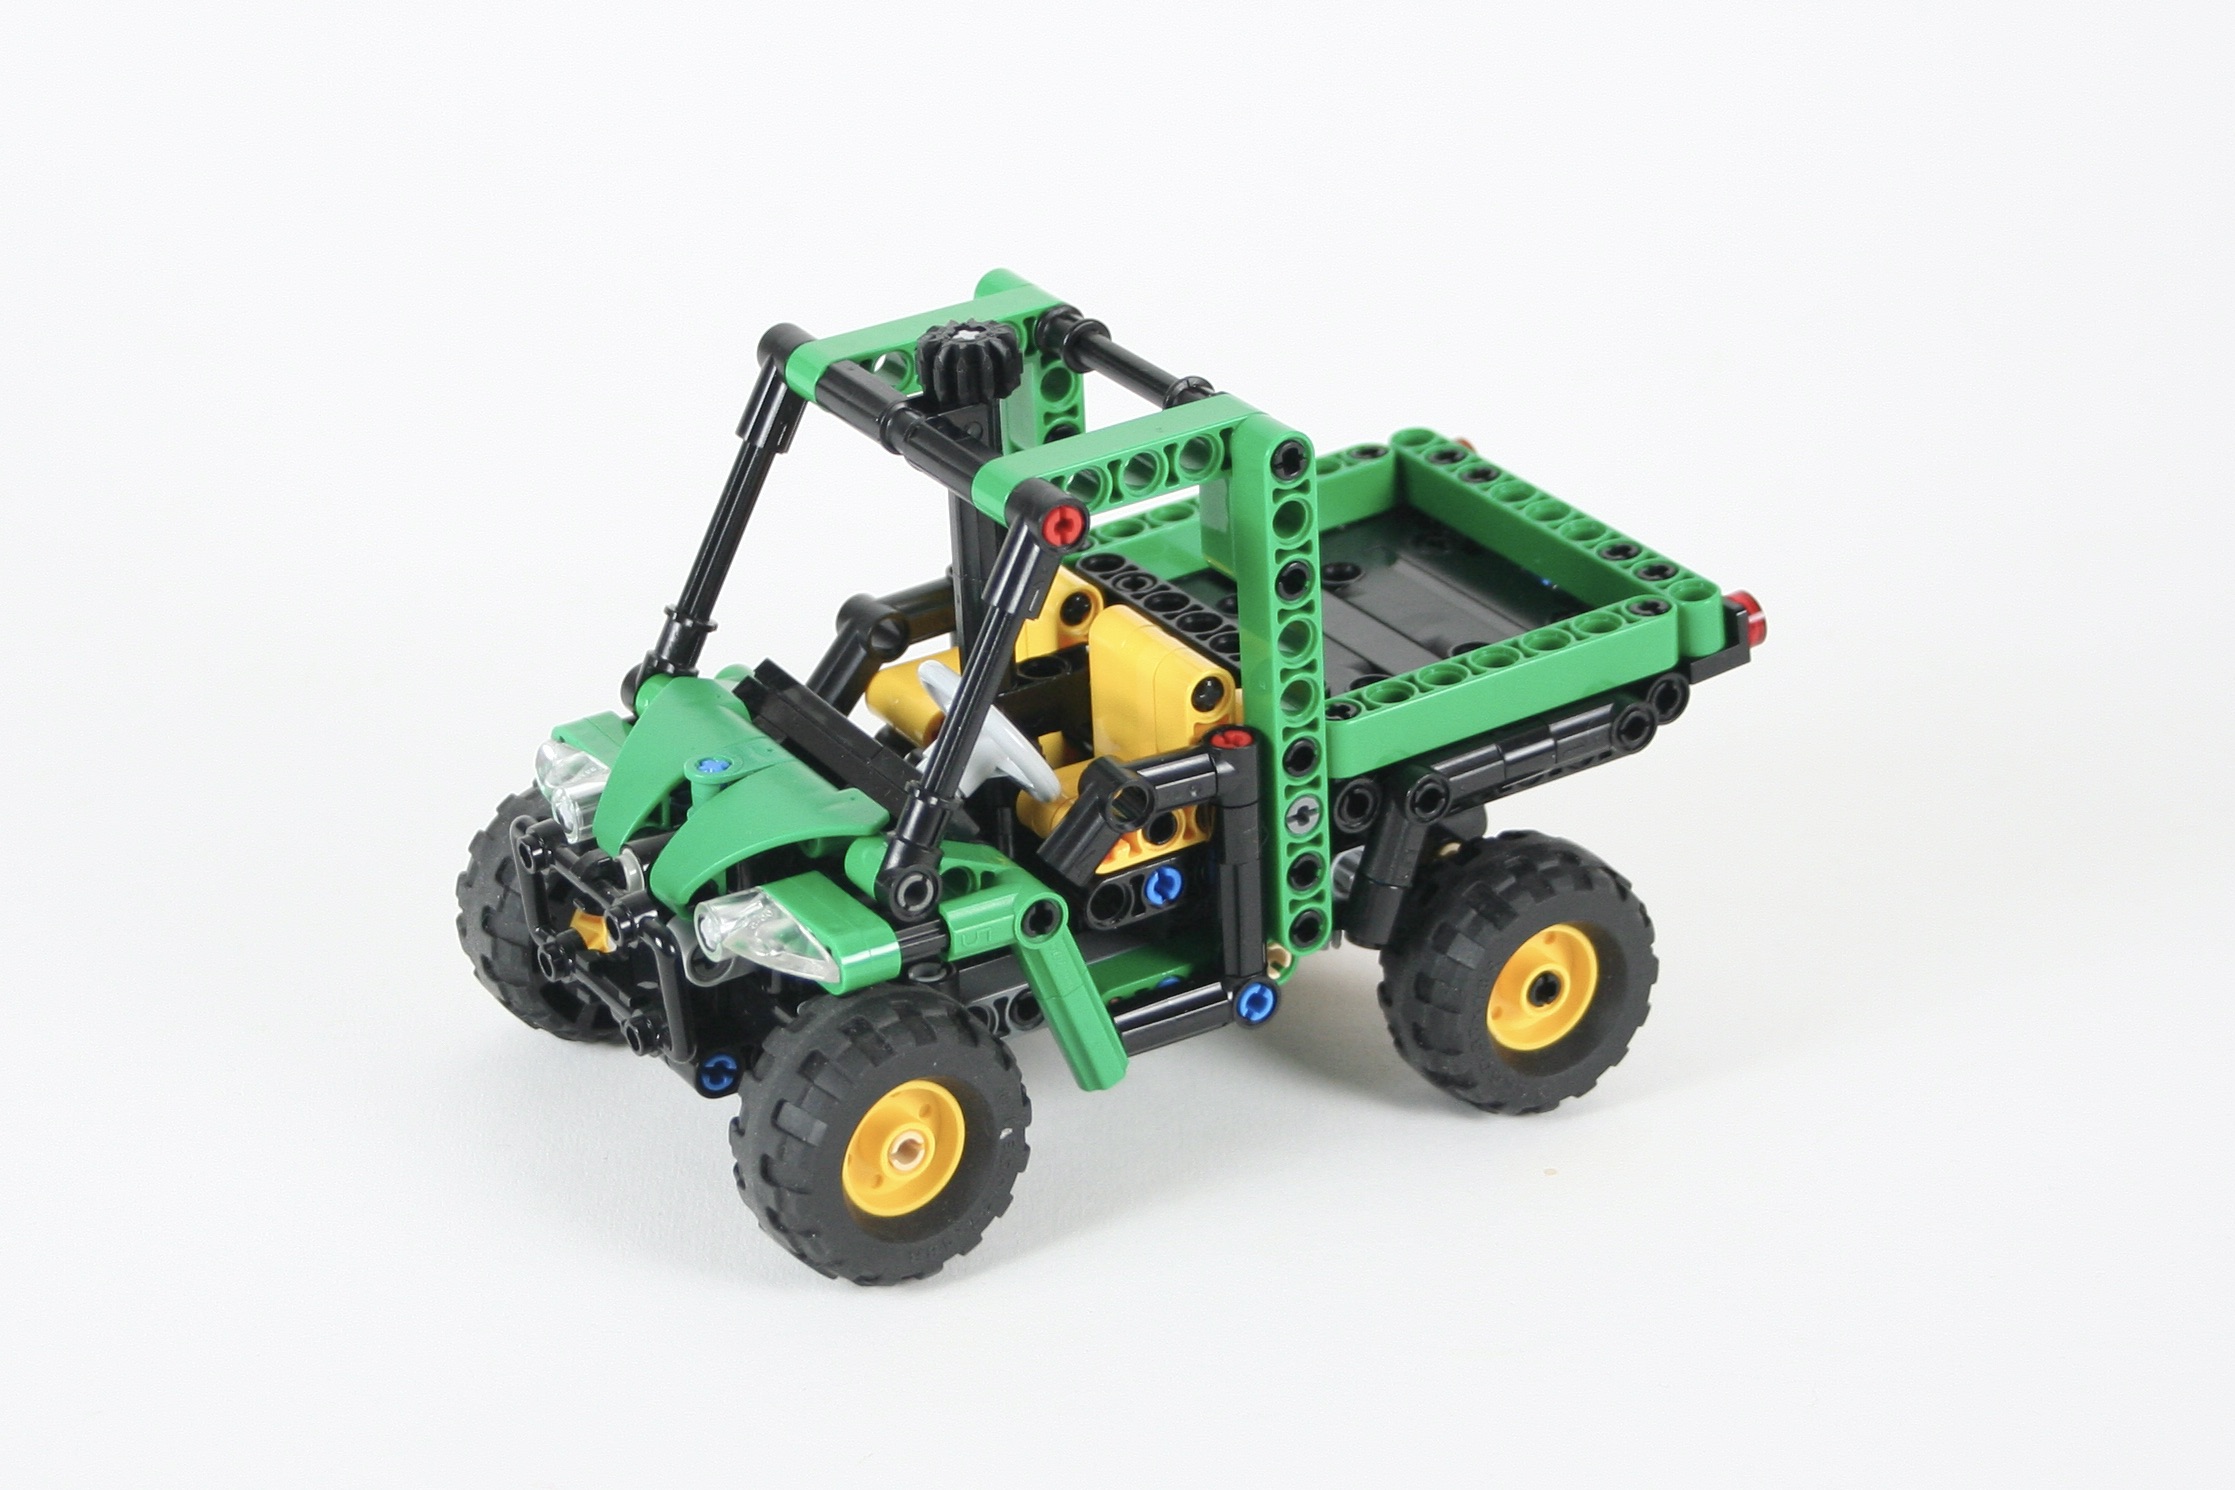
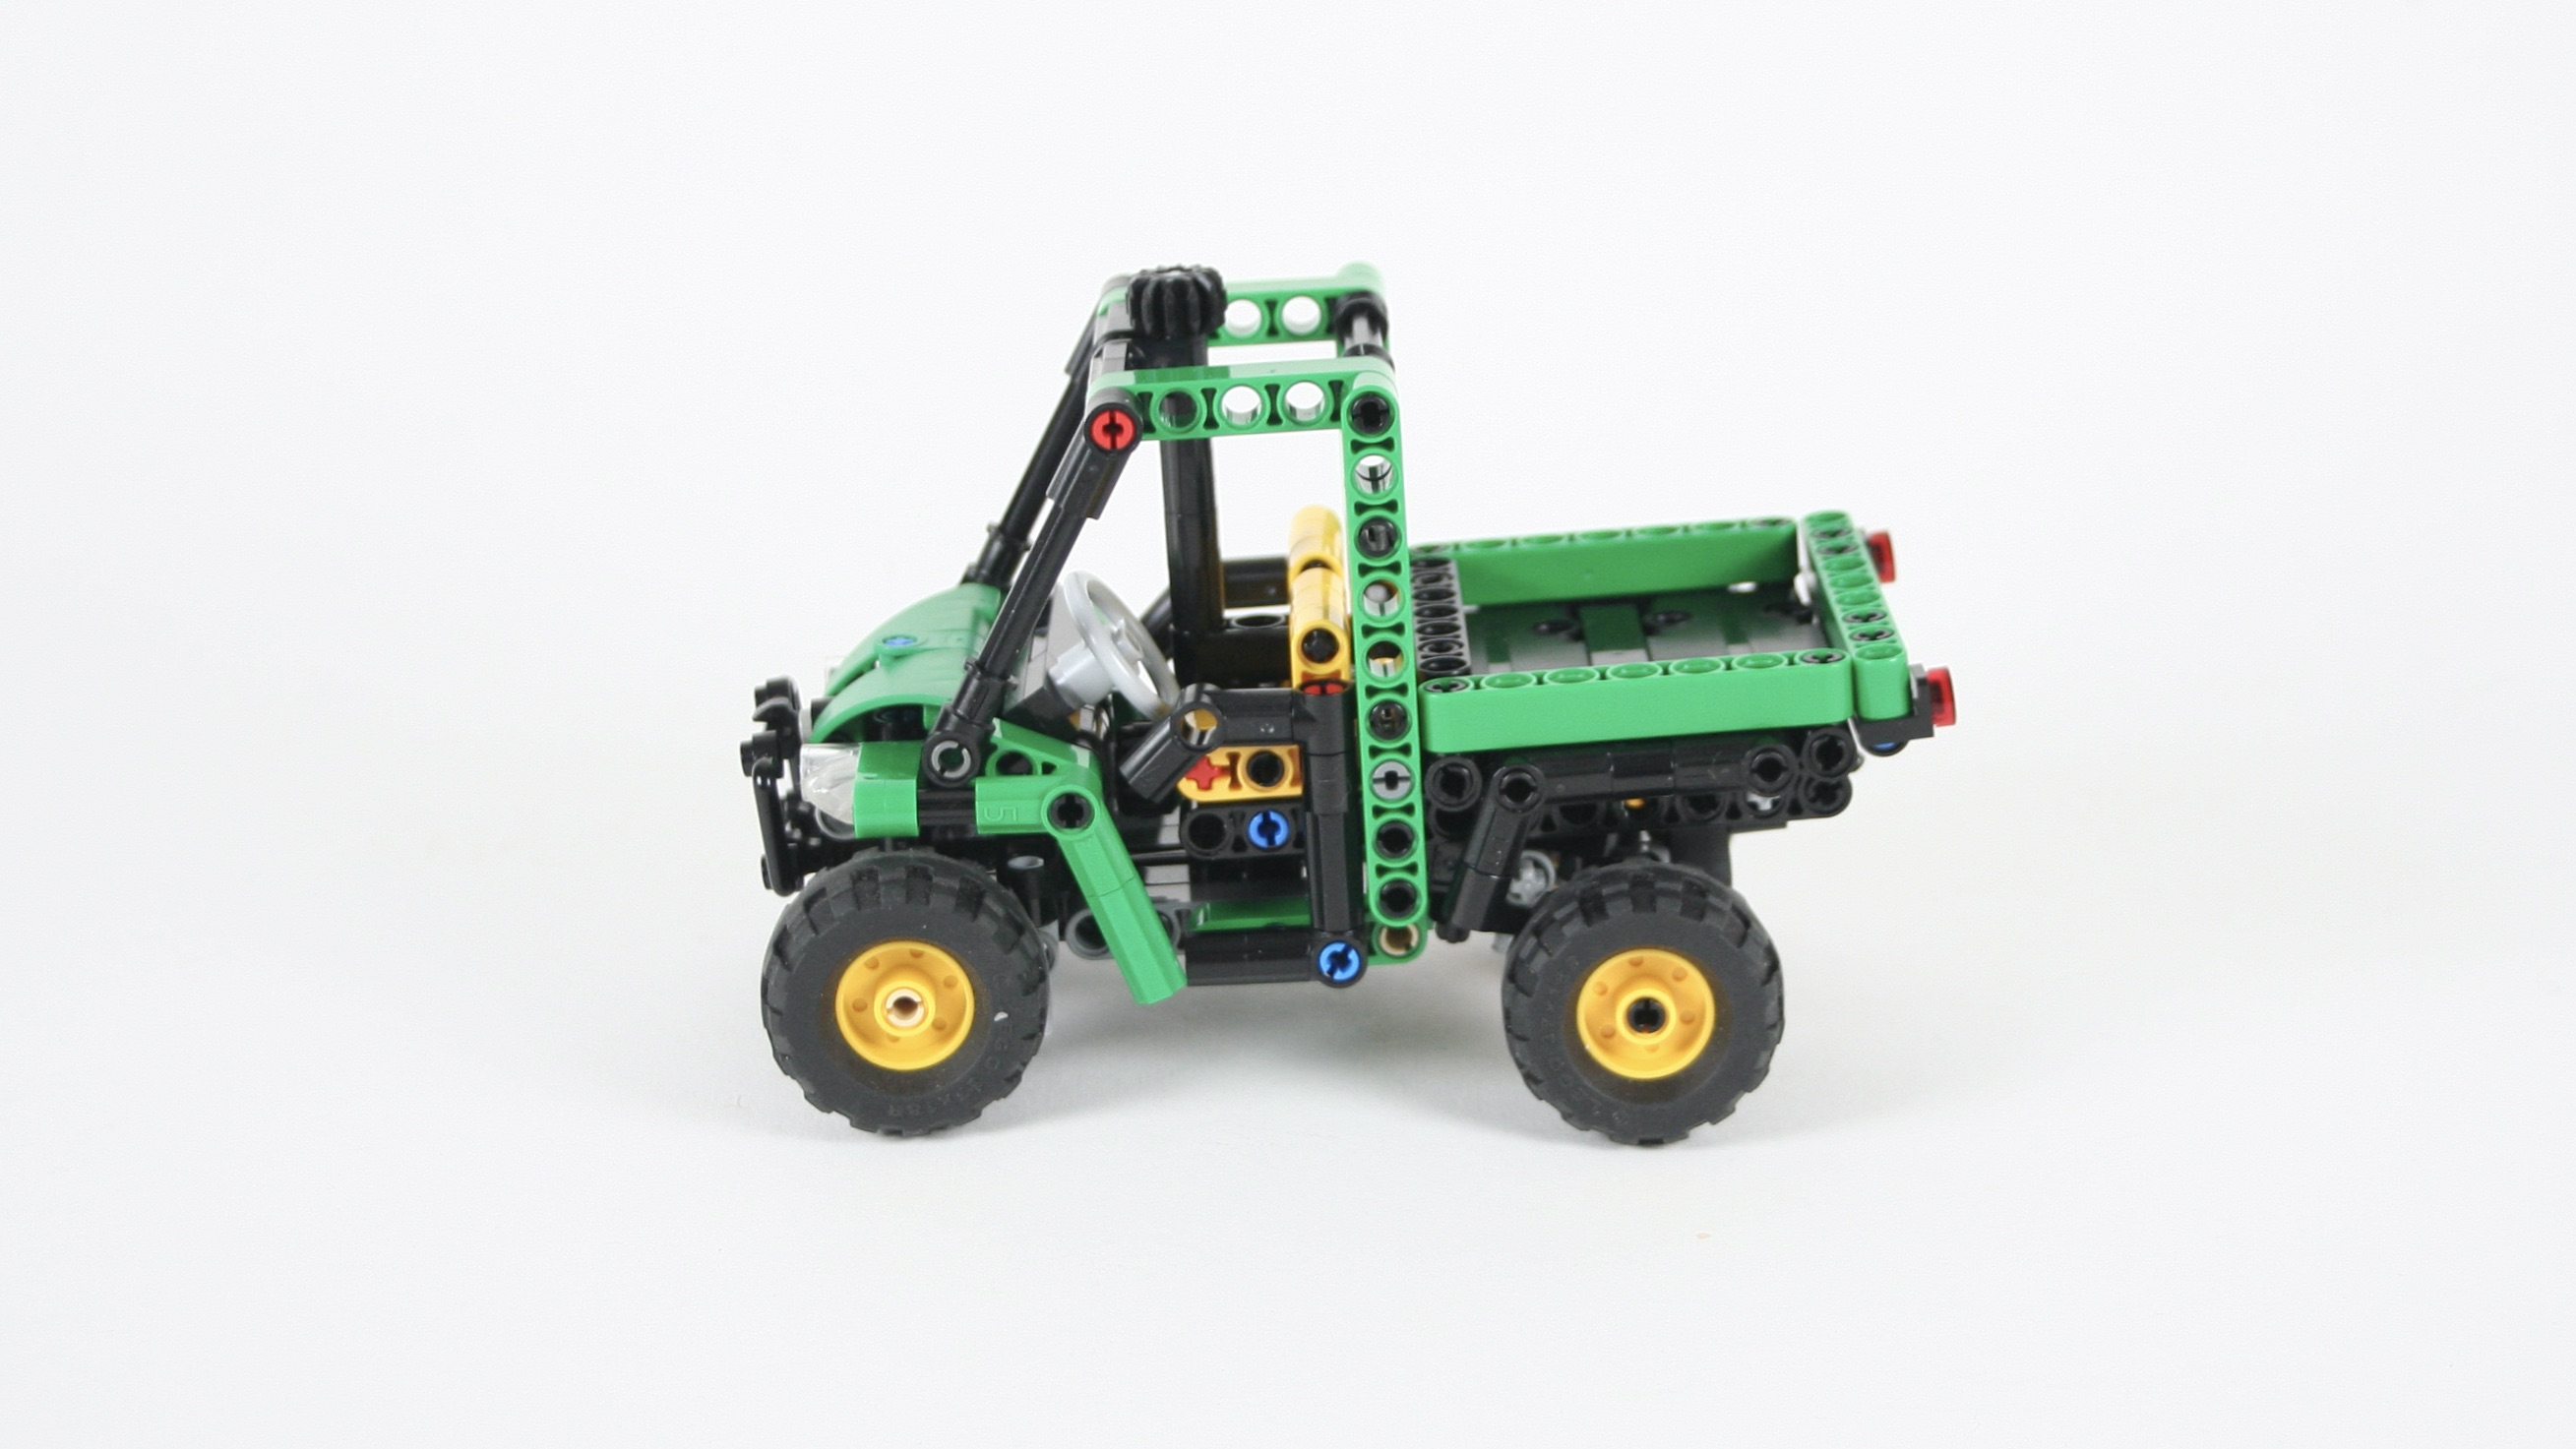
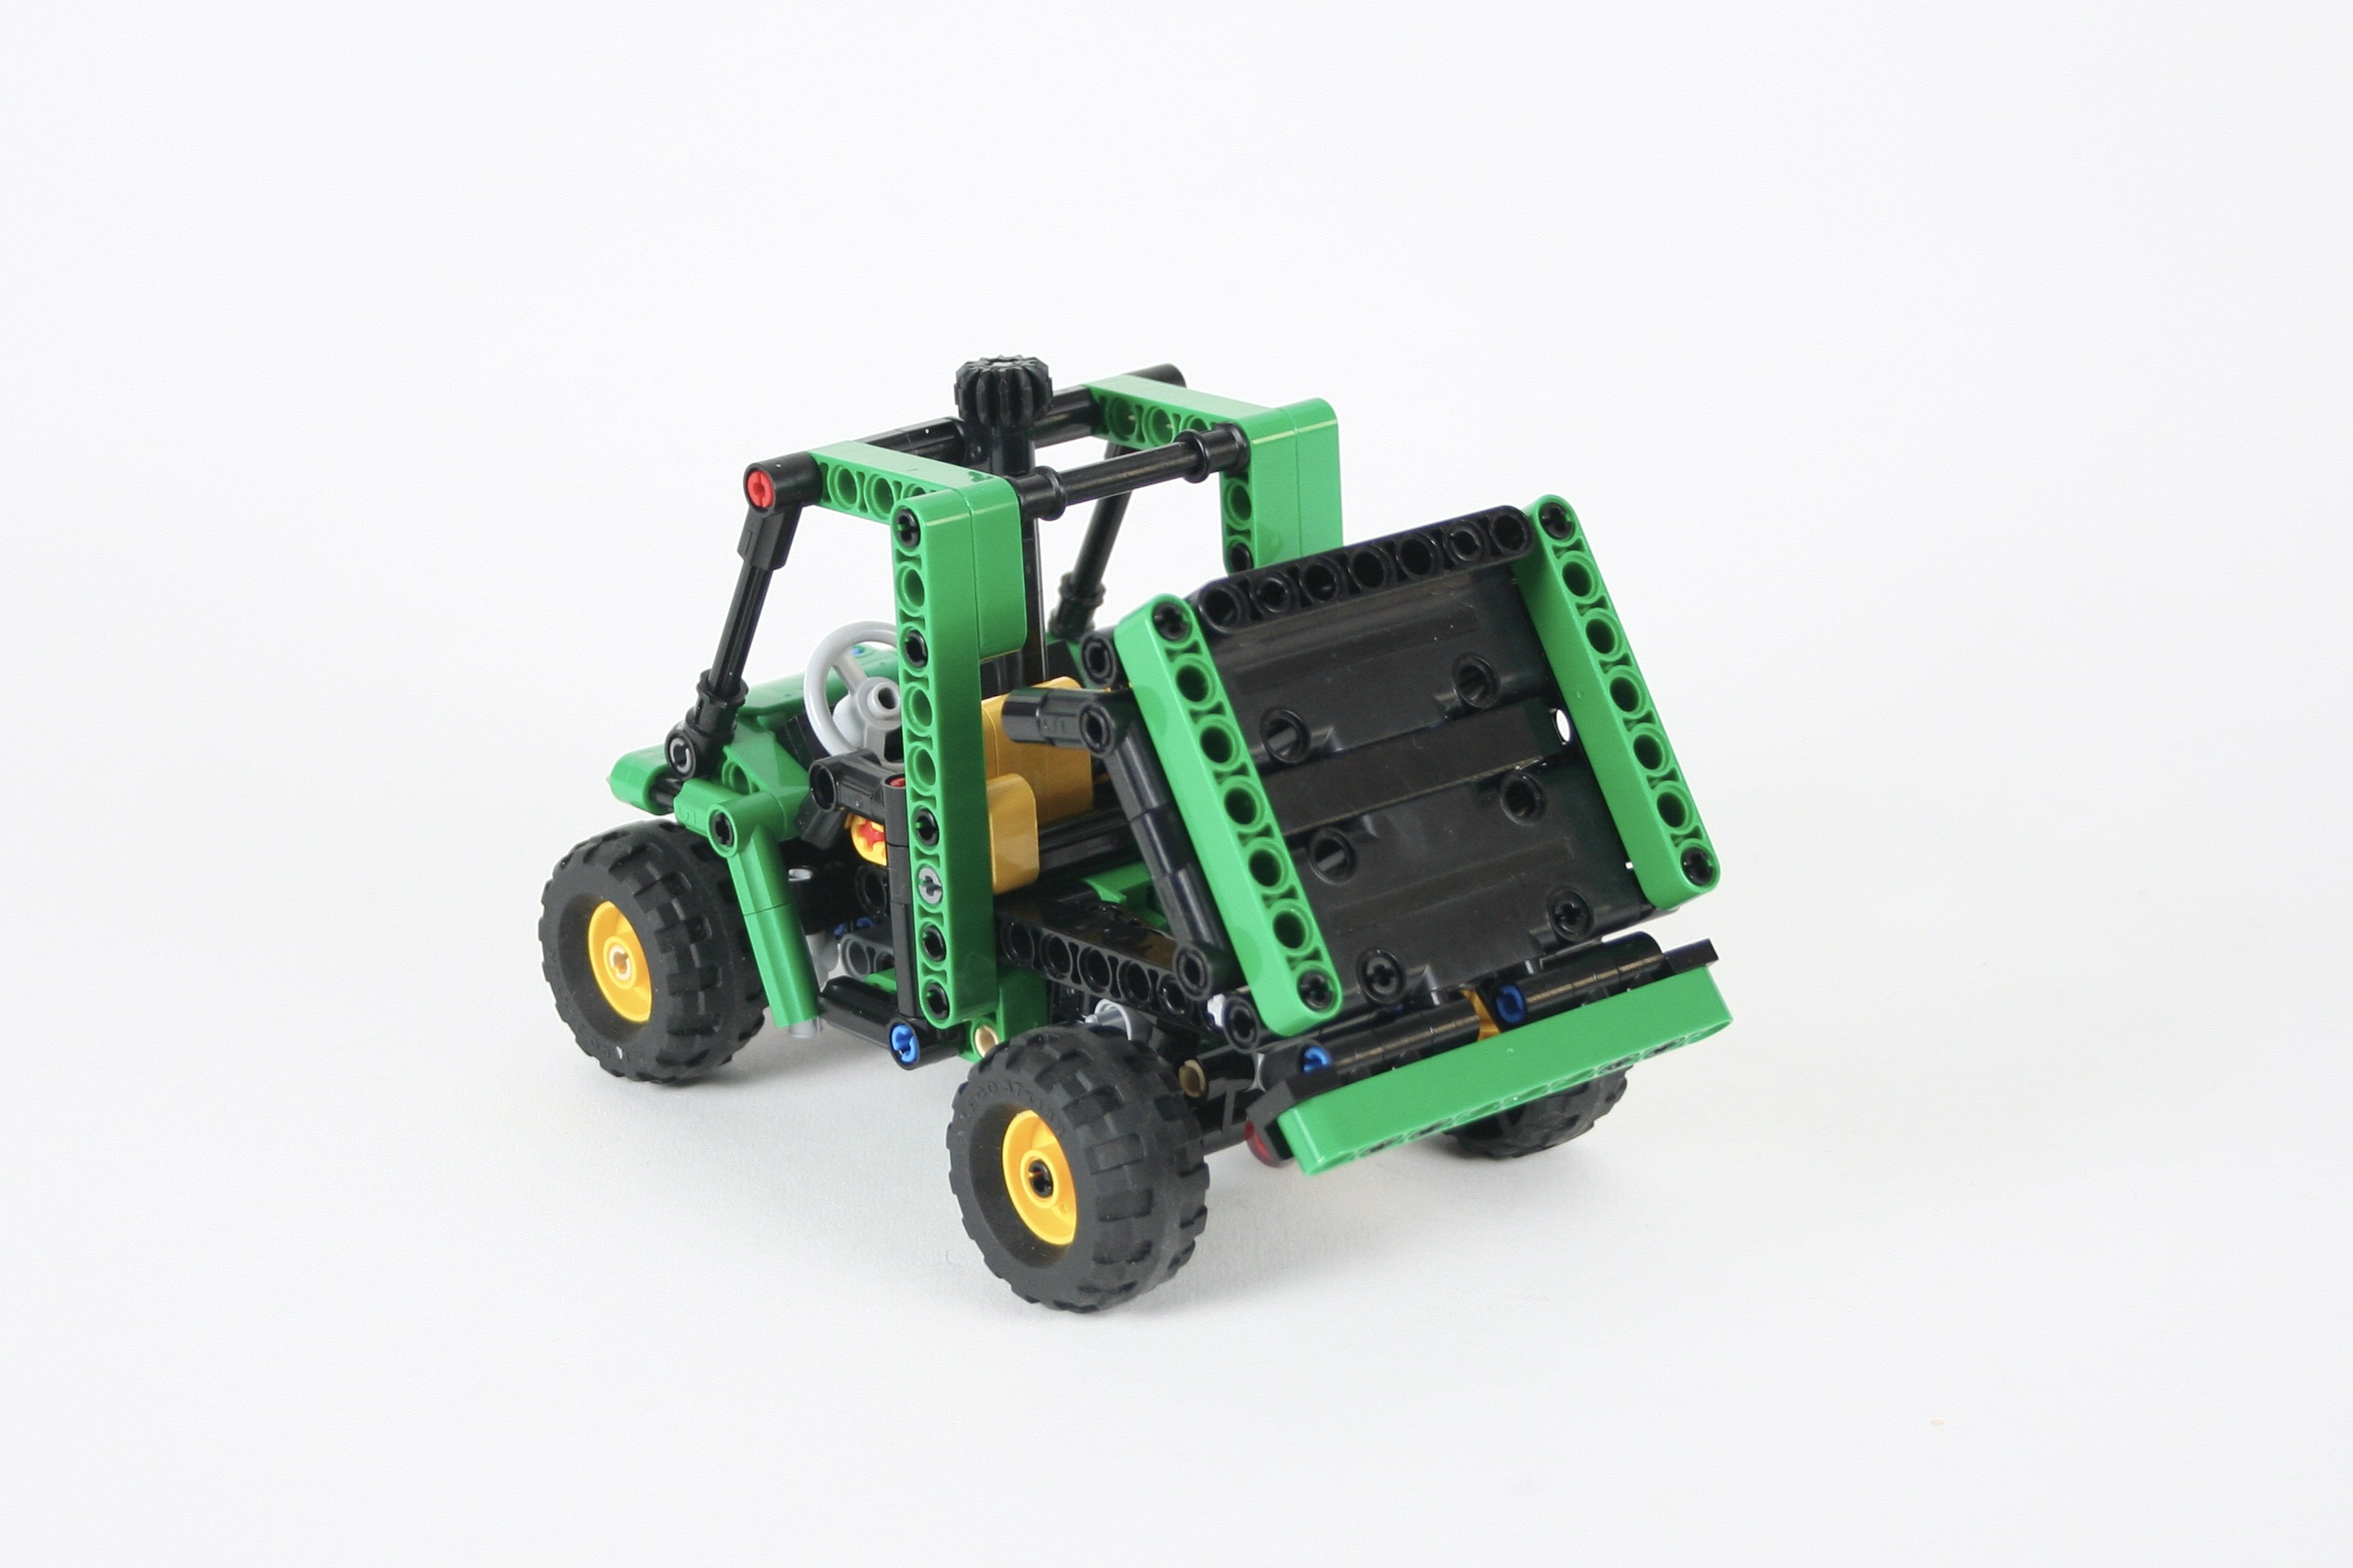
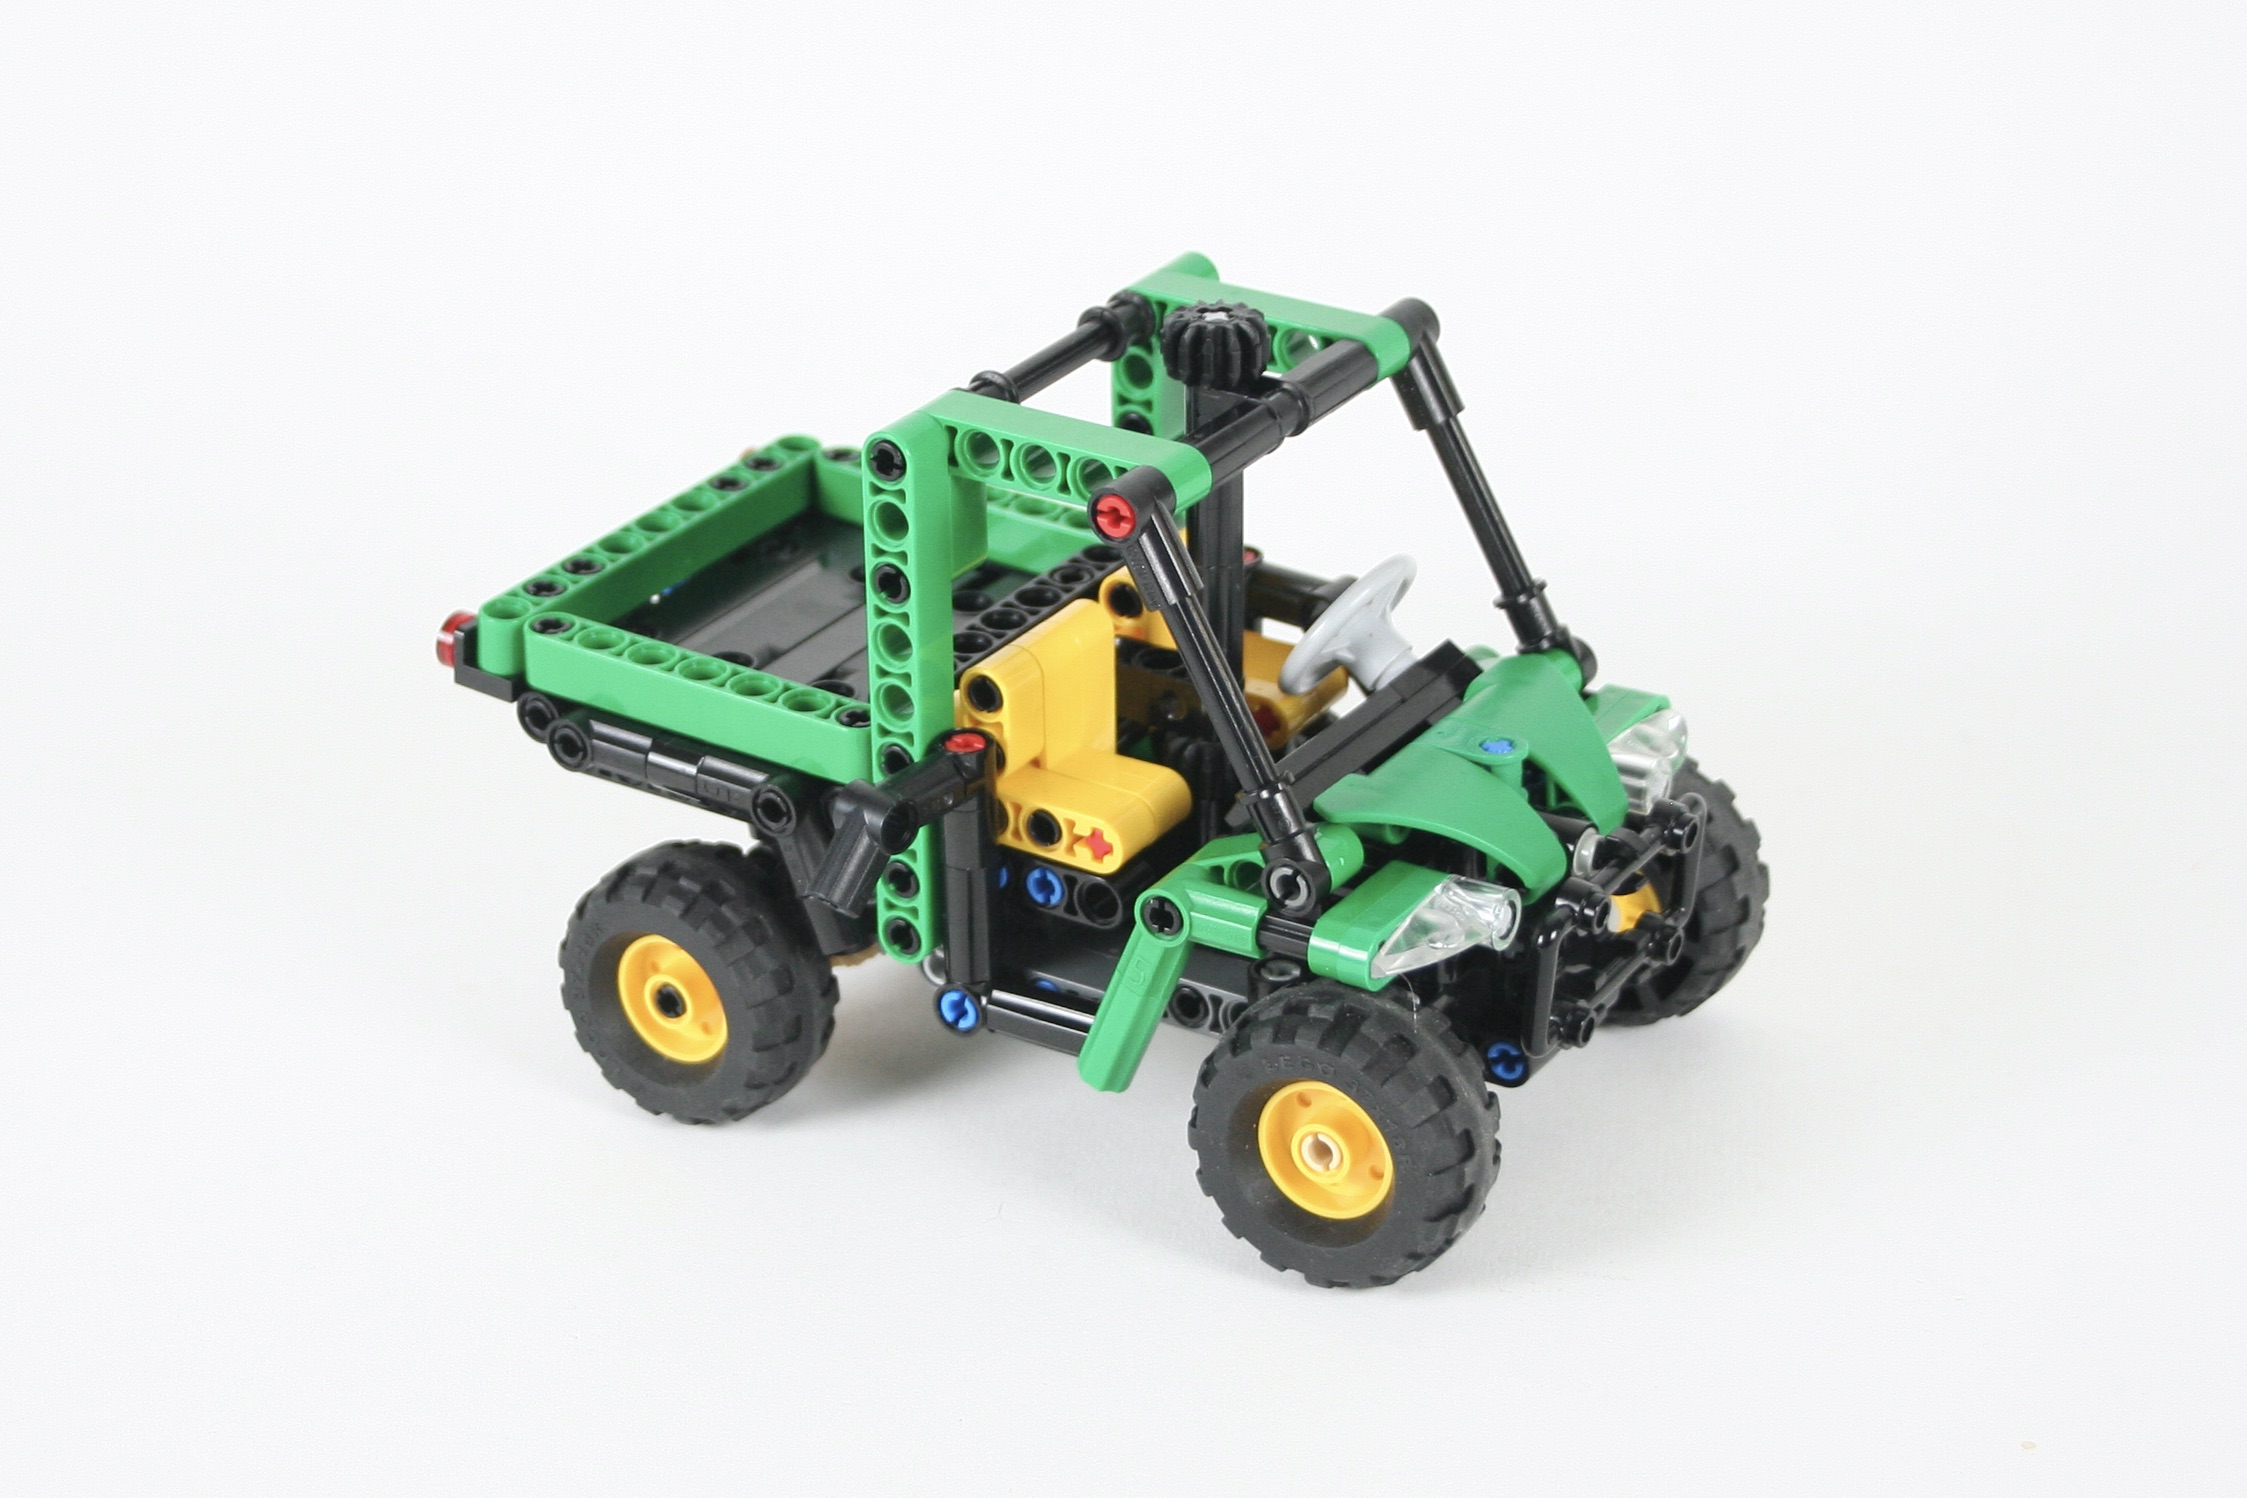
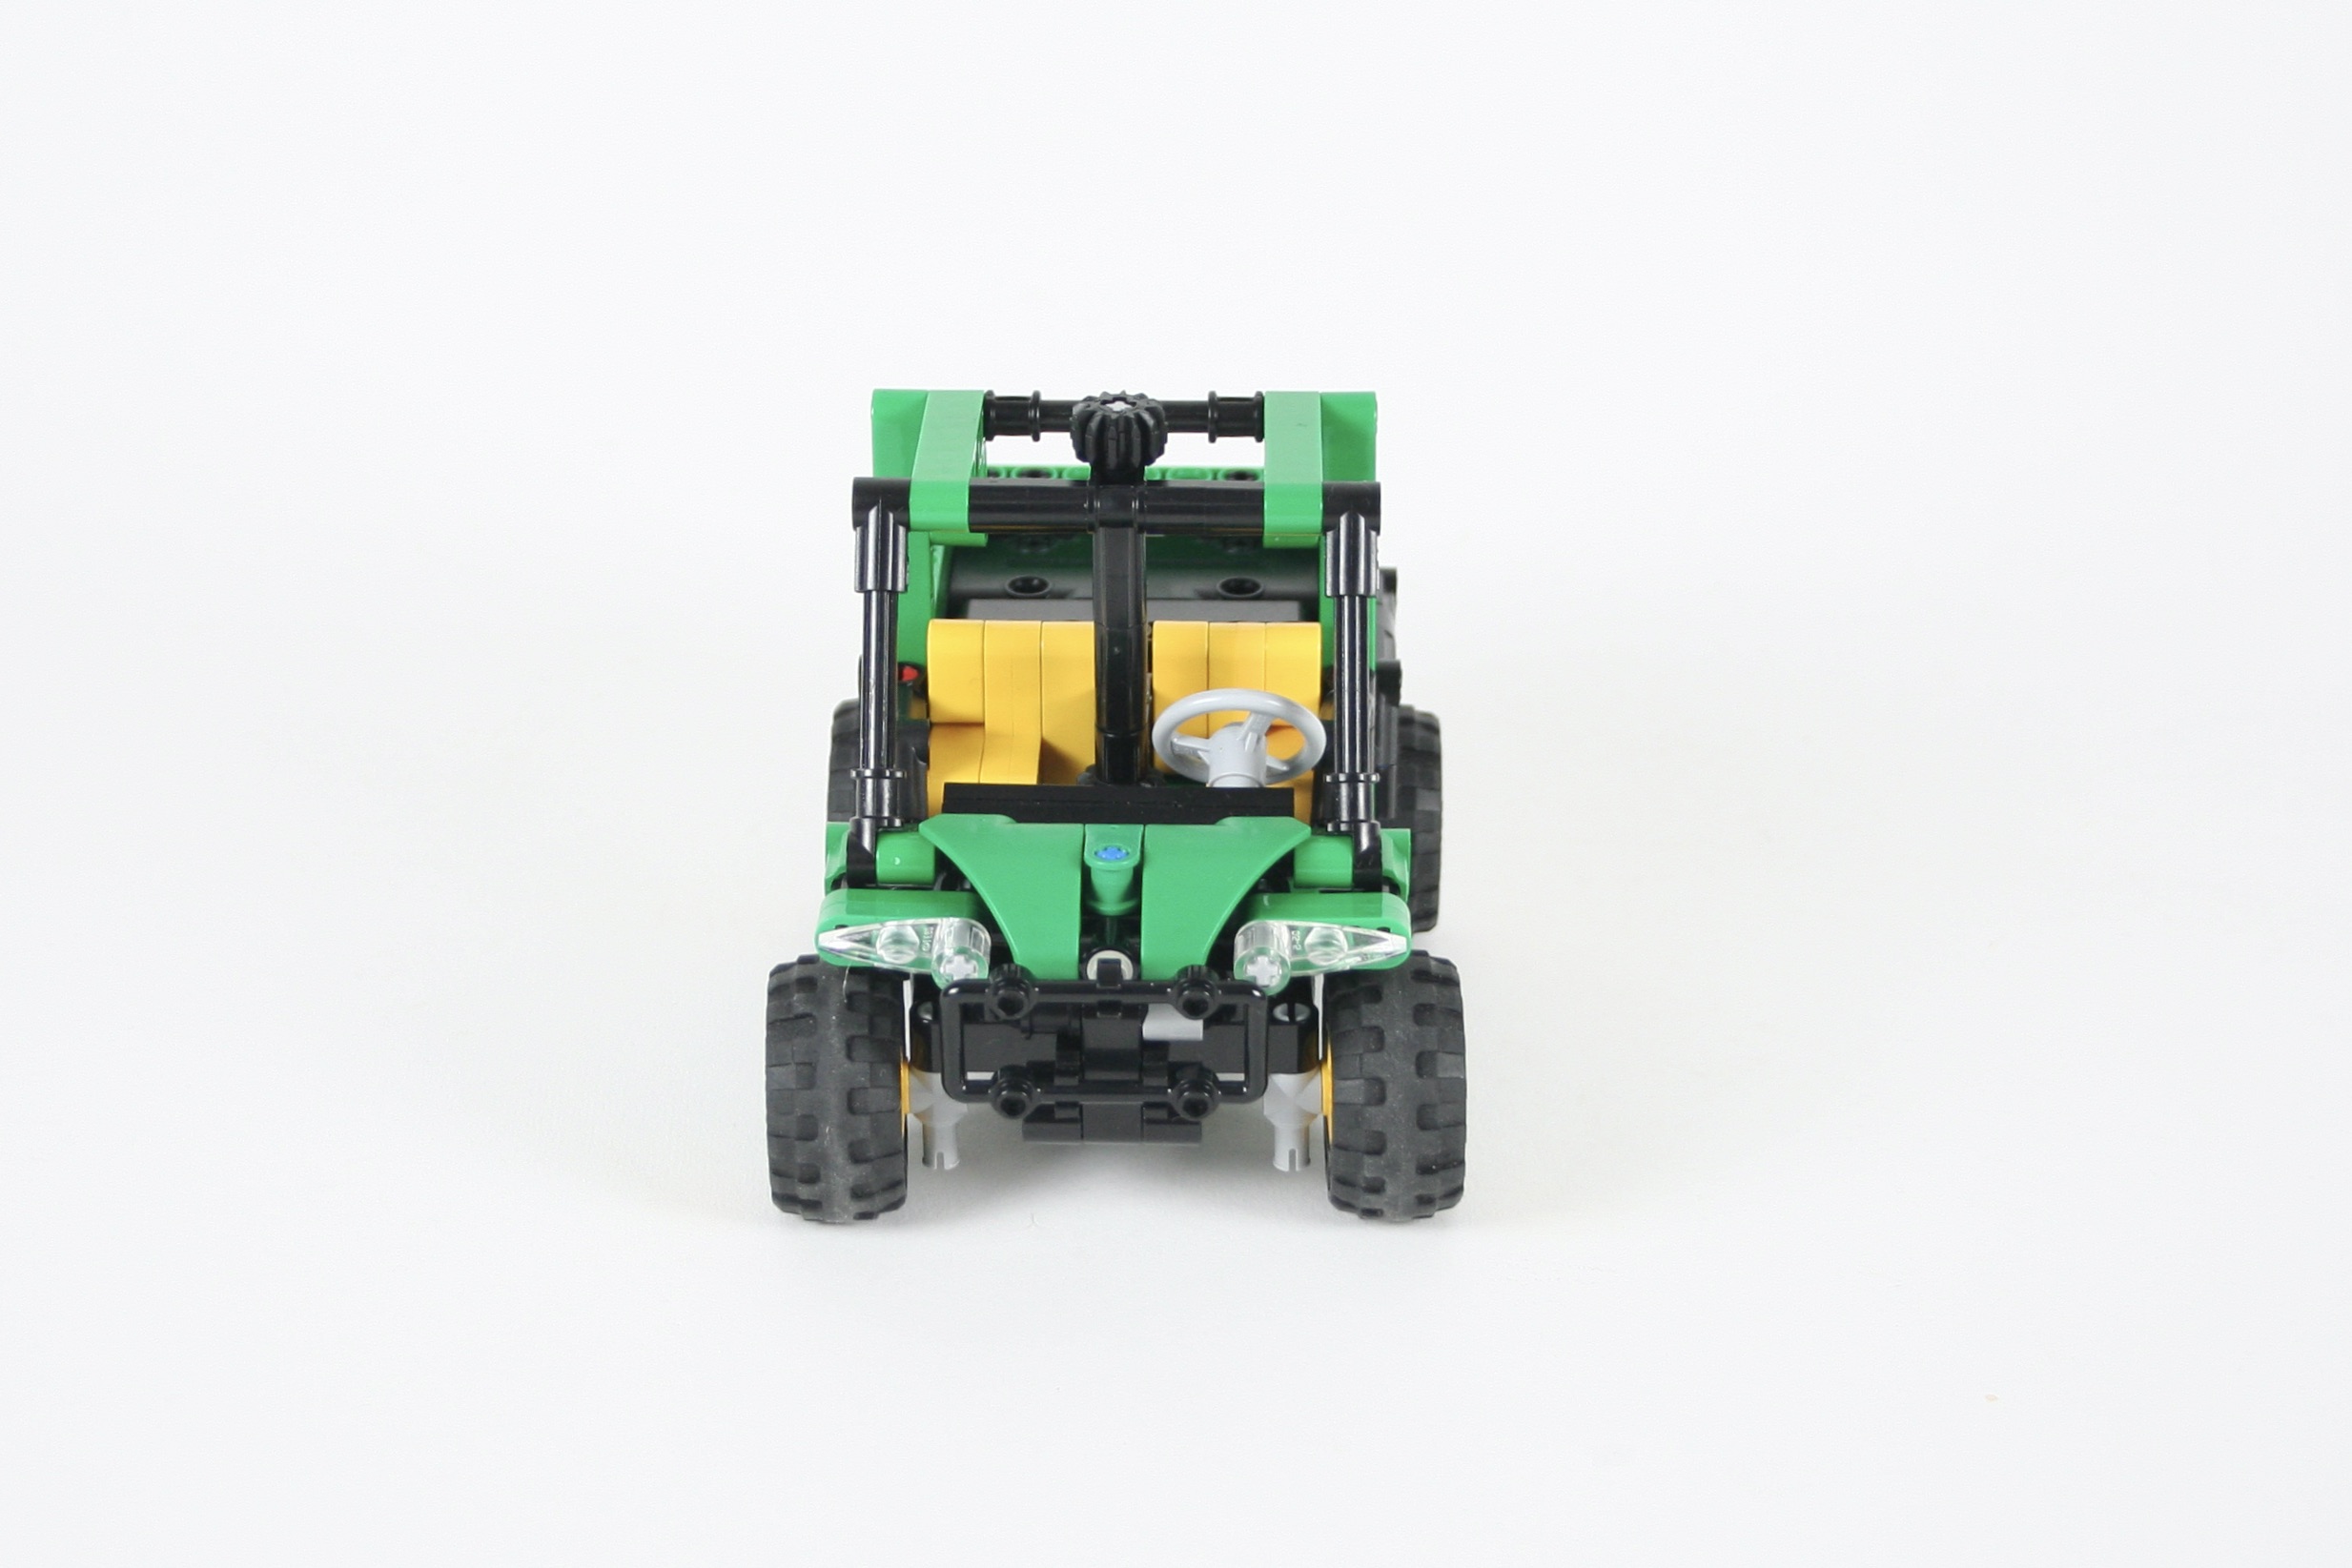
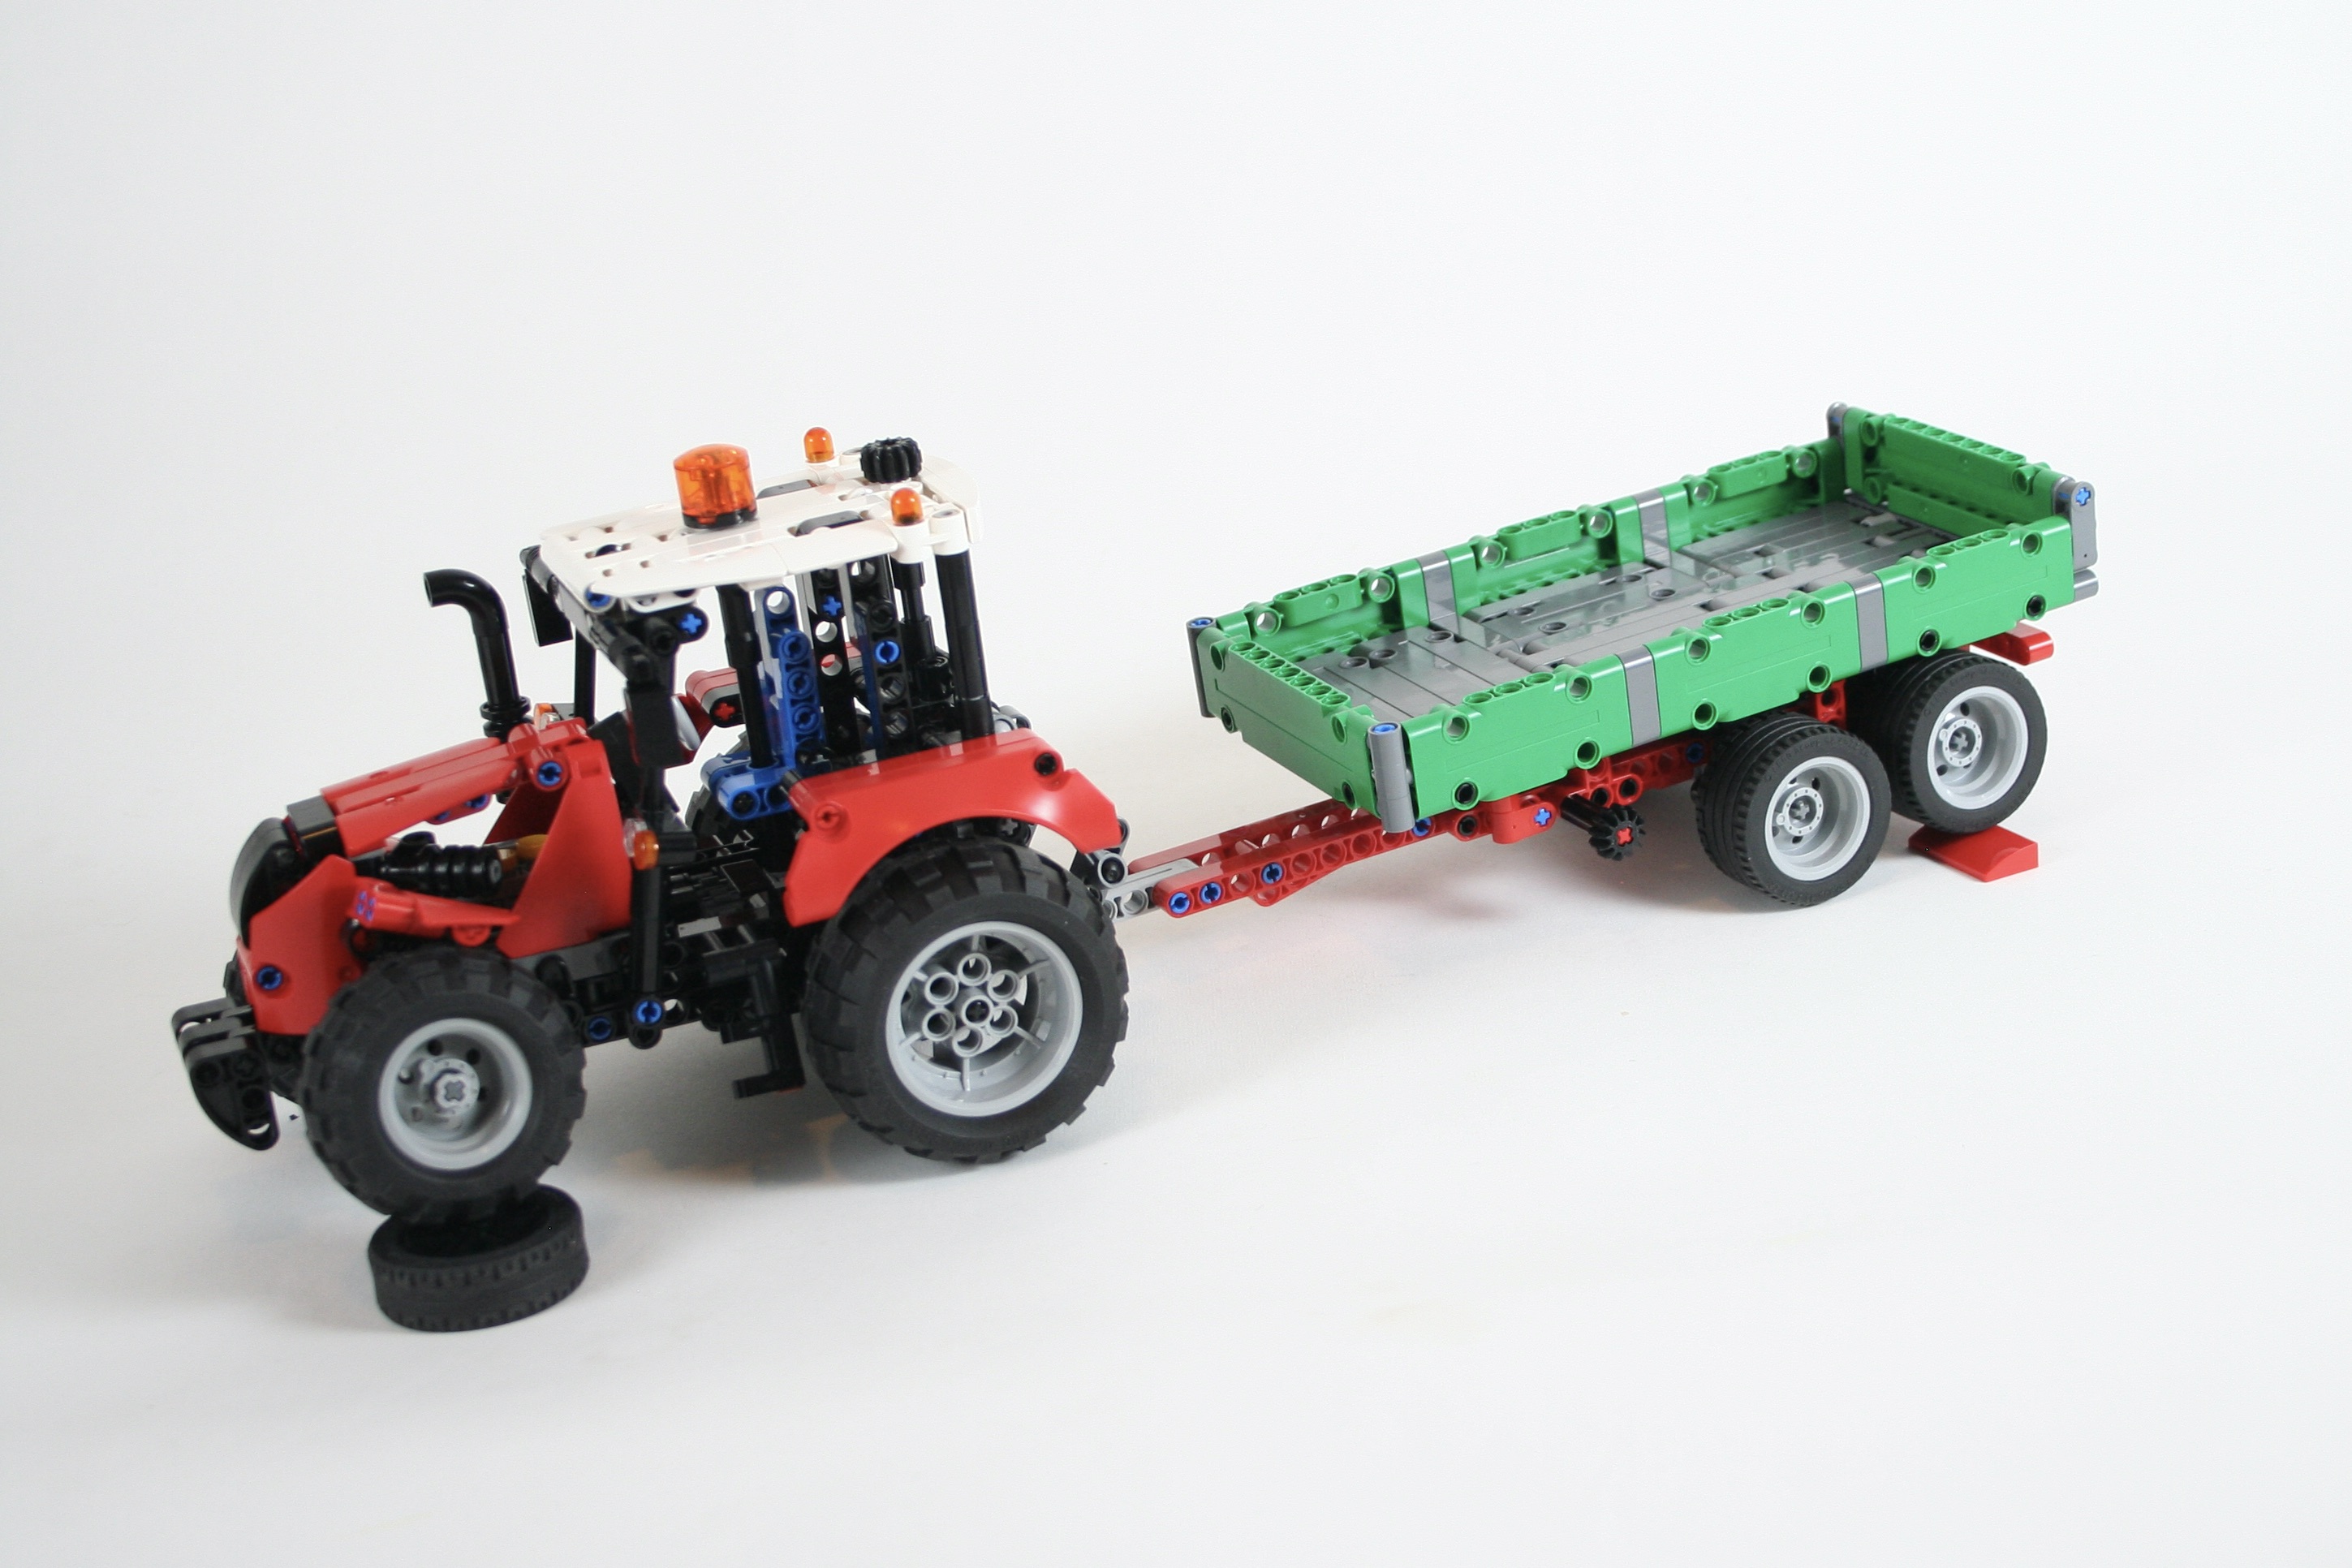
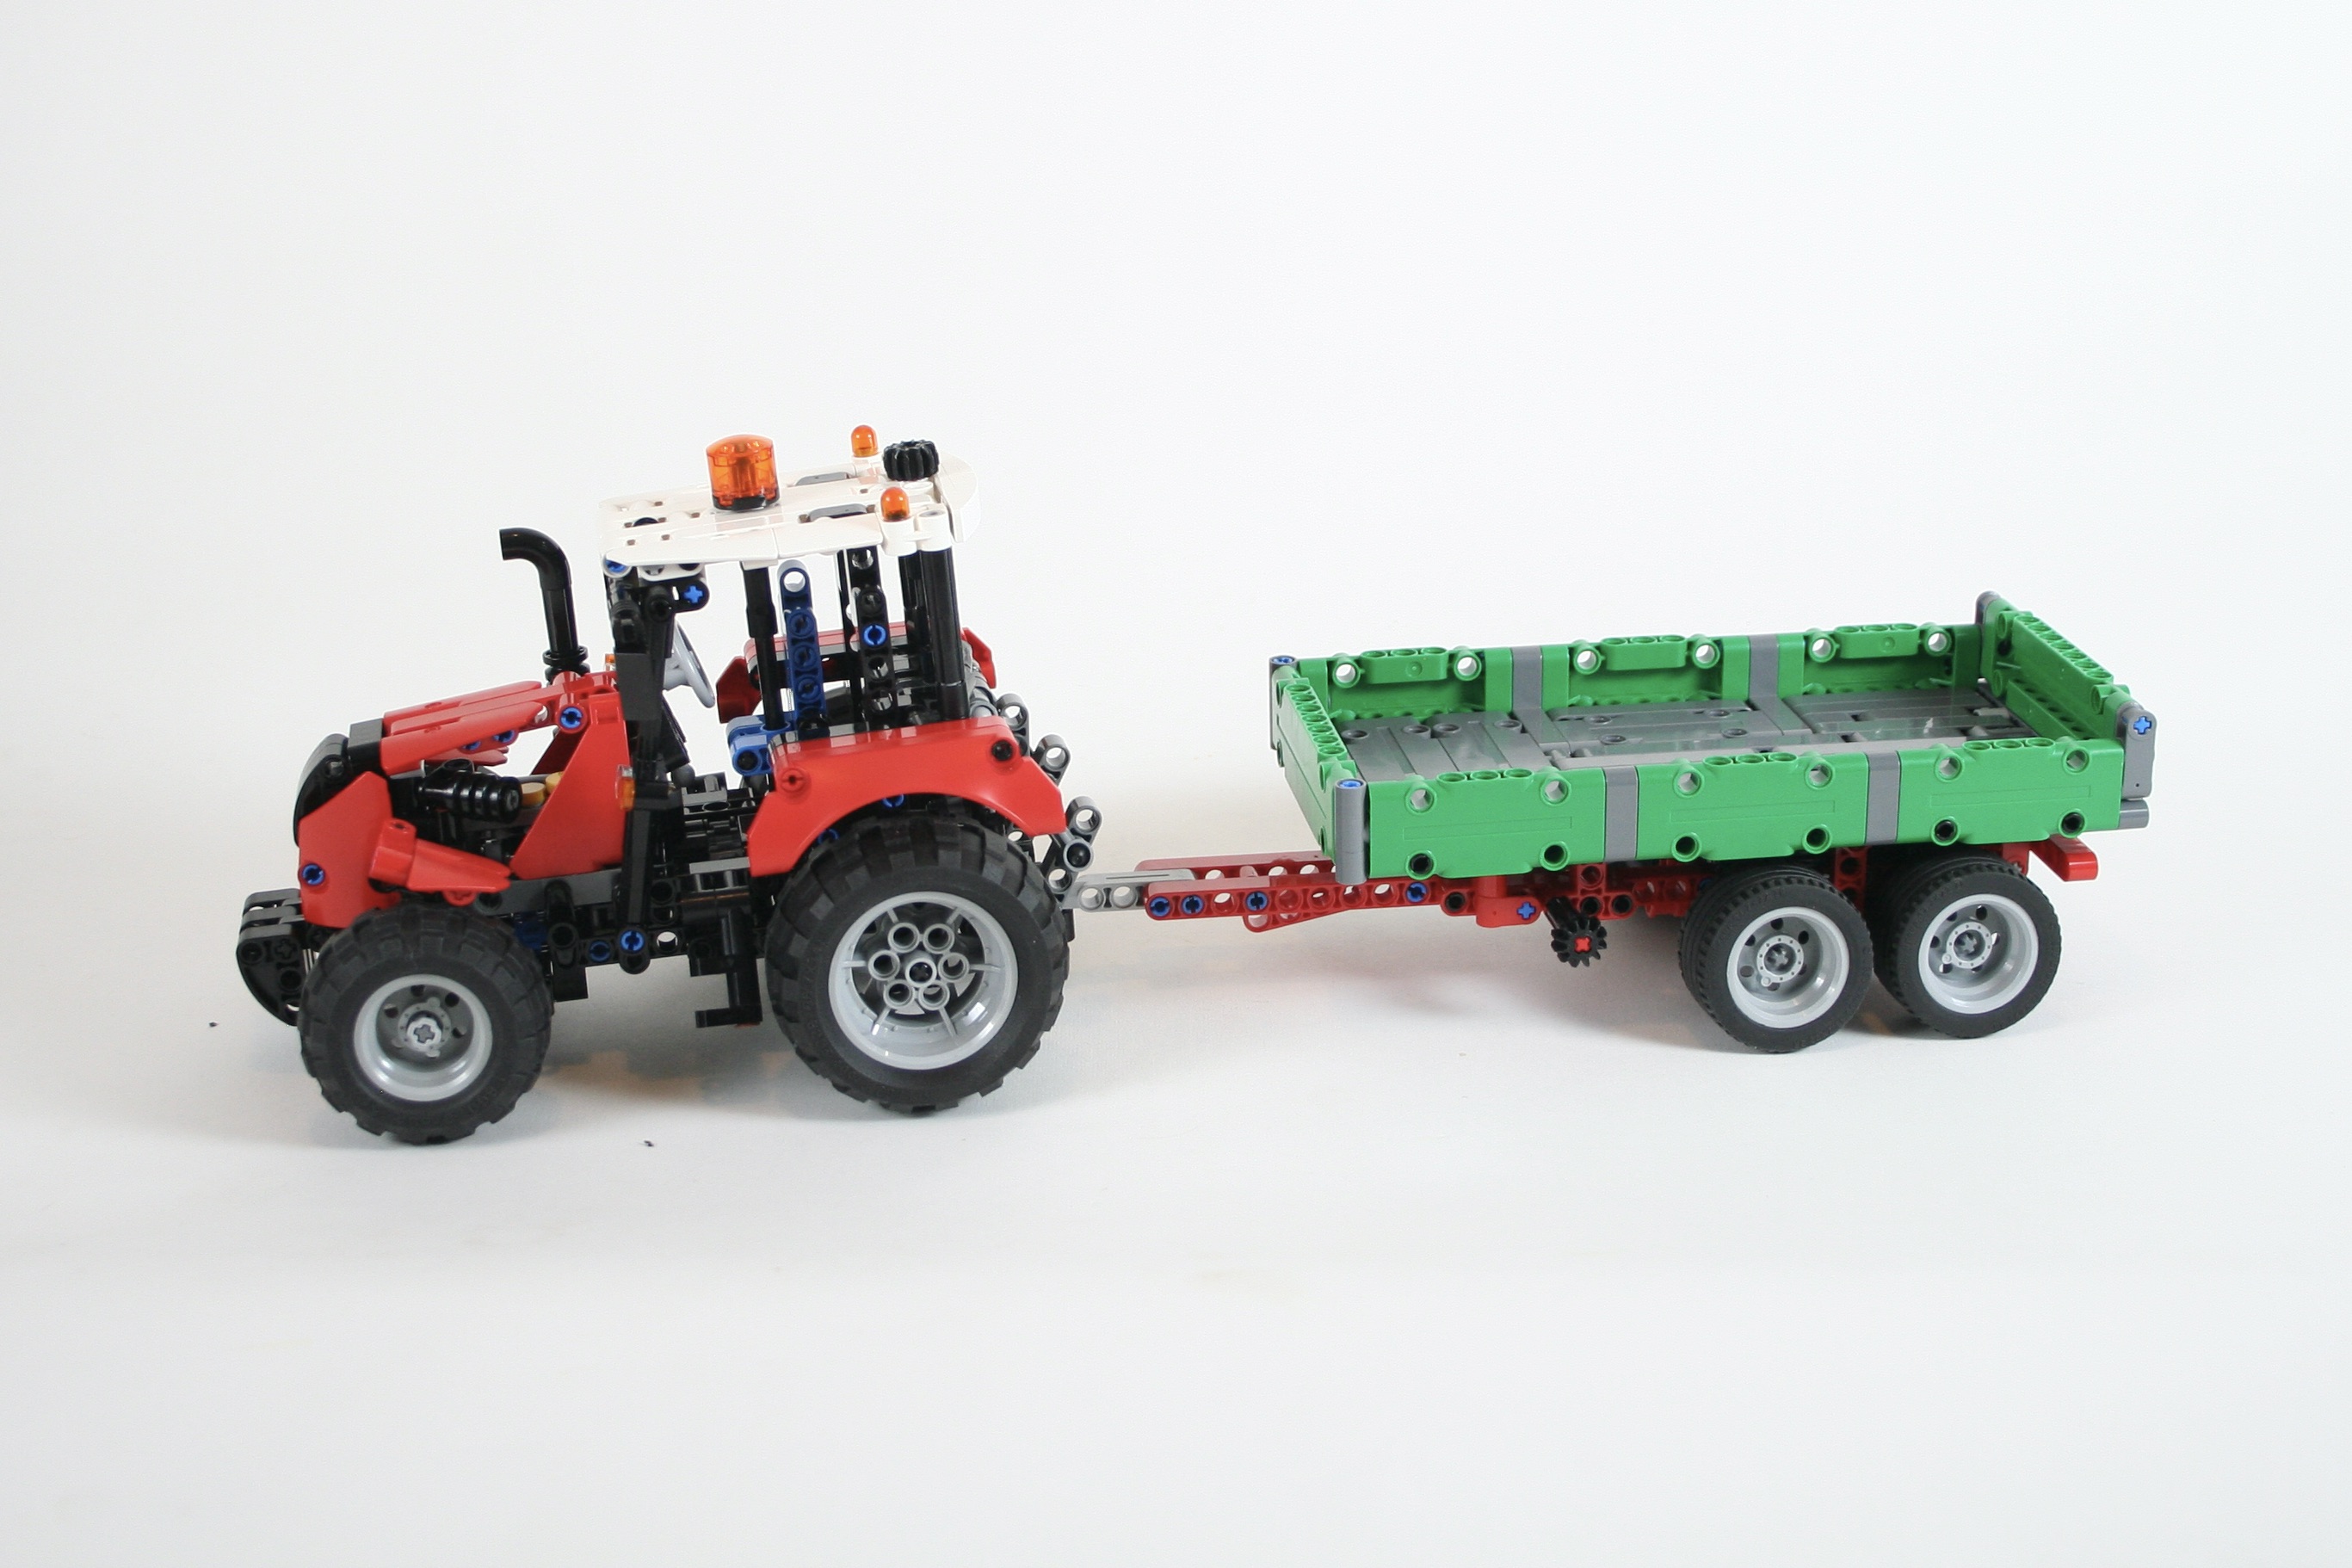
A couple of years ago I decided that it was time to learn how to make an alternative build. I recognize how more people are looking for ideas to turn a set they have purchased into another build. Well, since I enjoy building other design, I am happy to share these with other people. Plus I like the challenge an alternative build poses: a limited amount of parts to make a MOC. LEGO set 42168 is a cute little tractor with some fun features, but what I really like about it is the green. It is a small, accessible set, and has some fun parts, that can be used to build something else.

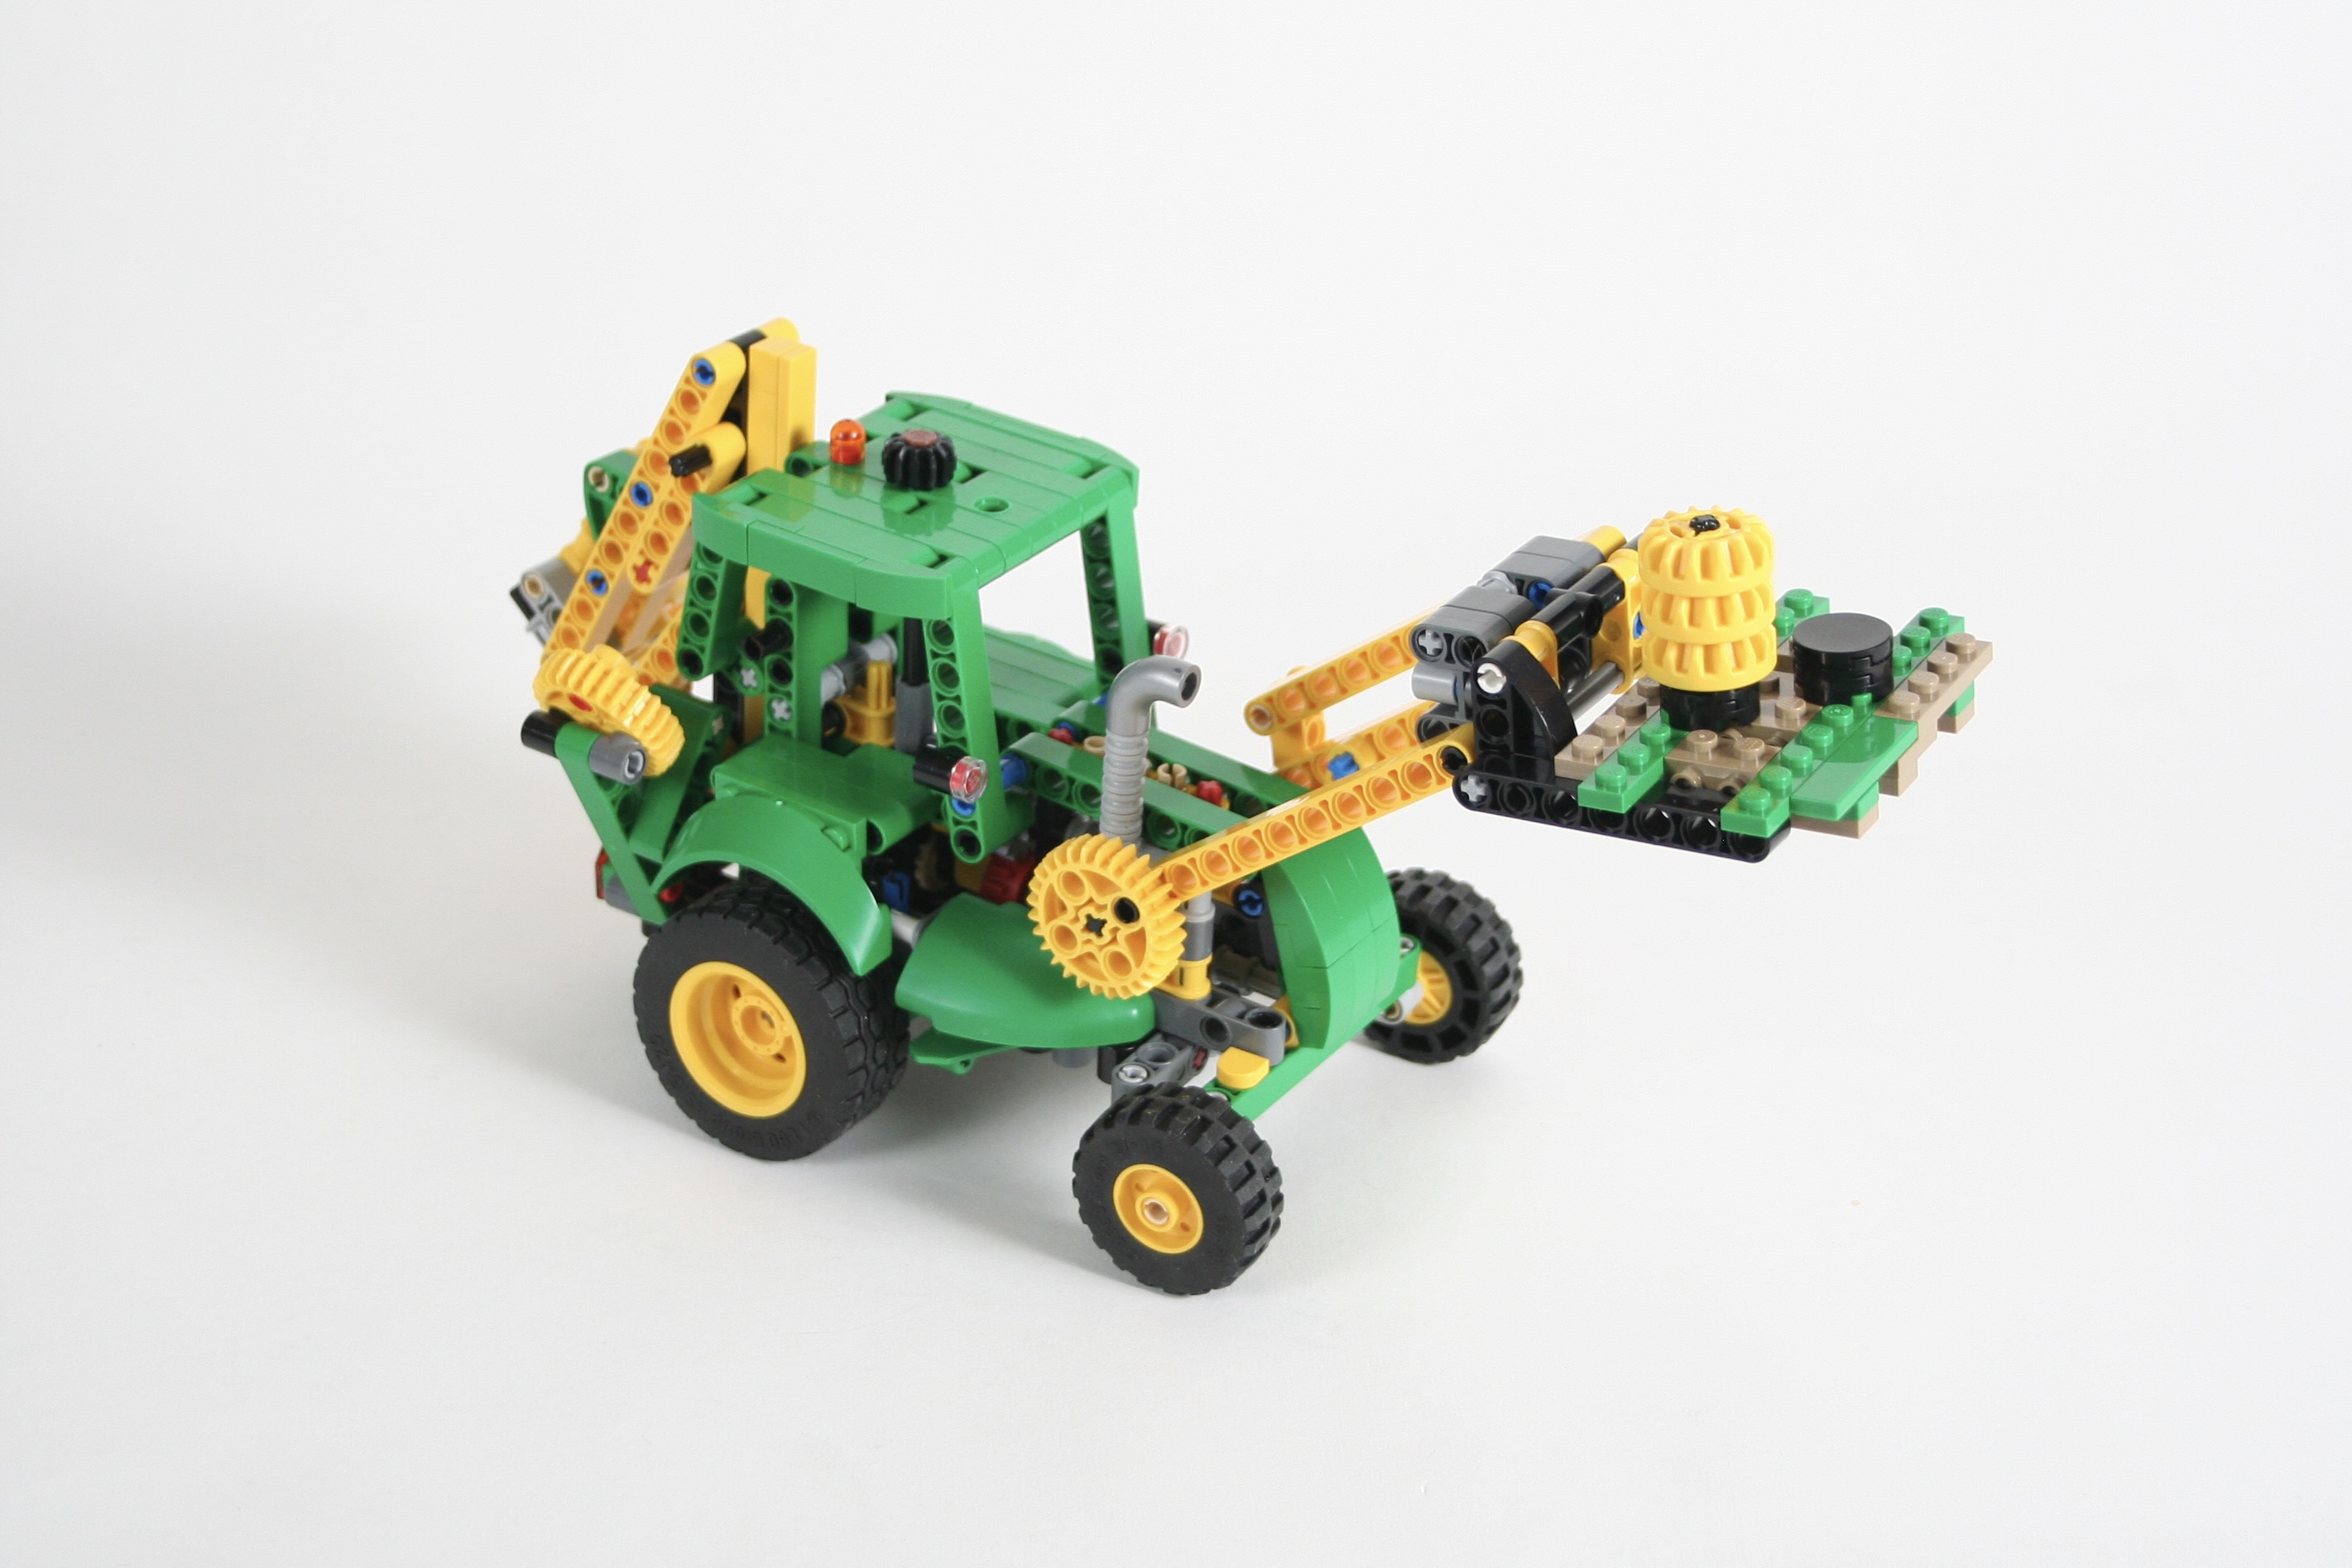
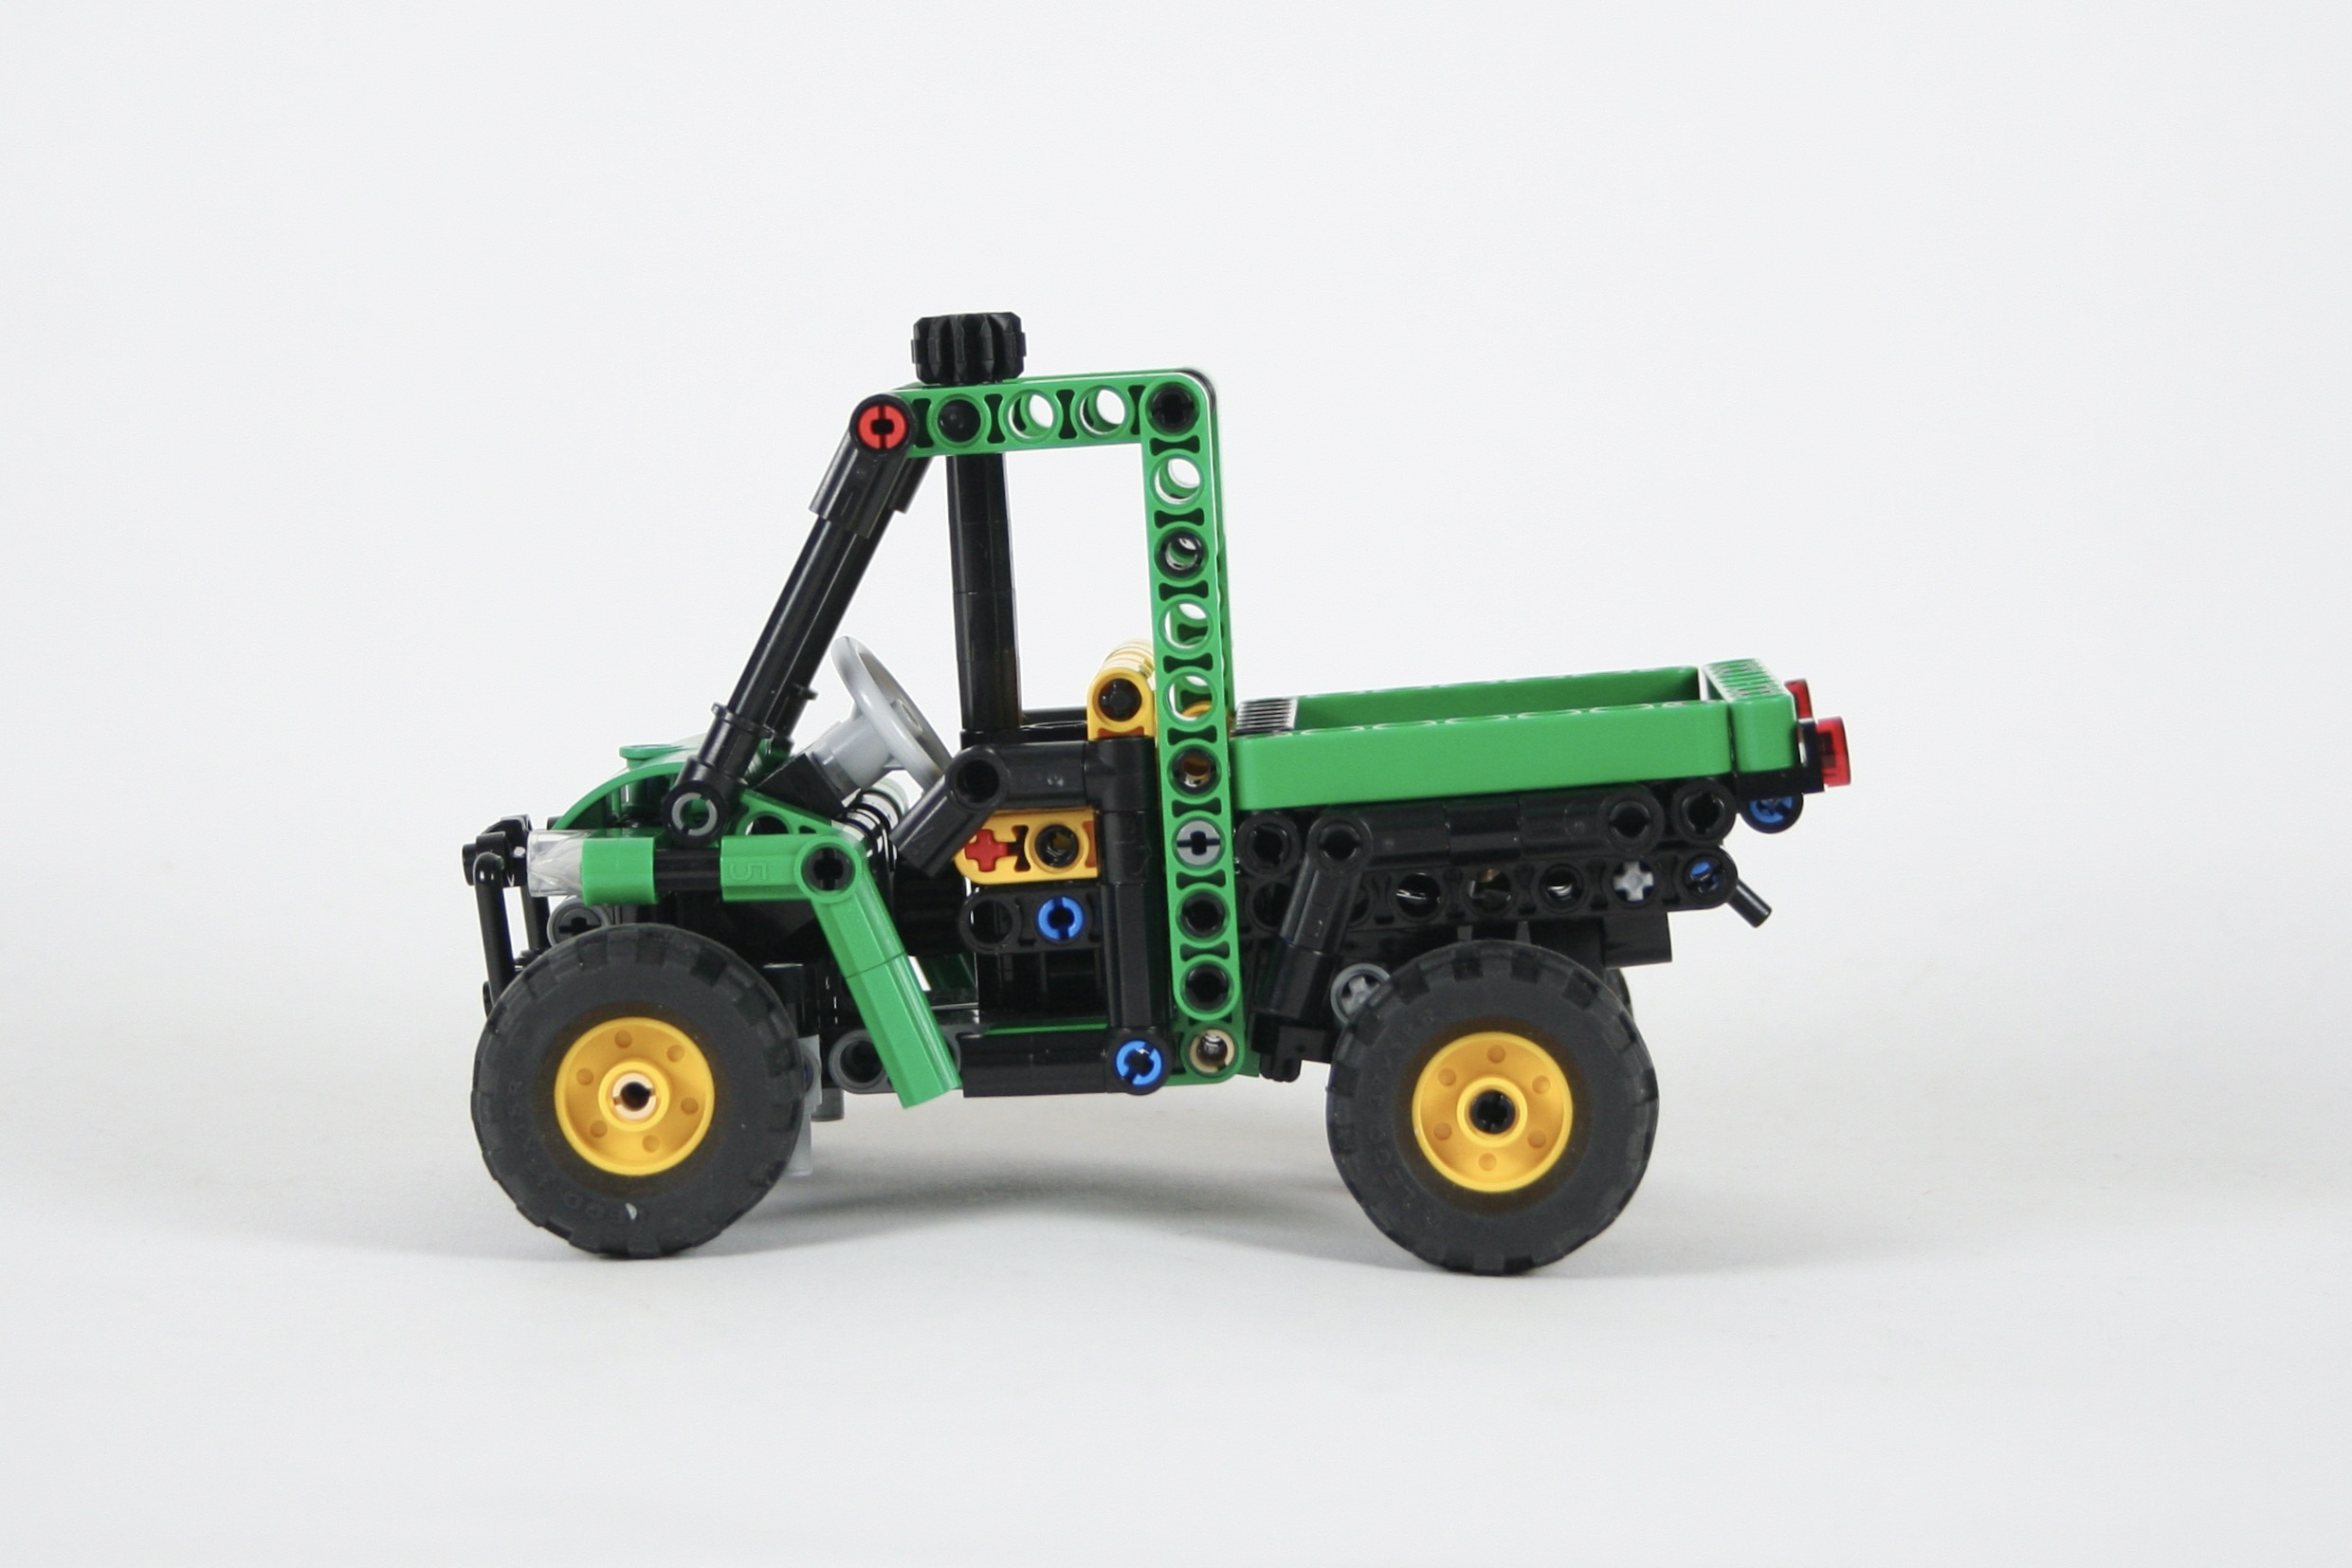
Since the set comes with two different size wheels, I decided a little backhoe would be a good idea. Plus, with the amount of yellow parts, I could use them on the rear arm and front loader. As I do with all of my builds, I started with draft including all the functions I wanted the final build to have. Quickly I had a draft with working steering and a little fake I3 engine. The I worked on how the front loader would work, and the rear arm mechanism.

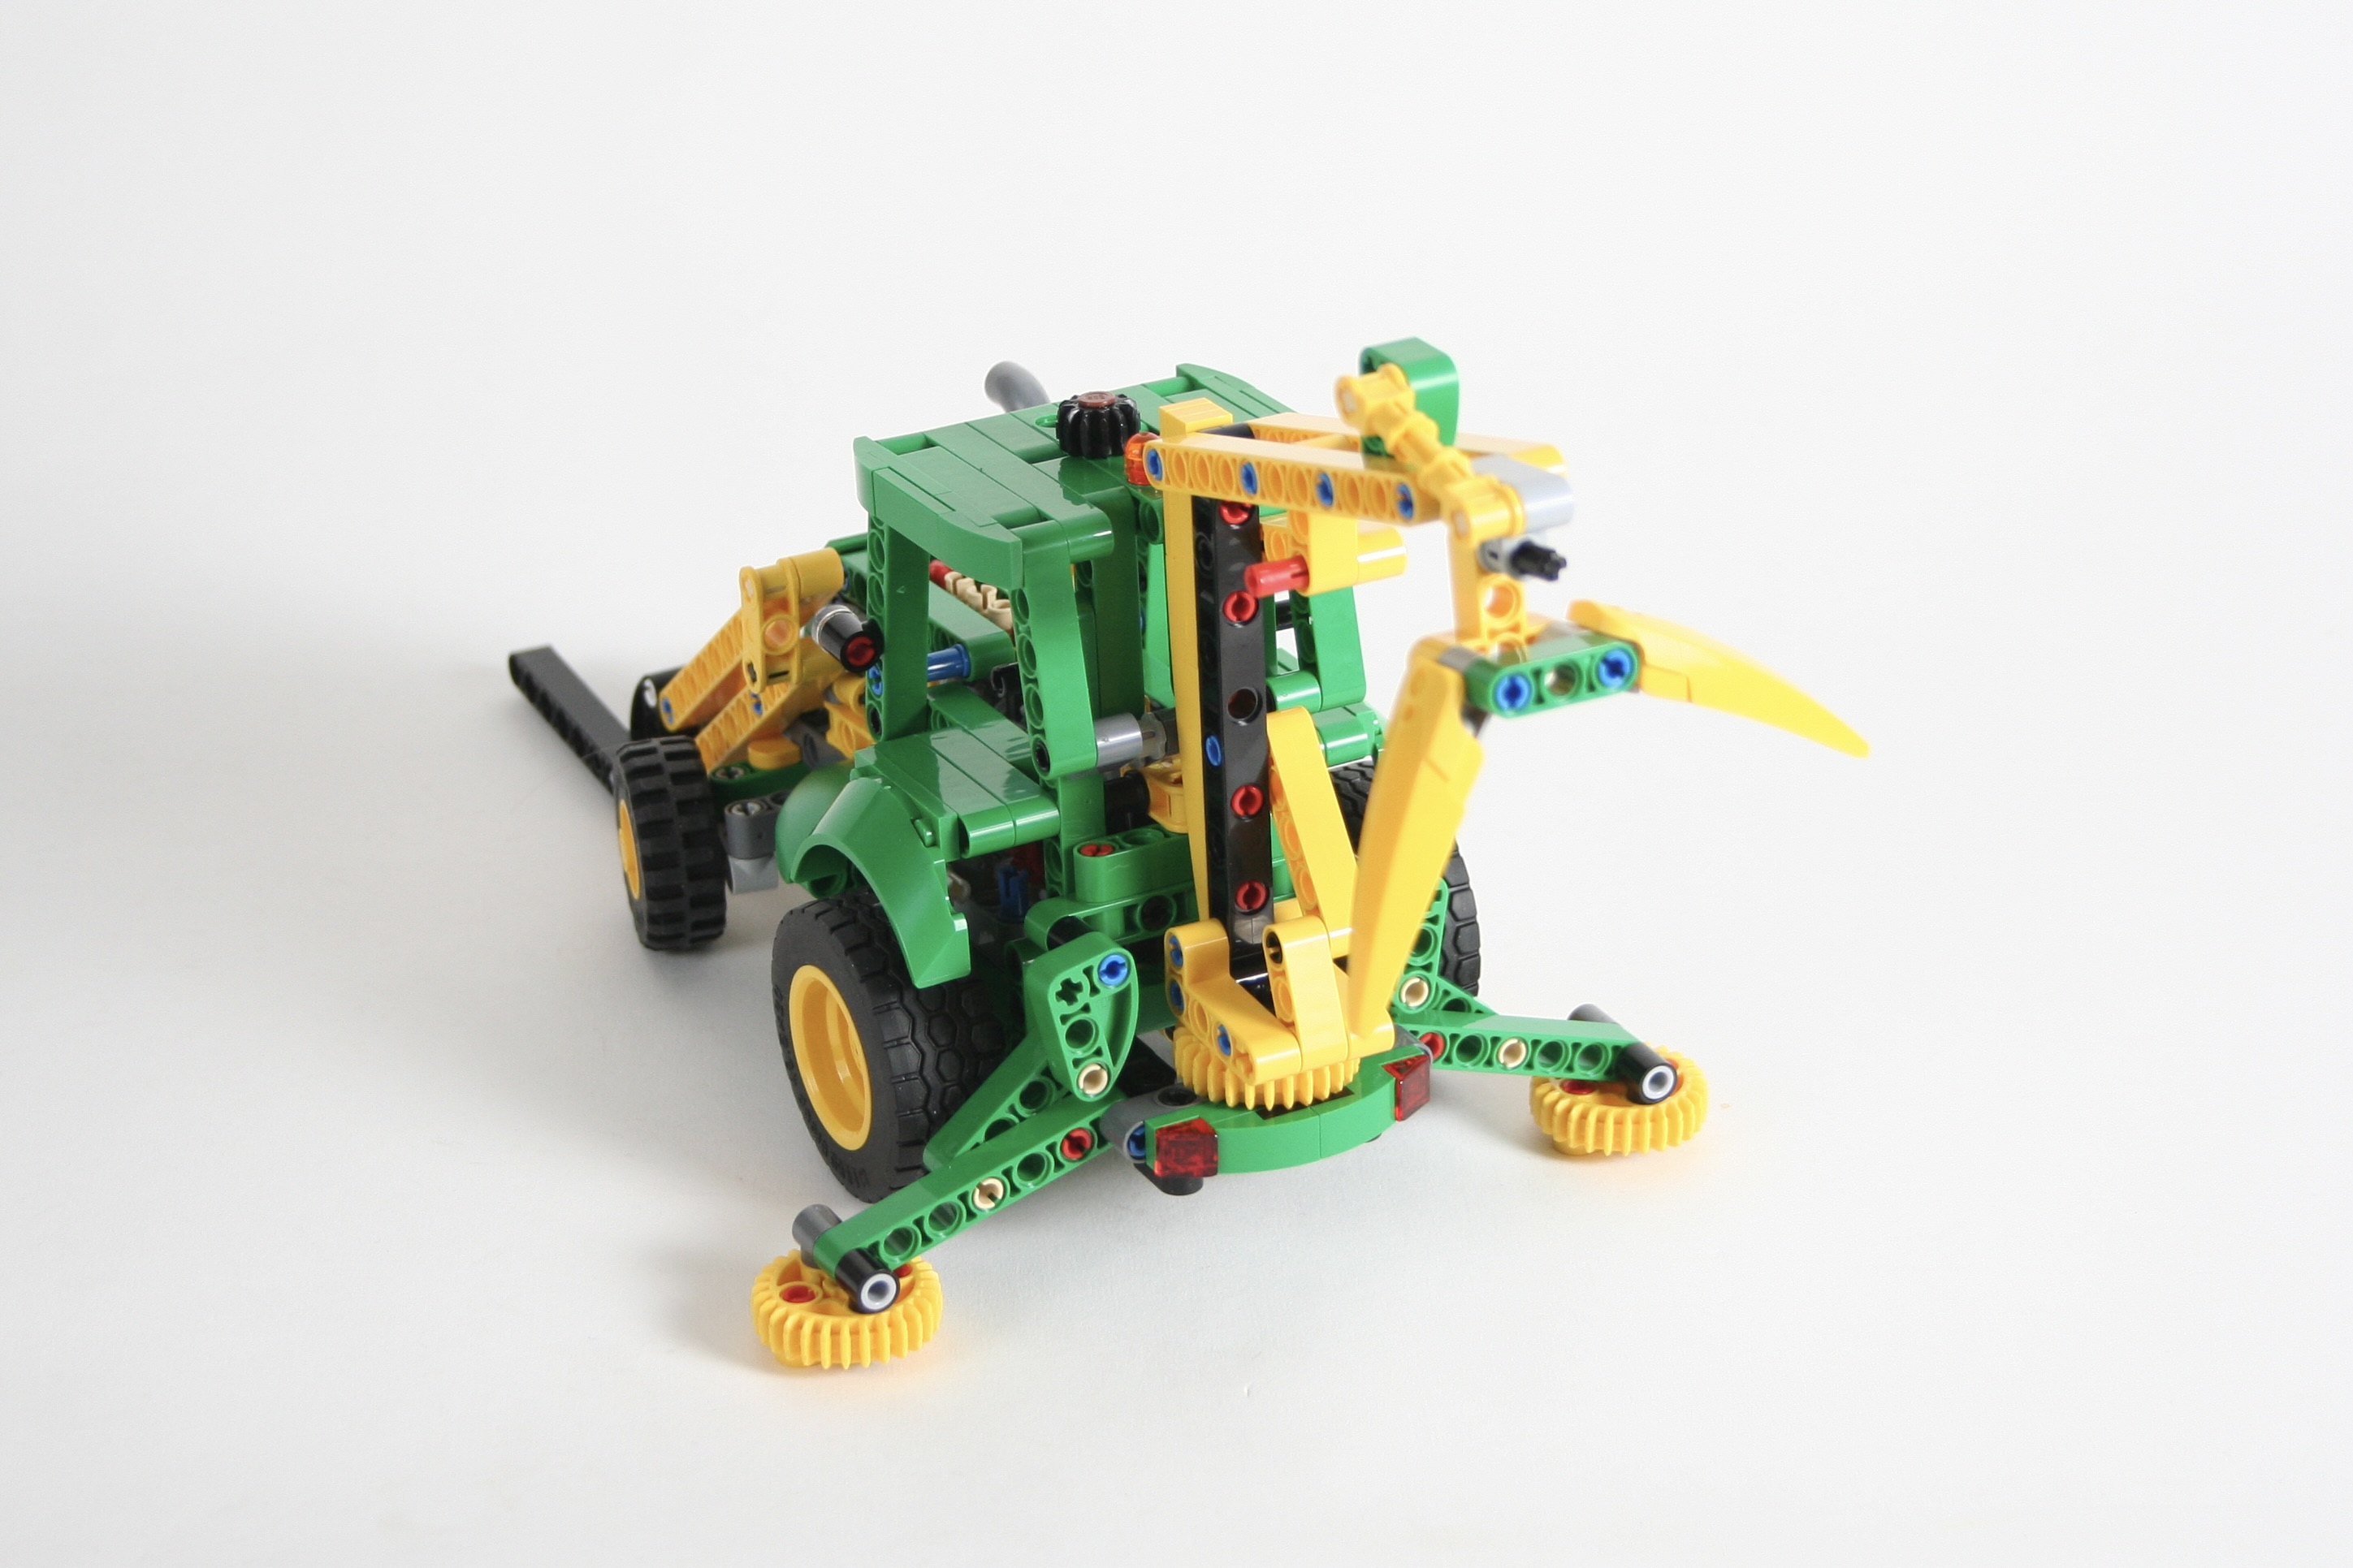
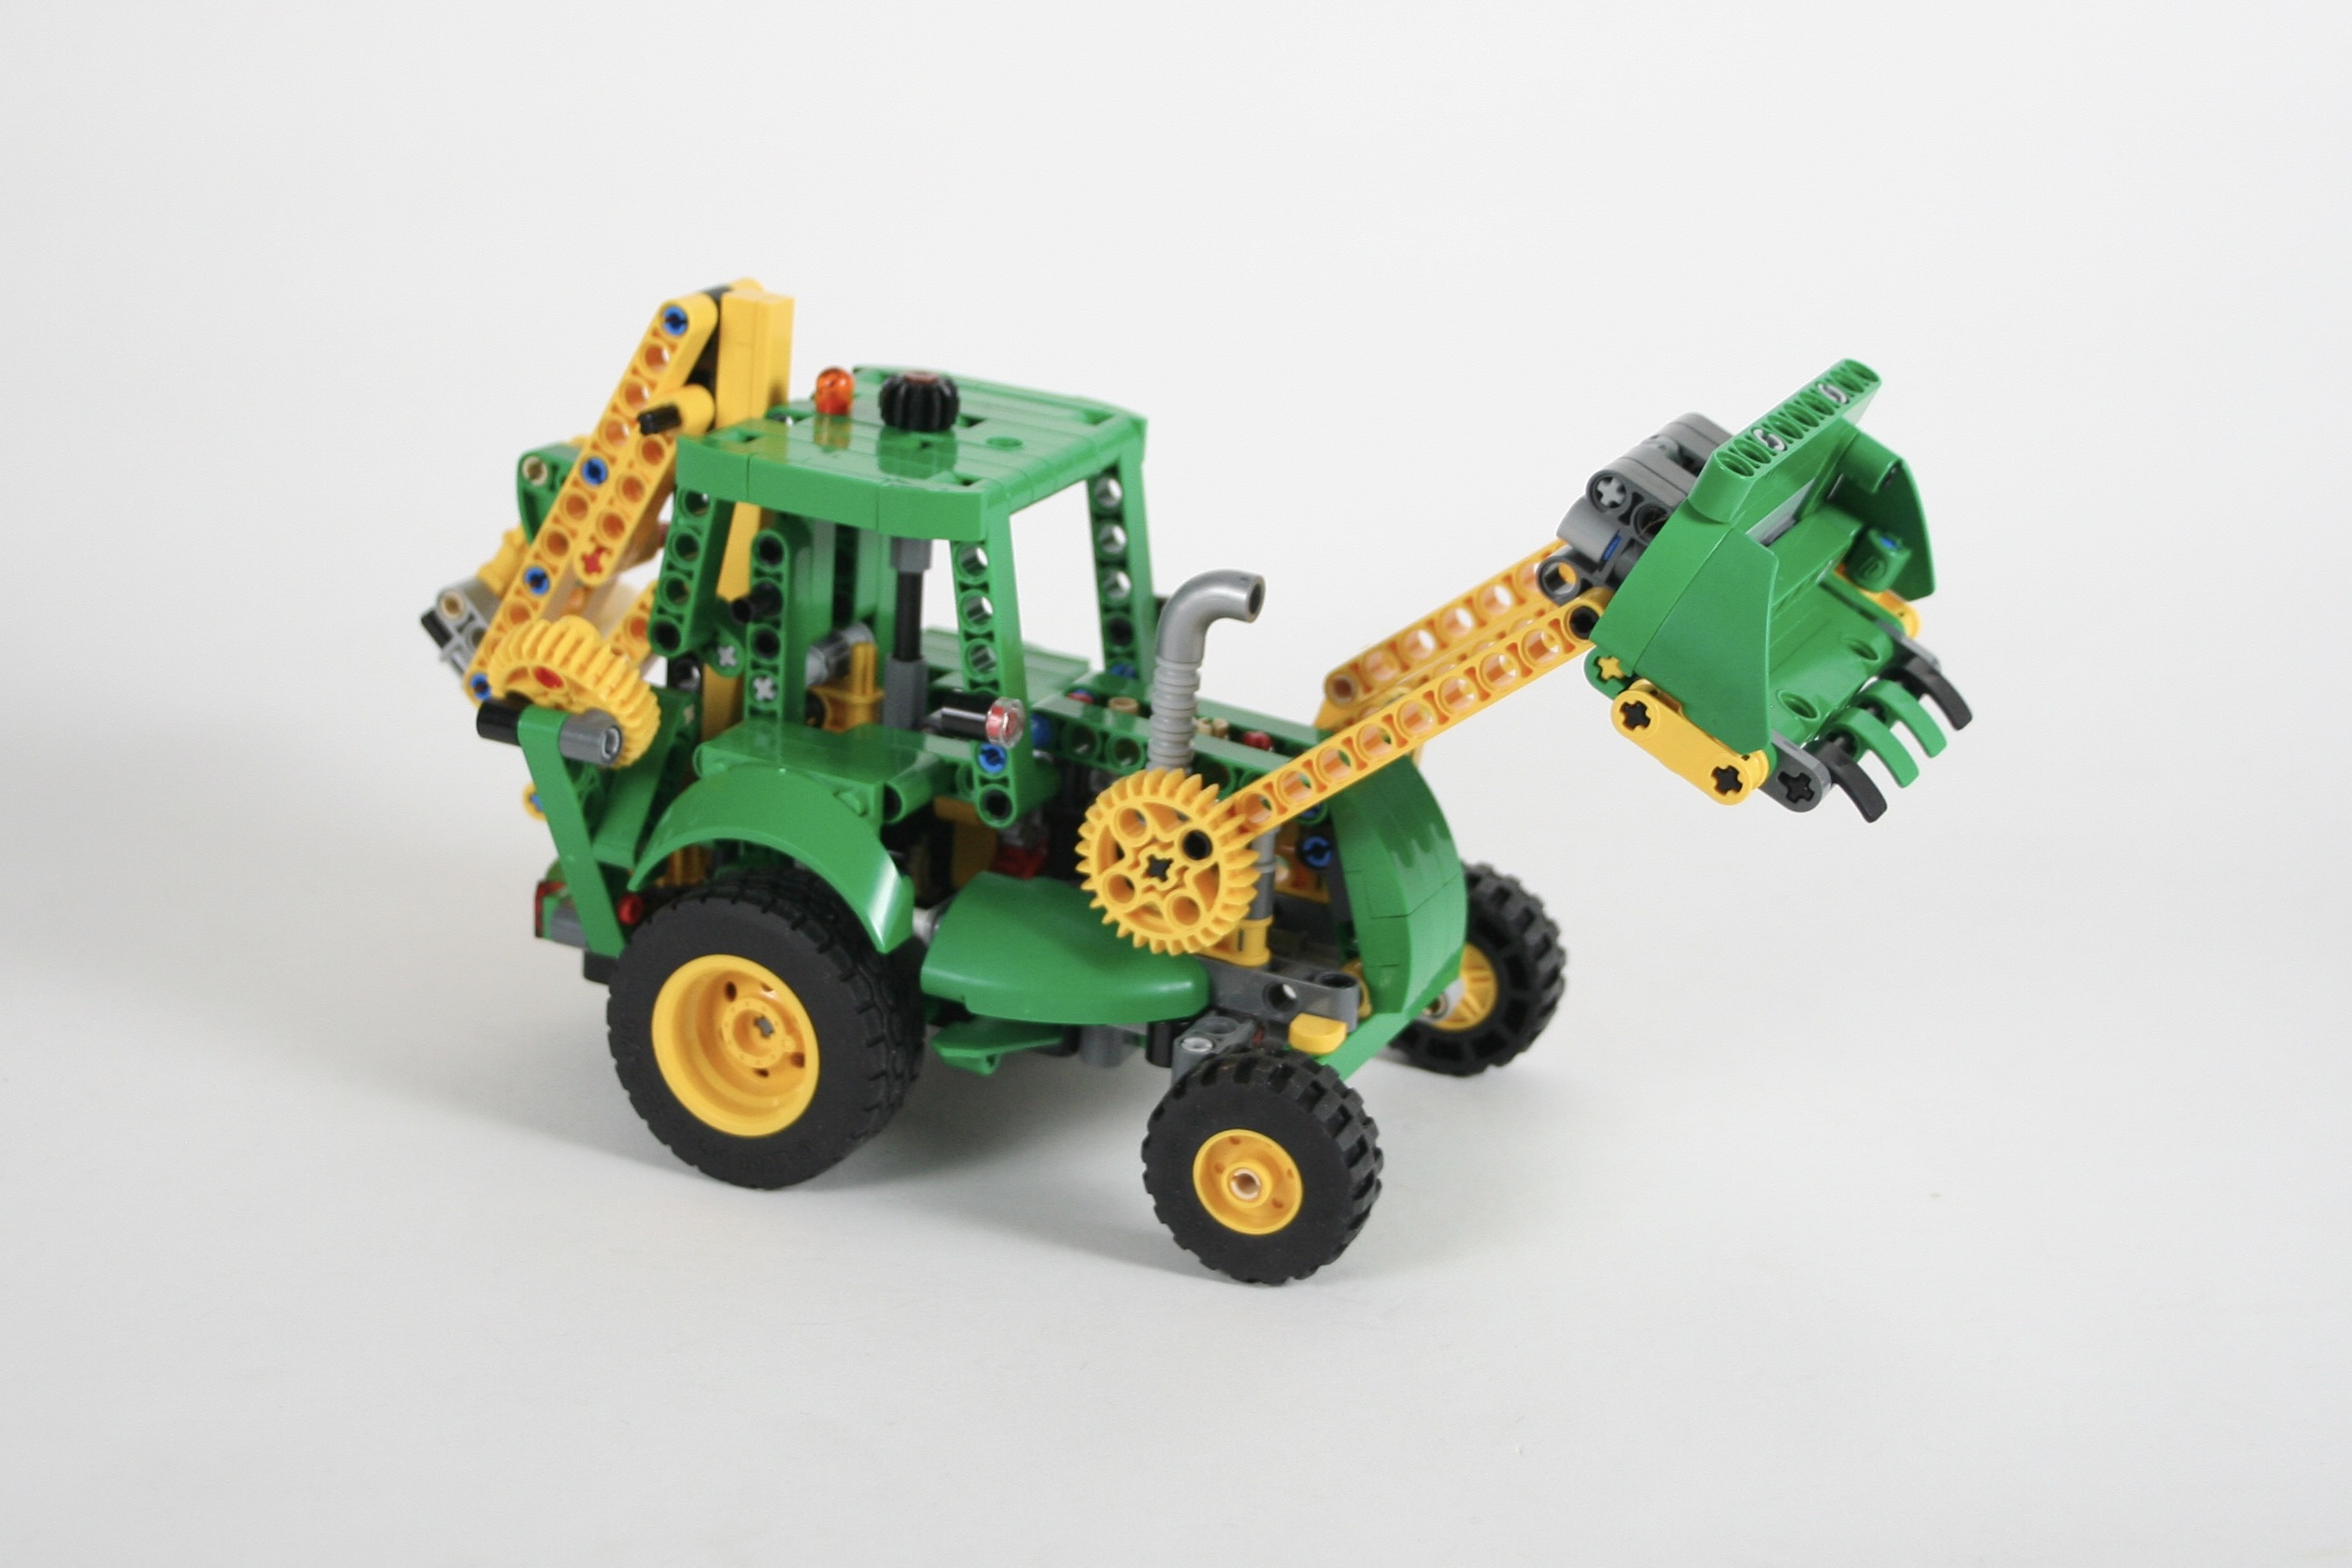
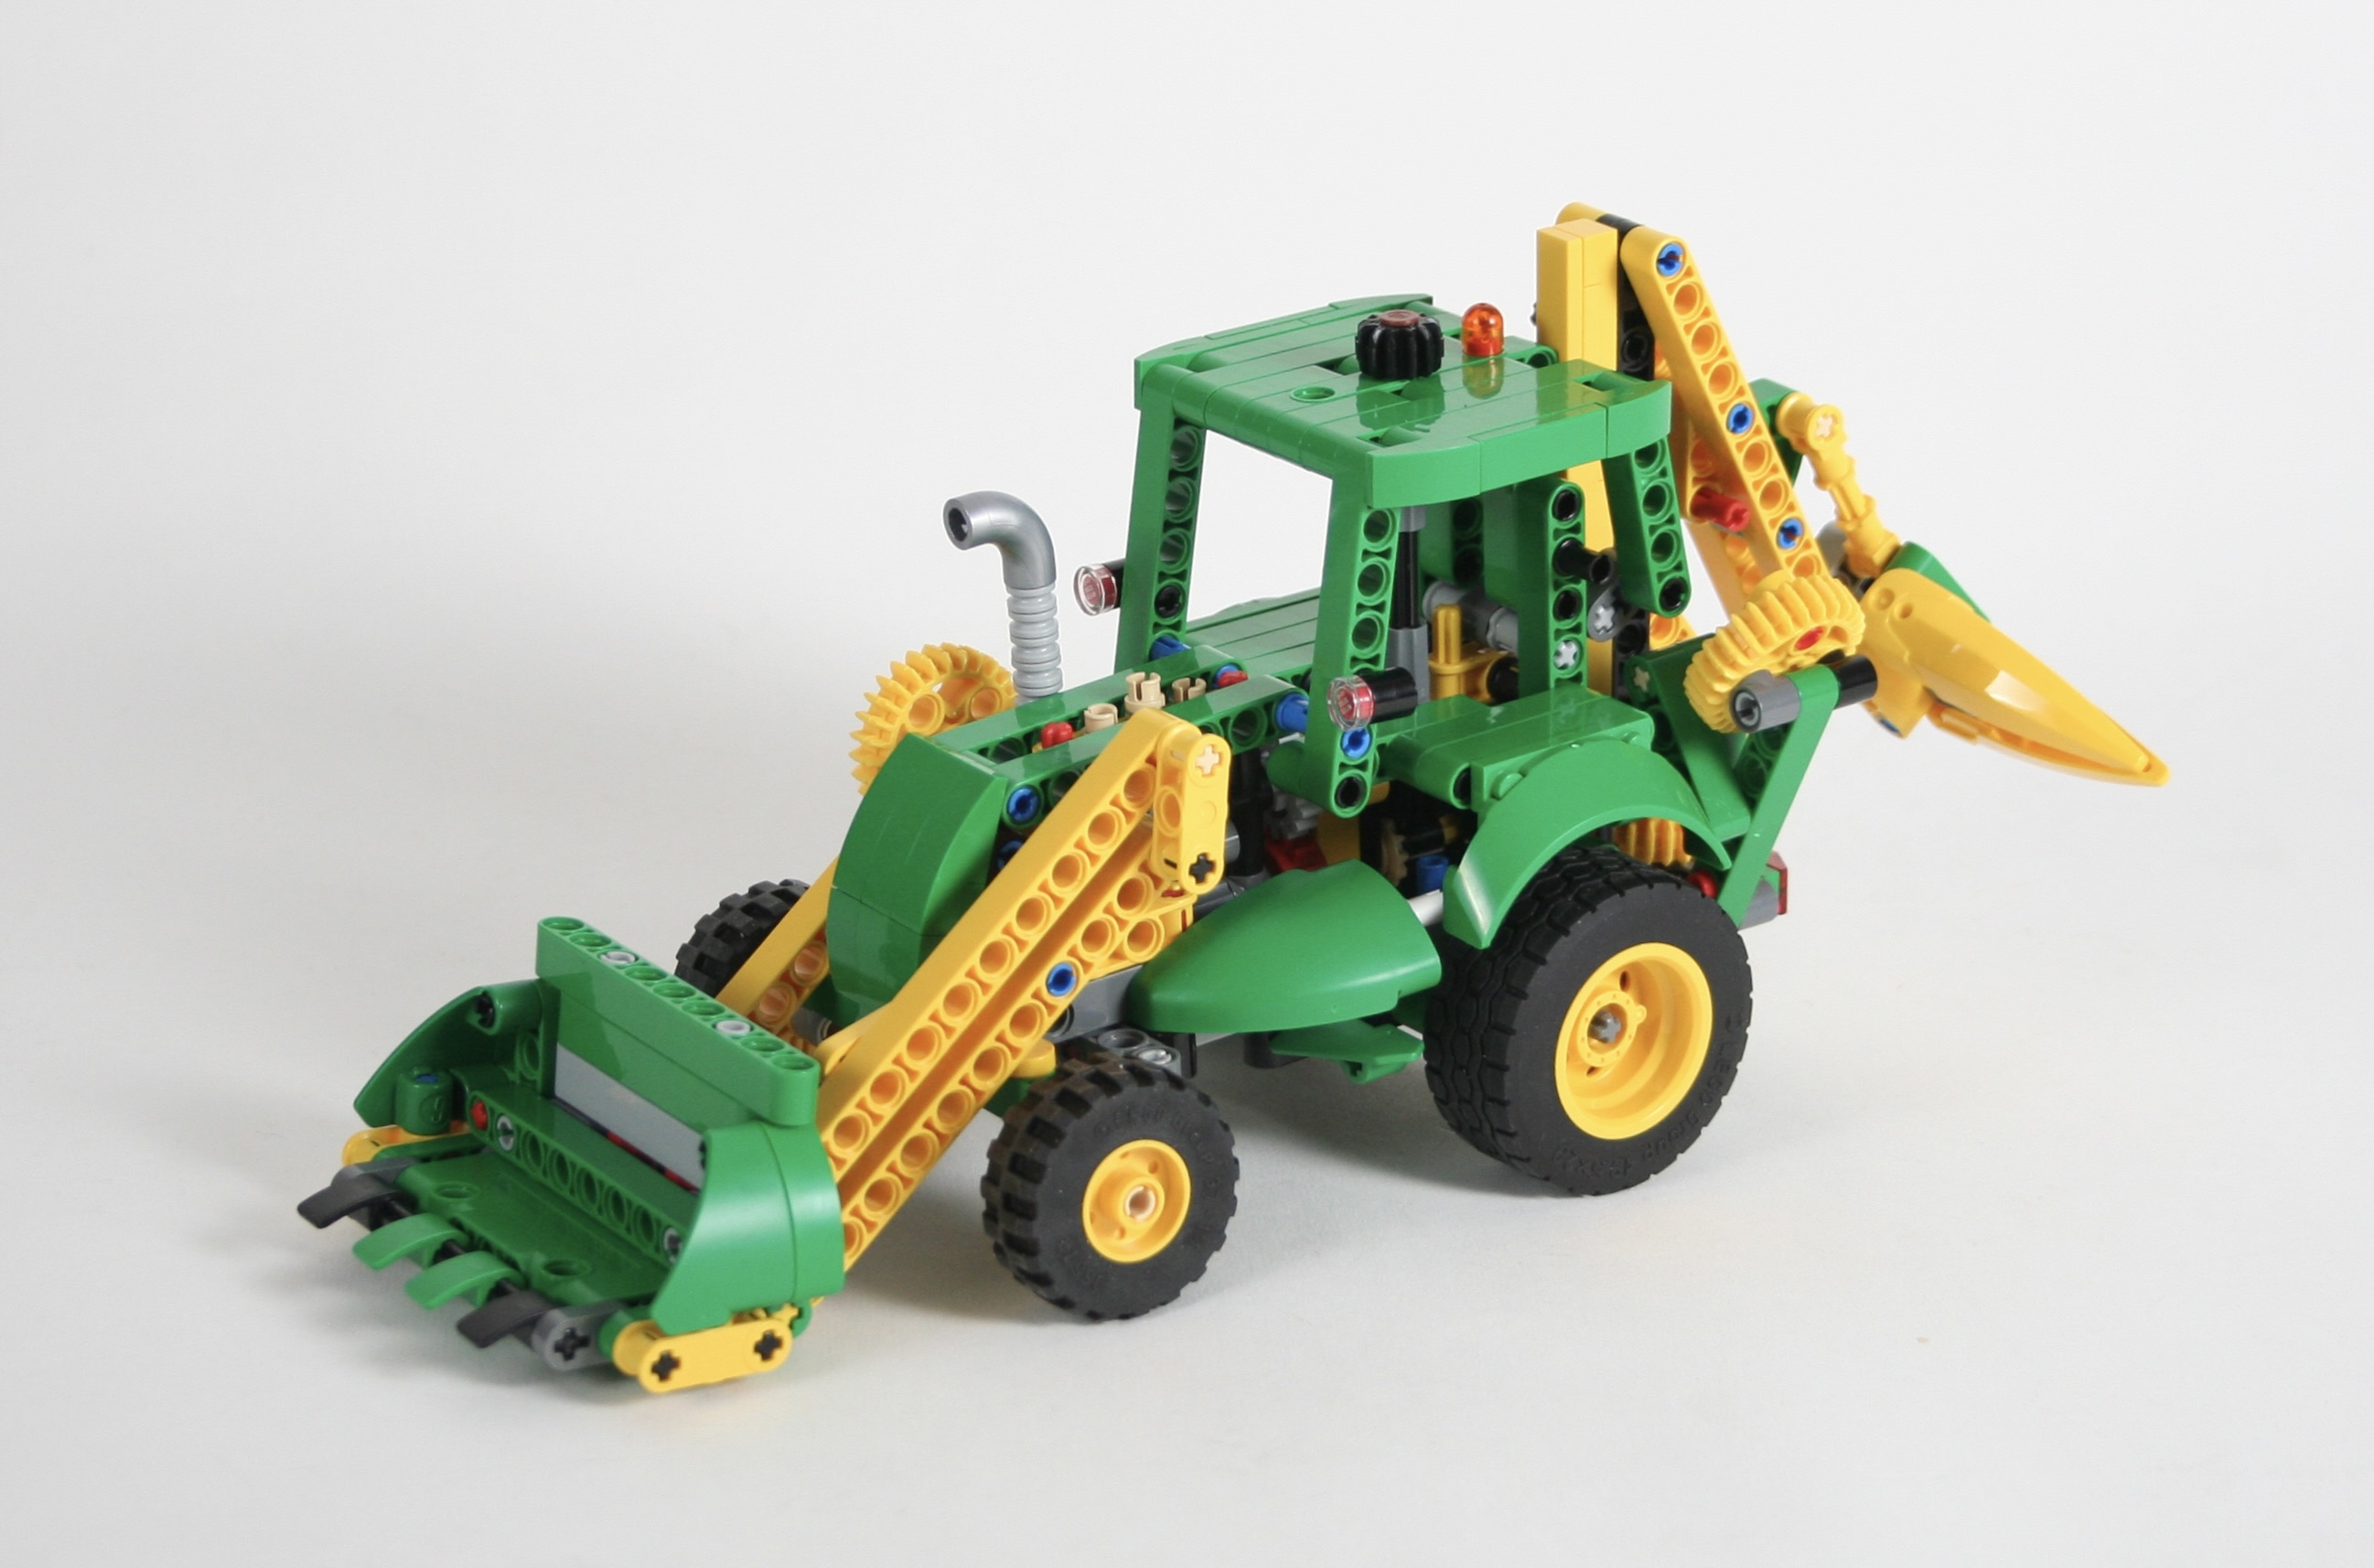
As I worked on the rear arm, I was not pleased with any of the bucket designs I came up with, so I instead designed a couple of attachments that fit the tractor a little better. A little drill and a claw are included in the build. The rear arm moves in a number of ways, and the tractor also has two stabilizing arms to keep the tractor from tipping over. I used a similar approach for the front loader as well. A bucket option is included, but I find the design a little clunky looking. It includes a set of forks as well which I like a little better. A little pallet to load is included. Both the lift and tilt are manually operated, and the lift includes a lockout level so the arm may hold up a heavy load.

I like to think I am getting better at alternative builds, but I do not think this is my best one. I find the design a little rough, even though the functions work well. I hope that some other builders find some enjoyment in this design, and I’ll keep working on more ideas to make available in the future.

Until then, happy building.

John Deere Gator


Another little helper for the Thirdwigg Farm.

Instructions may be found at rebrickable.com.

I get ideas from all over the place, and recently I saw a little John Deere Gator at a local park, and decided that was just what the Thirdwigg Farm needed running around and moving supplies. Plus, with each passing year, the addition of new green parts, makes additional John Deere builds possible.

As I alway do, I started determining the size tires needed for the scale. I settled on the 37mm balloon tires, but this presented a problem right away. These tires, need a 18mm hub, but this wheel does not come in yellow with an axle hole. After some tinkering, I found a little solution. I would use the yellow wheels with a pin hole, and mount the wheels on a Technic Pin with Bush Stop. Not only would the bush stop be able to connect to an axle and transmit power to a fake engine, the friction connection of the pin would allow for slight slippage between the axle and each wheel to function as a differential. Quickly I was then able to add in a little one cylinder engine, and a simple suspension on the rear axle.

The front was a little easier. A simple steering rack is design, covered by the hood and a little grill guard. The HOG is mounted on the top of the roll cage, and bisects the two front seats. I took some time to get the wheel fenders to look the way I wanted while still allowing for tire clearance as they turned, but I was able to make it work by using a half stud offset.

Finally, I added simple opening doors, and a tilting rear bed. Both are simple in their design, but allow for additional play features. I’m especially proud of using Part 85940 as a stop so the rear bed does not overtip.

Big MOCs get all the glory, but it’s the smaller ones that I like and I’m most proud of. Anyone can add suspension to a car that is 31 studs wide, but figuring out how to stuff suspension, a differential, and an engine in 20 cubic studs, its what keeps me building. This little MOC was a great project, and I am so happy with all the functions I was able to include. I hope you enjoyed it too.

Happy building.

OCTAN LMP


My favorite type of race car with my favorite livery.

Free instructions may be found at Rebrickable.com.

During COVID I had a little home office that was set up right next to all of my system bricks. I keep my Technic parts in a different place, so I could not get too distracted while I worked. But with this little parts so close, I did find myself tinkering with some of these system parts while I was on countless video meetings. As time went on I started to piece together some ideas that would work well for a full LMP car.

The LMP cars from the mid-90s to about 2008 were some of my favorite race cars. I love the look of the open cockpit, the long, aerodynamic bodywork, and the high rear wing of this generation of race cars. Though I do find this type of car difficult to build in LEGO. The cars are so low, and the wheel fenders are so slim. Both make it tricky to replicate in LEGO.

But after all this tinkering, I had some ideas that stared to work on their own. So I spend a couple of evening tying it all together. The bodywork guided the rest of the car. Once the engine cover and side pods were finalized, I started adding in the interior: engine, suspension, cooling parts. Which each added detail, I had to make sure the bodywork would continue to fit. The rear engine cover comes off in one part, and the front bodywork comes off as well, though not in one piece.

This car had no functions, but I was pleased with how I looked. I love the white, green, and red of OCTAN racing, even if this car could use a little less red. But all and all, the bodywork looks the part, and glancing at the car you know who the main sponsor is. I will keep this little build in my office for some time, and maybe I’ll try another little LMP car…

Happy building.

Mini 8063


Another build that harkens to an older set, and this time for a contest.

Free instructions may be found at Rebrickable.com.

I participate in a number of Technic build contests at Eurobricks.com, the TC25 contest was another one that I was excited to join. This contest asked you to rebuild a Technic set, but smaller. After selecting a couple of sets for my shortlist to explore, I went though each to determine what I had parts for, what interesting features I could keep or add, and what I would be motivated to finish. Through this process, I decided on LEGO set 8063 from 2009. After numerous tractors for the Thirdwigg Farm, I decided I would be well suited to update this tractor.

I stared with the trailer, and added suspension for the rear axles. The tipping of the bed uses a linkage so the little mini linear actuator can use its full movement to tip the bed. The control for the tipper is on the left of the hitch. A simple rear tailgate and trailer hitch support is included as well.

The tractor is similar to my other designs in that there is steering, an engine, and a rear PTO. But this tractor also included front suspension as 8063 does. To make this work, I used small 1/2 pins with a yellow round tile on the top for pistons, and ran the steering axle below the engine. The front axle is mounted on a pivot to allow for the pendular suspension. Steering is controlled by a HOG on the cabin roof. A rear PTO was added, and a three point hitch using the Thirdwigg Farm standard.

I always love building tractors, and this scale is my favorite. I would have rather used the newer tractor tires for this MOC, but it did not match the feel of 8063, so the balloon tires were used instead. All the functions worked well, and it was nice to include all the functions of the original 8063 as well. And the red and green compliment each other so well on this build. I hope you enjoyed another little tractor until I build another one.

Happy Building.

LEGO 8062 Update


Another update to an older set.

Instructions are available at Rebrickable.com.

Like so many other people, I am have a nostalgic pull to LEGO sets that were released during my childhood. I, however, make the sometimes poor decision to try and update them using newer parts and building techniques. Set 8062 from 1994 was a unique little set in that it came with instructions for multiple builds and a carrying case. I never had the set, but the helicopter and grabber truck always caught my attention.

As I try to add features to an updated set, I used the main rotor design I have used before. This simple design allows for collective movement of three rotor blades. It’s a simple design, but was a little tricker for two rotors while trying to keep the cabin free of interruptions. A HOG is placed on the left of the helicopter to spin the blades.

Like the original, a rear ramp is controlled by the HOG of the right of the helicopter. I also added a landing gear that retracts, which is controlled on the left. The front wheel is on a caster, and the rear wheels are fixed. I used many of the panel parts that have been released since 1994 for the body work, and kept the black and yellow livery.

This was simple and relatively quick build, but in the end, it seemed to be missing the look of the original. I think much of it comes down to the shape of the nose. To get the front rotor to fit with the rear rotor, I had to push it forward in such a way that the front windscreen needed to be a little more steep than 8062 was. But all the functions worked well which is always gratifying. I hope you enjoy.

Happy building.

42154 Porsche 911


Like so many other builders, I have found joy in building alternative models.

You may find instruction at Rebrickable.com.

The alternative build is becoming a popular theme in the current LEGO culture, and LEGO Technic is no different. Many people buy a set or two, and look for ideas what to make with the sets they have purchased. Rebrickable has made this even easier. Certainly I would like to share some of my creativity with them, but I also like the challenge of trying to design a creation with a limited amount of parts. I have built a couple of alternative builds now, so I wanted to try something a little bigger. LEGO set 42154 is a good size, has a lot of fun parts, and has a beautiful dark blue color. I love any Porsche, so I stared with a 911.

When I do an alternative build, I start with the big parts first: namely where do the panels go. For 42154 this meant I started with the fenders, the door panels, and the transparent panels. After a quick draft, I knew I would be able to get the general shape of the 911 right.

Then I worked on the interior. The car would keep a four wheel independent suspension setup with steering at the front. A flat 6 engine was mounted at the rear with drive connected through a differential between the rear wheels. I was able to keep the HOG steering link on top of the roof. Two seats are include, but no jump seats.

It took some time working on all the remaining parts. 42154 does not have many liftarms, so I had to design and redesign what parts are used where a couple of times. At the end, I had a lot of parts leftover, so I was able to make two rear end designs: a rear wing, and a little duckbill spoiler (my favorite 911 look). Both are easily interchangeable.

I was pleased to have finished another alternative build. They are hard for me to complete, but a good exercise in working with constraints. I like the way this one turned out, as I like the stance and the proportions of the design. The size is right for my desk, and the dark blue looks great in LEGO. Plus any 911 is a good 911 in my mind.

Until next time, happy building.