Hybrid Garbage Truck
January 29, 2024 Leave a comment
I had on my goals to complete another Garbage Truck for while. Now it is finally completed.
Instructions are available at Rebrickable.com.

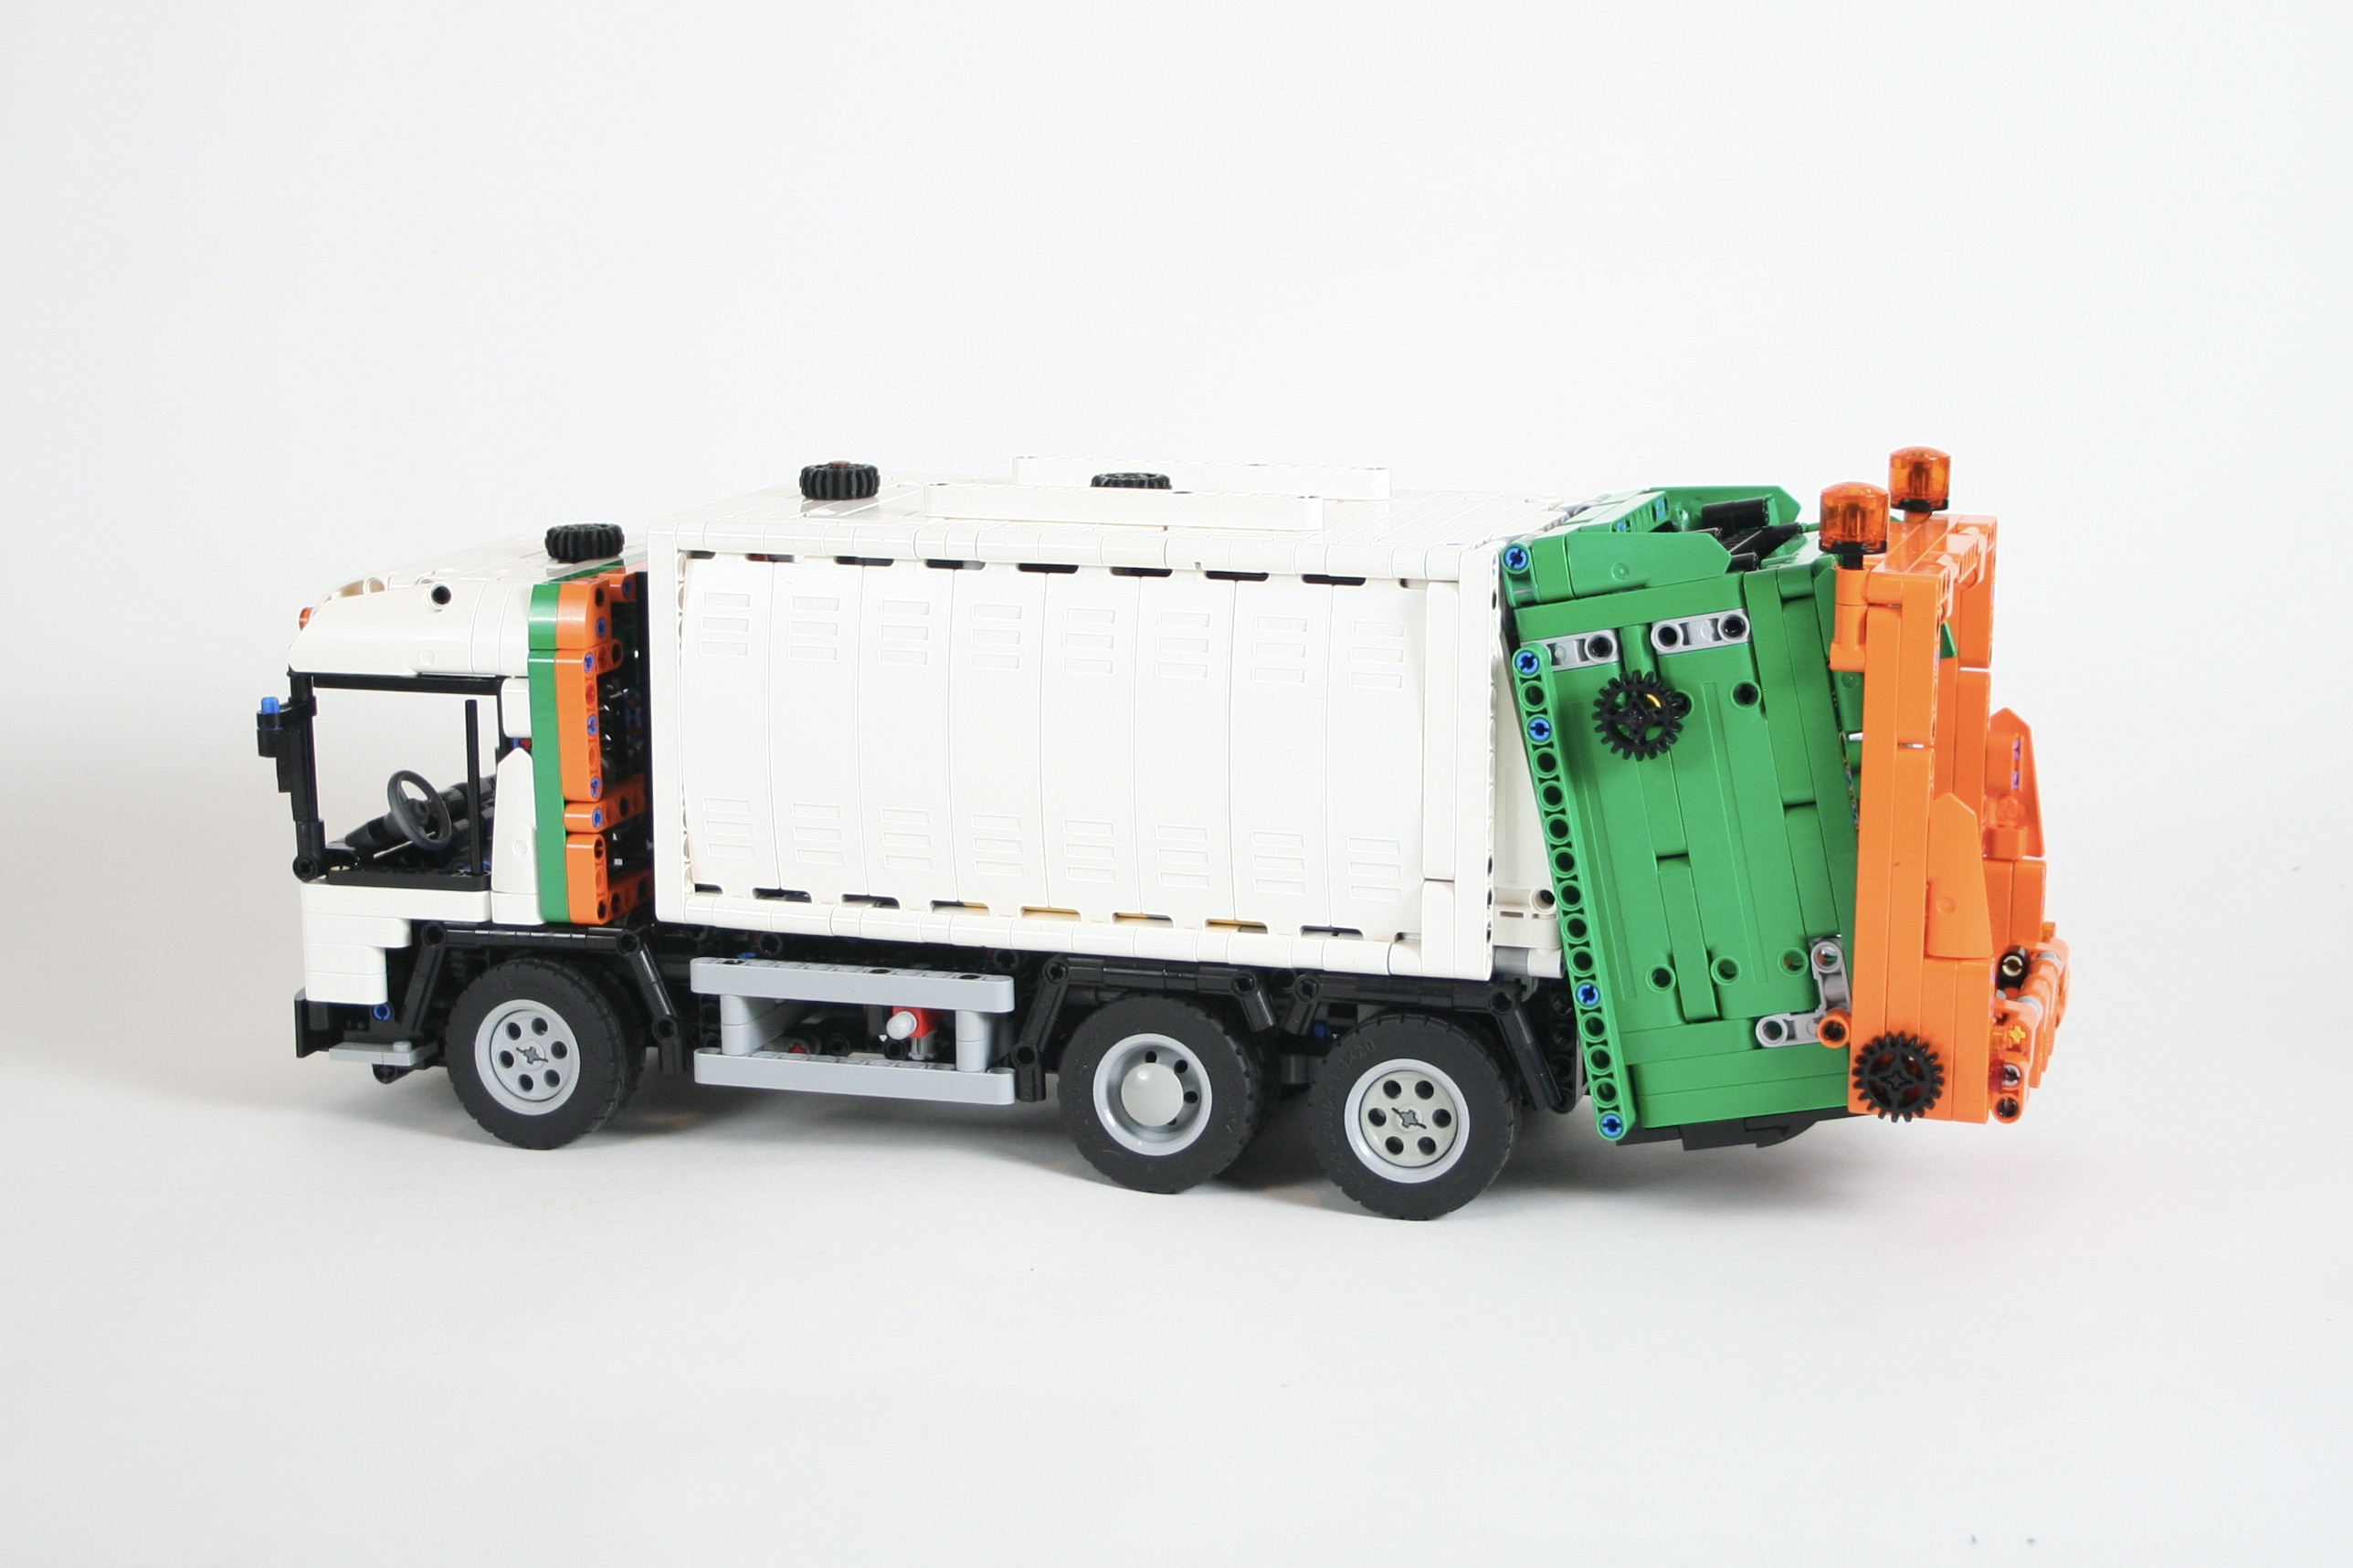
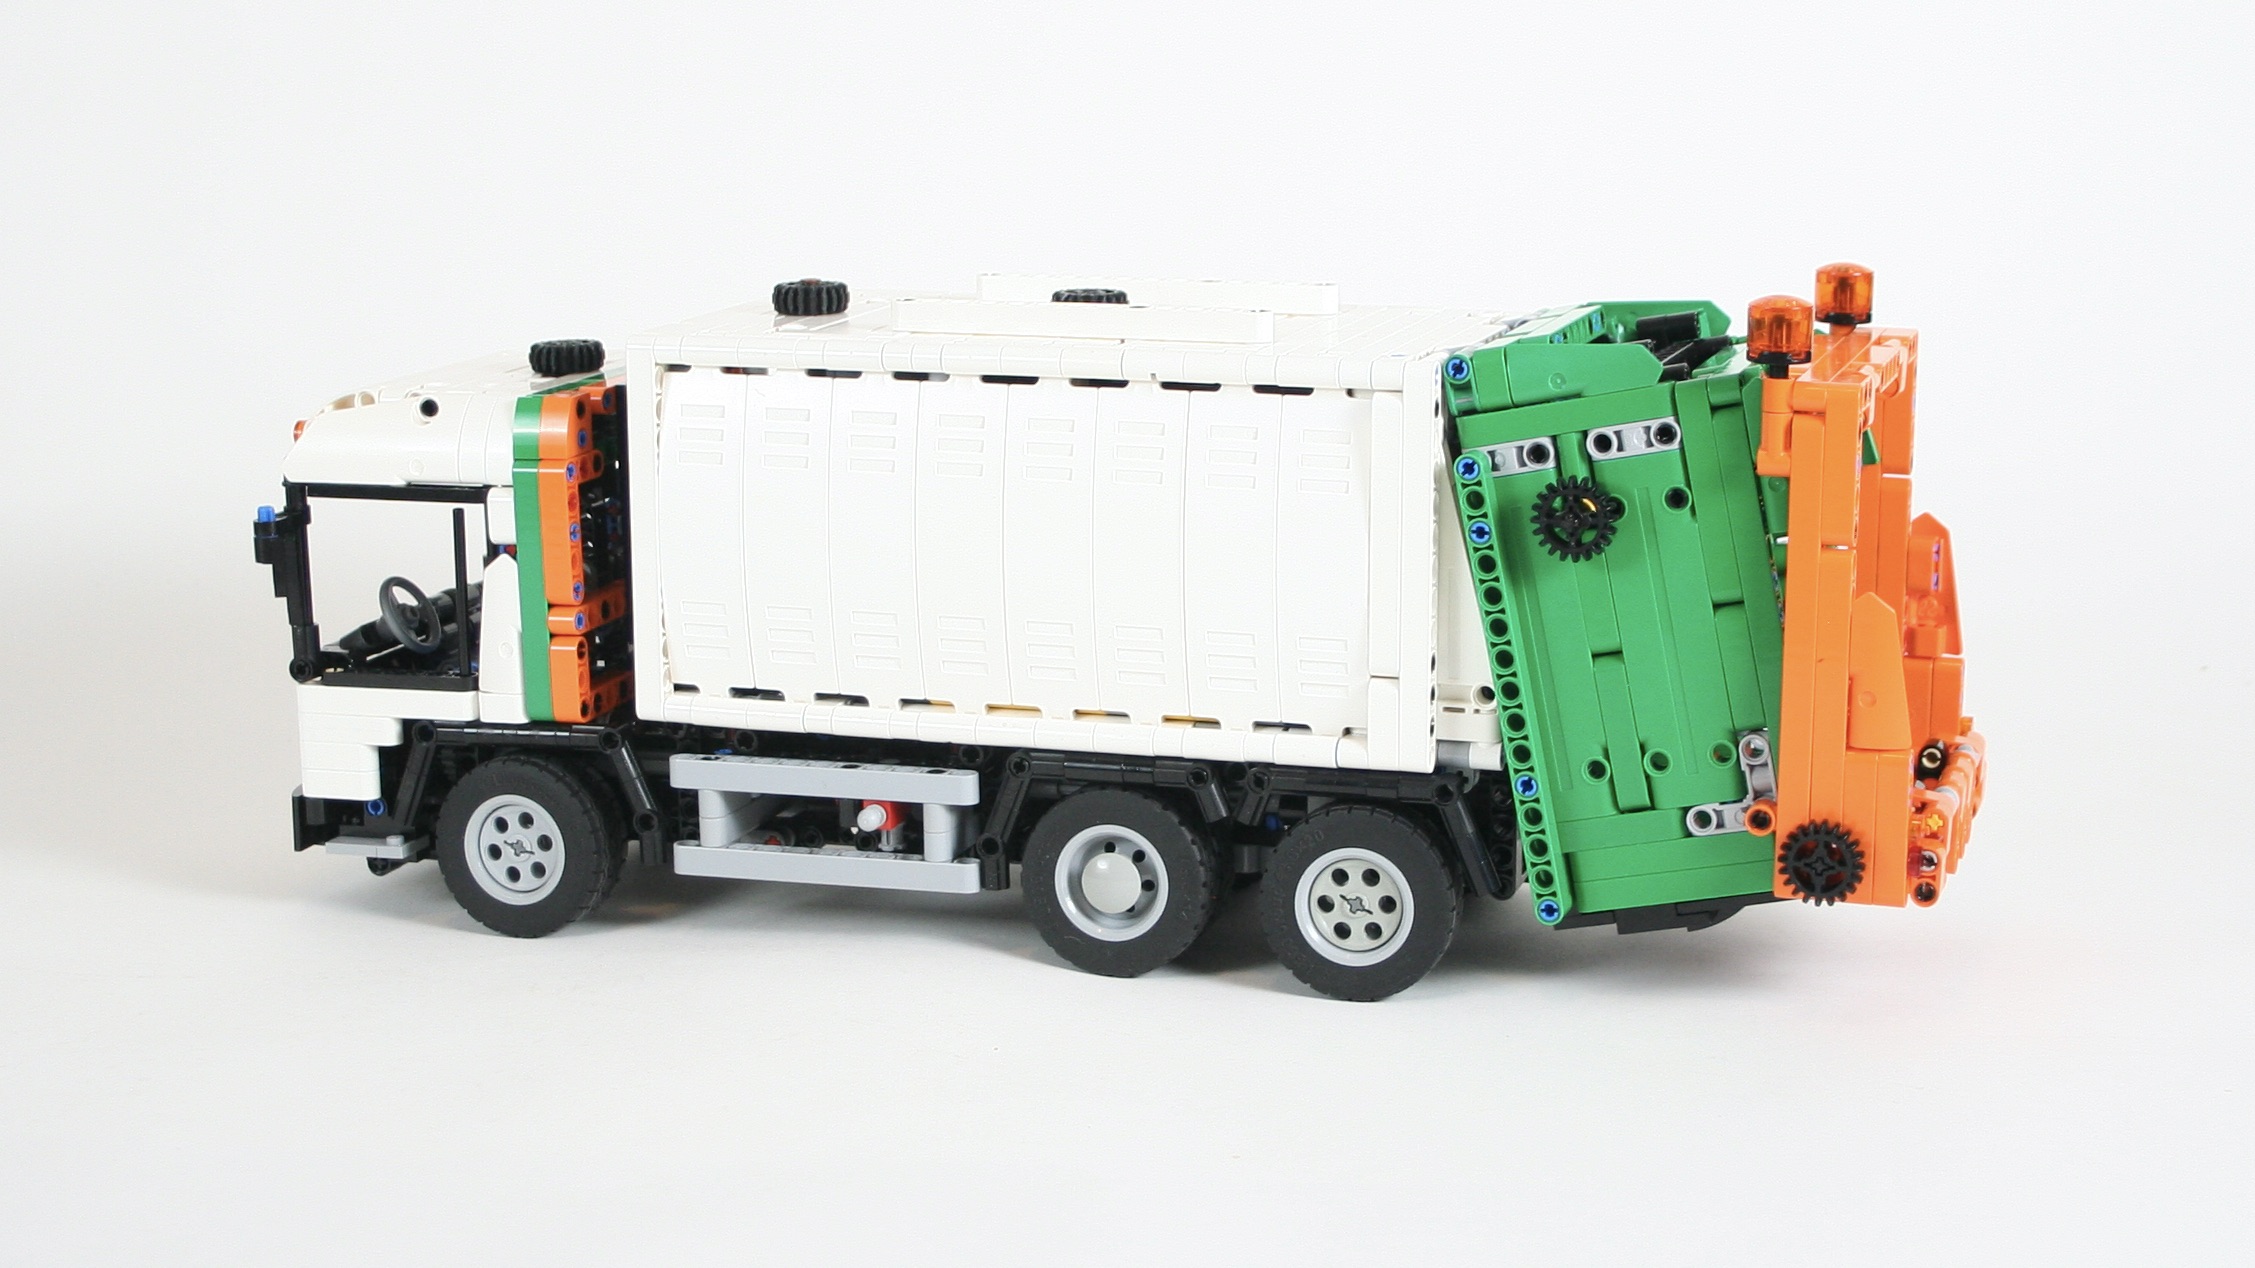
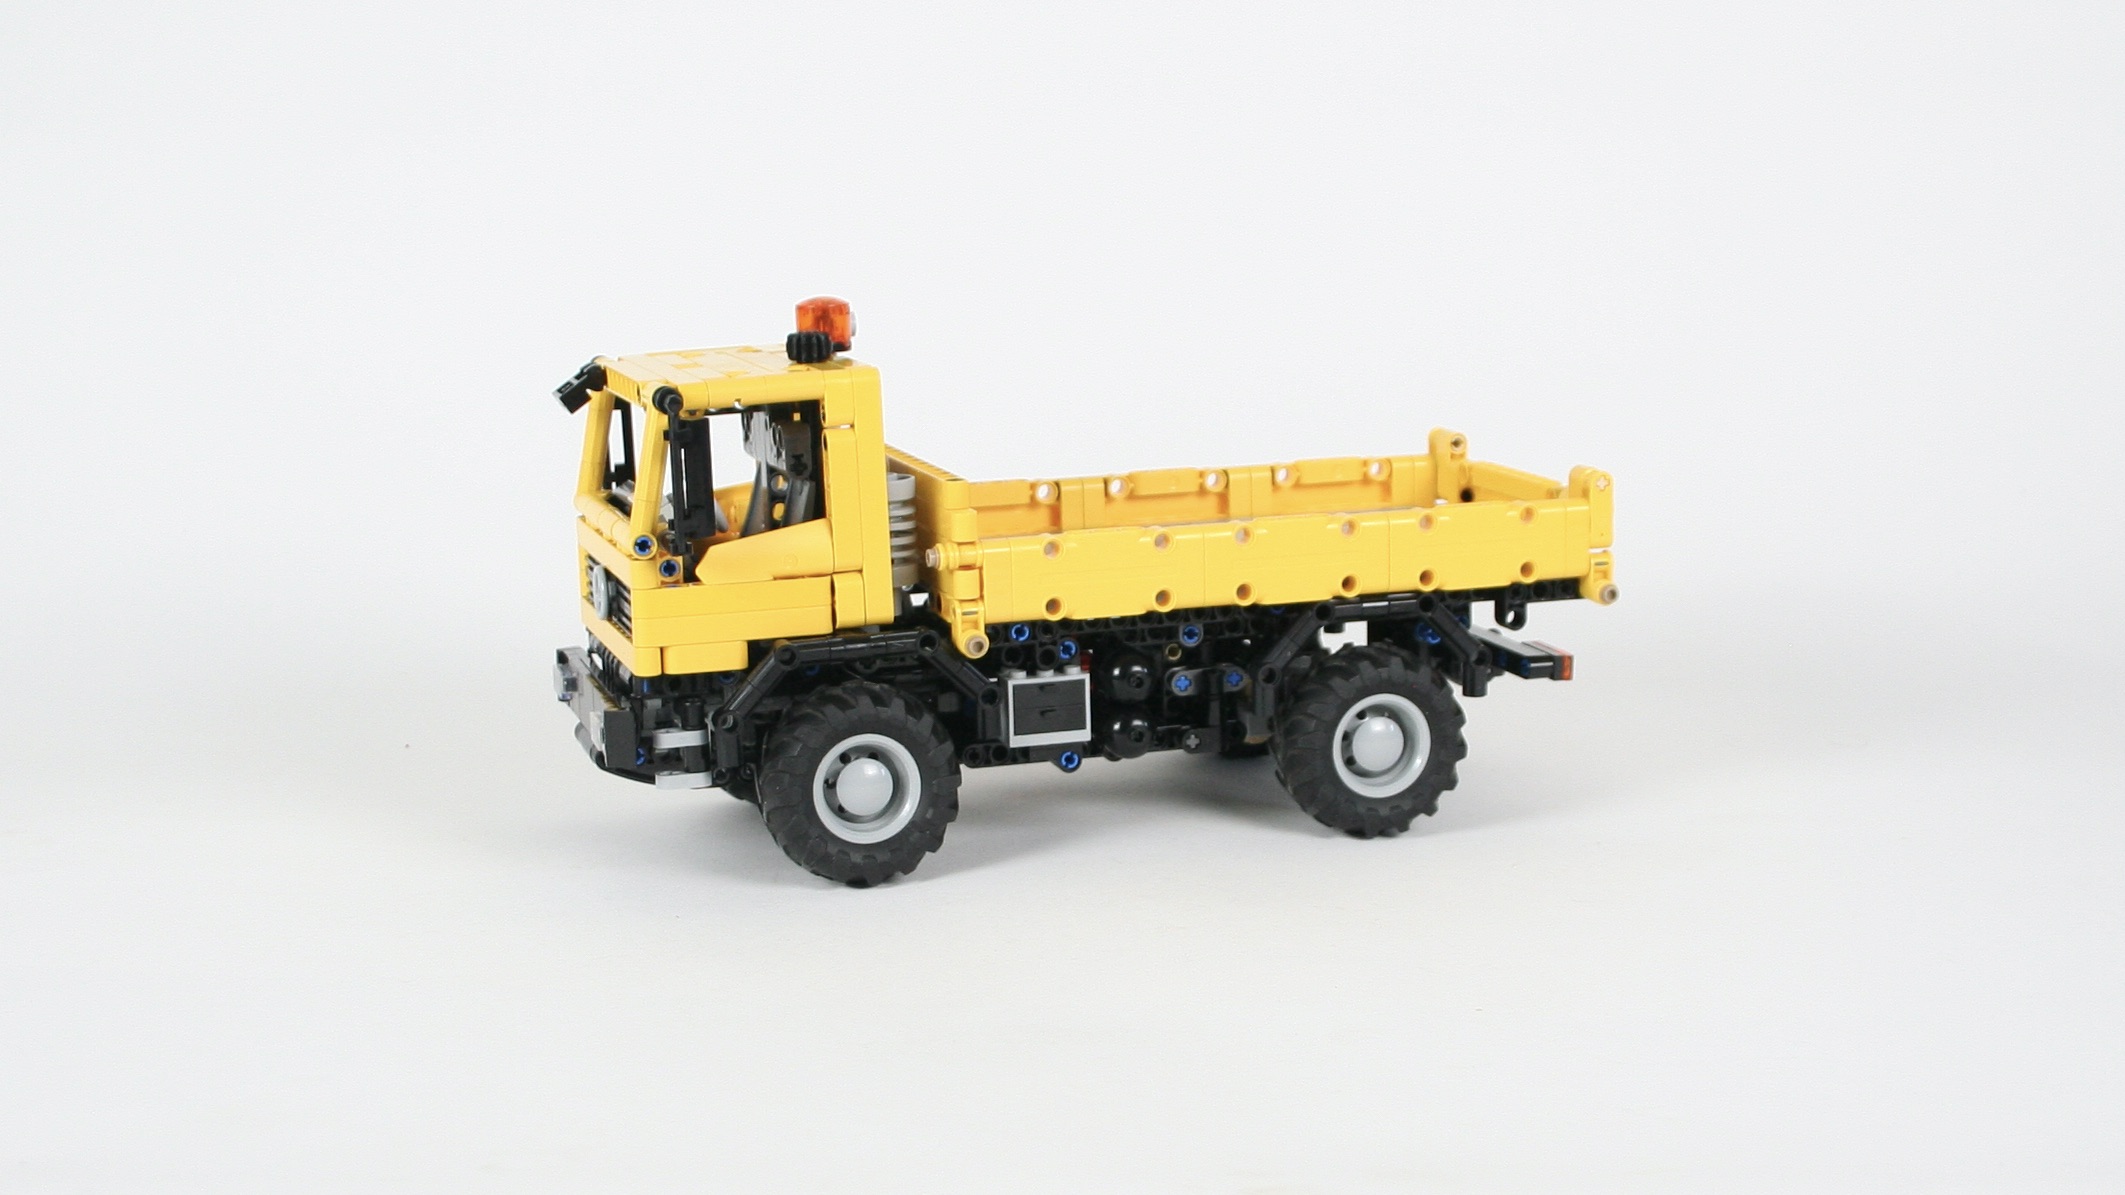
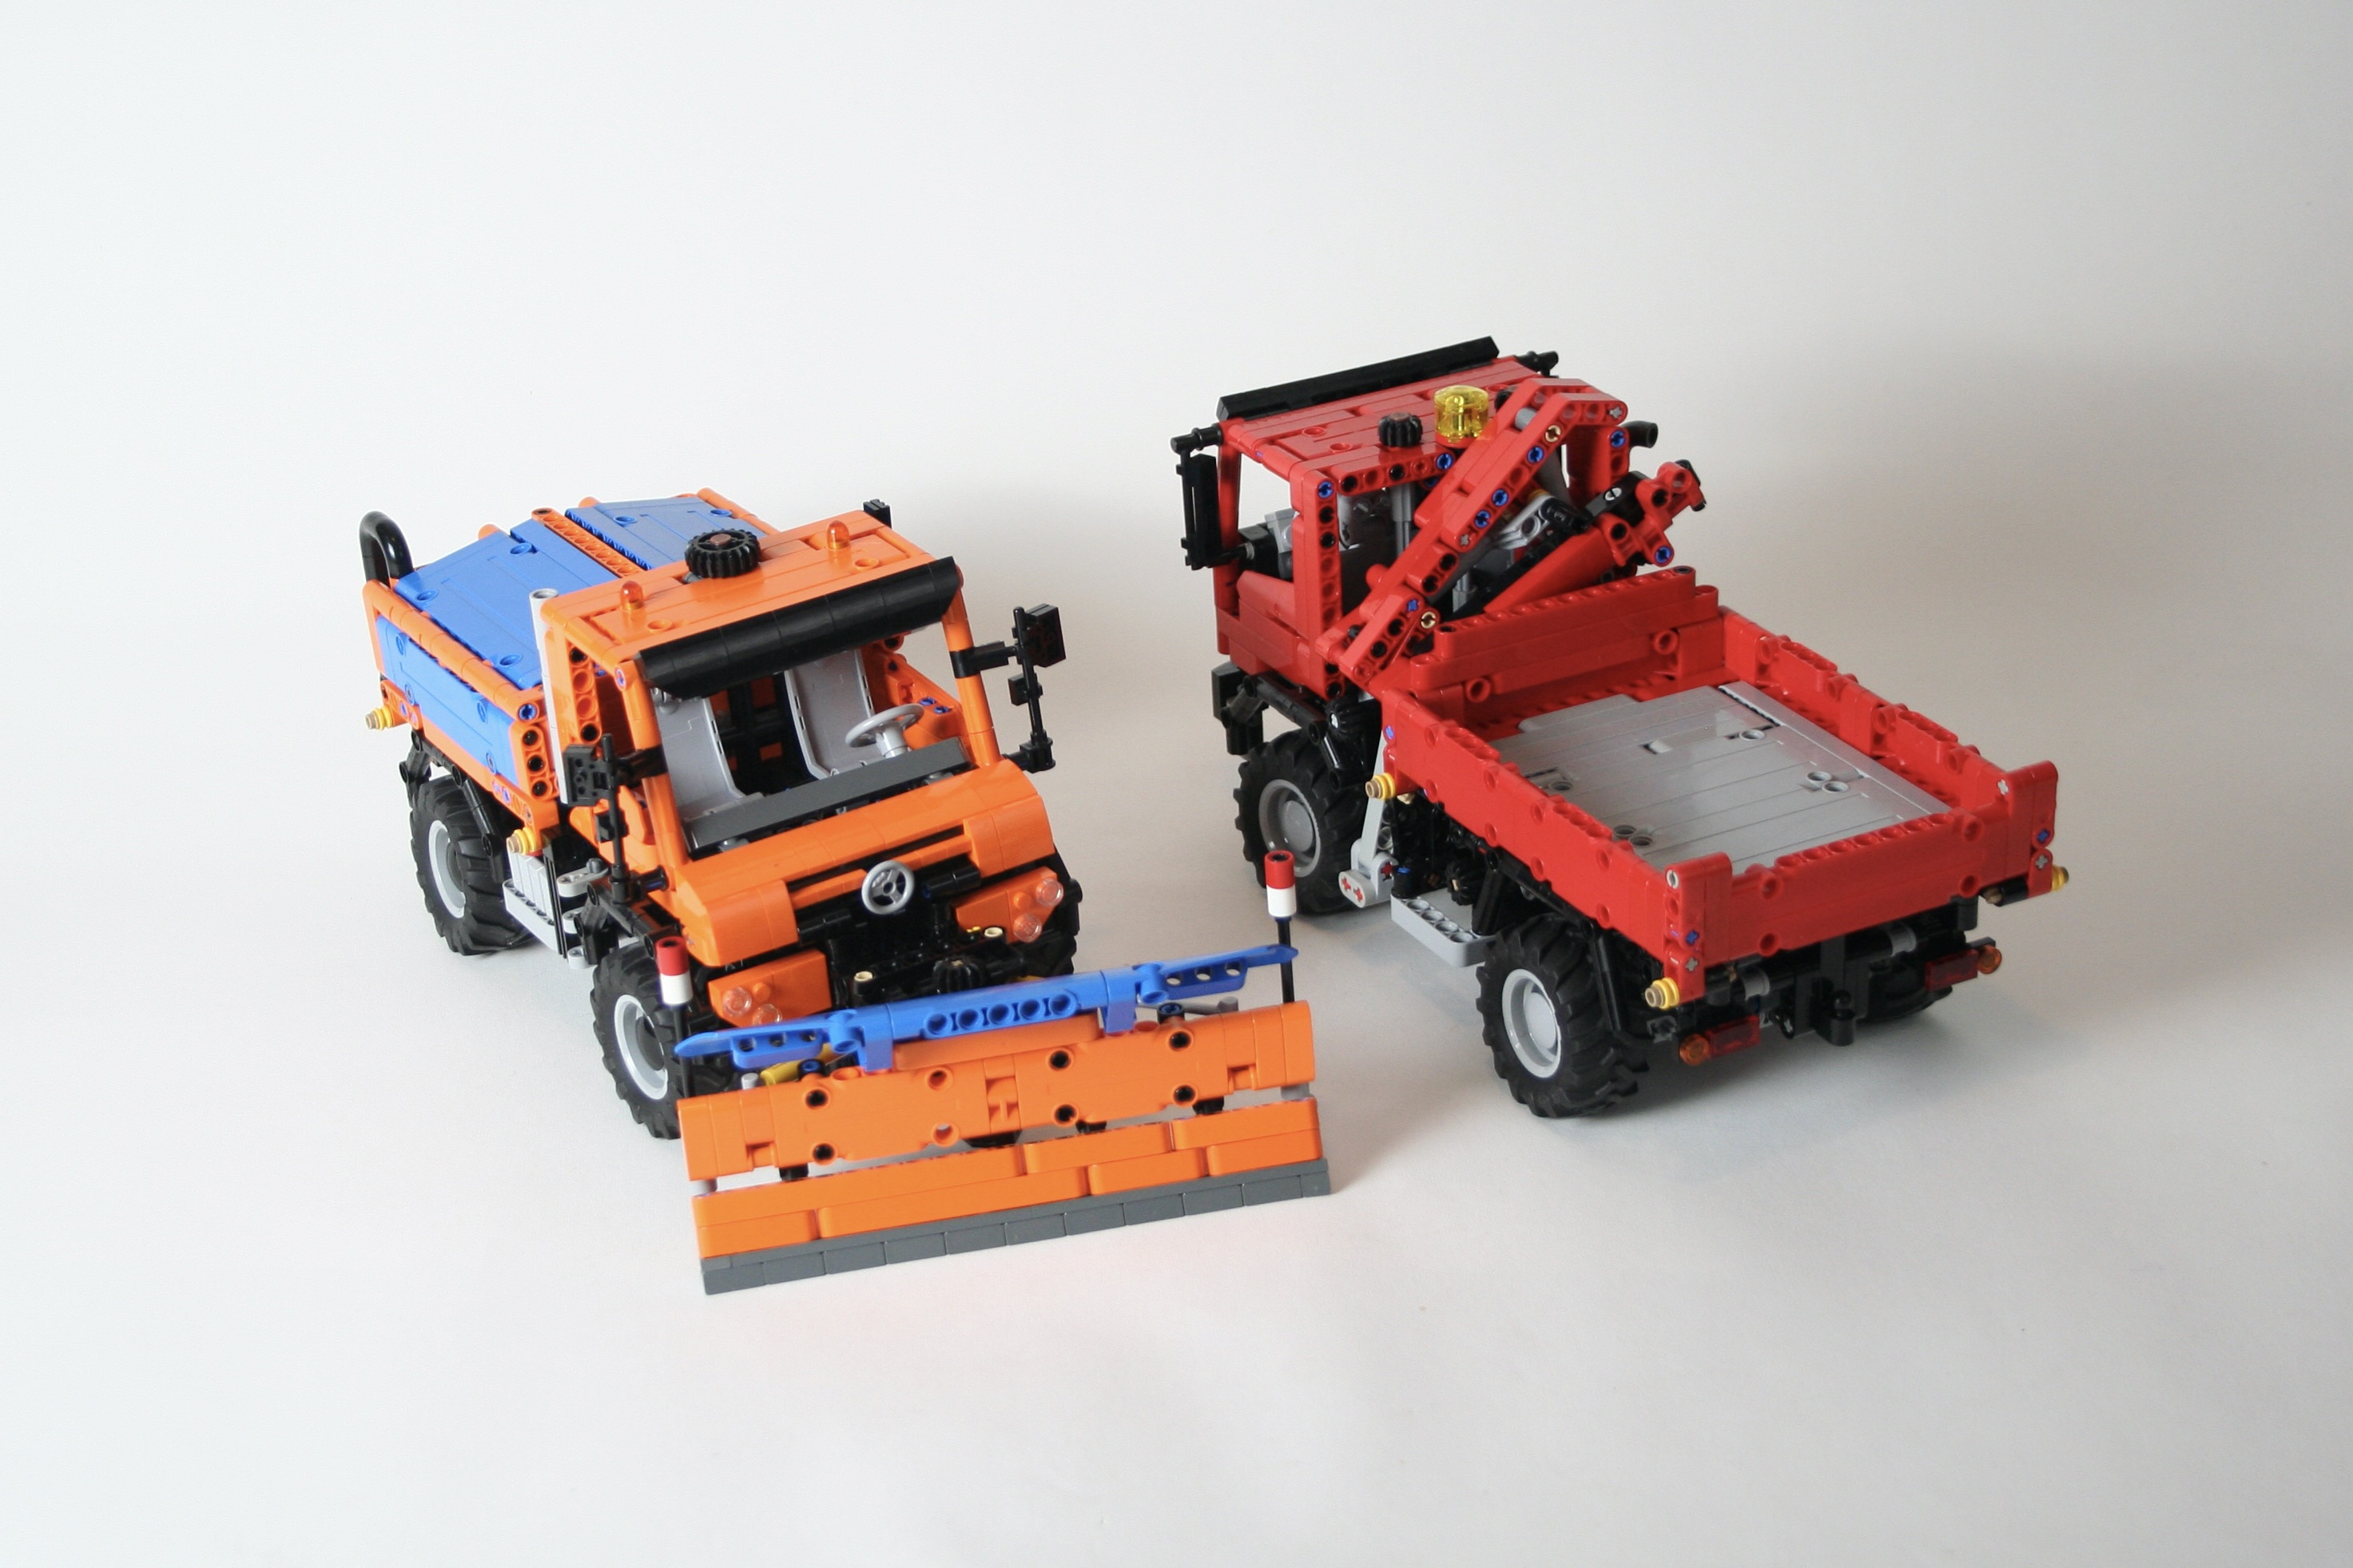
I like trucks, and I like building them. Garbage trucks are the most interested to me. Not only do they look interesting to my eyes, but mechanically they have a lot going on inside of them. Naturally, recreating this out of LEGO fits well with the type of building I enjoy. When I started on this project, I settled on a couple of standards. First, it would be 1:21 scale, second, it would be manually functioned, and finally, it would be a rear loader.
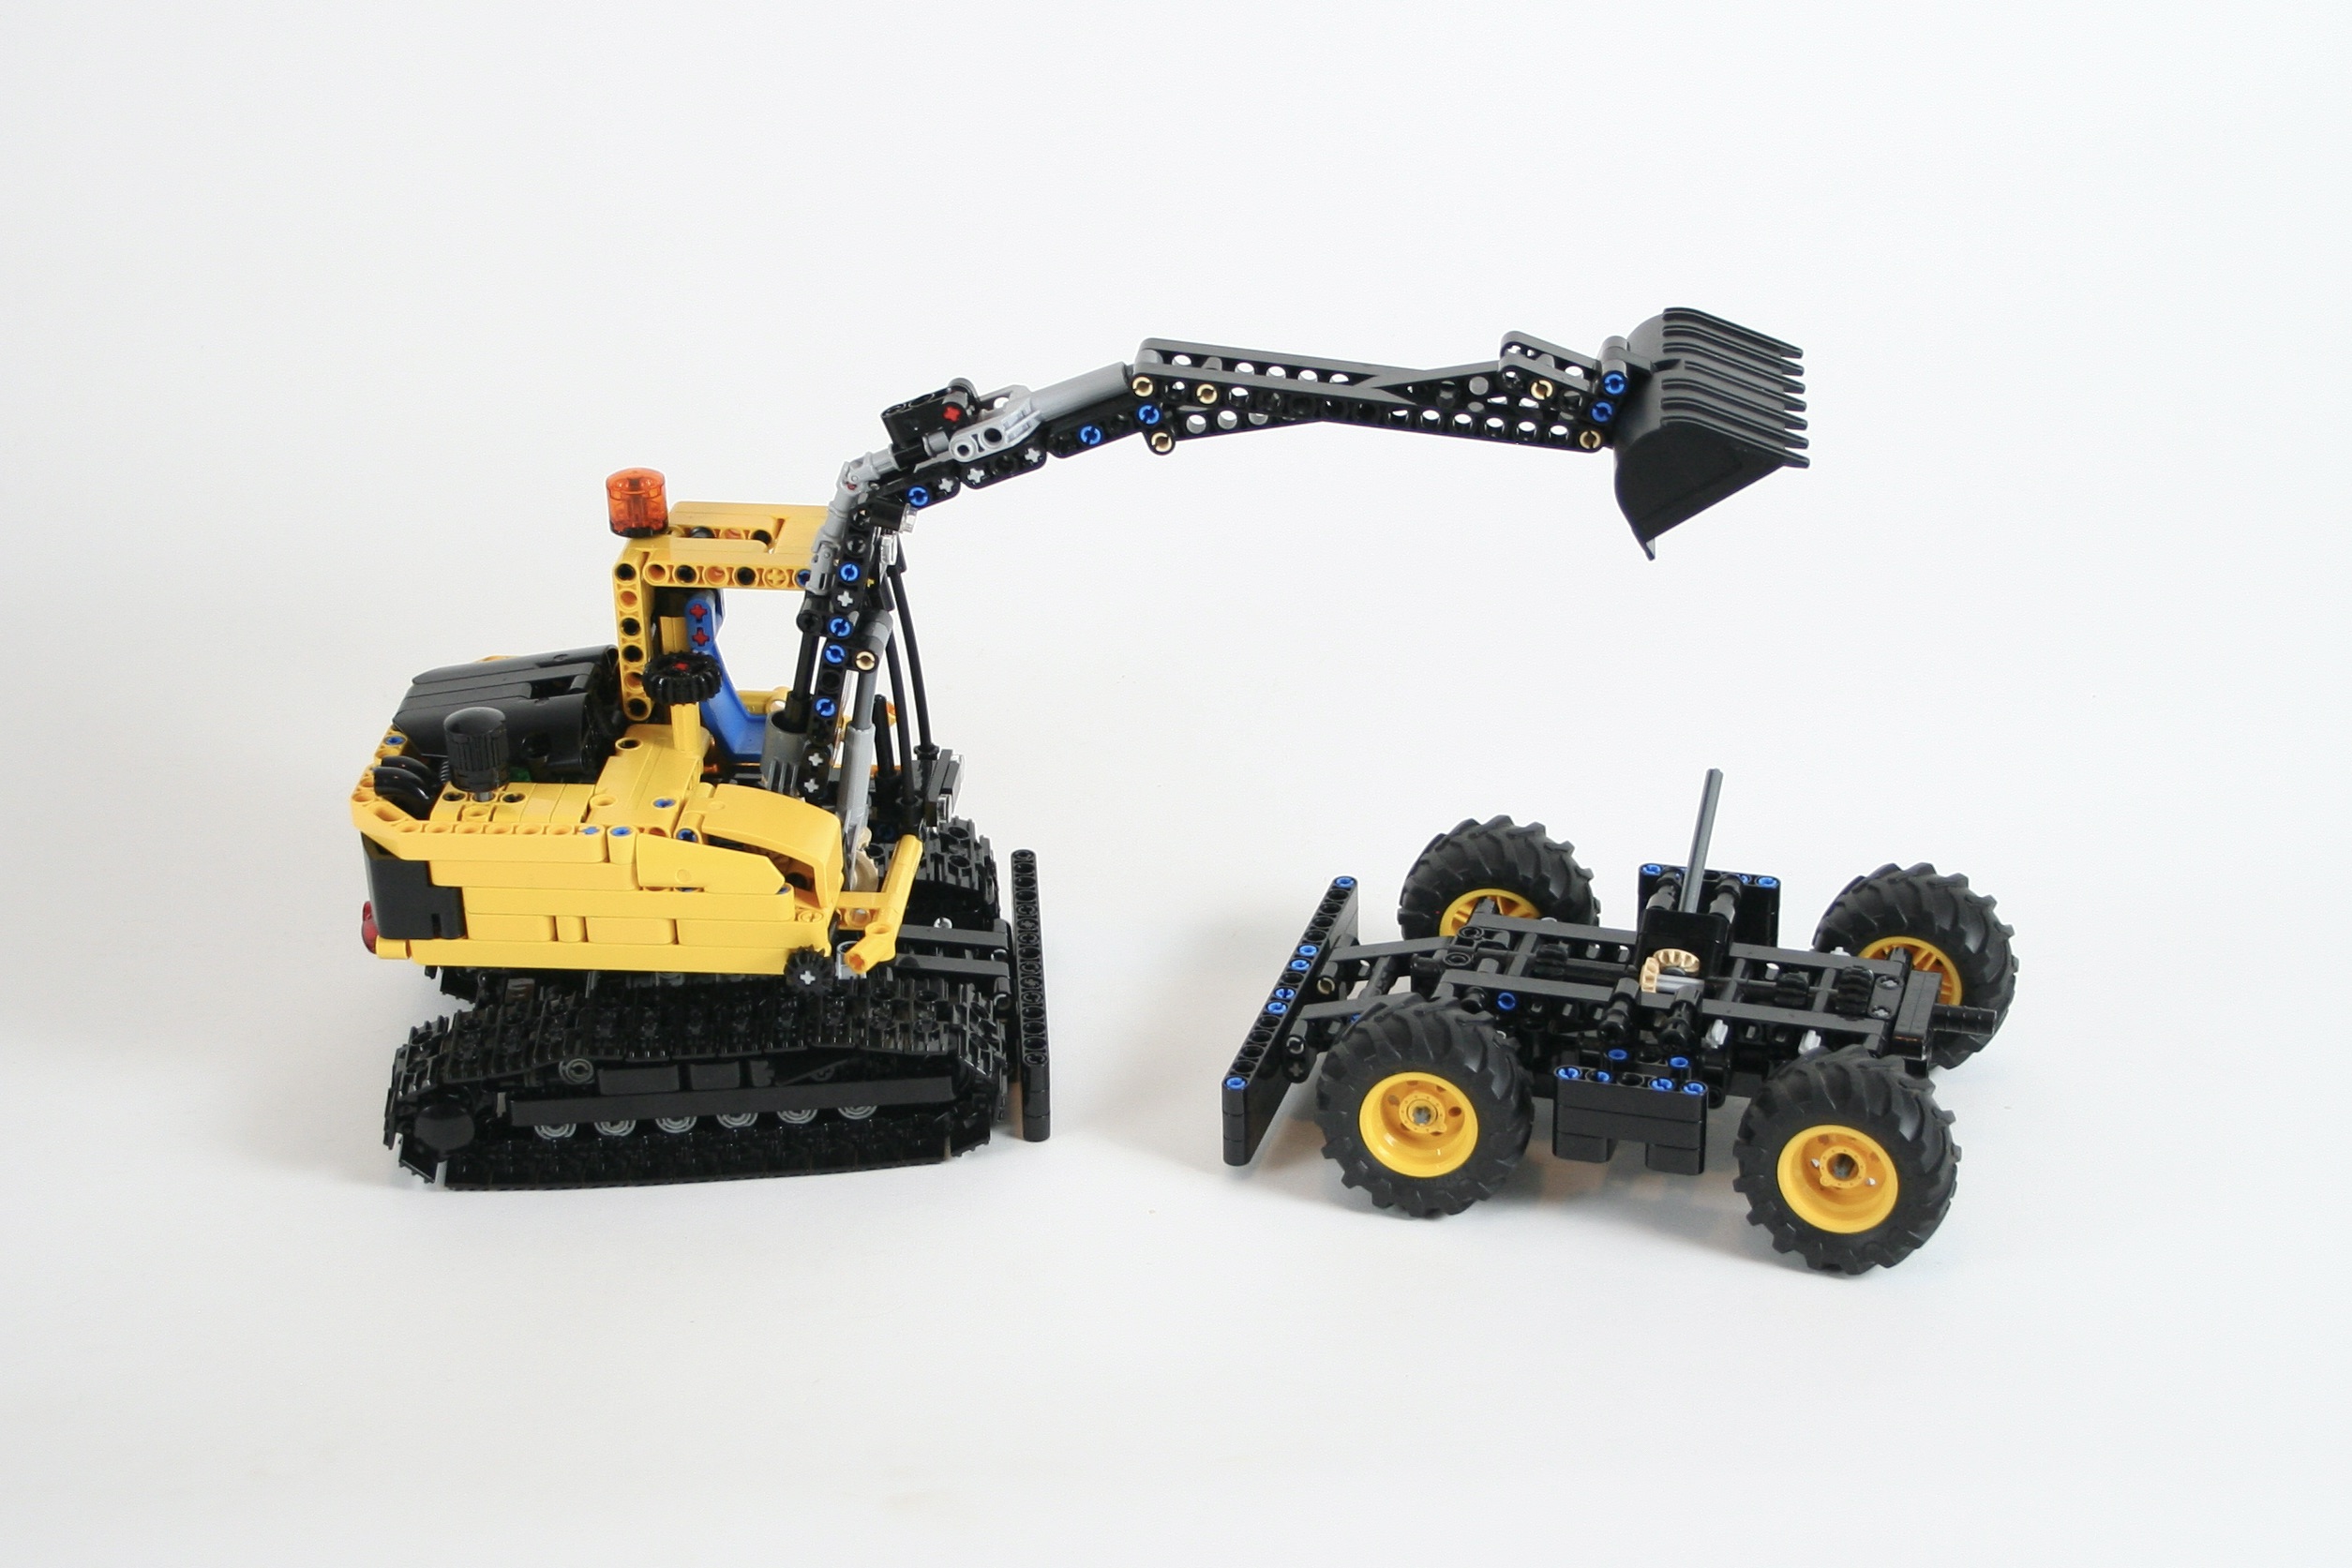
I worked on this model differently than I normally do. Generally I design a crude frame, and place all the mechanical aspects on this frame, and slowly build out the rest of model until it is done. On the garbage truck, I worked on three sections on the build in tandem: the chassis, the body, and the compactor.
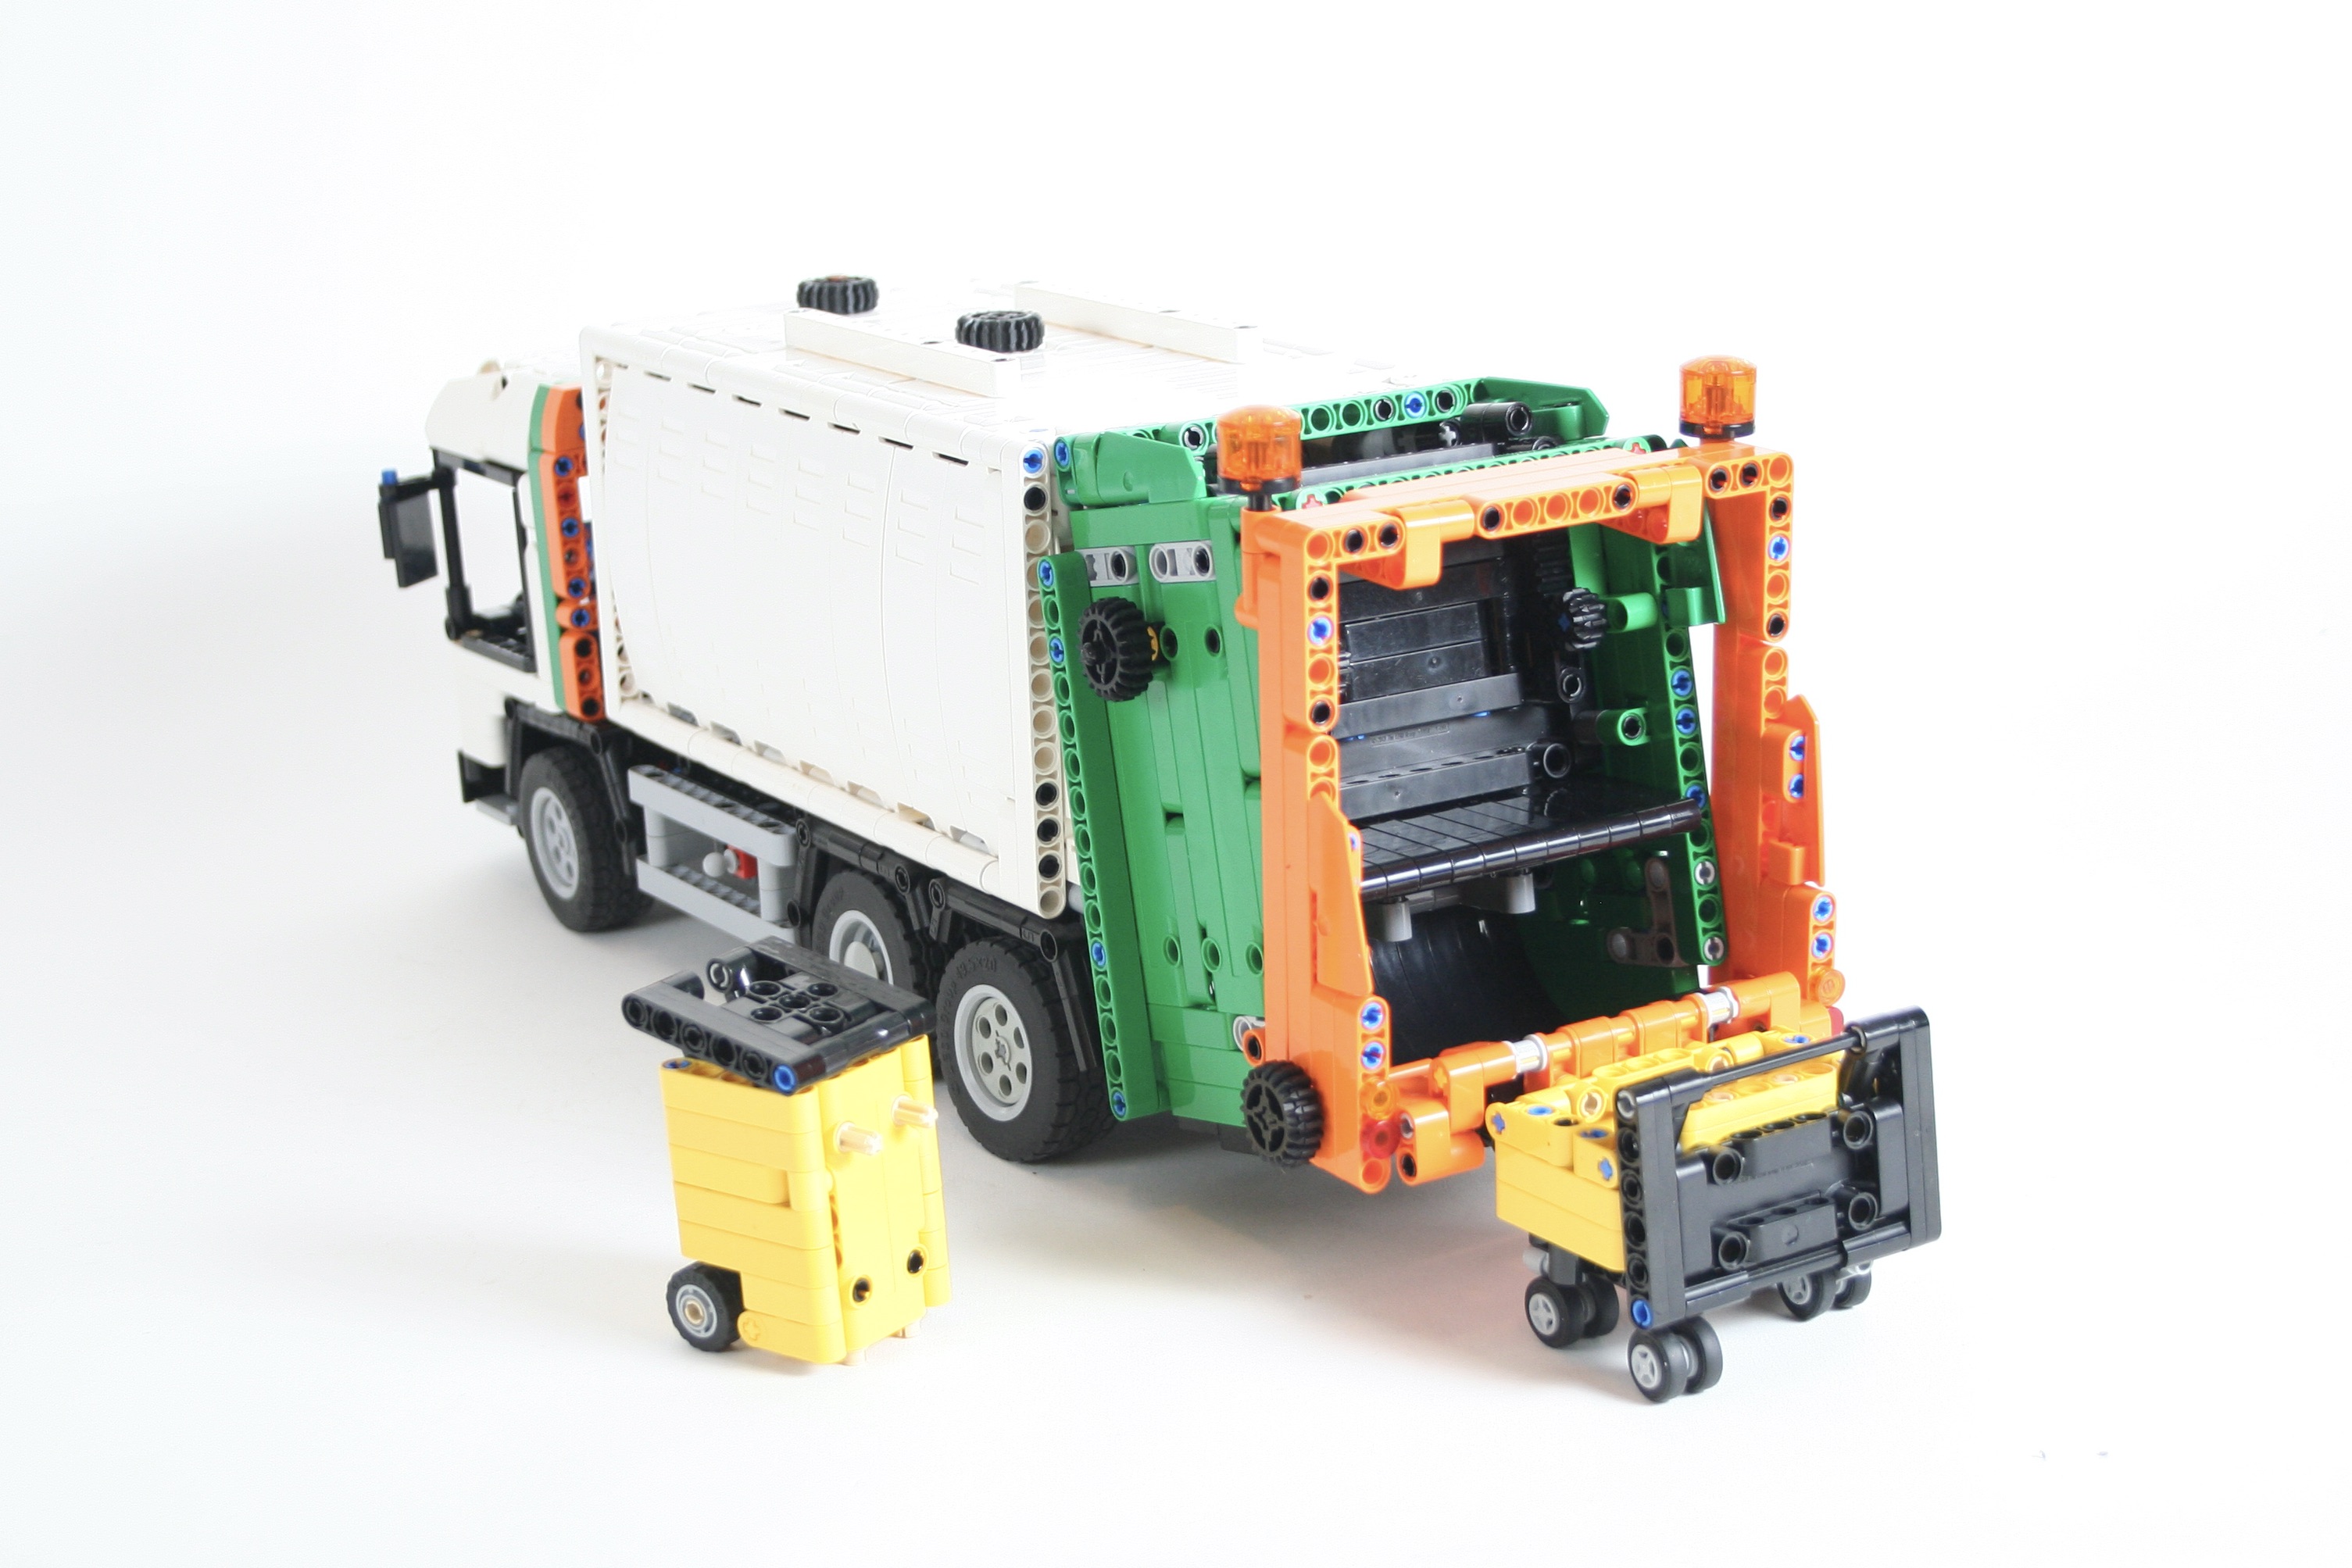
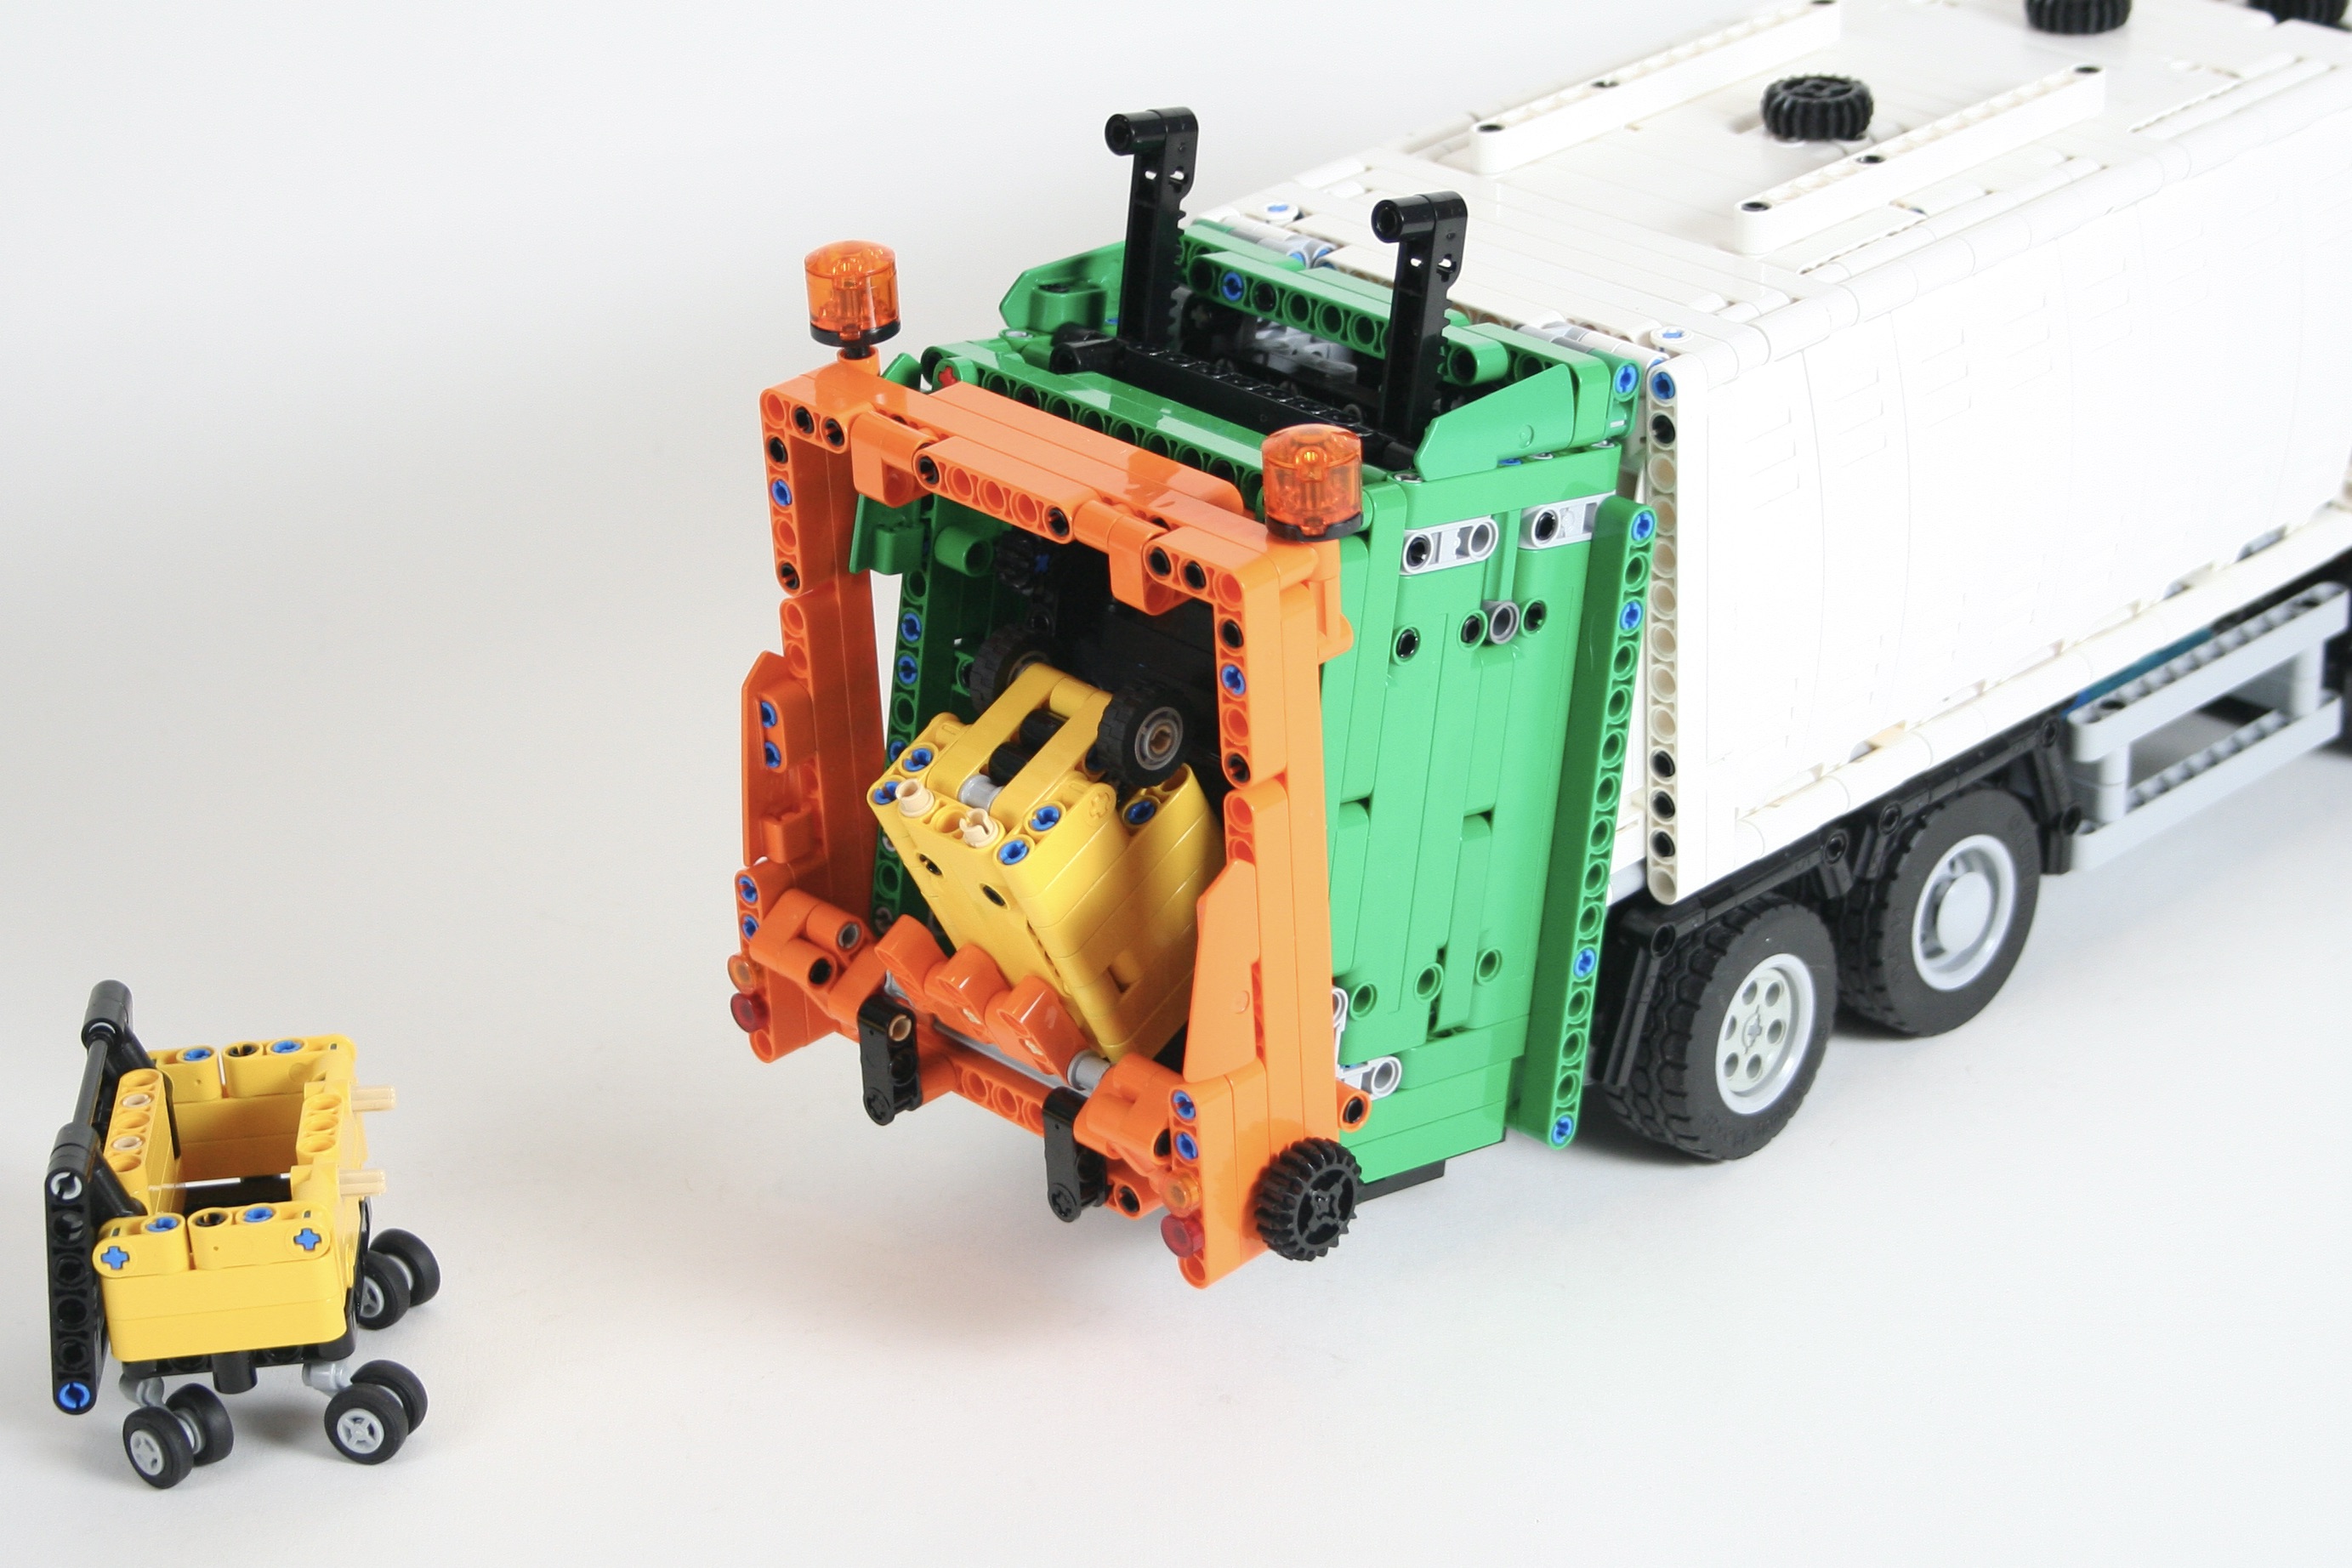
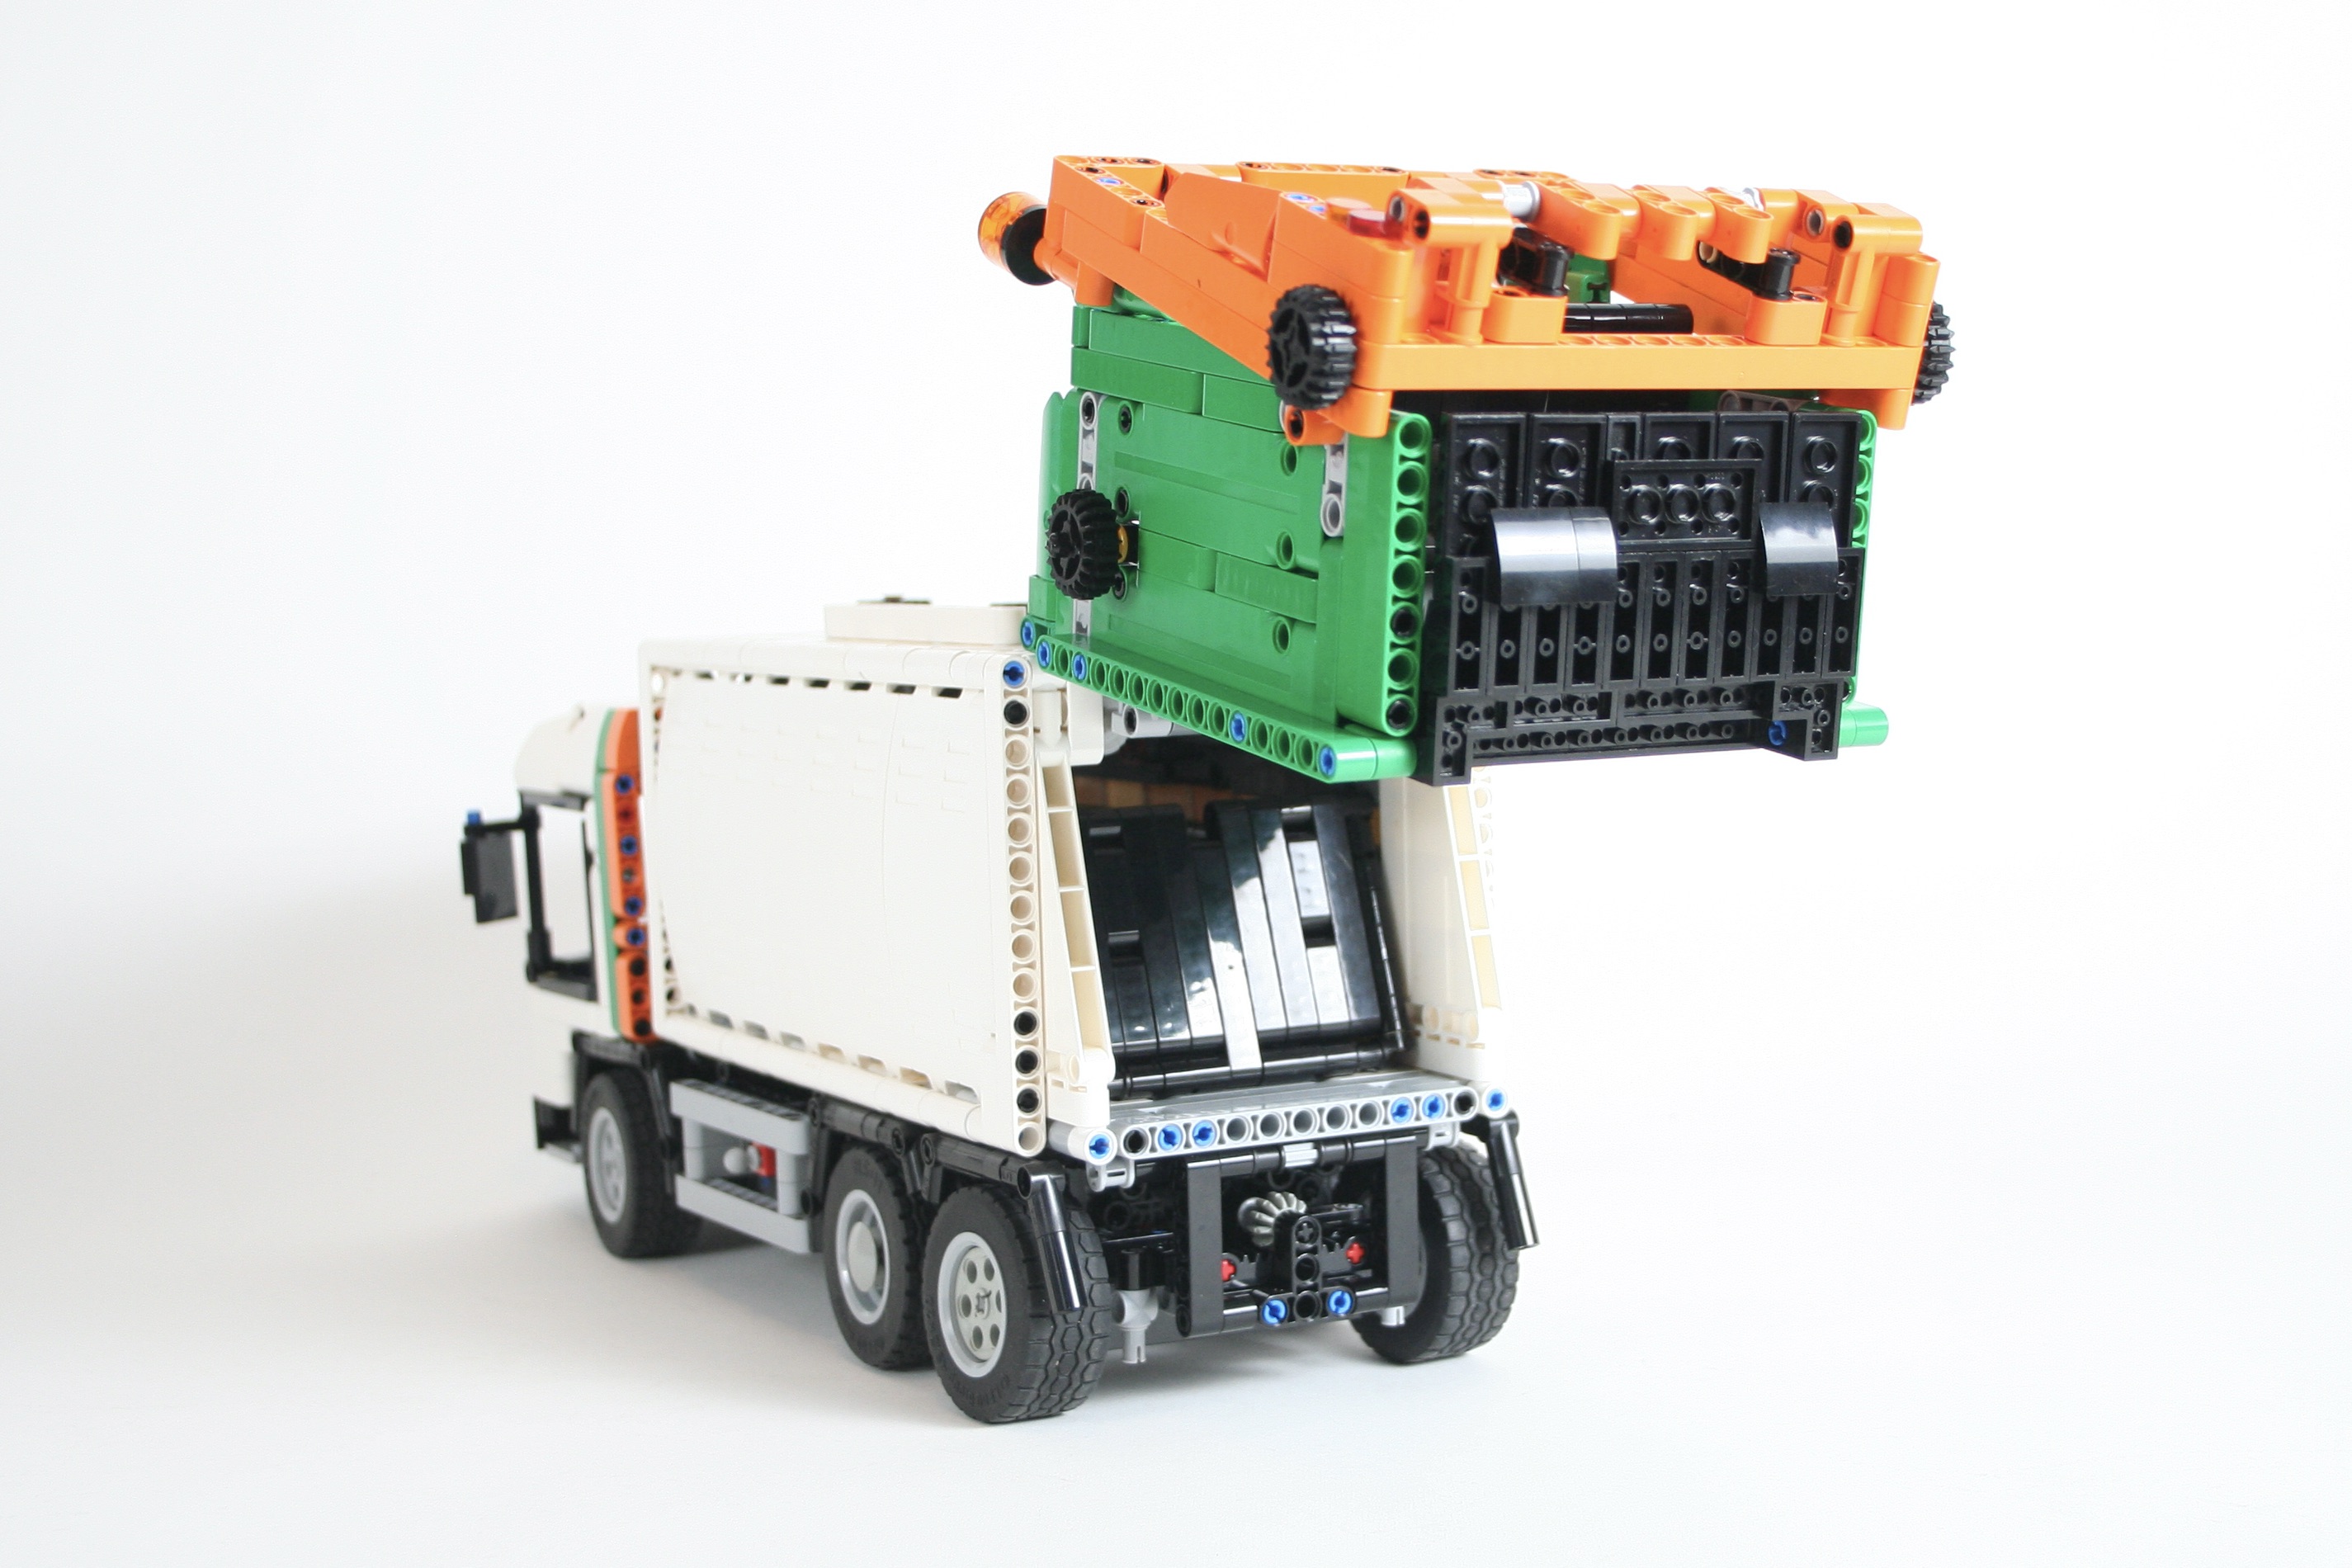
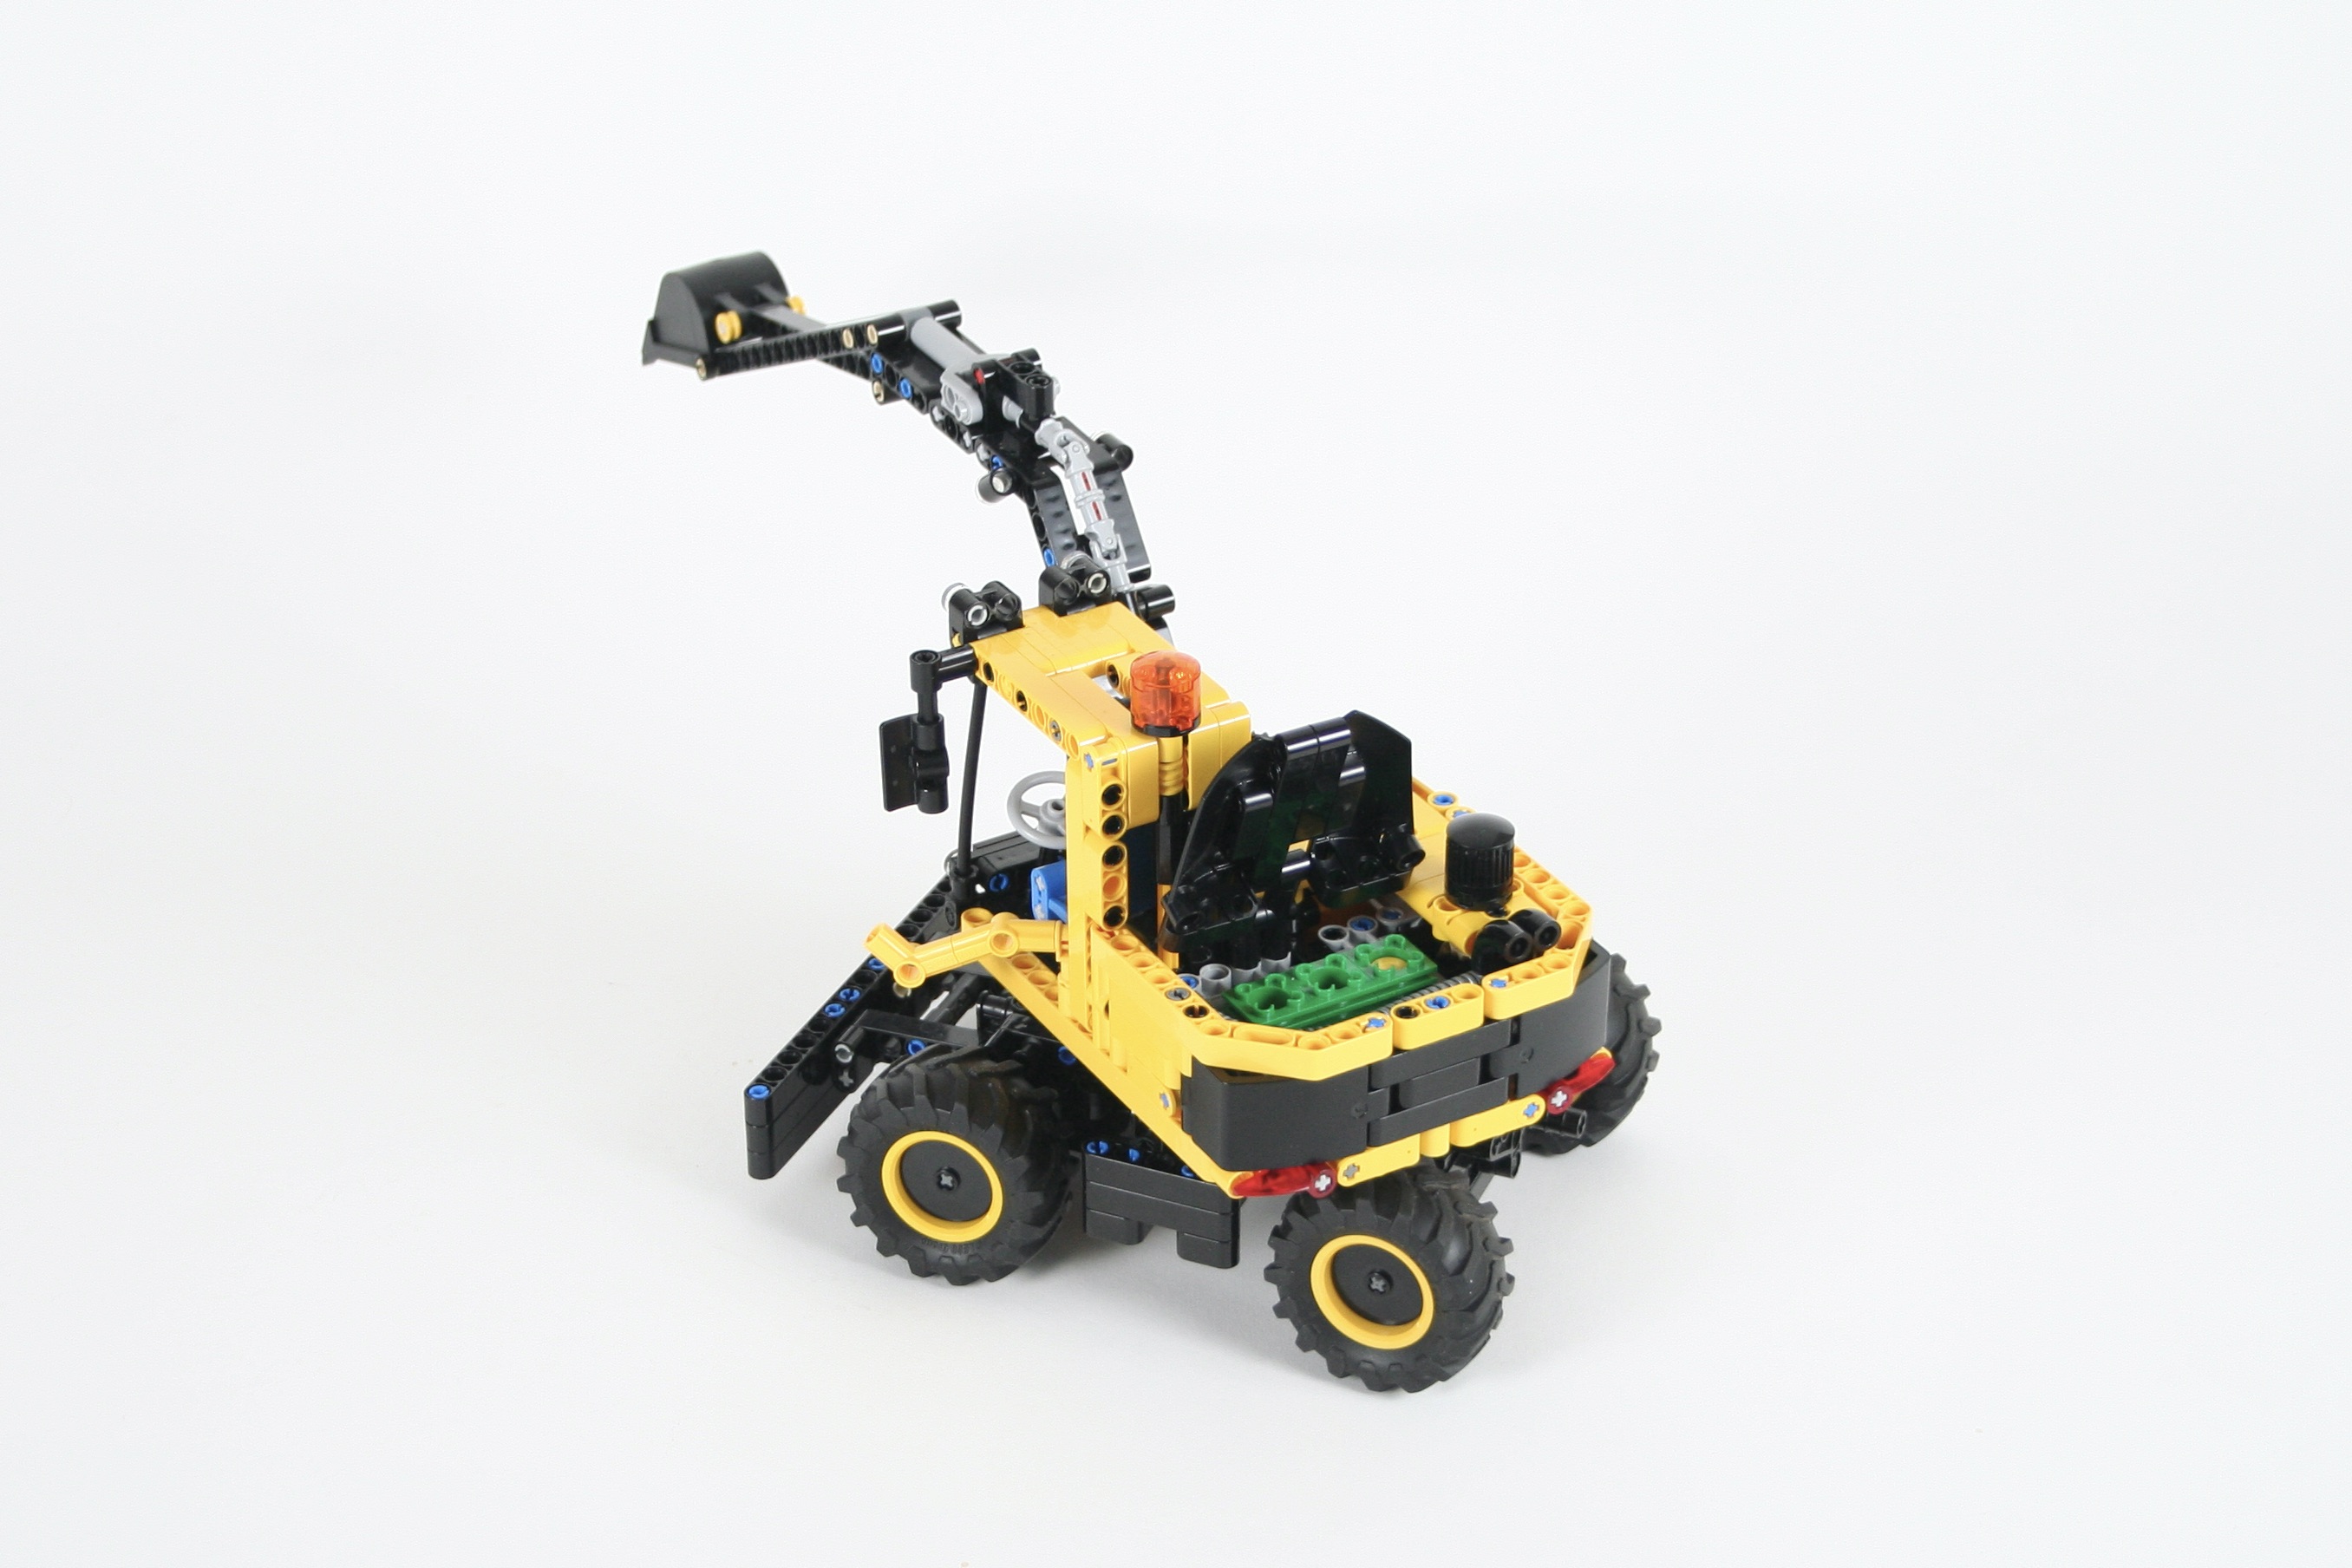
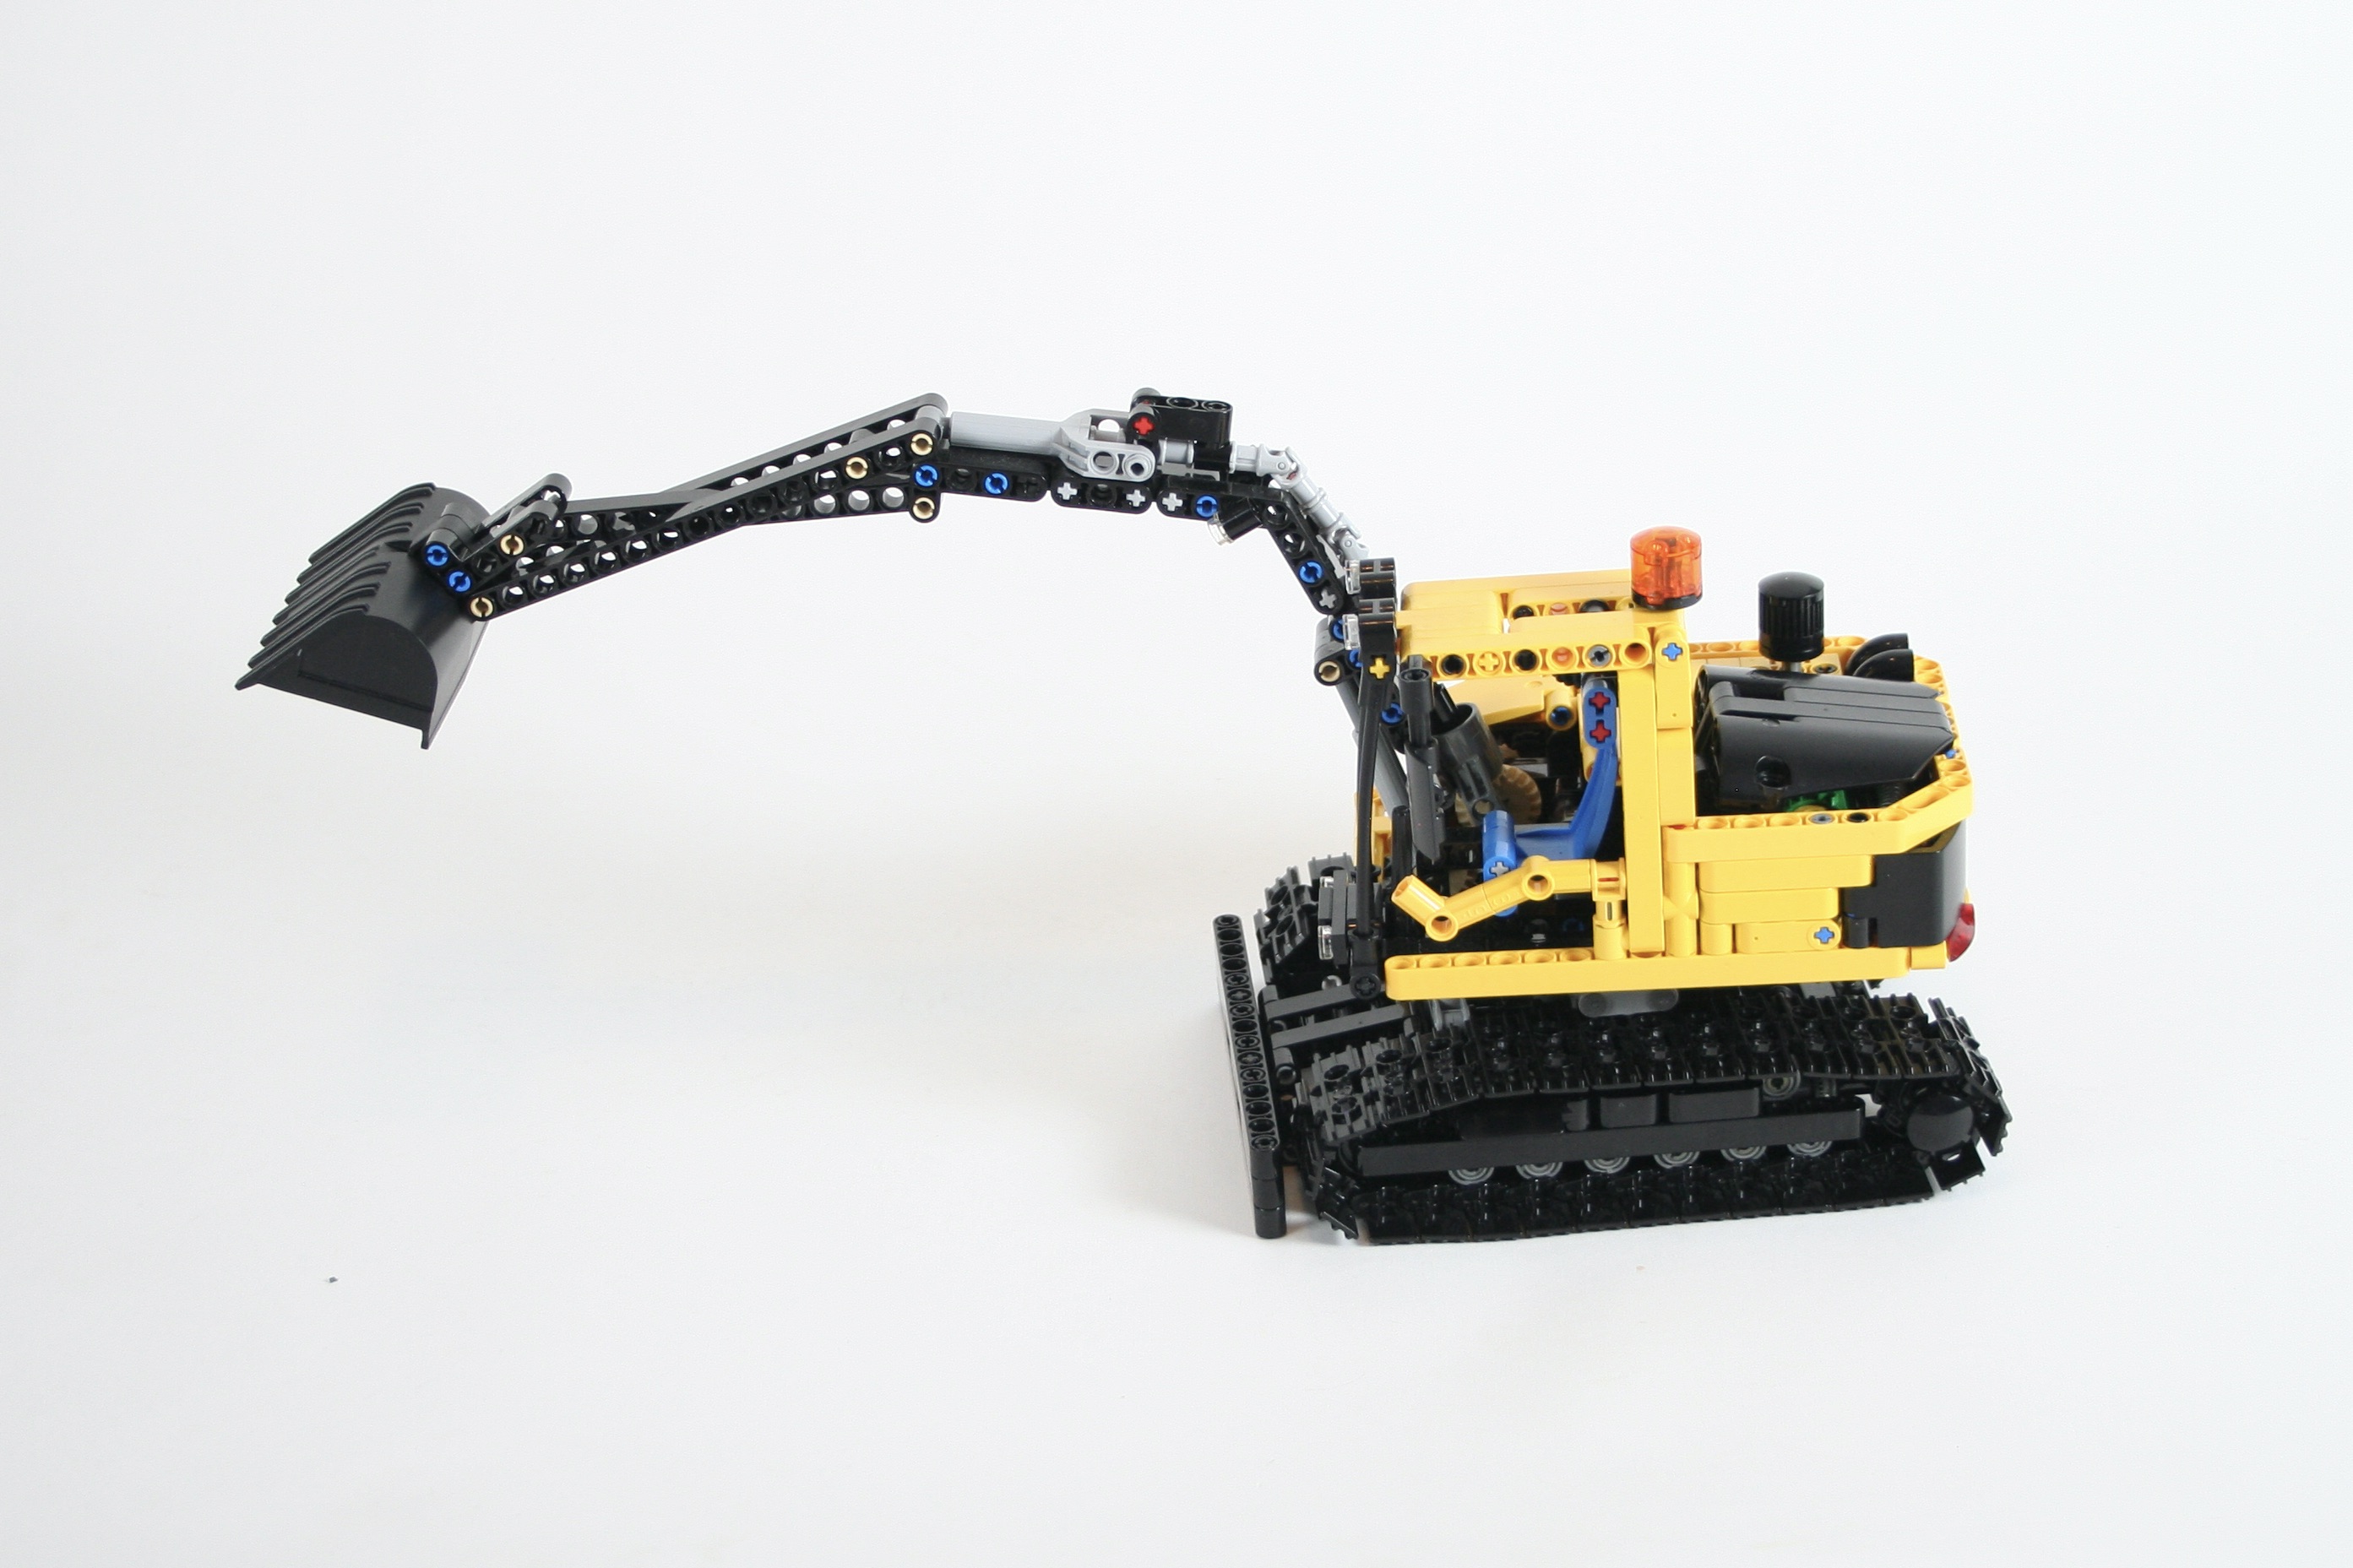
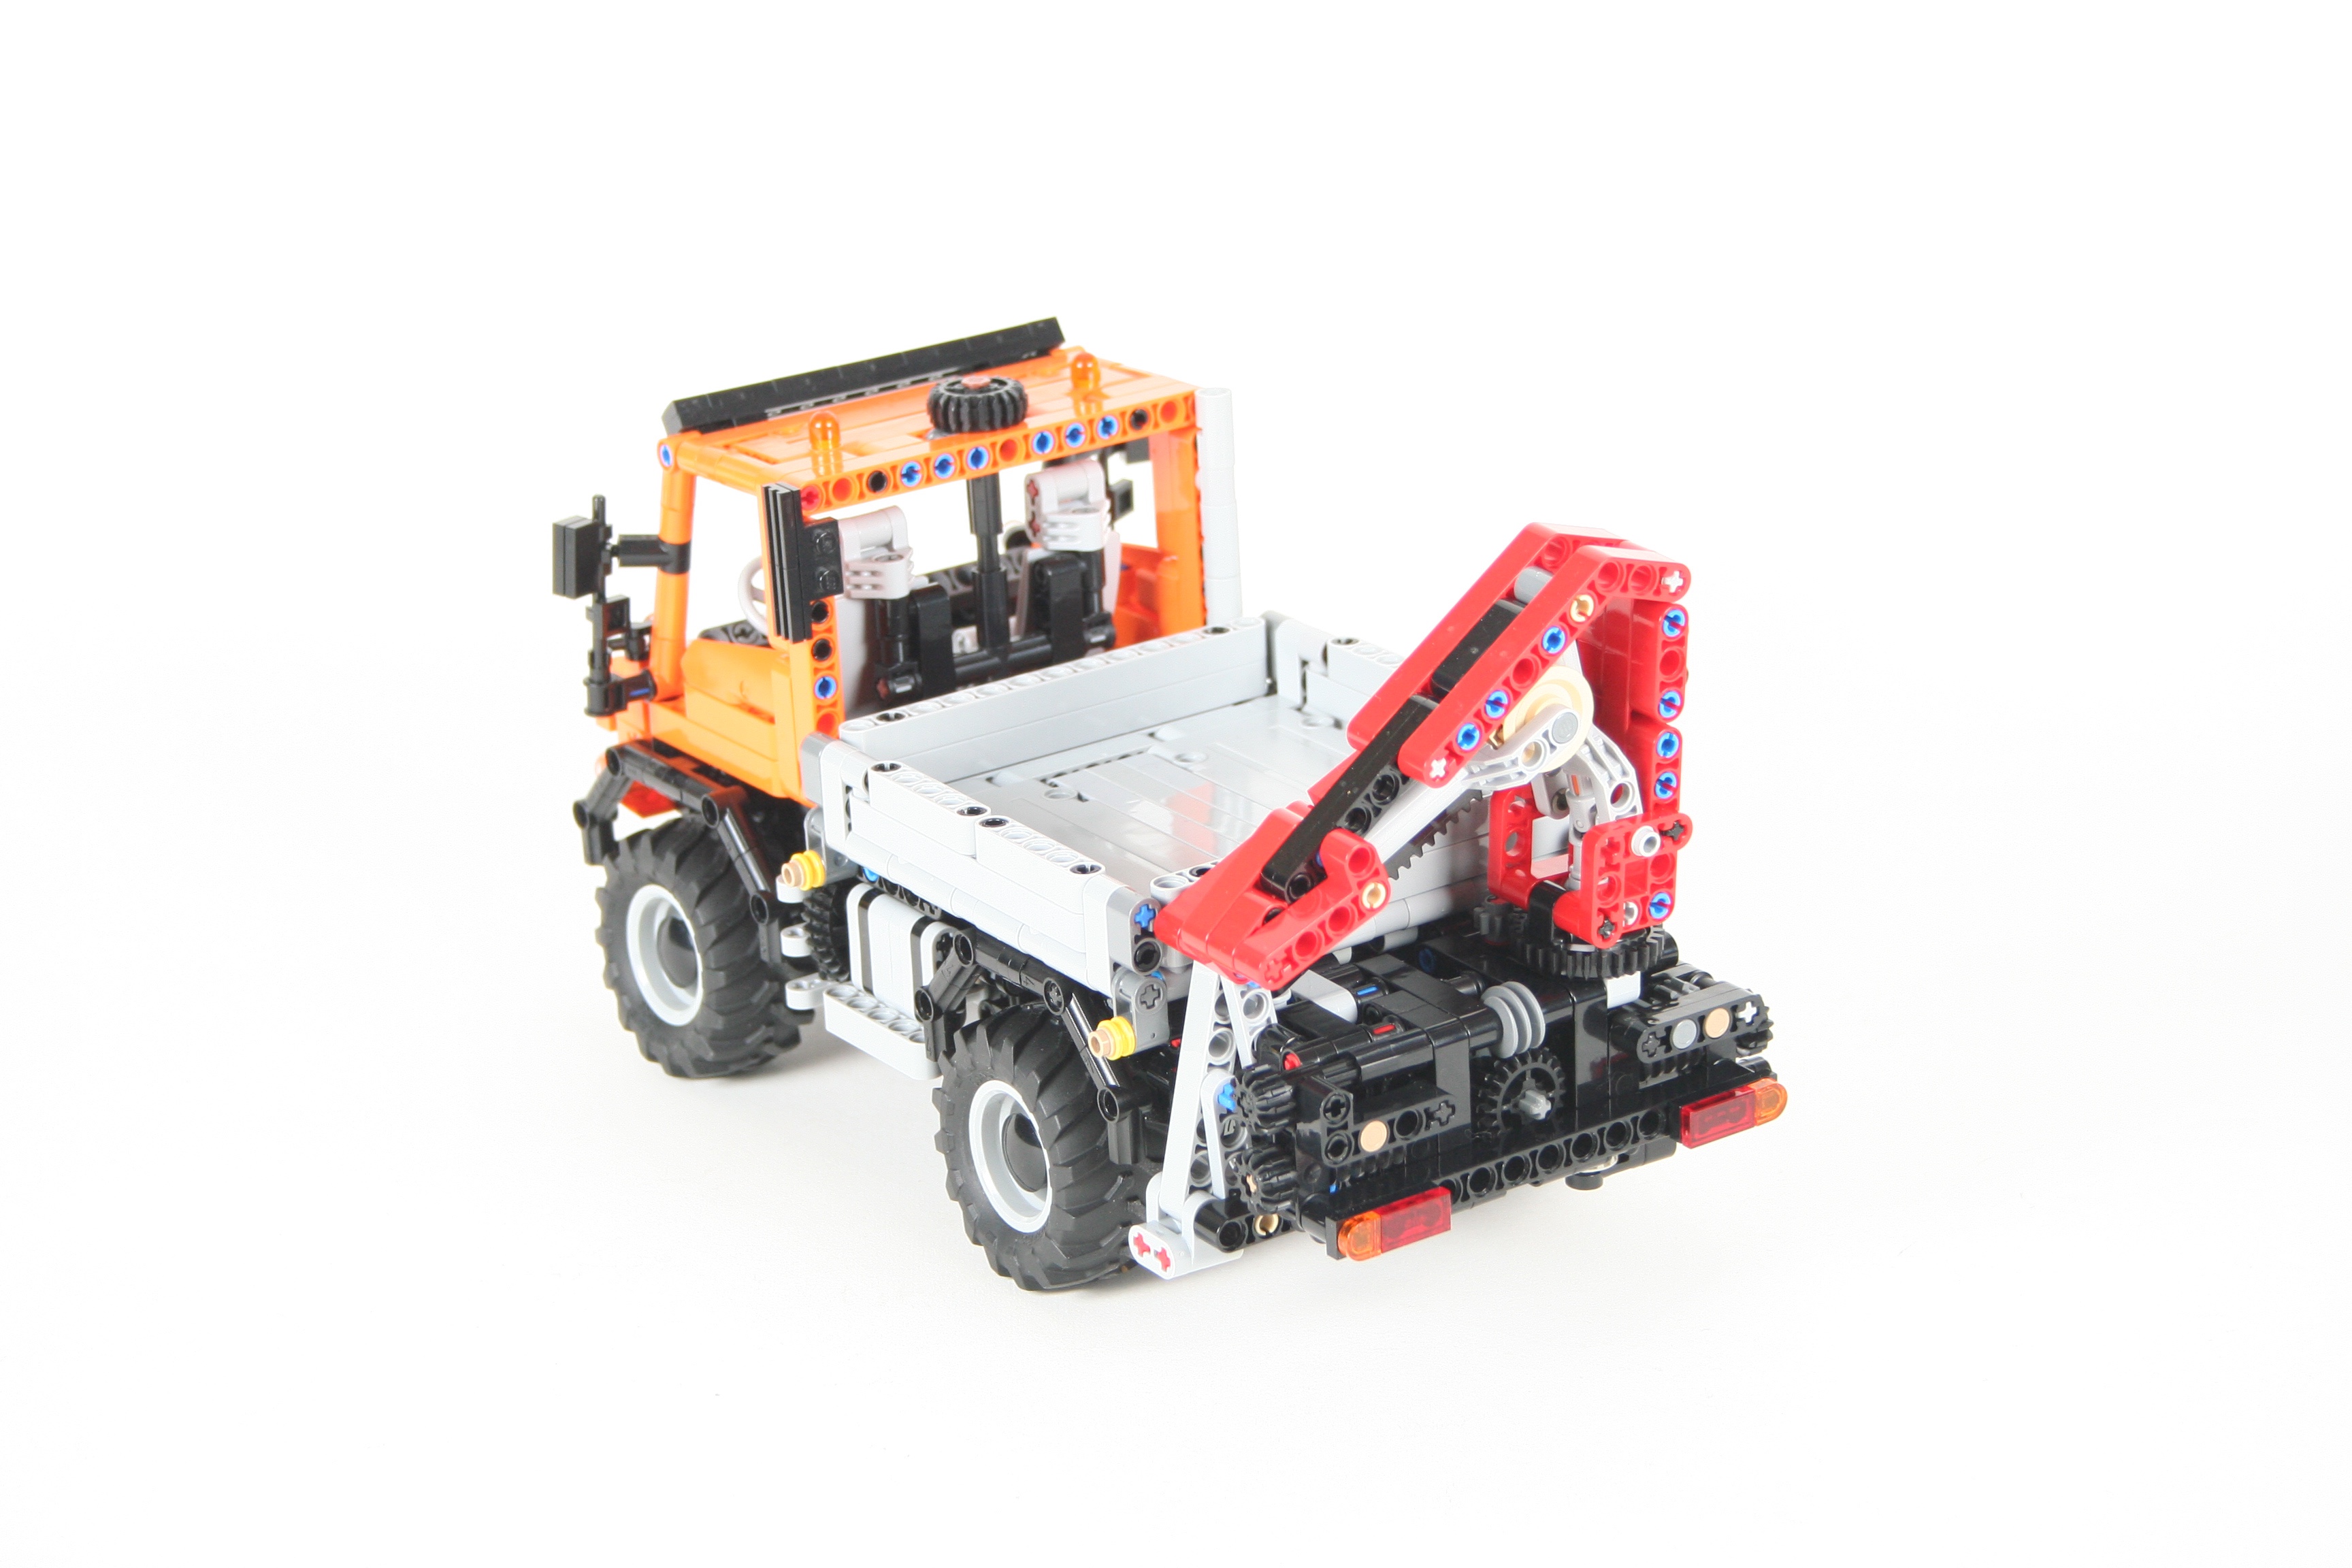
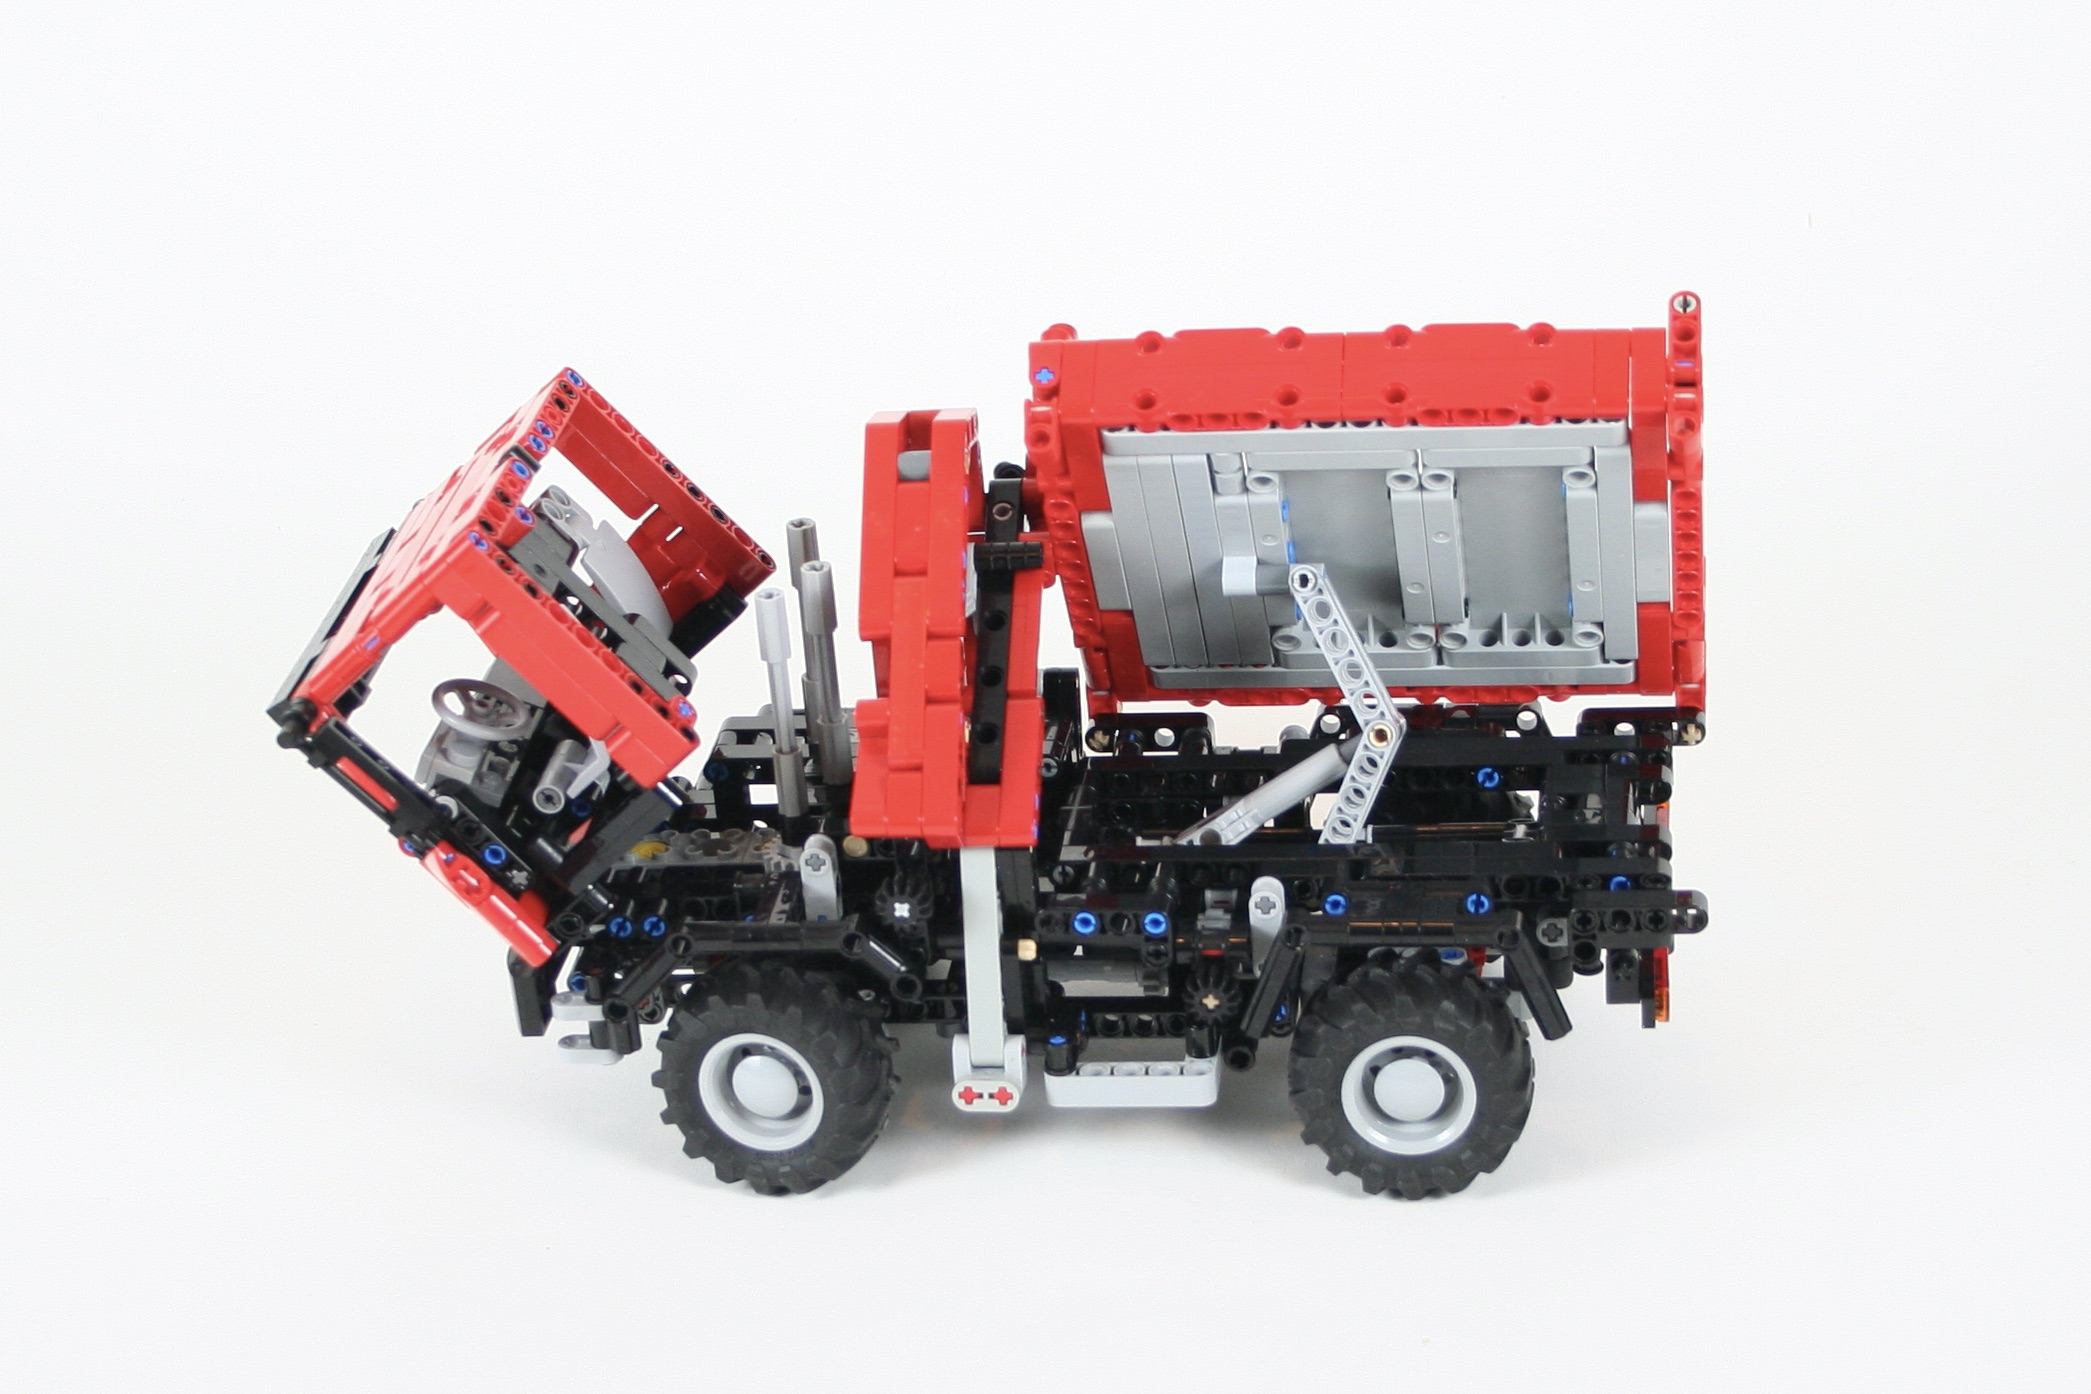
The compactor started first, and was the hardest to get right. I settled on a function that is controlled by one gear on the left of the truck. The gear moves the compactor door mount, and an interval resistance gear allows for movement of the compactor plate. The one gear controls the two movements. So when trash is added to the hopper, moving the gear extends the door down, pivots the plate, moves the door up, and then pivots the plate open again.

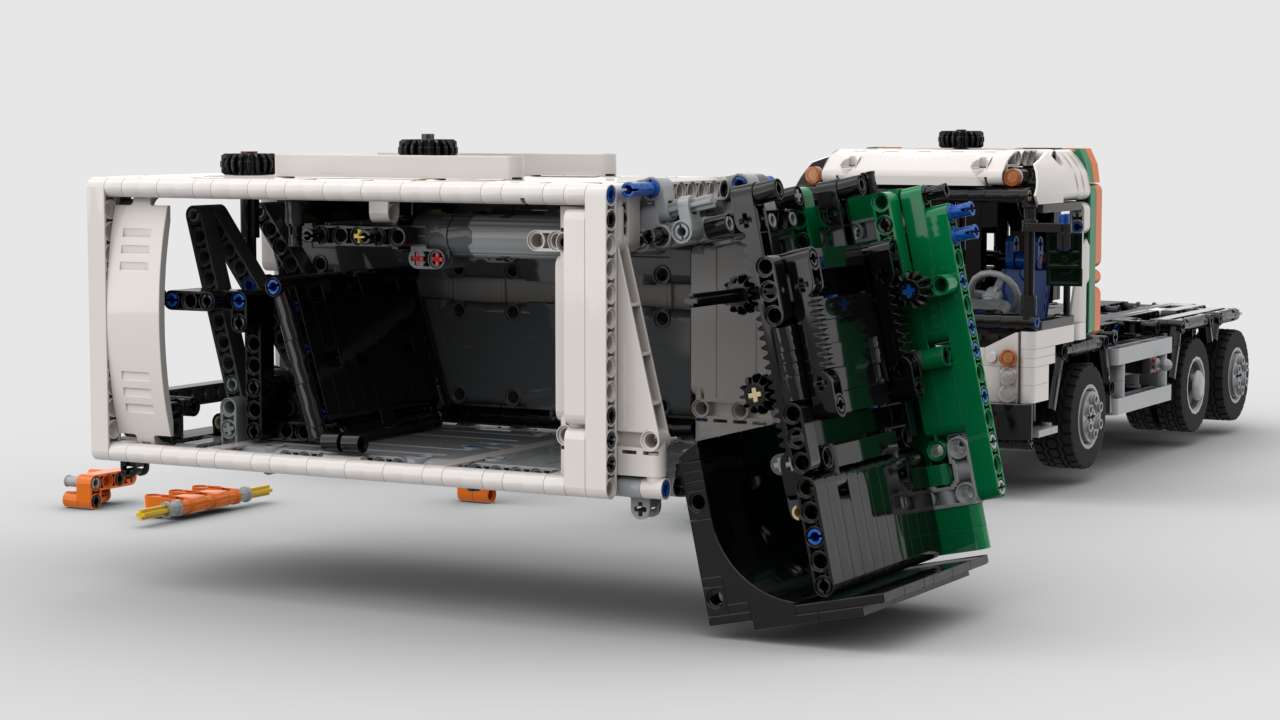
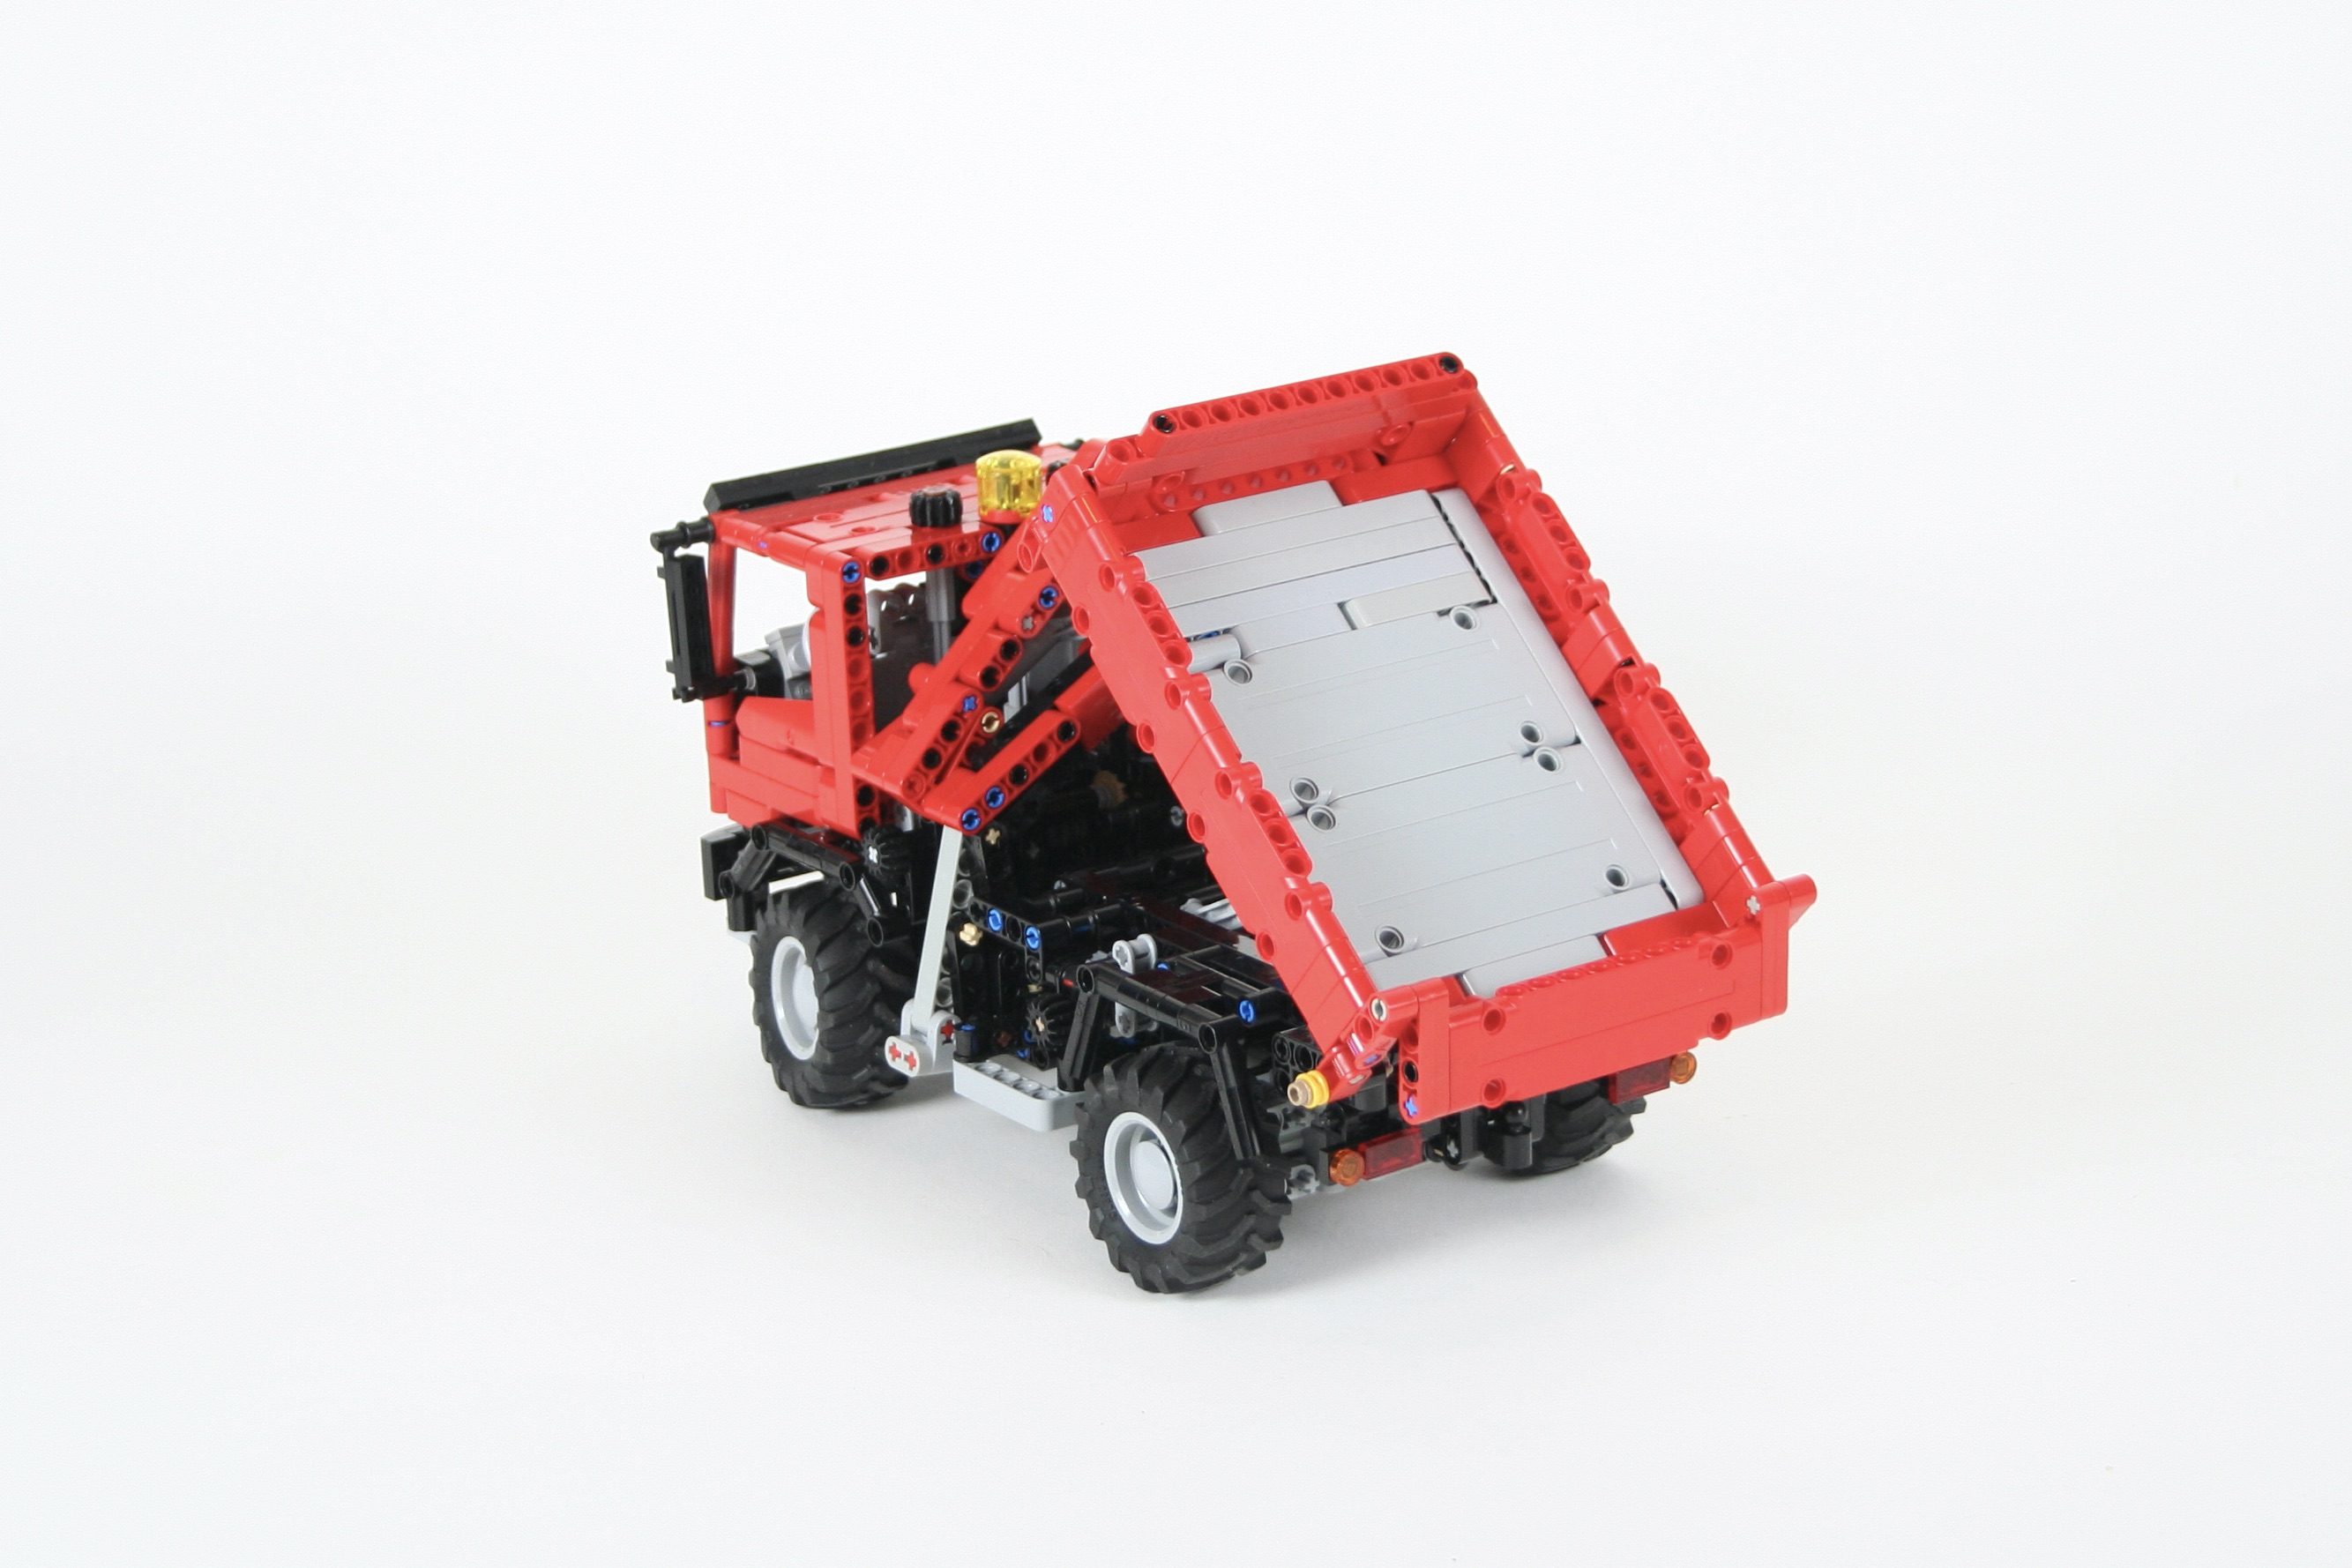
The body was started soon, and would need to work hand in hand with both the compactor and the chassis. The body would house both the extractor plate to push trash out of the truck, and the mechanism to pivot the compactor up to open. These two functions were simple to design, but what took the most time was making sure the body was strong to support the functions and the rear compactor, and to be smooth internally to make sure trash would not get stuck.

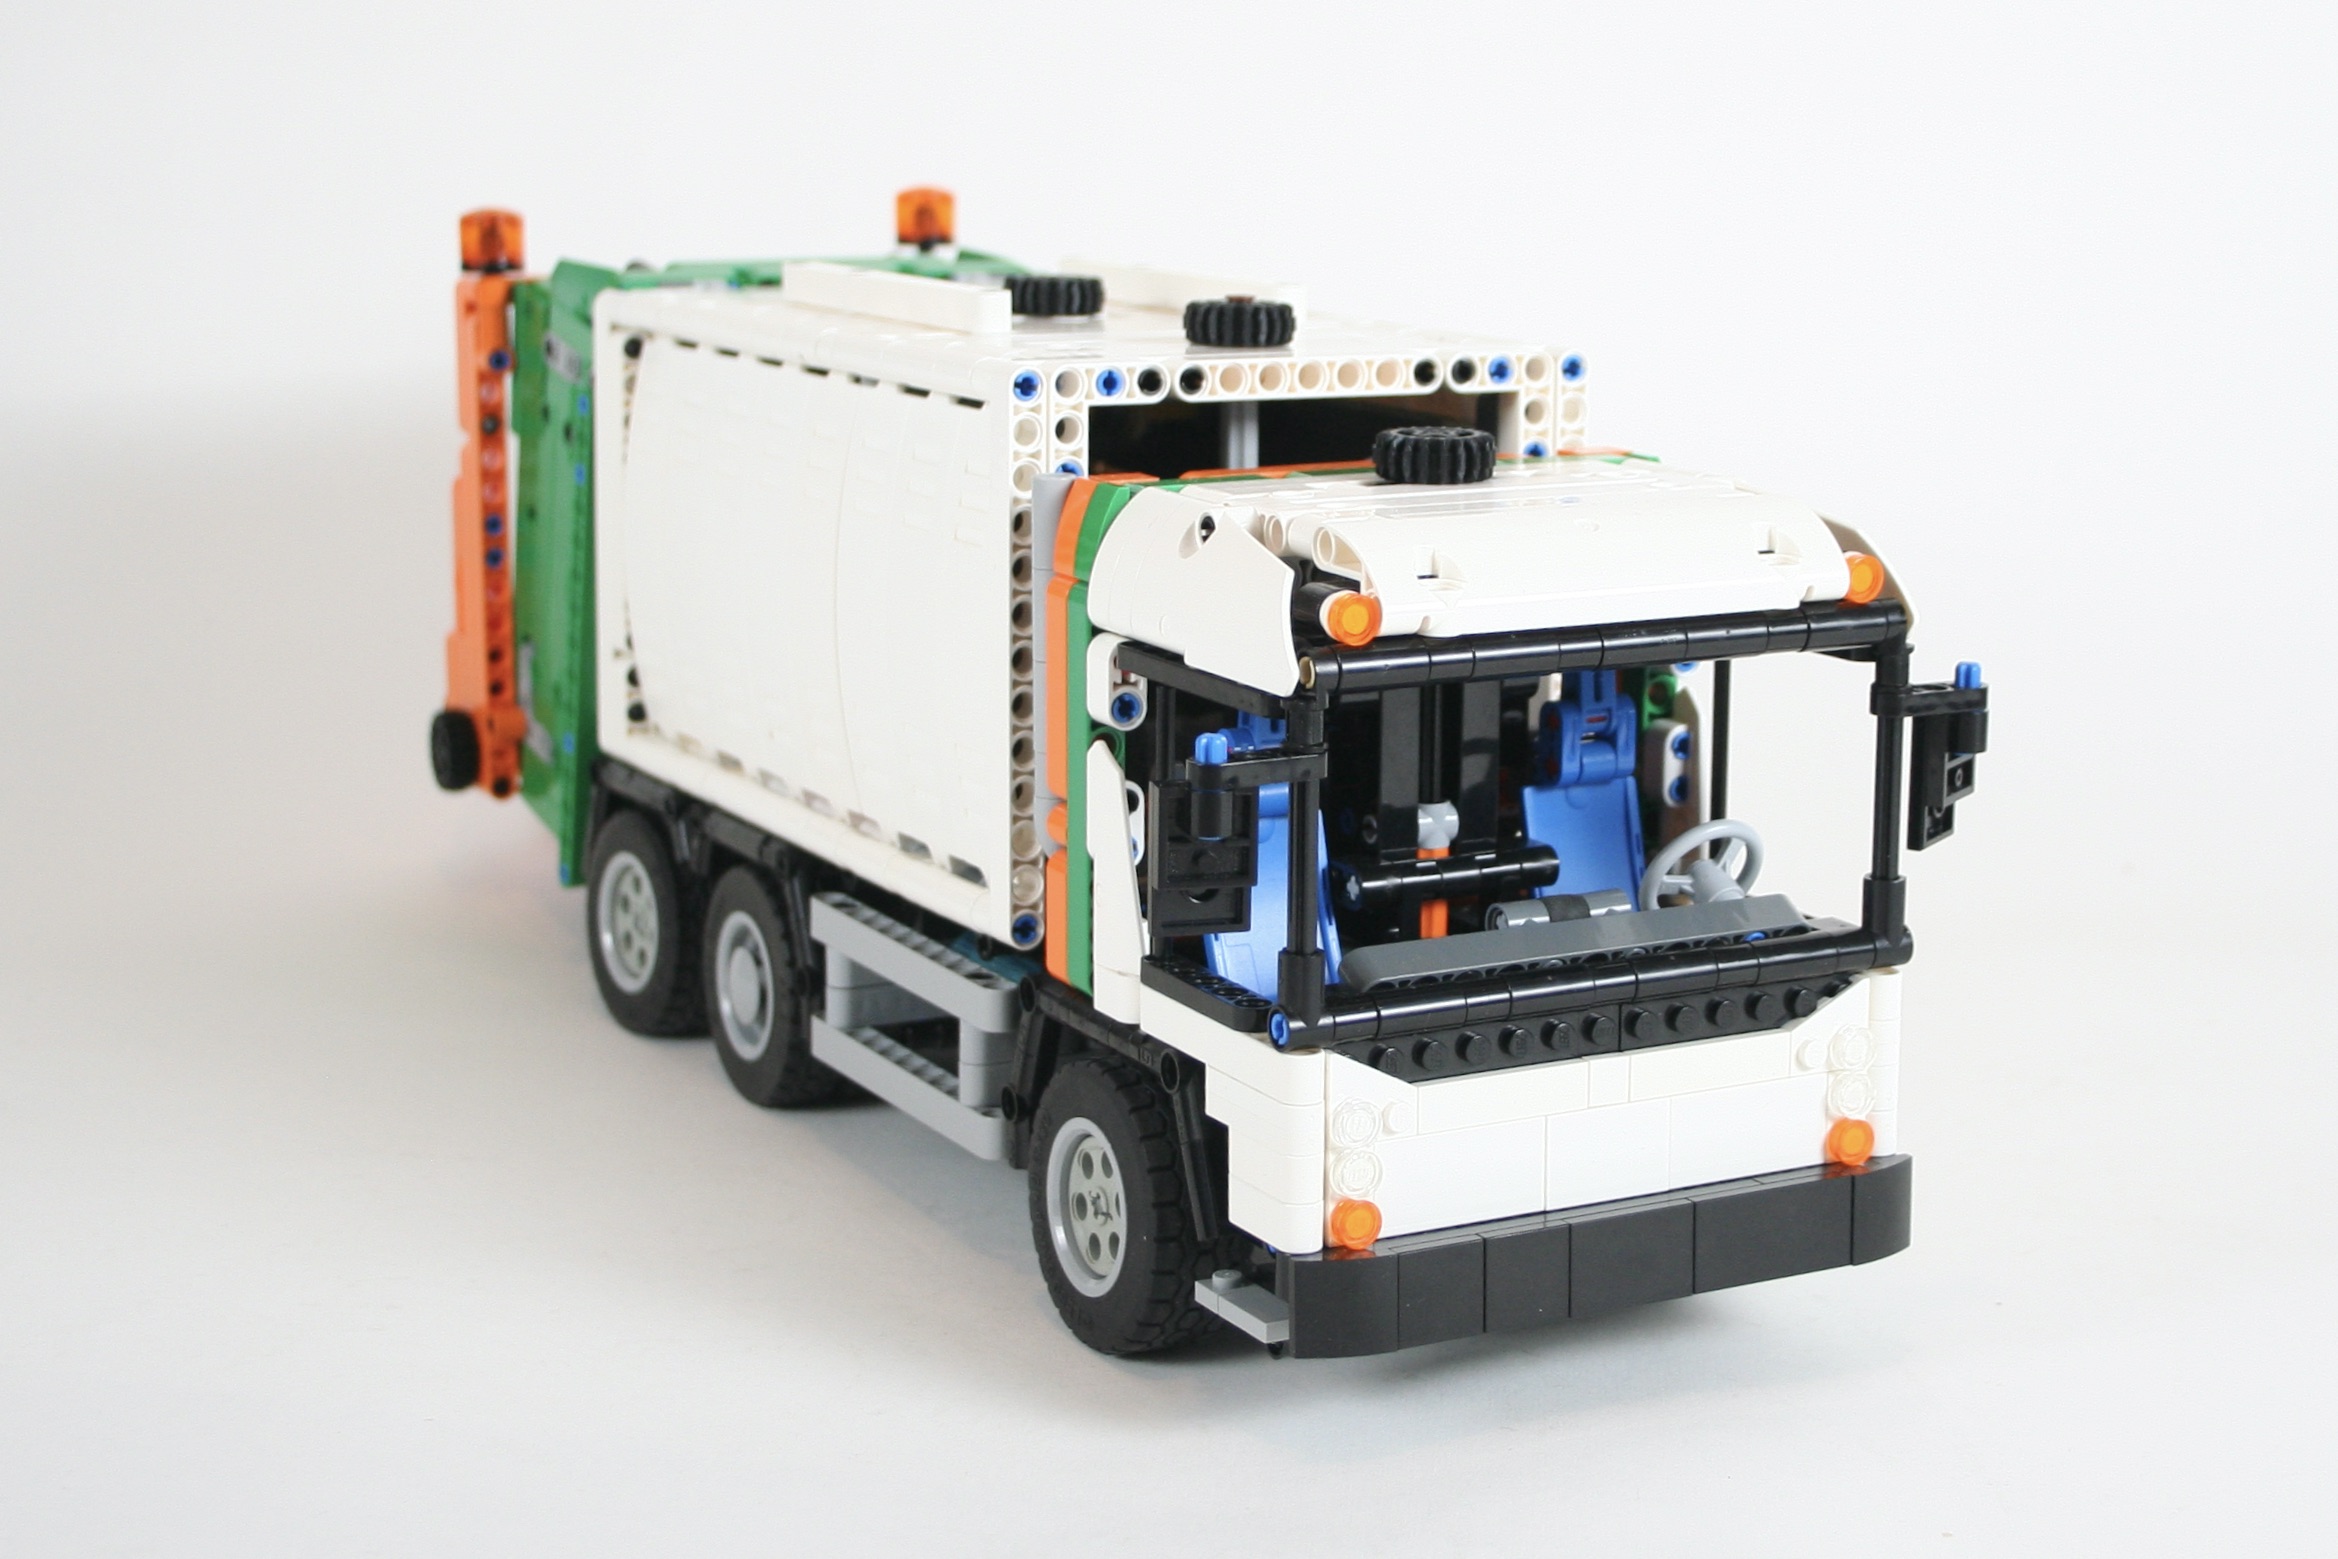
The chassis followed a more common building process. I started with the hardpoints like the wheelbase, length and engine placement, and slowly added in all the other parts needed. Right from the beginning I decided on a three axle chassis with axle 1 and axle 3 steering. Axle 2 would be the drive axle. As I built, it was clear there was a lot of extra space in the chassis. I added a little hybrid/EV drive to fill the space. The torque from the drive axle routes through a center differential that splits the torque between a fake electric motor and a fake piston engine. A resistance plate is added to the front of the piston engine so the torque will always start with the electric motor. When the speed increases, the torque will overwhelm the resistance plate and start using the fake piston engine too. It works just like a real hybrid engine. A selector is on the left side of the truck to select EV only where only the electric motors is used, or to select hybrid where both are used.
The truck and body are easily connected by four pins at the corner of the body. The cab tilts to make it easy to work on the engine. Finally, I created two small dumpsters for to hold trash. A small one and a larger one, and each fits with on the rear of the truck.
This ended up being one of my favorite models since the Ionos. The truck looks great, but packs lots of functional elements. The hybrid function works great and will be used again for another project. When I presented it at a show people could not get enough of watching the trash get cycled through the compactor. I always enjoy building a garbage truck, and I look forward to the next one I make.
Happy building.