4×4 8081
April 26, 2012 9 Comments
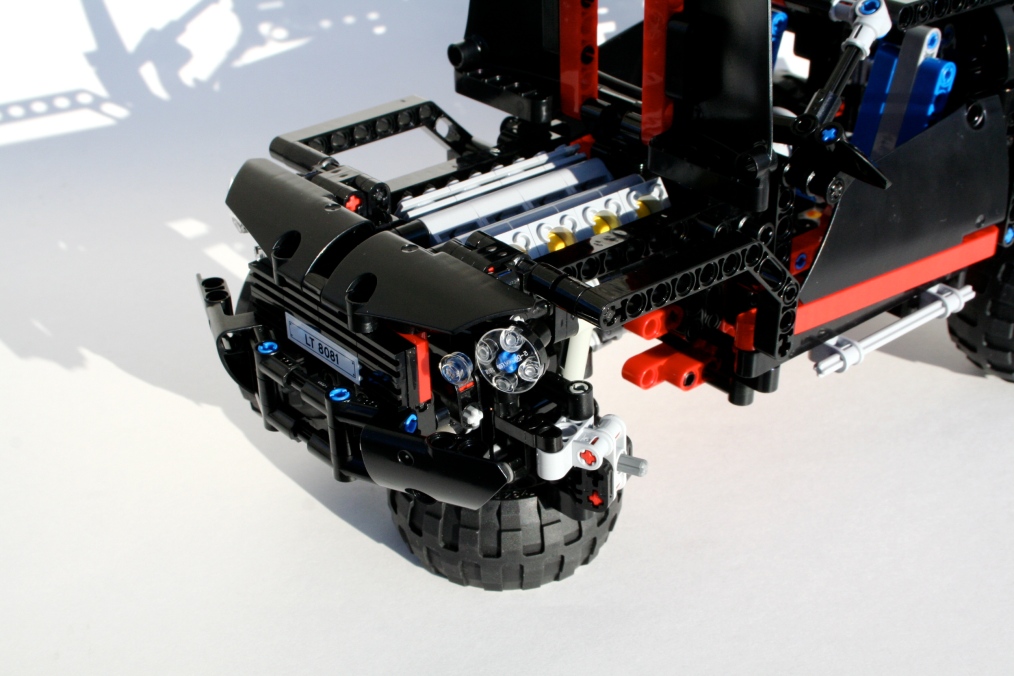
Truthfully, I was excited about set 8081 when it was first announced. I liked the size. I liked the coloring. I liked the stance. But mostly I liked the potential. Most of the Technic community dismissed the 8081 because of its watered down functions, but I was interested in making some changes to see if I could make the Cruiser Extreme.
The full gallery can be found here, and instructions here.
I first added a V-8. There was plenty of room, and after seeing a great modification from Efferman, I had some ideas. It was a simple addition.
Next was the drivetrain. This was a little more complicated. I wanted to make it four wheel drive, and I wanted to make sure there were three differentials. I rebuilt the rear axle, so It would have a more active setup. I put in longer shocks, and added a Panhard rod, and two stabilizing links. It worked well. The front axle was more challenging. The new CV joints made the project a little easier. Once I had the differential place, I had to fit everything around it. The steering rack was placed upside down, and was connected directly to the existing steering link in the original 8081. Then I added a Panhard rod on the front of the axle, and rebuild the front bumper, and everything was set.
Instructions can be found at Rebrickable.com or here.
Full gallery is here.
I also created a motorized version after a number of requests. You may see the gallery for that MOD here.


Pingback: Power Functions 4×4 8081 « Thirdwigg.com
Pingback: FW-190a3 Instructions « Thirdwigg.com
Pingback: MAN TGS Tipper Crane | Thirdwigg.com
Pingback: 2013 | Thirdwigg.com
Pingback: 8081 RT | Thirdwigg.com
Pingback: Updated 8386 Ferrari F1 Racer | Thirdwigg.com
Pingback: Windrower | Thirdwigg.com
Pingback: 8081 Extreme Cruiser Review | The Lego Car Blog
Pingback: 8081 110 | Thirdwigg.com