Synthe Combine
March 16, 2022 1 Comment
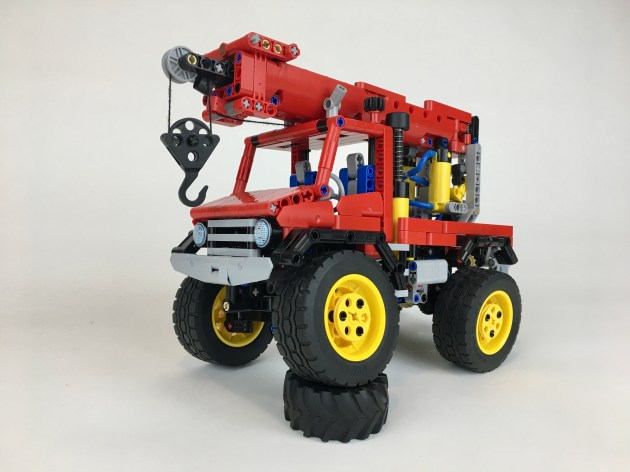
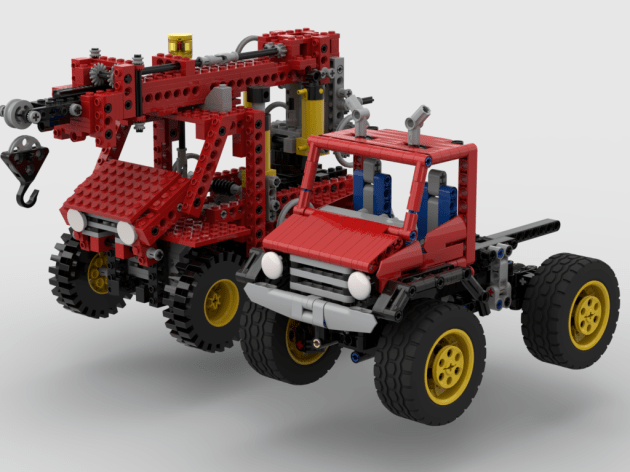
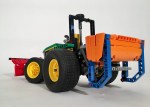
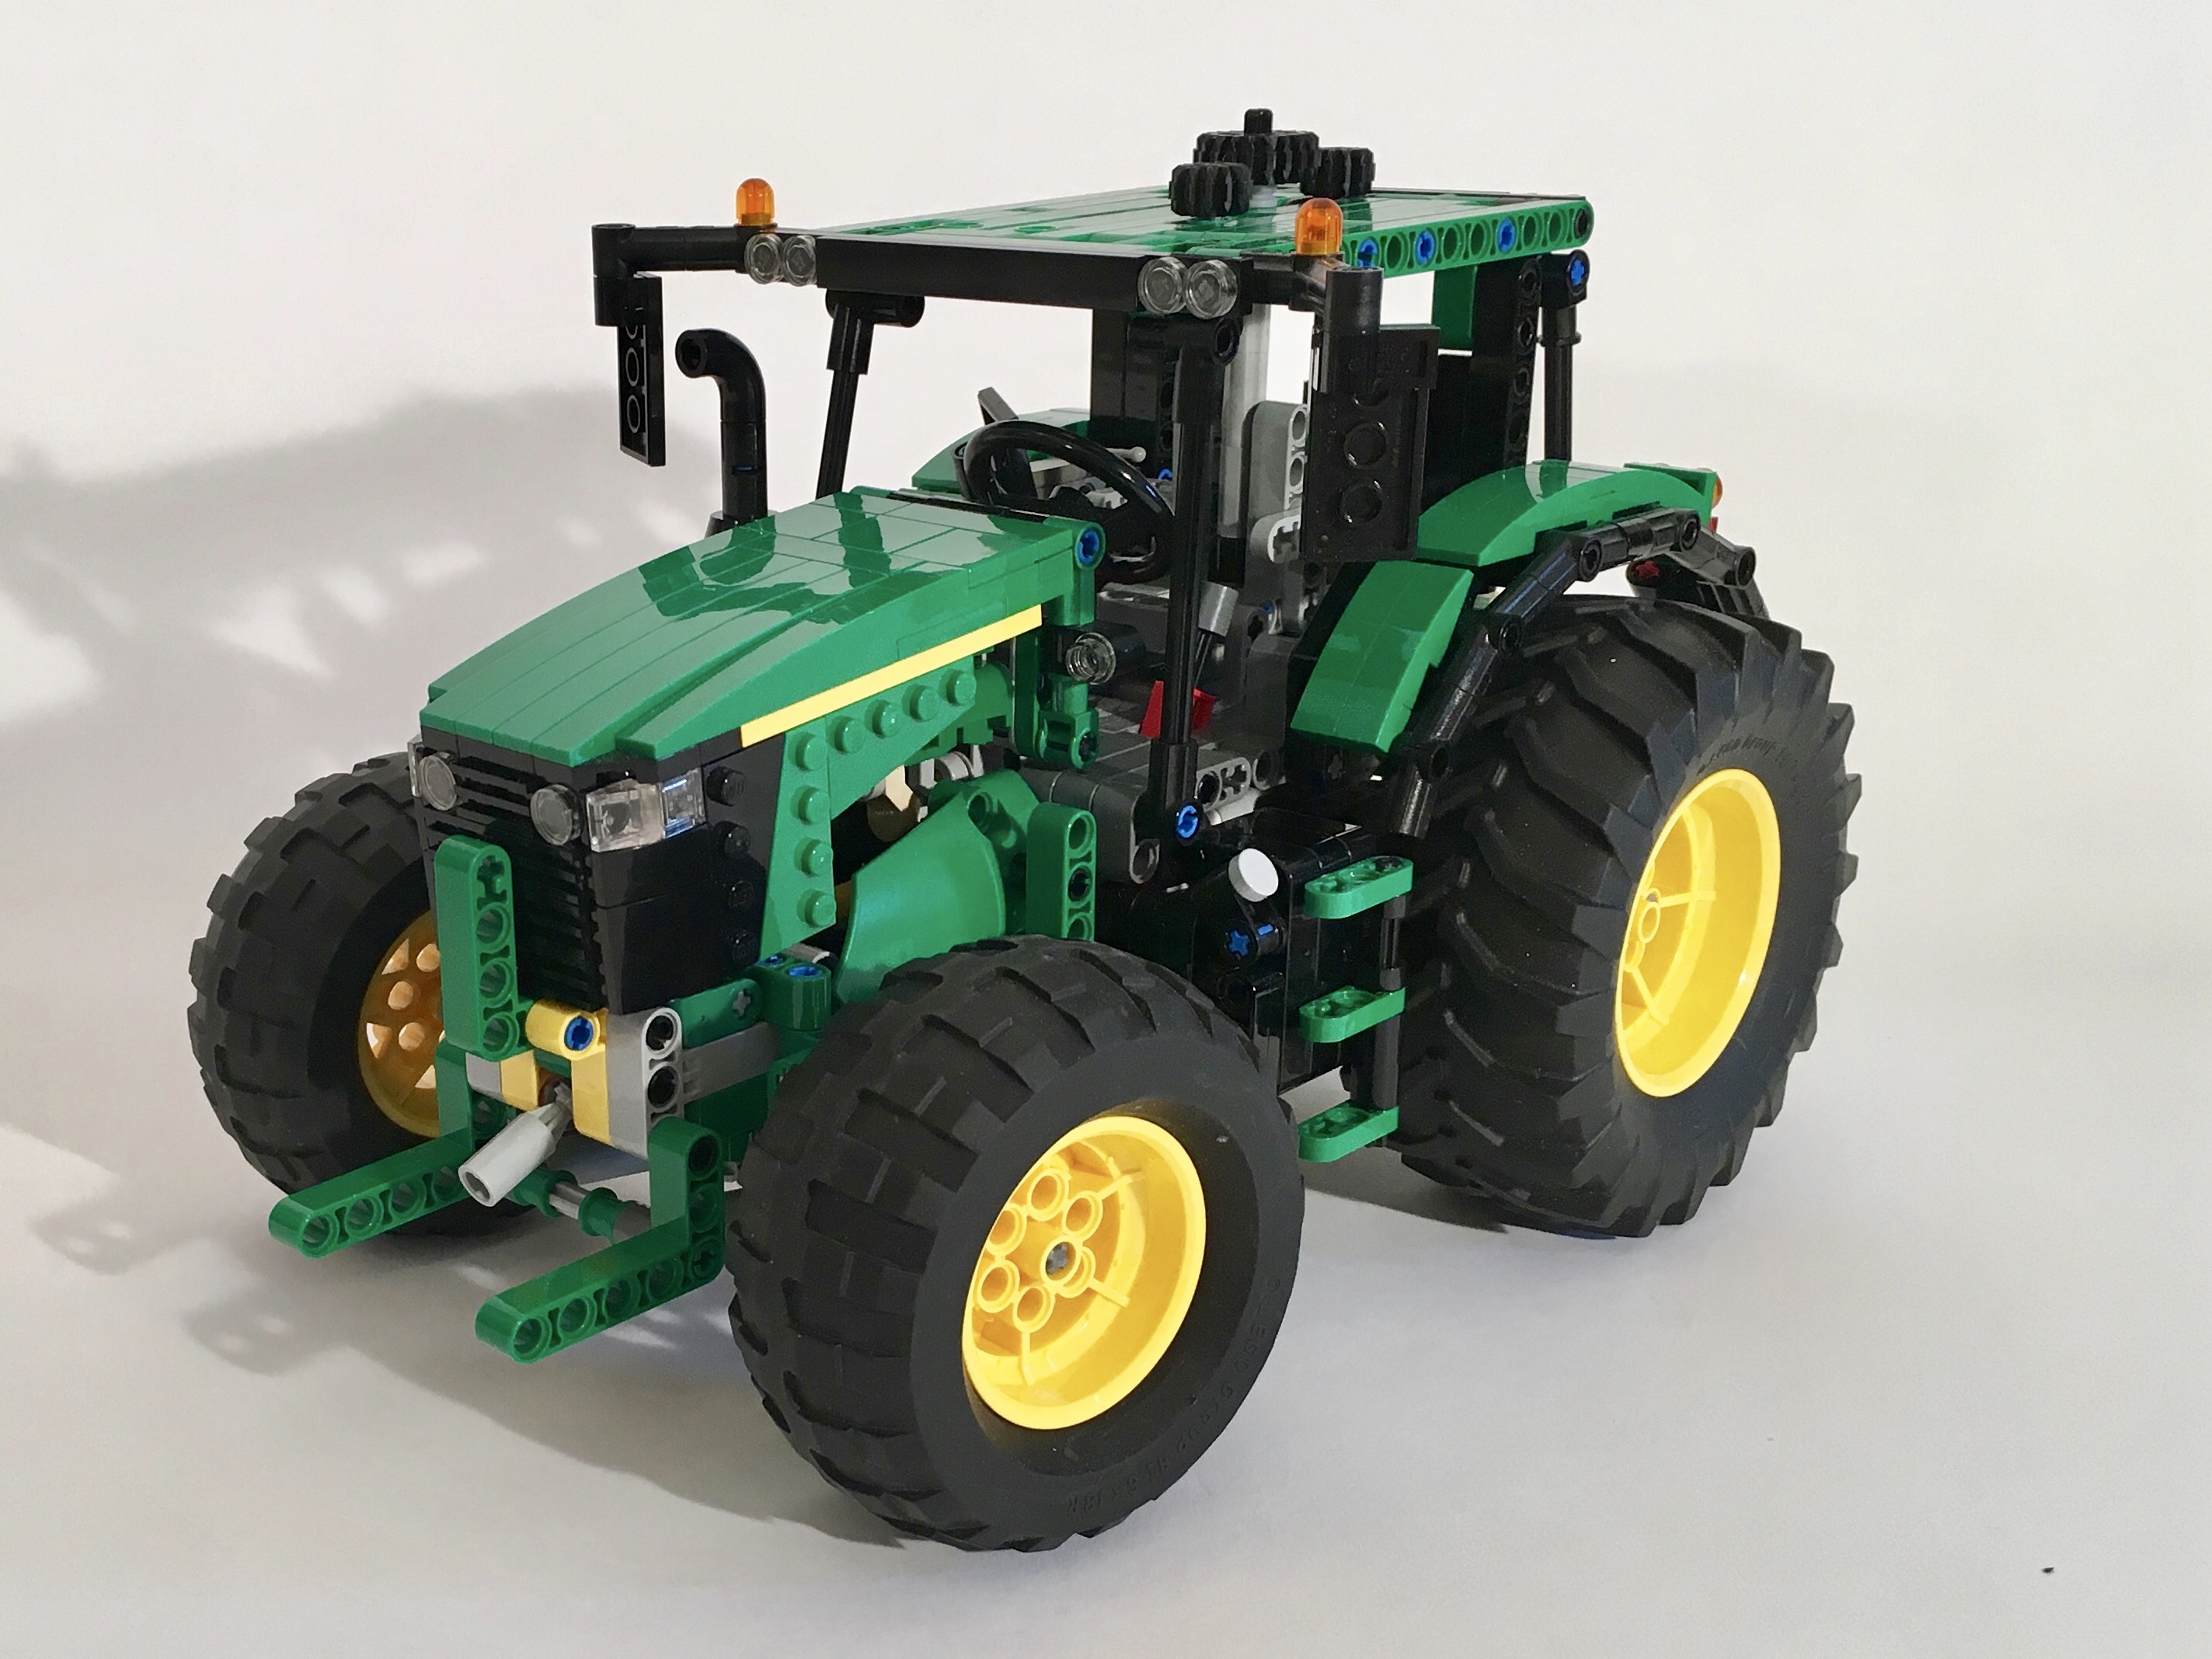
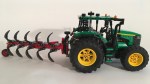
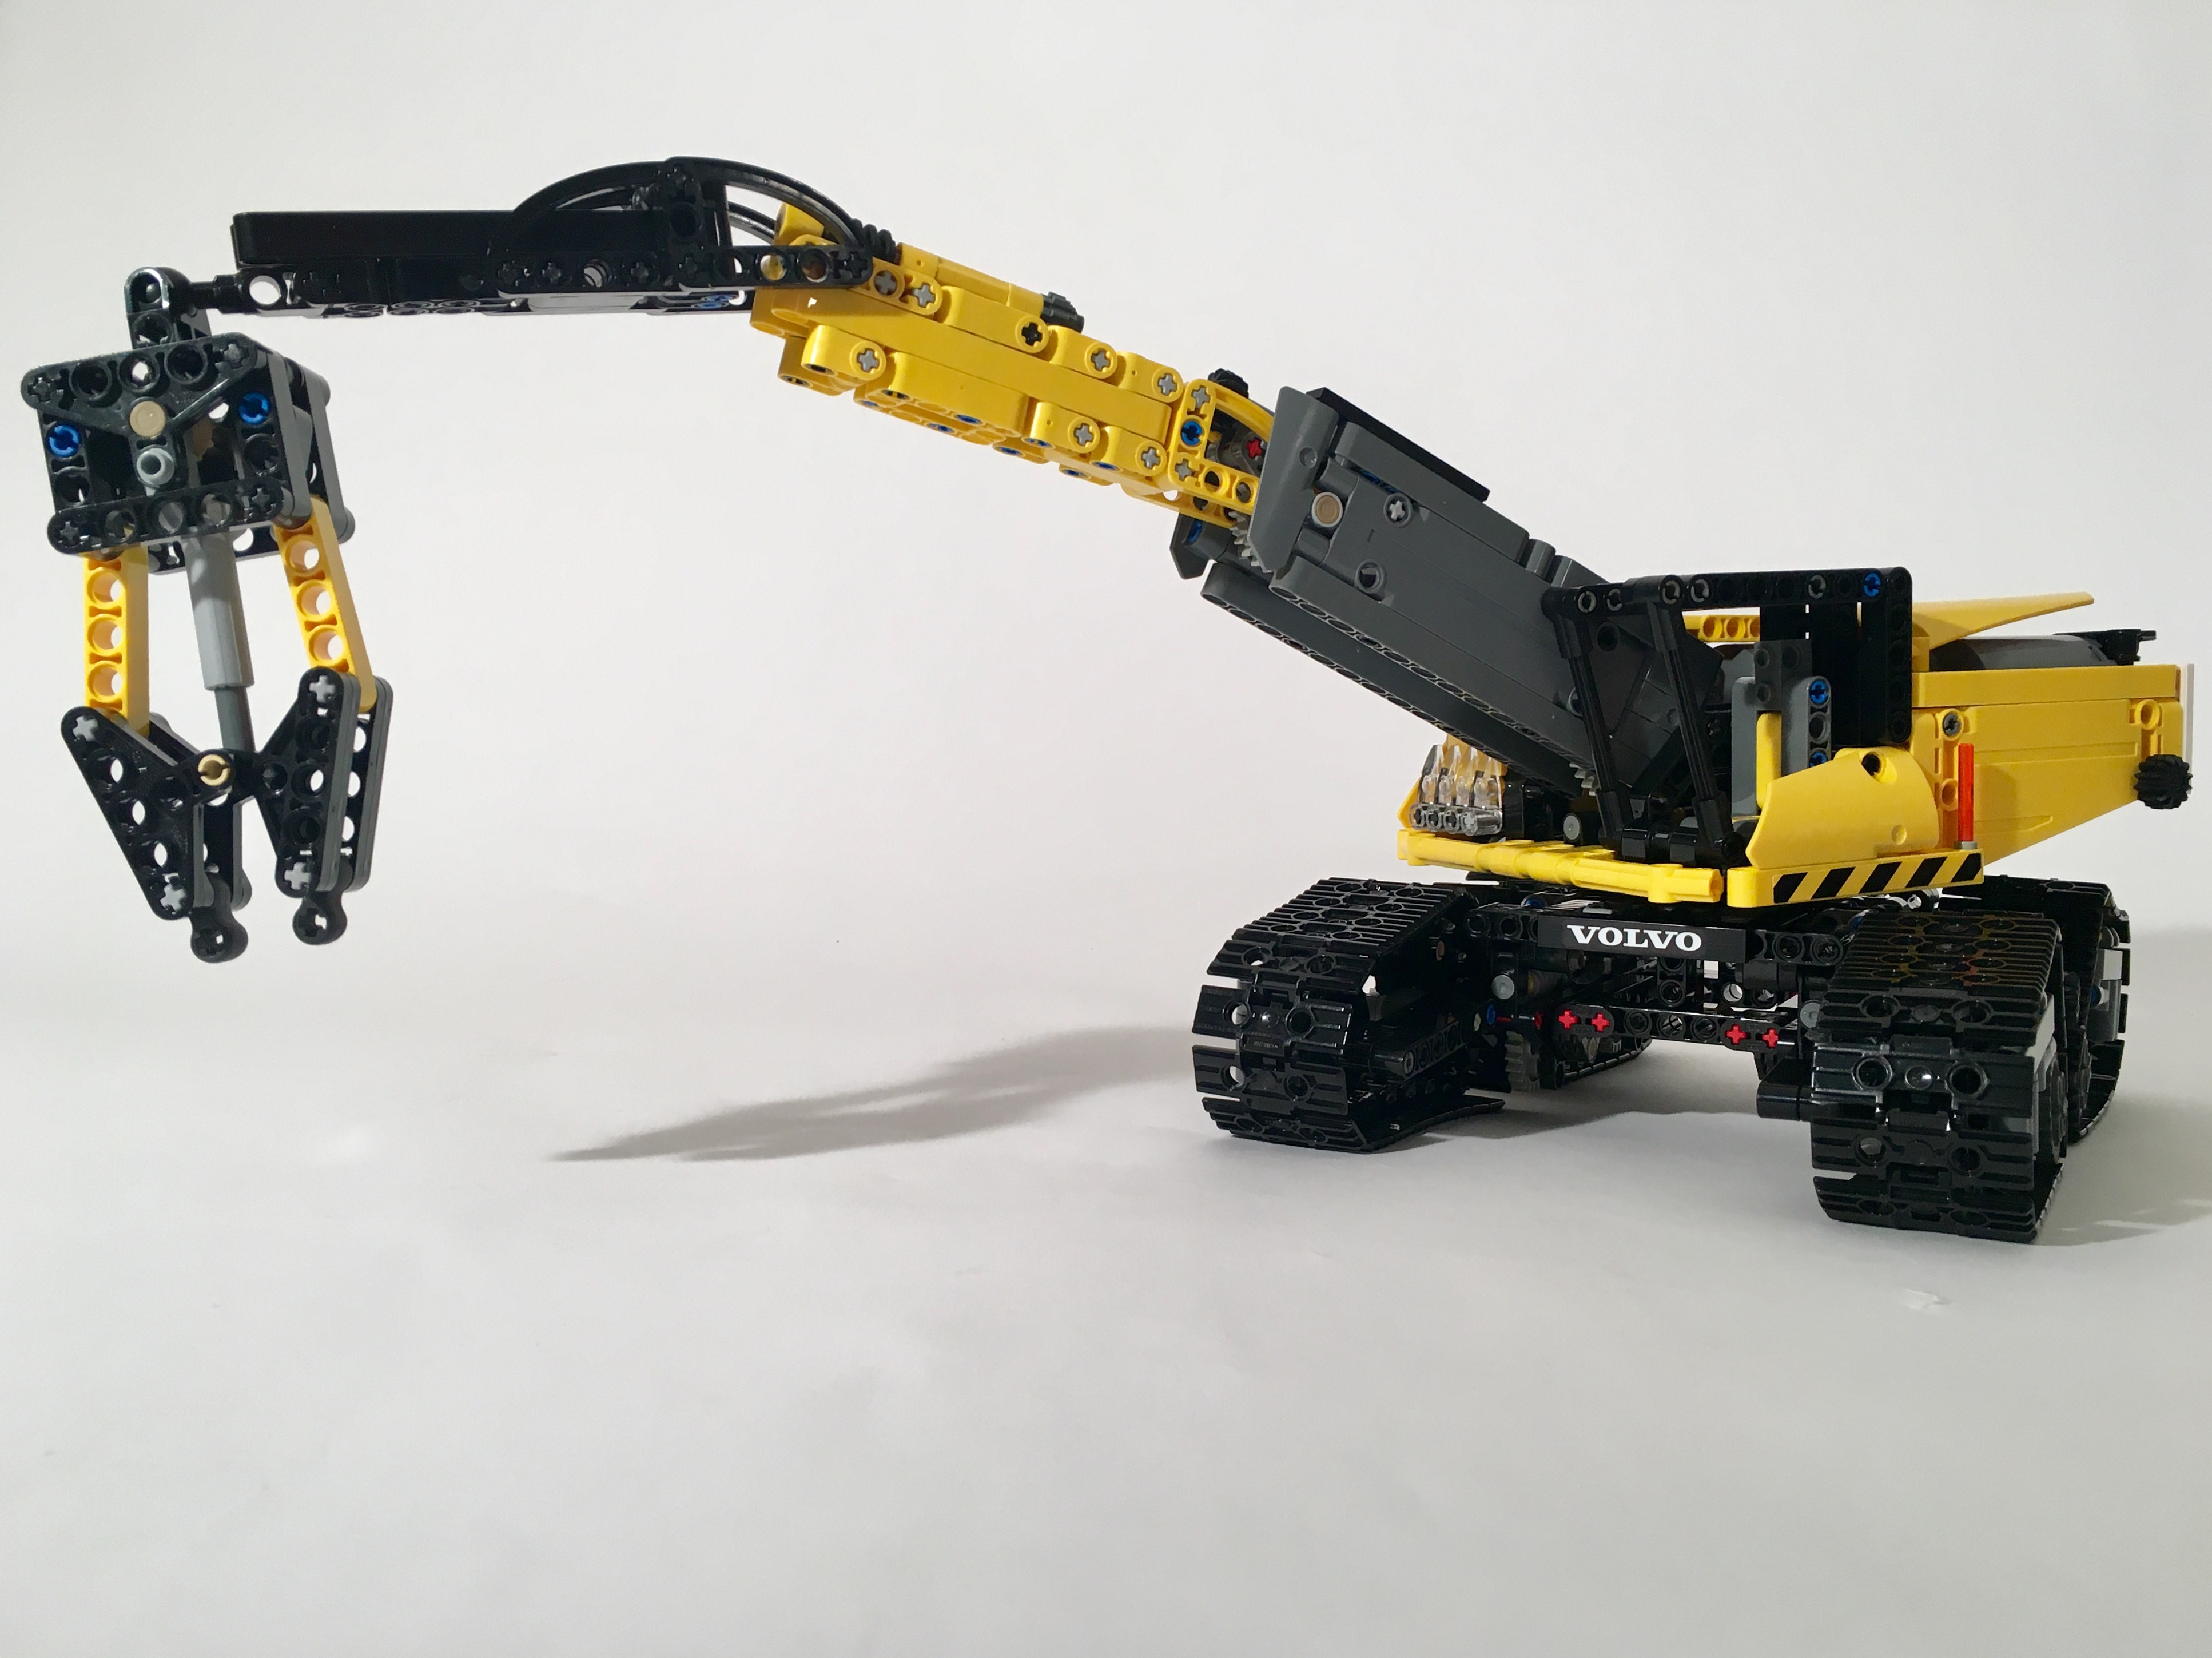
It was time to build a combine harvester for the Thirdwigg farm.
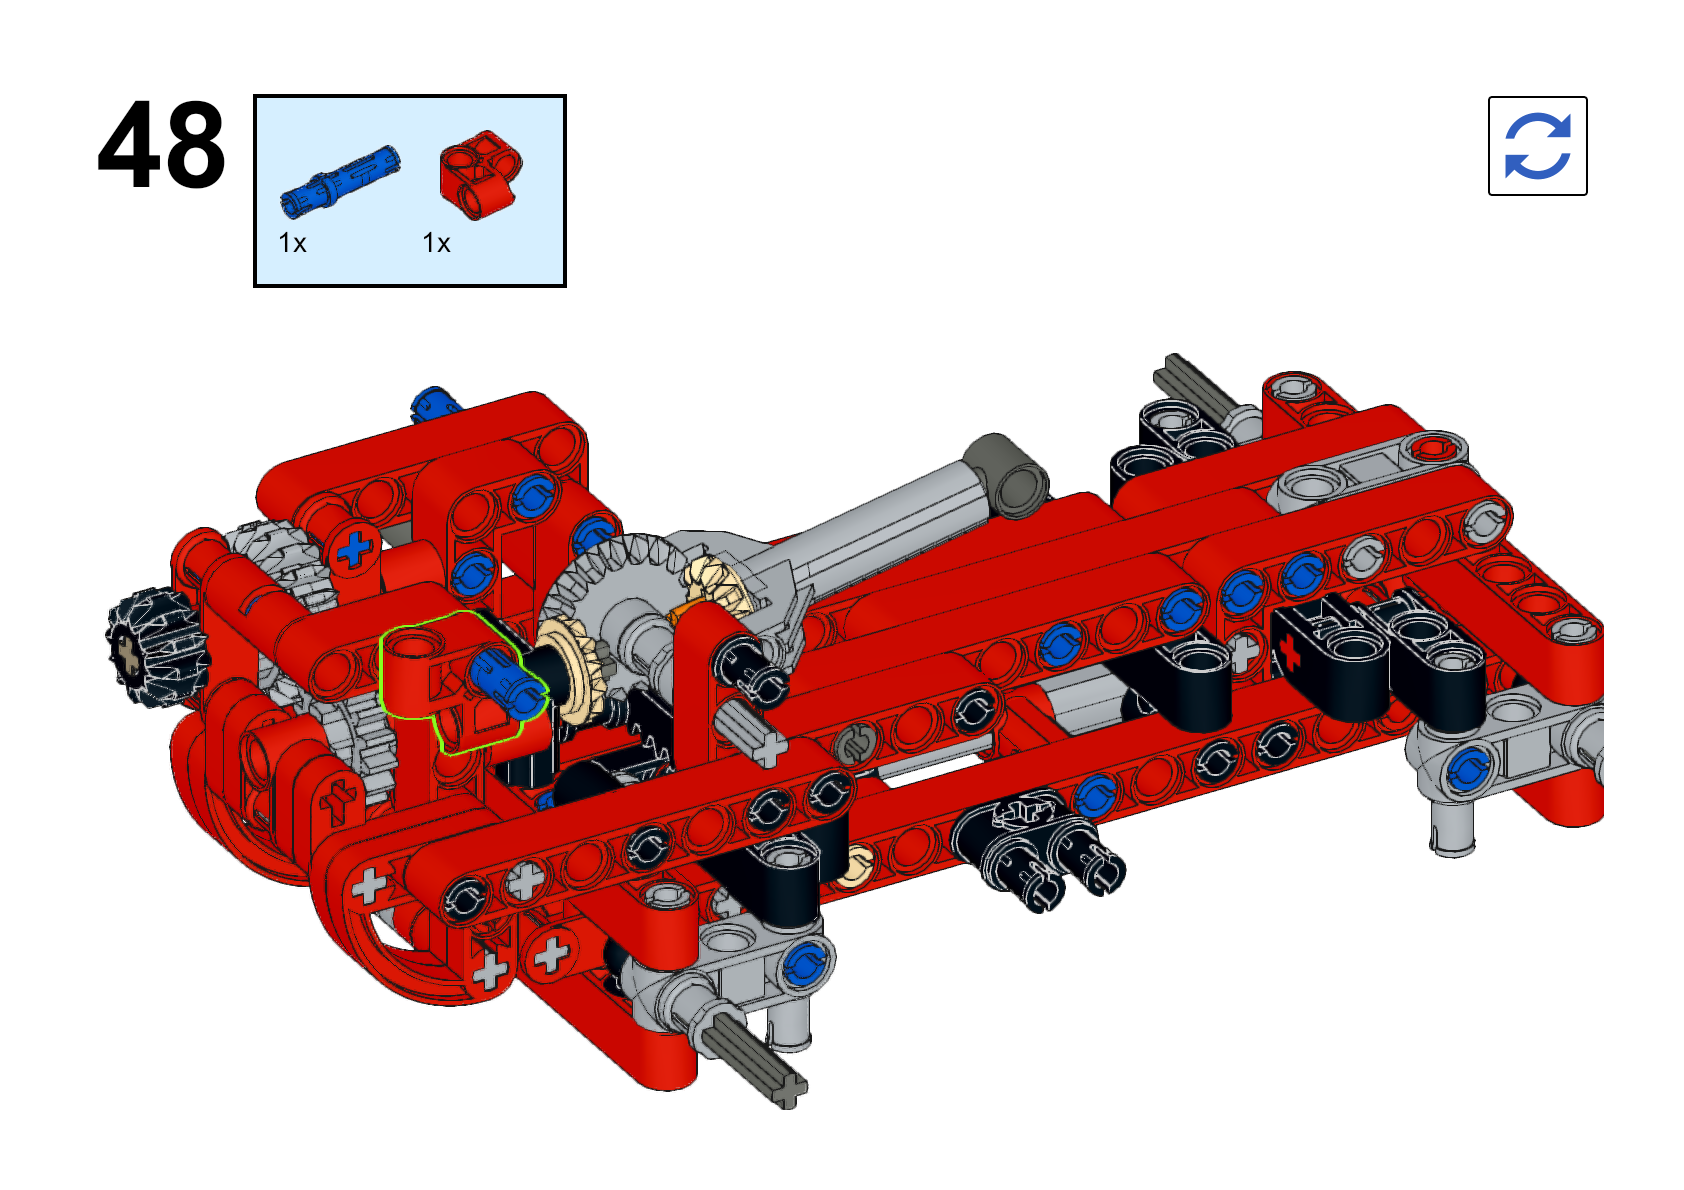
You may find instructions for this model at Rebrickable.com.

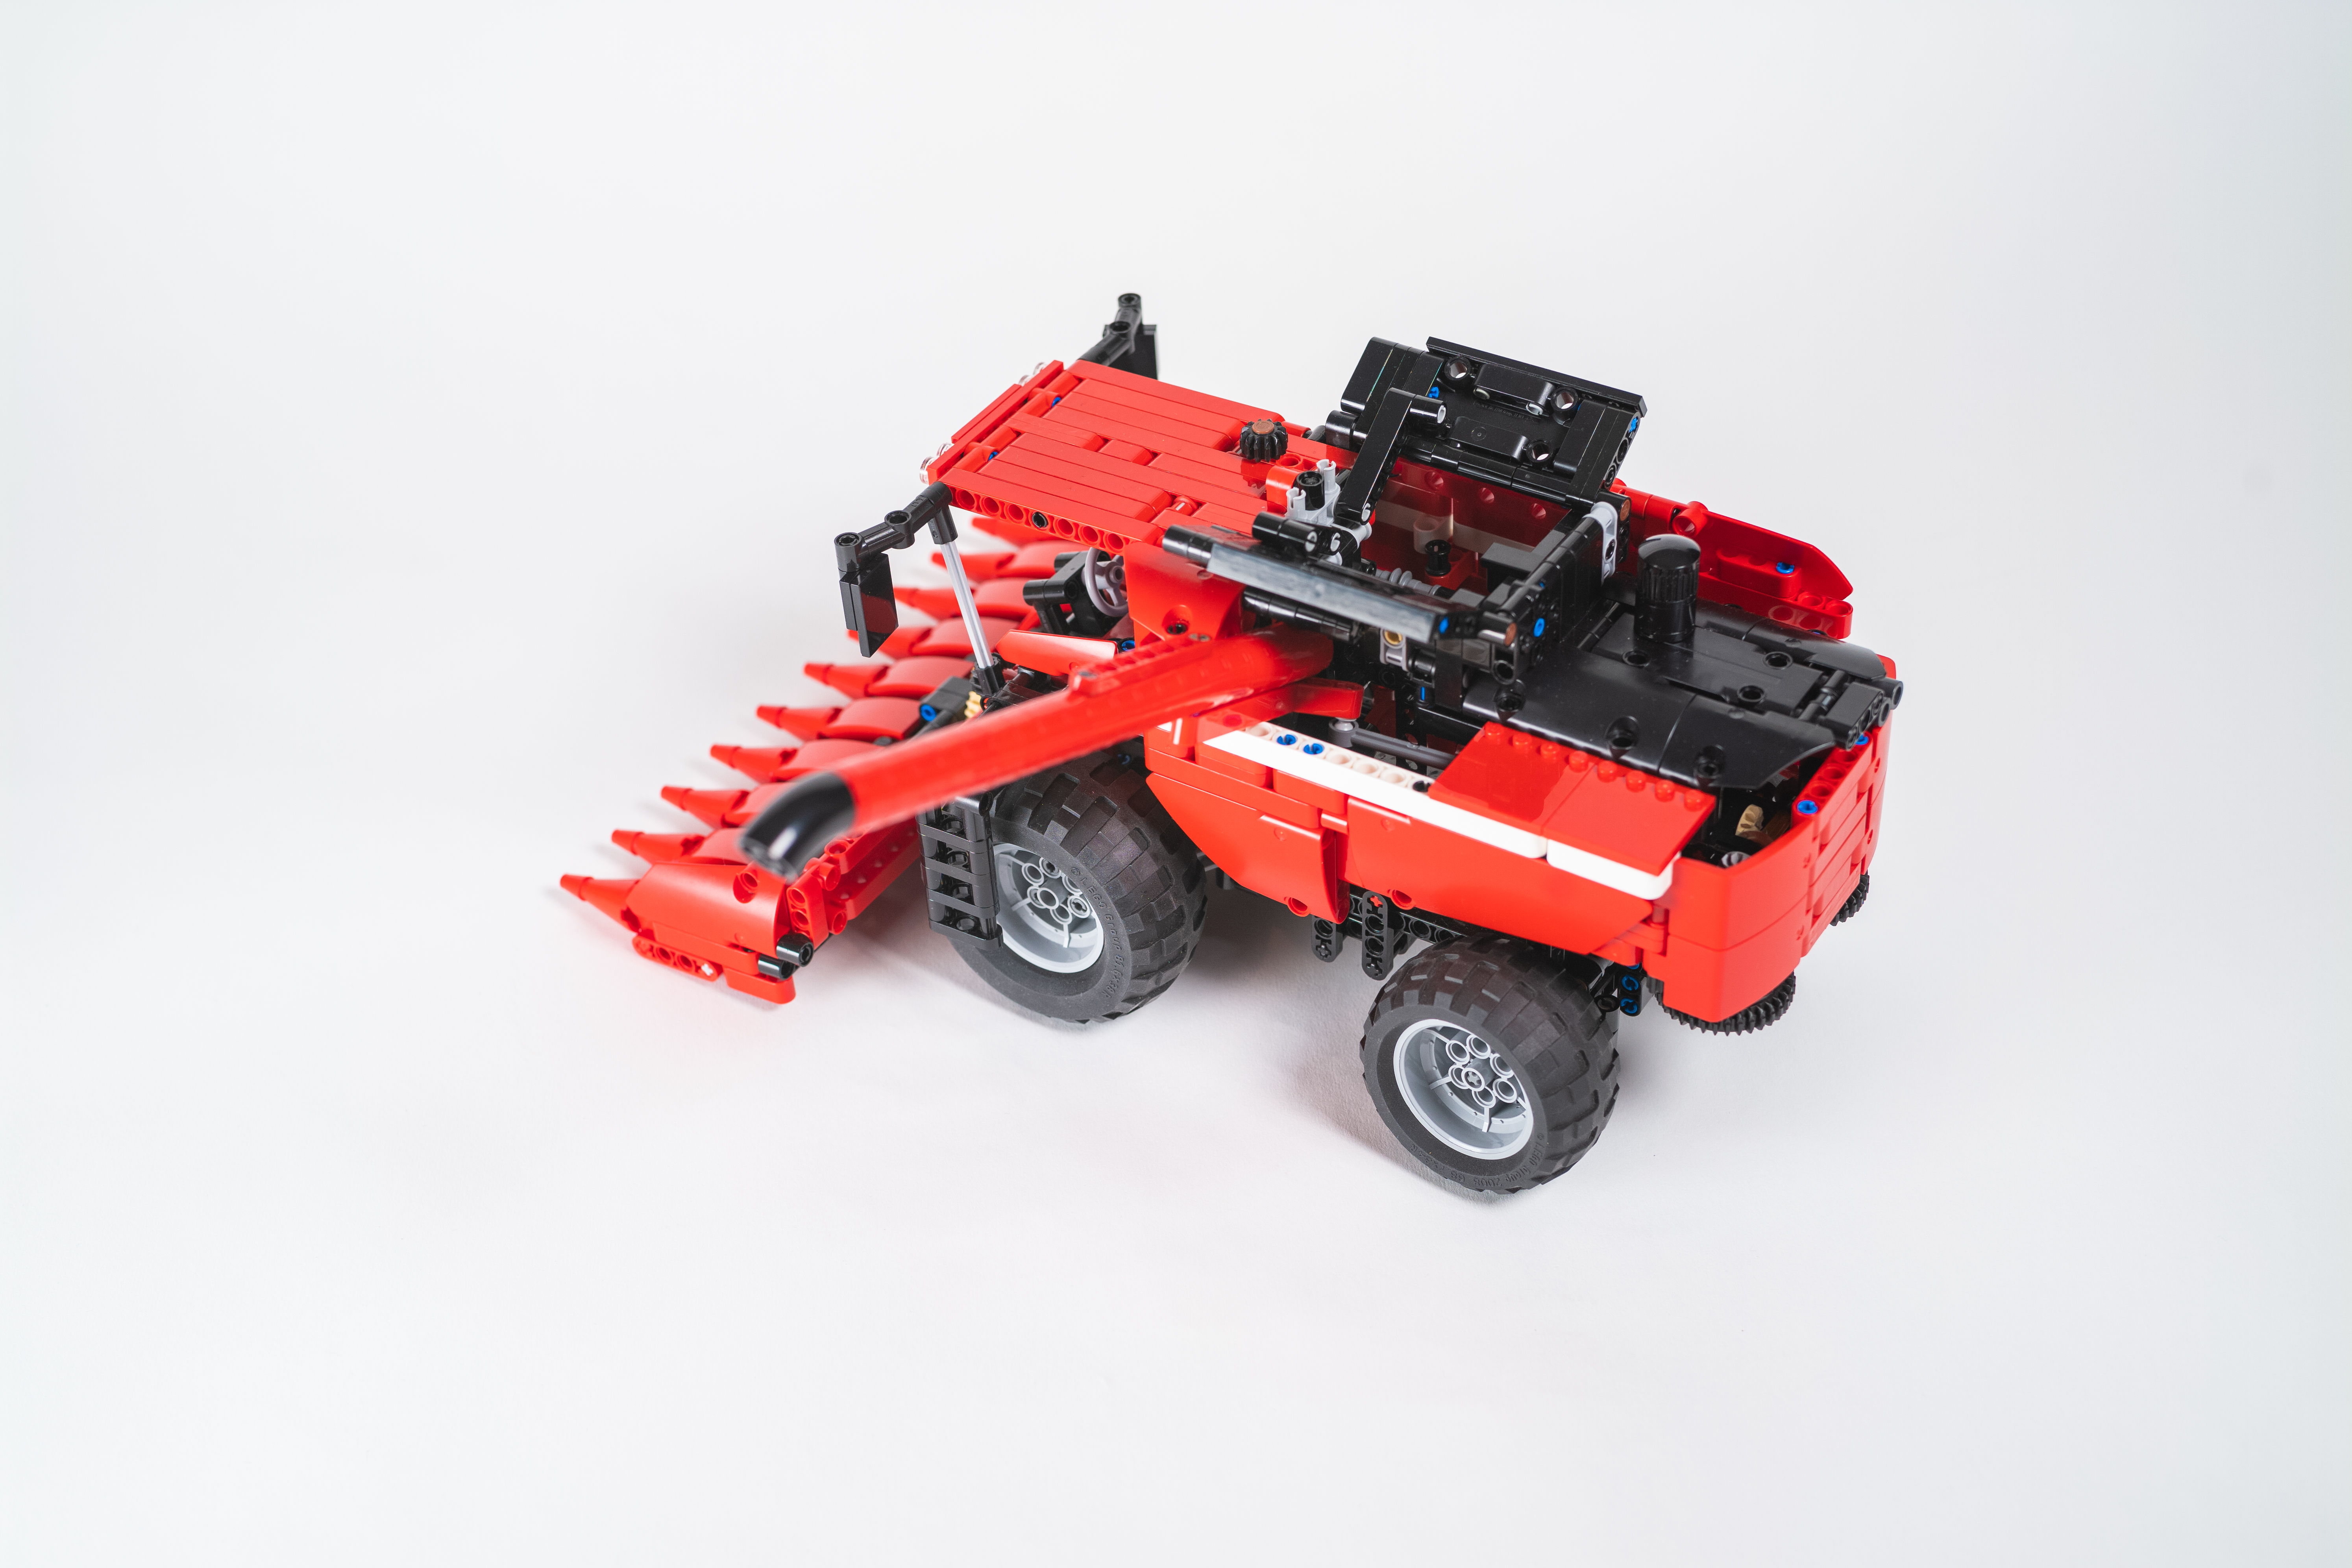
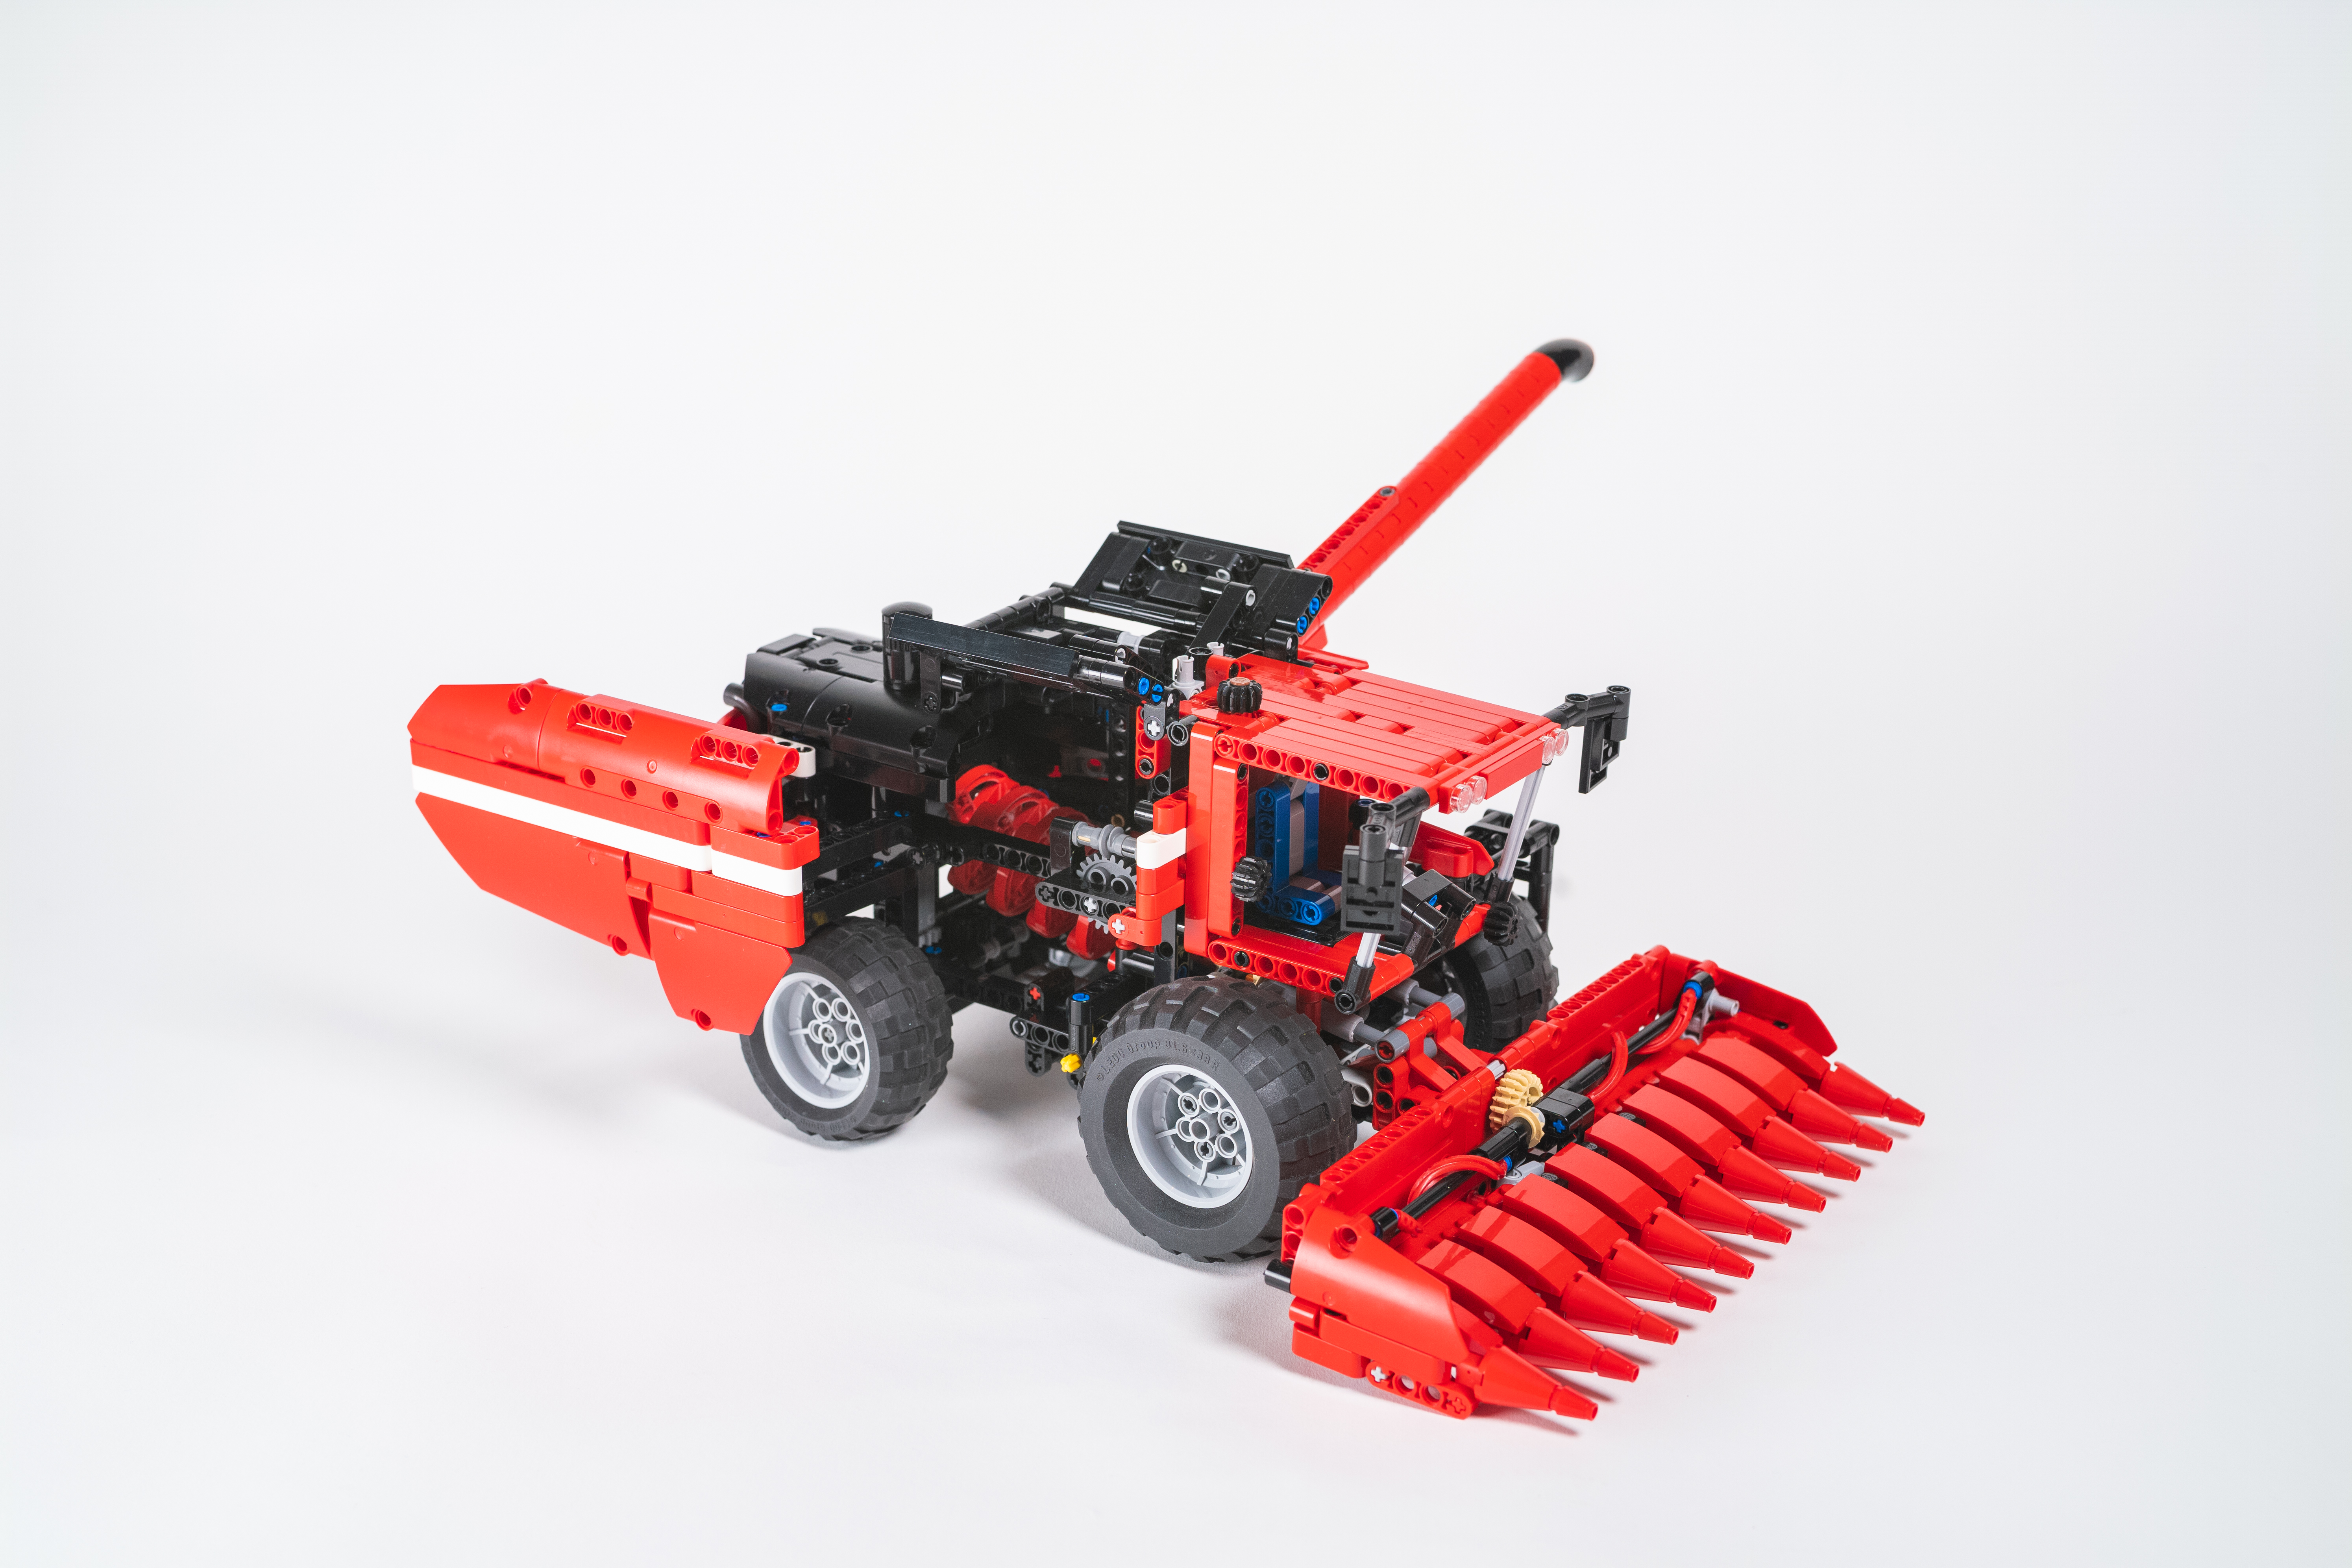
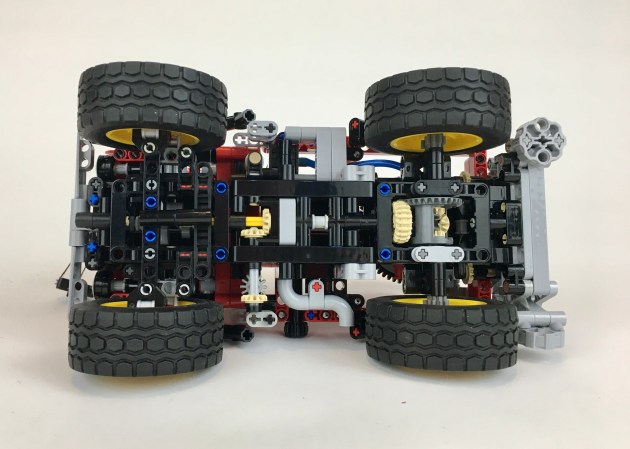
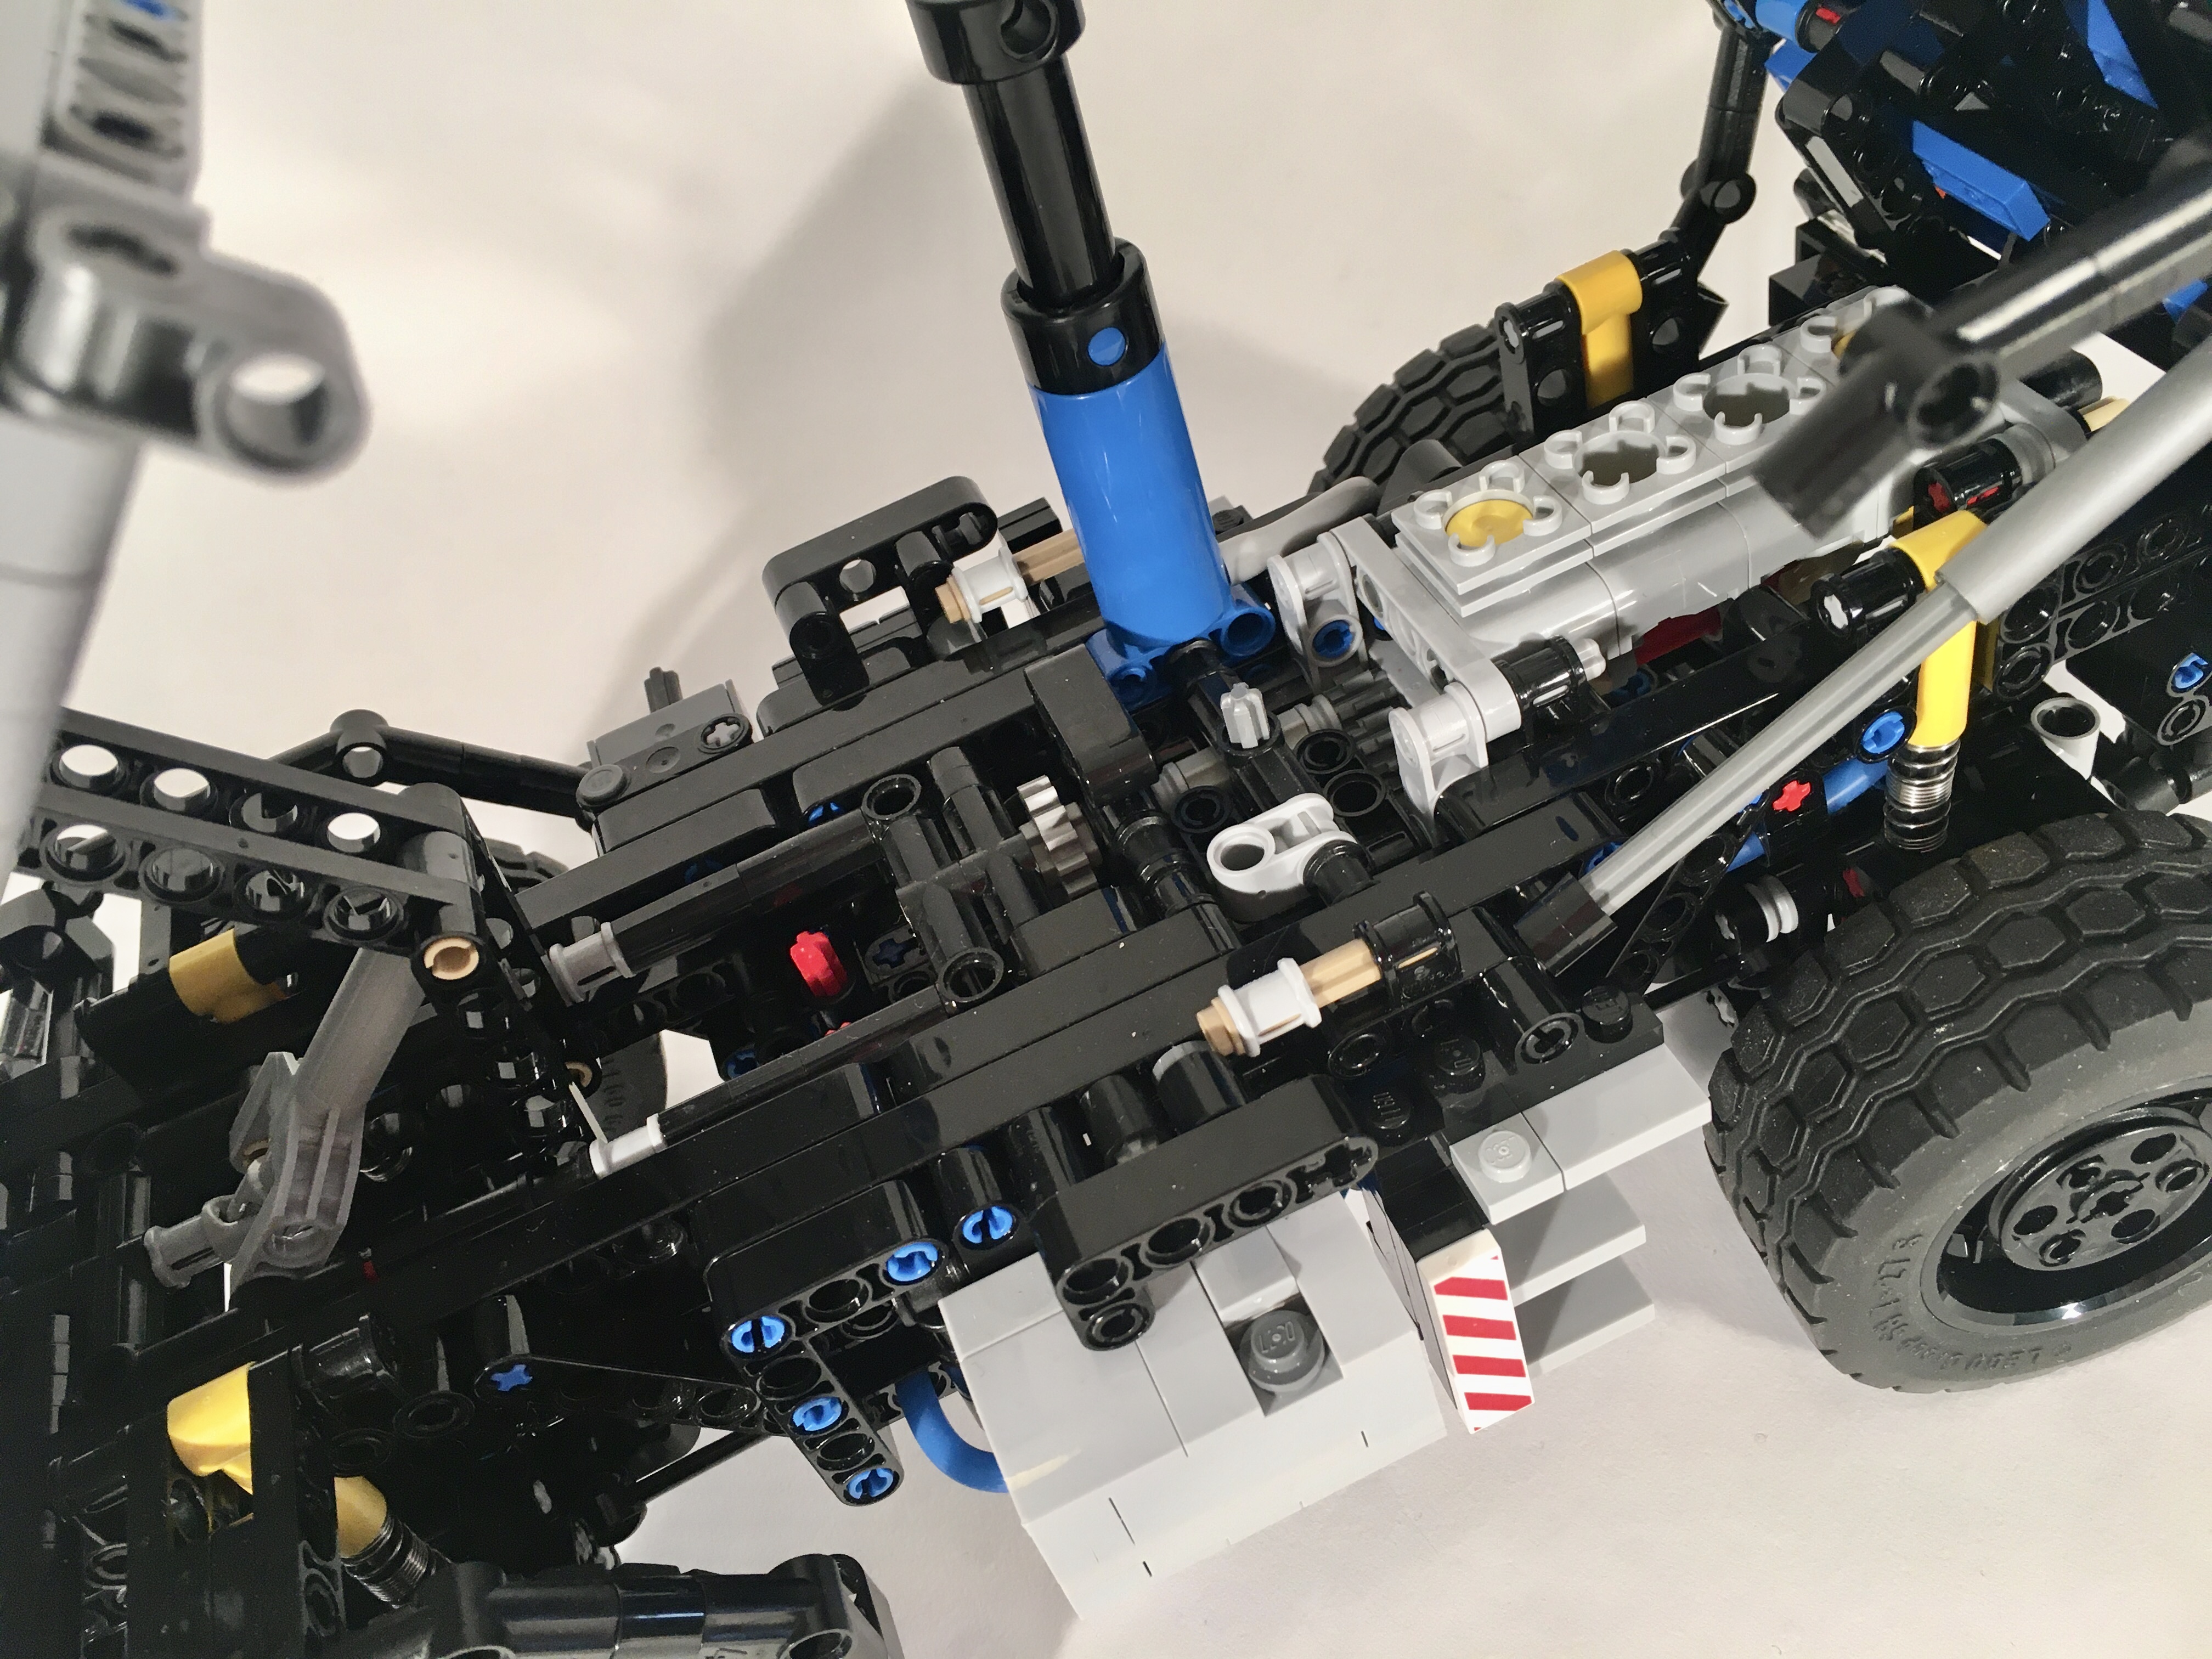
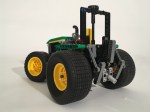
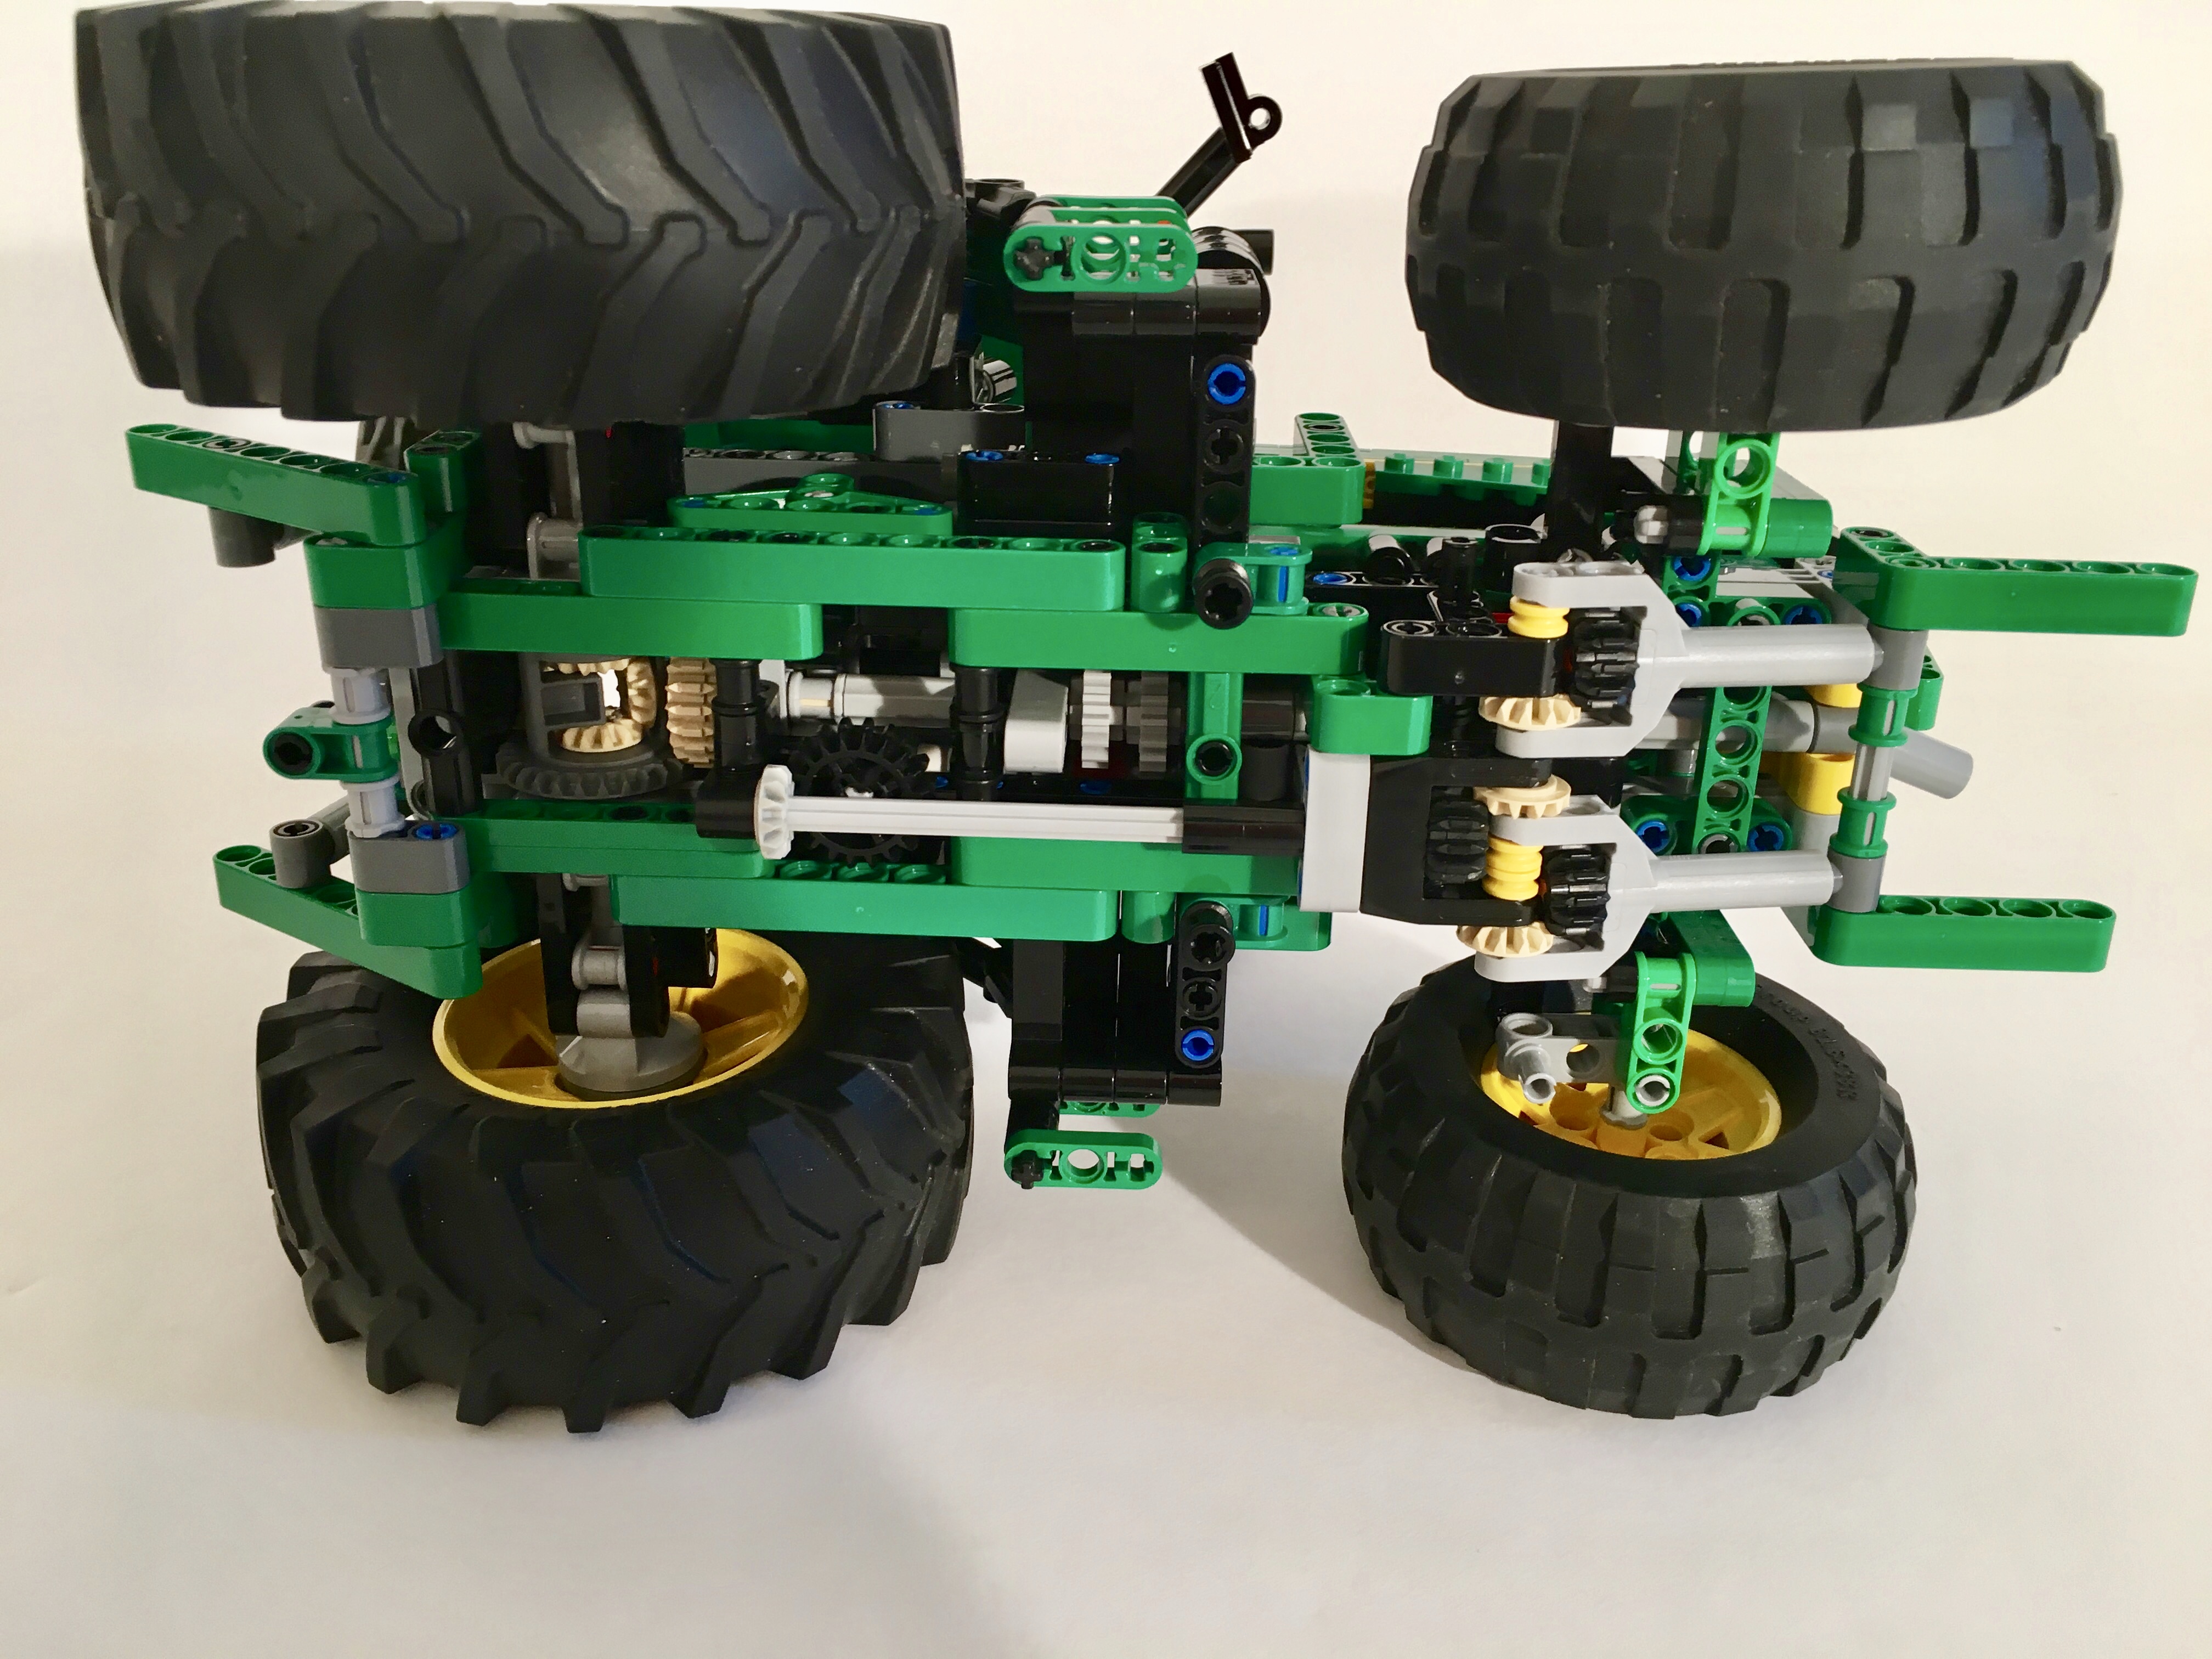
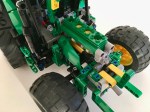
I was putting off building a combine for a while because they are pretty complicated. It took me a while before I felt like I understood enough about them to translate them to a LEGO MOC. After some time learning about them, I was ready to begin something. The scale was set based on the Atmos Tractor, so then it was a matter of deciding how many features I could add into the model. The models started with the thrashing mechnism, and then everthing fit in around it. I settled on a rotating thresher rather than a set of shuffling screens. In the center of the combine is a rotating auger that separates the grain from the staukes. As the auger spins it move the crop rearward separating the grain as it travels rearward. In the MOC, the auger is connected to the front wheels as the combine moves. Under the auger is a reciprocating screen that further separates the grain. Likewise this is also connected to the front wheels. At the rear of the auger are two spreaders that spread the chaft out the back of the combine.
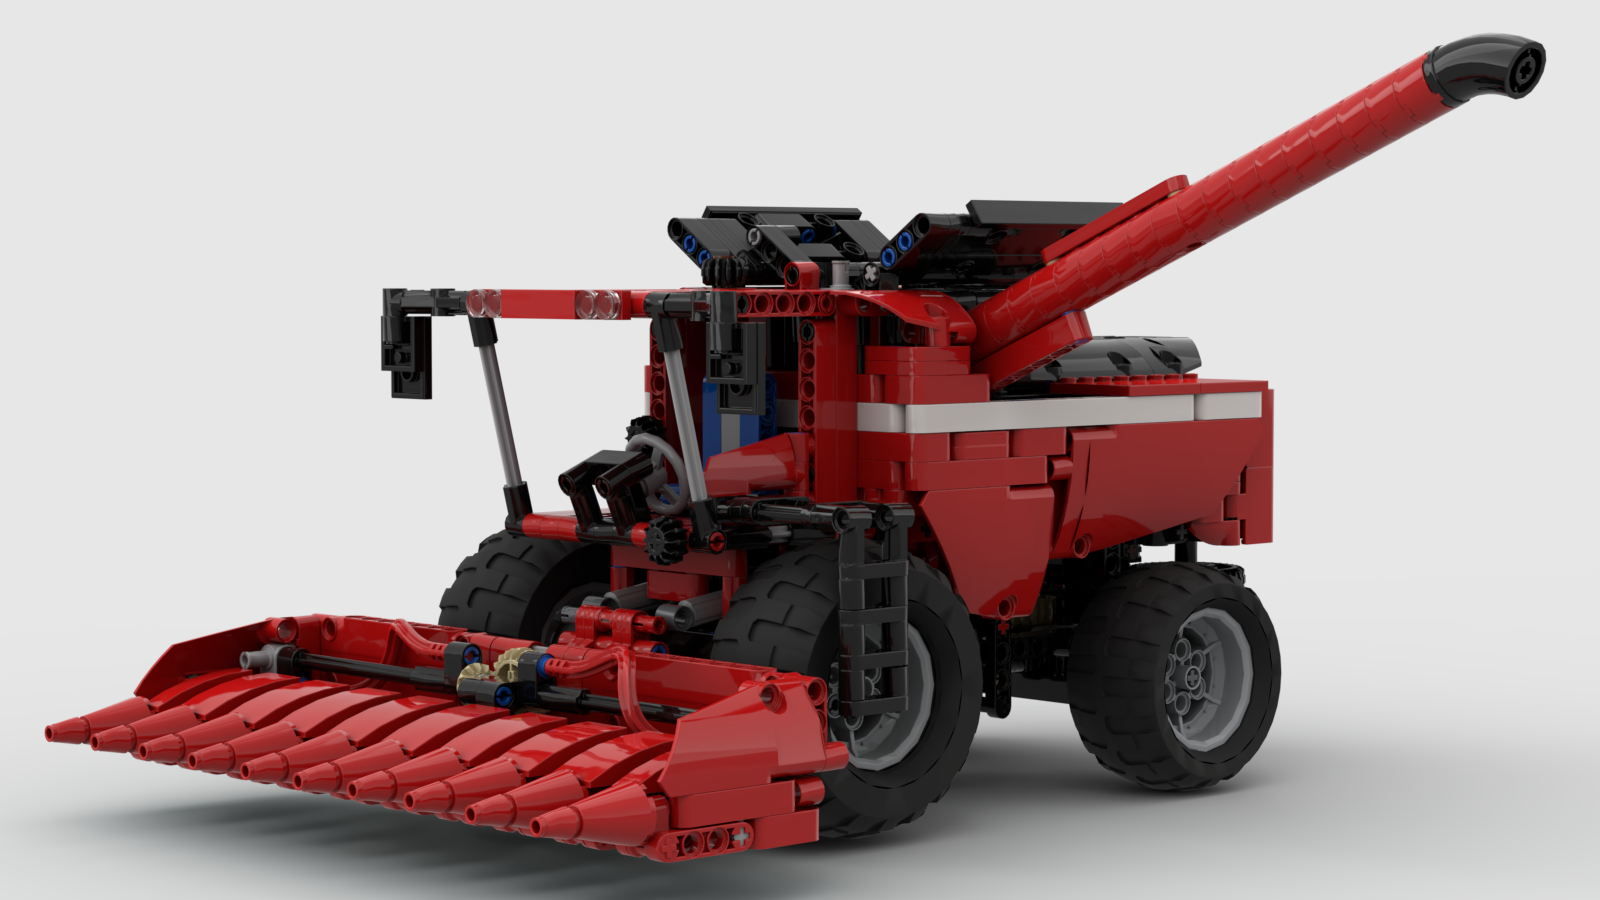
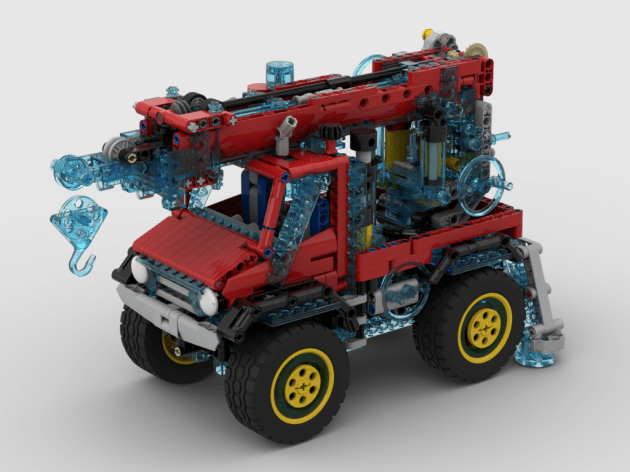
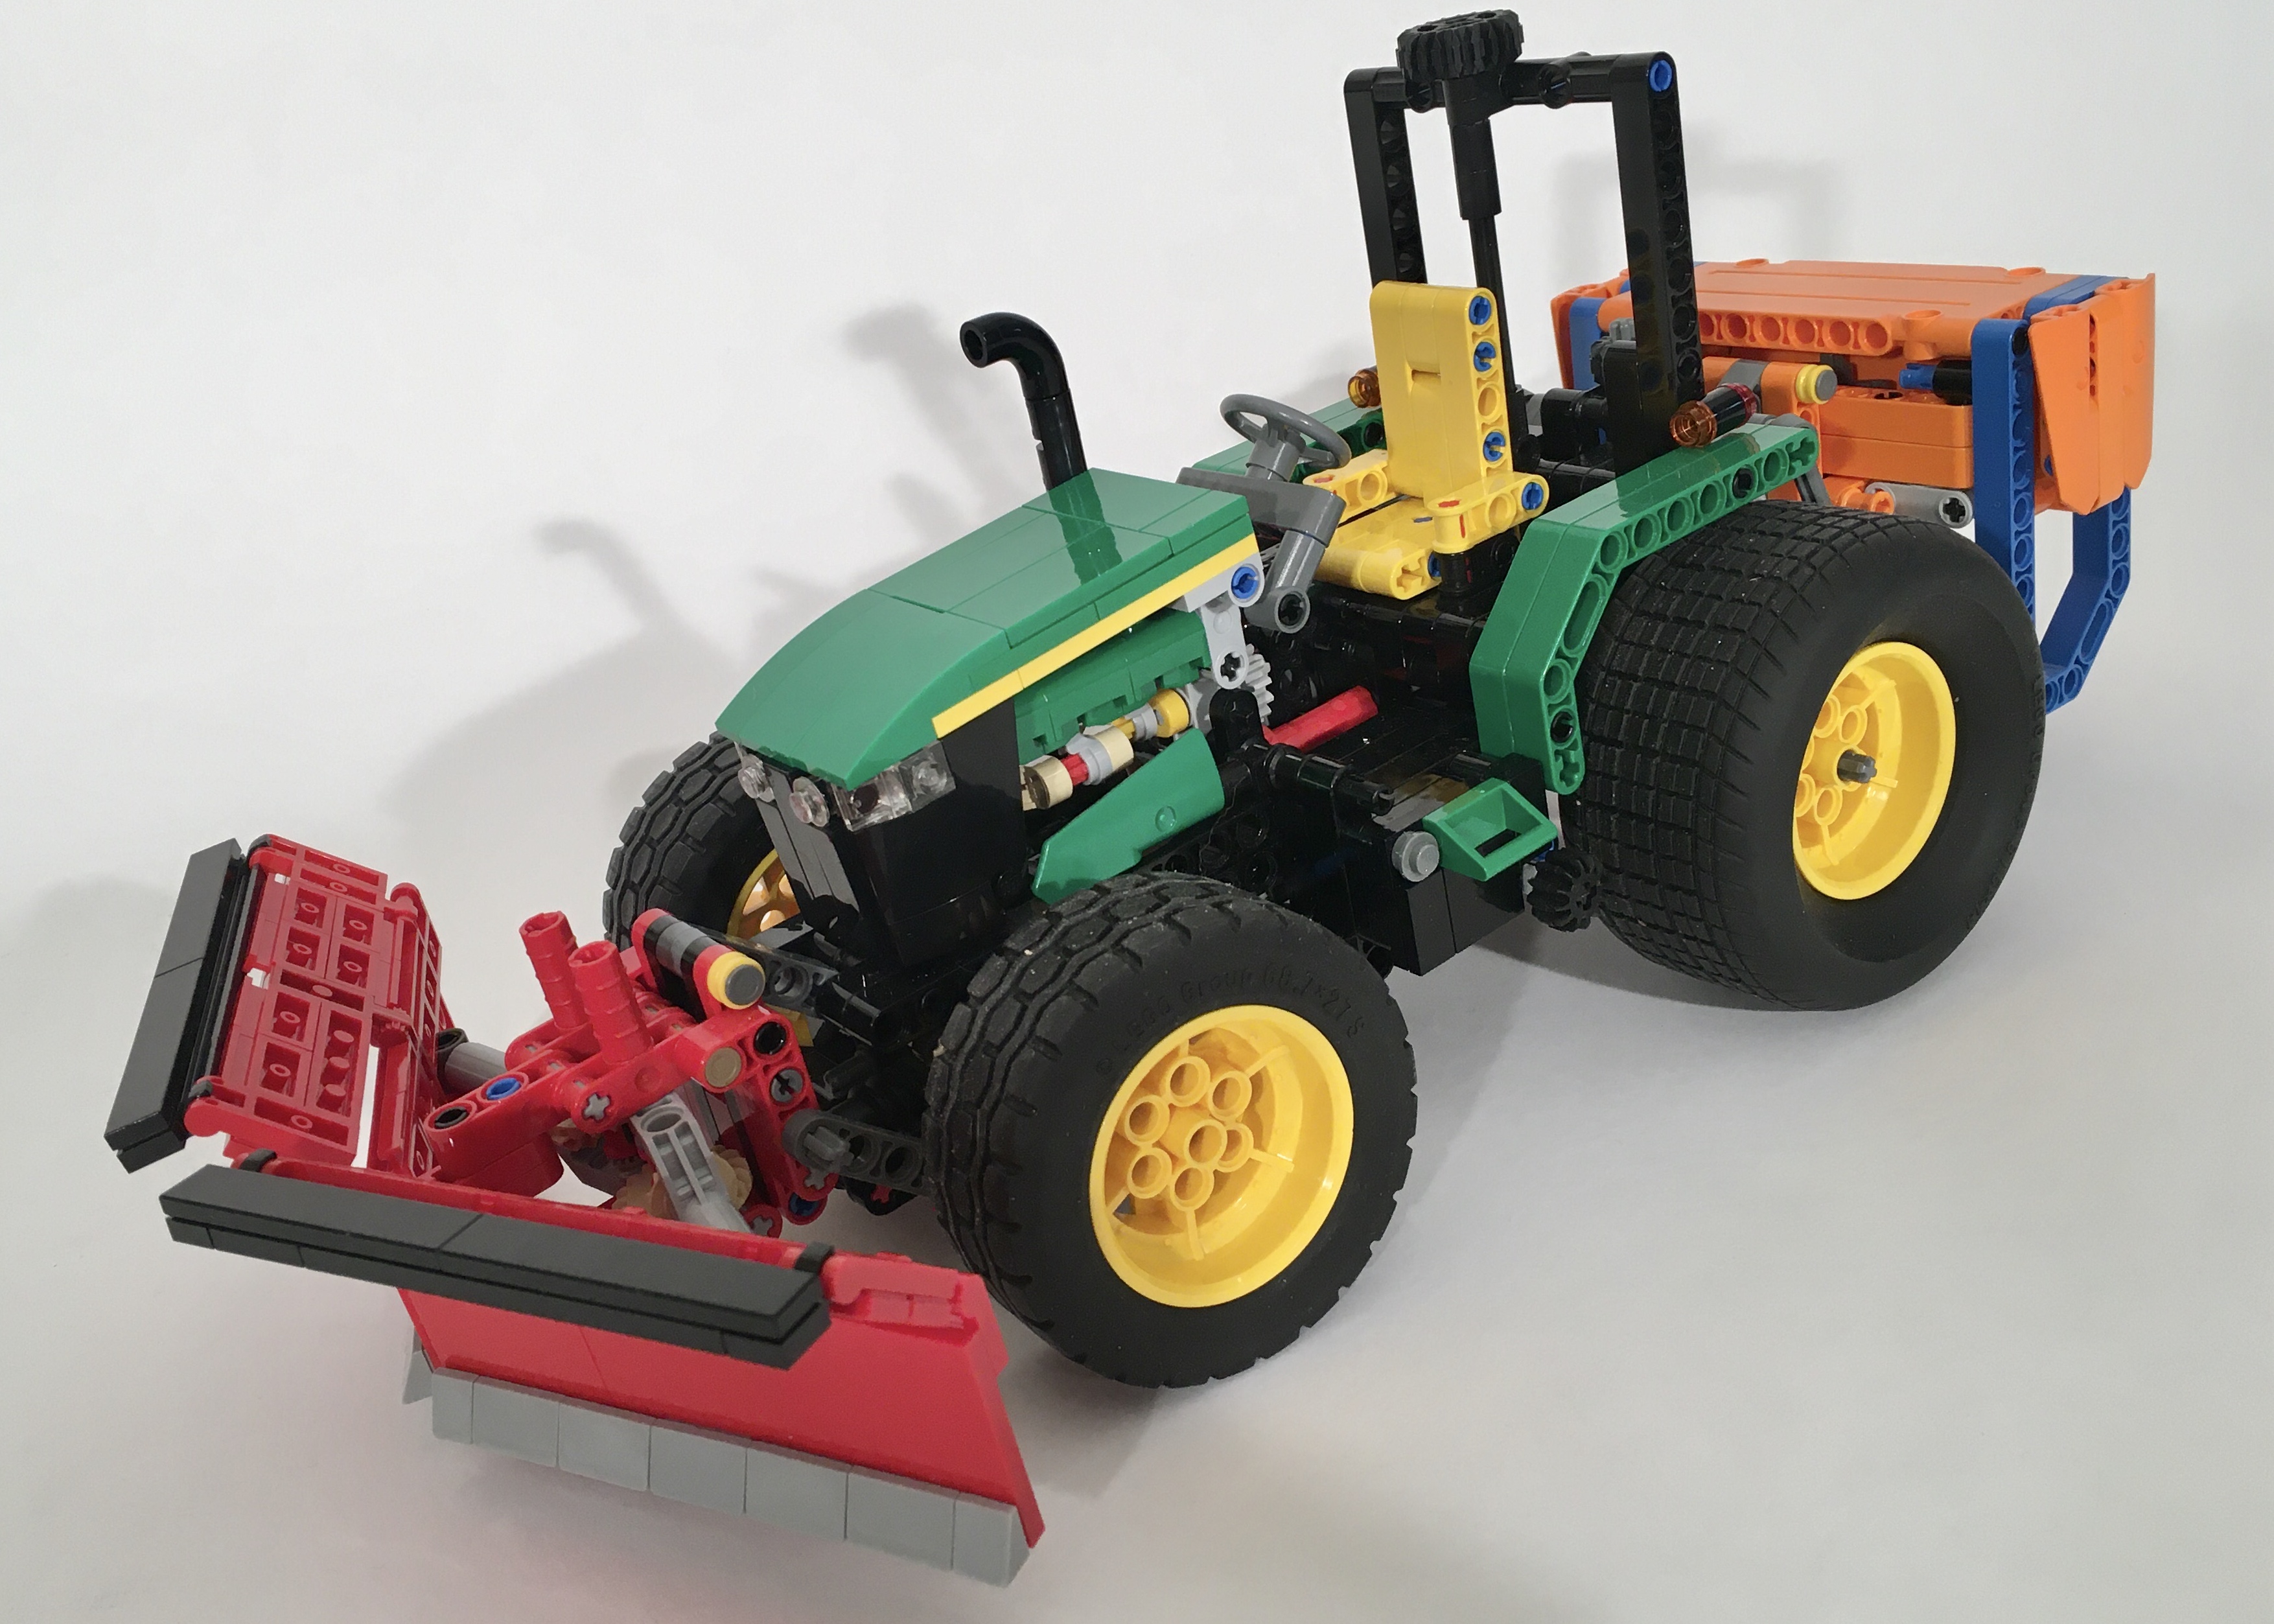
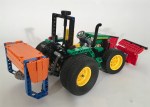
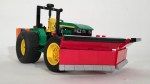
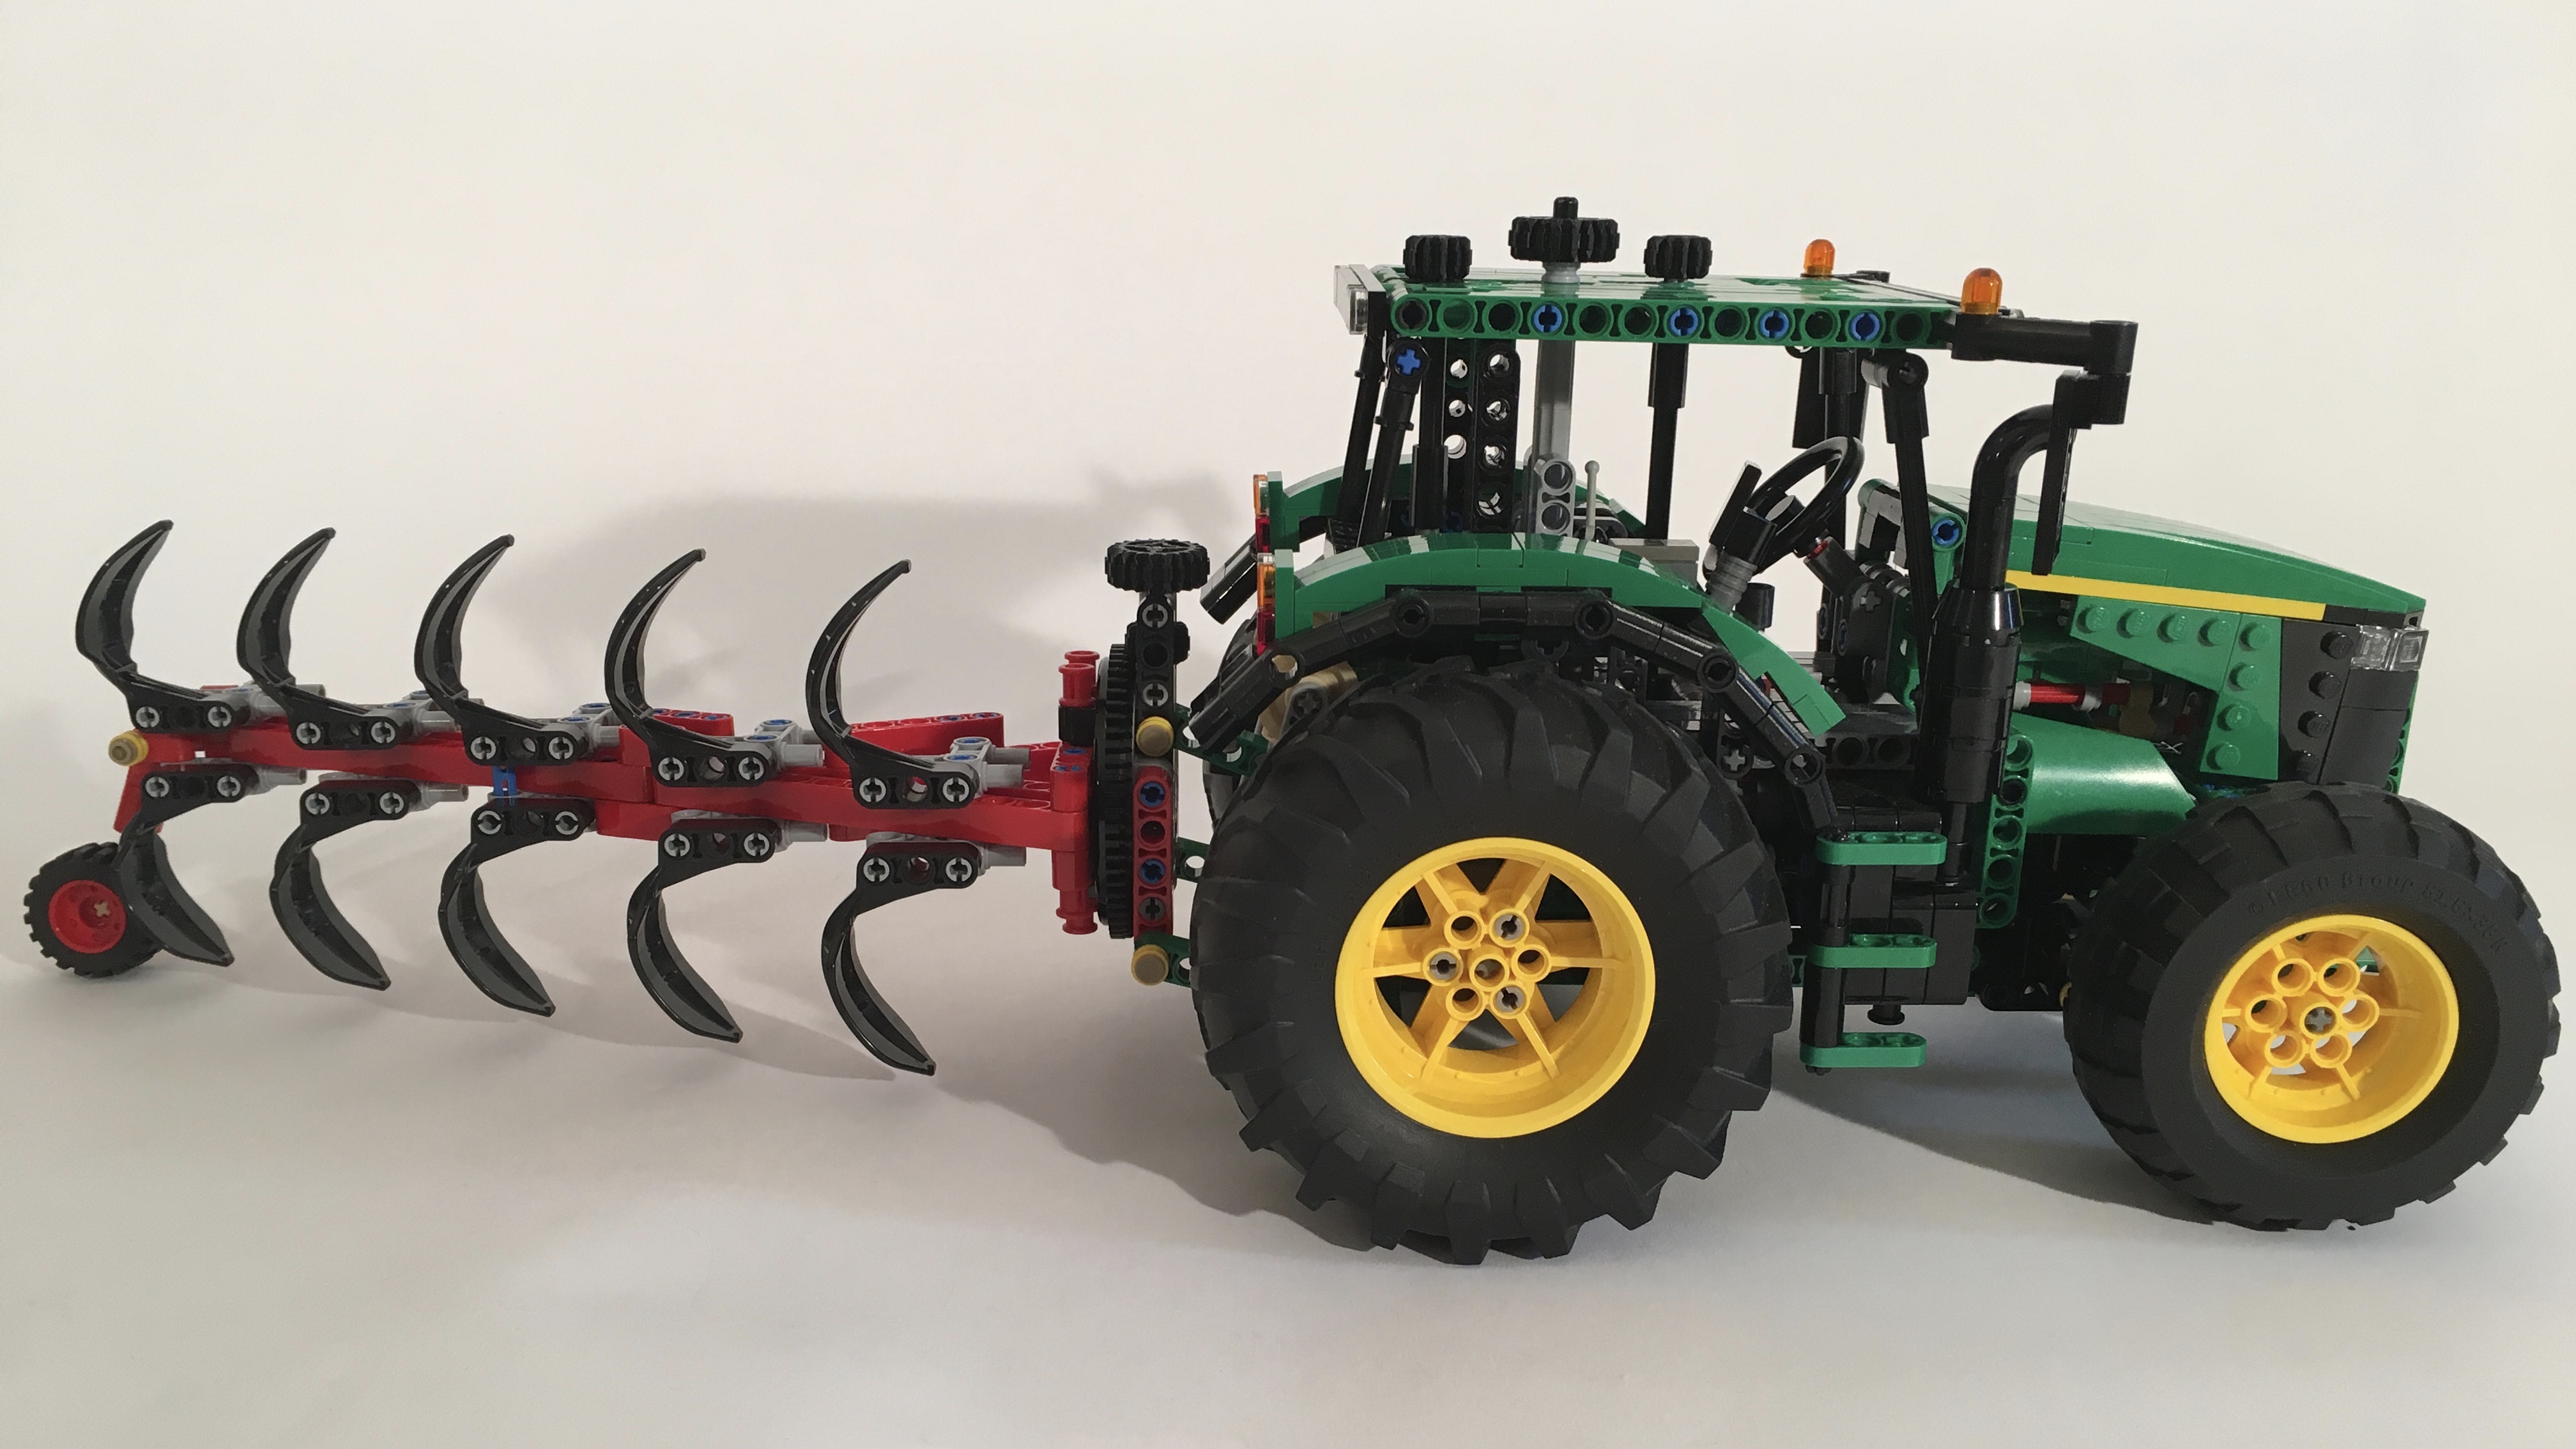
Also connected to the front wheels is a takeoff that operates one of two cutting heads. The cutting head uses two augers on each side to move the corn to the center so it may be driven into the combine. A cutting edge is right behind the cones, and its movement is driven by a link below the combine, so it may cut back and forth. The full corn head is removable, and can be easily replace with a grain head. Each head is mounted on a moveable mounting plate, which can be moved up and down for harvesting and transportation.
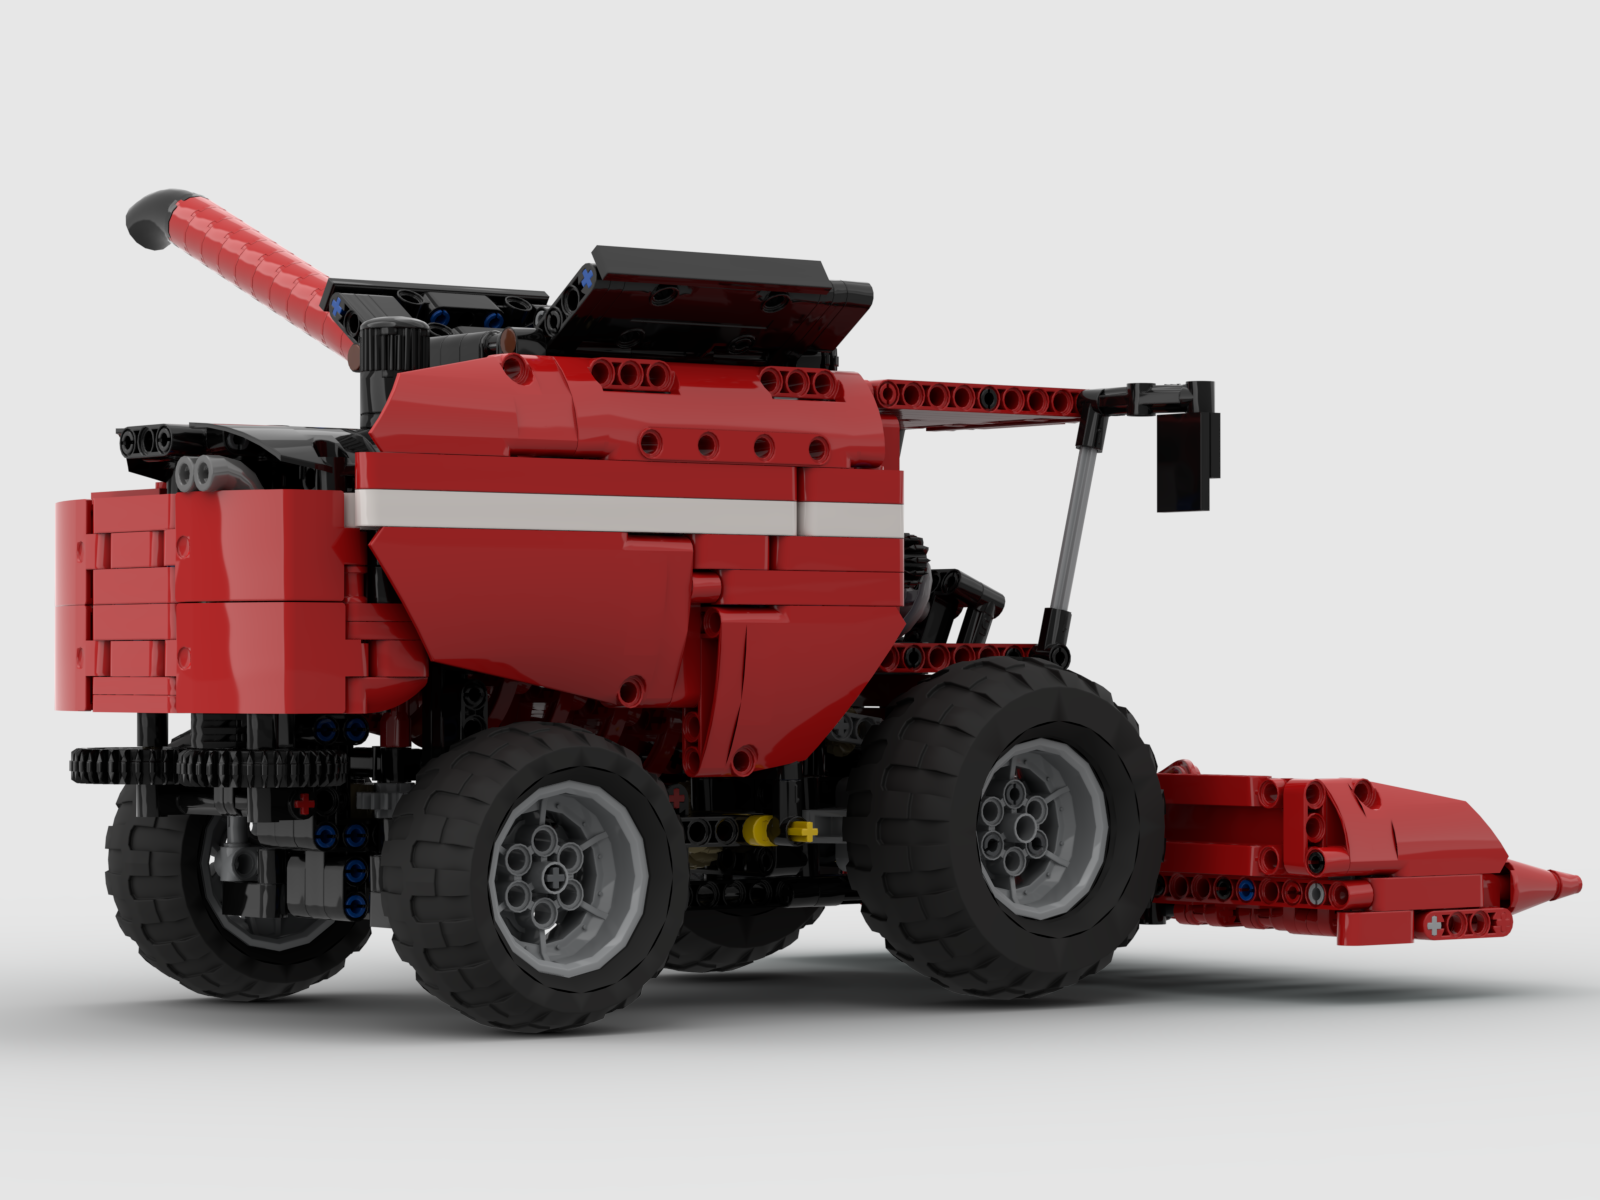
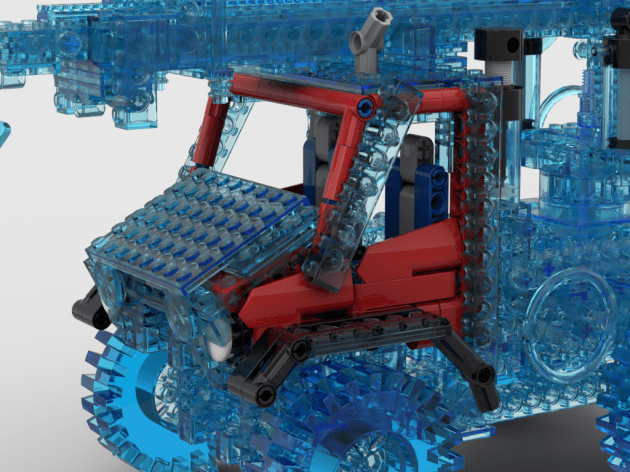
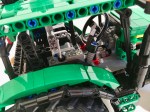
In addition to the harvesting functions, the combine also has an opening right side so you may see the internal functions of the tractor. Here you may also see the mechanism that opens the top hopper. Additionally, the grain extractor on the left of the combine can be extended. Steering for the rear axle is operated by the air intake on the rear of the body.
This MOC took more time than usual for me, and there were a couple of times that I thought about scrapping the build, but I am happy I stuck with it. In addition to having another vehicle to populate the Thirdwigg Farm, the functions of the Combine were fun to implement in this build. Each worked well, and were fun to play with. The interchangeable head was an addition that changed the look of the combine depending on my mood, and each functioned well.
I guess it’s time to plan another tractor. Until then, happy building!