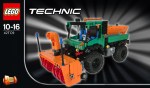
Snowblower/Tractor


I participate in only some of the contests that are available in the online LEGO community. I generally participate if it meets the following criteria: Is the challenge within my competencies? Does the contest align with other responsibilities/projects to which I have already committed? Can I be competitive? Frankly, it is the last question that often stops me. The preceding two questions determine my limitations, and considering how good many other builders are it is not often I participate. With this in mind, I decided to enter the Eurobricks Technic Challenge 9 (nine already!?).

Edit 2016.02.16 : The contest has completed, and this Model came in second! See the results page here, and all the votes here. Thanks to Eurobricks for the contest.

A full gallery with Instructions can be found here.

Snowblower

Tractor

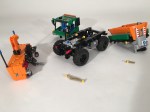
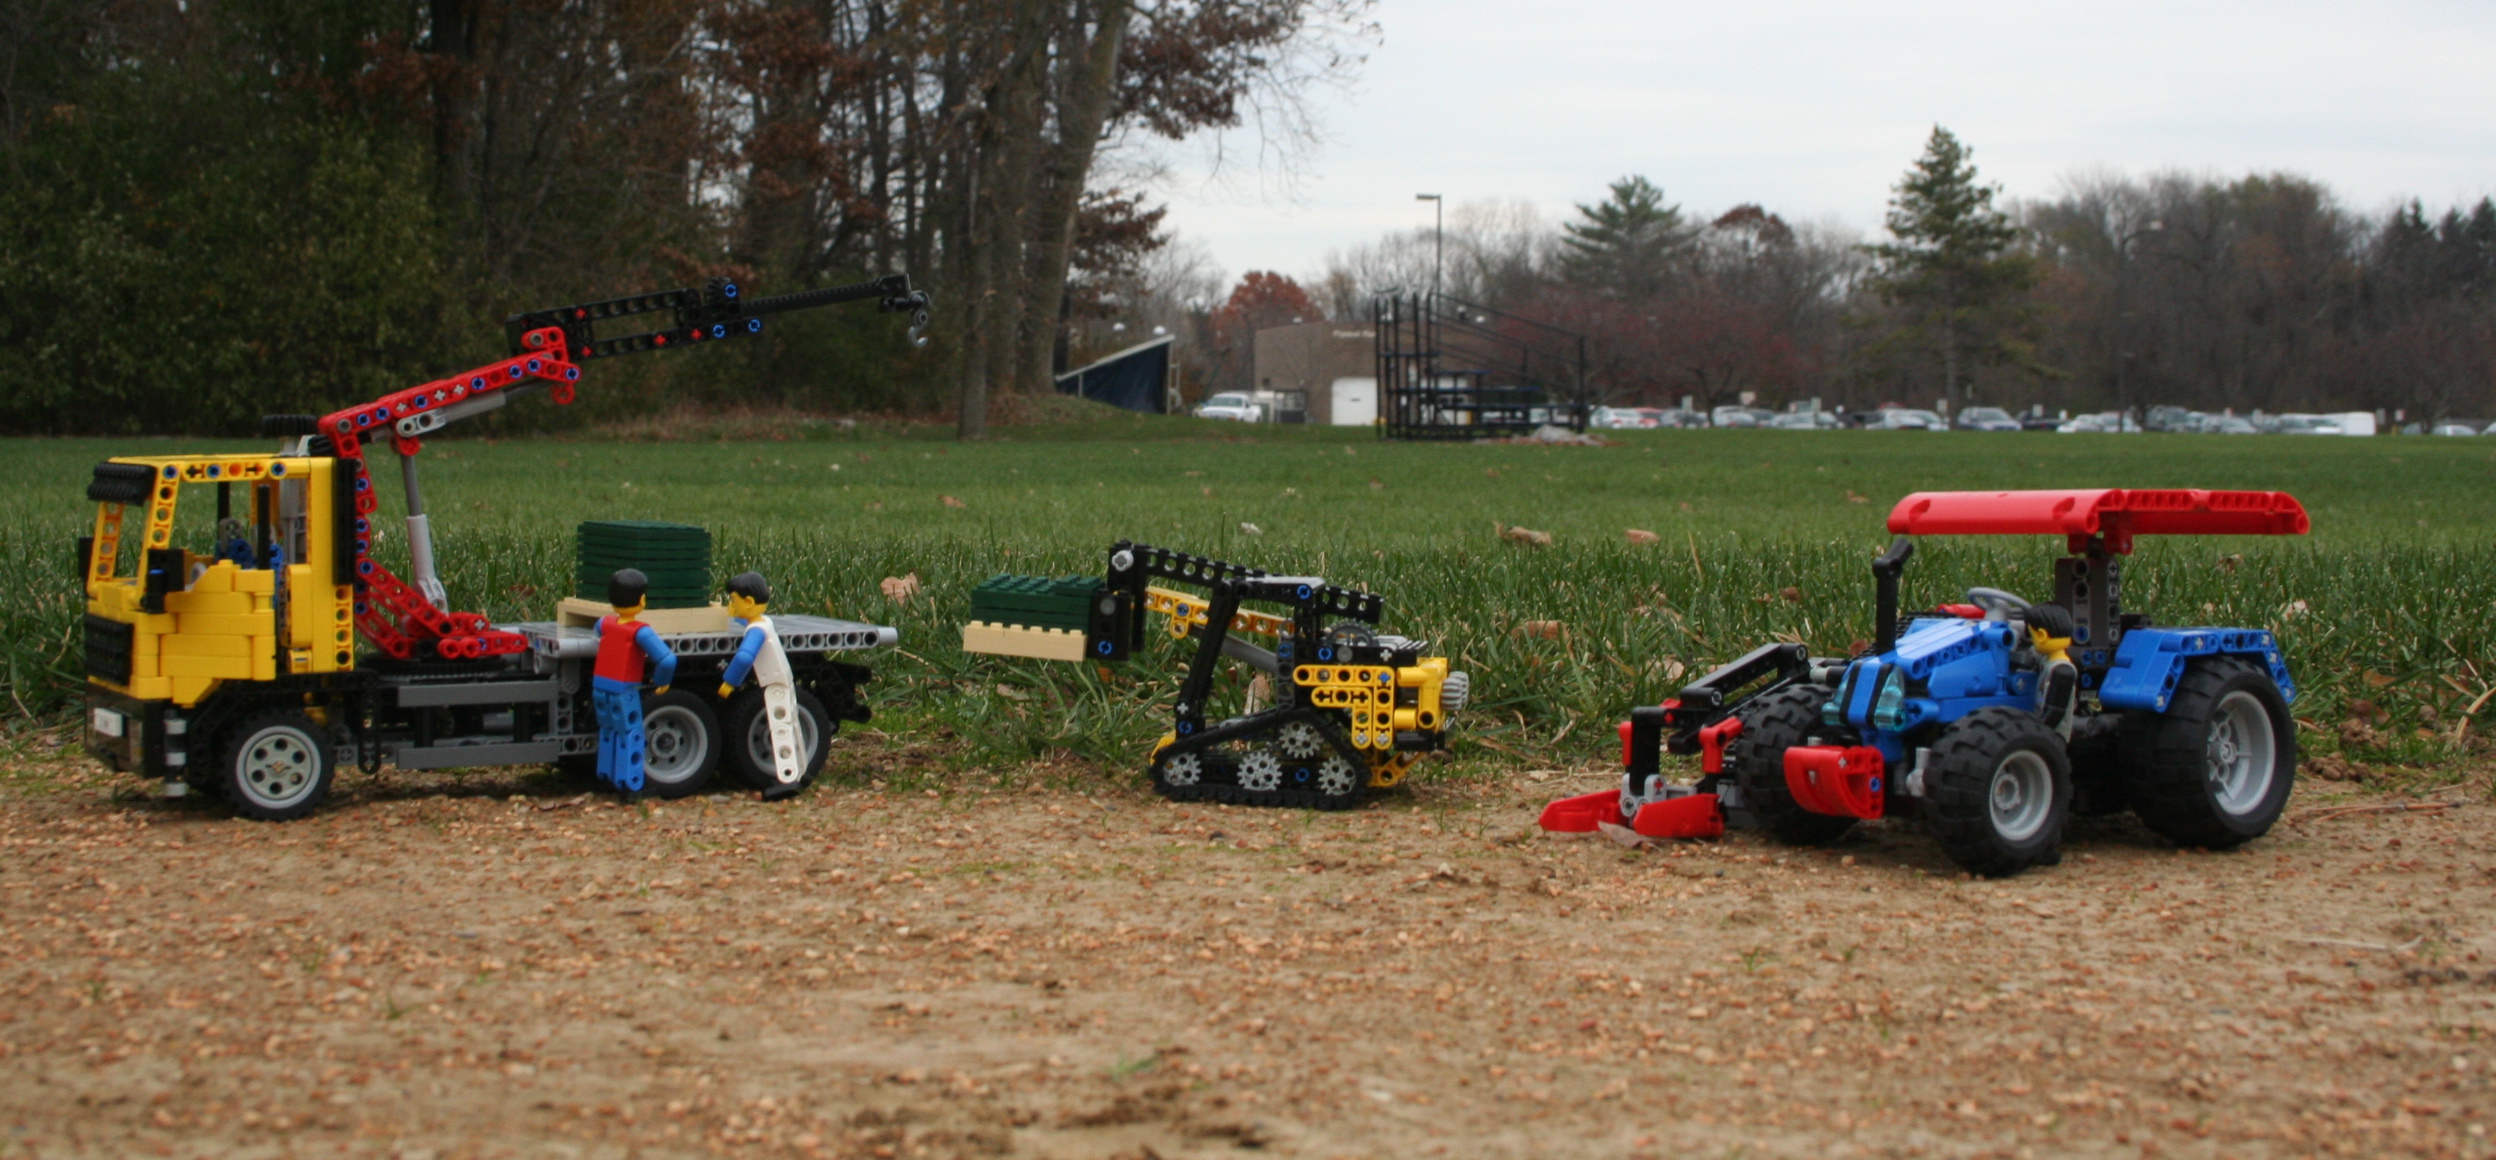
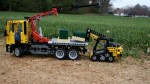
What interested me in this contest was the constraints, and to a lesser extent the topic. the constraints stipulated that both MOCs had to fit within 10,000 cubic studs. I got out my calulators, and started playing with numbers. I was hooked. Additionally, building one MOC is hard, and building two from the same parts seemed very hard. It was something I had never done, and only a few builders can develop a good B or C model. The planning stage would be critical. Both models would have to be planned together right from the beginning. I toyed with a Combine/Tractor, and a Pipelayer/Crane, and even a Airplane/Boat. With each of these designs, I realized I would be using too much space with a long appendage, such as the Combine’s implement, or the Pipelayer’s arm. The cubic studs required something more…cube shaped. I eventually settled on a Snowblower and a Tractor. Both were a little more square and had similar components (wheels, engines, colors, chain links). I knew I would need to build both together, and multiple renditions would be needed. I was ready to start building.

Snowblower Rear

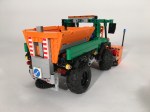
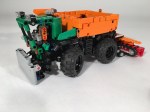
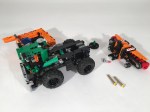
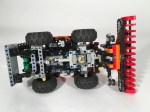
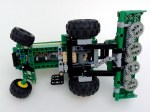
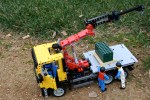
Pretty early, I settled on 17x17x34 studs for the Snowblower. I challenged myself to include steering, a working blower, and a working salt spreader. I build the basics of the blower implement right away, complete with rotation coming from the truck drive. On the rear, I added an implement lift using a worm gear setup, and a quick link to the truck . Next, I worked on the chassis of the truck. I added portal axles, because I could not get the 5L wheel axles to say connected to the differential. This also helped to clear the front PTO from the steering function, which was linked directly to a HOG gear on top of the cabin. The salt spreader needed a take-off gear for the conveyor belt, and the discharge plate would be driven separately from the rear differential. The mechanics were set. I then worked on the cab. I made sure the cab, the blower, and the spreader could be easily removed by removing up to four pins for each. It’s a fun modular function that allow for other attachments.

Snowblower Modules

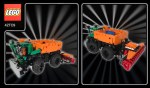
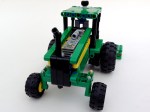
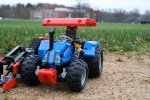
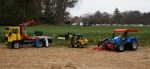
I first made a pile of all the parts used for the truck while it was still built, and made a first draft of the tractor. Based on the parts of the Snowblower, the tractor would have four wheels, a 2 cylinder engine, and something with a whole bunch of 3×3 round, red, liftarms. I first modeled it after a John Deere 7R series, but realized this would leave me with too many left over parts. I then tried modeling it after a Claas Saddletrac. This seemed to be a better fit. I then took apart the Snowblower, making instructions as I went. I then used these parts to make the official model B. Over the course of a week, I made many revisions.

Tractor Rear

Both models worked well, as none of the feature are too complicated. I was pleased with the A model as everything functioned as it should, and it looked great. The tractor was simple, and it’s simple functions worked well. I was pleased with how it all turned out. It was great working with a limited number of parts for the B model, but I would prefer to clean up the look of the tractor a little better. This was a great little contest. I loved the restriction of the cubit studs, and I loved having to make a MOC with a defined group of parts. Now let’s see how the voting shakes out.


Windrower


At any given time I have about 4-6 projects going on at a time. This is partly the result of the Queue, which is partly the result of my lack of focus. In the midst of all this planning, I find it therapeutic to sit down, and start something small, simple, and without a plan. Two weeks ago, right after finishing the ATS, I sat down, and in a couple of hours, completed a small windrower.

The full gallery including instructions may be found here.

Windrower

Some of my favorite MOCs are the smaller non-motorized ones I have done over the years, like my Feller, my Octan F1, my 4×4 8081, and my Sod Harvester. I built the Windrower to fit in this theme. A Windrower, or Swather, is basically a large lawnmower. The blades on the front cut down hay, and pull all the cuttings to the center to make a row of cuttings, or windrow, to be picked up later.

My version is rather simple. The two main wheels are connected to a center differental through two 8z portal axles. The differential drives a small I3 motor in the rear, and a PTO driveshaft comes out the front. The PTO drives a simple harvesting head made of four z24 gears which are connected with a number of z12 gears. The harvesting head can be raised and lowered by a simple worm gear setup. A simple steering system was created for the rear wheels, and it was connected by a liftarm to the smoke stack so you could control the steering.

The body work took a couple of Bricklink.com orders. After recently making a couple of MOCs in red, I felt the Case IH coloring would be a little redundant, so John Deere Green it was. My collection of green is growing, but there were still some parts needed. After everything arrived, I replaced all the red, and added some yellow wheels, and everything was set. A simple MOC, with some fun features, and an infrequent color.

Happy Building.


The Sod Farm


During two summers when I was in college, I worked on a Sod Farm. It was, let’s say, a developmental experience. The days were hot, long, and often included nothing more than sitting on a tractor listening to the diesel drone as I would slowly mow the sod at 1.8 mph (2.9 kph).

While I would often  recite the dialogue of Sgt. Bilko in my head to pass the time, I did manage to develop a deep fascination for the machinery used. Two months ago, Eurobricks decided to hold a contest to create three Technic creations that would work together. After some thought about the rules, the parts I had, I thought I could create an entry, and offer something a little unique.

The full gallery may be found here, and instructions here.

The Sod Farm

The contest required three models that would work together in a particular setting. Each must have a part count that did not exceed 500 parts, and each had to be unique. While trailers were acceptable, I somehow felt offering an entry with a trailer did not allow for enough creativity. As my thoughts wondered on a bike ride, I decided I would create a small truck, a little forklift, and a sod harvester. My design would harken back to those days on the sod farm. Rather than the Freightliner Columbia and Piggyback Forklift we used, I designed a MAN TGS and a JCB 150T to have little more international flair, and frankly, to have a little more color. We used a Brouwer SH 1576 to harvest the sod, so I thought I should keep that machine.

The MAN TGS went through a number of revisions. Each was done to reach the part limit. The final MOC ended with a three function knuckleboom crane and a simple bed. In addition to the steering and the working doors, the crane is fully functional. The rotation is handled by a wheel on the right of the truck, and the main lift is handled by a wheel in the rear of the truck. The second stage lift and boom extension is handled by a small wheel at the top of the crane.

The JCB 150T was a simple and straightforward build. Recreating a MOC with a single arm lift created some additional challenges. A single mini linear actuator was used to lift the boom, and a worm gear system was used to adjust the tilt of the forks. The offset cabin caused some frustration, but I eventually figured it out.

Finally, the Brouwer SH 1576 was the purpose of this project. After a little research, I determined the scale of the project. I then started building. I usually add too many features to a MOC, and this harvester was no exception. The rear wheels spun a single differential, which ran straight to the front to power a two cylinder motor. Off the driveline was a PTO between the motor and the differential which would run the harvesting arm. The harvesting arm has a track system to drive the pieces of sod up to the back of the harvester to load the sod on the pallets. A simple cutting head was added to the front which had a cutter to cut the sod off the ground, and a timed cutter on the top to make sure each piece of sod was the correct size. After some work I added a simple steering system controlled by the smoke stack. Finally, I added a forklift system to hold and drop the pallets of sod off the back, and a small standing pad for the pallet worker.

This was the first LEGO contest I have entered since 1994. I hope you enjoy my entry. Thanks to Eurobricks.com for the contest. I appreciate your vote at eurobricks.com. In addition, instructions for the models can be found here.

For those counting (me), the number of parts needed for each MOC are: MAN TGS- 557, JCB 150T- 287 (inc 58 tracks), Brouwer 1576- 484 (inc 43 tracks)